When I think of Rosca de Reyes, or Mexican Three Kings’ Cake, I always think of that scene in Like Water for Chocolate when the sisters are preparing a huge cake and have to count the eggs they add because the number is so huge.
I don’t tend to use a lot of eggs in my bread. Any, in fact. Egg breads tend to be rich and sugary, and sugar isn’t something we eat a lot of here. But a grad school friend is having a birthday on Wednesday, so I decided to make a cake for her. And in the spirit of the holidays, I settled on Rosca de Reyes.
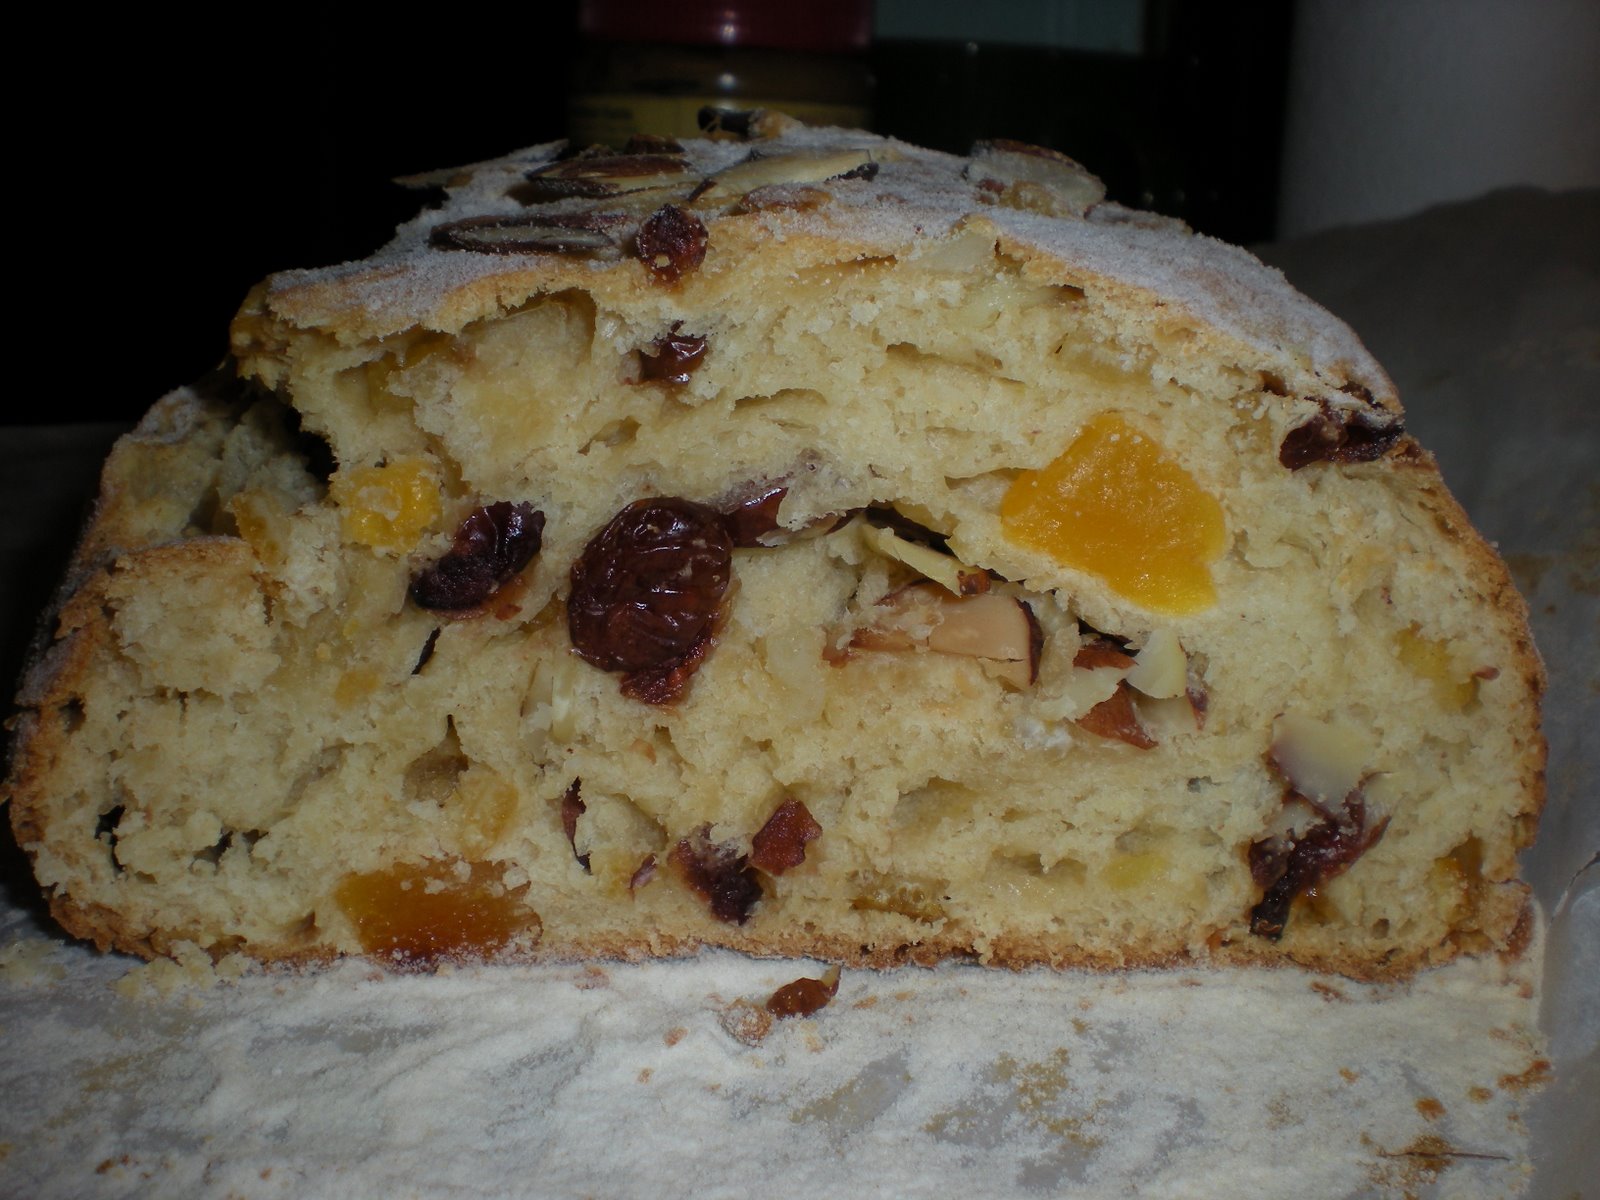
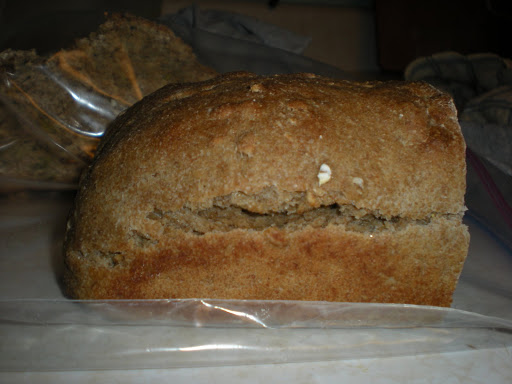
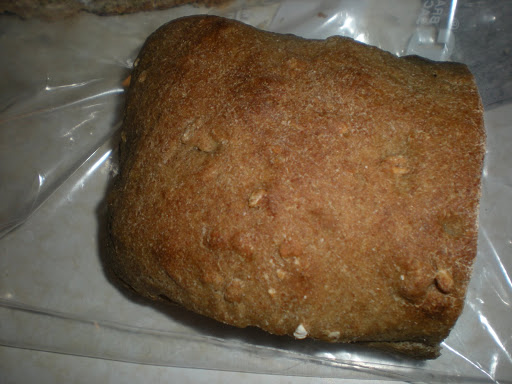
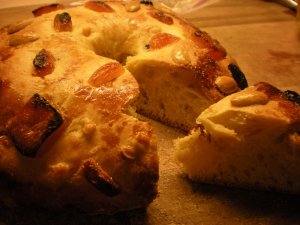
Rosca de Reyes gets most of its sweetness from fruit, not sugar. And it is more like a bread than a cake. The dough once it’s baked reminds me of a panettone.
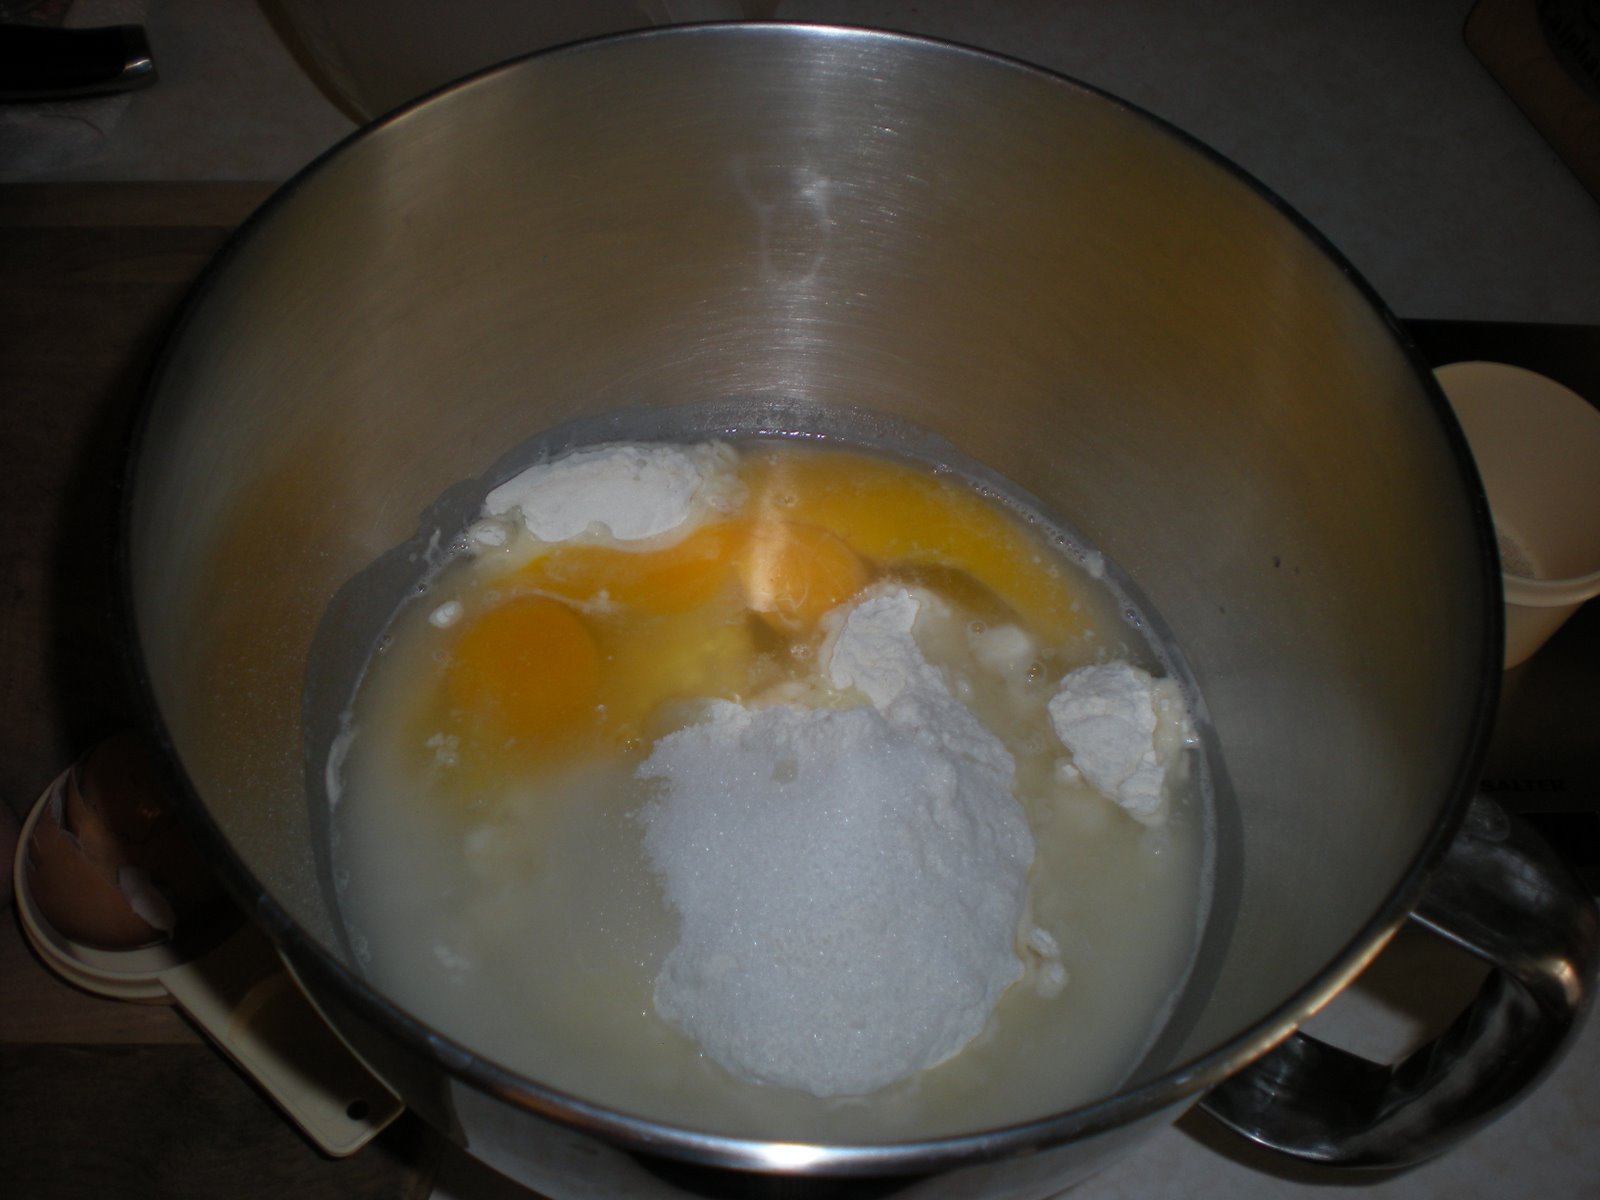
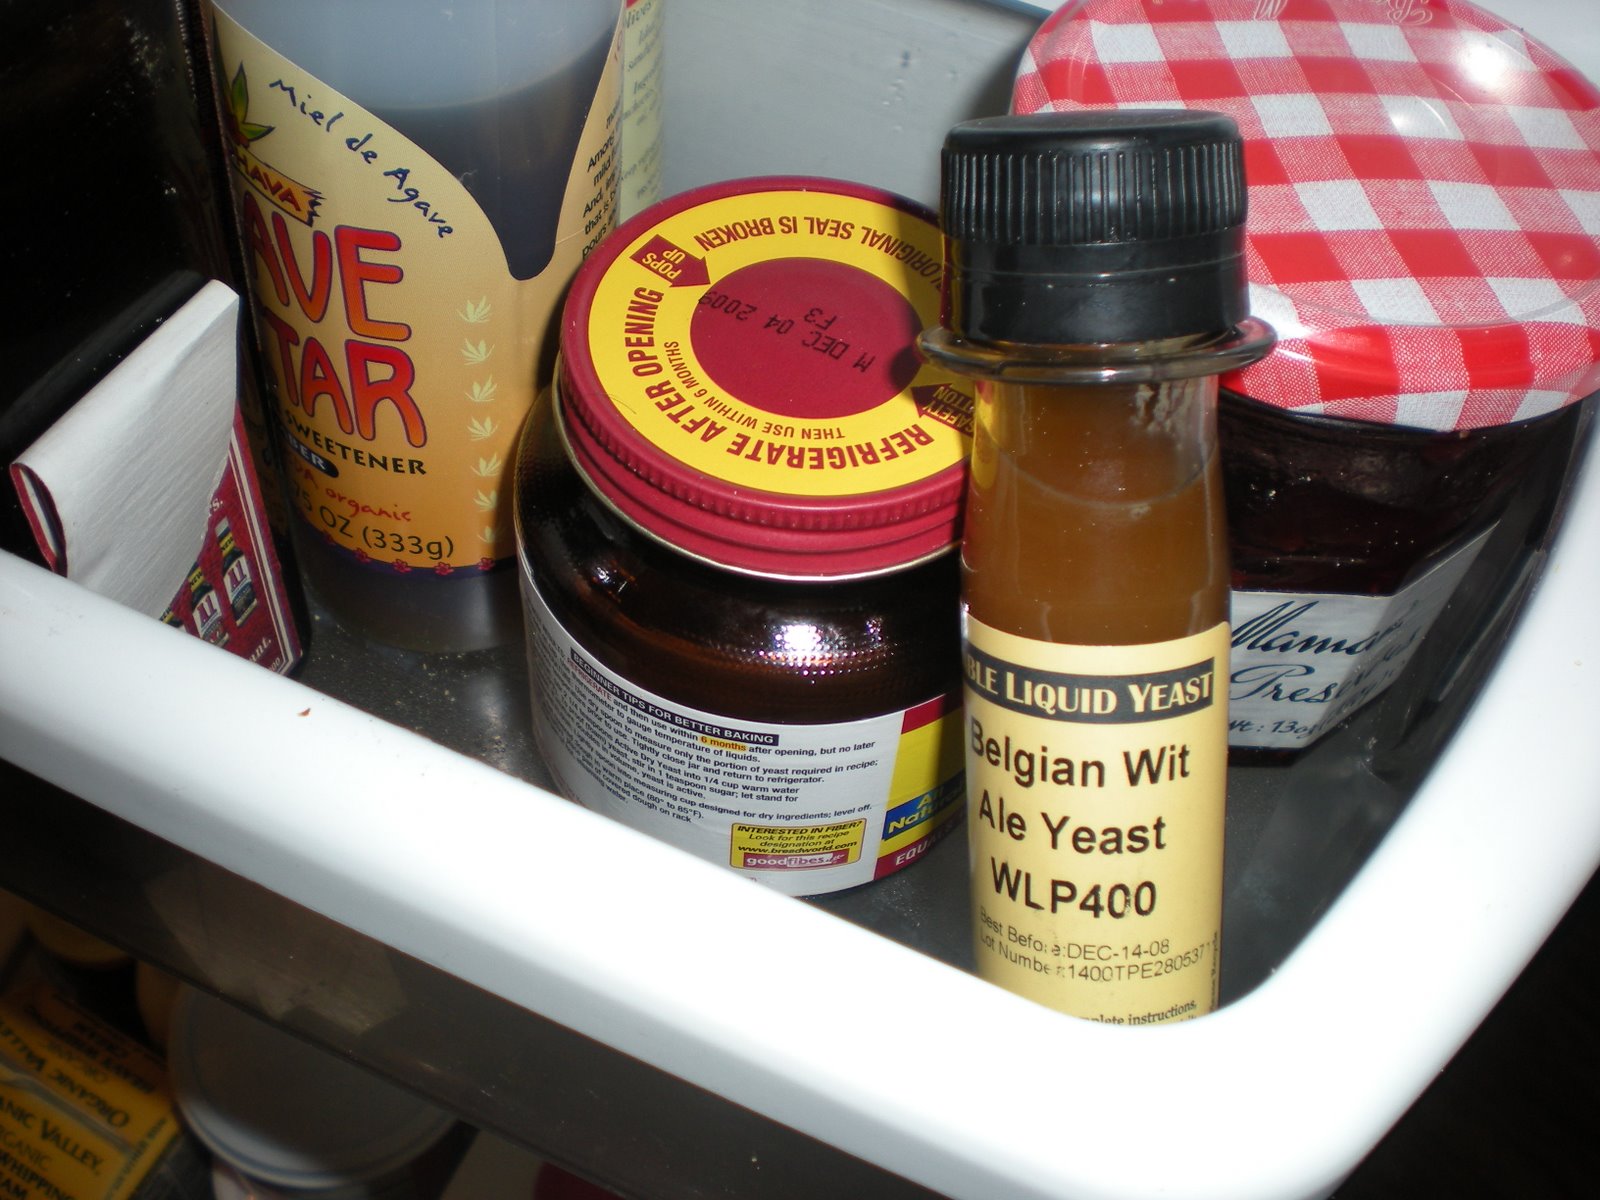
I got all my ingredients together into a mise en place.

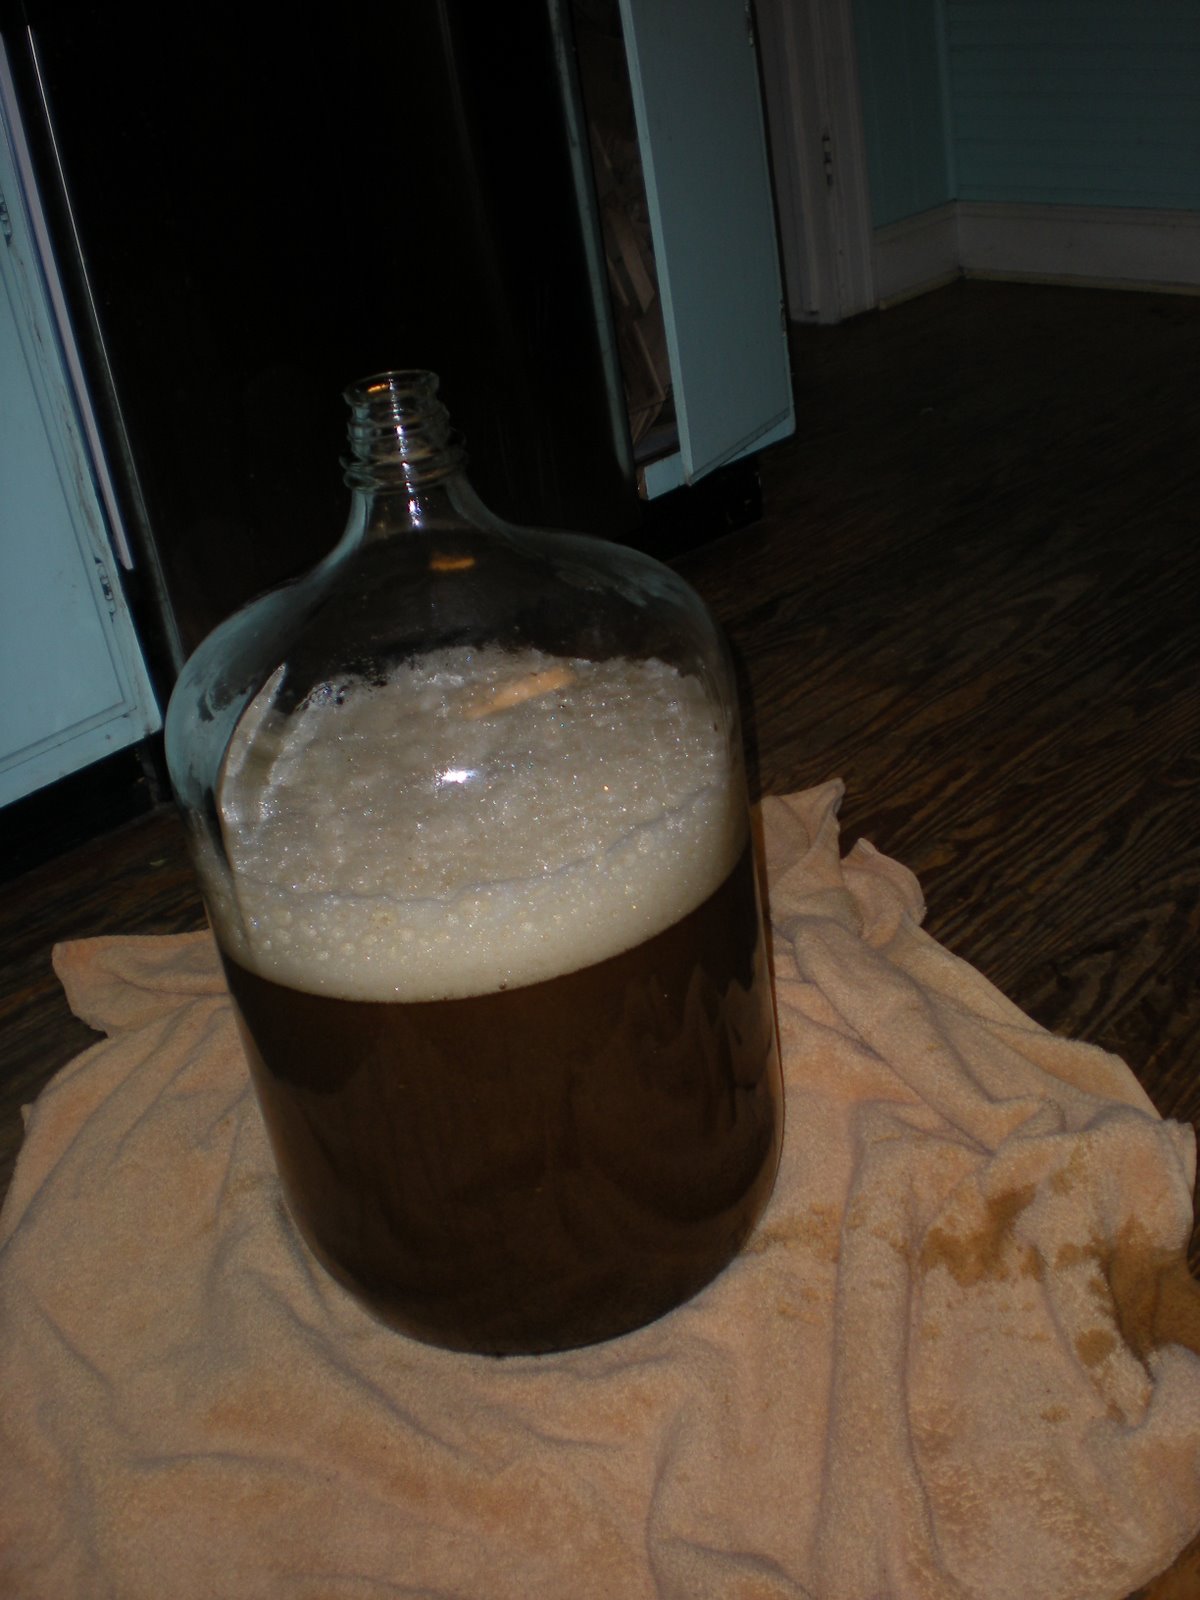
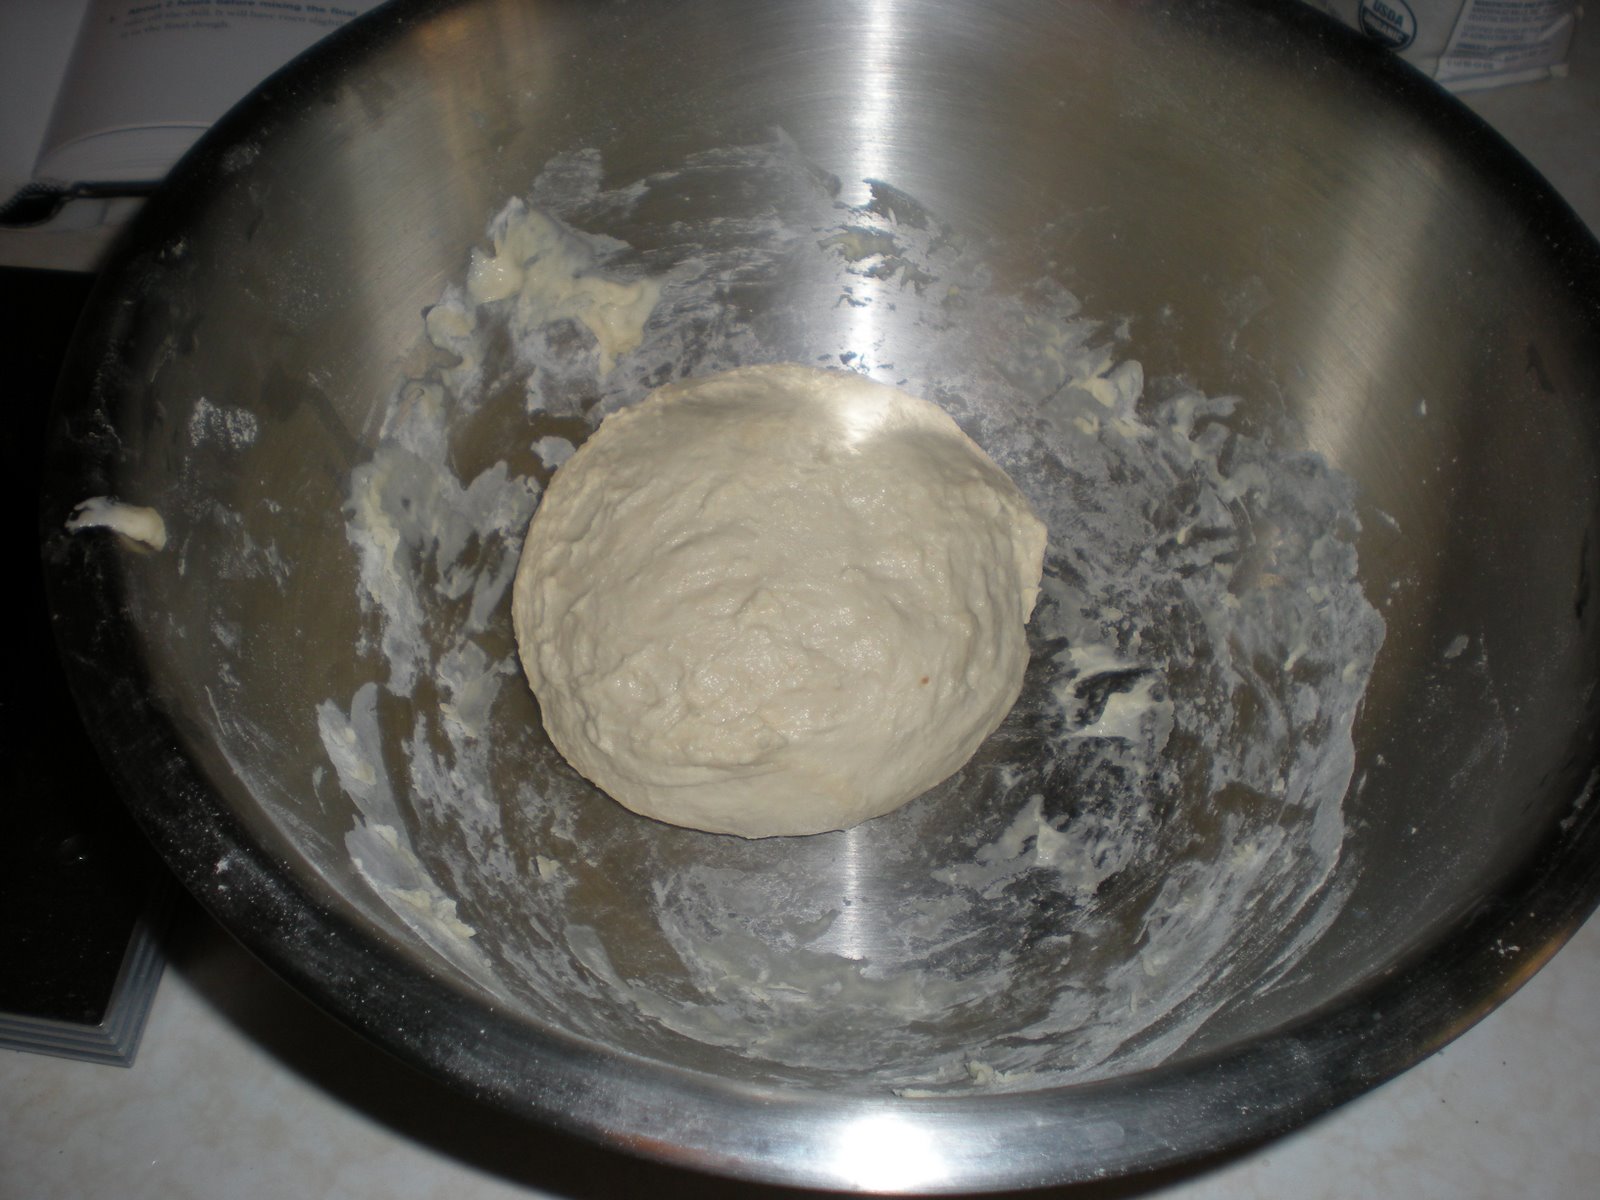
I had just enough eggs to make the recipe (13 eggs!) I mixed the first set of ingredients together (including three of the eggs) and set it out to rise.

Only thing is, it didn’t rise. At all. I had to decide whether I would proceed to the next step, or start over. I didn’t have enough eggs to start the same recipe over, so I decided to find another recipe that would serve my purpose but would take less time and fewer eggs.
I settled upon the Chilean Christmas Bread recipe from Epicurious.com, albeit with a few changes:
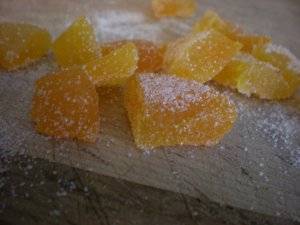
1. I used the reconstituted dried and candied fruit that I had prepared for the other recipe.
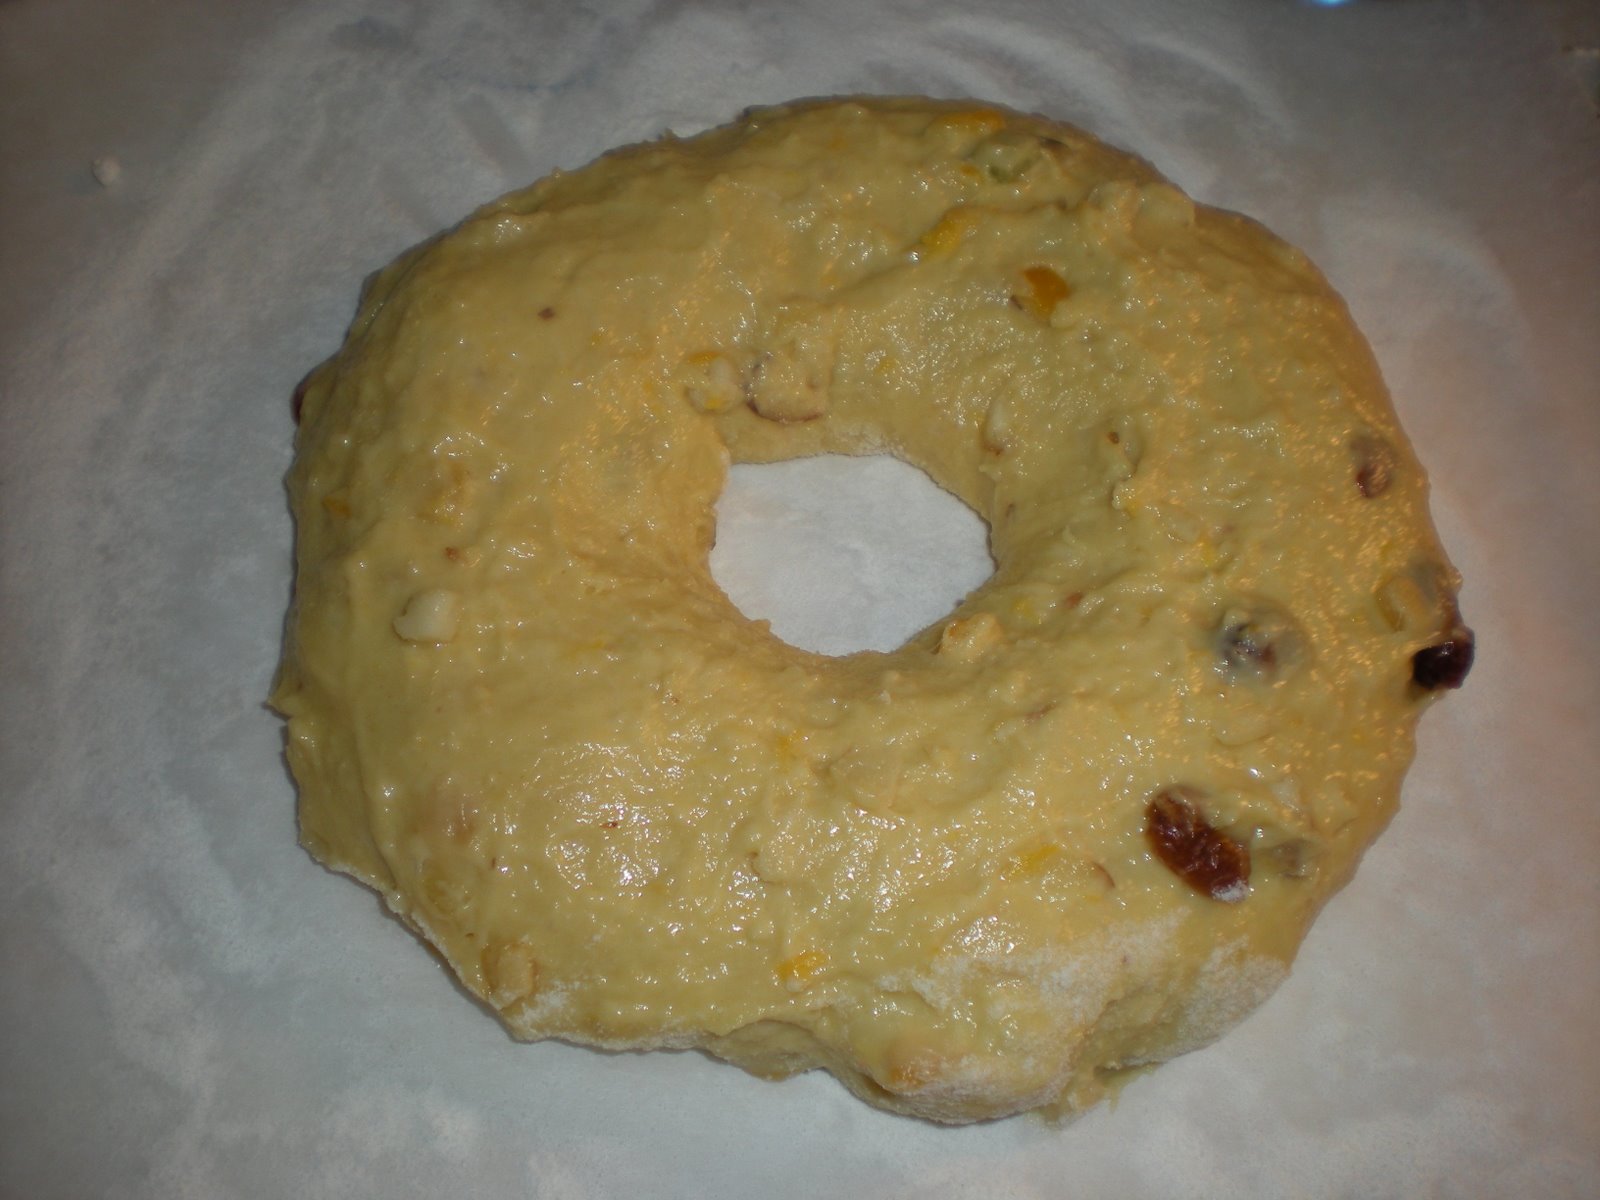
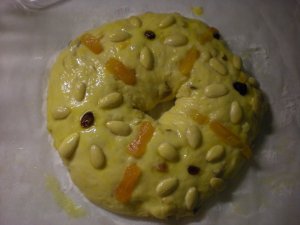
2. I shaped it into the traditional Rosca de Reyes wreath shape.
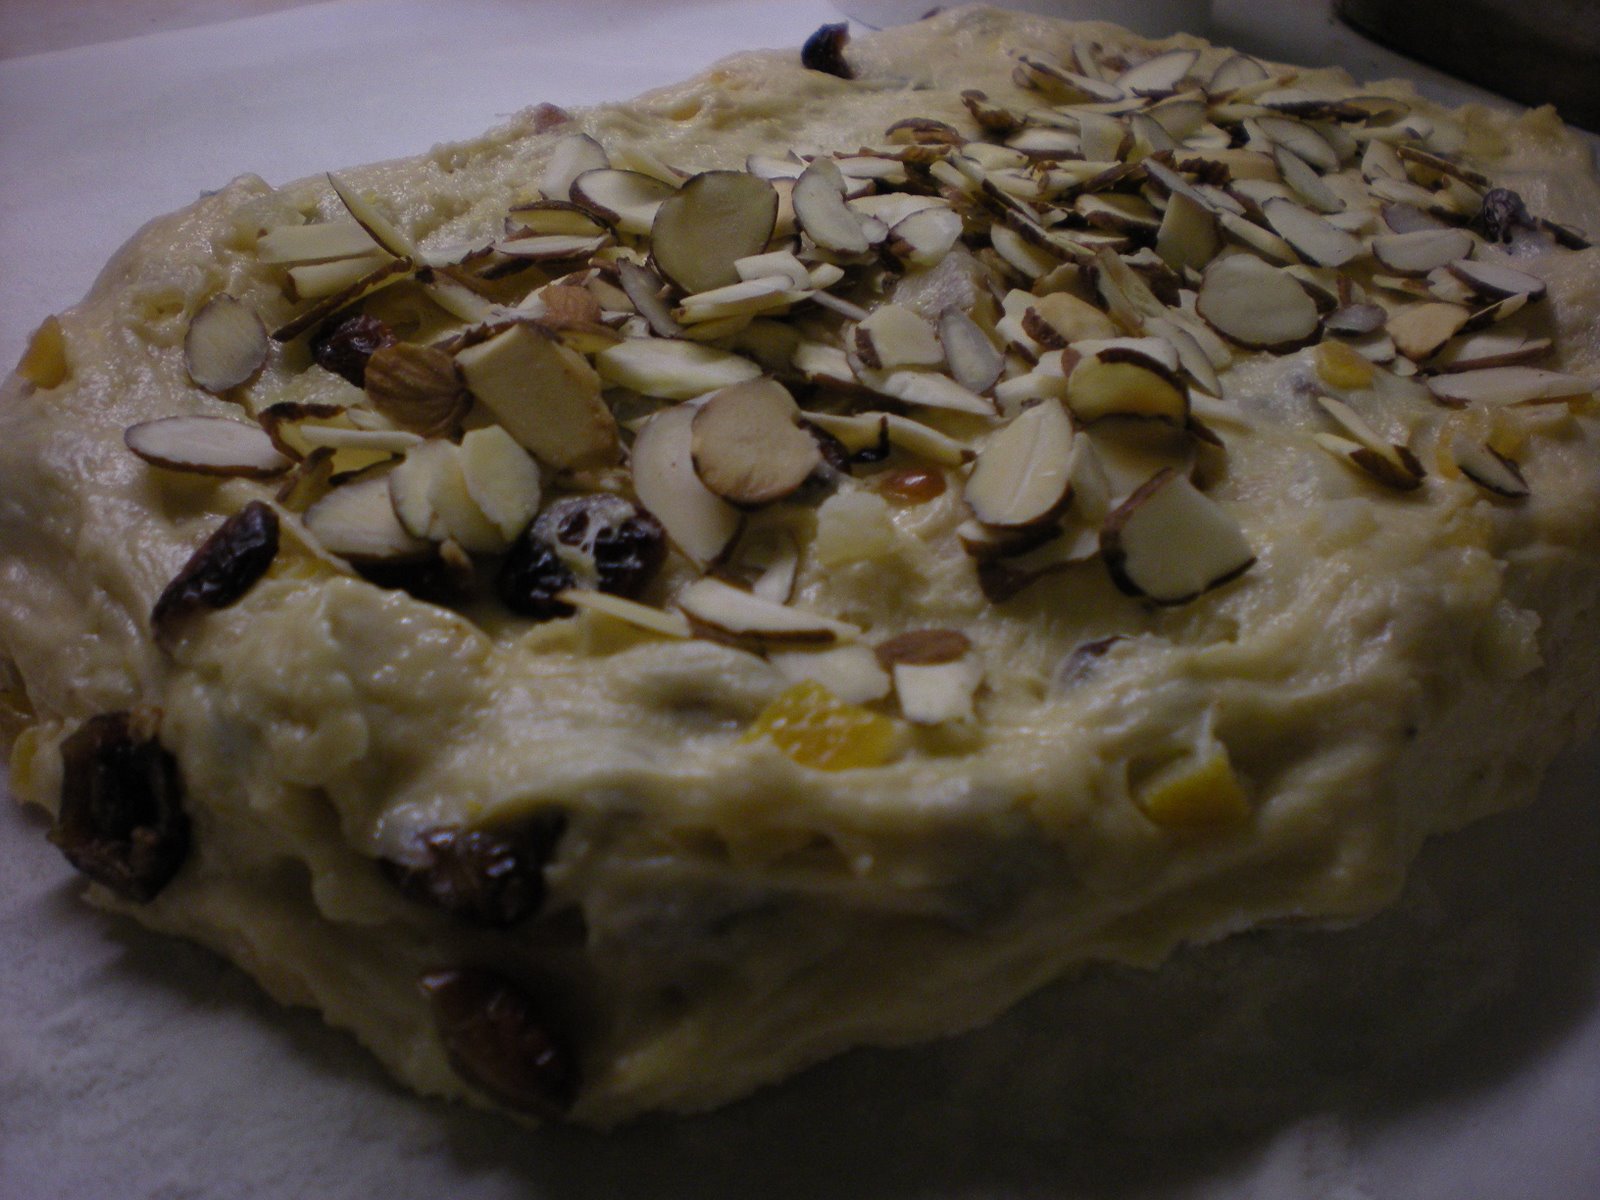
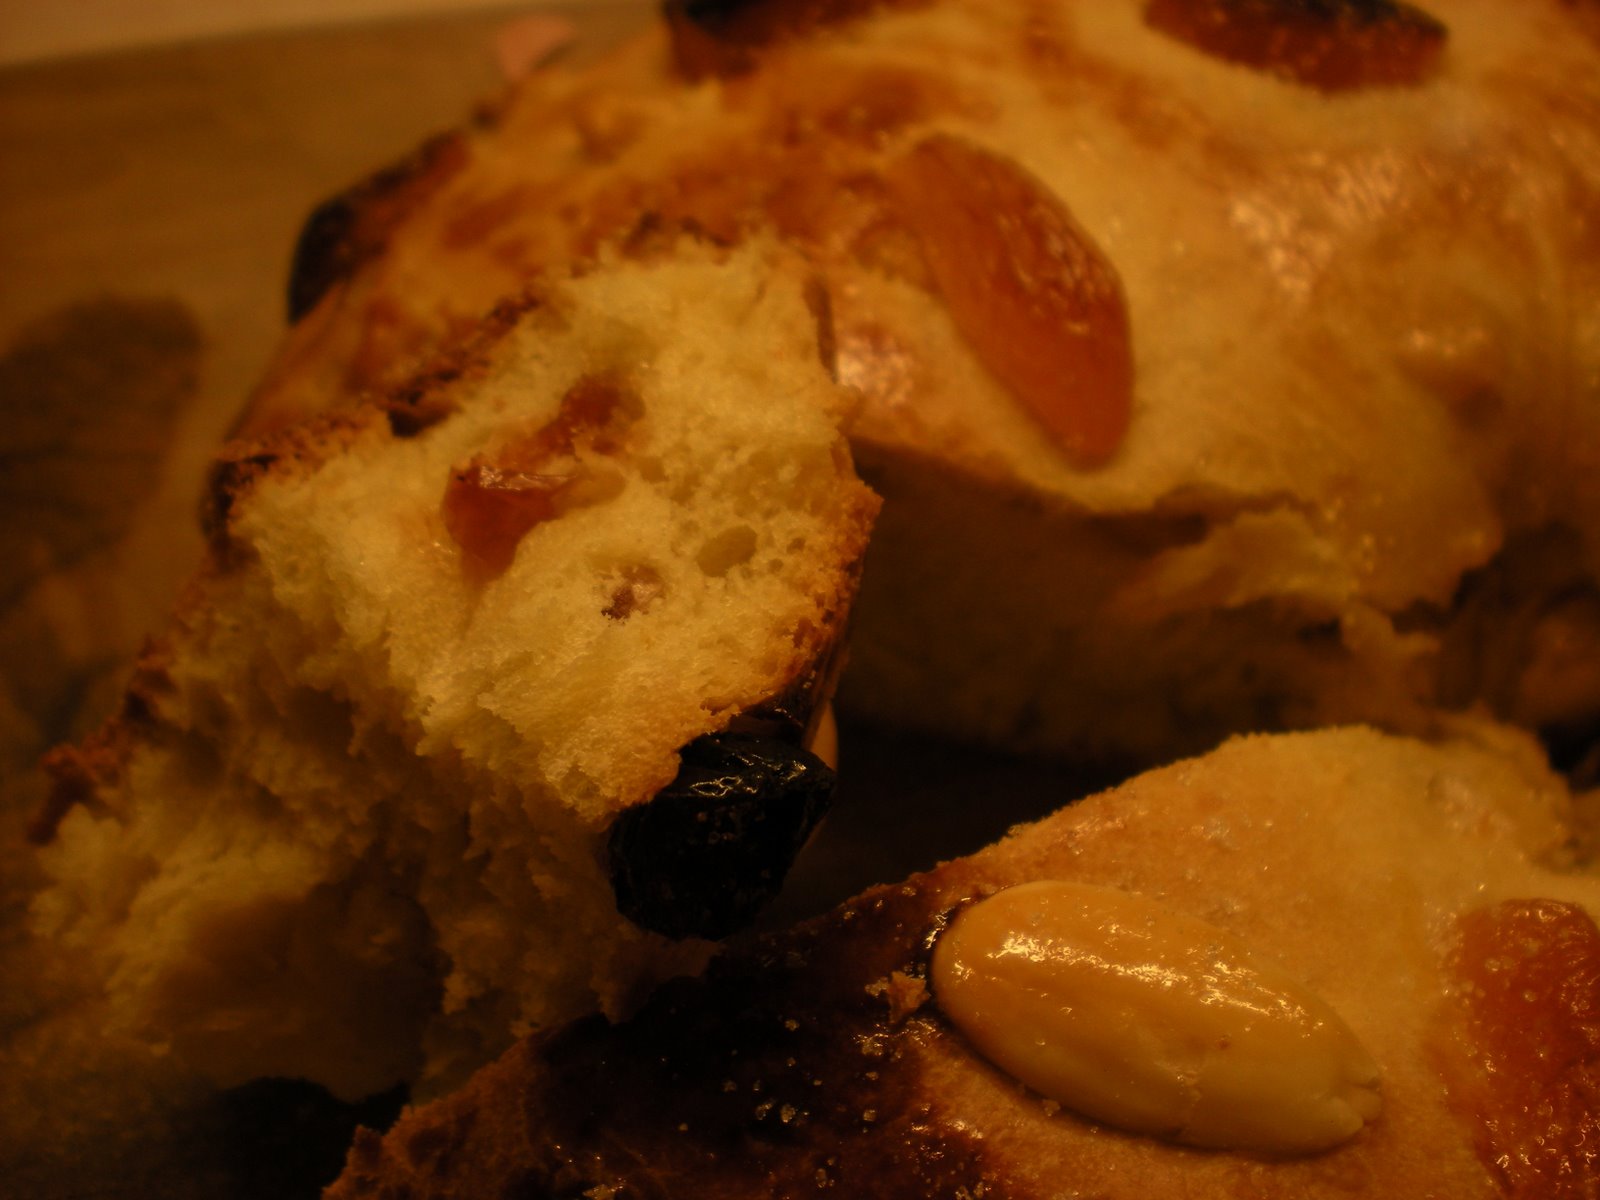
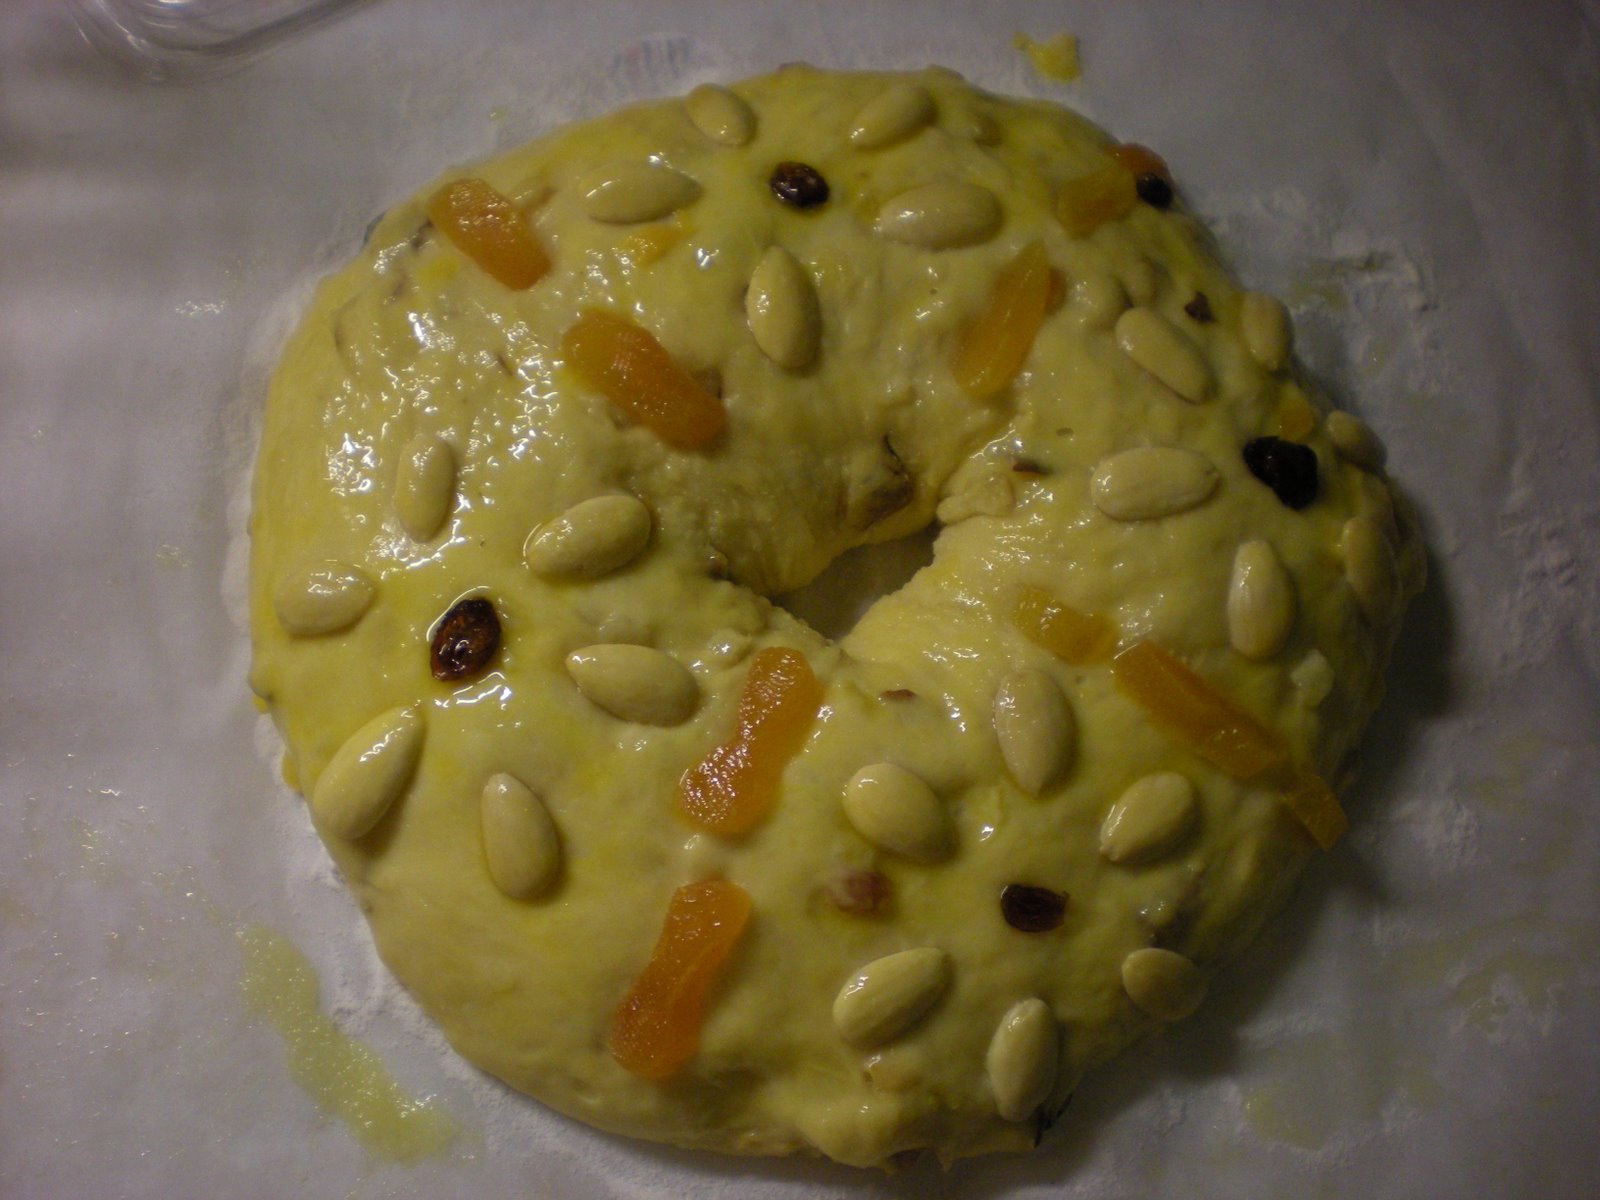
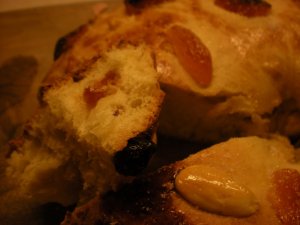
3. I decorated the top with dried fruit and almonds
4. A few other things we will get to when we start the recipe.
Ready? Here we go!
For yeast sponge:
pinch of sugar
2 1/4 teaspoons active dry yeast
3/4 cup ap flour
1/2 cup warm water
For dough
1/2 cup unsalted butter
1/3 cup sugar
1/2 tsp salt
zest of 1 orange or lemon (we used grapefruit because that’s what we had)
4 large eggs
3 cups ap flour
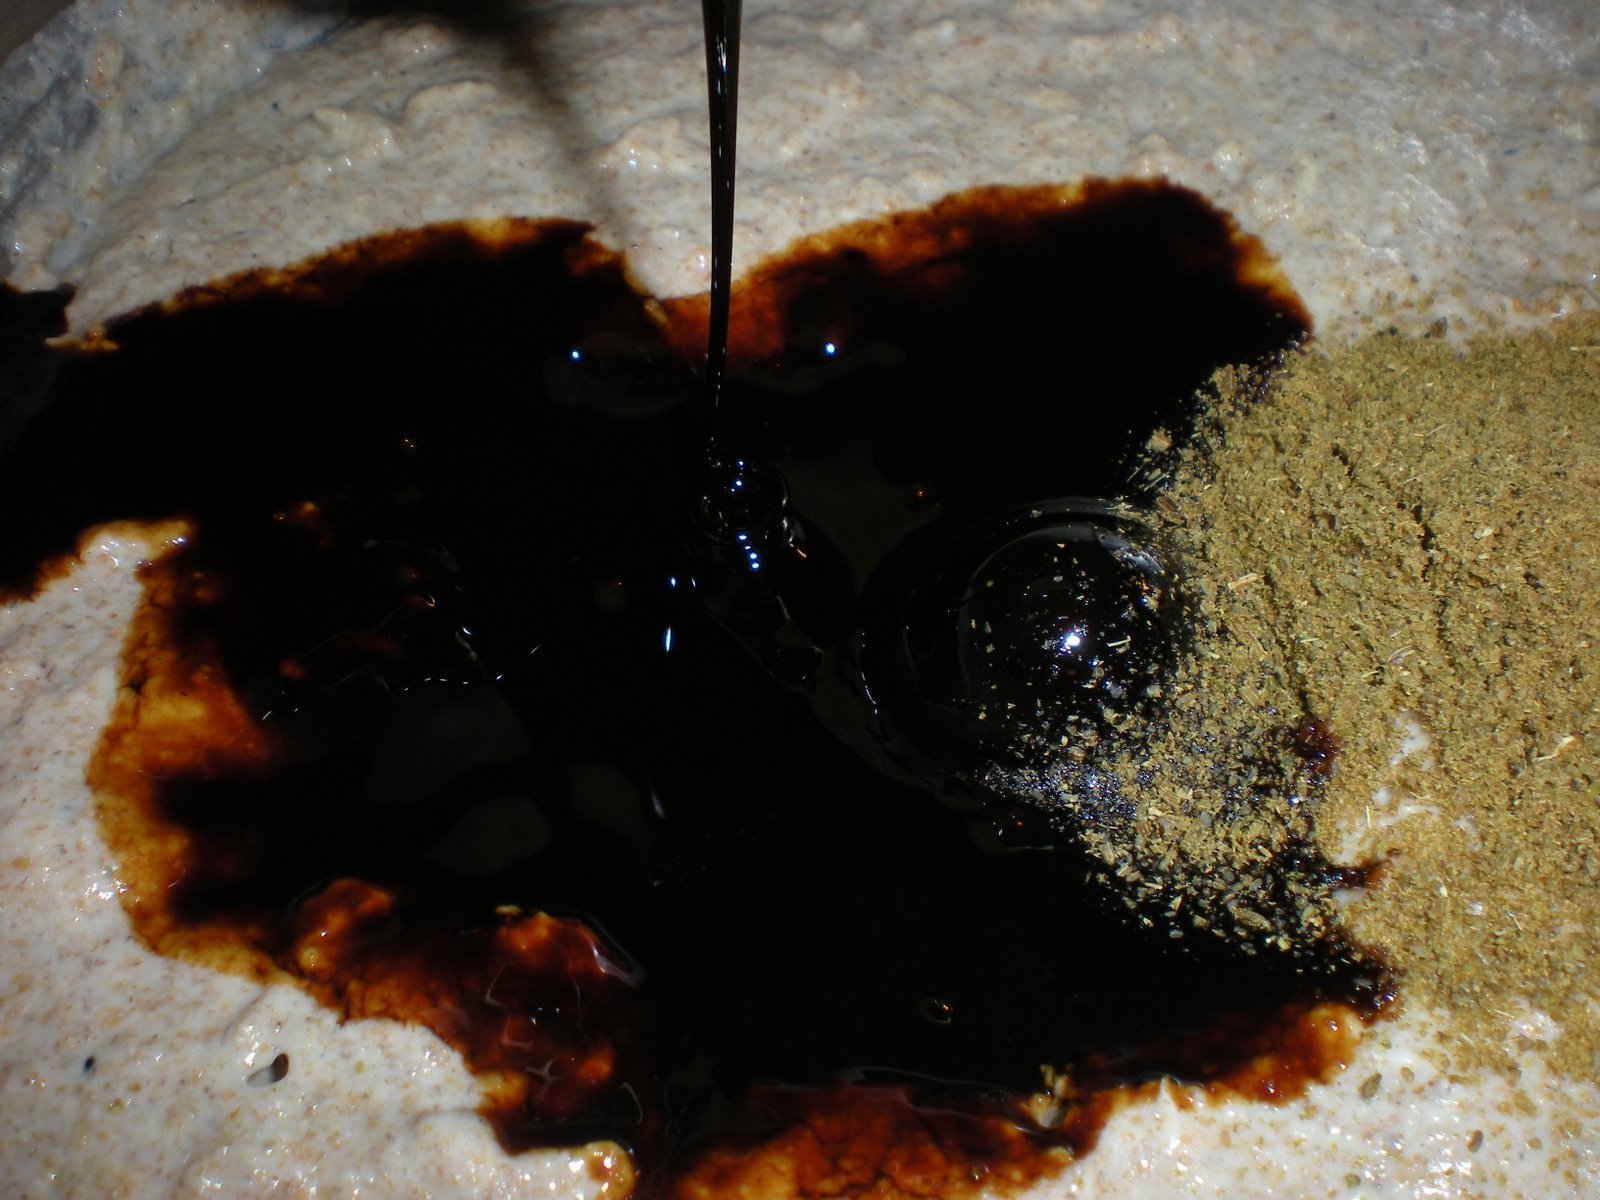
1 1/2 tsp brandy
1 1/2 tsp vanilla extract
1 1/2 cup mixture of candied and dried fruit (we had candied orange and lemon peel, cranberries and apricots)
rice flour
olive oil for greasing
For decoration
two egg yolks, lightly beaten
blanched whole almonds
not-reconstituted dried fruit
Tools
stand mixer
parchment paper
shallow baking pan
dutch oven
plastic wrap
1. The very first step is to set out your butter and eggs so they are room temperature.
2. Put all the dried fruit into a cup and fill with hot water to reconstitute. Drain and set aside.
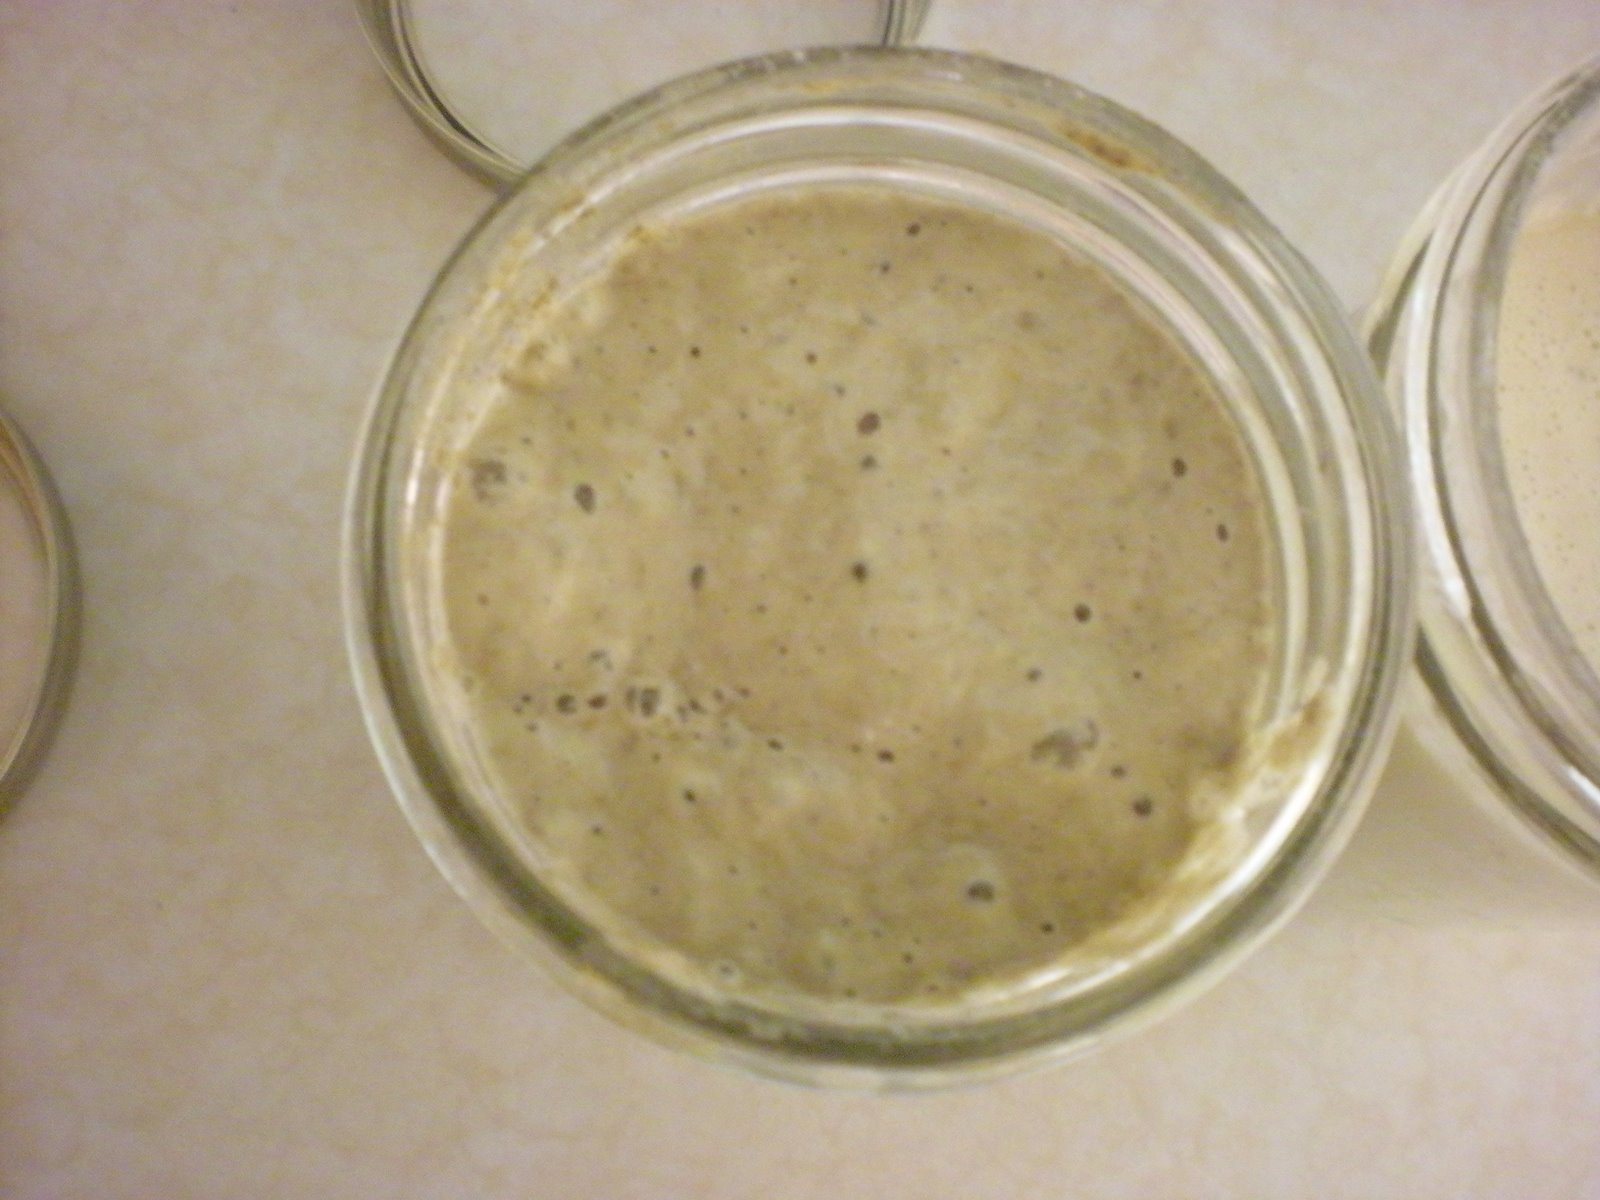
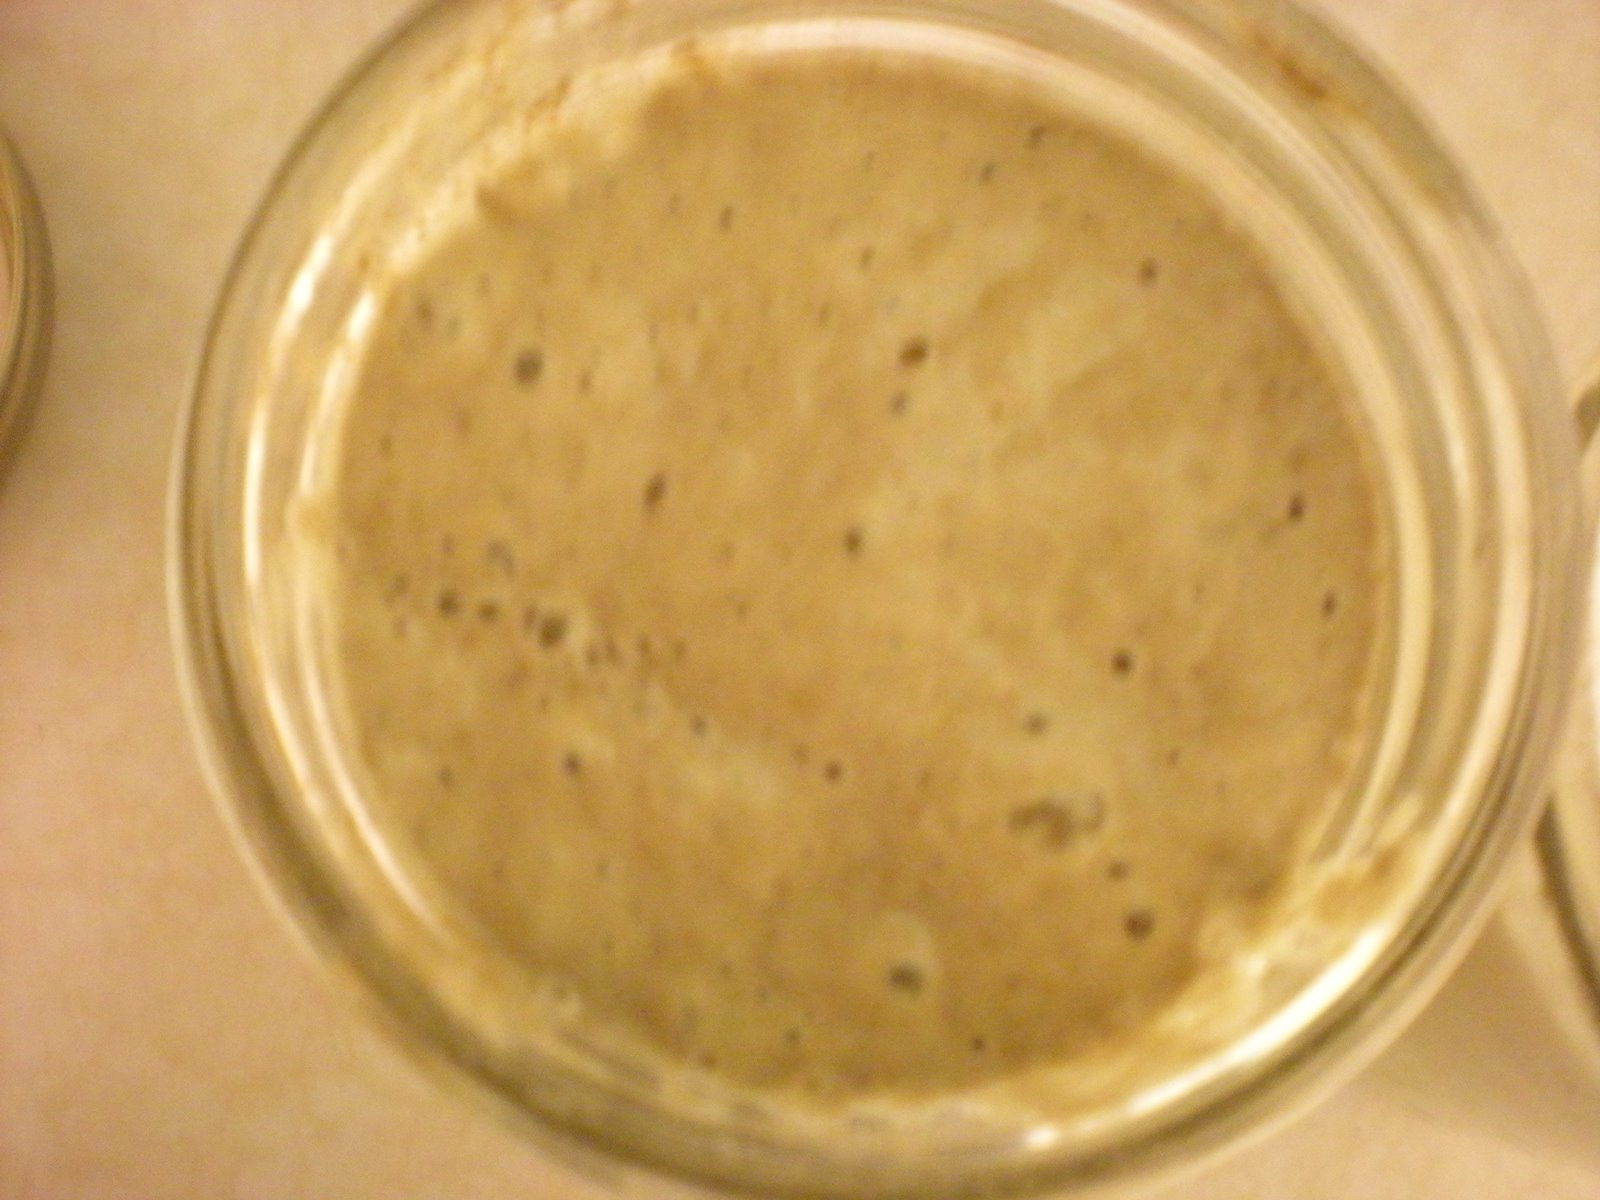
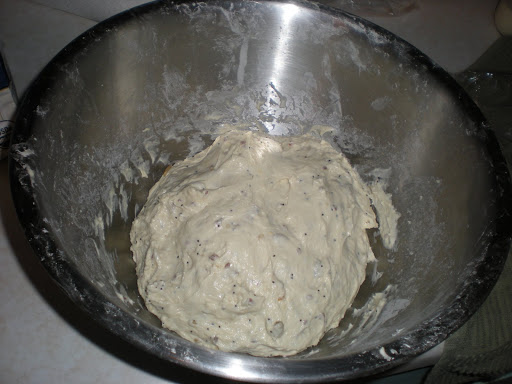
3. In a two-cup measuring cup, stir together the warm water, sugar, and yeast. When it gets frothy, mix in the flour, cover with plastic wrap, and let stand until the sponge reaches almost the 2-cup mark, about 20 minutes.
4. If your stand mixer paddle reaches the bottom of your bowl, beat together the butter and sugar for five minutes until fluffy. If not, have fun with a whisk (like we did). Add salt and zest and beat until combined.
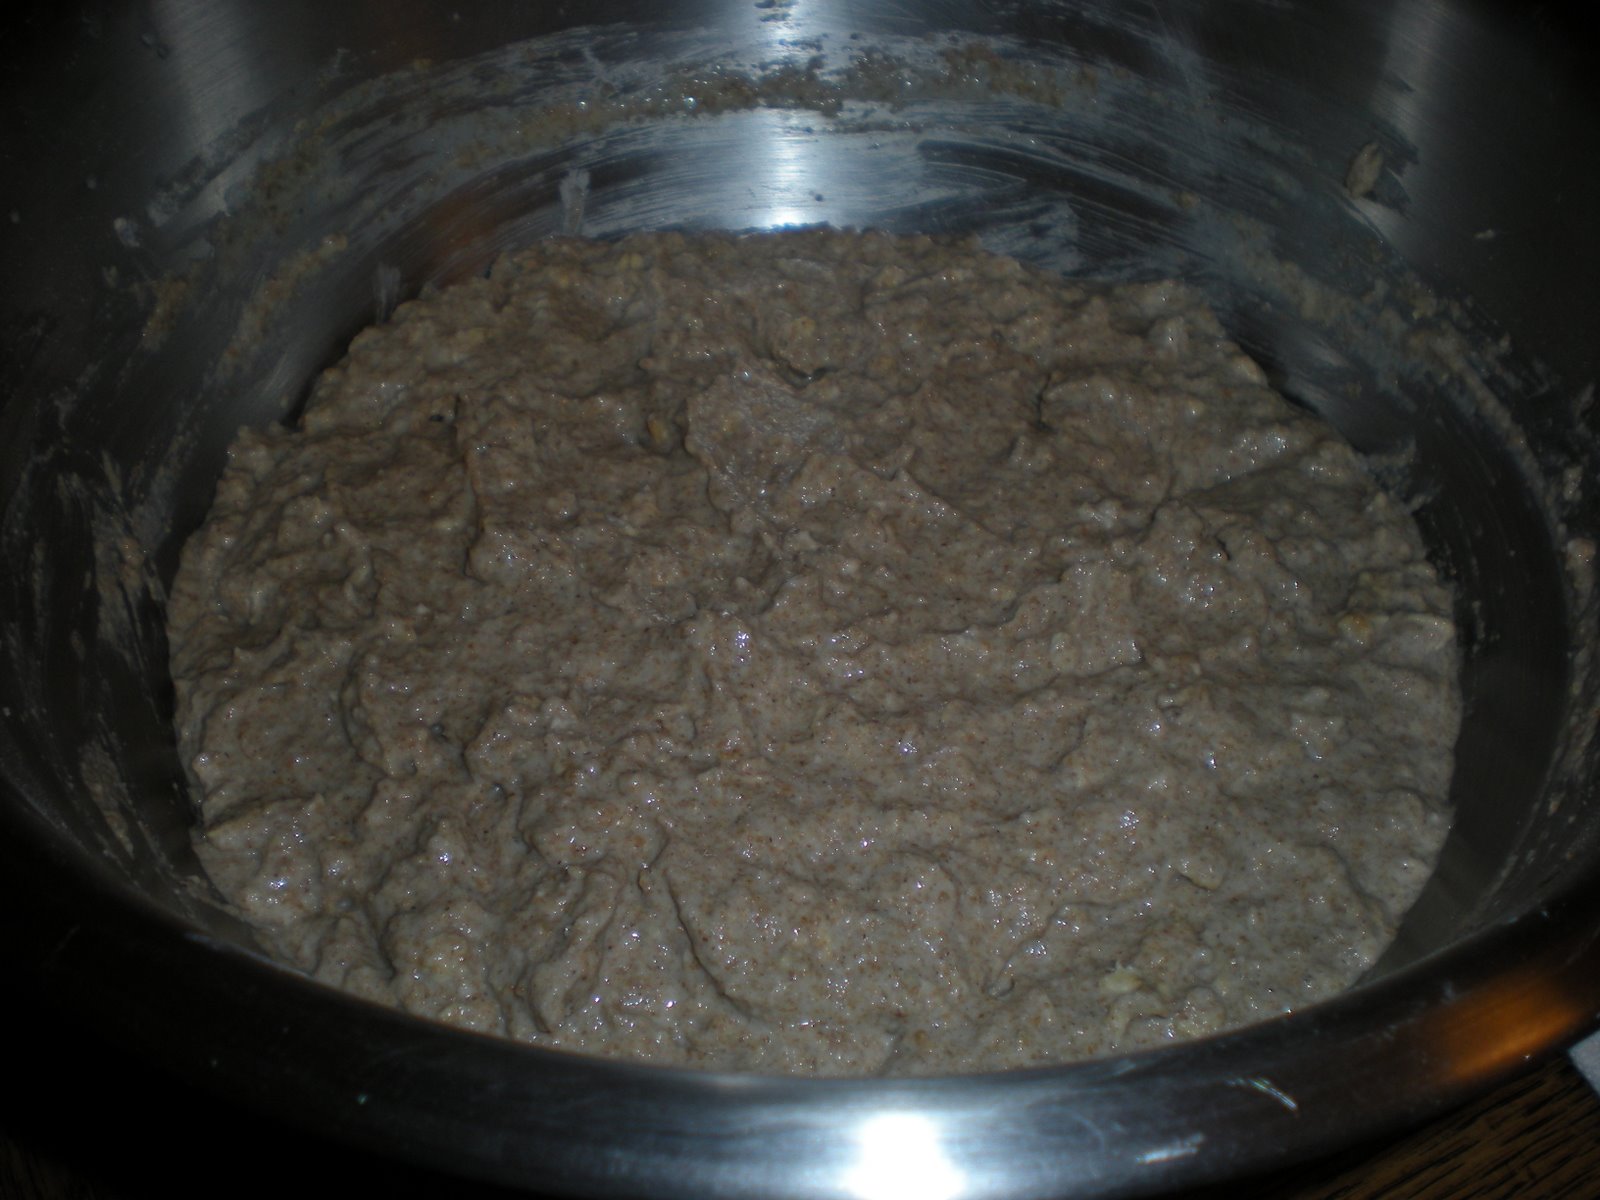
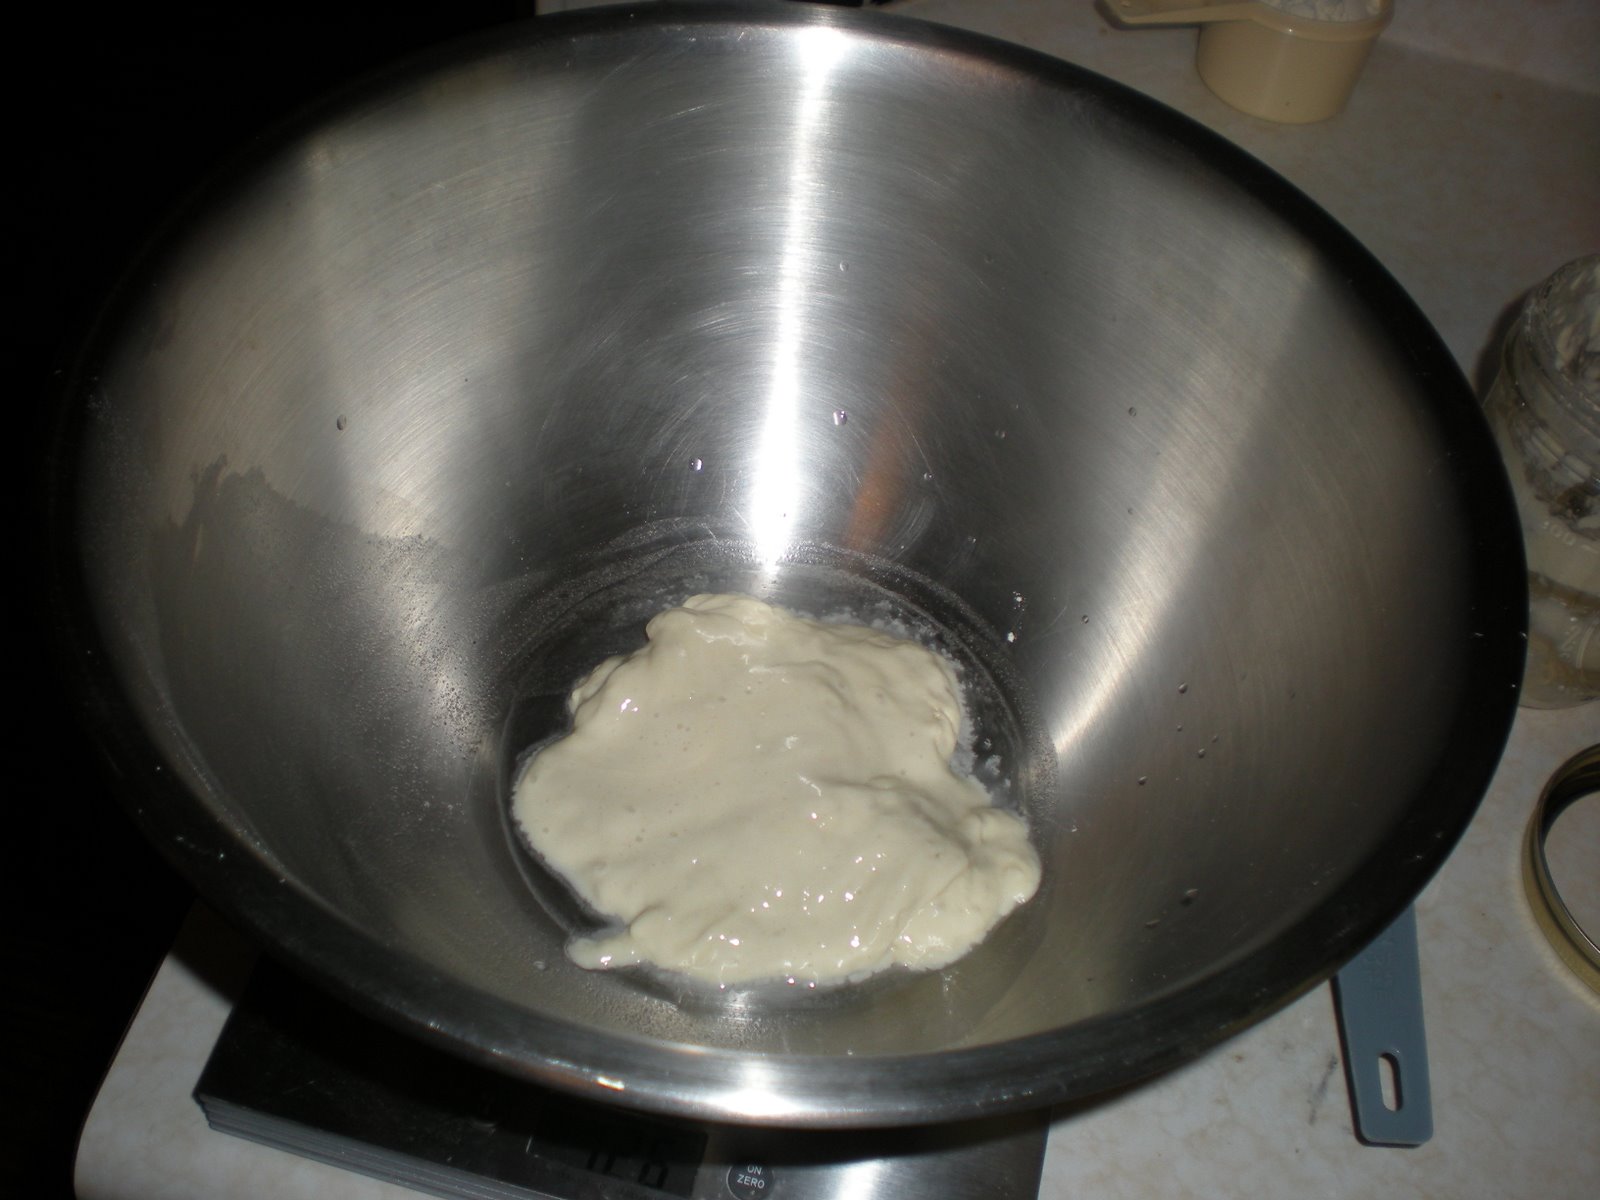
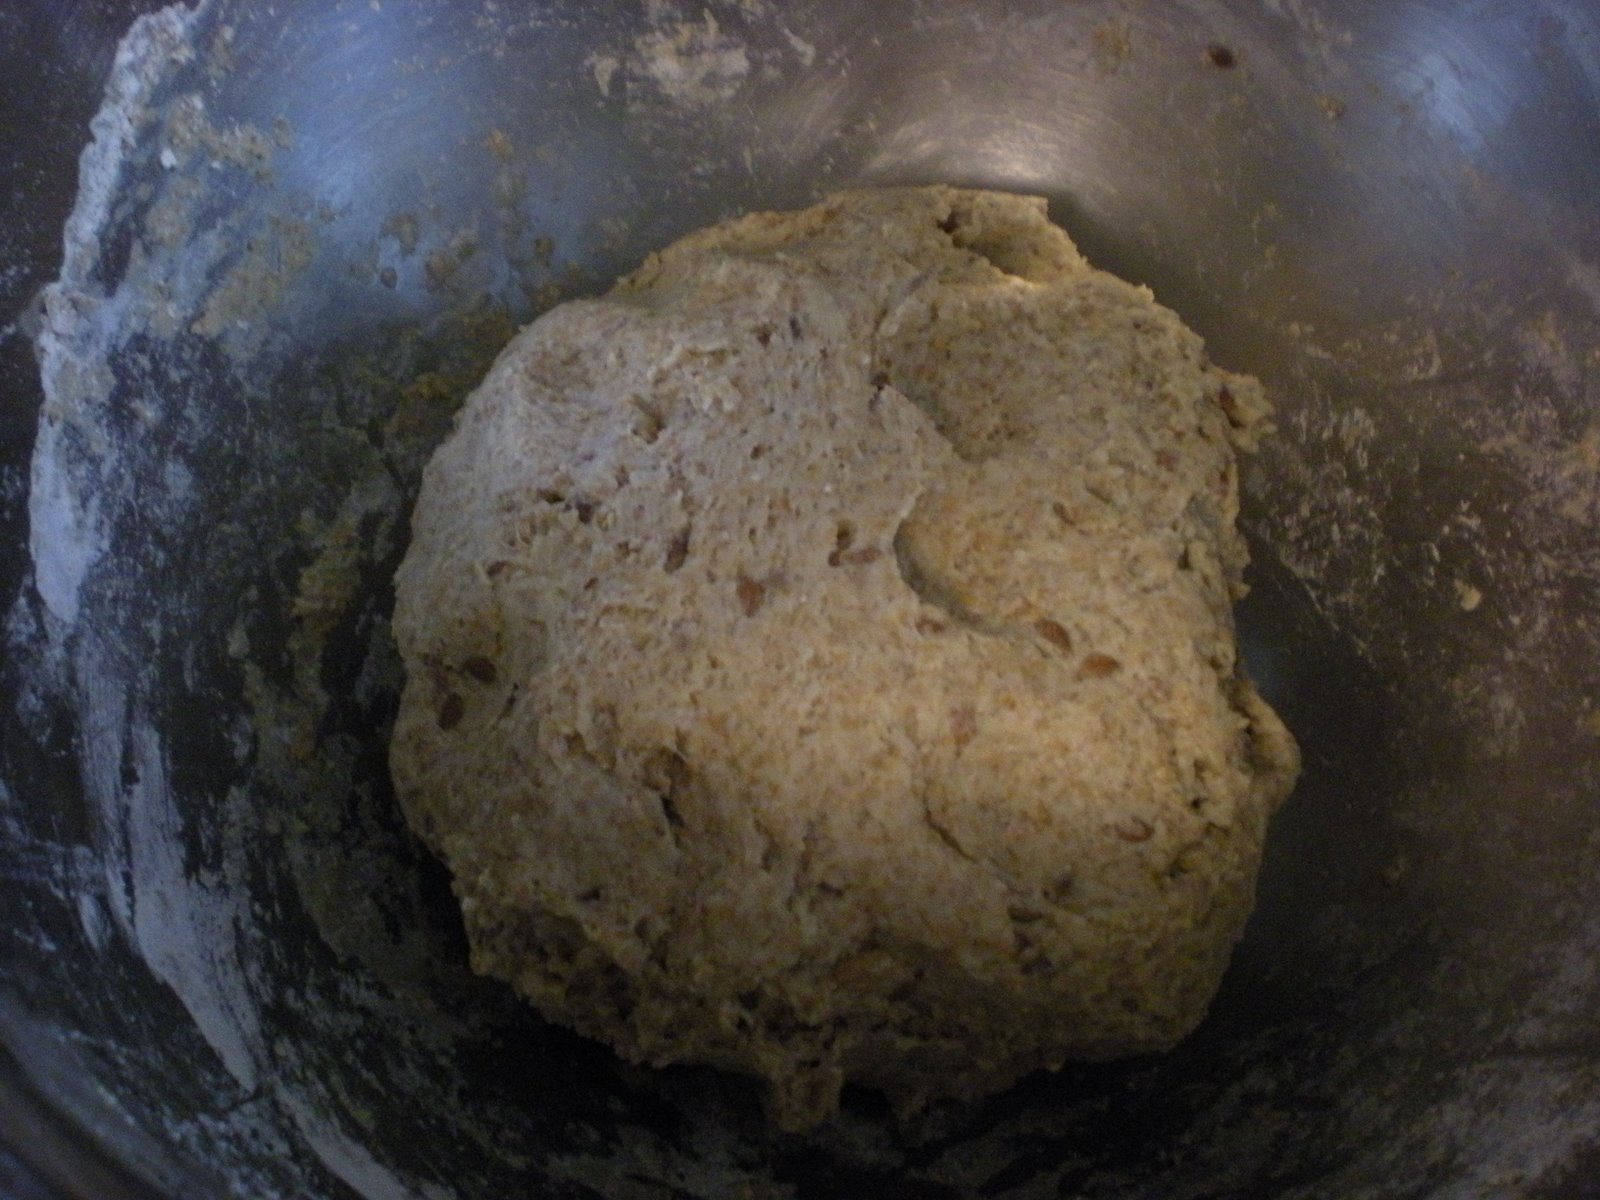
5. Now add three eggs, one at a time, making sure to combine after each one. At this point, my dough did NOT look like it was coming together, so don’t worry. Now add the yeast sponge and beat until combined. Add two cups of the flour and mix at low speed. Add remaining one cup flour, remaining one egg, brandy, and vanilla and mix at low speed until smooth.
6. Increase speed to medium and beat dough until smooth and elastic. Add your reconstituted fruit here, and mix at low speed until incorporated.
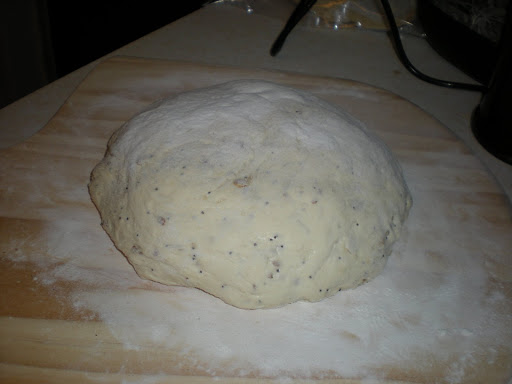
7. Grease a large bowl and wet your hands with water. Form dough into a ball and place into bowl. Cover with plastic wrap and let sit until doubled in volume, about 1 hour.

8. Prepare two sheets of parchment paper with rice flour. Divide the dough in half and shape each into a ball. Poke a hole into the middle and carefully shape into a ring. Place ring onto parchment, and cover with greased plastic wrap. Let rise again 1 hour.

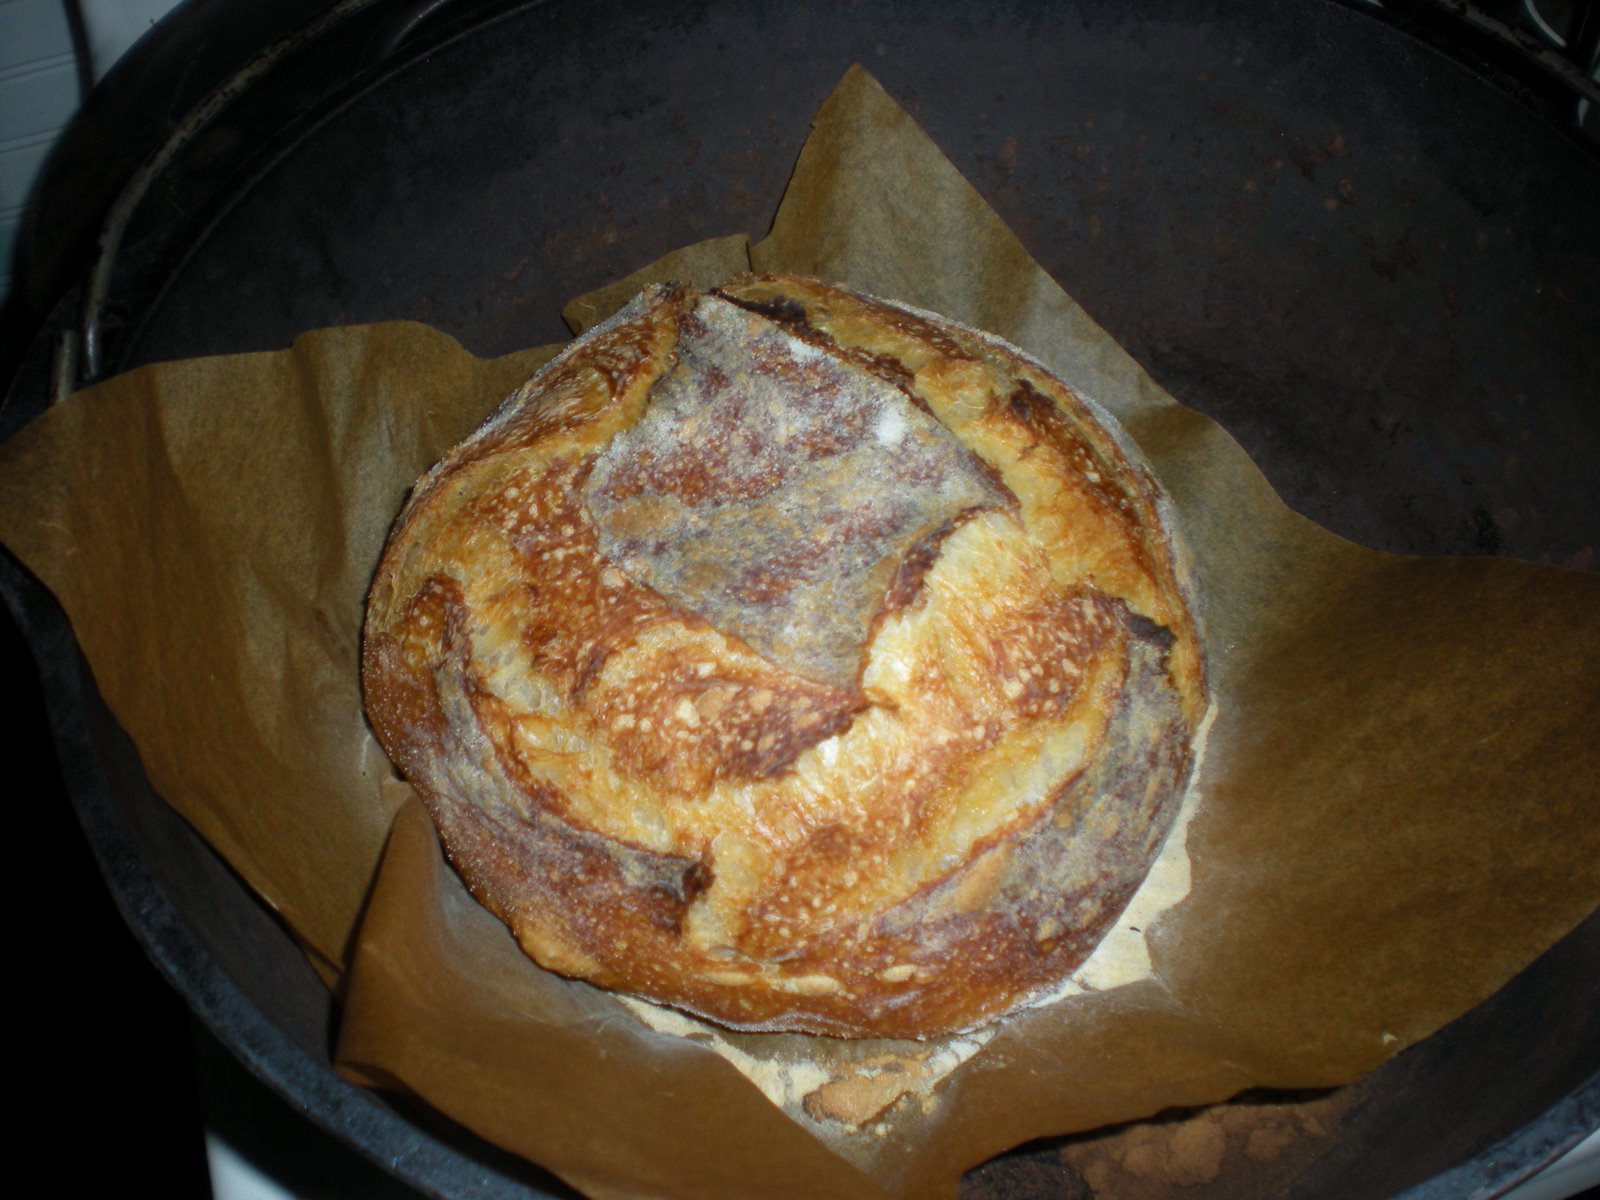
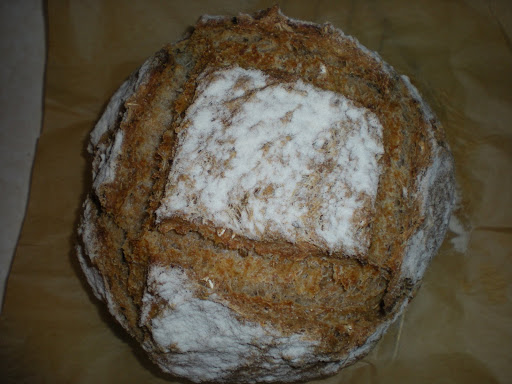
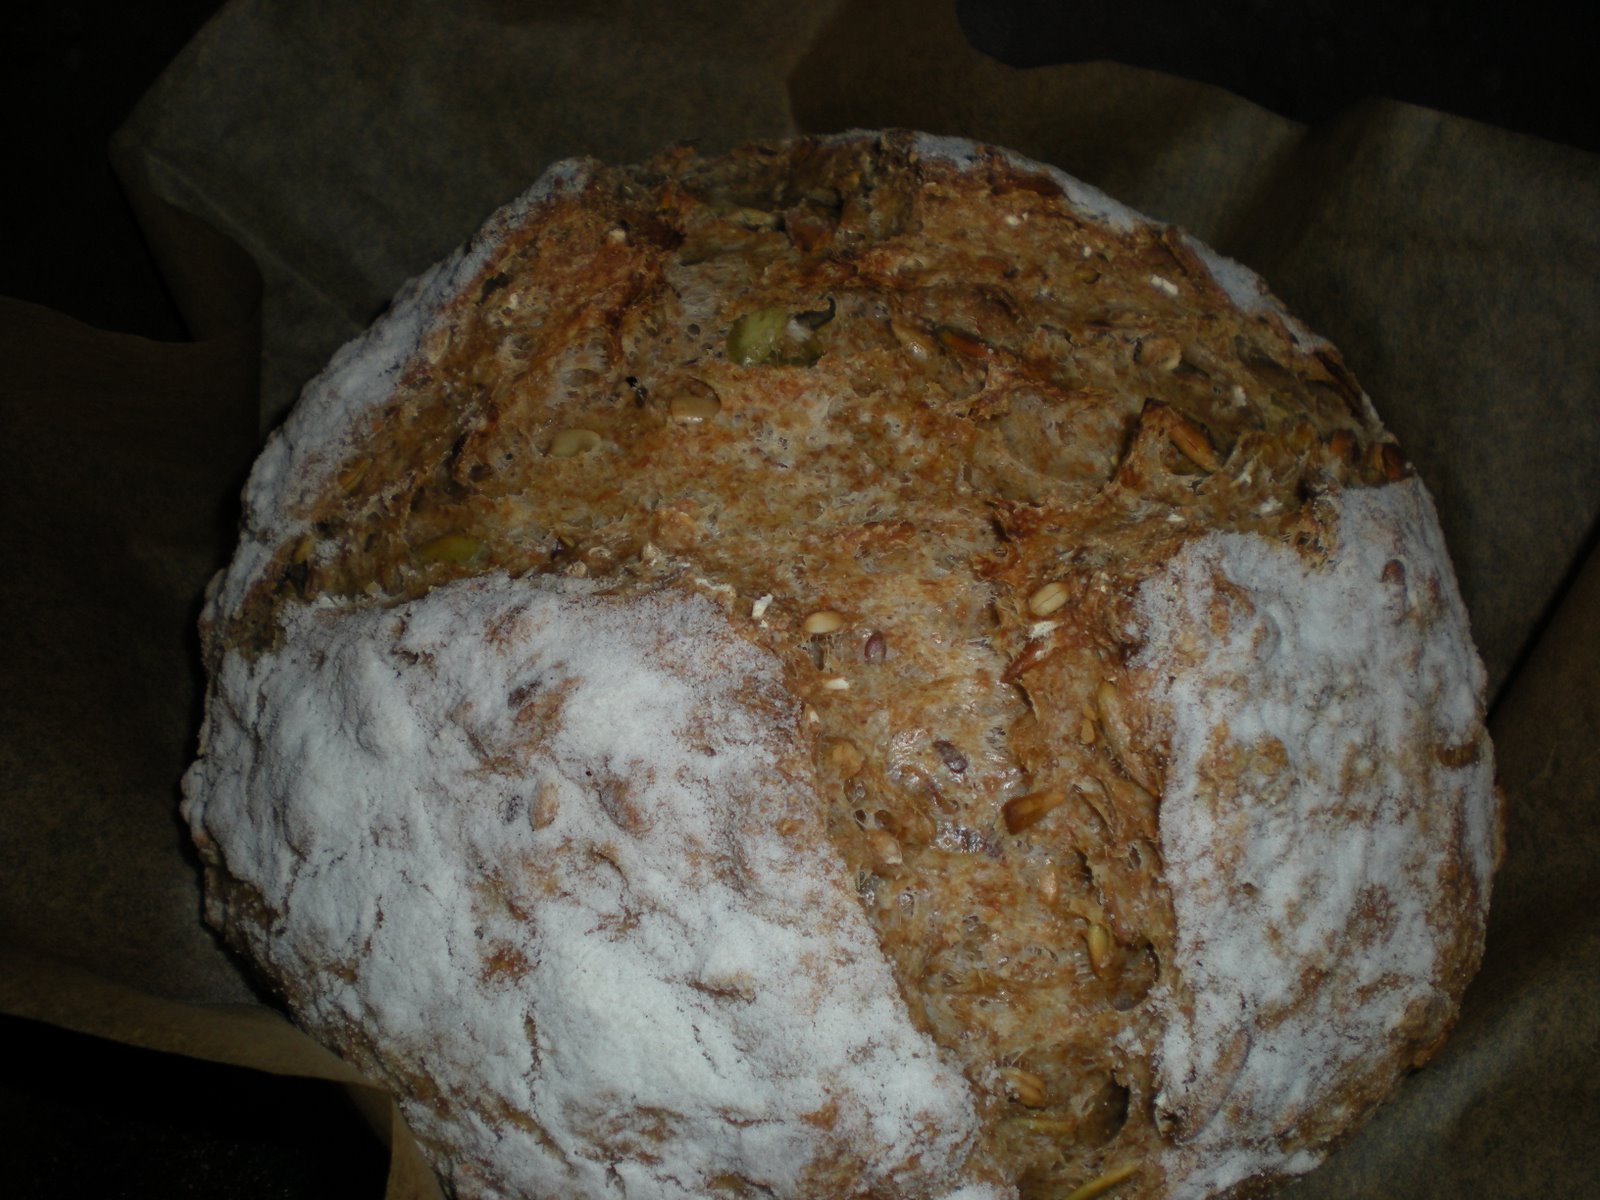
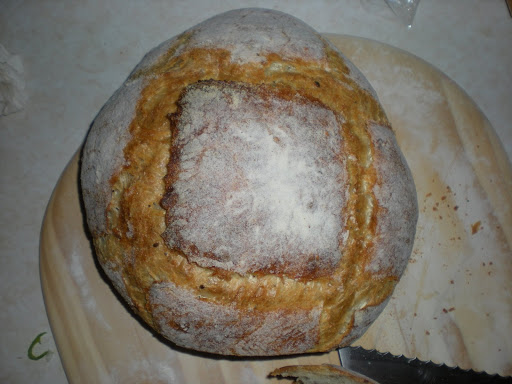
9. Preheat oven to 400 degrees. Remove plastic wrap from one of the loaves and decorate with almonds and dried fruit. Dab egg yolk over the top until well-covered.
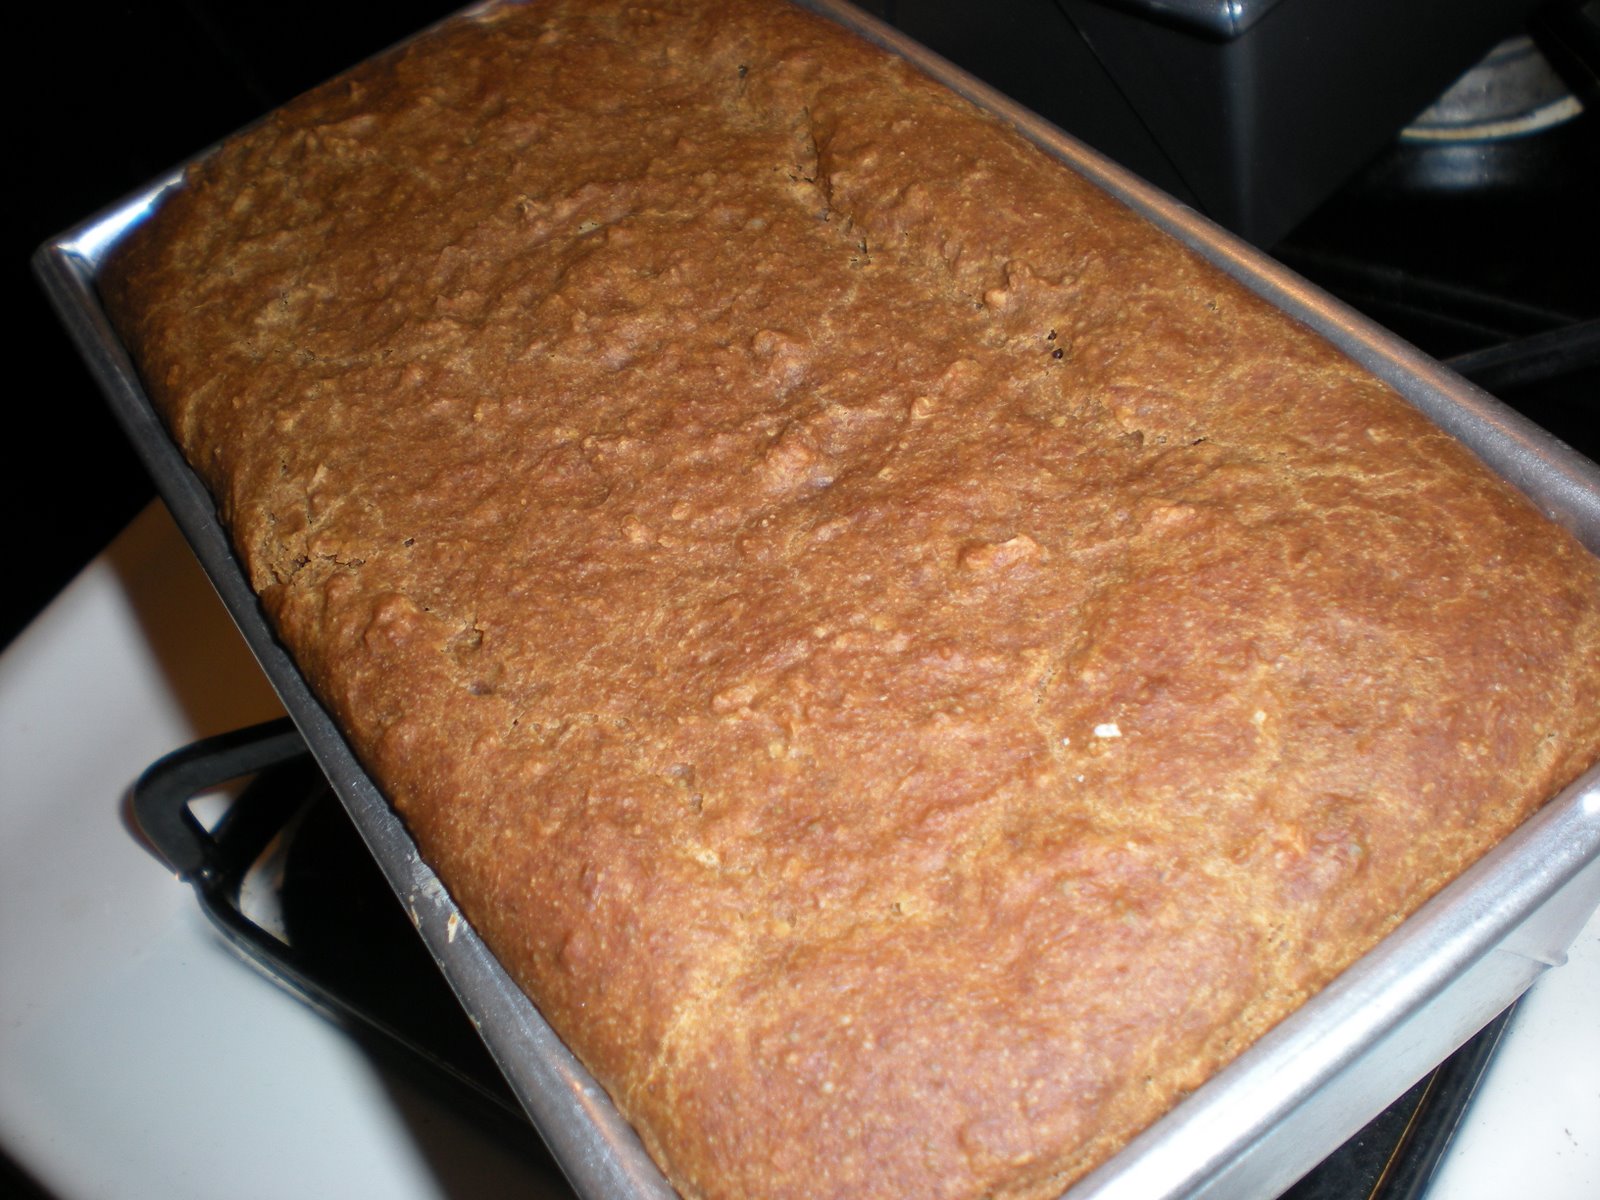
10. Transfer parchment paper to baking sheet and put in the oven. Take your dutch oven and turn it upside down, using it as a cover for the dough. Bake like this for 15 minutes.
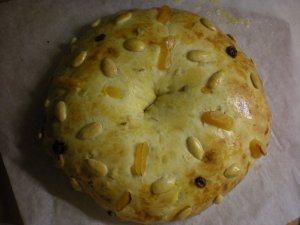
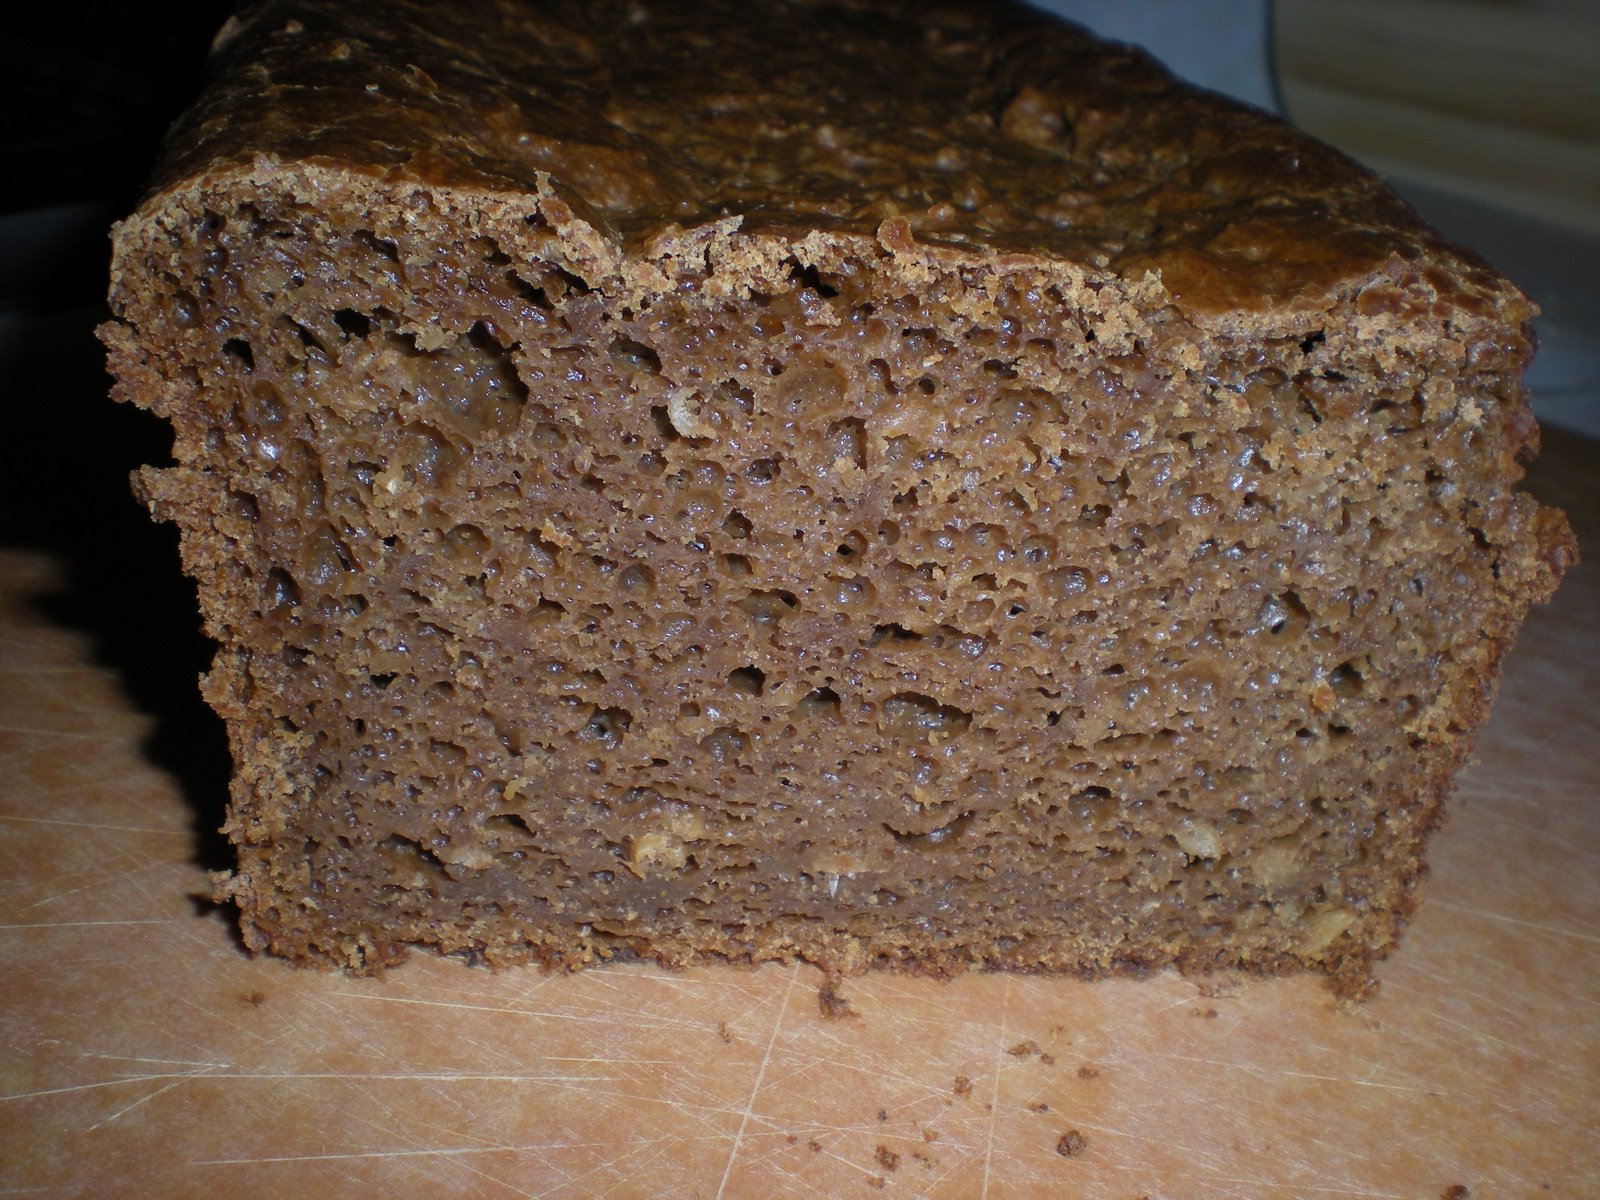
11. Remove dutch oven and turn temperature down to 330 degrees. Let bake until light brown, then remove to cooling racks. Repeat with other ring.
Happy eating!