Cooking with kids: wiener schnitzel and my proudest baking moment

Obviously, the above picture is not wiener schnitzel.  I’ll explain it in a minute.
So, I had a few thin boneless pork strips in the refrigerator and needed a quick way to cook them for dinner this evening.  I’m flying solo with the Little Bread Dudes so I couldn’t do anything too complicated.  I cracked open my Joy of Cooking, and picked Wiener schnitzel. 
Wiener schnitzel is a fun dish to make with kids because it doesn’t require any chopping, and involves hammers.  You can also make it one-handed with a cranky baby on your hip.  What’s not to love? 
You will need:
pack of pork cutlets, boneless pork chops, or other boneless cut, about 6 pieces
1 cup all-purpose flour
2 eggs
1 tablespoon milk
2 cups bread crumbs
1. Preheat the oven to 180 degrees.  Heat 3 tablespoons of oil in a large pan over medium-high heat.
2. Put your flour onto a large plate or dish.  Do the same for the bread crumbs.  Mix together the milk and eggs in a bowl.
Steps 3-4 are demonstrated in this video.  After I did the first one, Little Bread Dude insisted on taking over the dredging process.  I did all the stove-top cooking, of course.
3. Place each cutlet between plastic wrap and flatten with a meat tenderizer.
4. Dredge first in the flour, then the egg mixture, then the bread crumbs.
5. Place the cutlet in your pan.  
Flip the cutlet when it has browned on the bottom.  
When the cutlet is finished cooking, place it on an oven-safe plate and put it in the oven to keep warm while you cook the rest.

After making the wiener schnitzel, I kept them in the oven to stay warm while I put Little Bread Baby to bed.  There was flour, egg mixture, and bread crumbs left over, so I let Little Bread Dude (LBD from now on) play with those to keep him entertained.
When I came back, he proudly announced that he had made bread (also a huge mess).  I looked at his work, and I saw that he had mixed the contents of all three dredging bowls together, and had added some water and salt.  
He also said he added strawberries and chocolate chips, but since we don’t actually have those things, I thought he was just using his imagination.  Since I hadn’t been present during the making of his dough, I really didn’t have any idea what he put in there.
He covered his creation with one of my reusable plastic covers and put the dough in the refrigerator.  

He was so proud of himself, and I was amazed at how much he picked up from baking bread with me.  I was impressed.  It made me choke up a little.  

Since the flour, eggs, milk, water, bread crumbs and salt constitute a simple bread dough, I thought it wouldn’t hurt to bake it and see what happened. 
While LBD ate dinner, I surreptitiously added some baking soda and baking powder to help things along.  
As I handled the dough to shape it into a ball, I noticed streaks of red and what looked like little strawberry seeds in the dough.  I figured he had added some jam to his dough.
Then I bumped the oven up to 375 degrees F.  Soda breads don’t really benefit from higher baking temperatures.  I placed the tiny loaf on a parchment-lined baking sheet and baked it for 25 minutes.  I used a probe thermometer to make sure the temperature was above 190 degrees F, so it was thoroughly cooked.

This is what came out. Browning didn’t really happen, but the crust was sufficiently hardened.  It was basically a quick soda bread.  We let it cool, then sliced it.  LBD was ecstatic and couldn’t get enough.  Then I noticed something odd.  See if you can spot it:

texture was similar to irish soda bread, or a biscuit

There was a big spot that was clearly chocolate; the question was, where had he gotten it?

We keep a bar of semisweet chocolate in the freezer but it’s beyond his reach.  We have cocoa powder for making hot chocolate on a low shelf, but he has difficulty opening the lid, and obviously this is just one big spot of chocolate, not sprinkled throughout.  I needed to get to the bottom of this.  I asked LBD where he got the chocolate.  He said off the counter, which didn’t make sense to me until I remembered:

Mr. Bread Maiden had picked up macarons on a business trip, but they’d gotten broken in transit.  LBD must’ve seen the bag on the counter and thrown in a piece of chocolate macaron.
Then I realized: that was where the reddish smear and strawberry seeds were from, too.  The pink in the bag is a piece of raspberry macaron with raspberry jam.  
Mystery solved.  

They say kids are more likely to eat what they have made themselves.  I absolutely think this is true.  A few days ago, I made breaded chicken tenders, and LBD wouldn’t touch them.  Today, we made breaded pork cutlets, and he devoured them.  He also ate fully half of his bread creation.  The only reason I think he didn’t finish it off is he wanted to save some for Mr. Bread Maiden when he gets home on Friday. He also made sure his little brother got to sample some.

You can see the bag of macarons in the background next to the squashes
It’s so fun now that he’s old enough to help out, and that I’ve gotten to the point where I can let go and let him help, and make a mess, and try something new.  The memories are worth the mess, and I definitely want to keep this memory.

Hacking a recipe: Preston Yancey’s white bread, Attempt #3

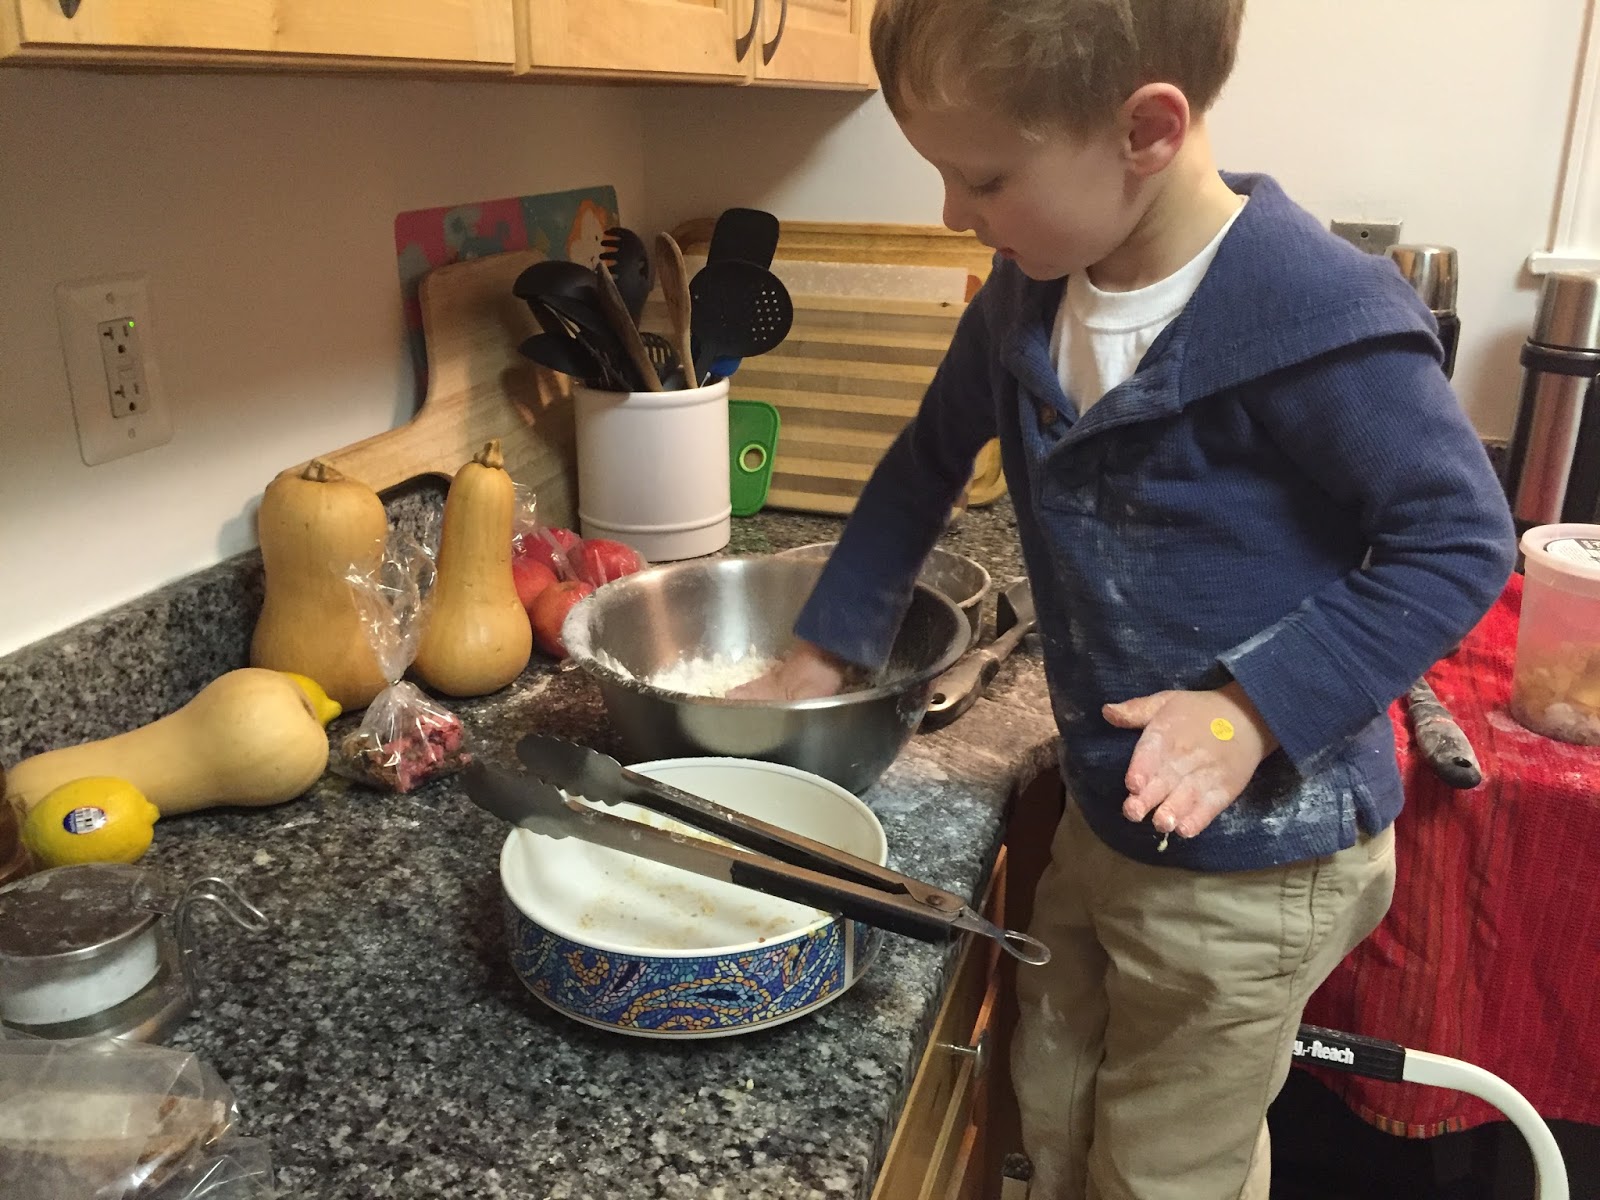
This is my third time making Preston Yancey’s white bread recipe from his latest book, Out of the House of Bread.  Over the course of the book, you follow various practices related to spiritual disciplines and make the same white bread nine times.

Nine times!  Besides my 2-3 white bread, and my challah recipe from the Joy (which I use to make my church’s communion bread) I don’t think I’ve ever made the same recipe nine times.

I’ve been documenting my thoughts on my experiences baking this bread for a later post, as well as what I’ve learned through the process of baking the same bread nine times.

First, a disclaimer: I know Out of the House of Bread isn’t a baking book. It’s a spiritual practices book, which is why I’ve included it in the baking and theology section of my Bread Library.  I hope nobody takes this as a criticism of the book or of the author.  There is a lot to like about this recipe, and as a result I’m adding some of my own knowledge formed from years of baking bread in an effort to make it my own.  I hope he would not have a problem with this. 

For now, with two attempts under my belt, I thought I would try and correct some of the issues I’ve had making it, while retaining the things I like about the recipe.

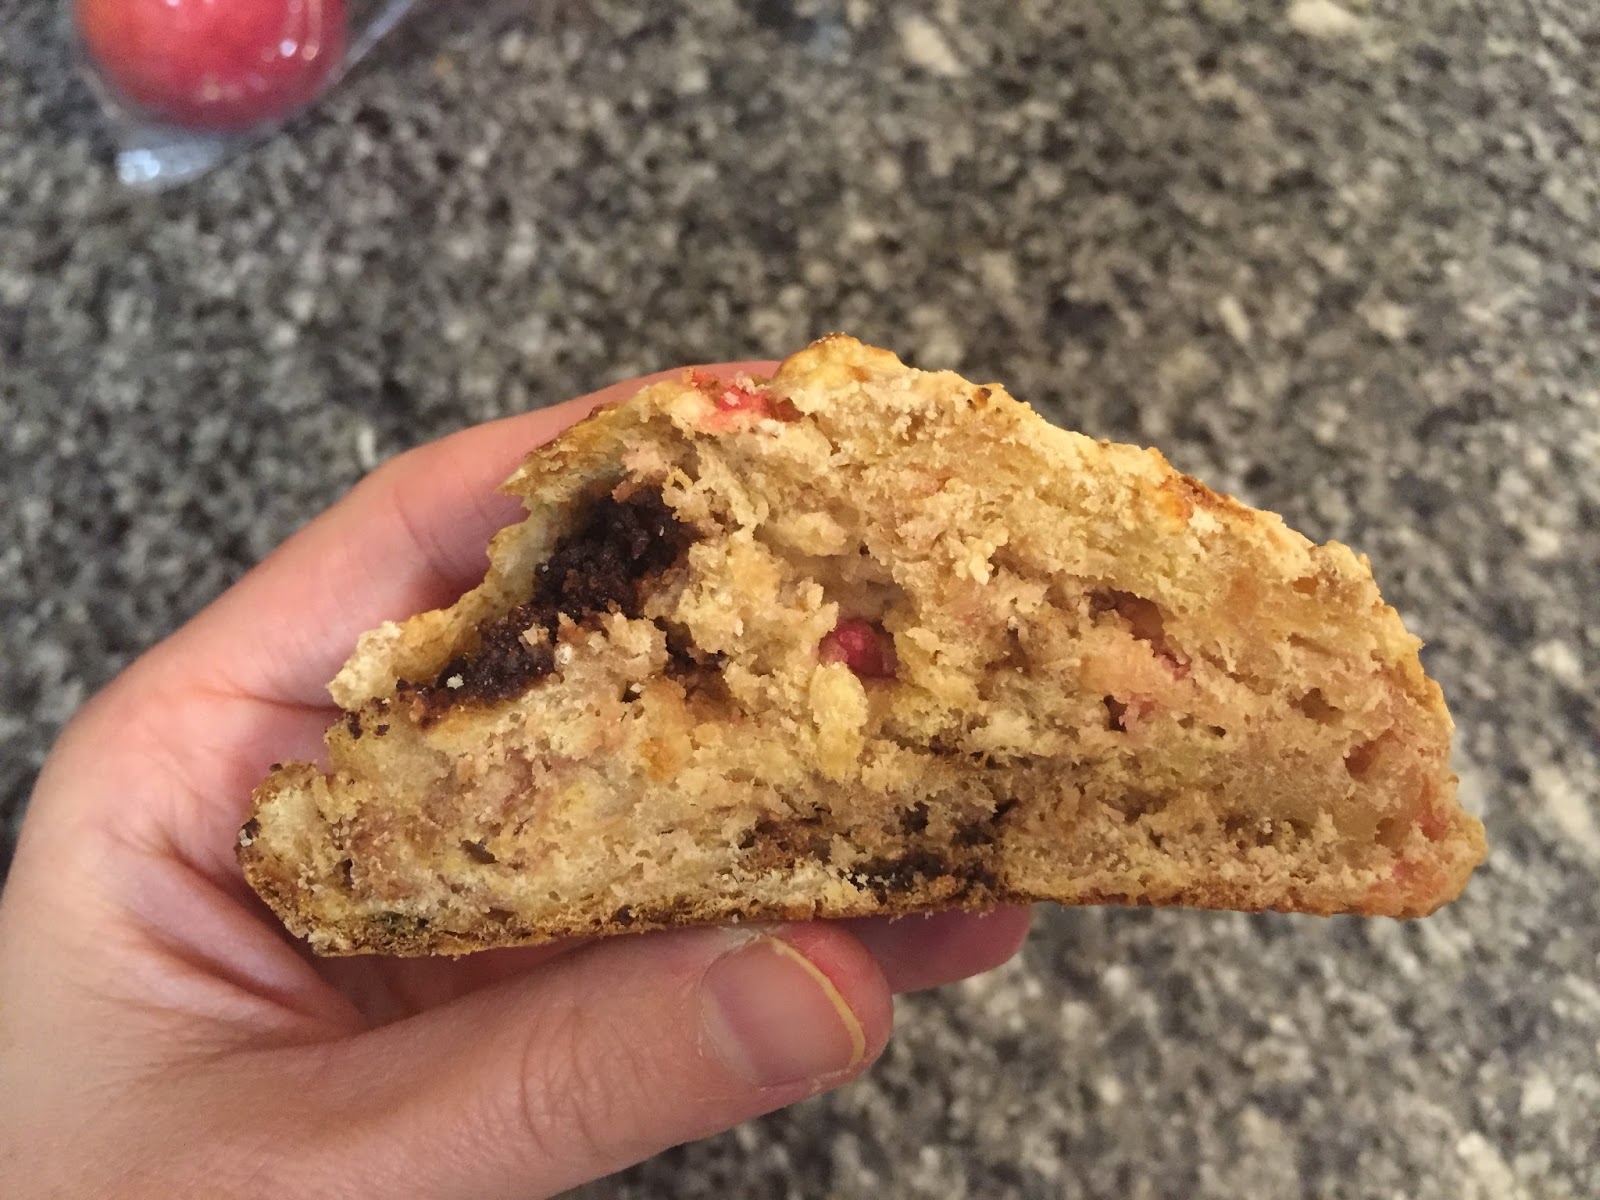
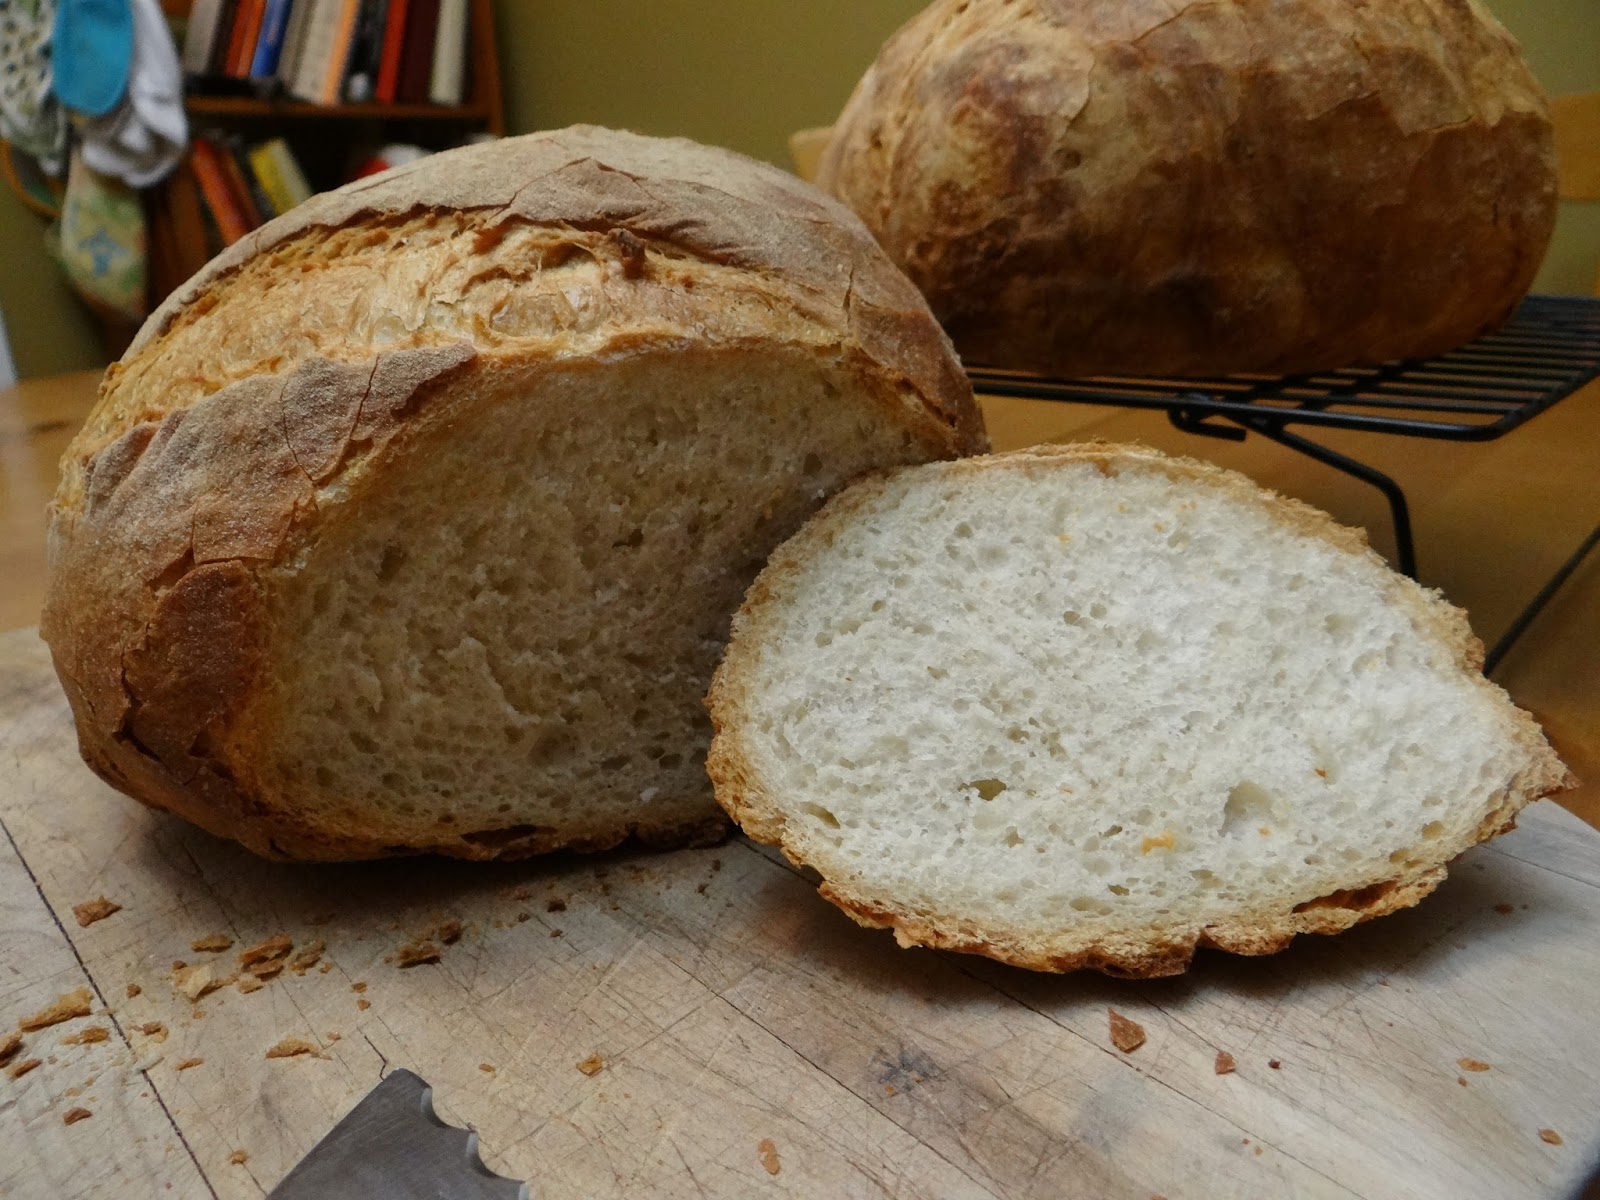
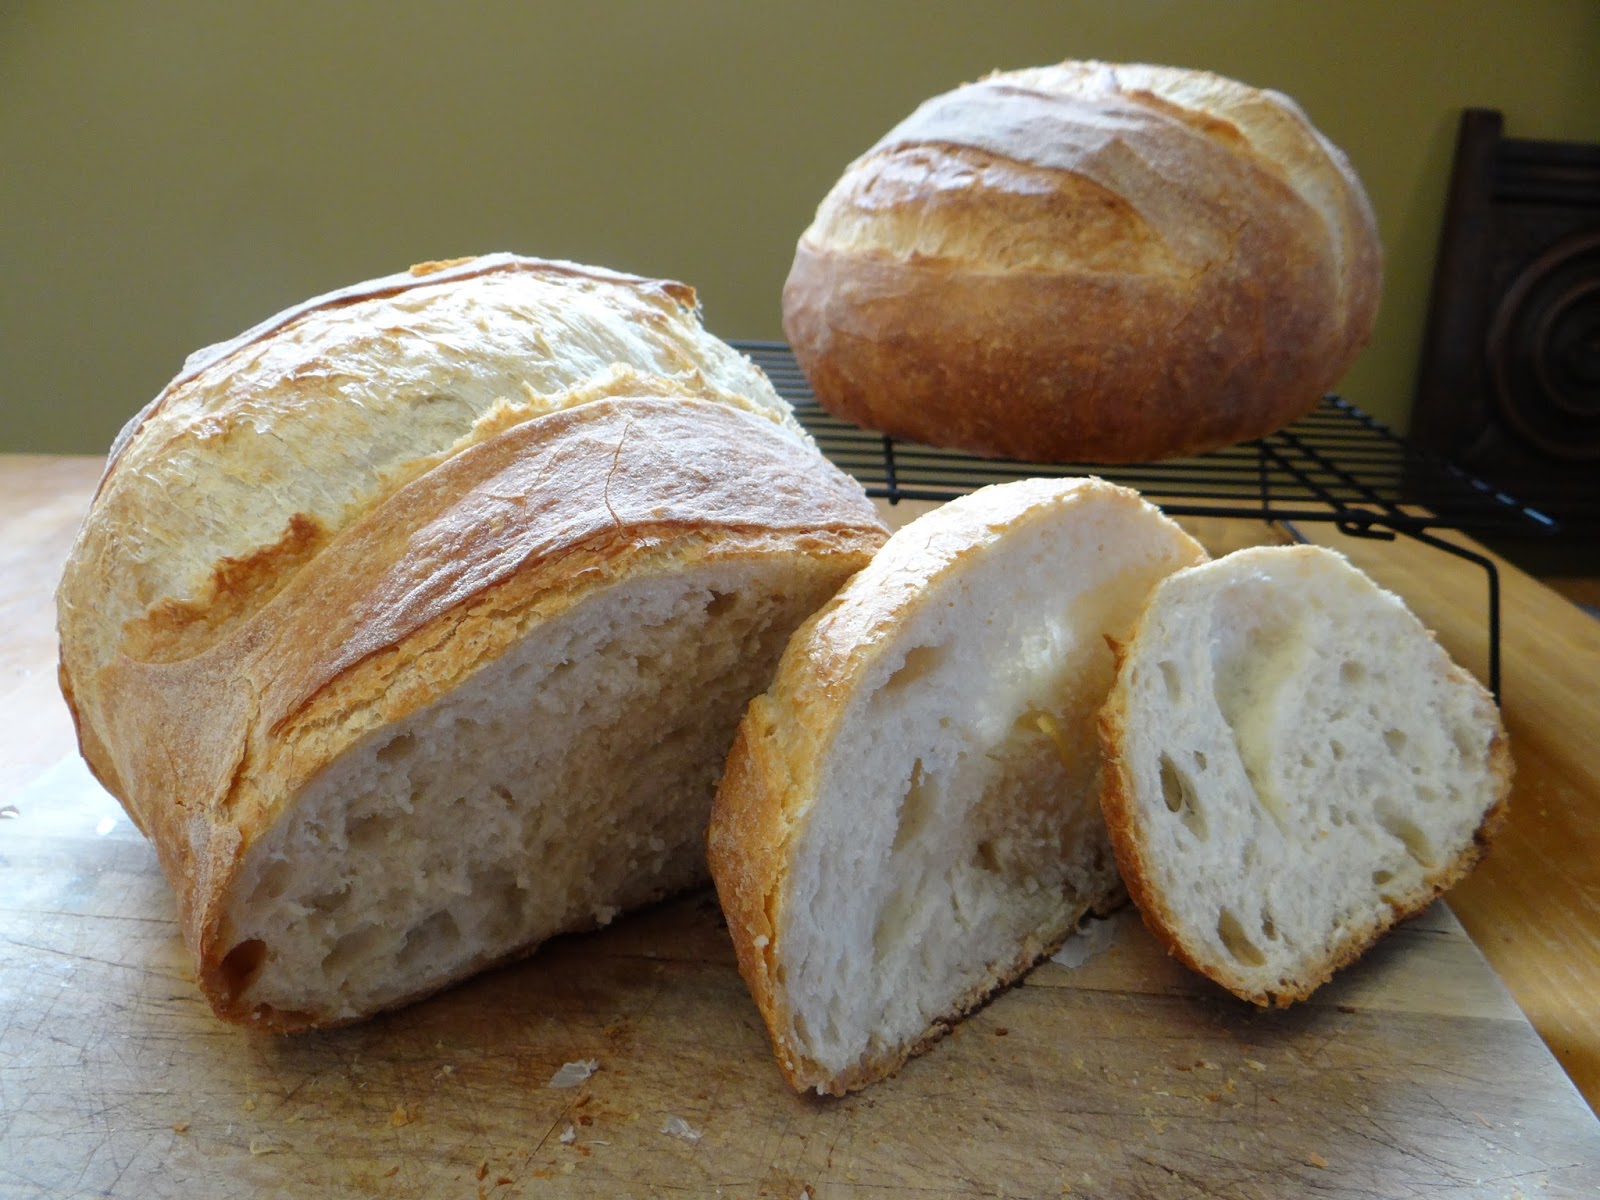
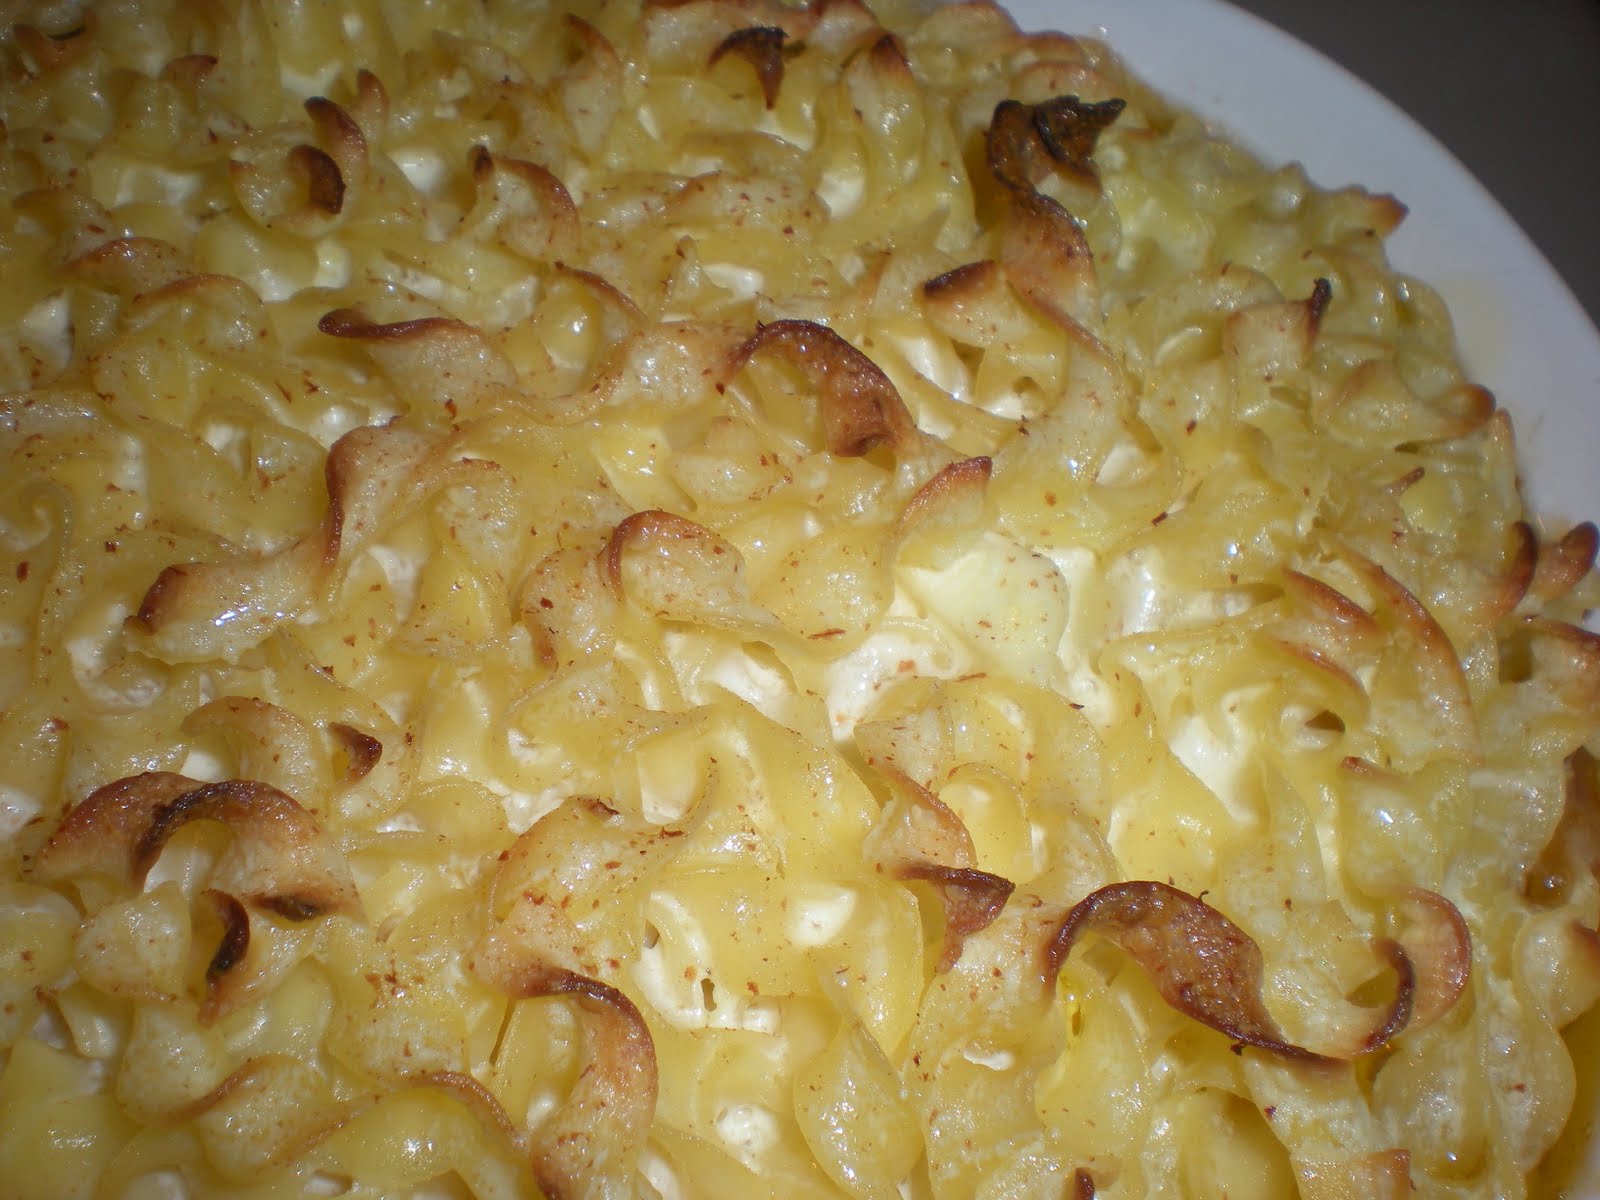
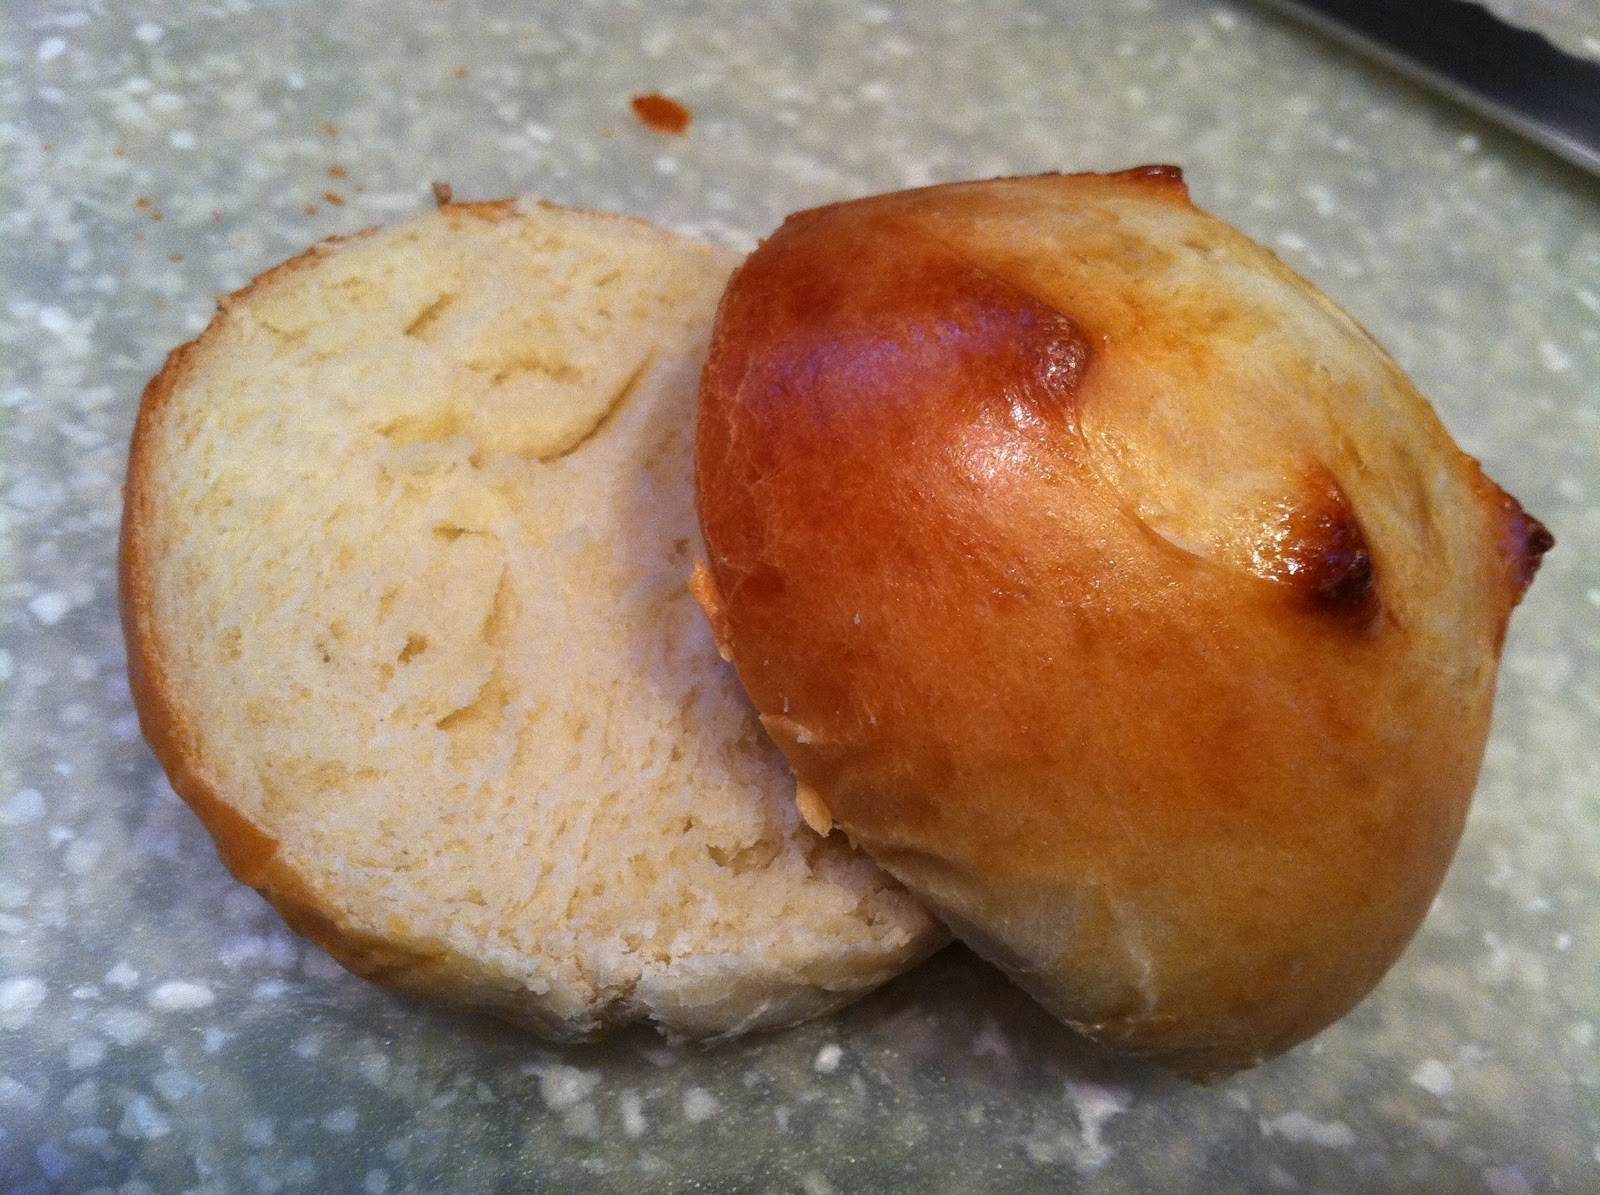
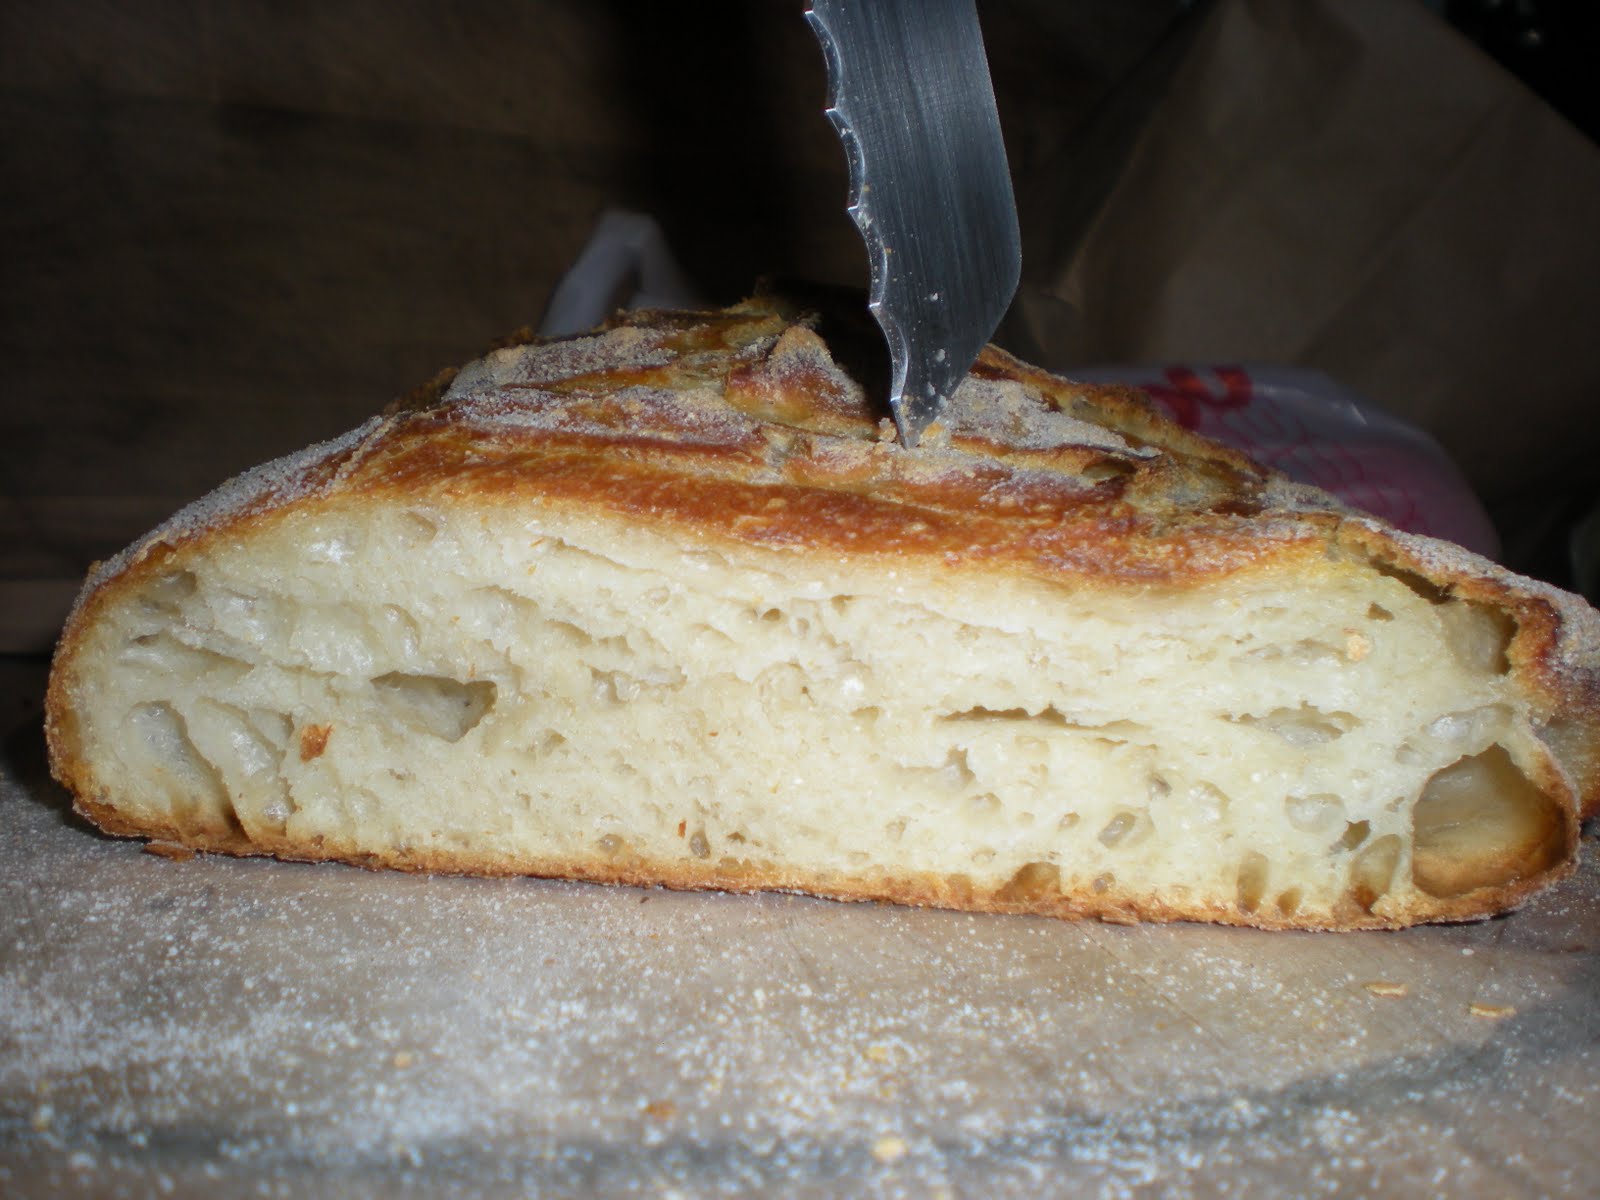
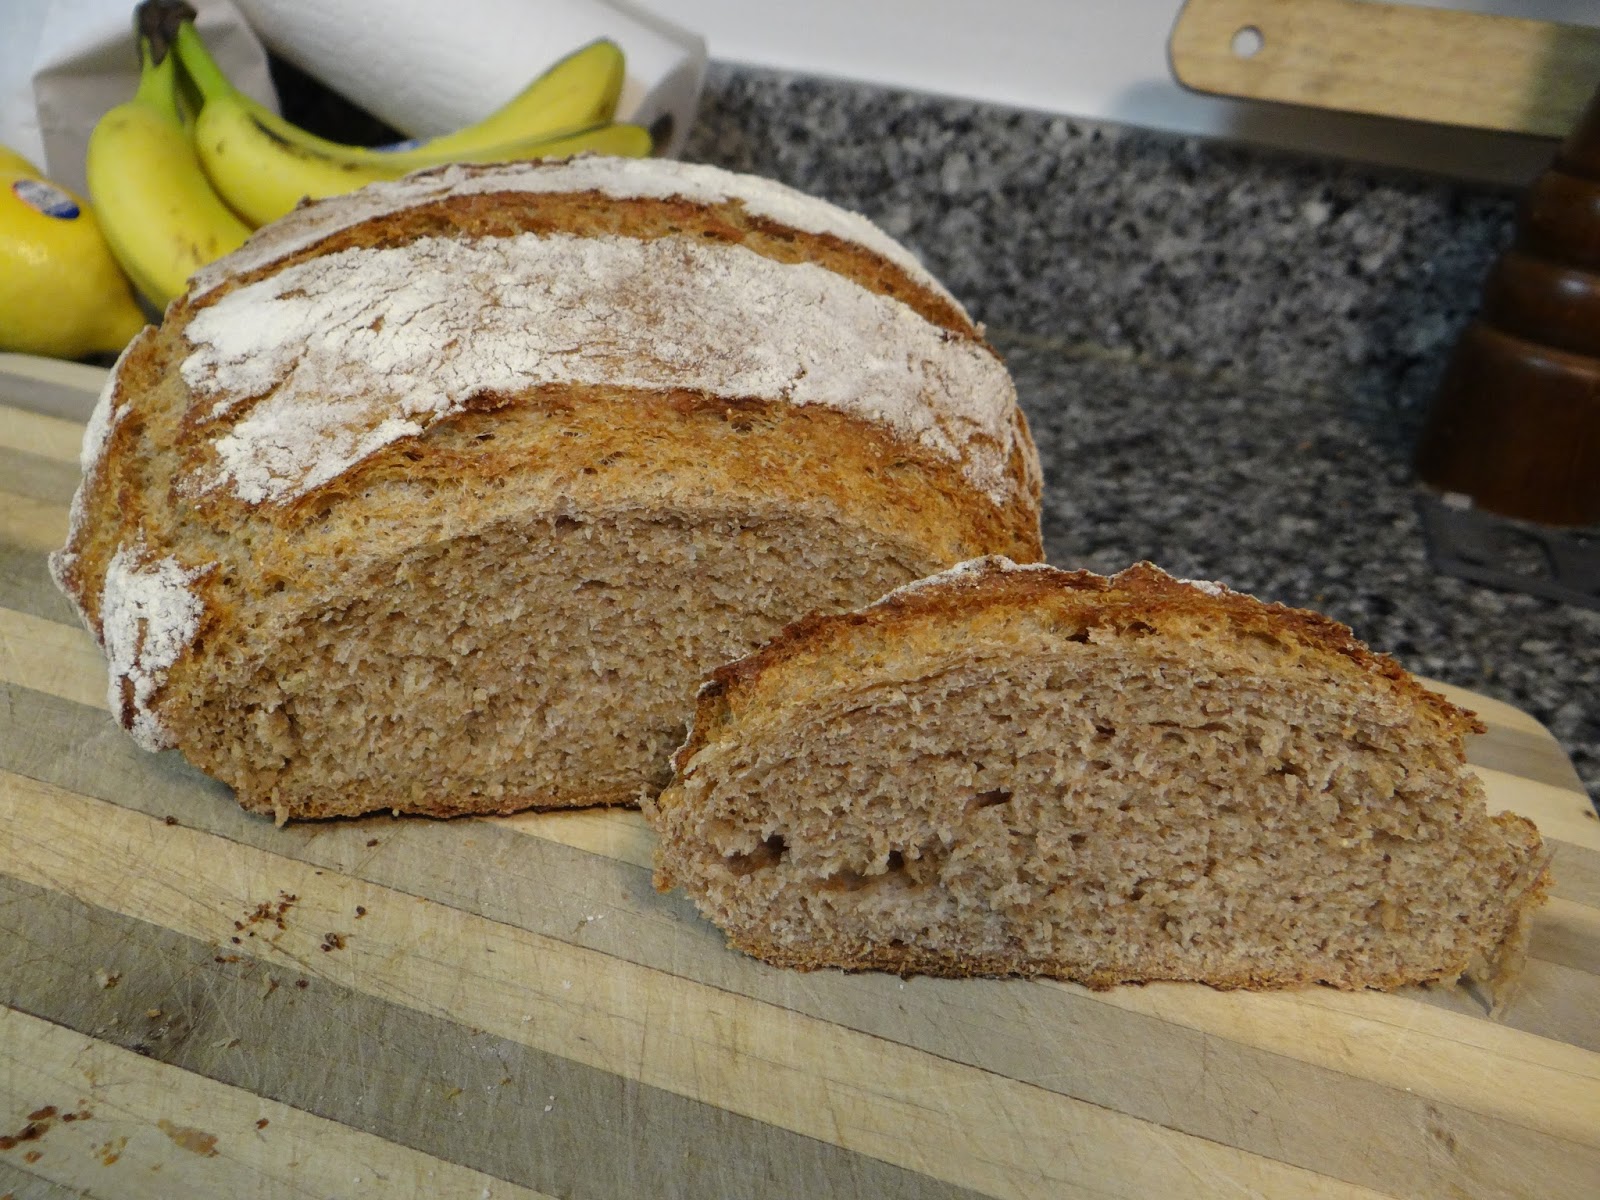
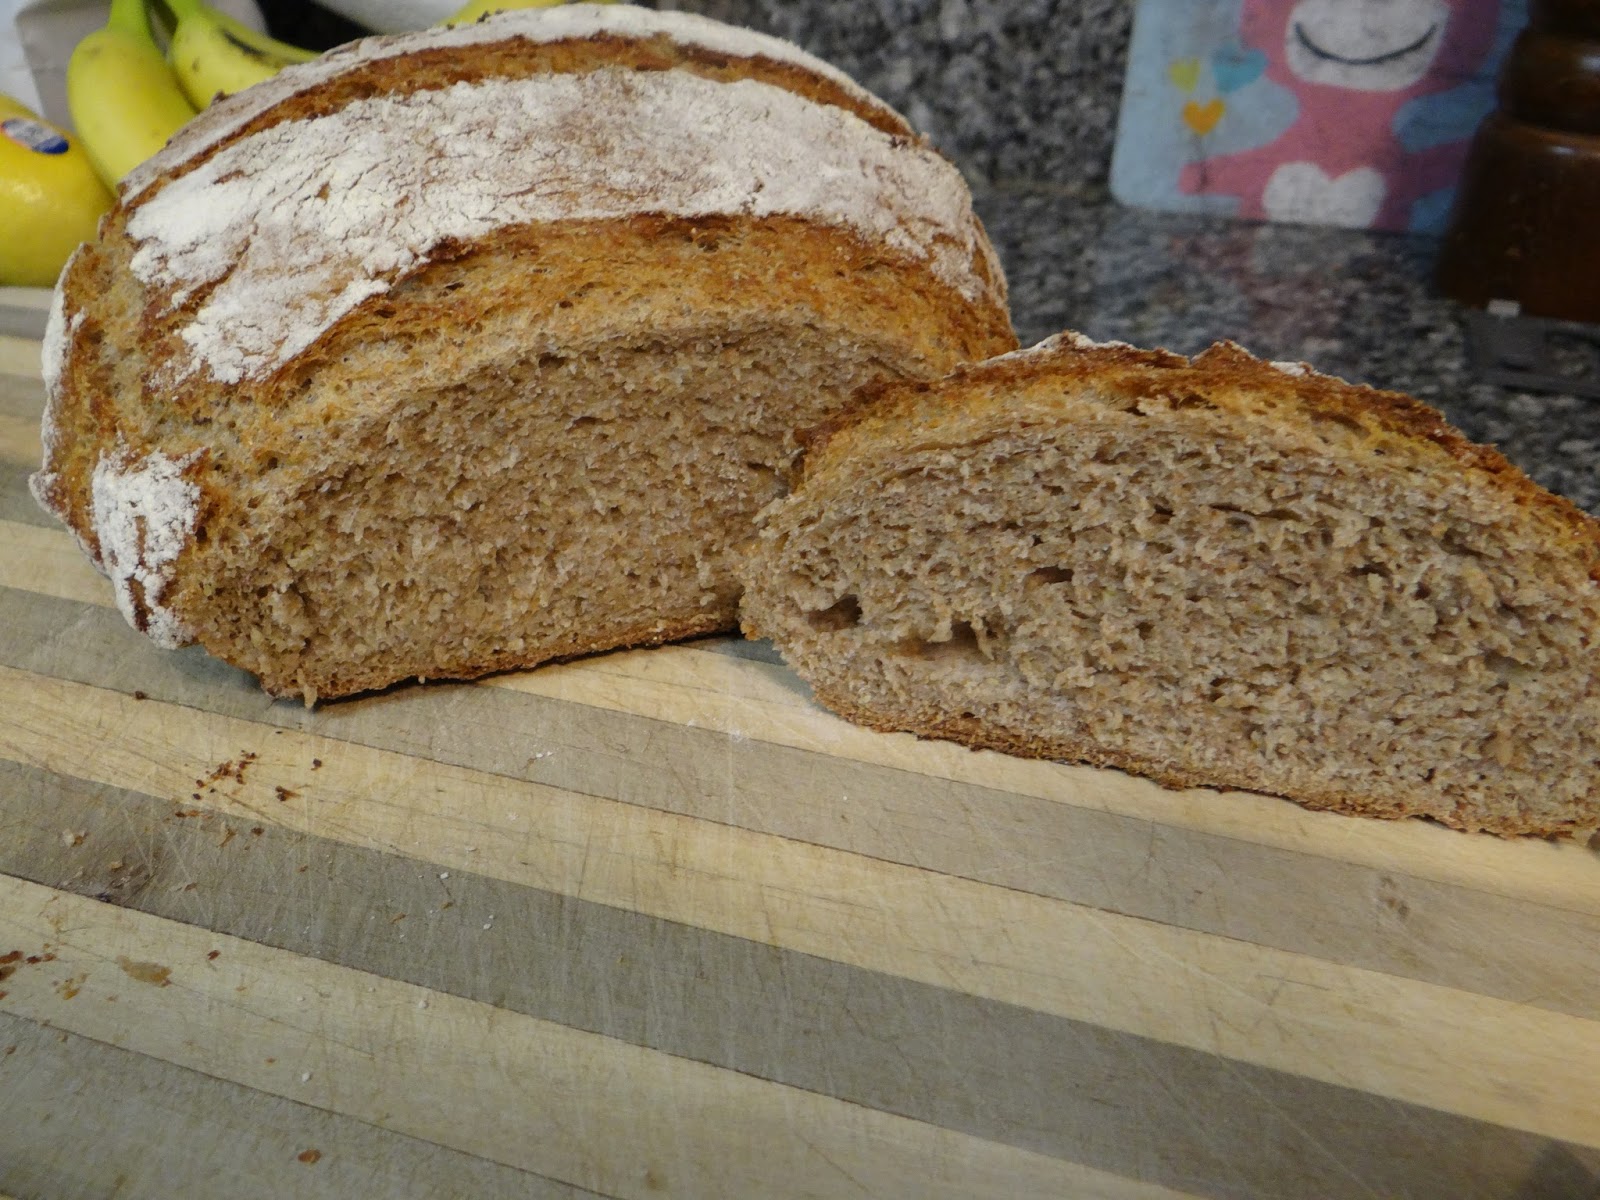
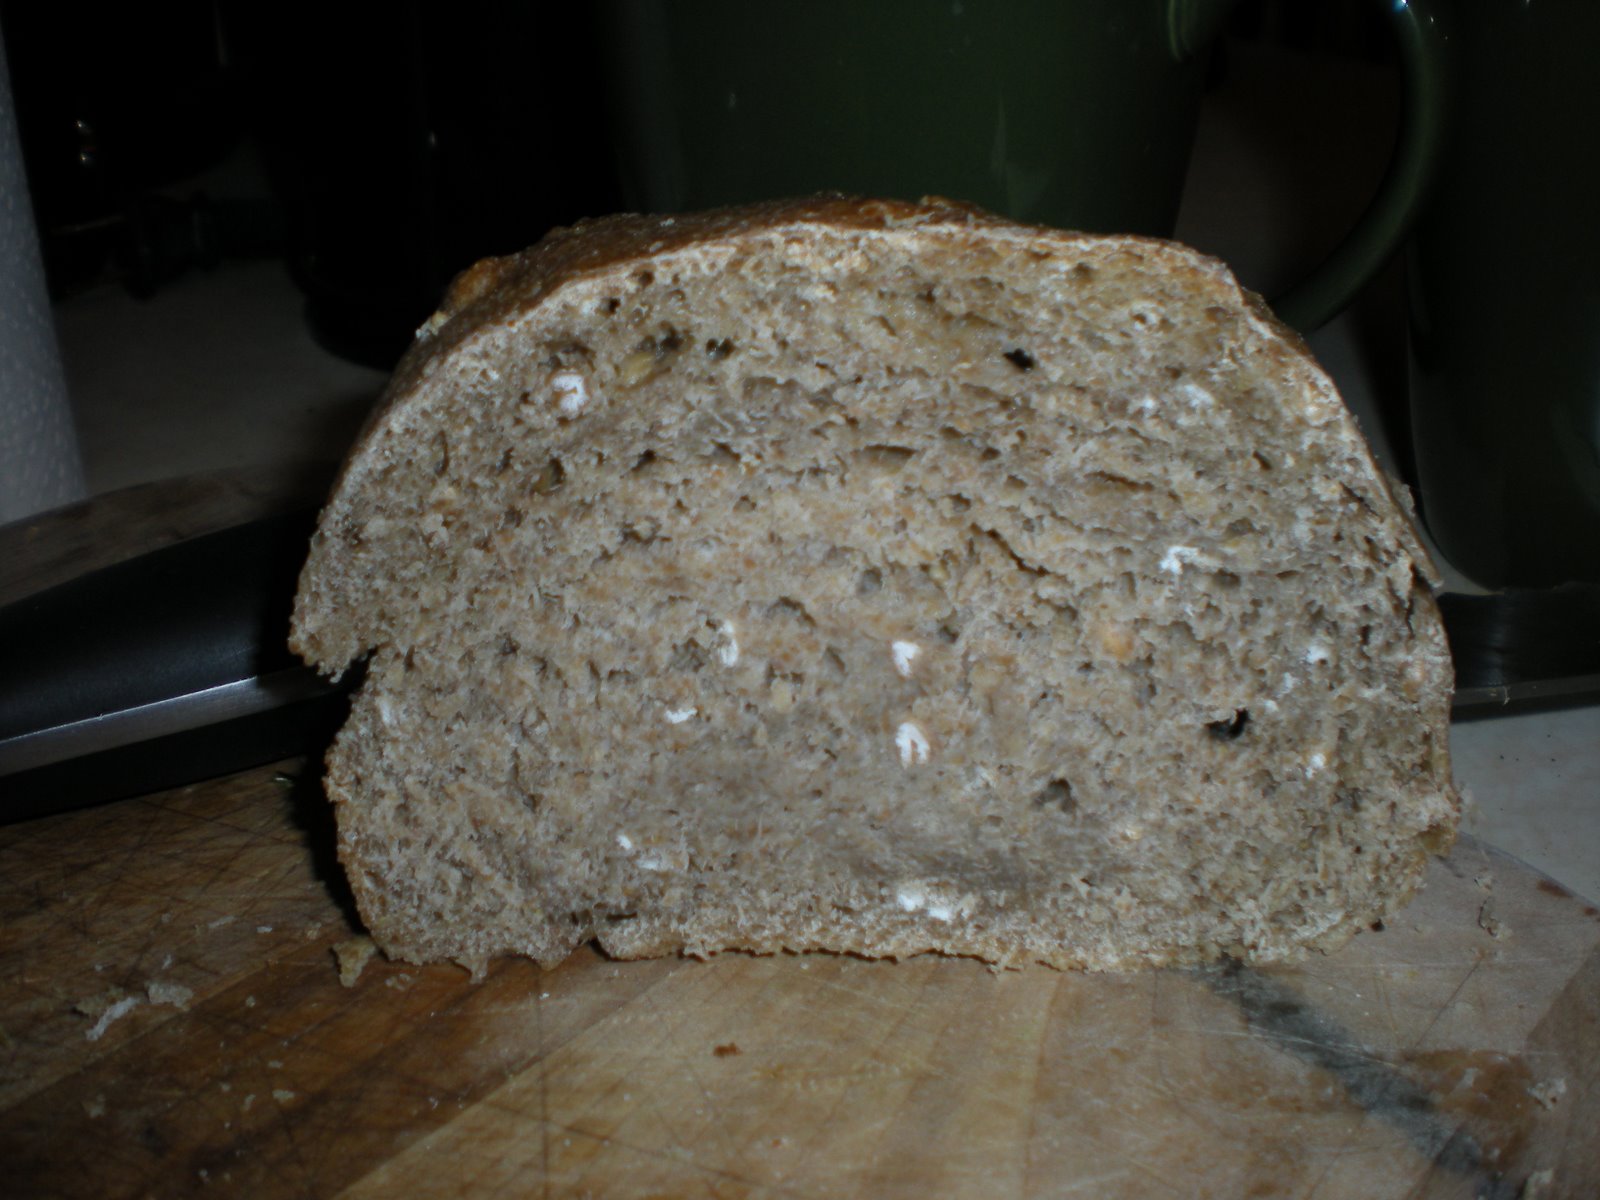
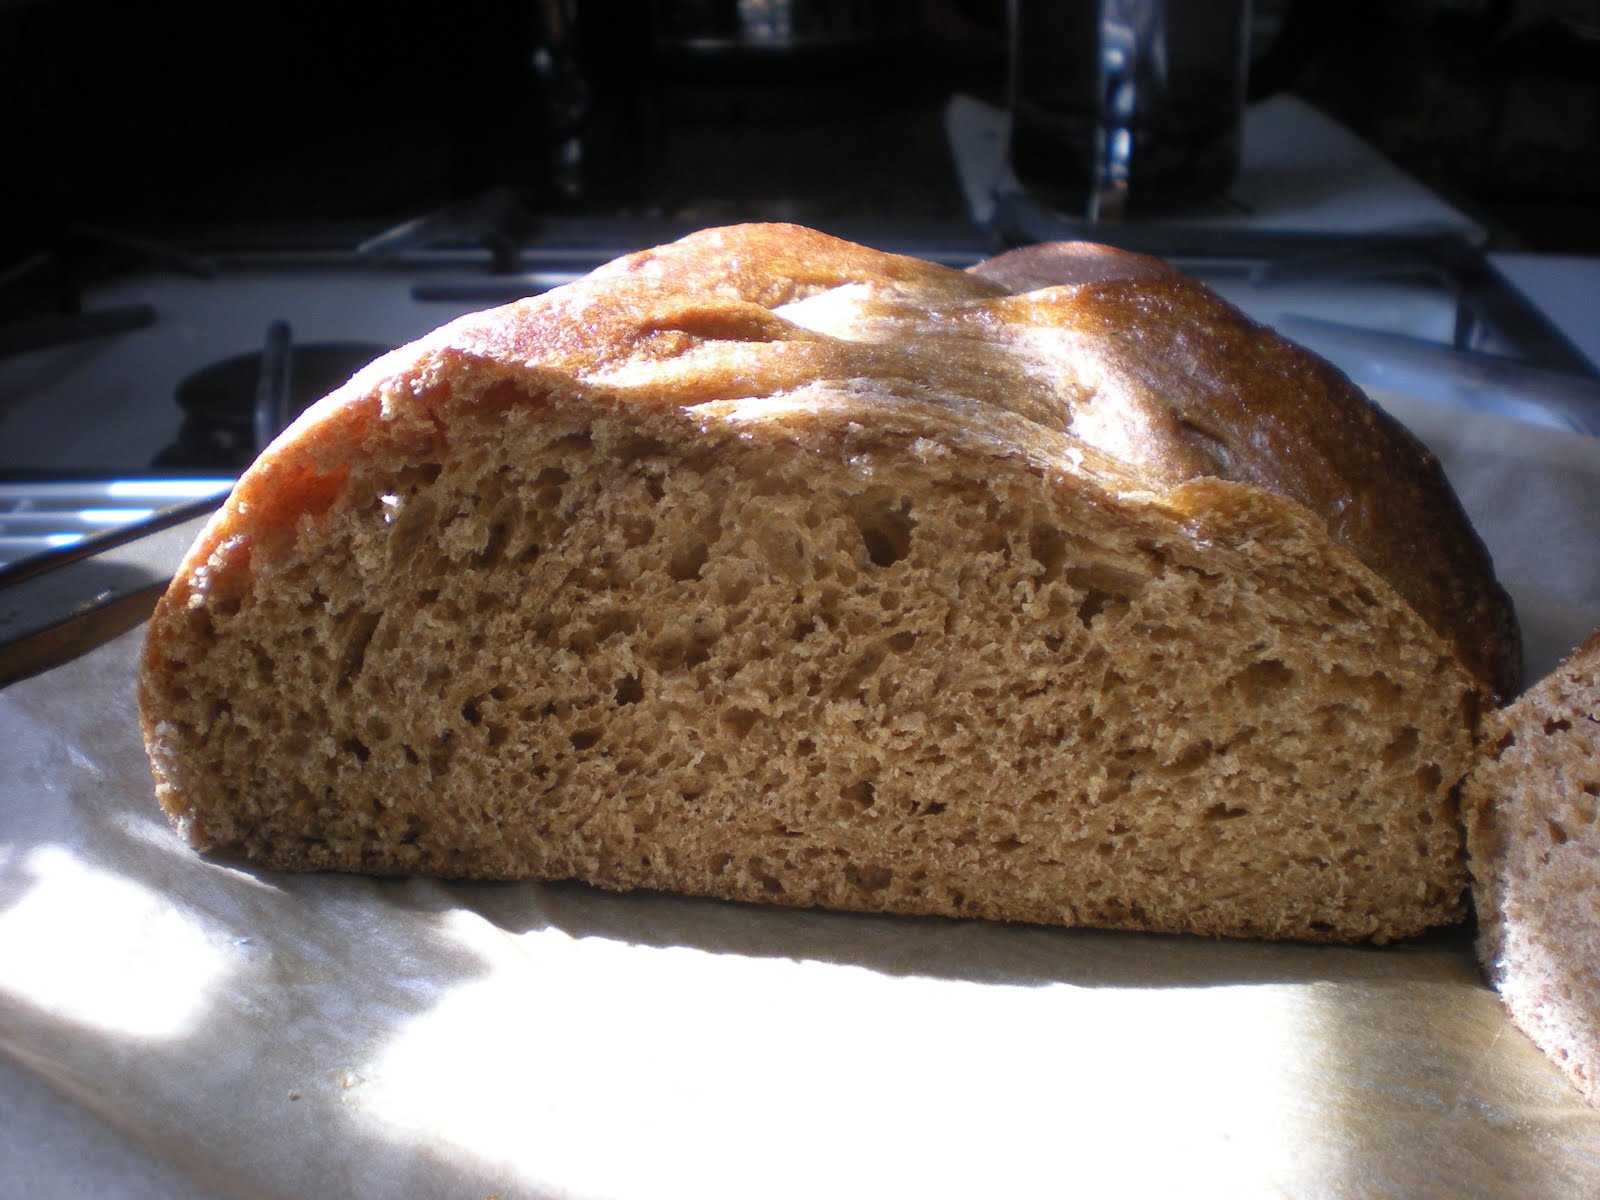
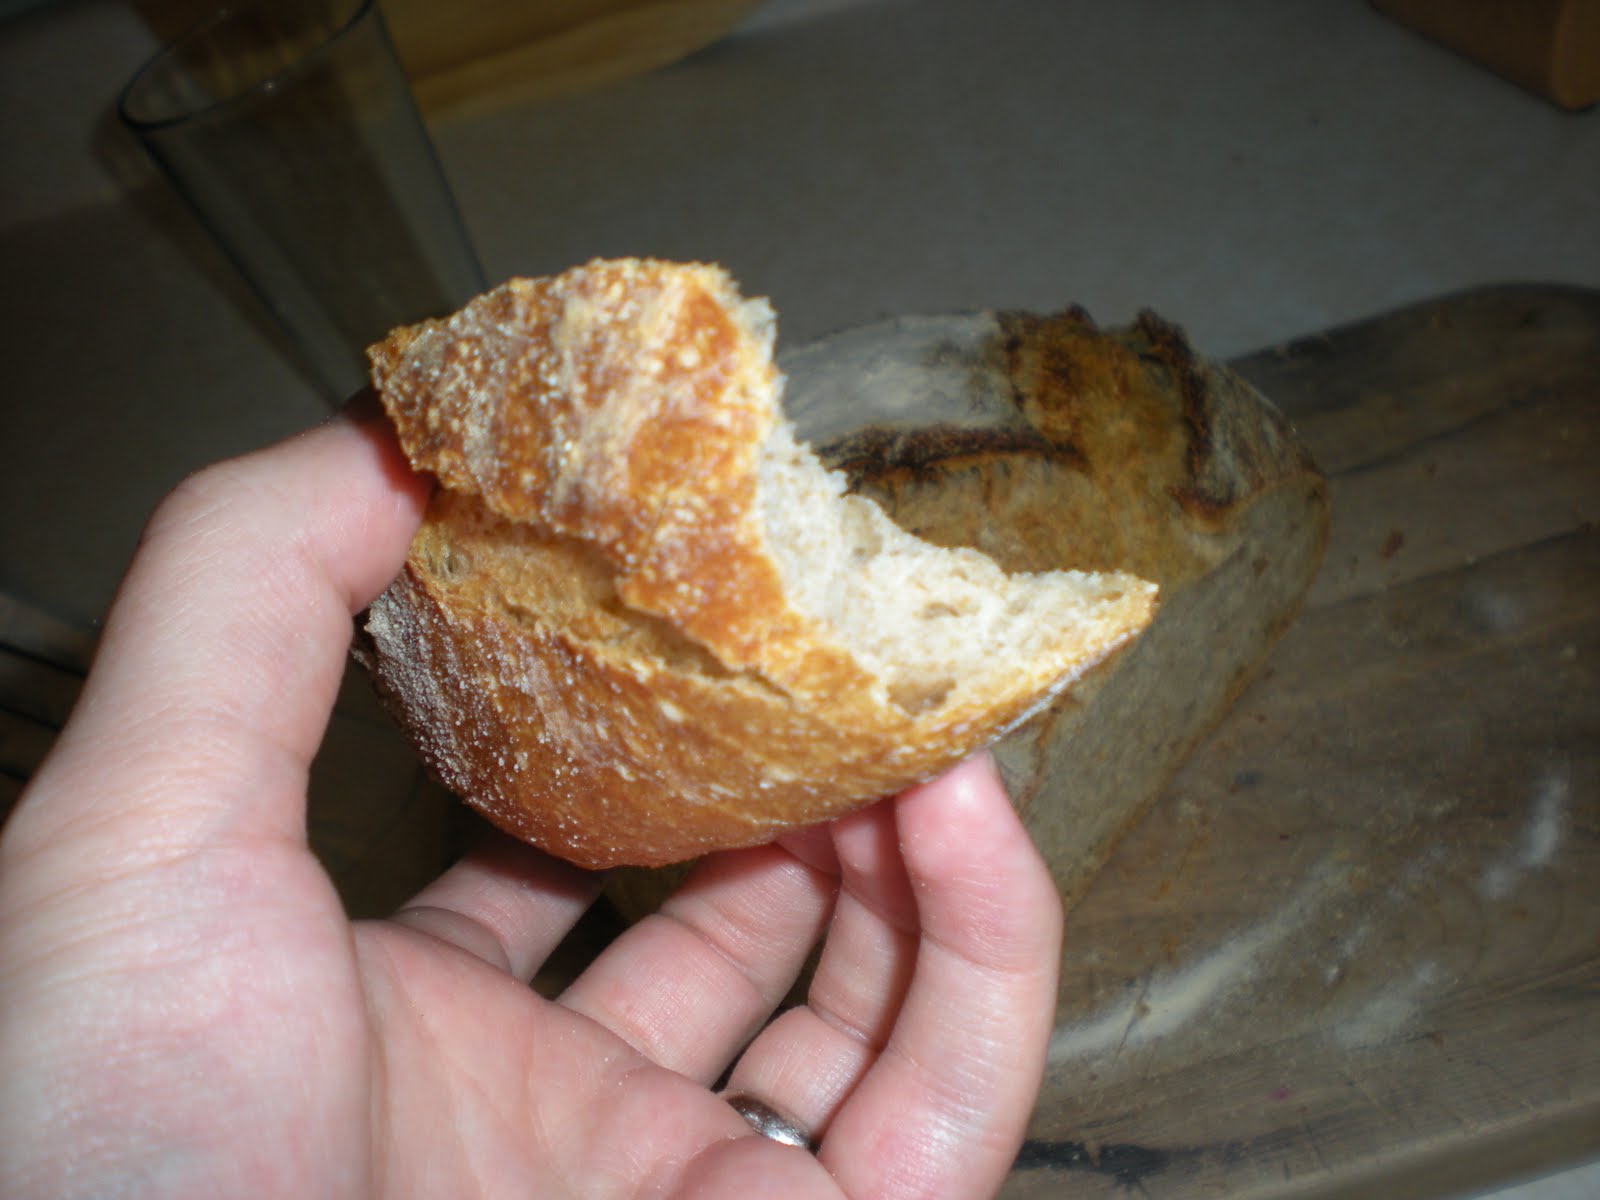
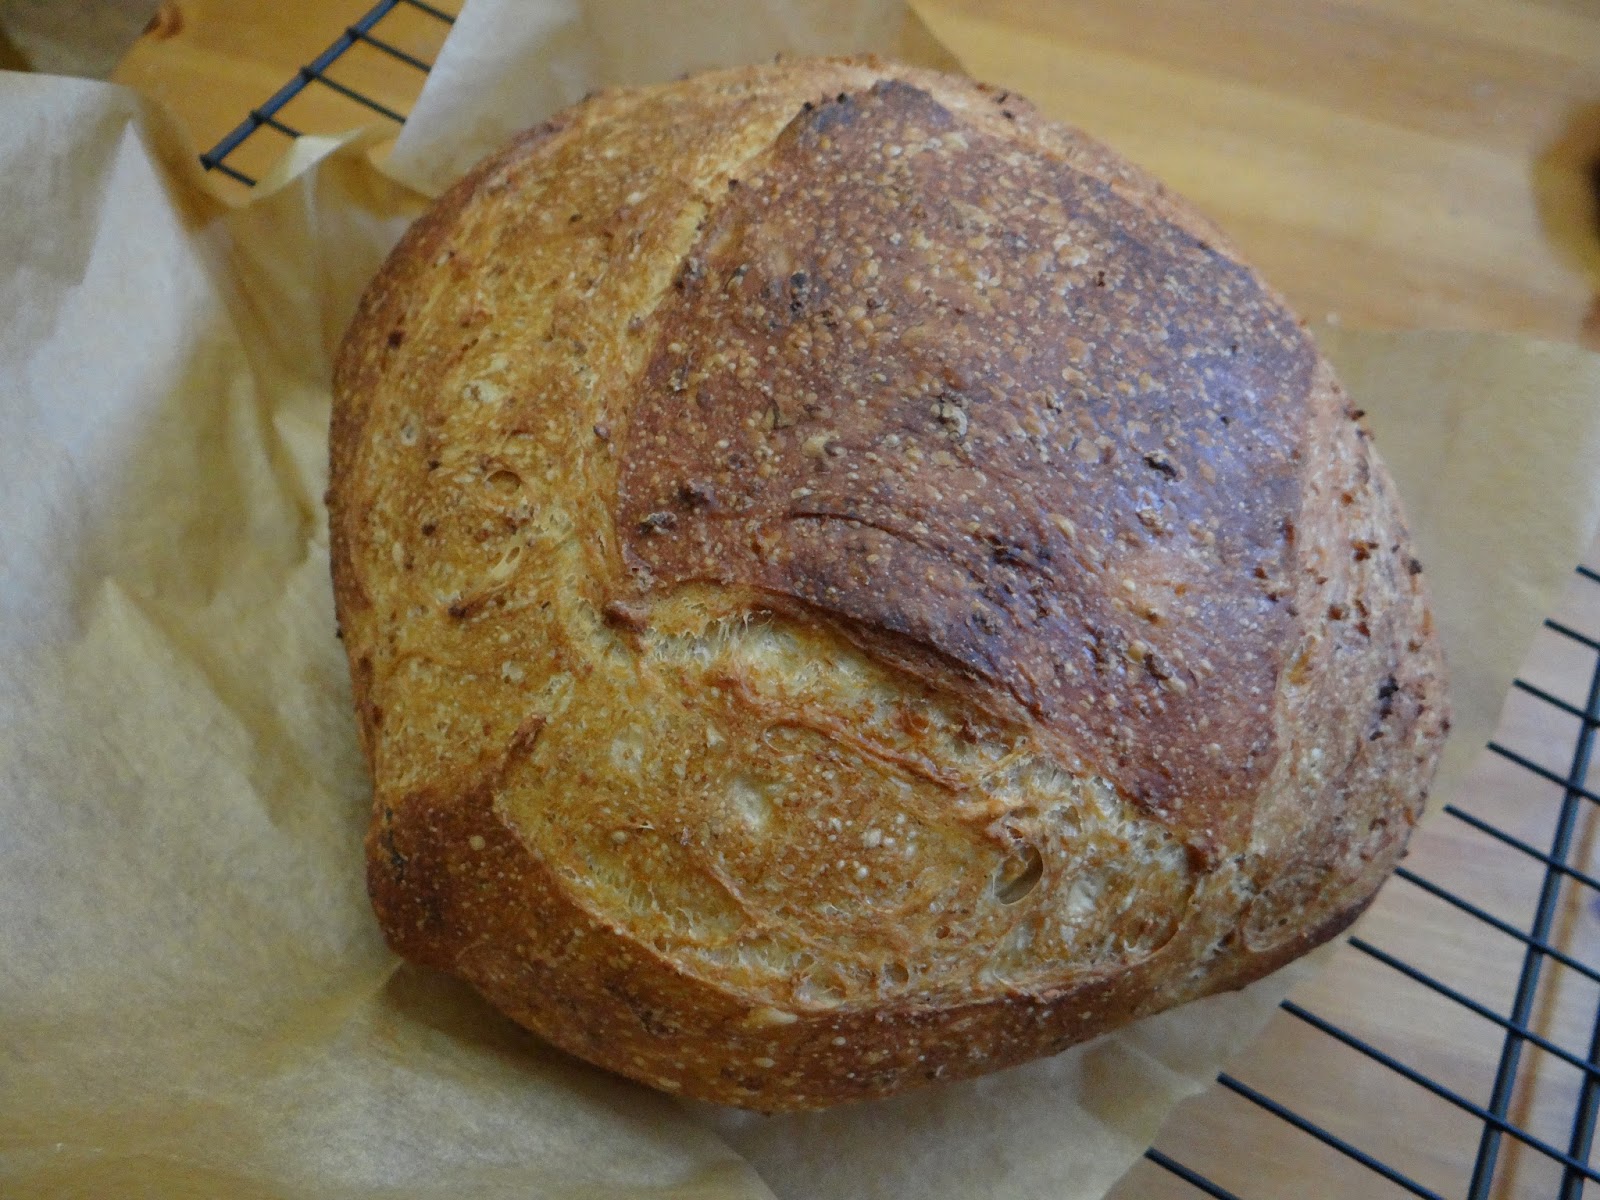
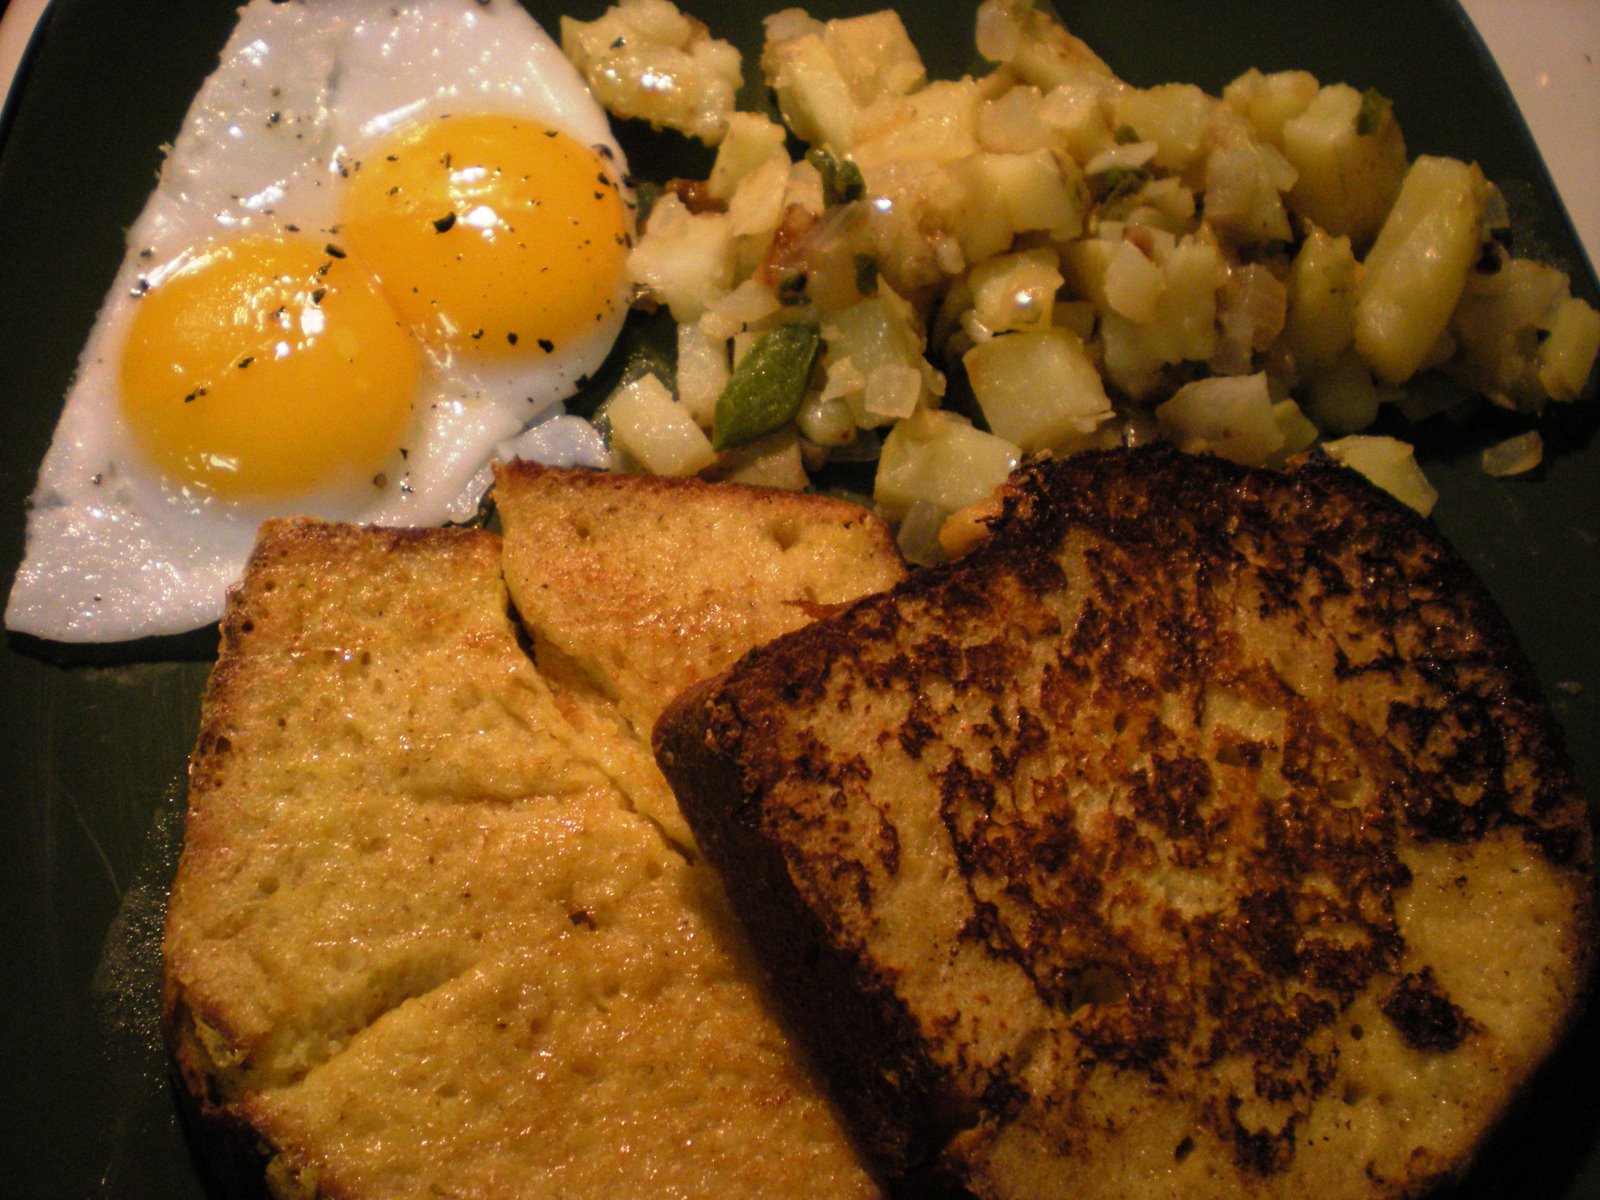
Issue #1.  Tight Crumb.  This is the crumb:

Very small holes.  One of the things I really like about this bread is that it bakes to have a very crusty crust.  Most crusty breads have a very airy crumb with big holes.  So it was almost jarring for me to cut into this bread and see such a dense crumb.  I’d like to correct this.
Issue #2.  Lack of flavor.  The first time I made this bread, my father-in-law remarked that it needed salt, and I definitely agreed.  One tablespoon is just not enough for two large loaves of bread, at least not for me.  So the recipe (in my opinion) is under-salted.  It also rises for a very short time, meaning it could benefit from longer fermentation to develop better flavor.  
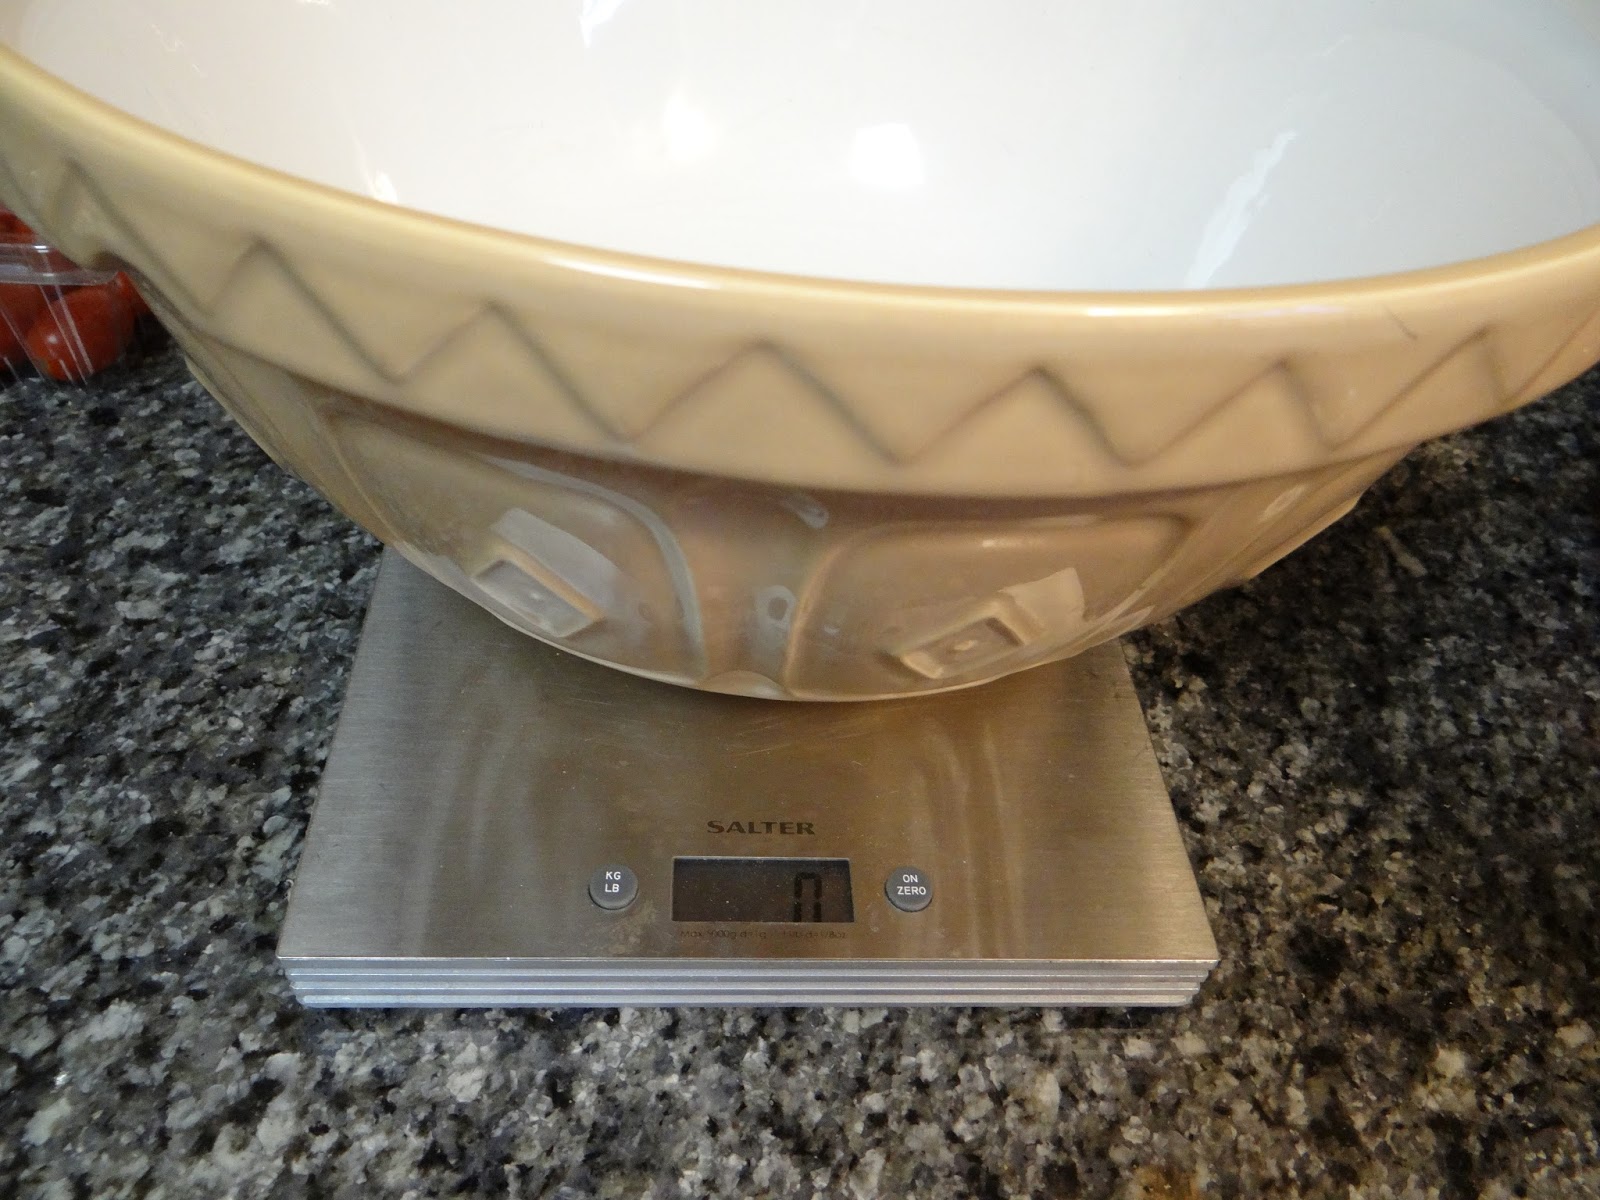
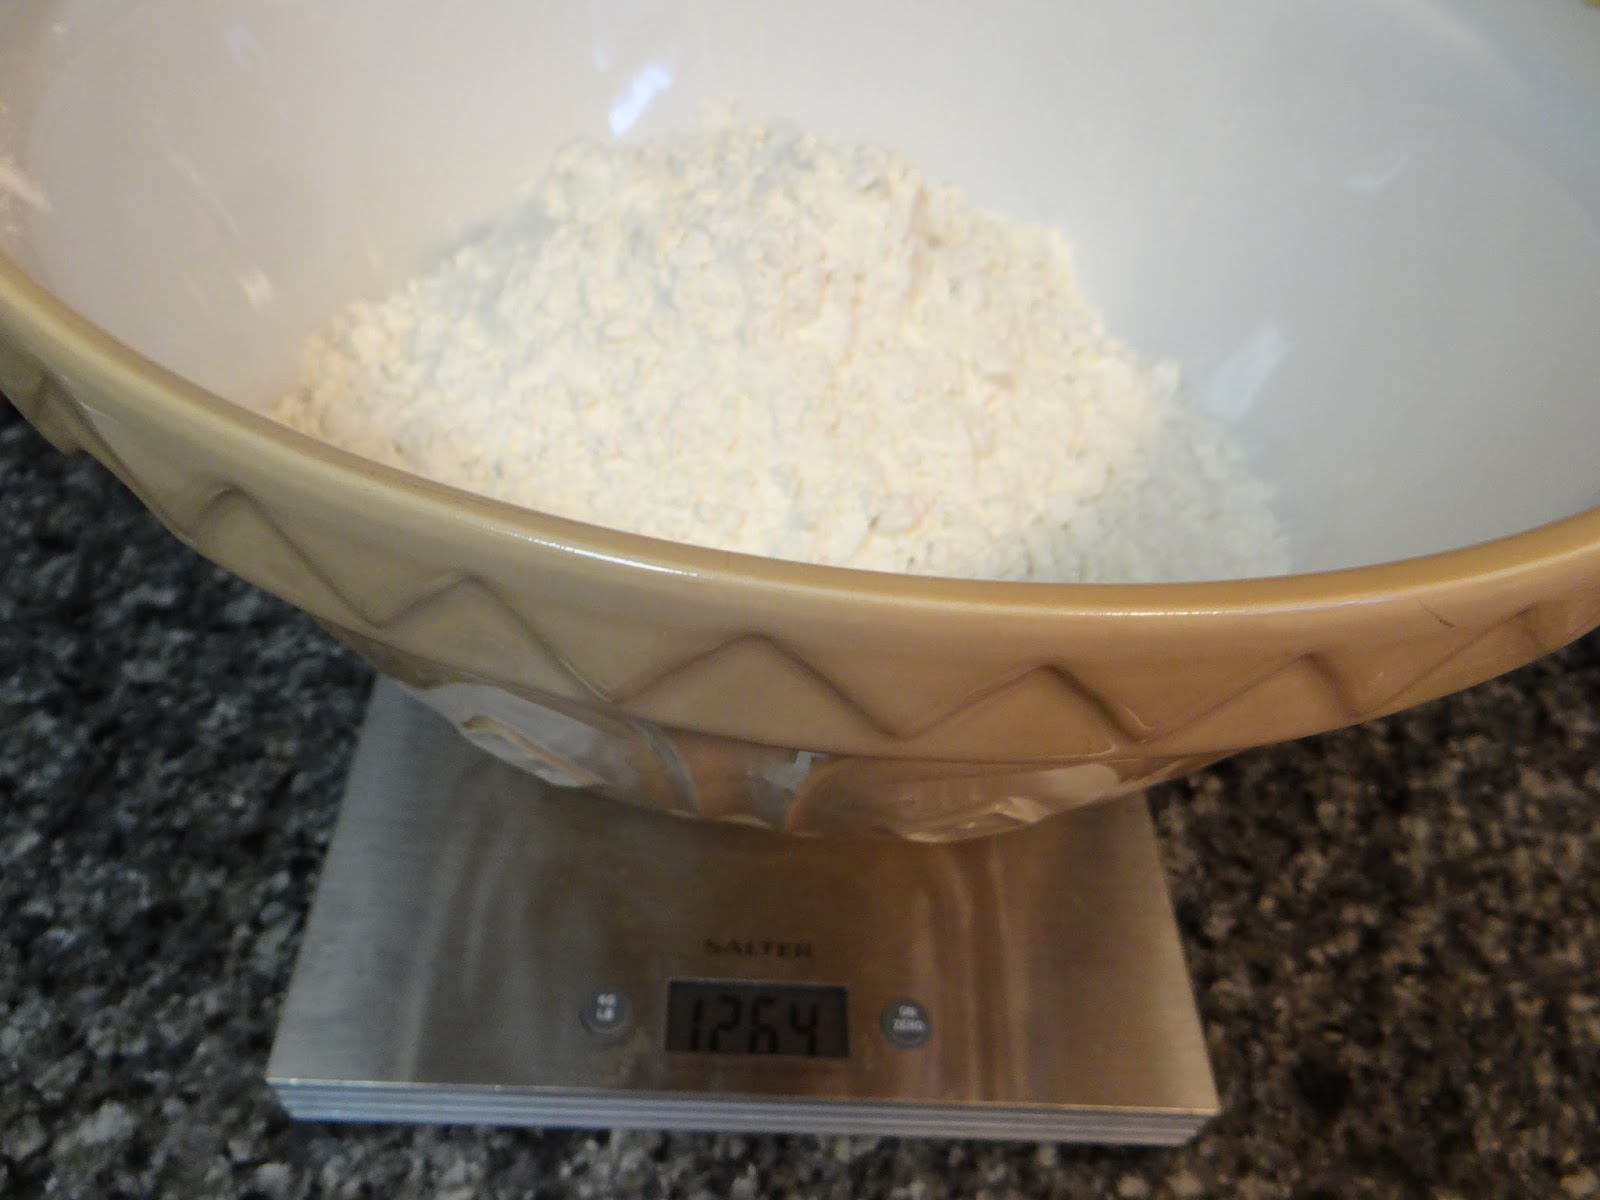
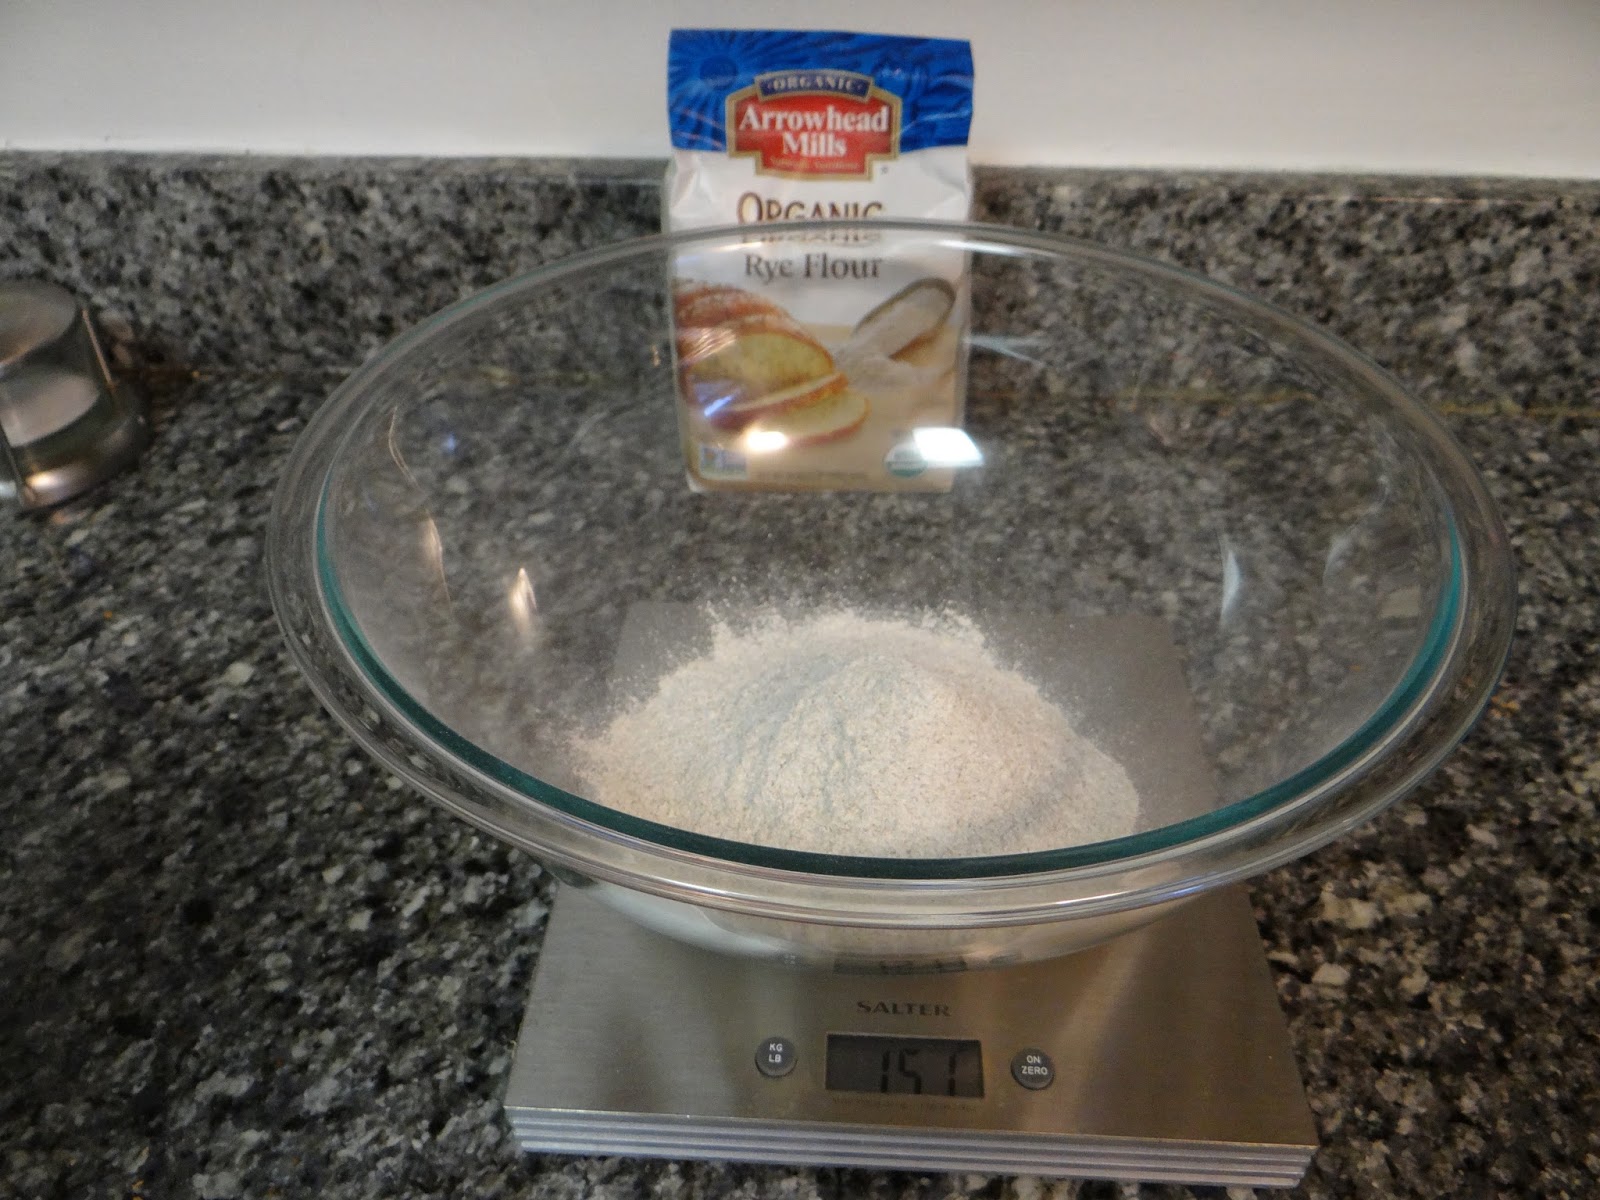
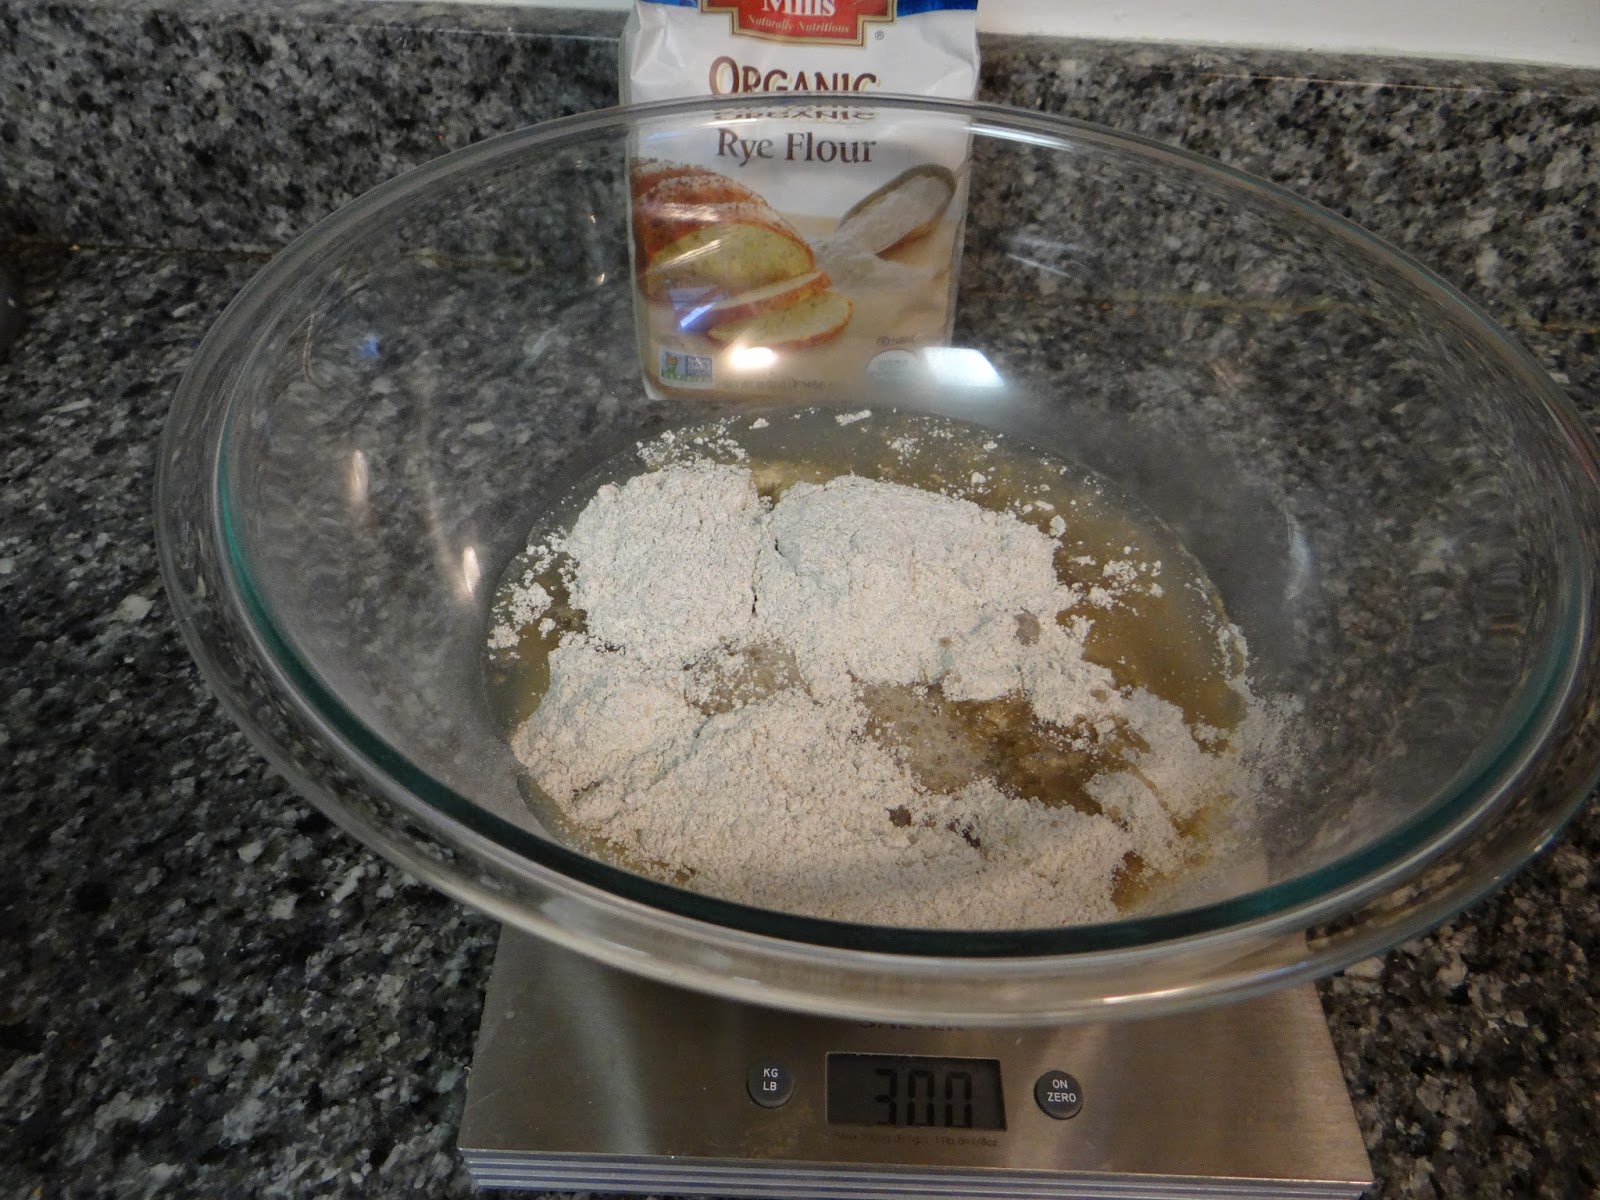
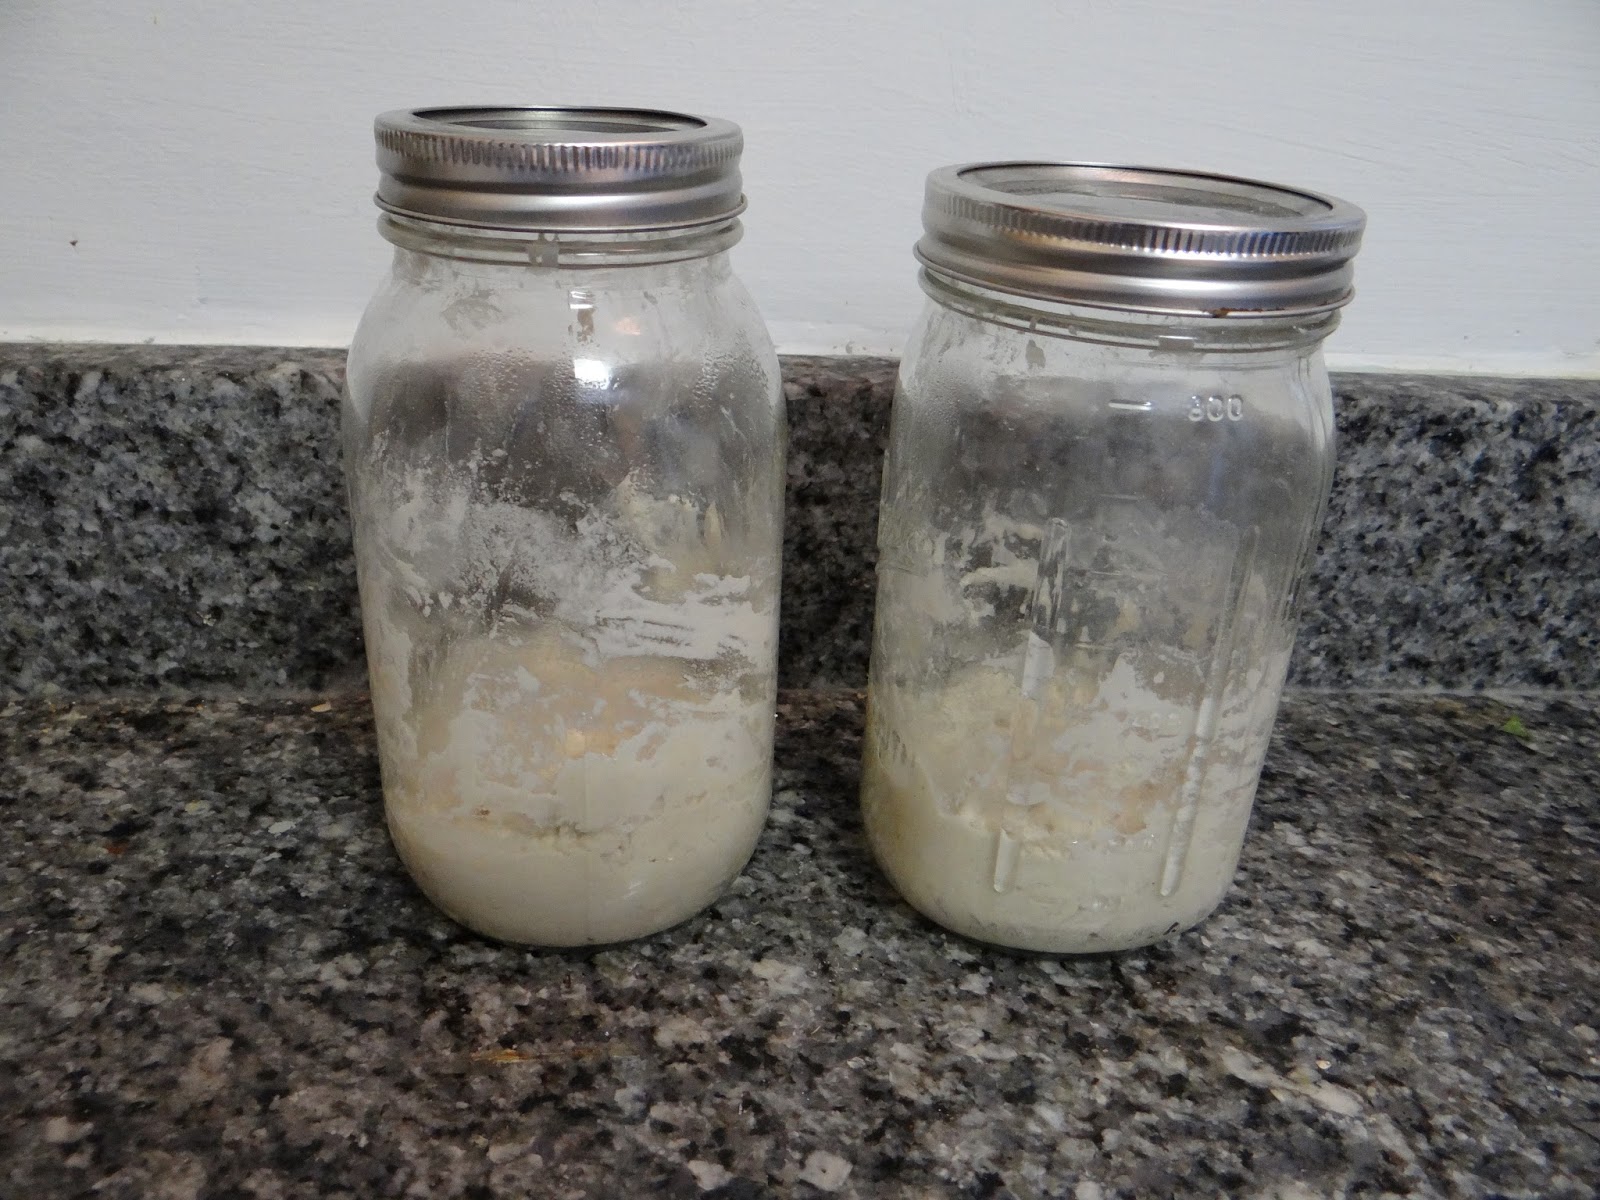
So this time, when I made this bread, I did something I should’ve done the very first time: I weighed my ingredients.  That way, I could calculate the hydration of my dough and see if I could tweak it a little bit.  If the bread had a low hydration, adding more water would result in bigger holes in my dough and a lighter, airy crumb.
As I suspected, the hydration of the dough was very low- only about 59%.  I added an extra 1/2 cup of water, bringing the hydration up to 66%- more typical for a sandwich bread.   I might try to go even higher next time. 

Then, I remembered something that hadn’t occurred to me before.  Preston is baking in Texas, and I am baking in Virginia.  I remember when we lived in Austin requiring less water than I do now to create the same dough conditions.  So perhaps that is why his recipe doesn’t use much water.  This is easy enough to correct.
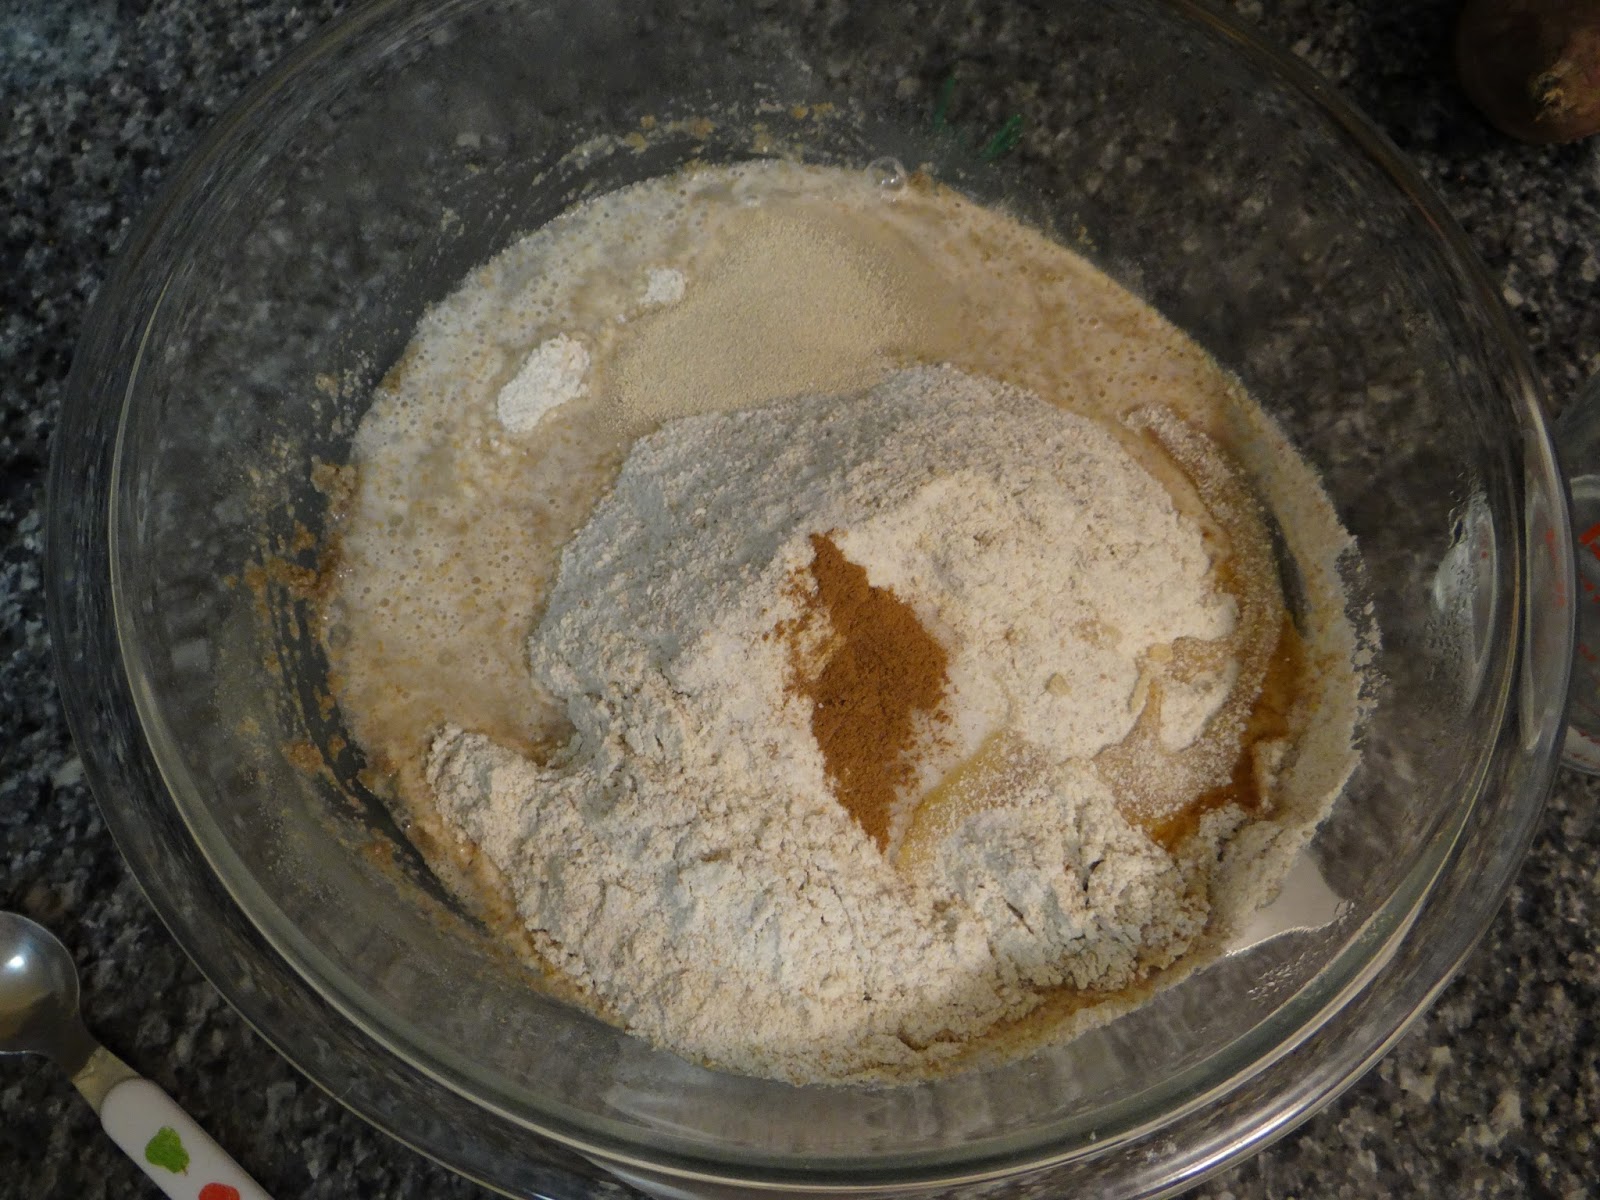
Secondly, after the autolyse period, I added an extra 1/2 tablespoon of salt and reduced the amount of yeast to 1 1/2 teaspoons.  The increased salt will give the bread more flavor, and less yeast will give the dough more time to rise and ferment, developing better flavor as well.
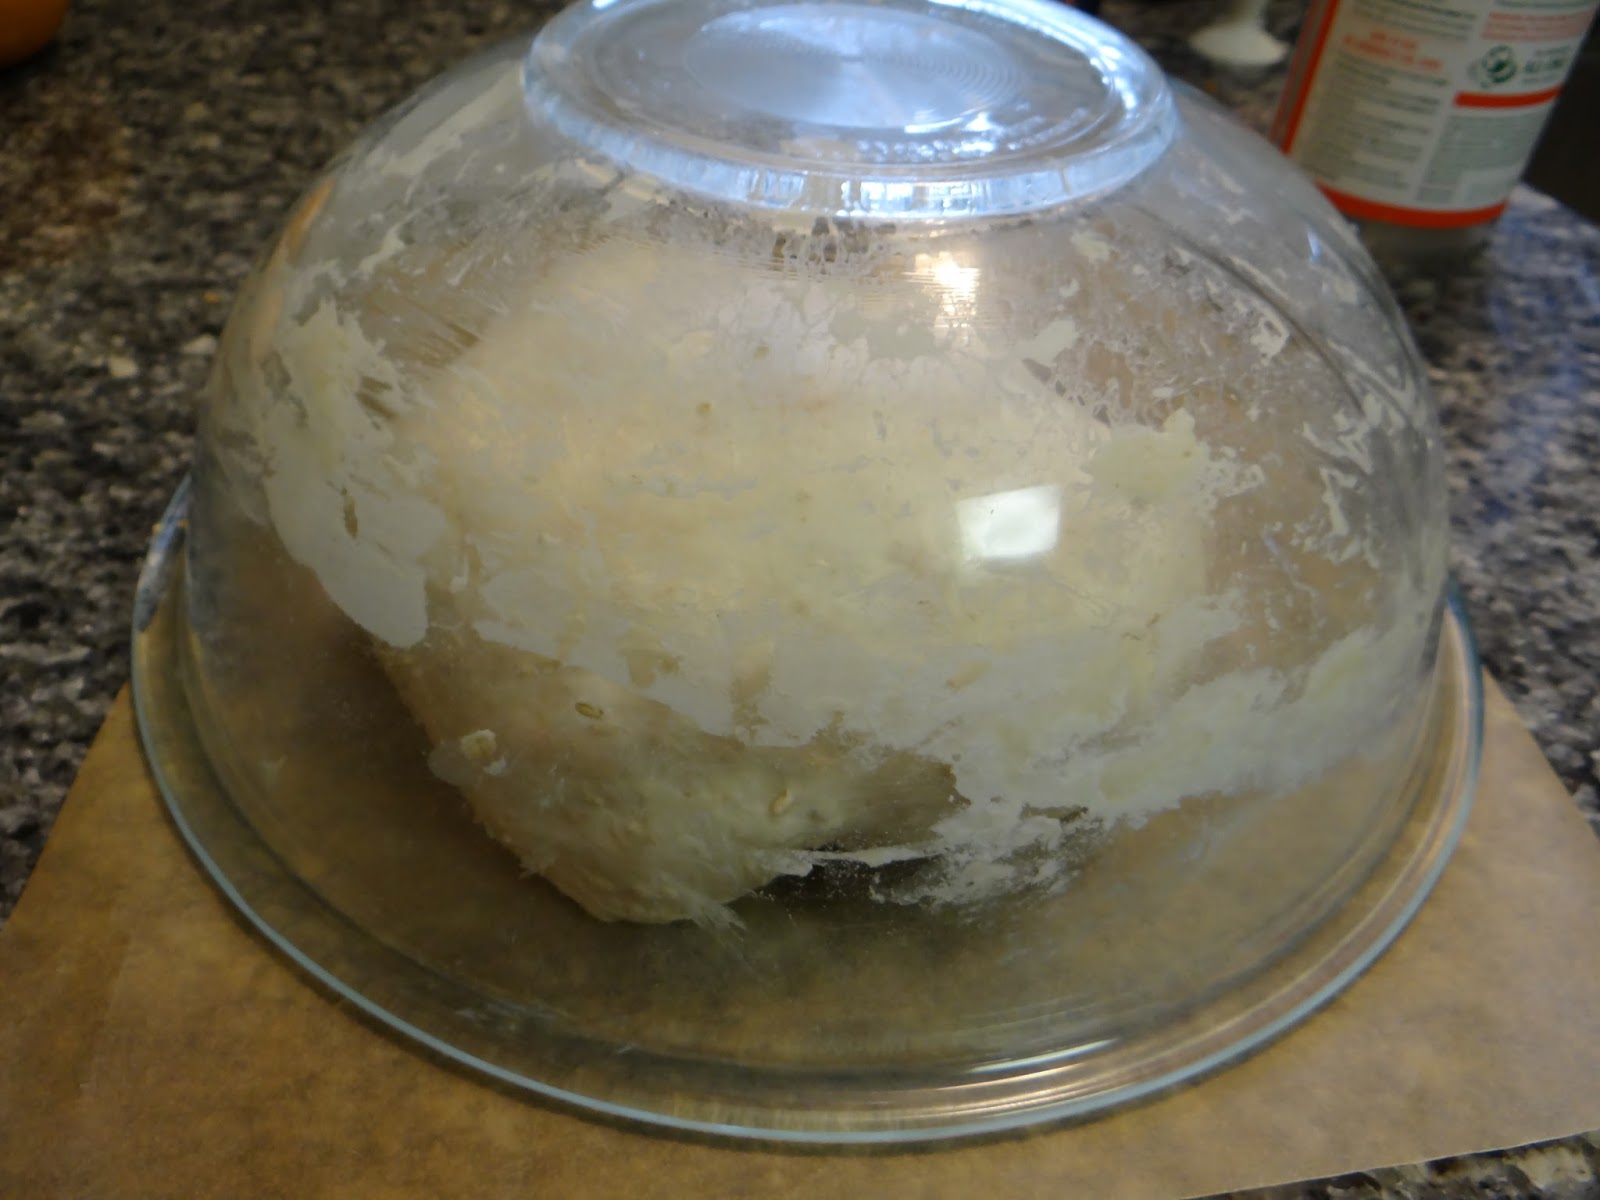
Also, I’ve been adding the olive oil directly into the dough for two reasons.  One, it acts as a preservative, lengthening the time the bread can go without staling, and two, I don’t have the patience for steps that are unnecessary.  If your gluten has formed properly, the dough should stick to itself and not to the sides of the bowl.
There is no reason to transfer your dough from a mixing bowl to a proofing bowl, plus it creates another dish to wash.  

Finally, I feel compelled to once again swear that I do know how to read.  There is something about this recipe that makes my brain not want to follow it.  Maybe it’s the fact that it’s on a kindle, rather than a printed book.  There is no excuse for the fact that over the past three baking sessions, not one time have I faithfully followed his recipe as written.  Usually I discover that I’ve done something wrong as I’m glancing over the recipe one last time, mentally checking off all the steps.  Then I realize, “D’oh! The couches go in the refrigerator!” or, “D’oh! the water was supposed to be warm, not hot!”  It’s frustrating.  

before realizing I was supposed to divide the dough and put it into couches in the refrigerator
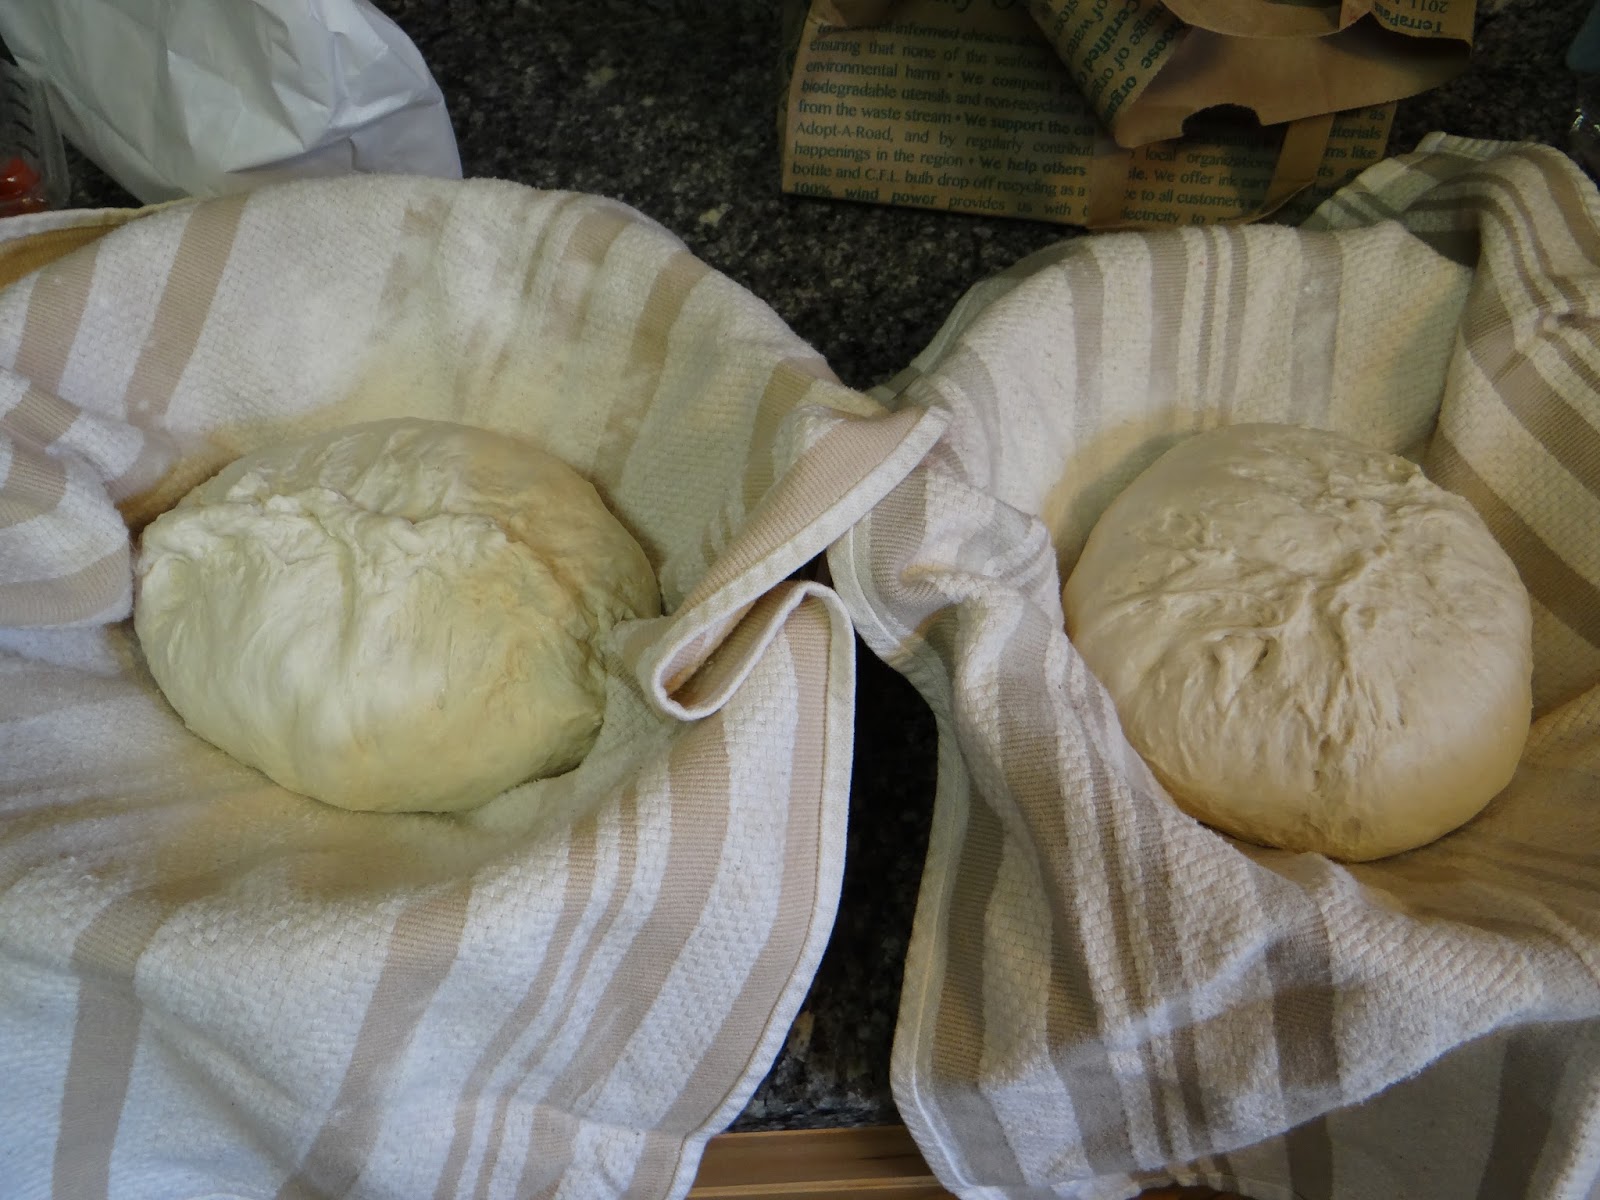
Besides those tweaks, I proceeded with the recipe, just giving it a longer fermentation period to account for less yeast.  Once it had doubled in size, I divided it and shaped it before placing it into two couches to give it a short rise in the refrigerator, then baked it using his 3-step process.

In case all the modifications have you confused, here is my recipe (to see the original, go here):
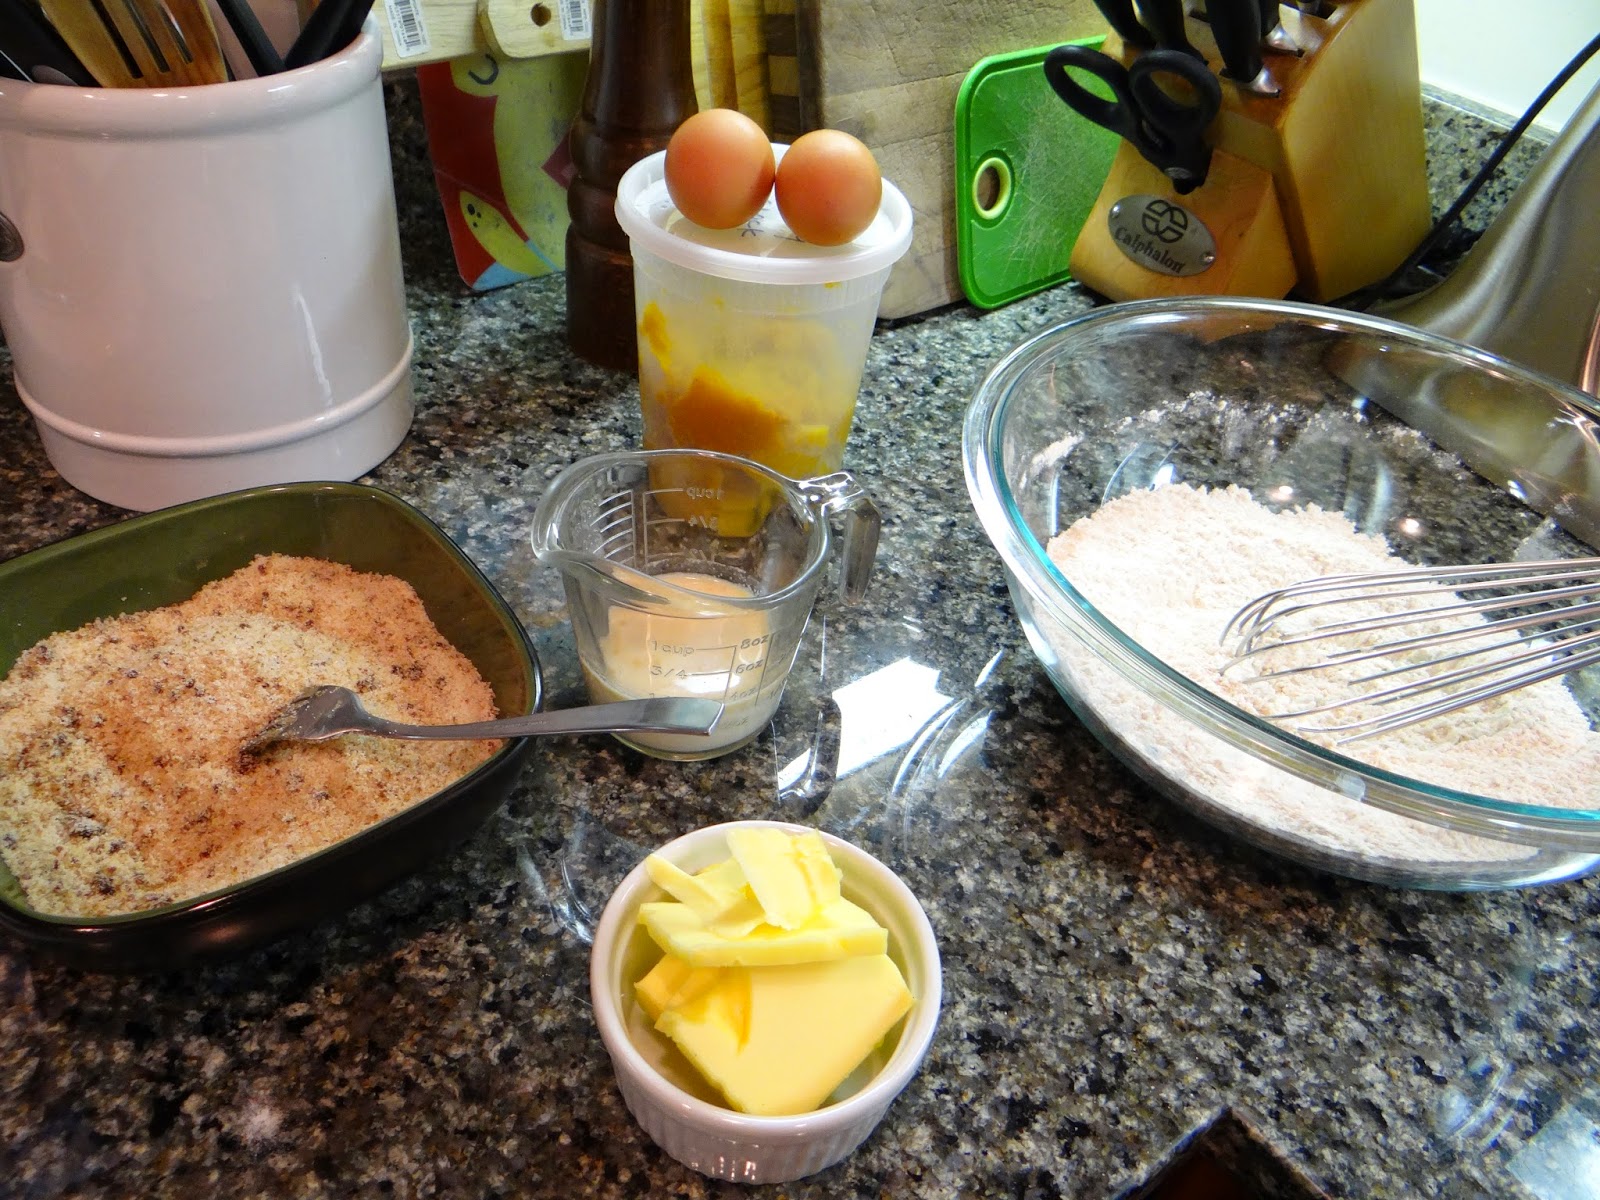
You will need:

1265g or 8 cups all-purpose flour
800g or 3 1/2 cups warm water
1 tablespoon sugar
1 tablespoon honey (yeah, I added more honey too)
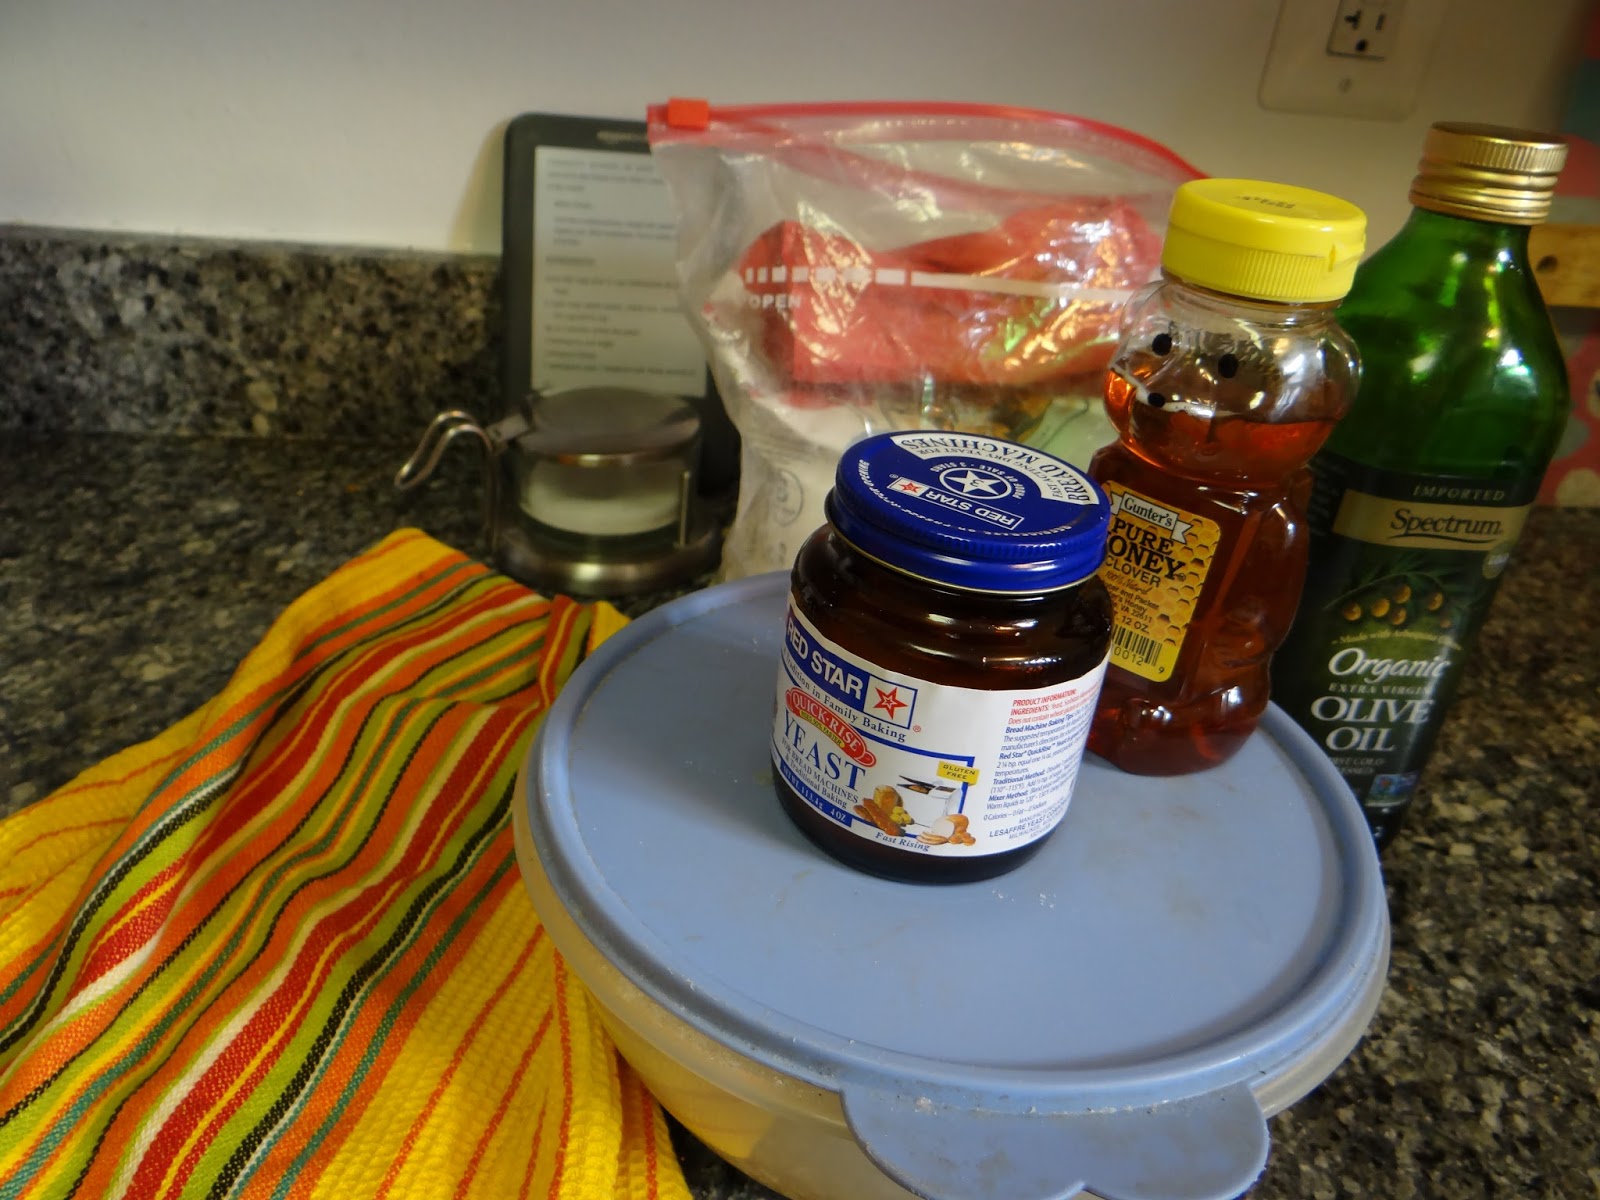
1 1/2 teaspoons yeast
1 1/2 tablespoons salt
1 tablespoon oil

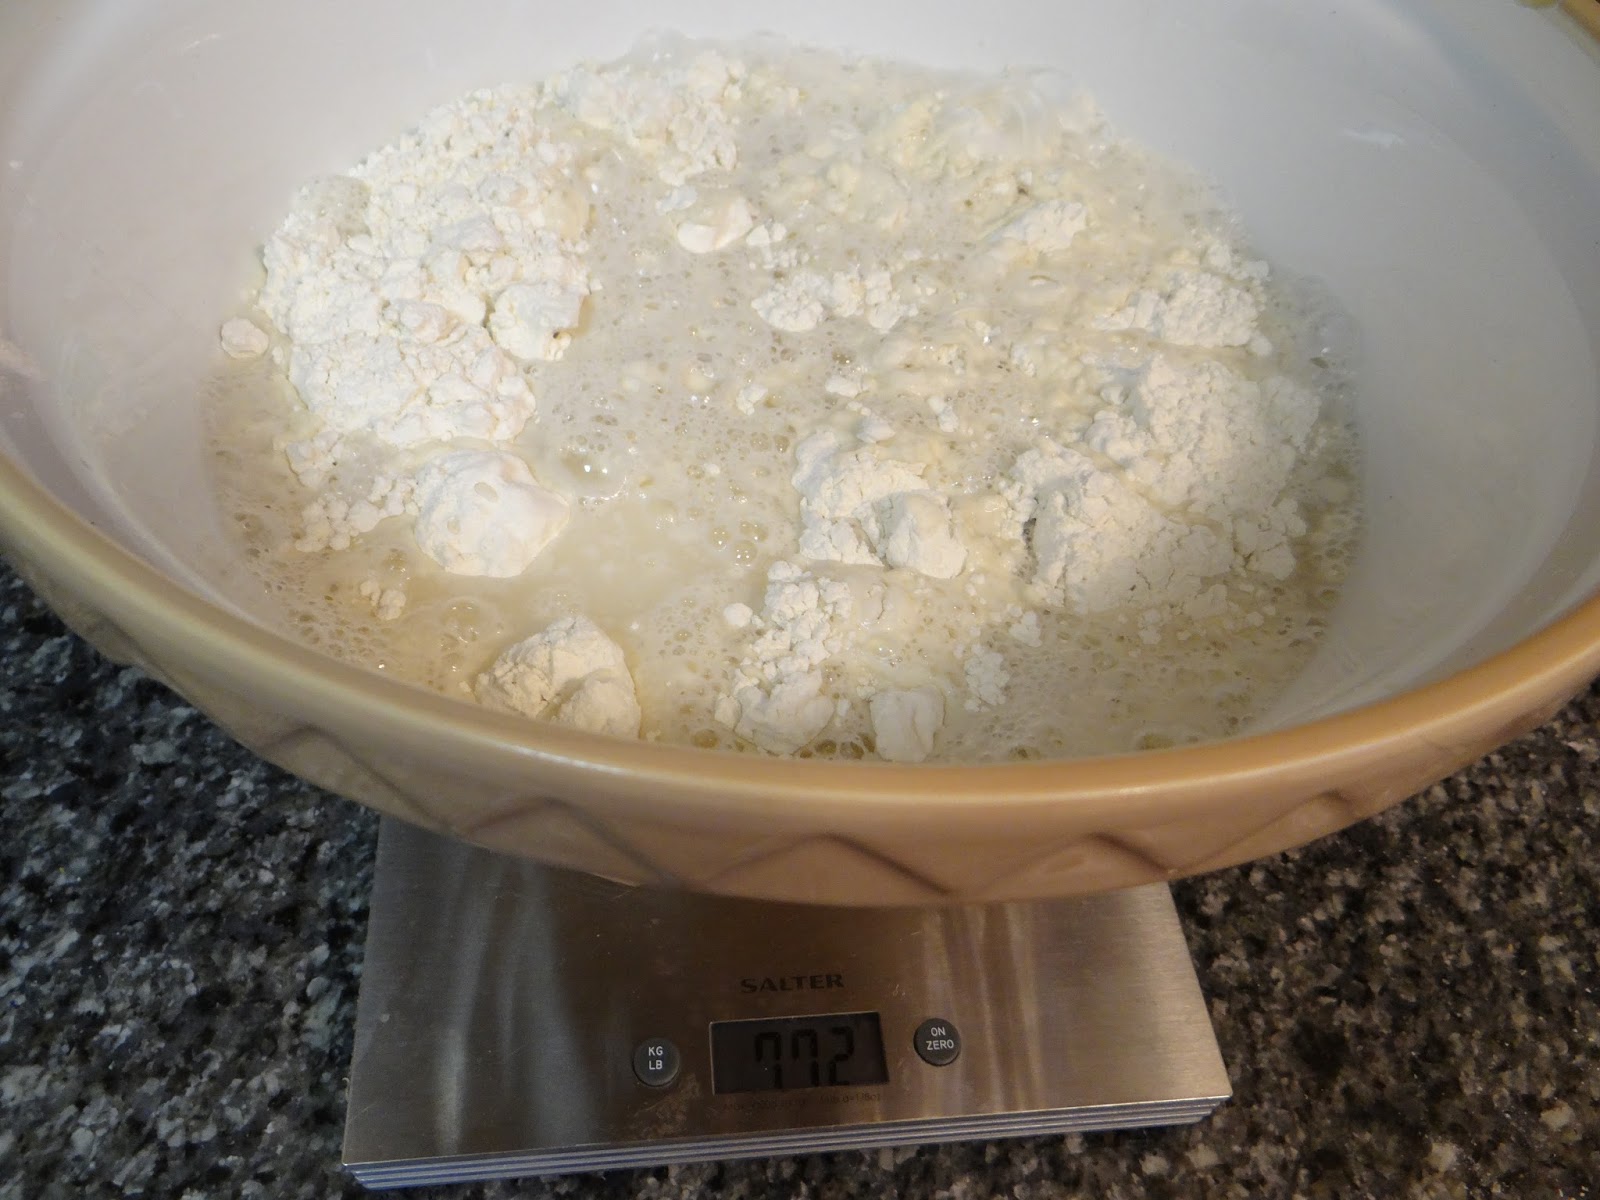
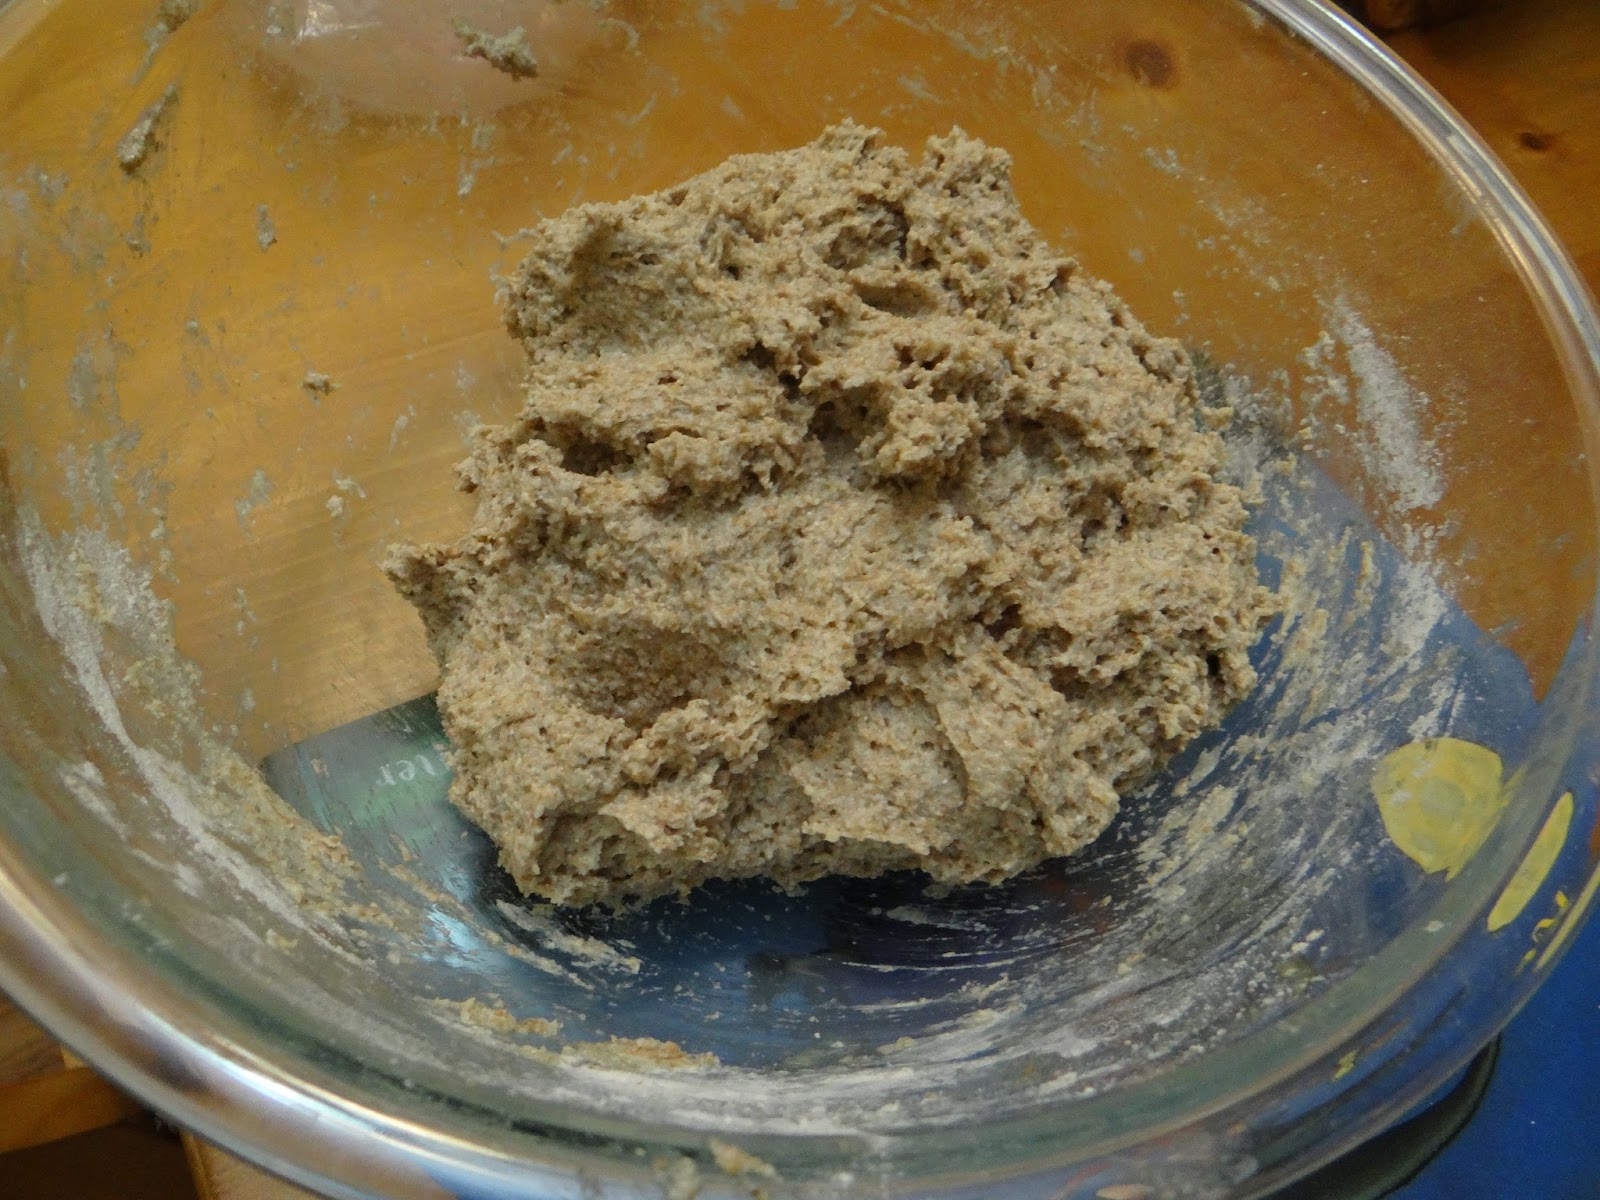
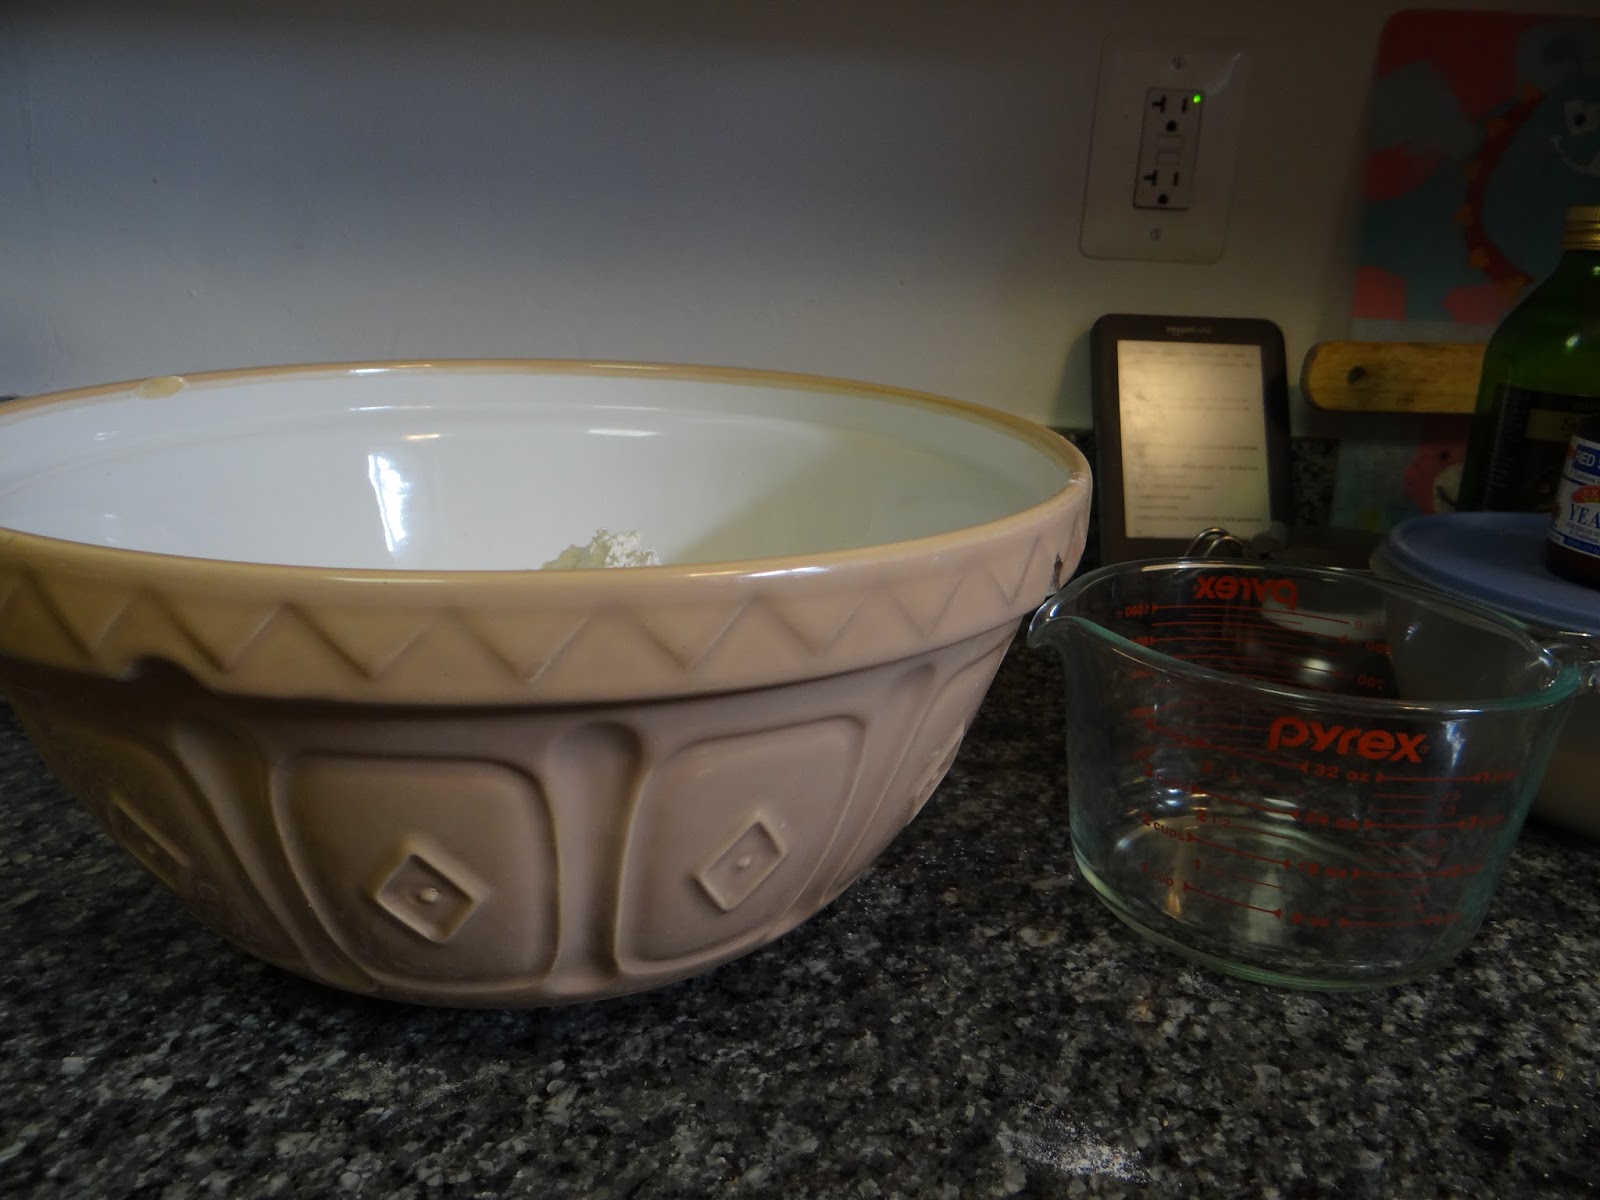
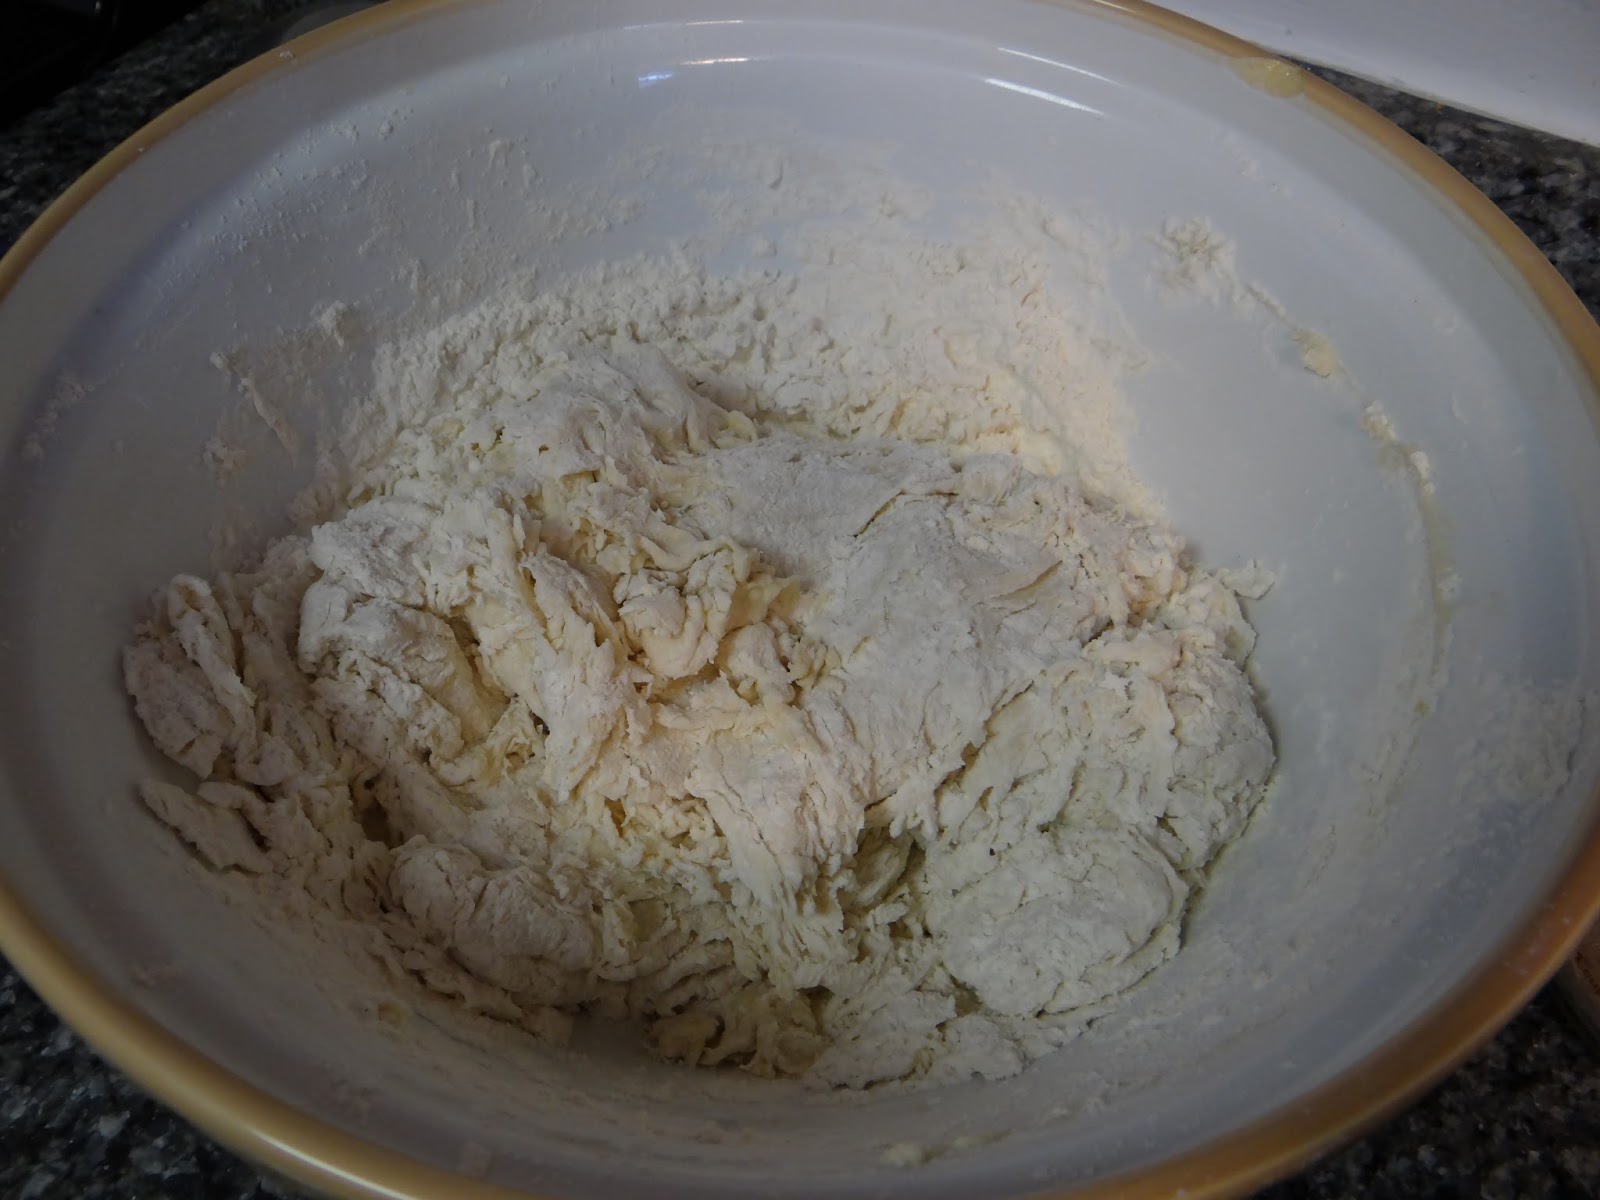
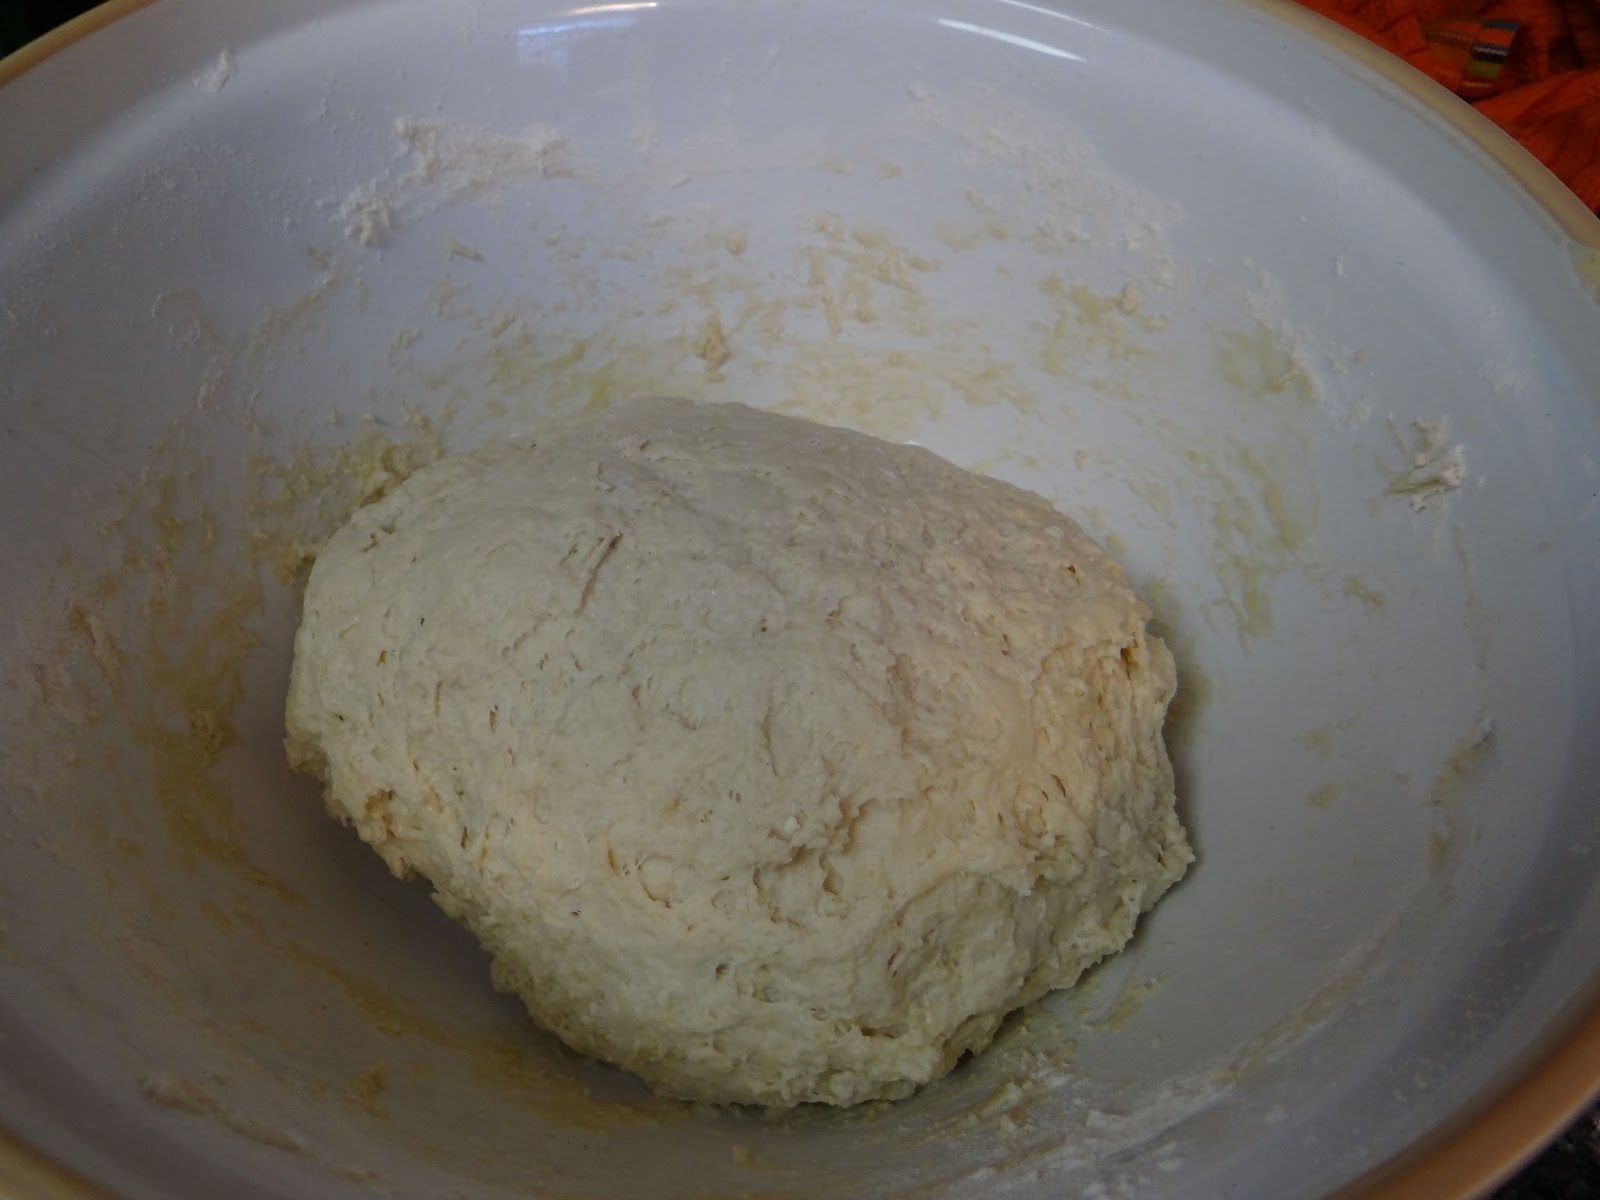
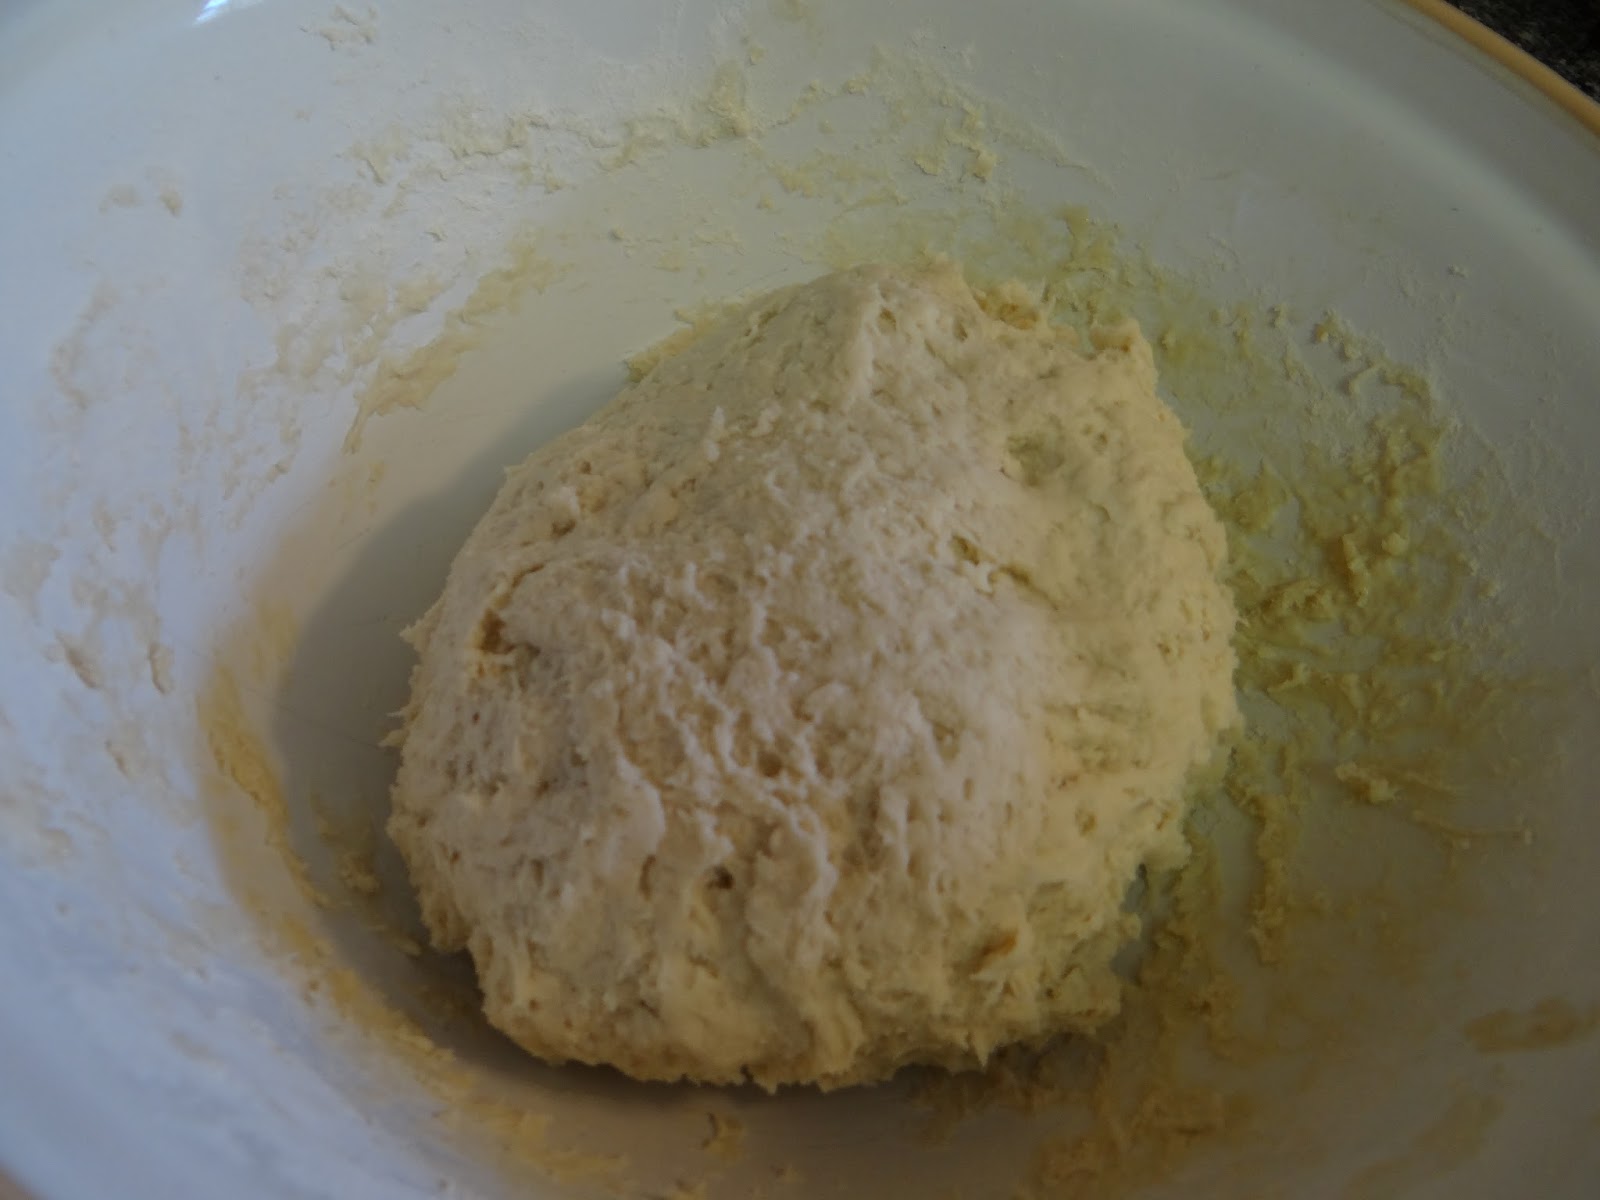
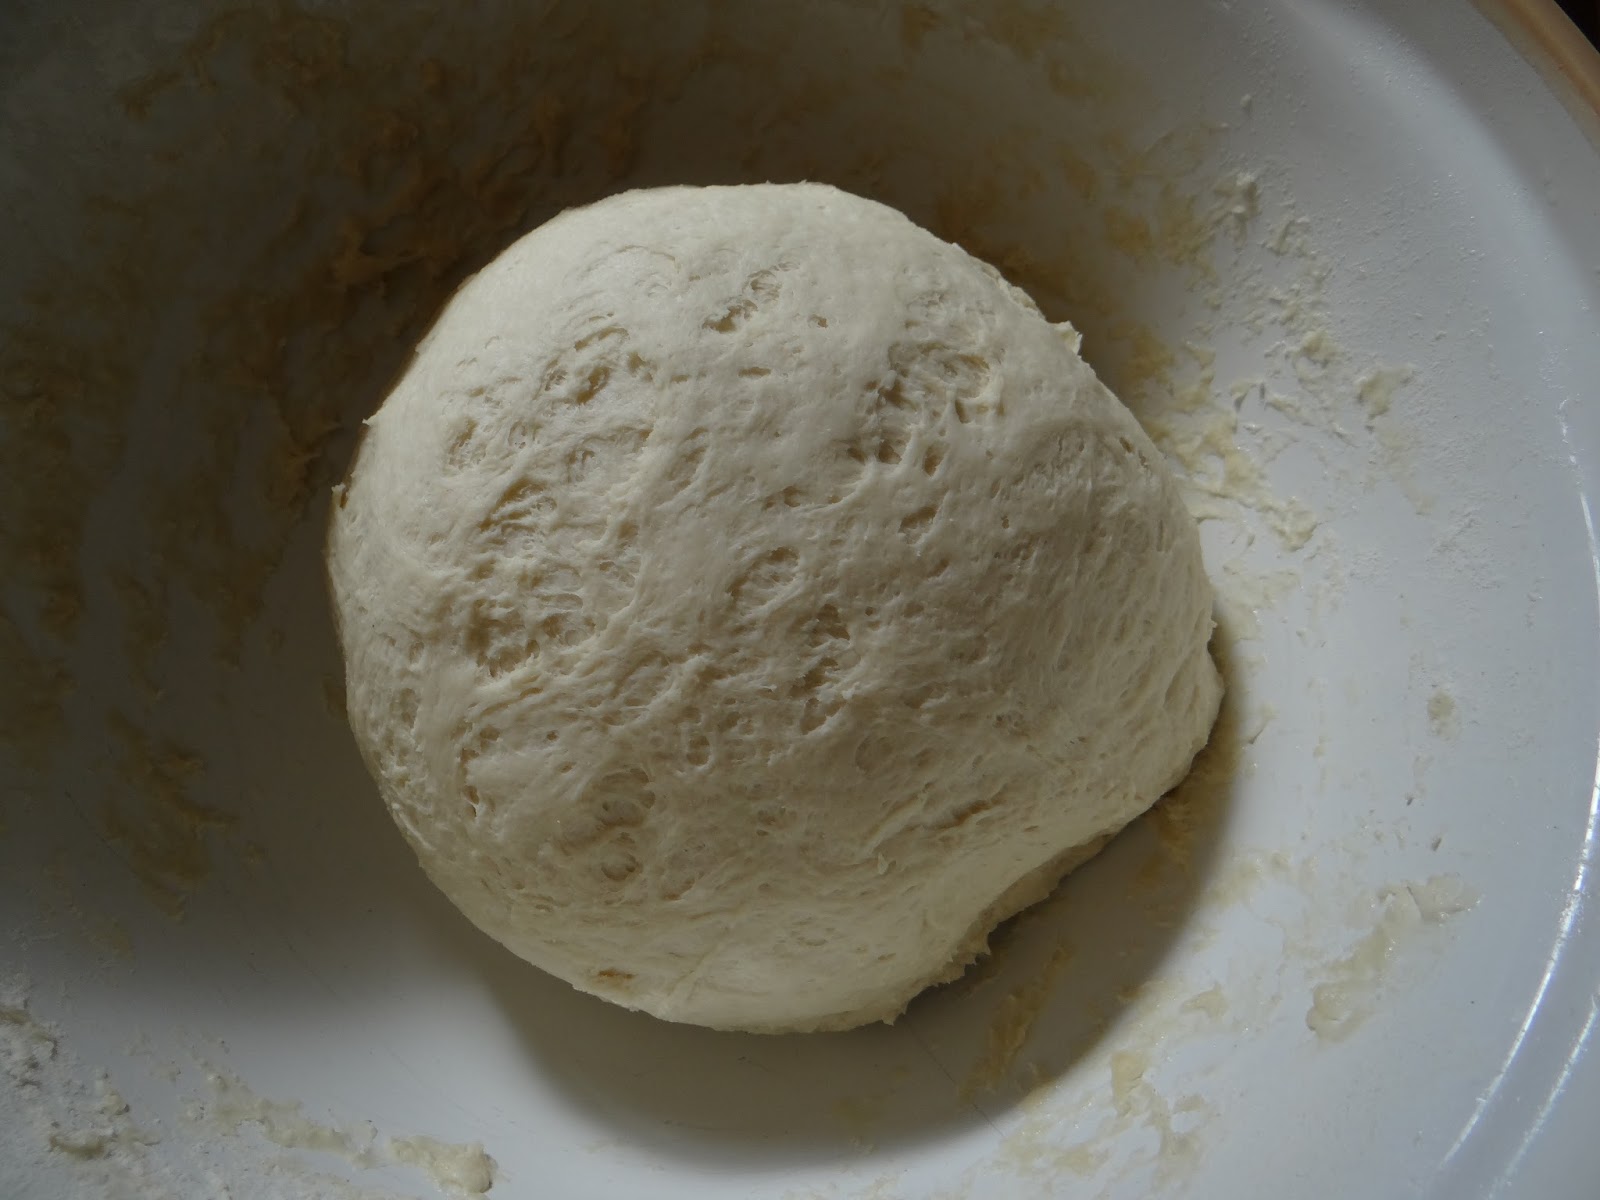
1. Pour your flour and about 720g of warm water into a very large bowl.  Mix with your hand to combine.  Don’t worry if the dough is very dry.  Let the dough sit covered for 15 minutes.

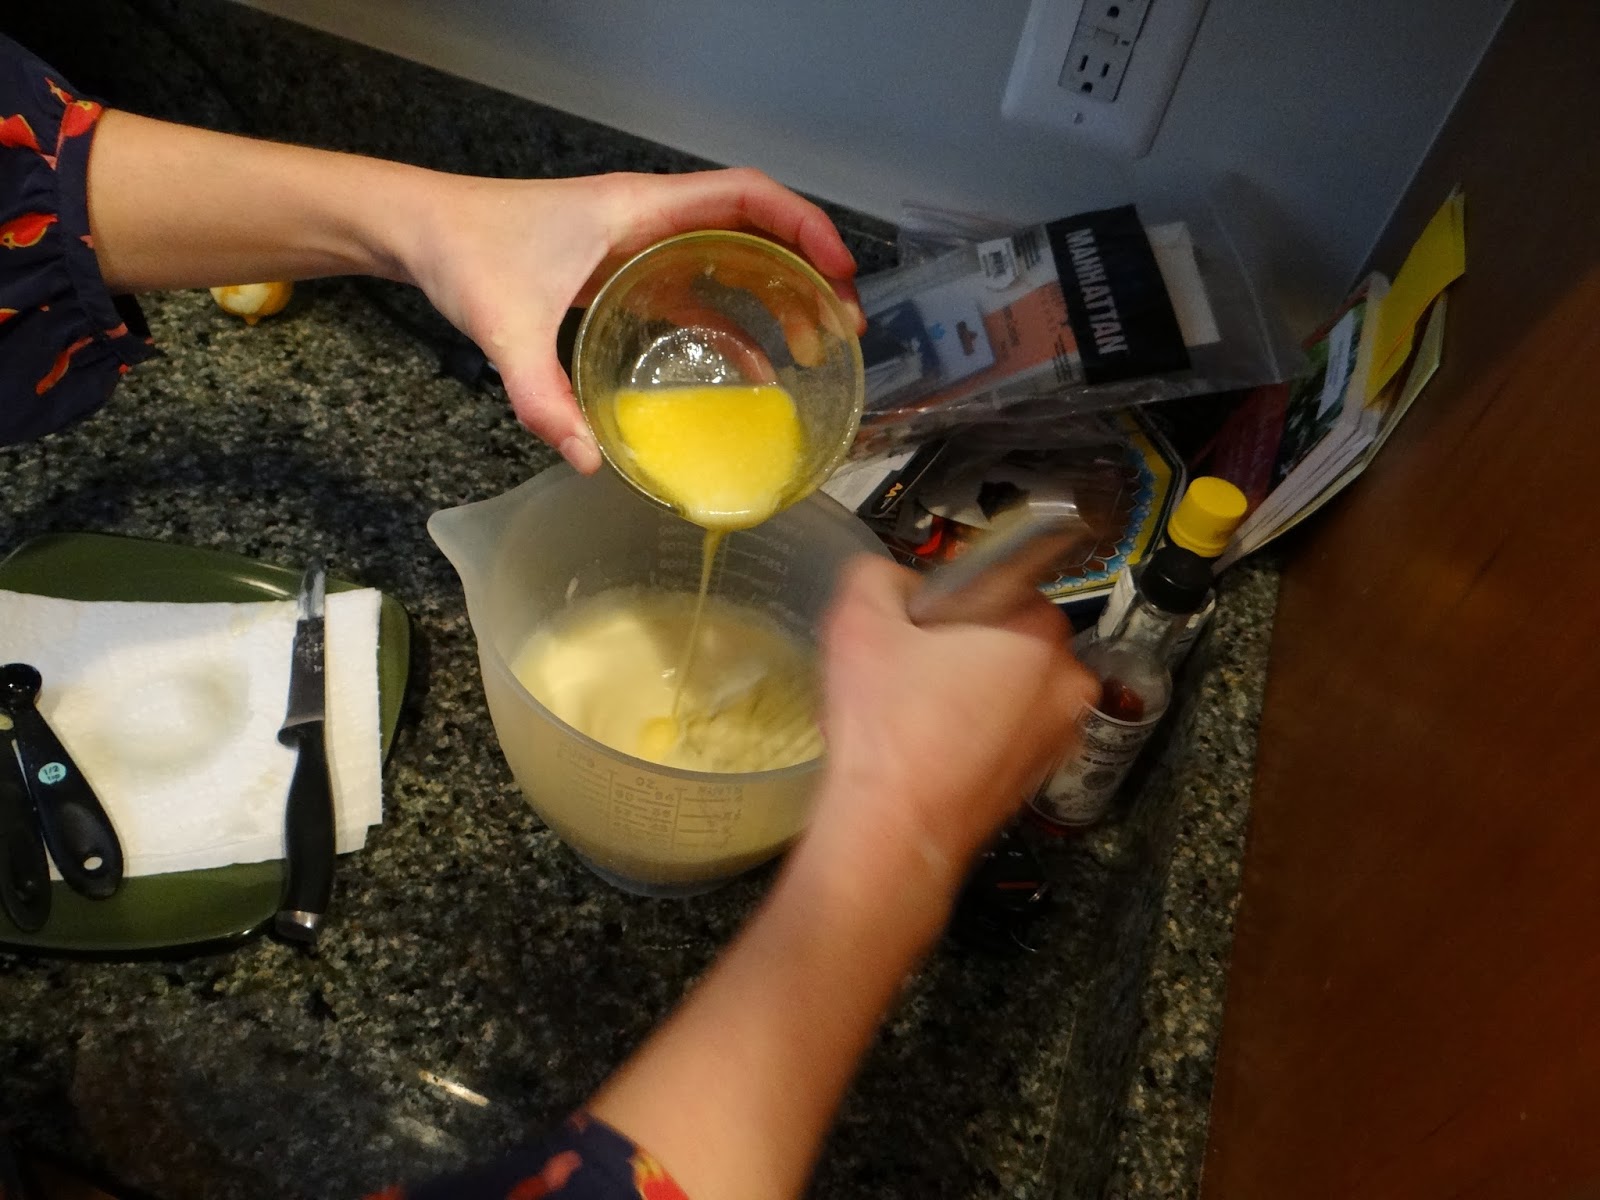
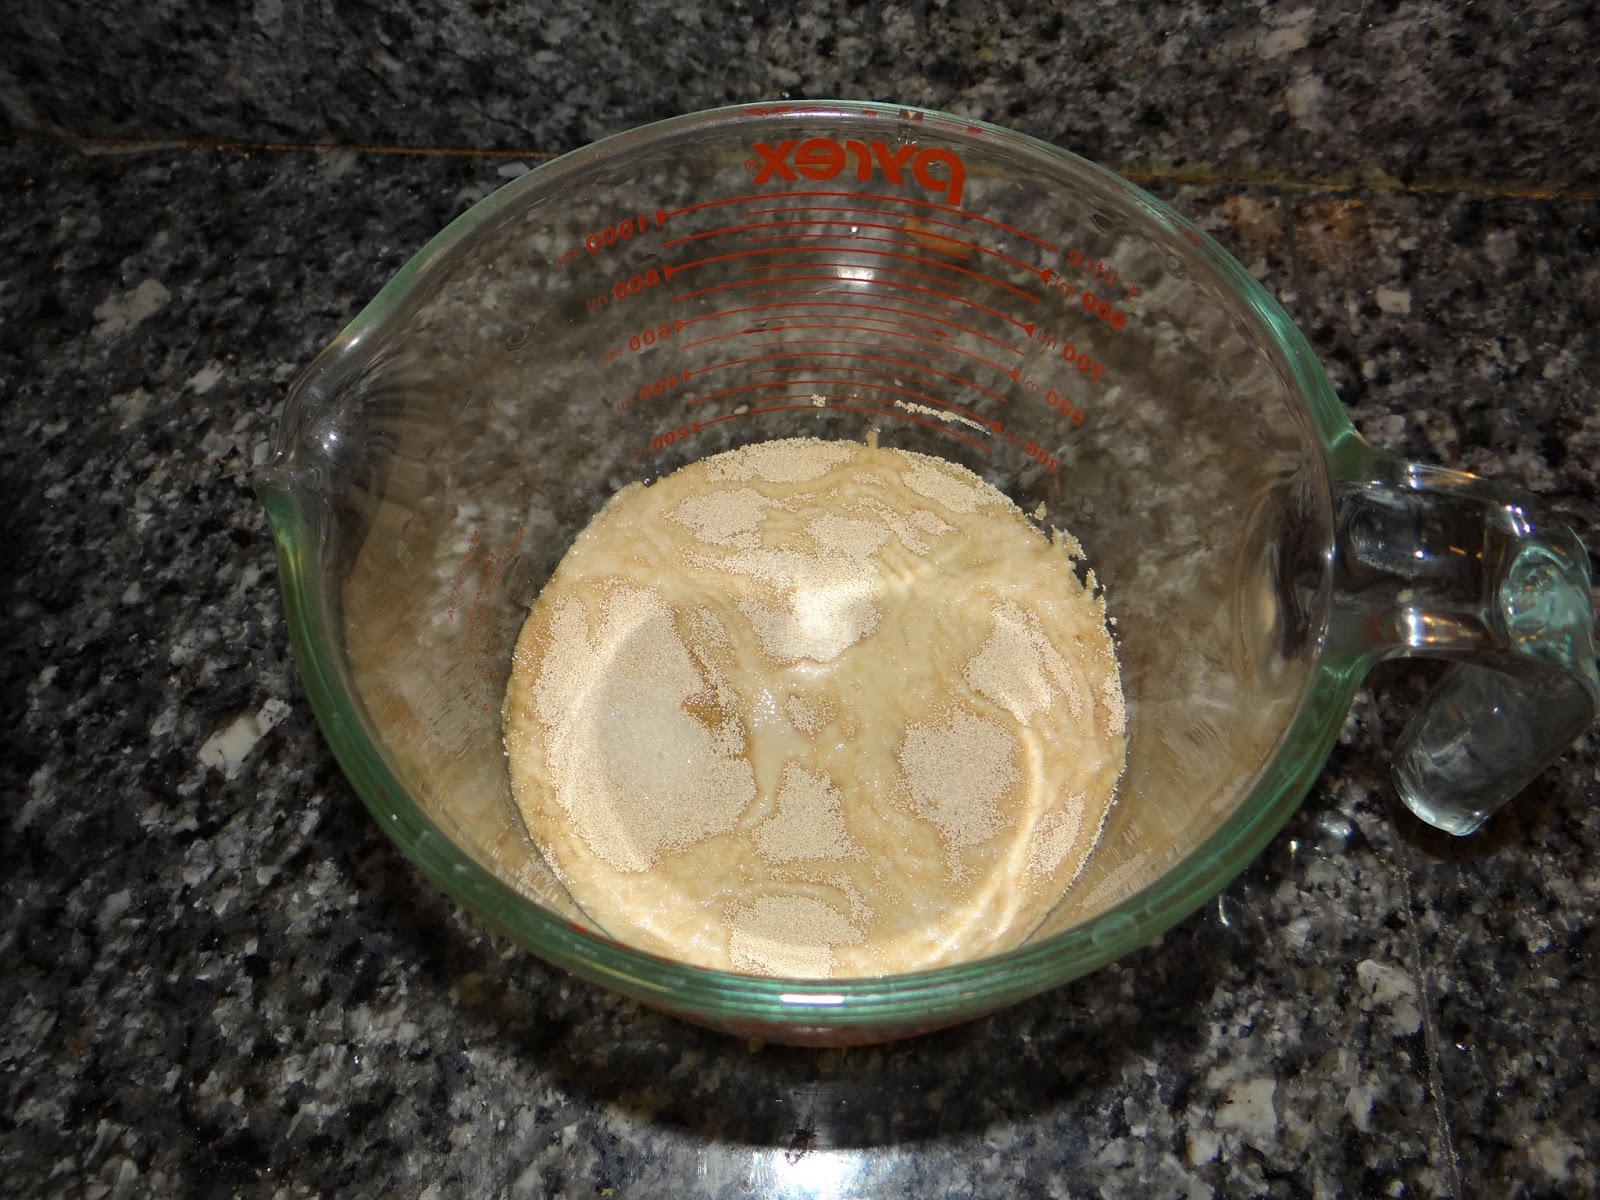
2. Meanwhile, mix together the other 80g of warm water with the sugar, honey and yeast.  Let sit for 15 minutes.

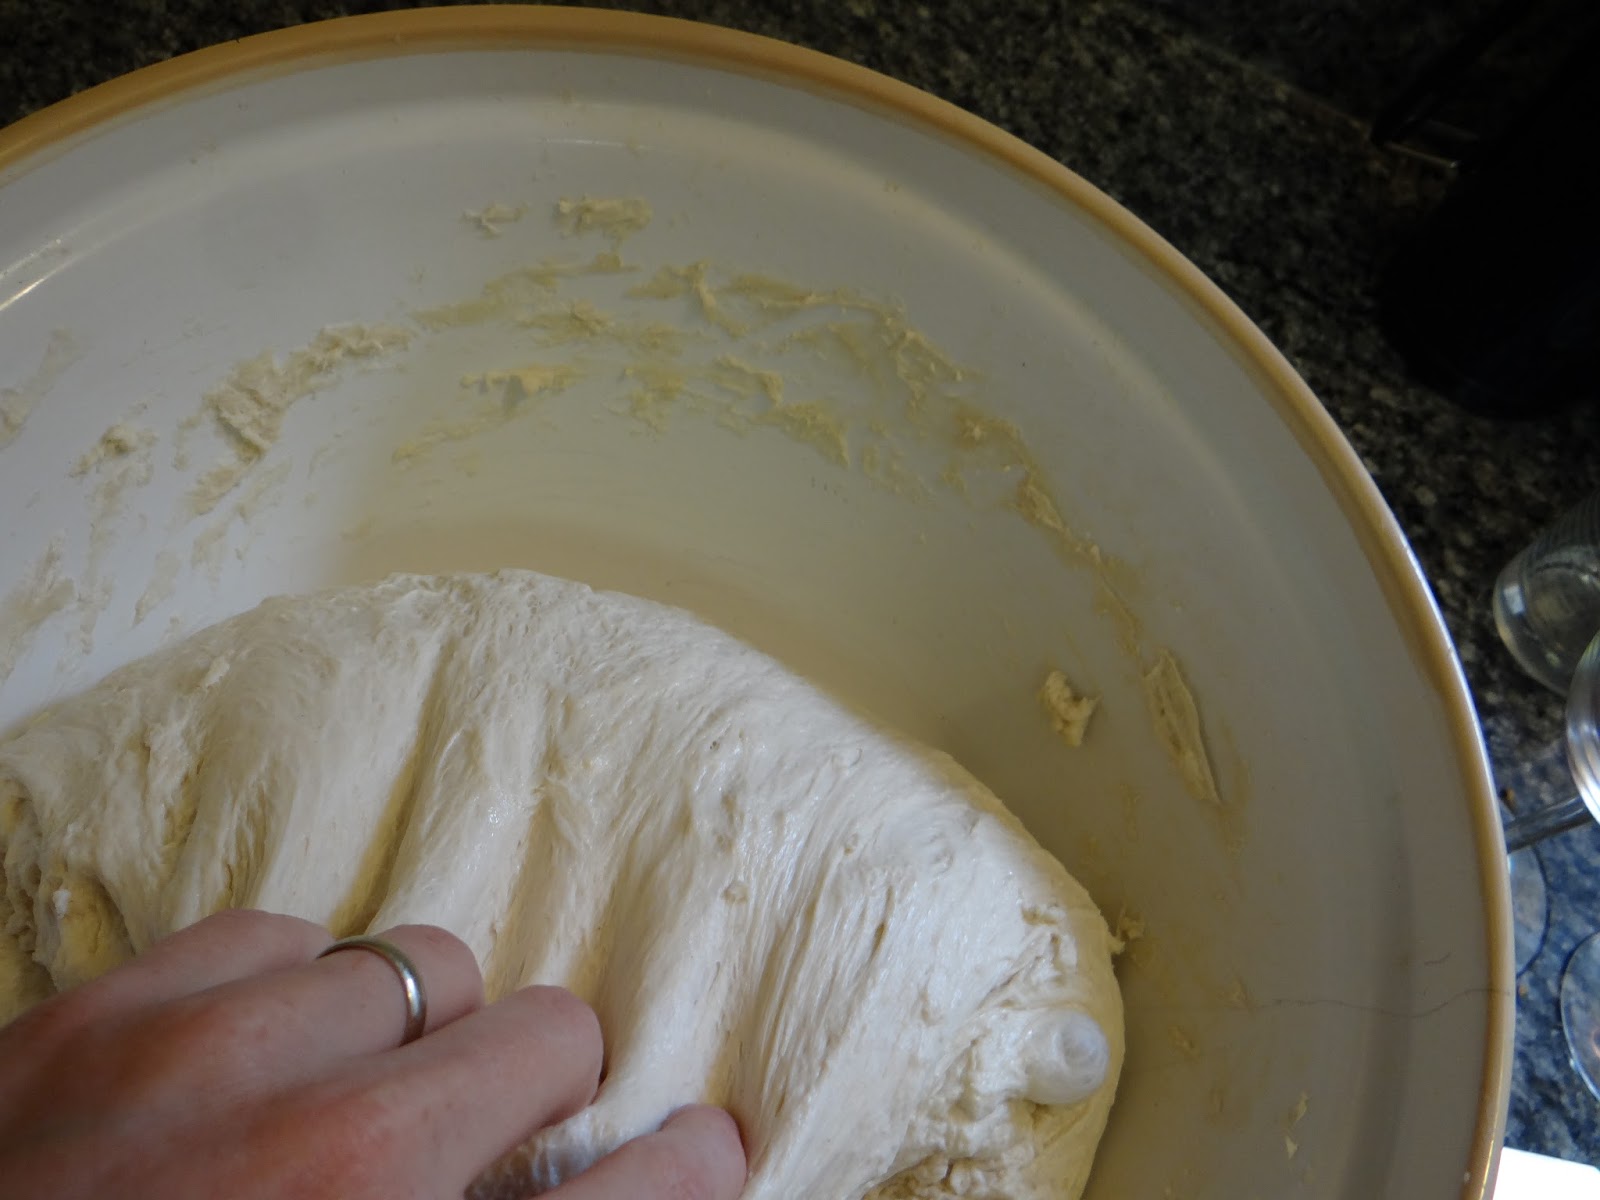
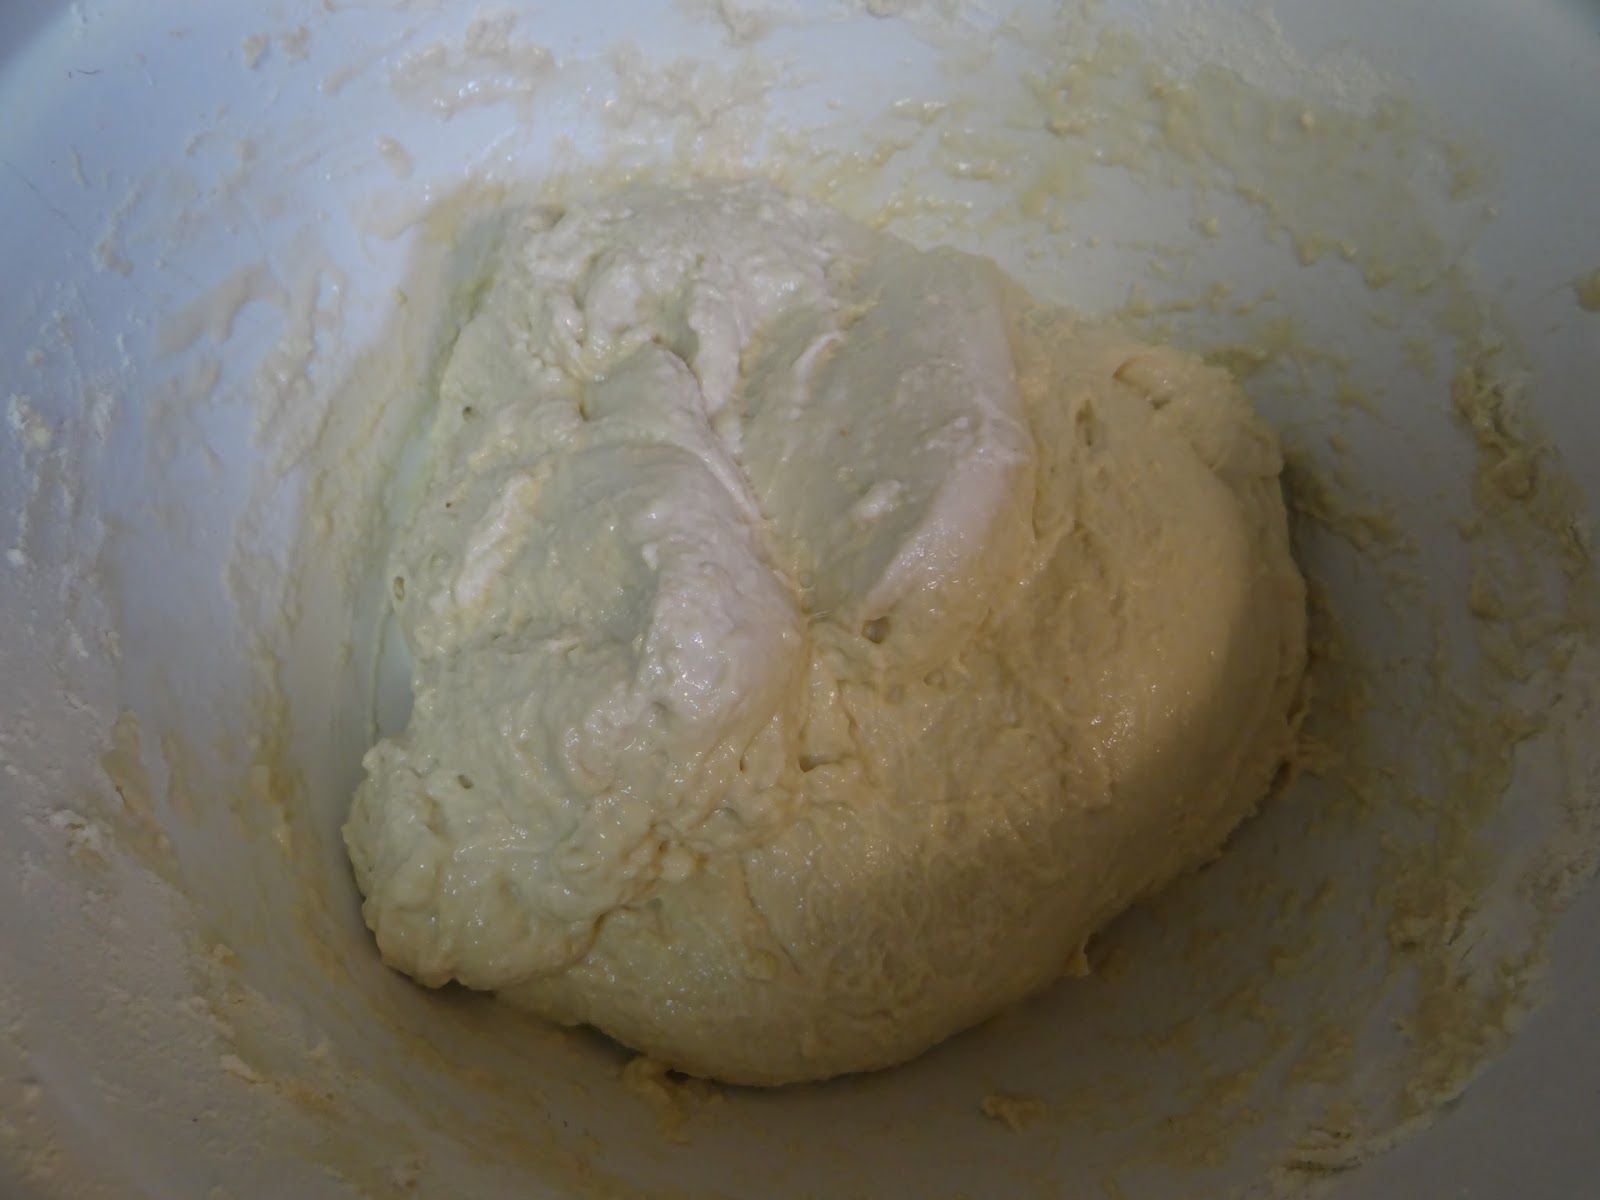
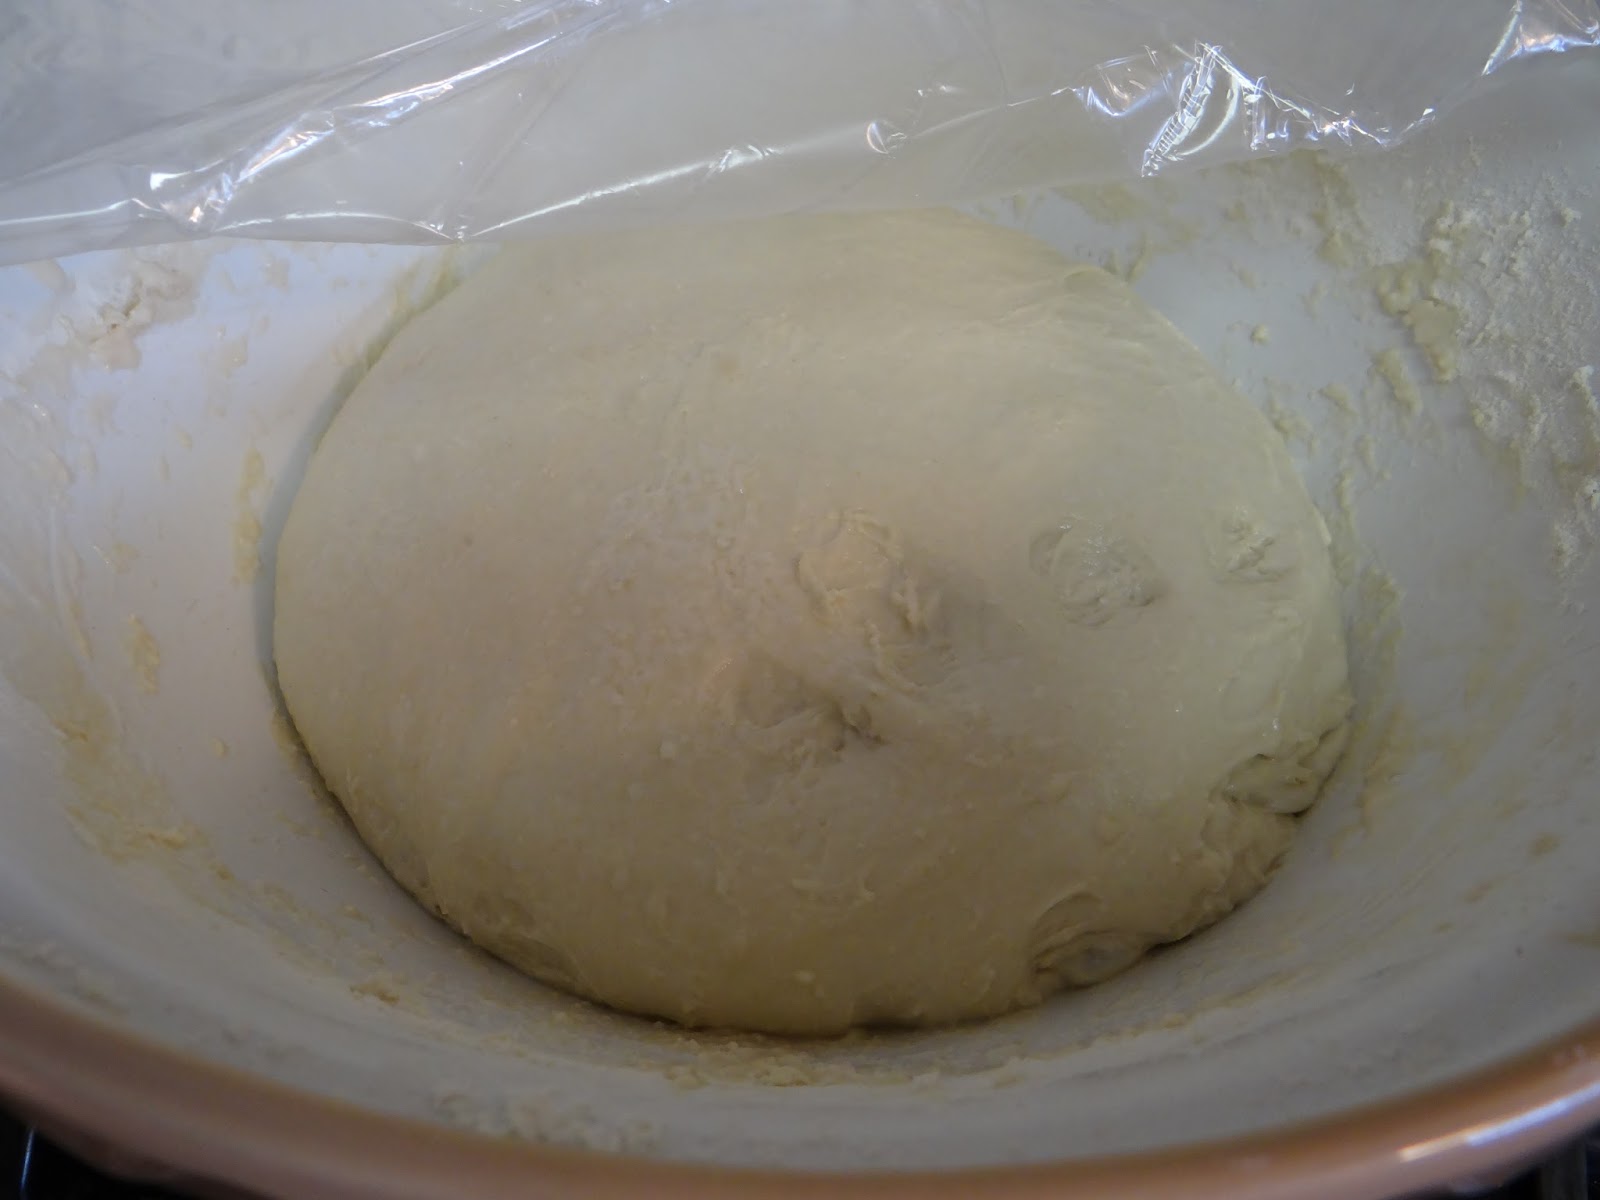
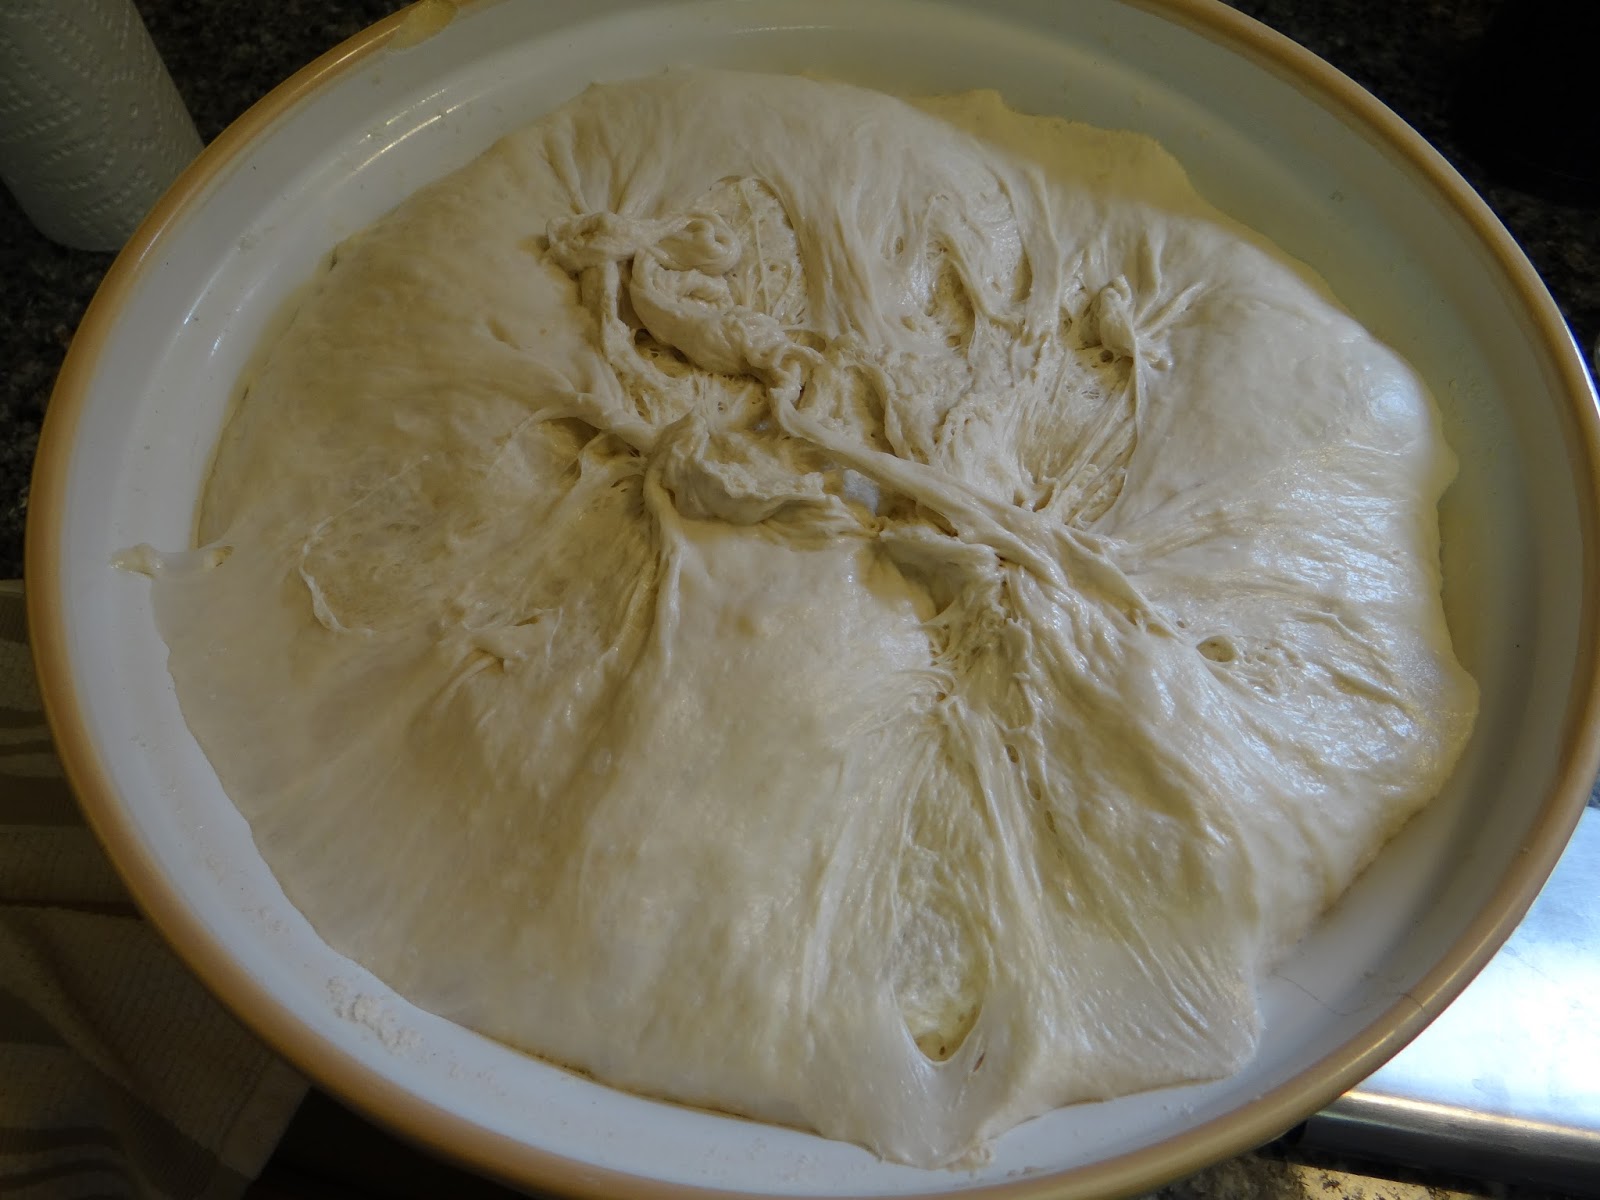
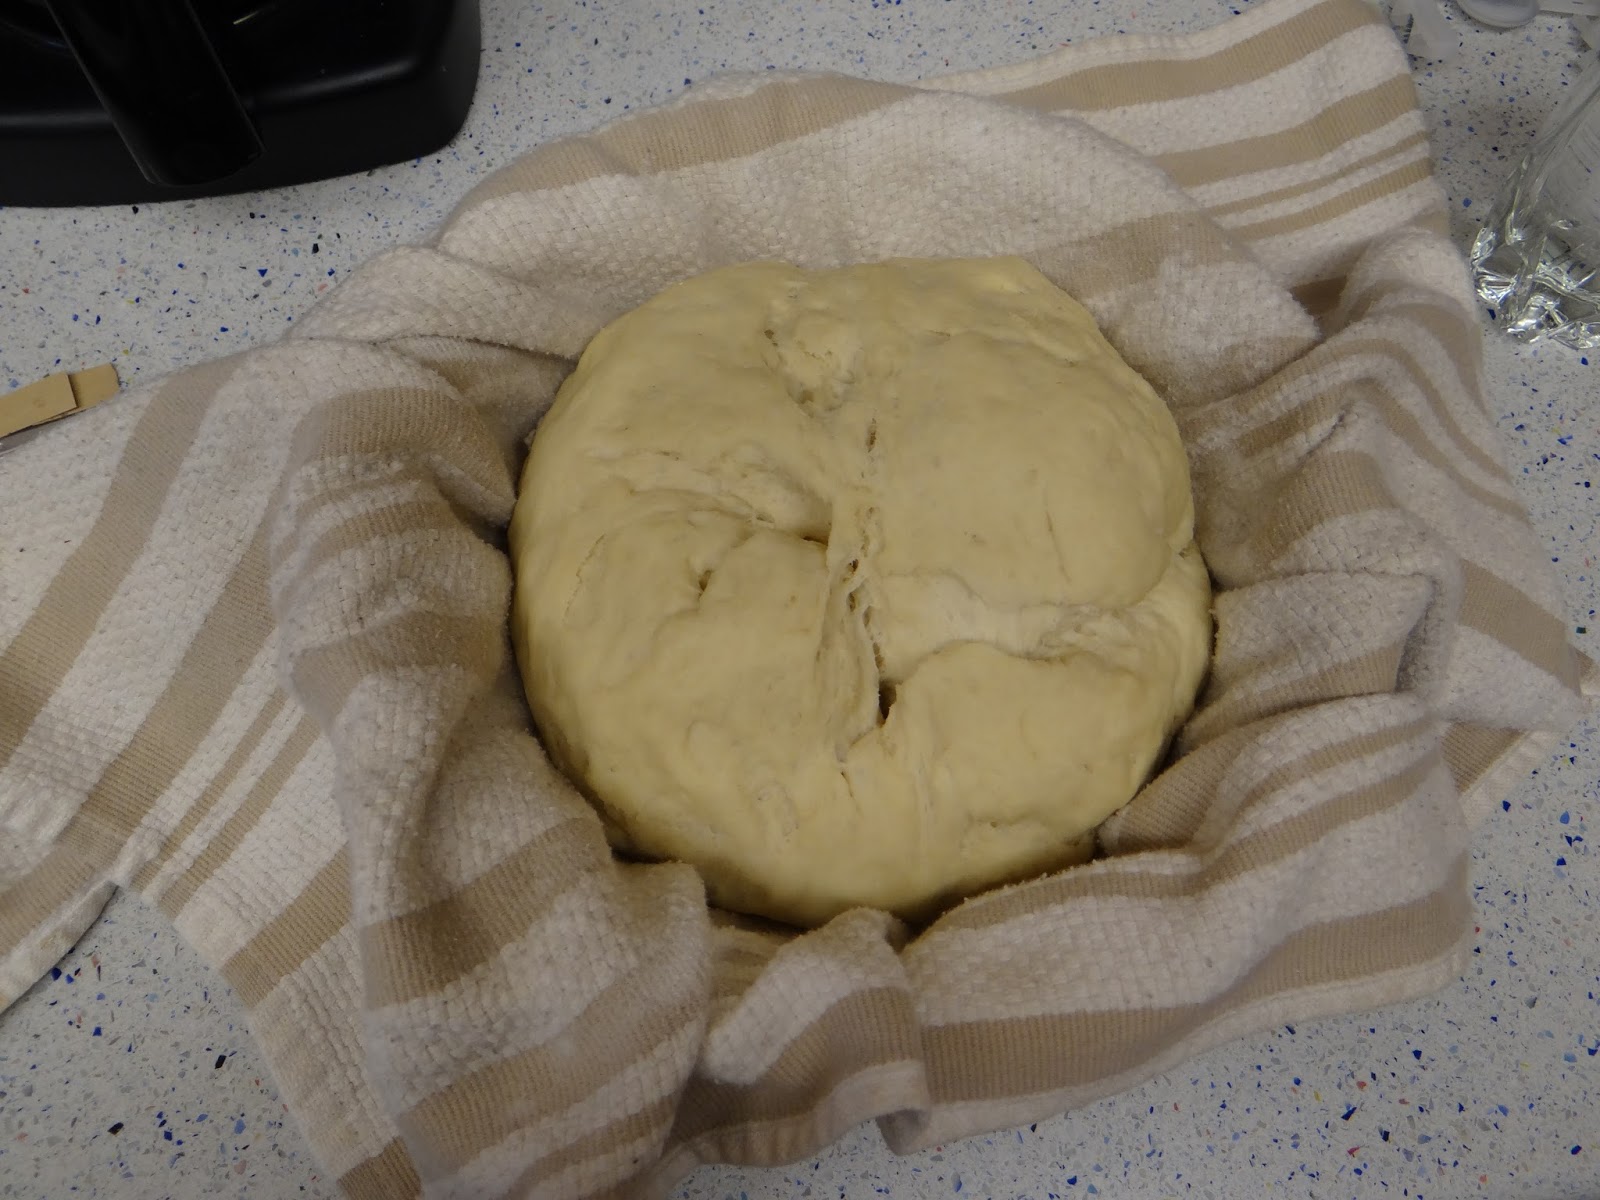
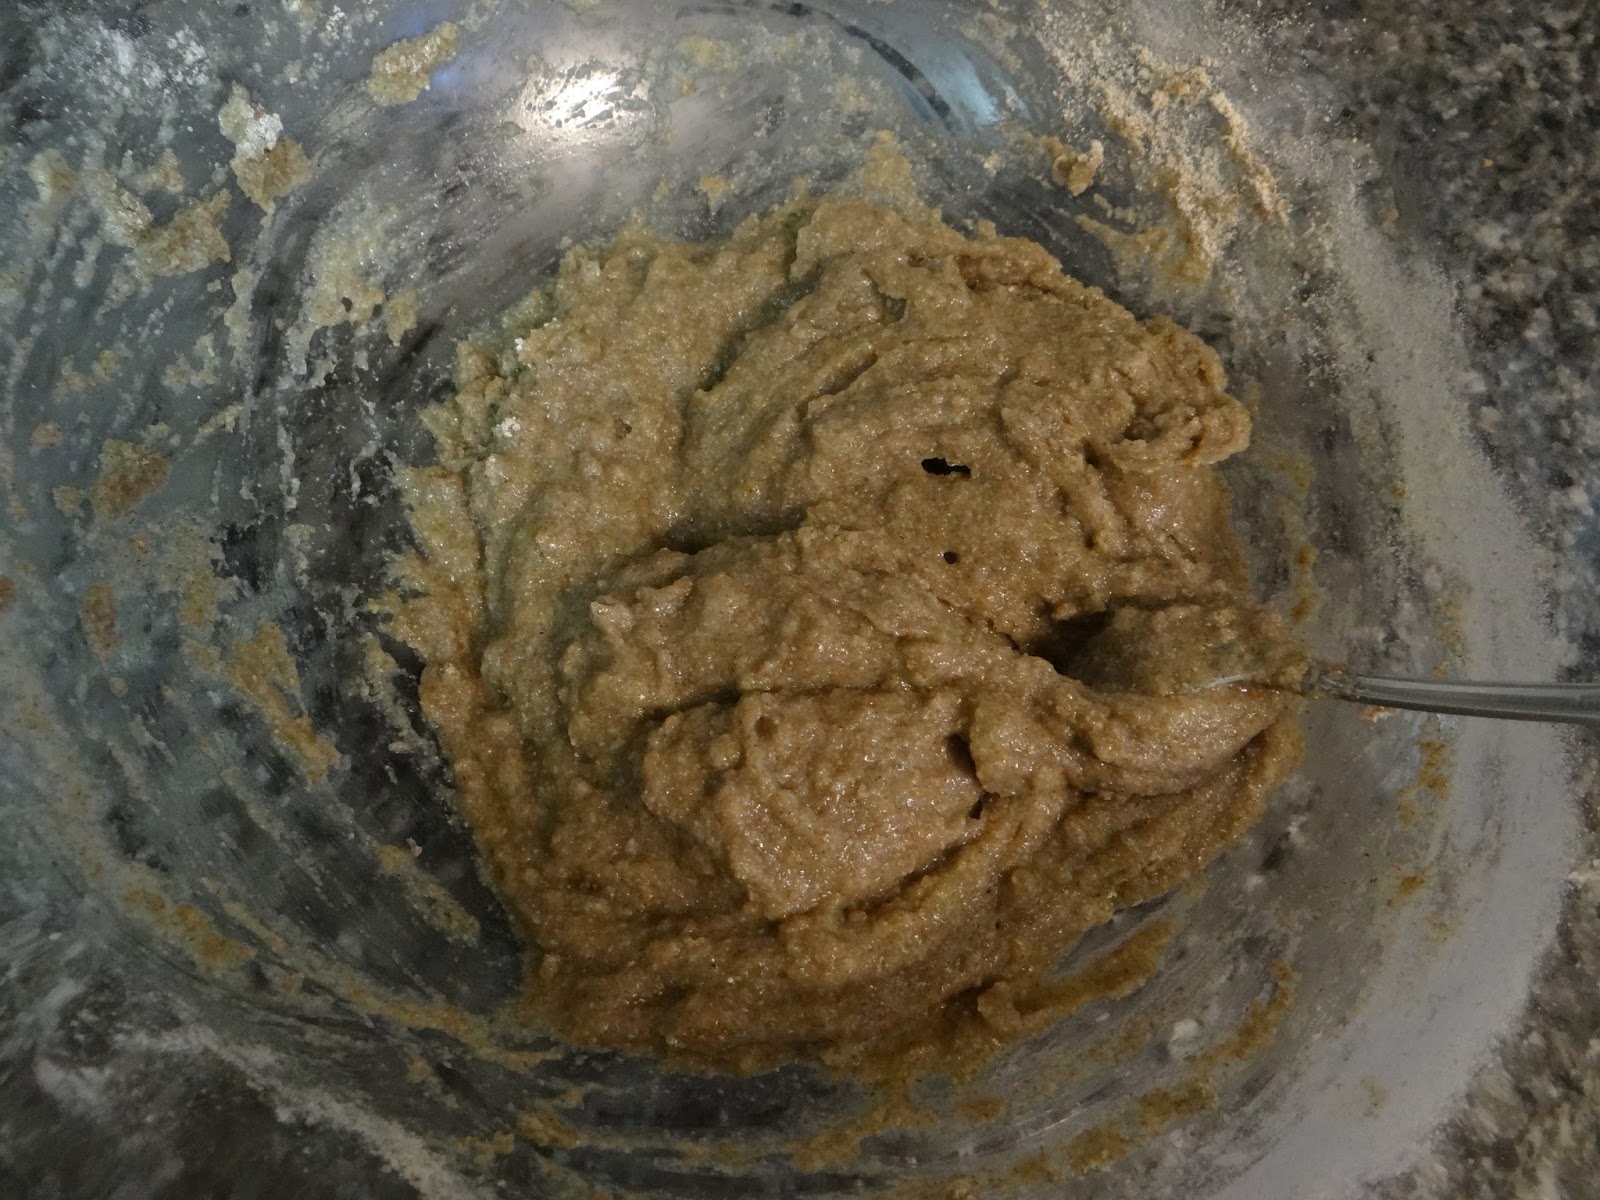
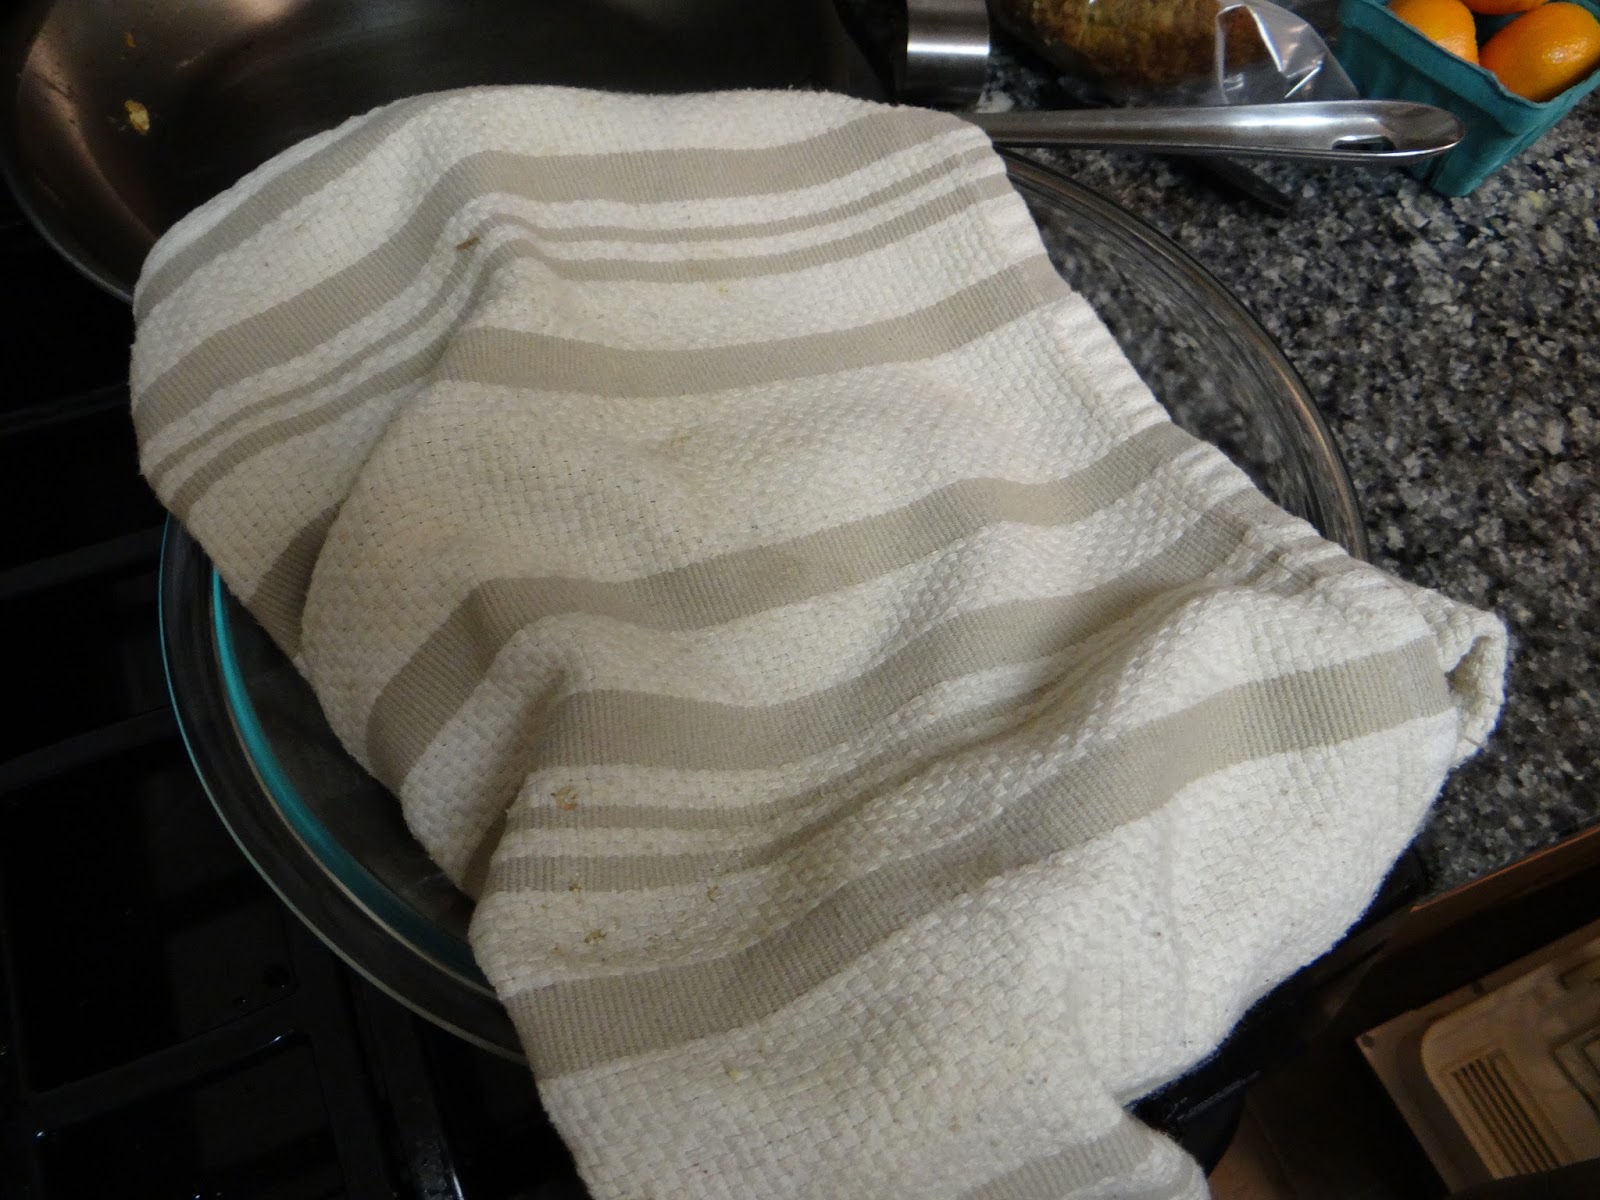
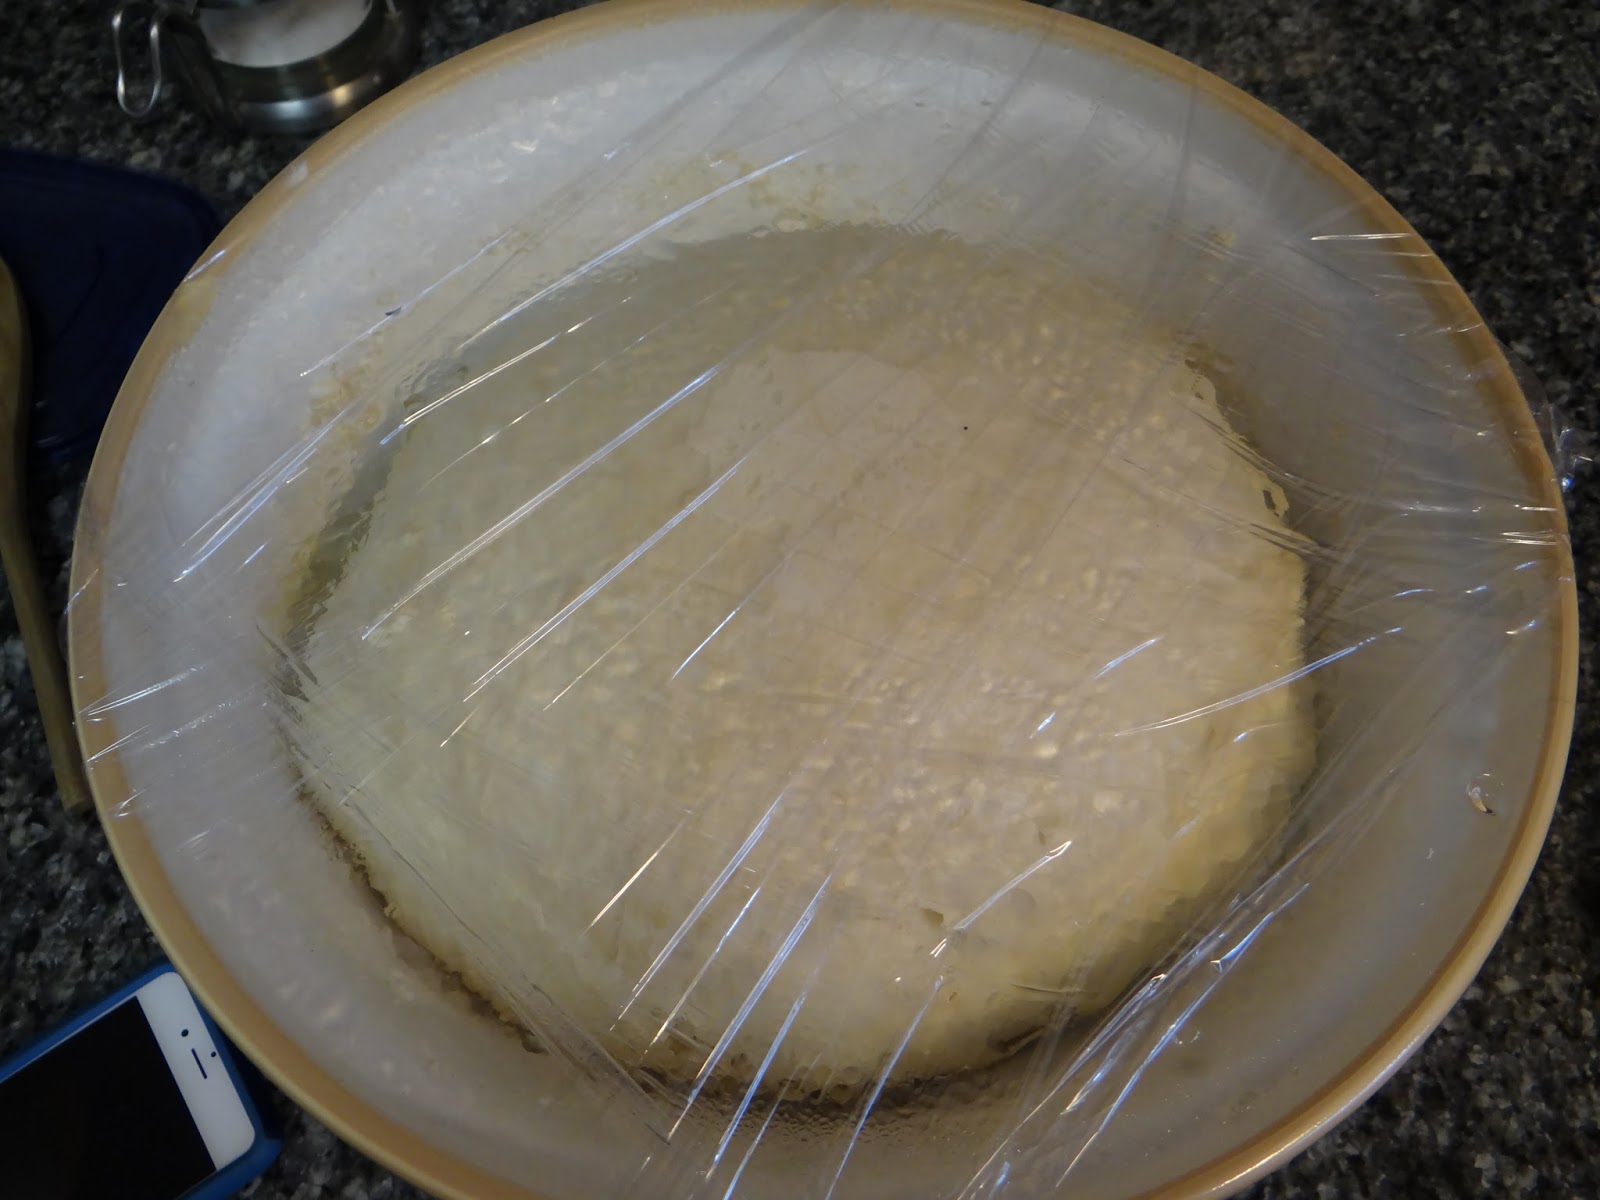
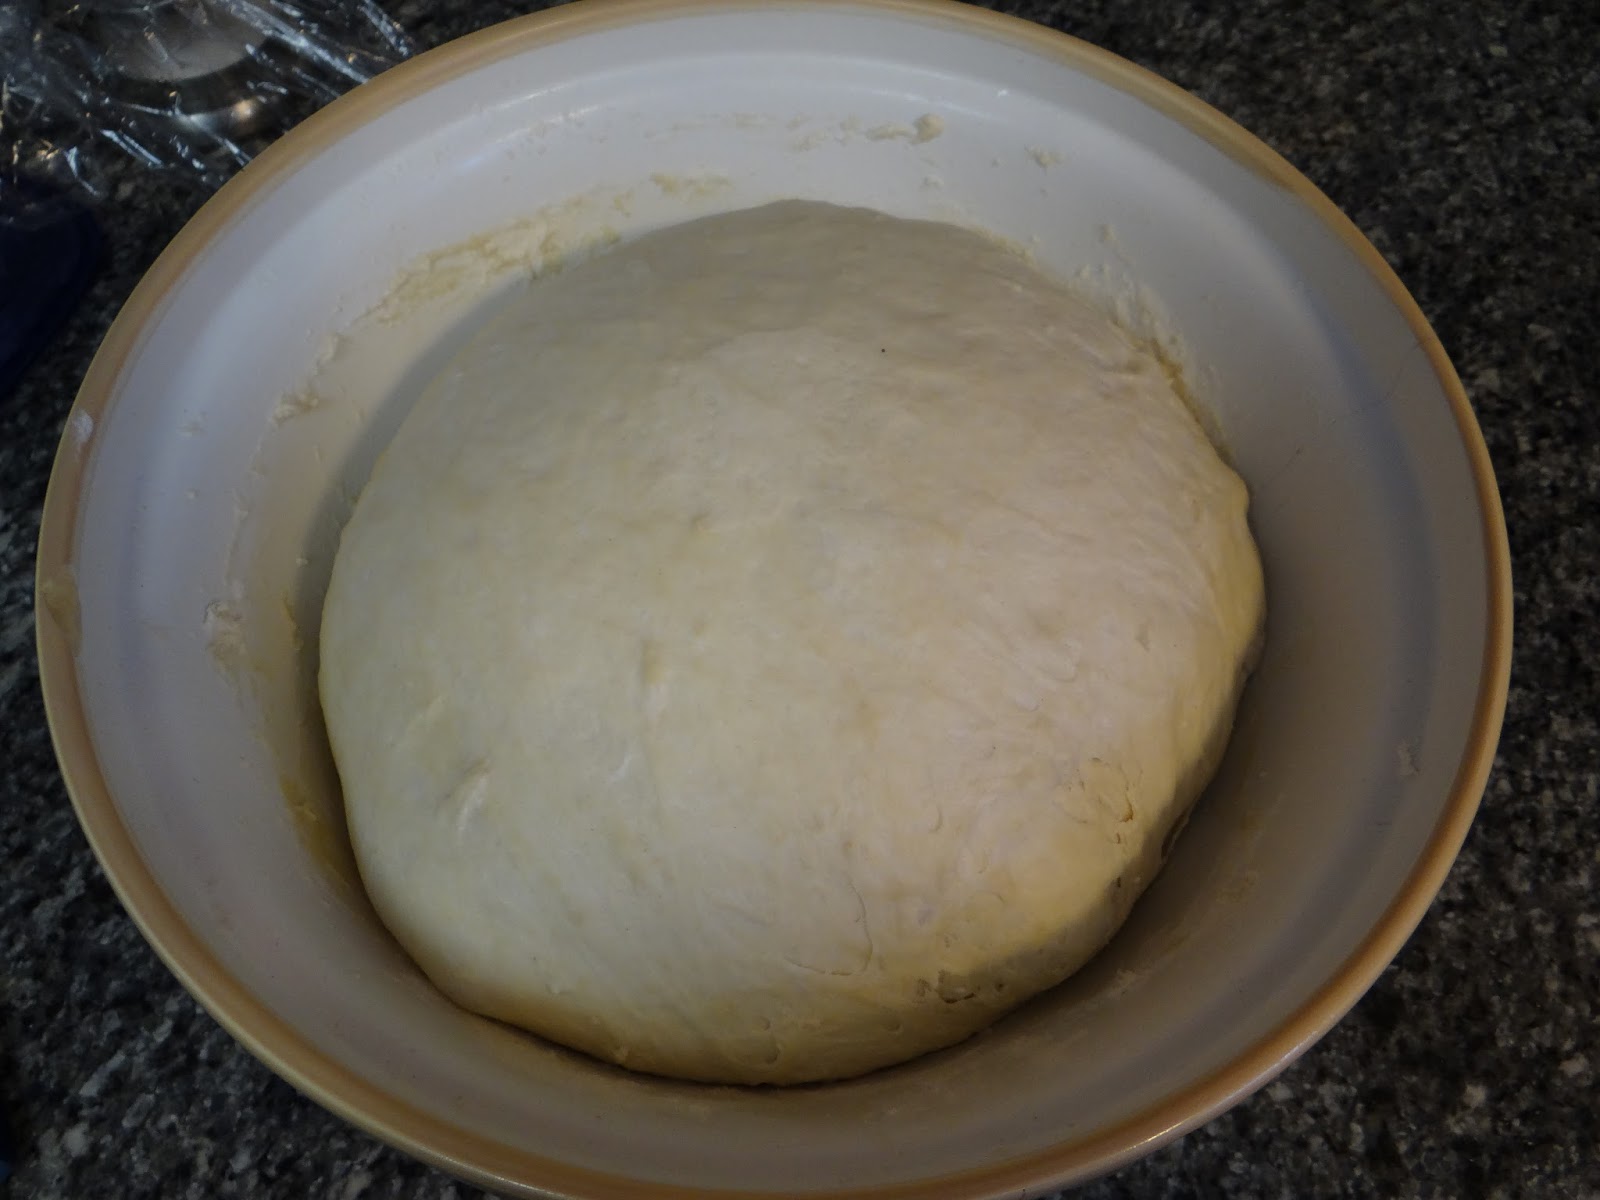
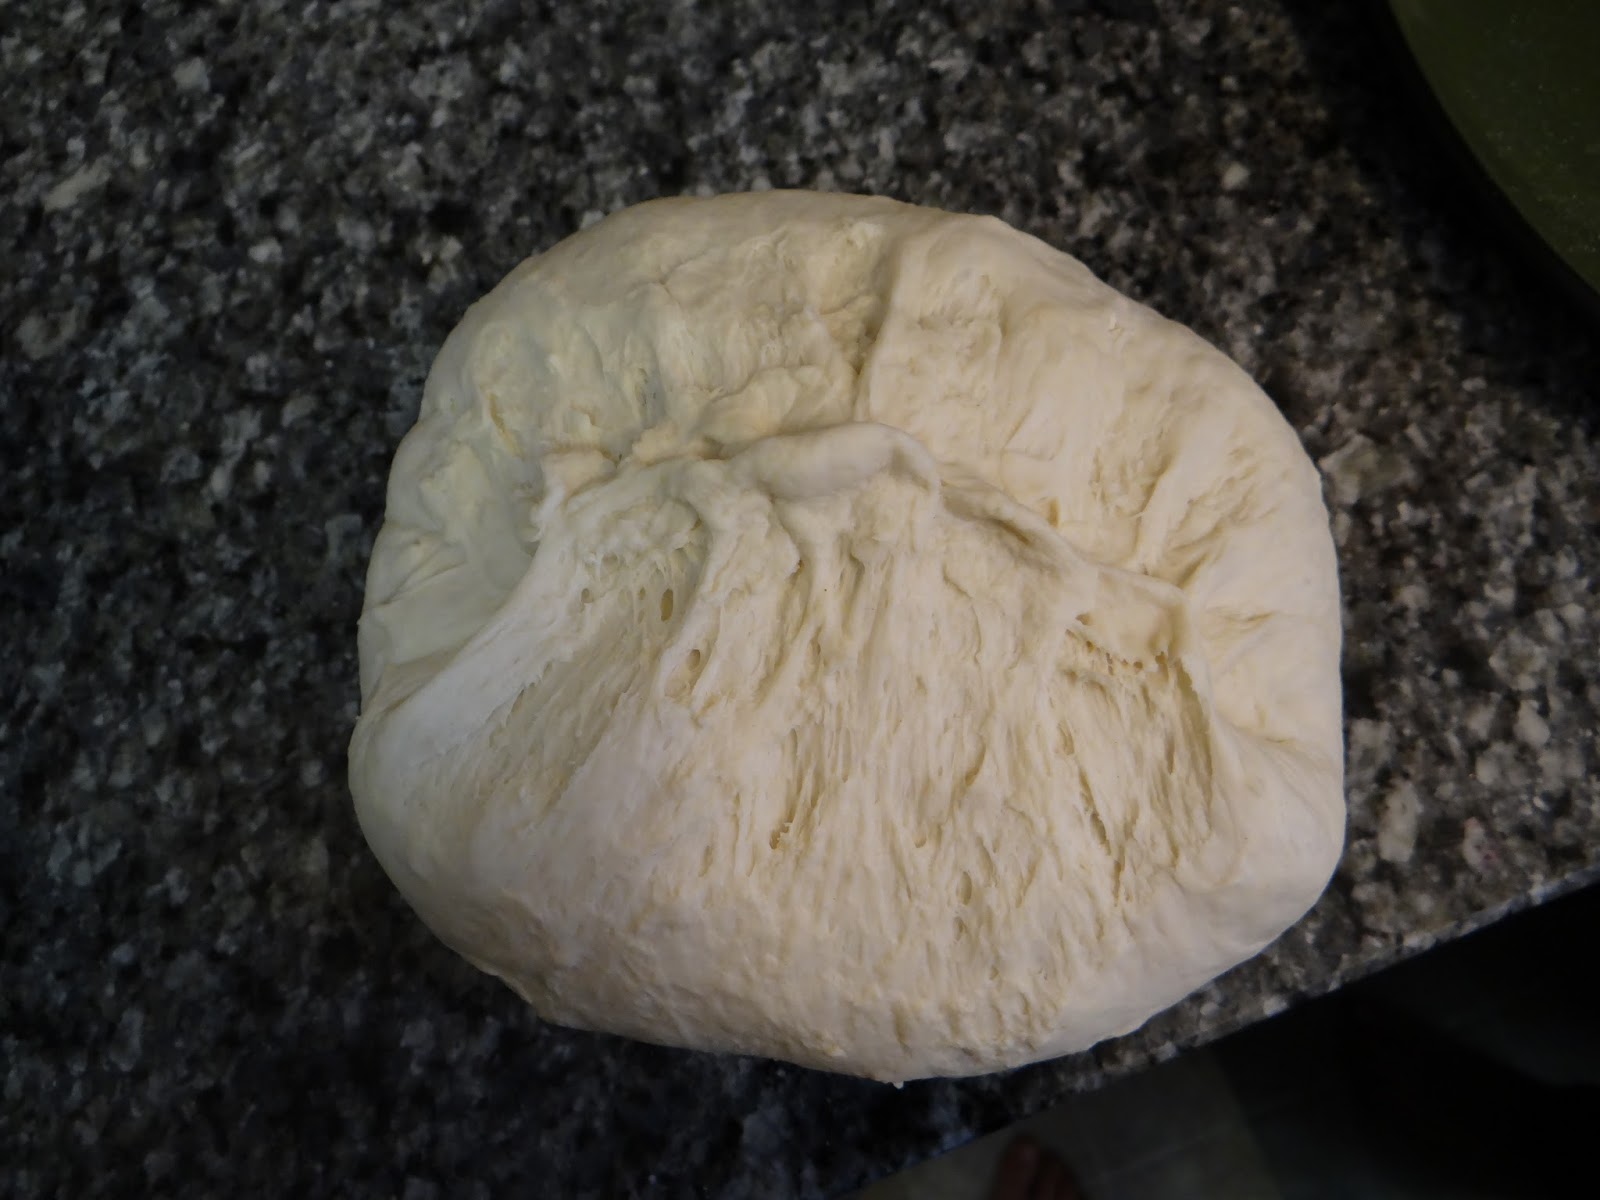
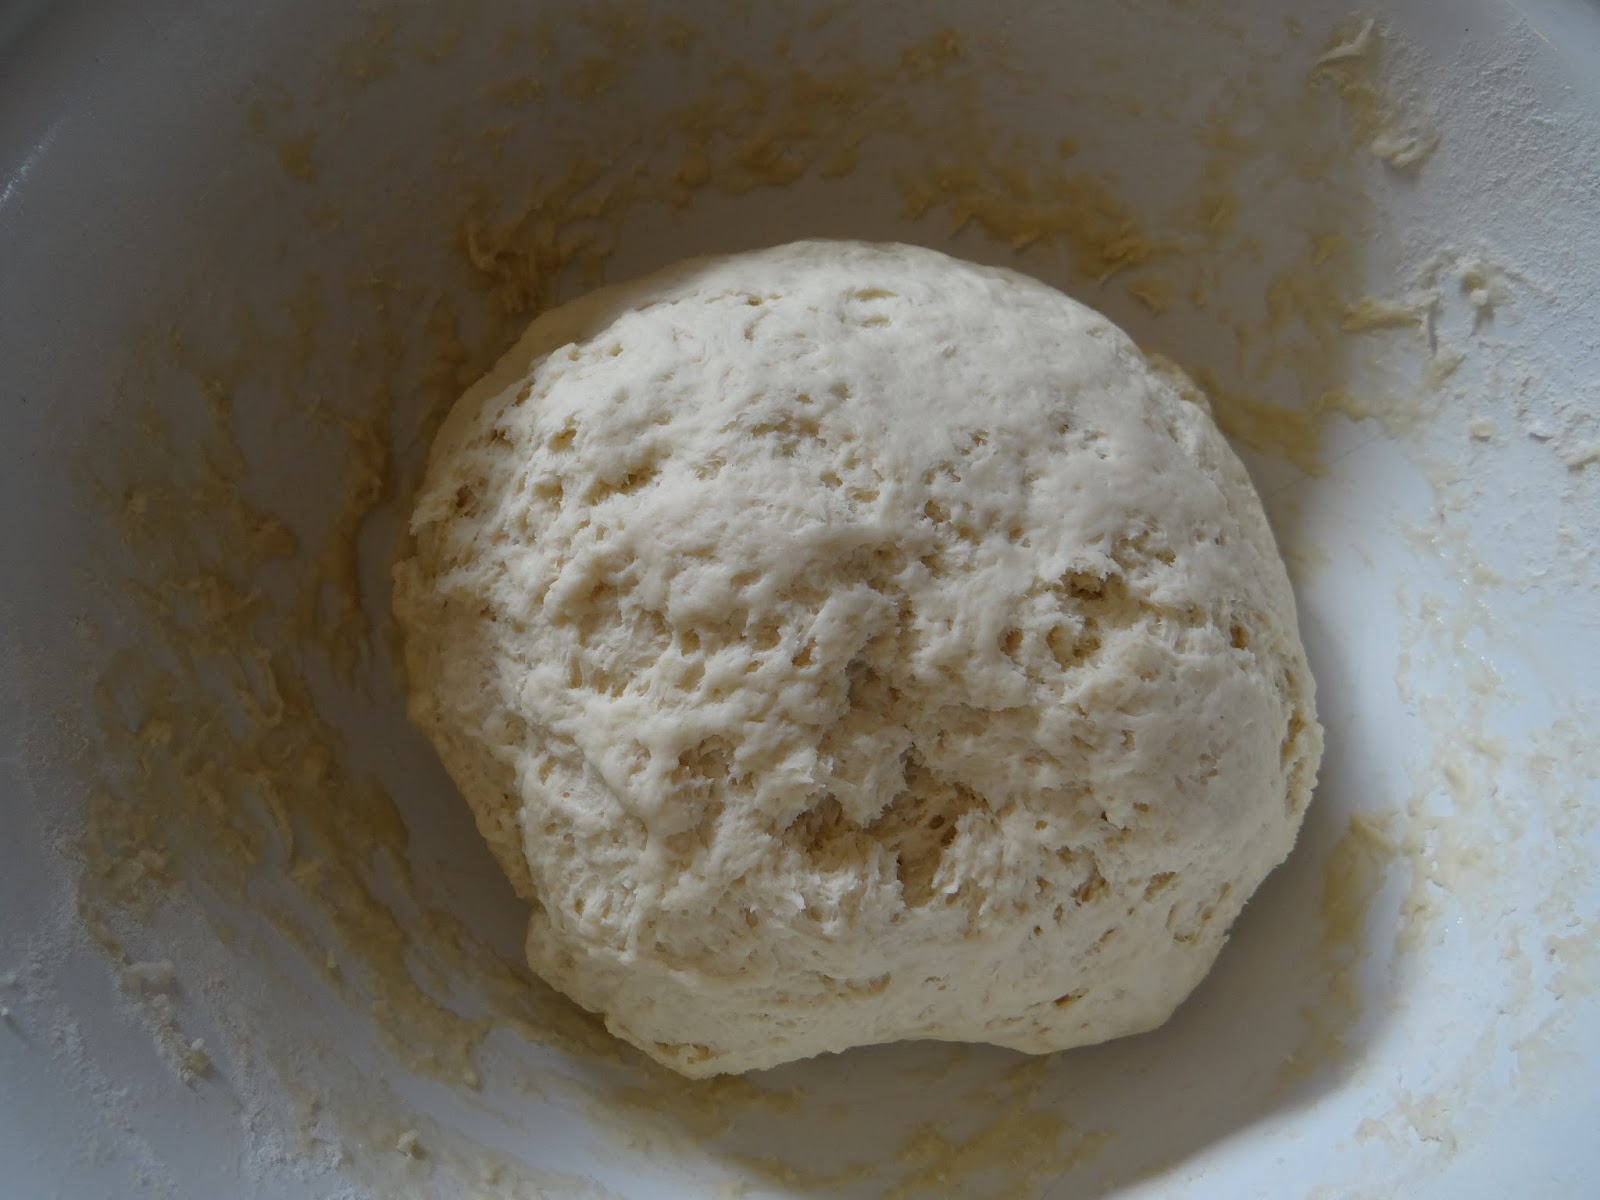
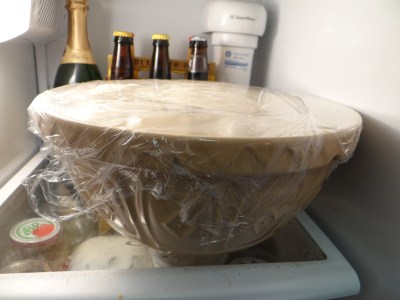
3. Add the yeast mixture to the flour mixture, along with your salt and oil.  Gently knead until it comes together in a ball of dough.  Cover the bowl with plastic wrap and let rise for 4-5 hours, until doubled in size.

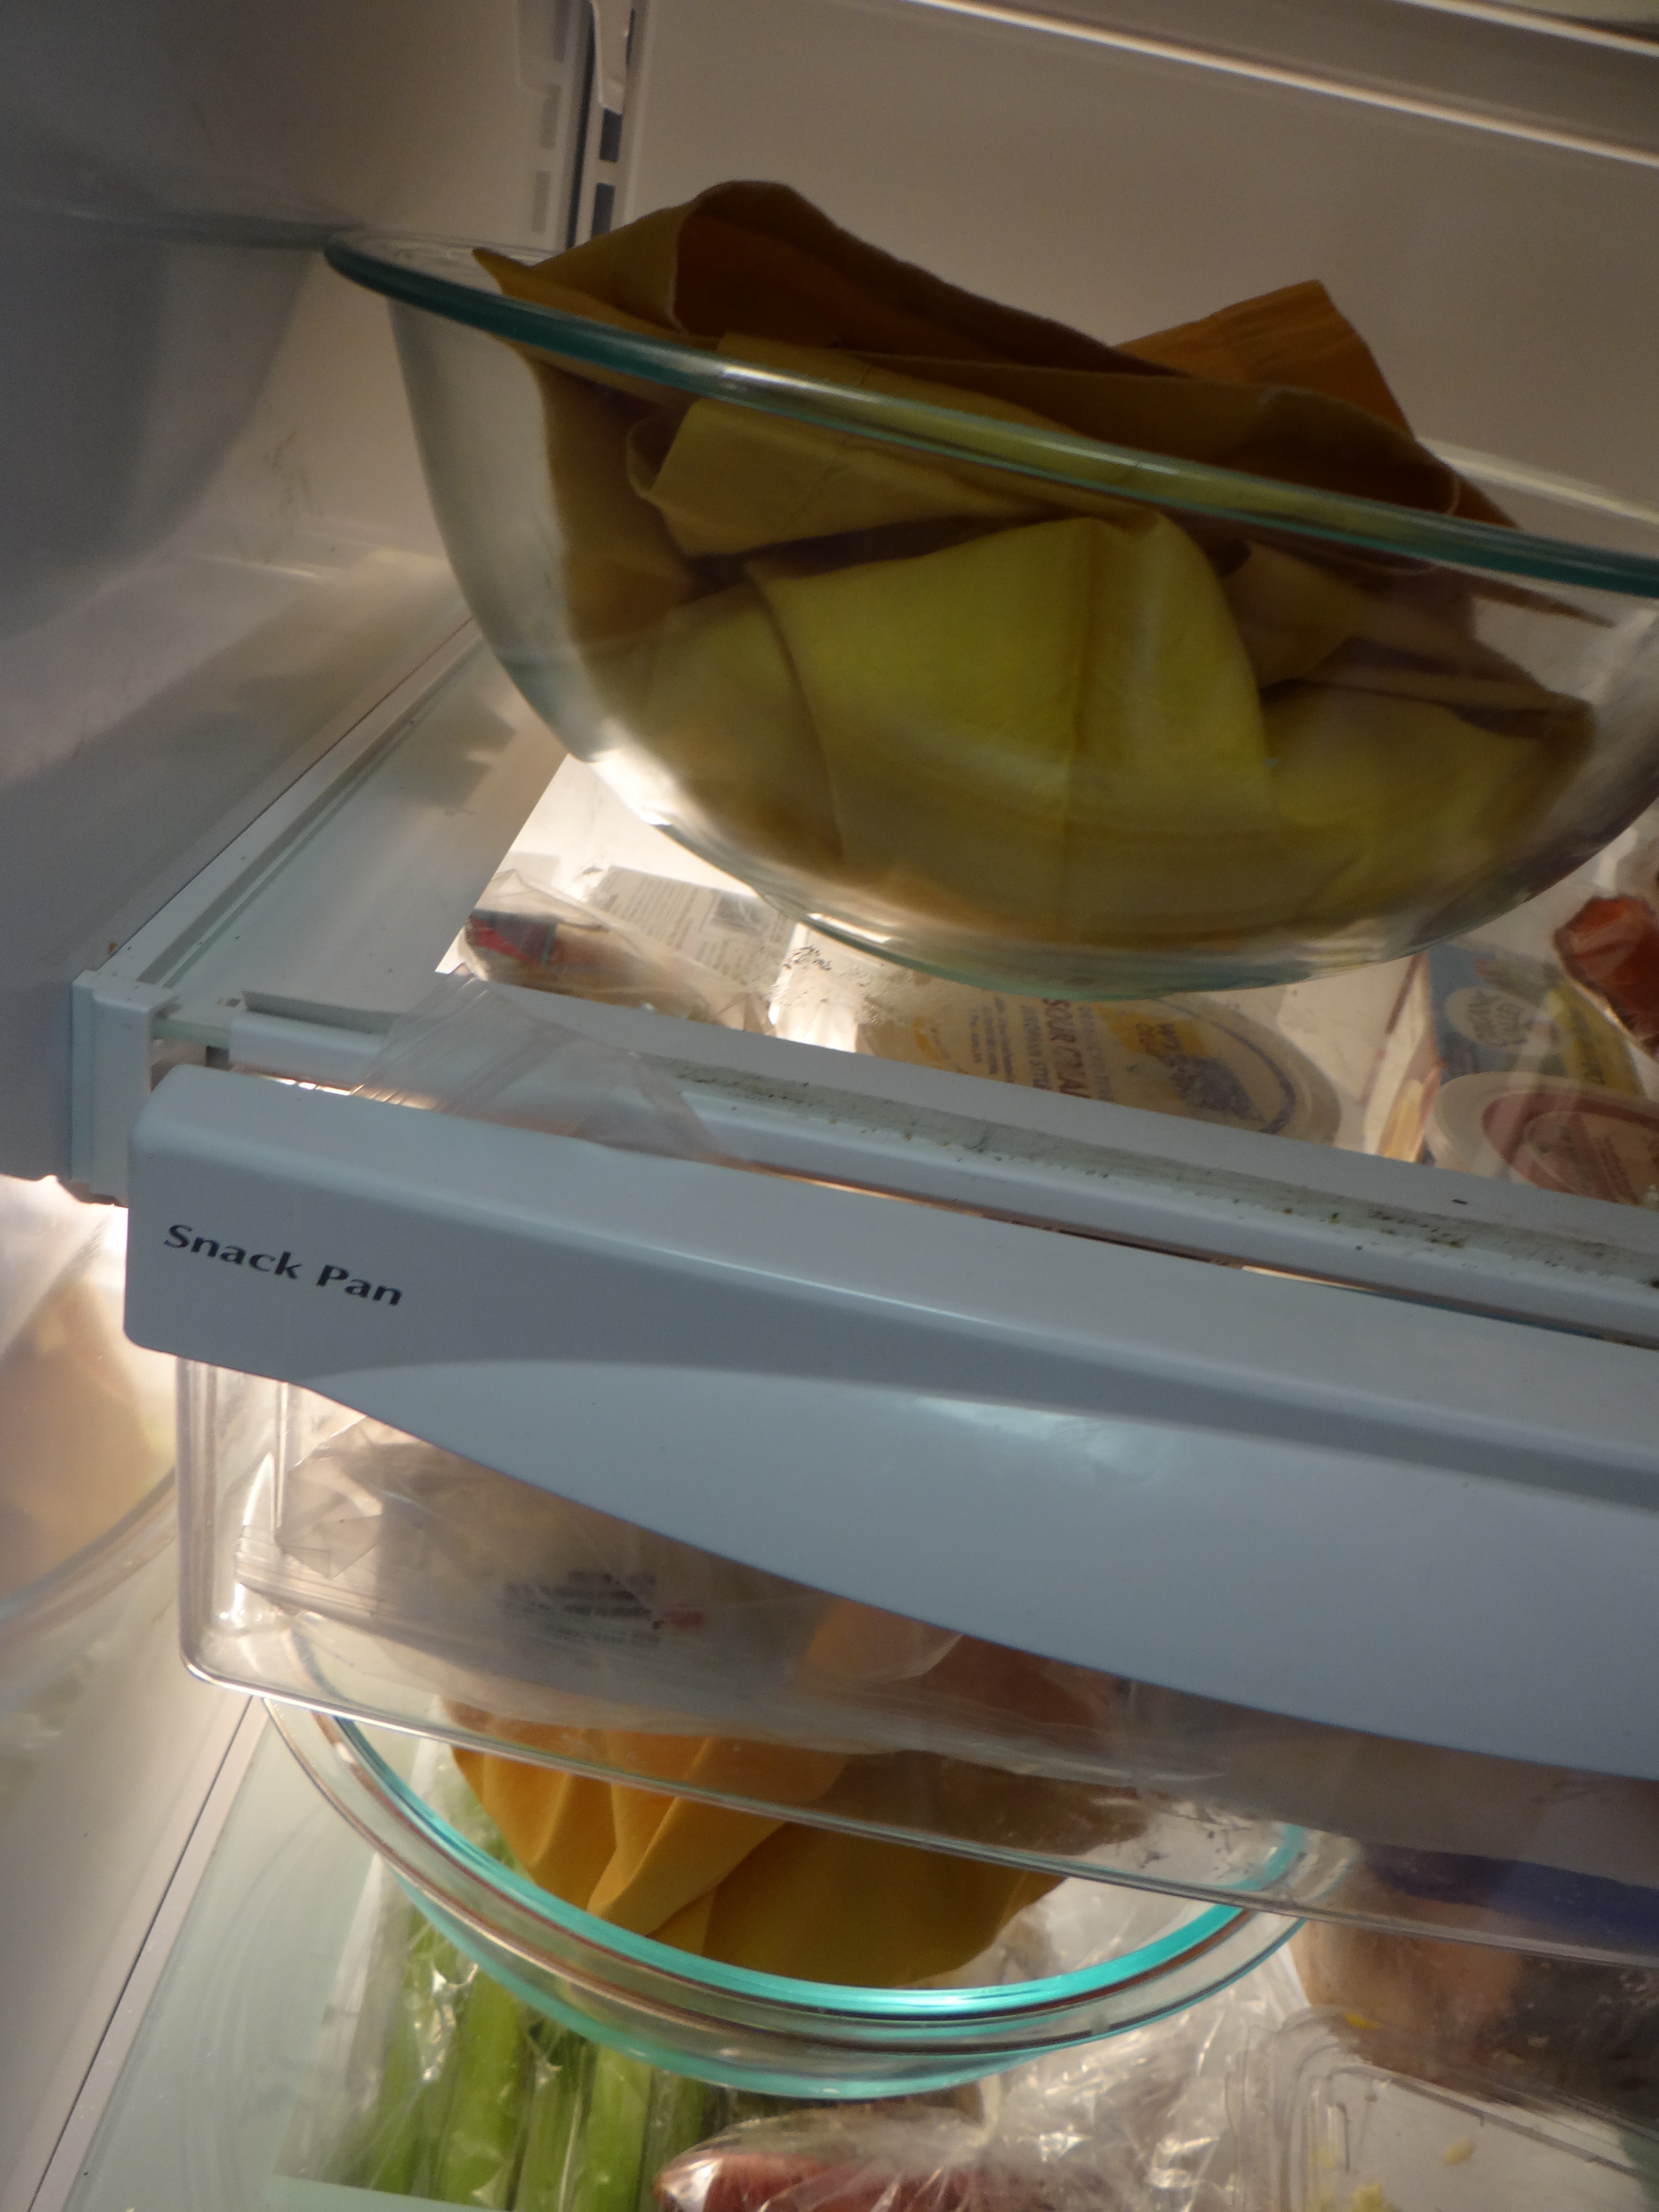
4. Place your dough in the refrigerator for 1.5 hours.  Realize you were supposed to divide it into the couches before you refrigerated it.

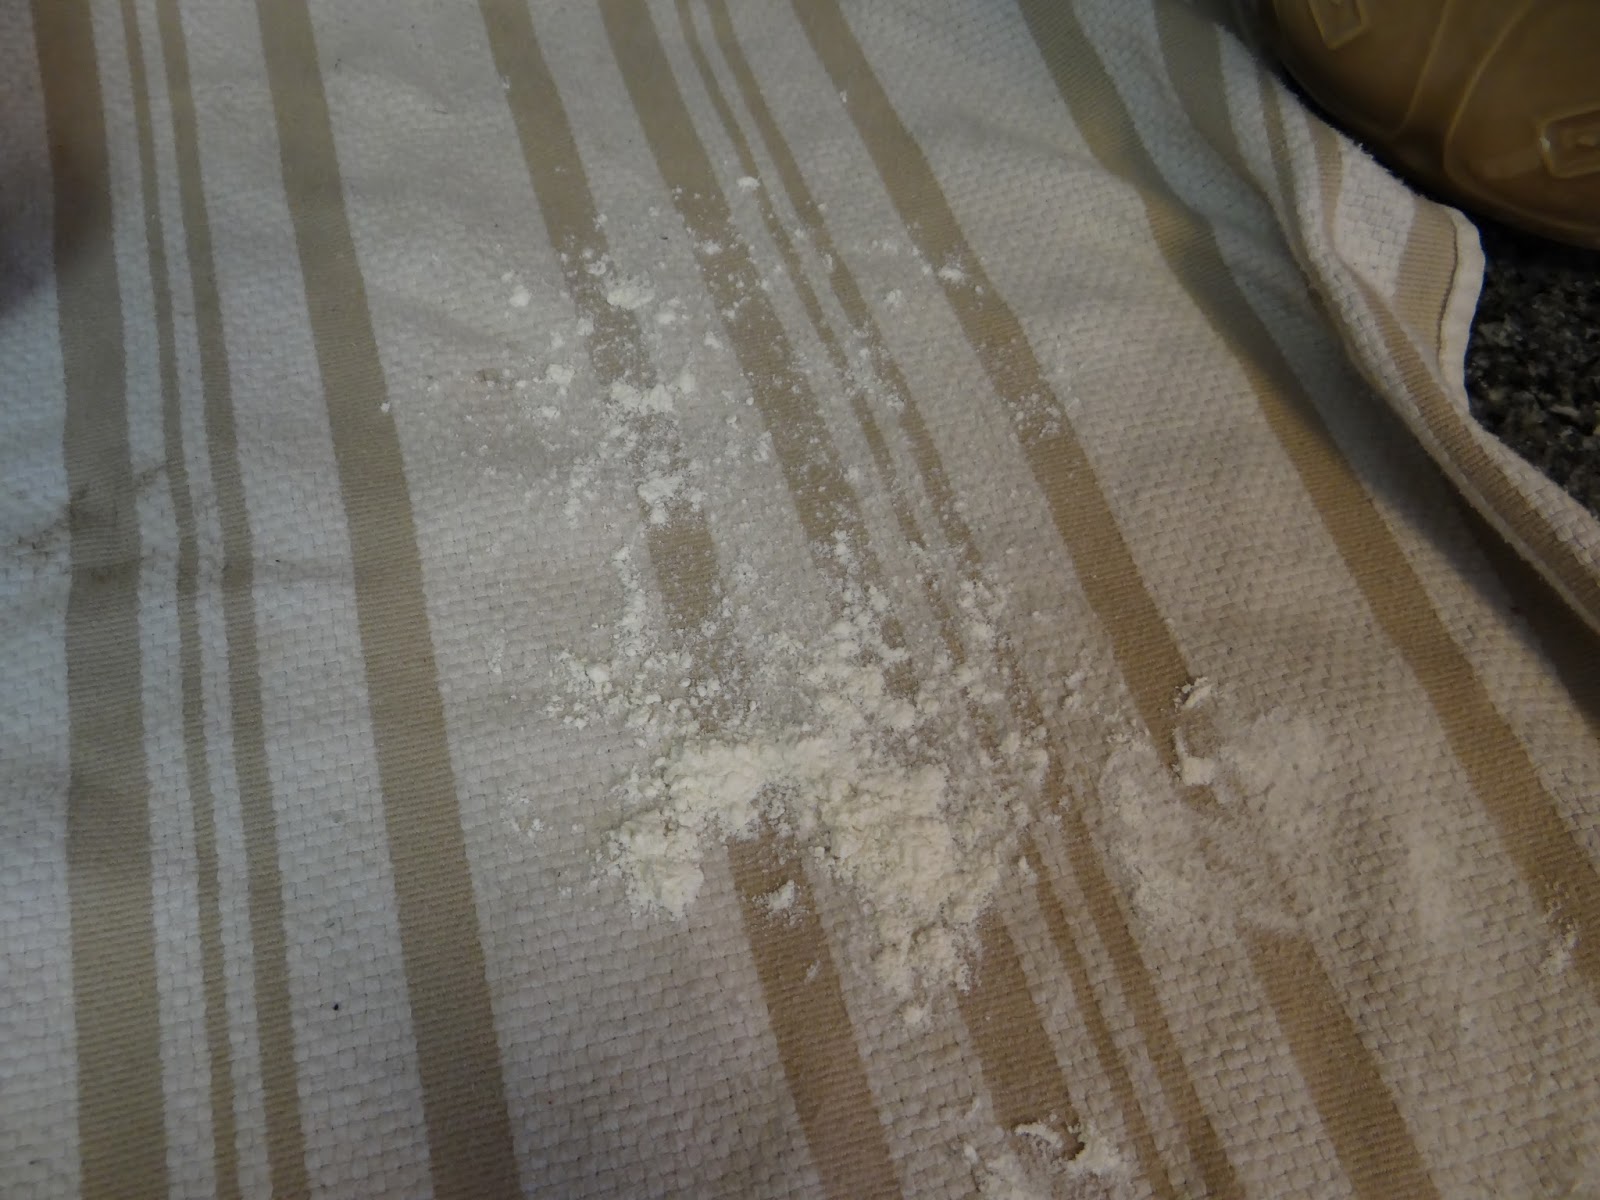
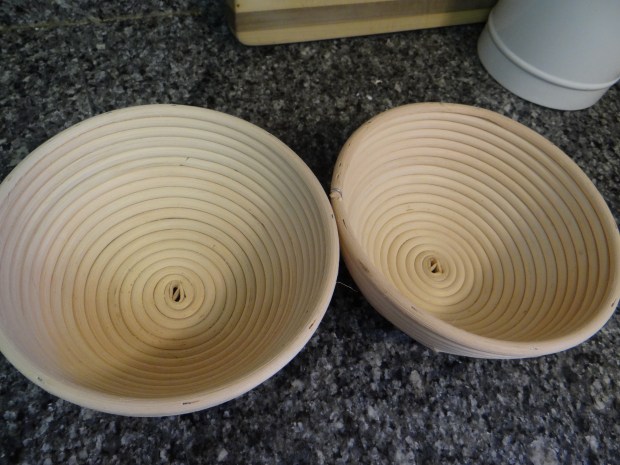
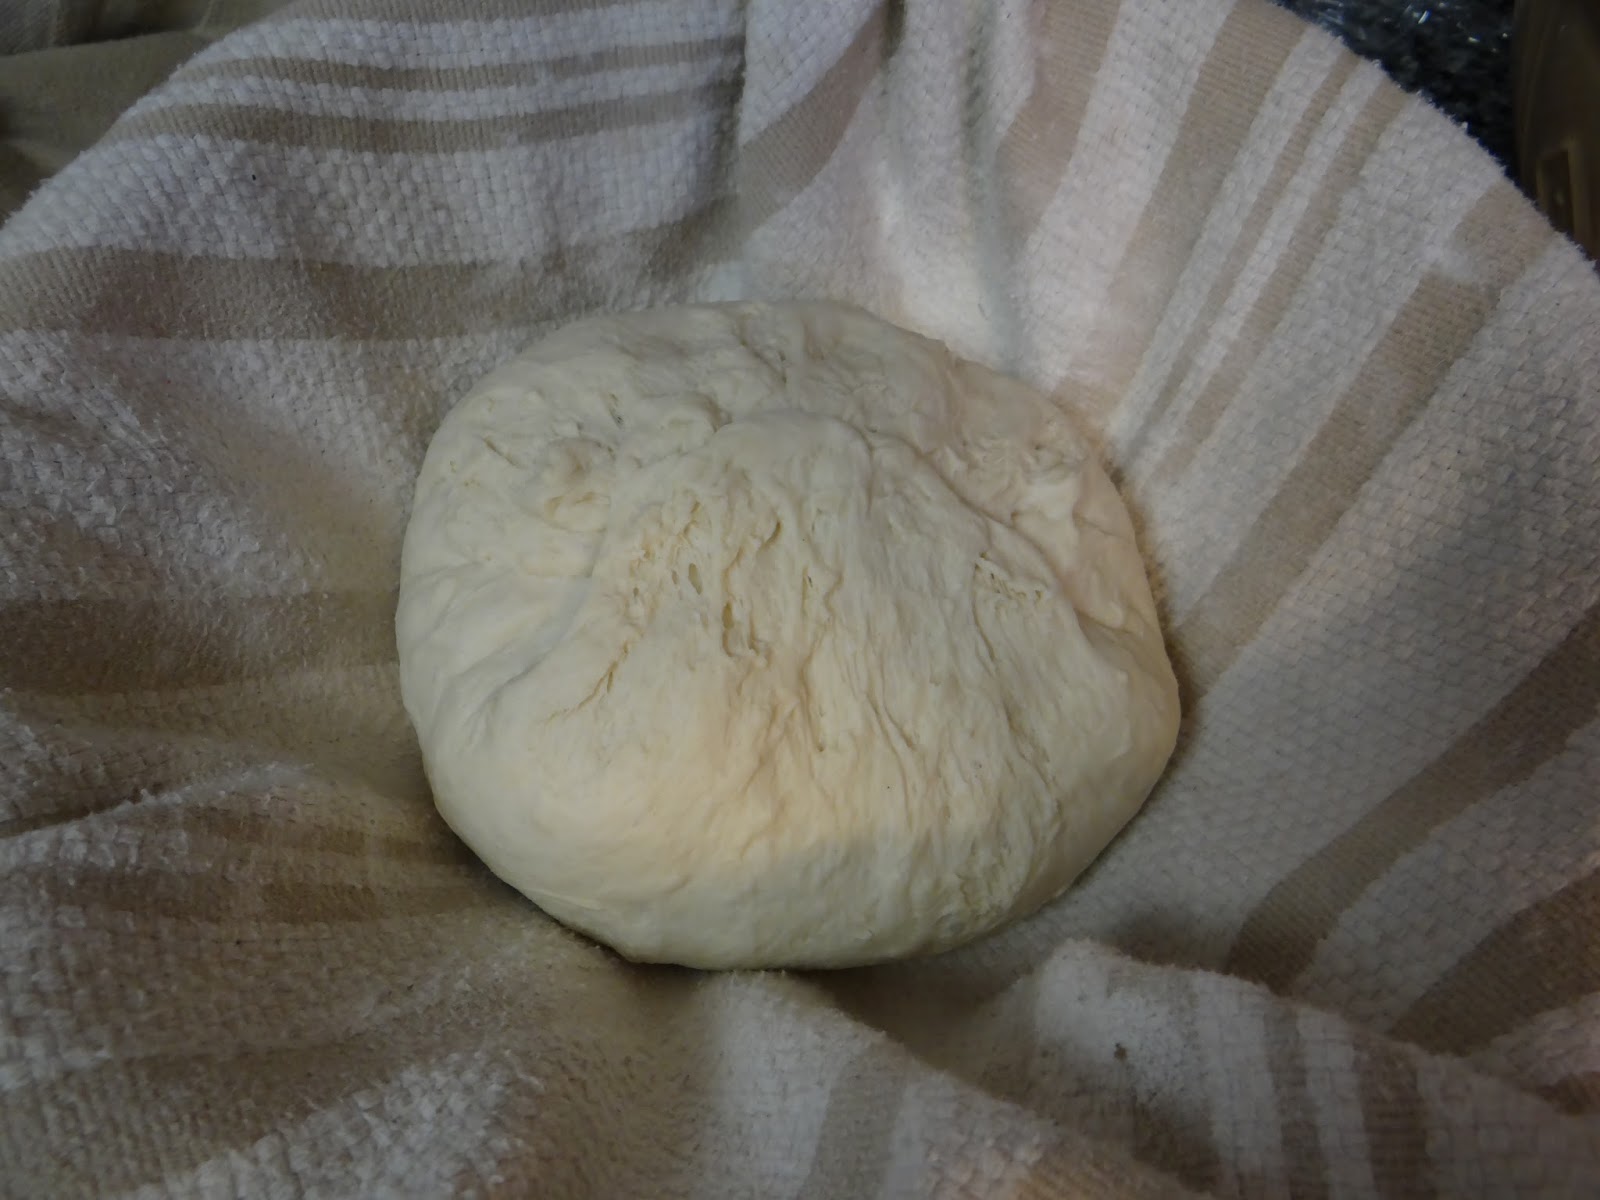
5. Prepare two couches thusly.

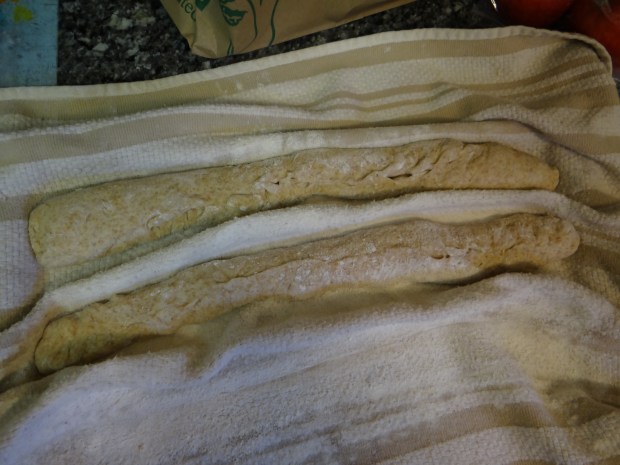
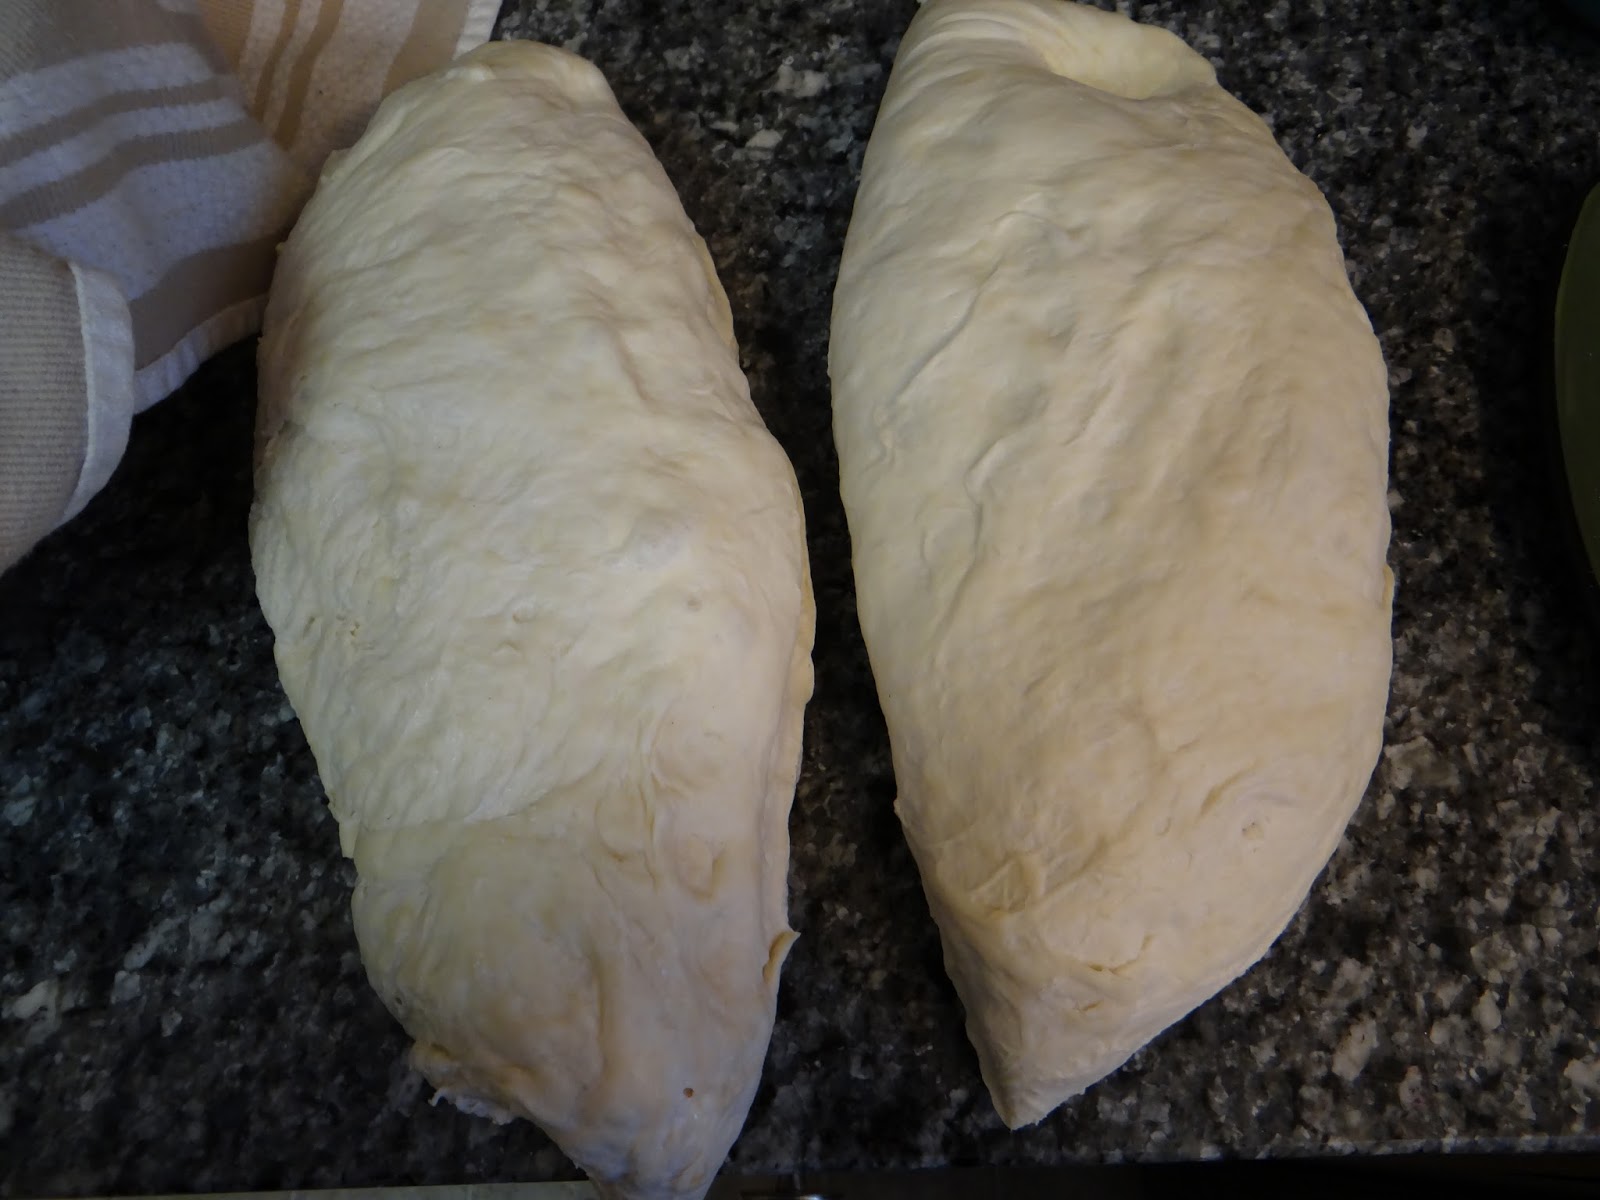
6. Divide your dough.

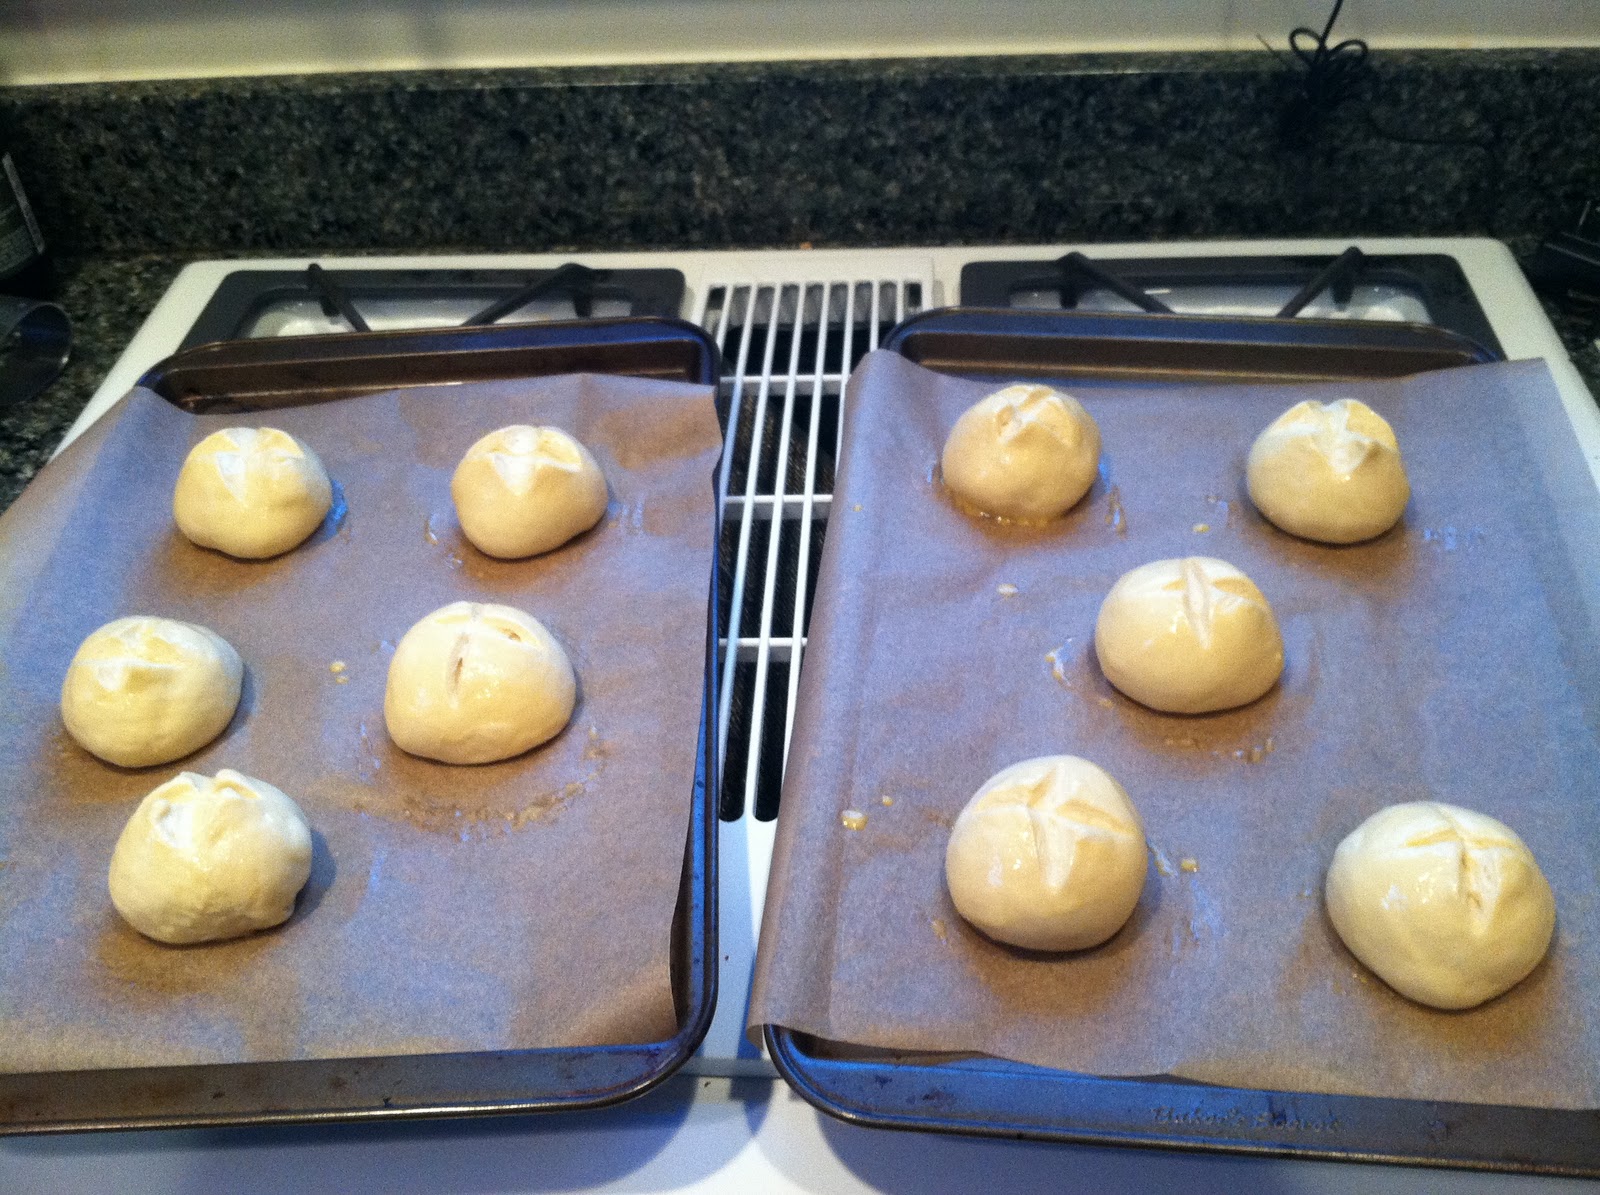
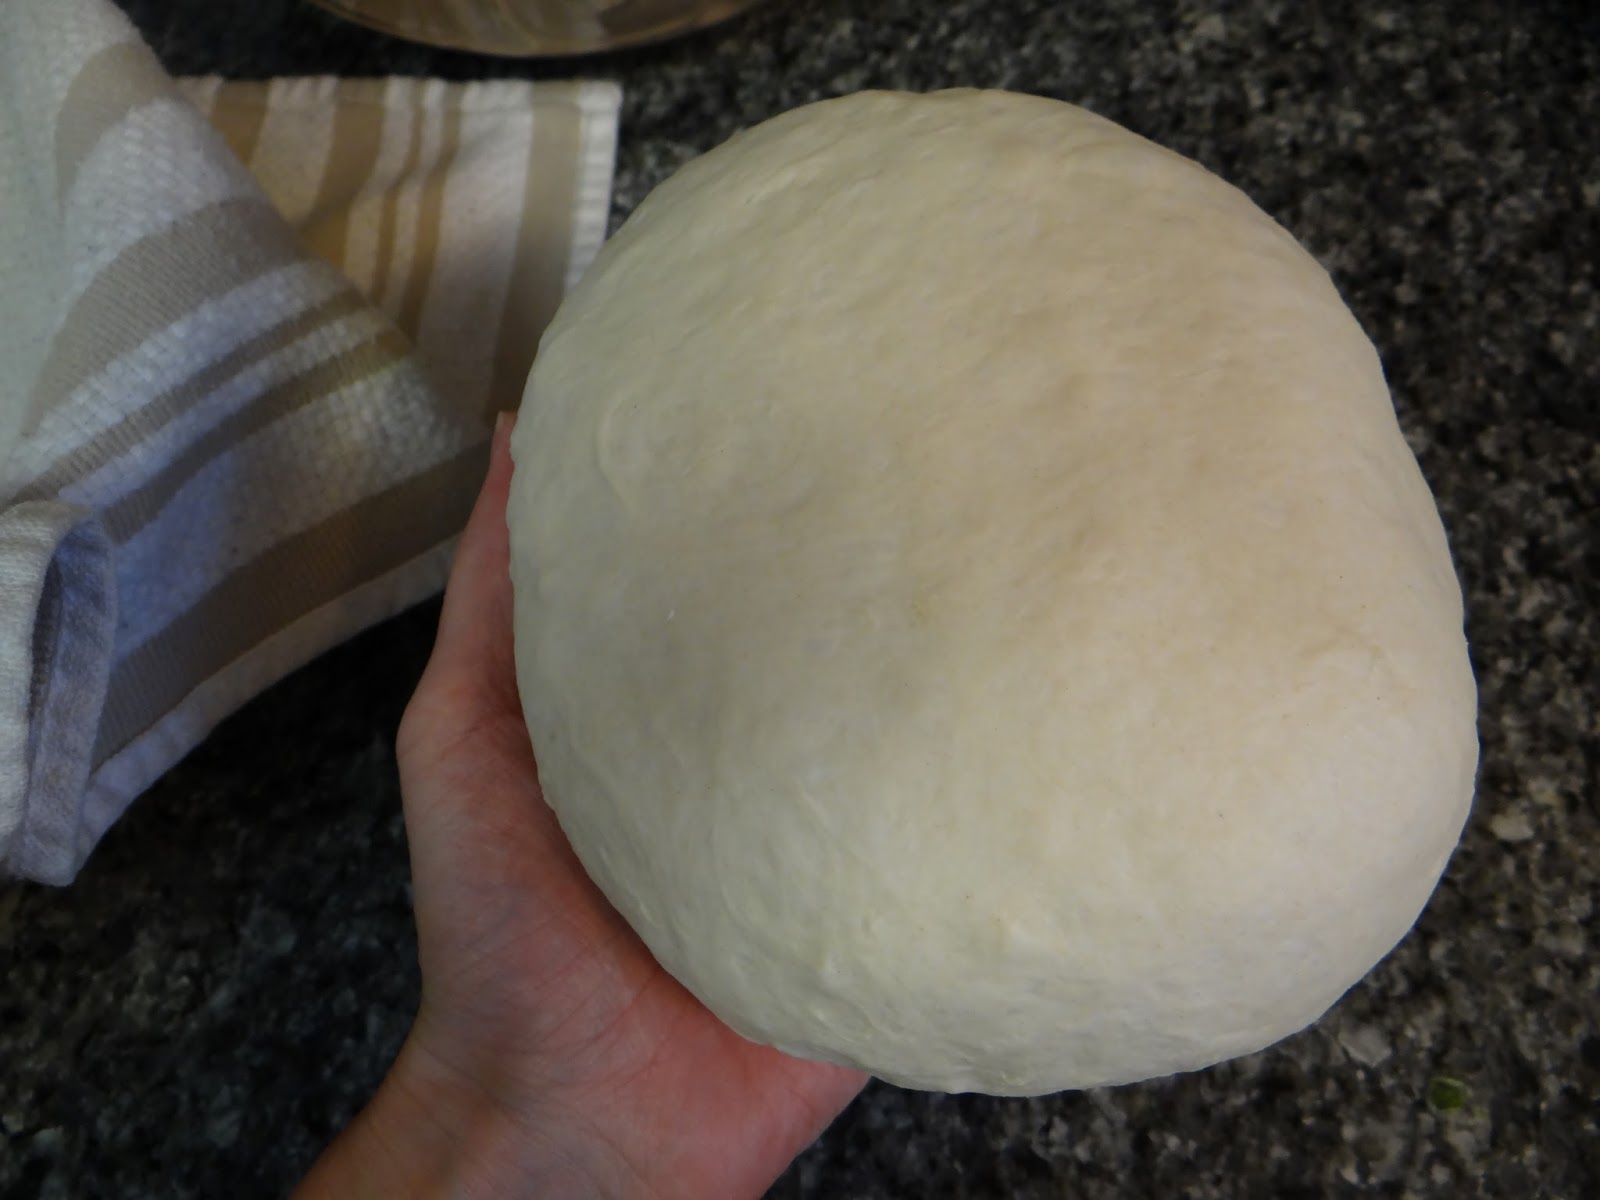
Gently shape your doughs into boules, tucking the edges under the bread to form a smooth top of your dough.  Pinch the edges together to form a seam, then place your dough seam-side up into your couche.  Put it back in the refrigerator.

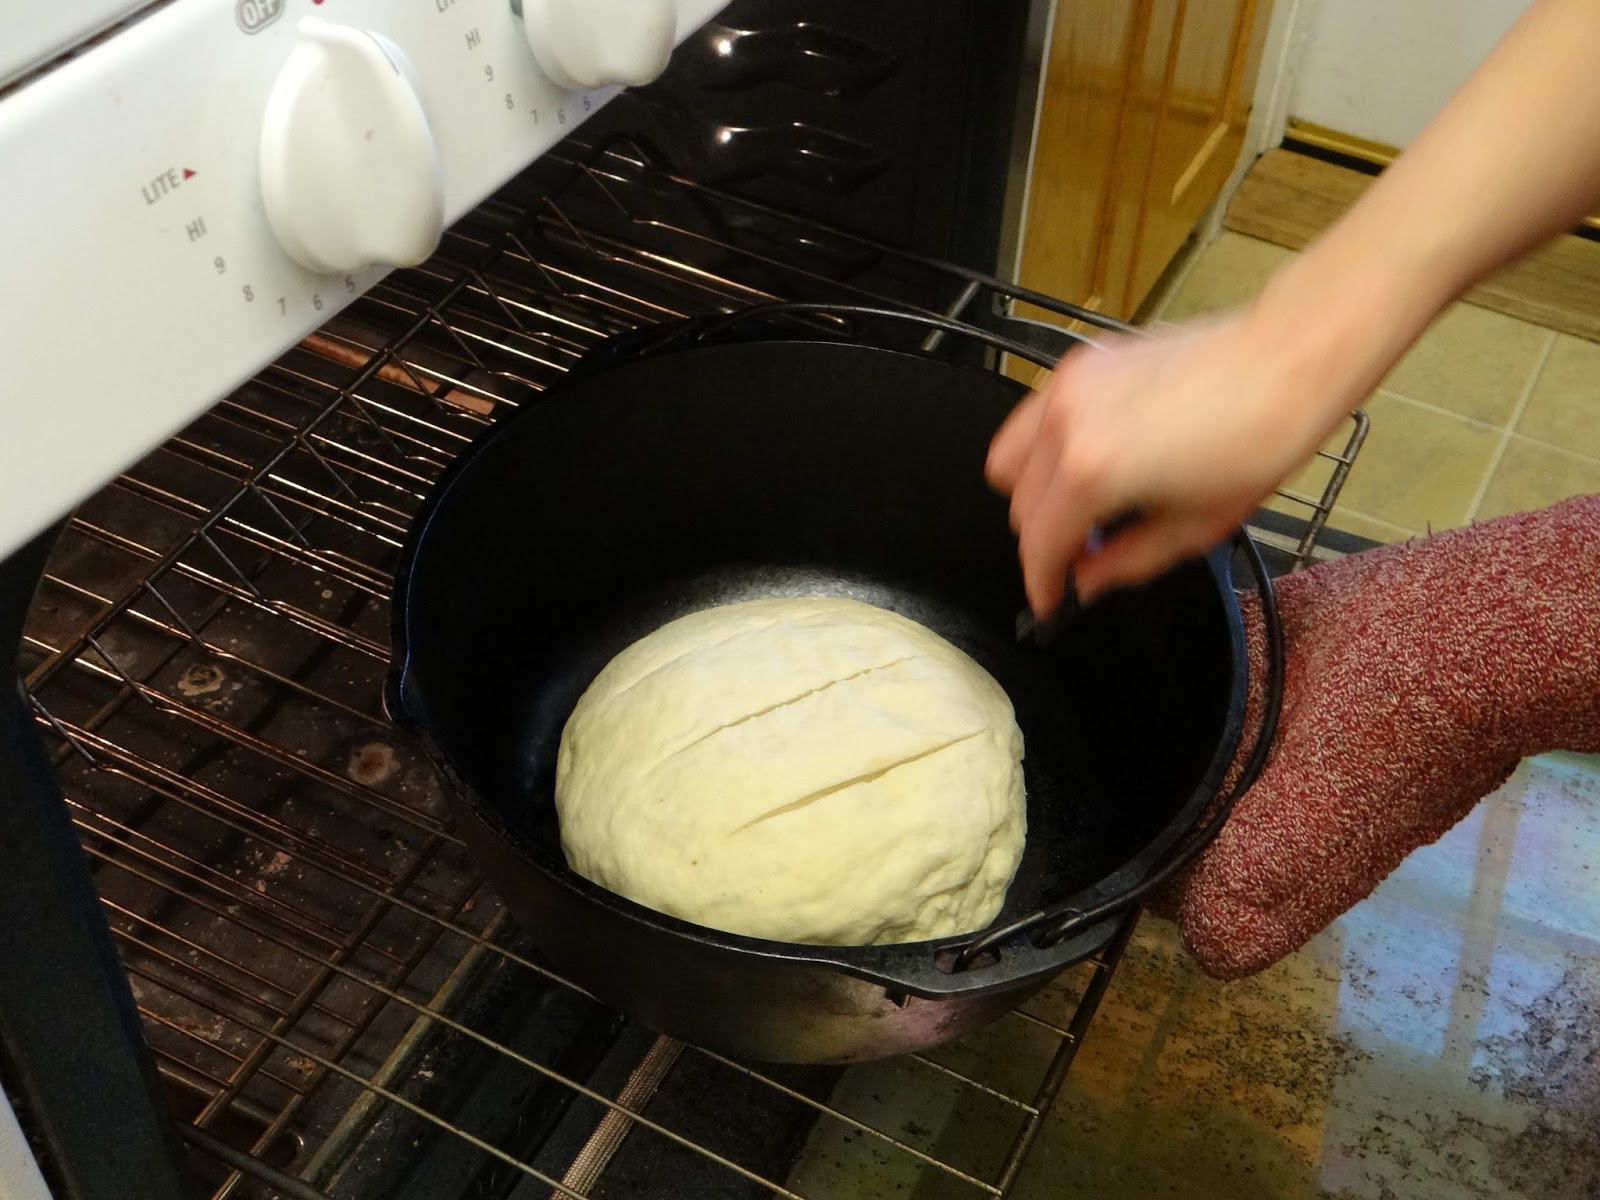
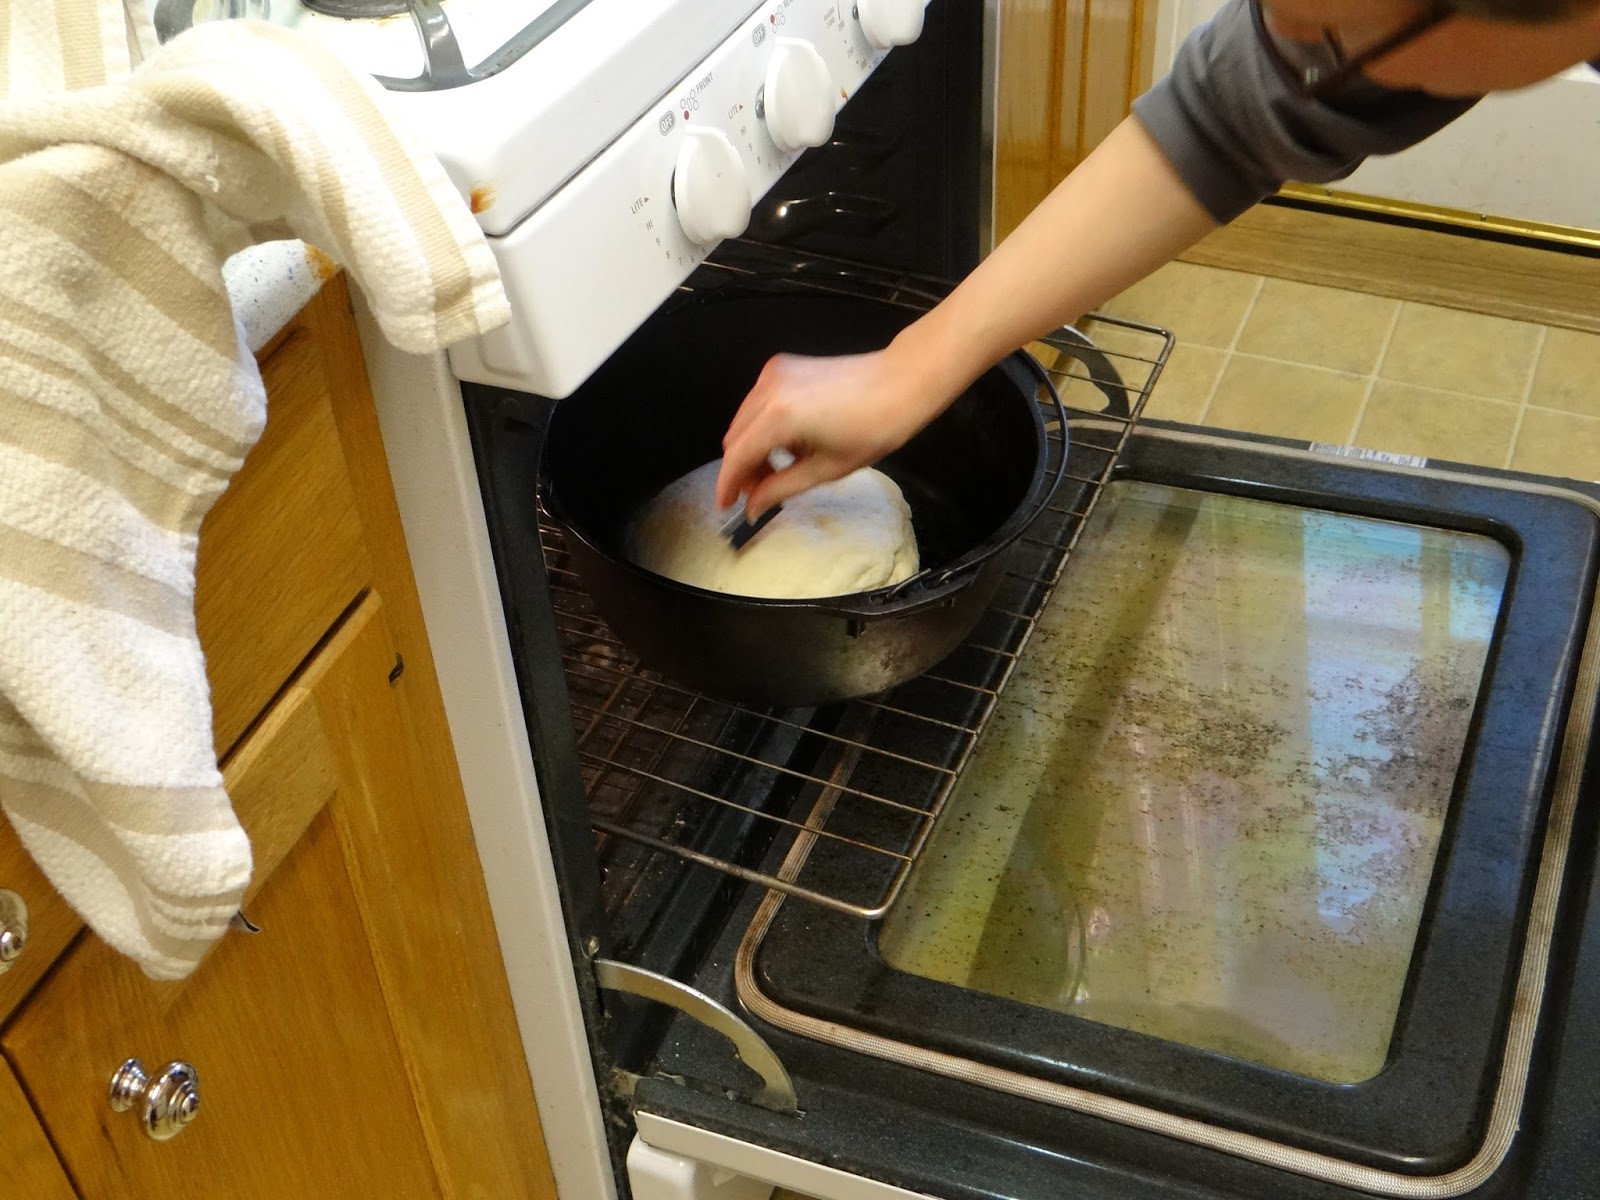
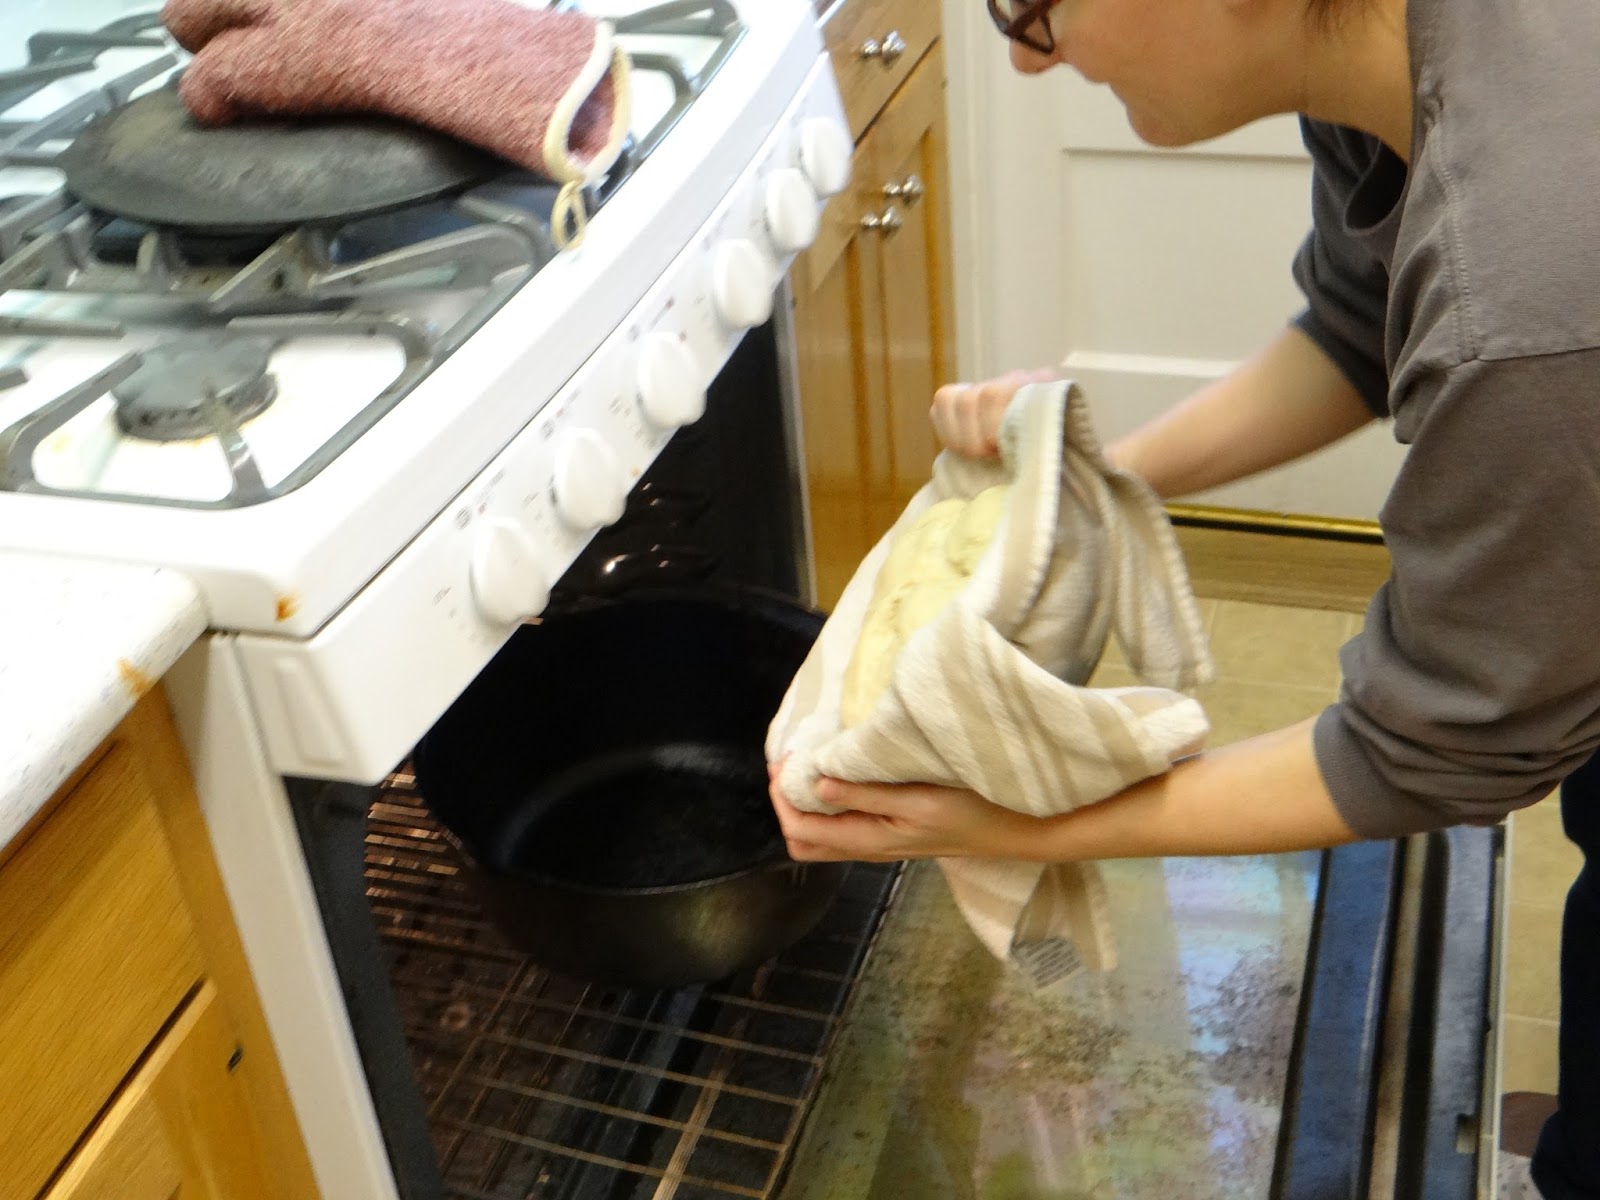
7. Place a dutch oven inside your oven and preheat the oven to 500 degrees F.  When the dough is ready, turn it out into your dutch oven, then use a razor blade to make a series of deep cuts on the surface of your dough.

I have found it must easier to score your loaf using a razor blade when it’s already inside the screaming hot dutch oven.  This is because it cuts across the gluten strands much more easily than a serrated knife, which requires some momentum and a pulling motion straight across your loaf which is difficult and dangerous to perform under these conditions.

8. Put the lid of the dutch oven back on, and bake your loaf for 15 minutes at 500, 15 minutes at 450, remove the lid, and bake for the last 15 minutes uncovered.

9.  Remove your loaf and let it rest for at least an hour before cutting into it.

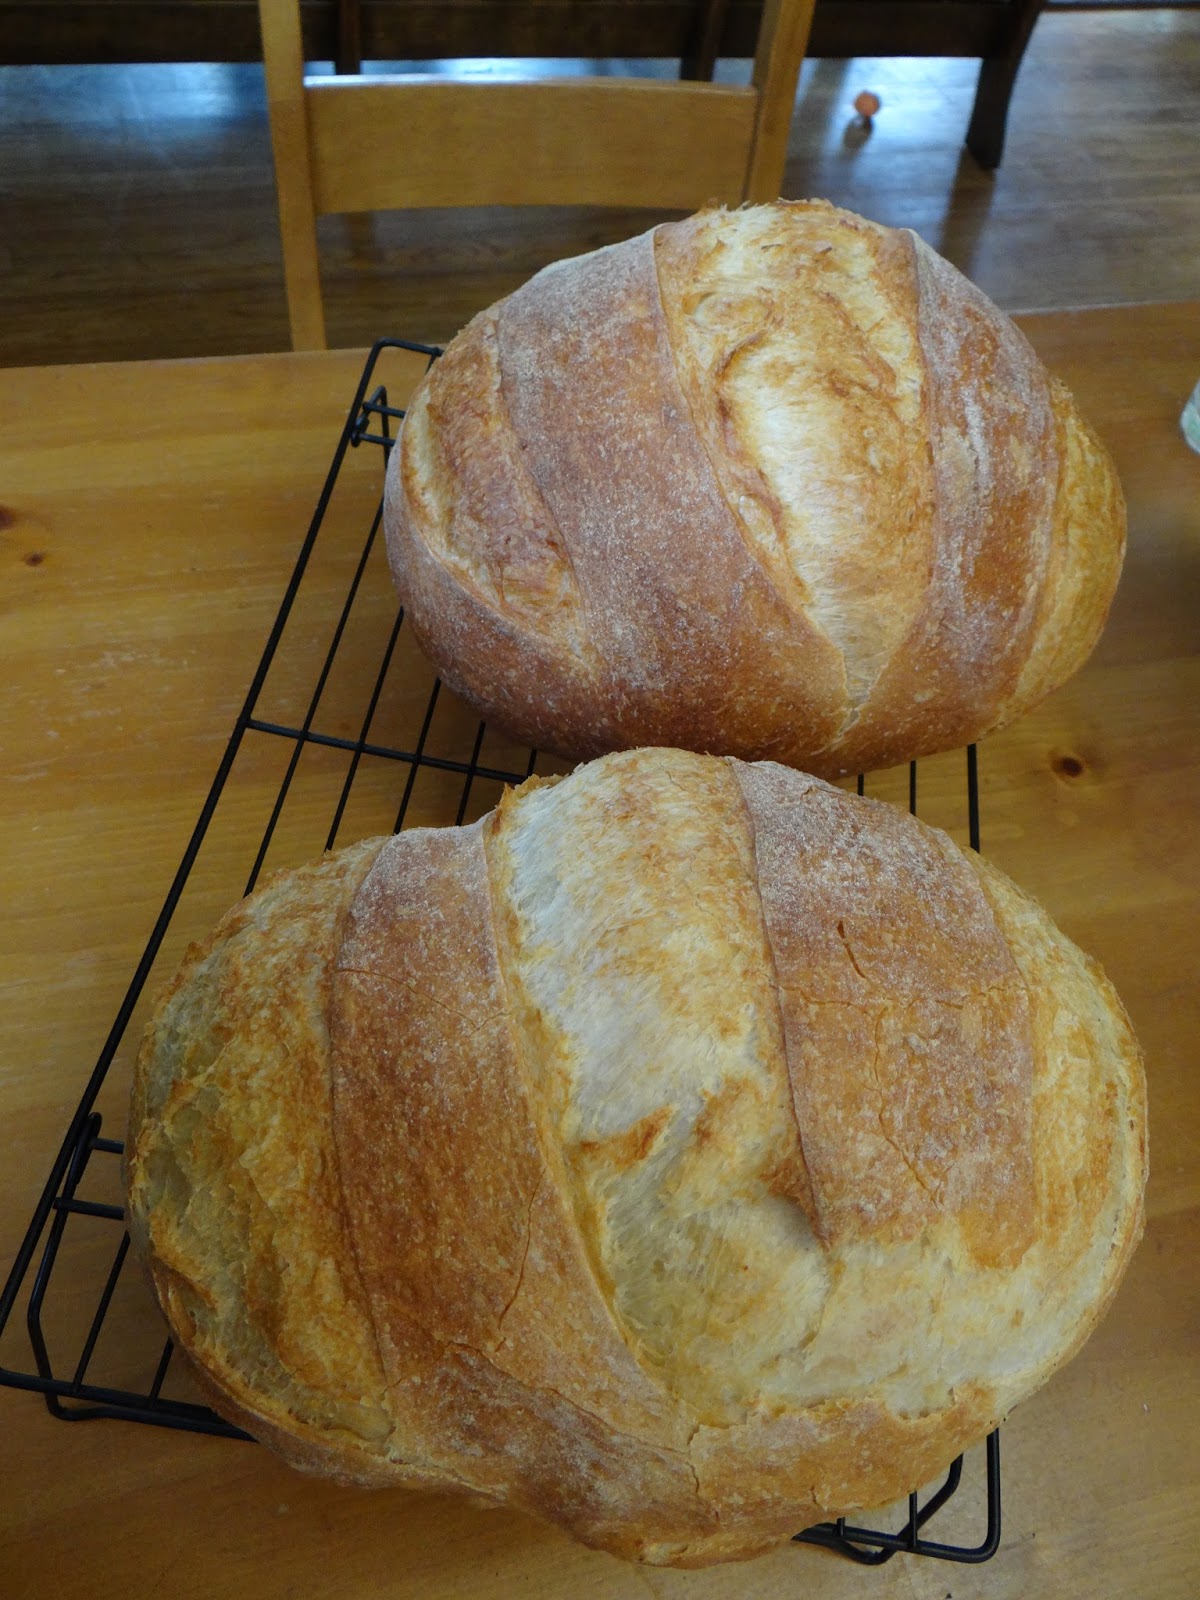
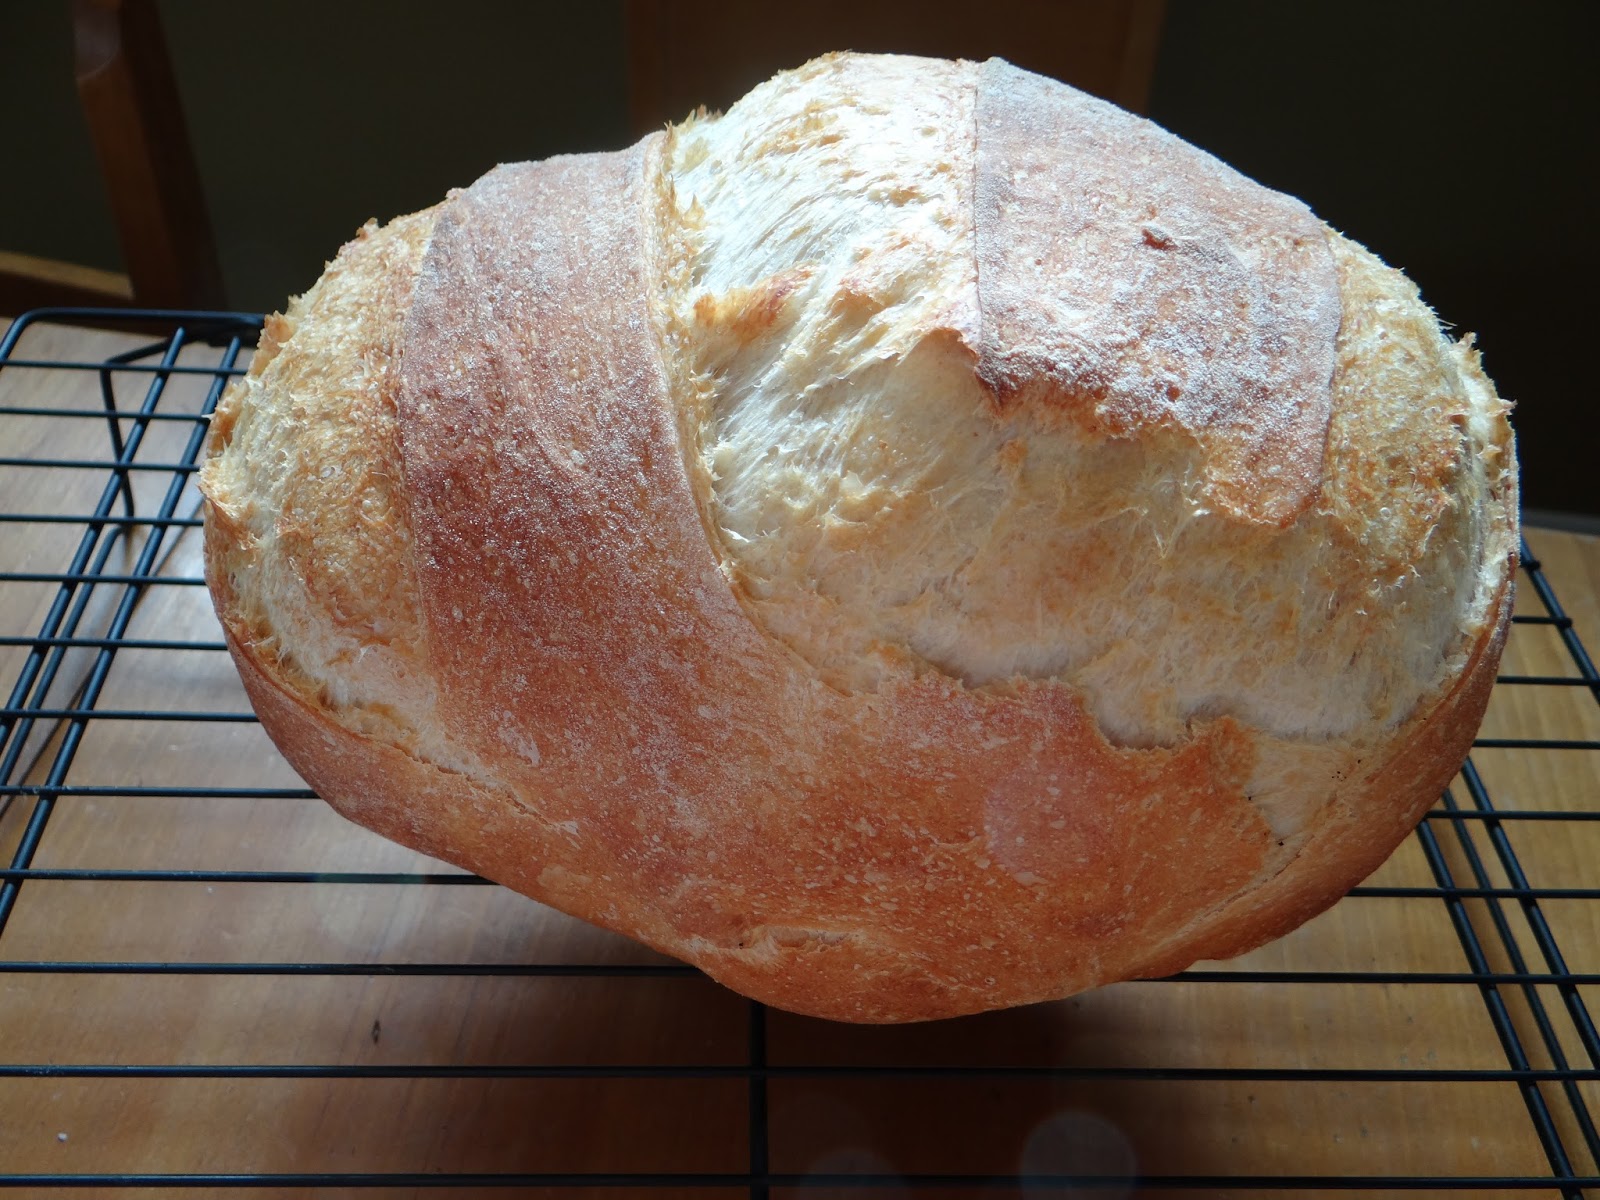
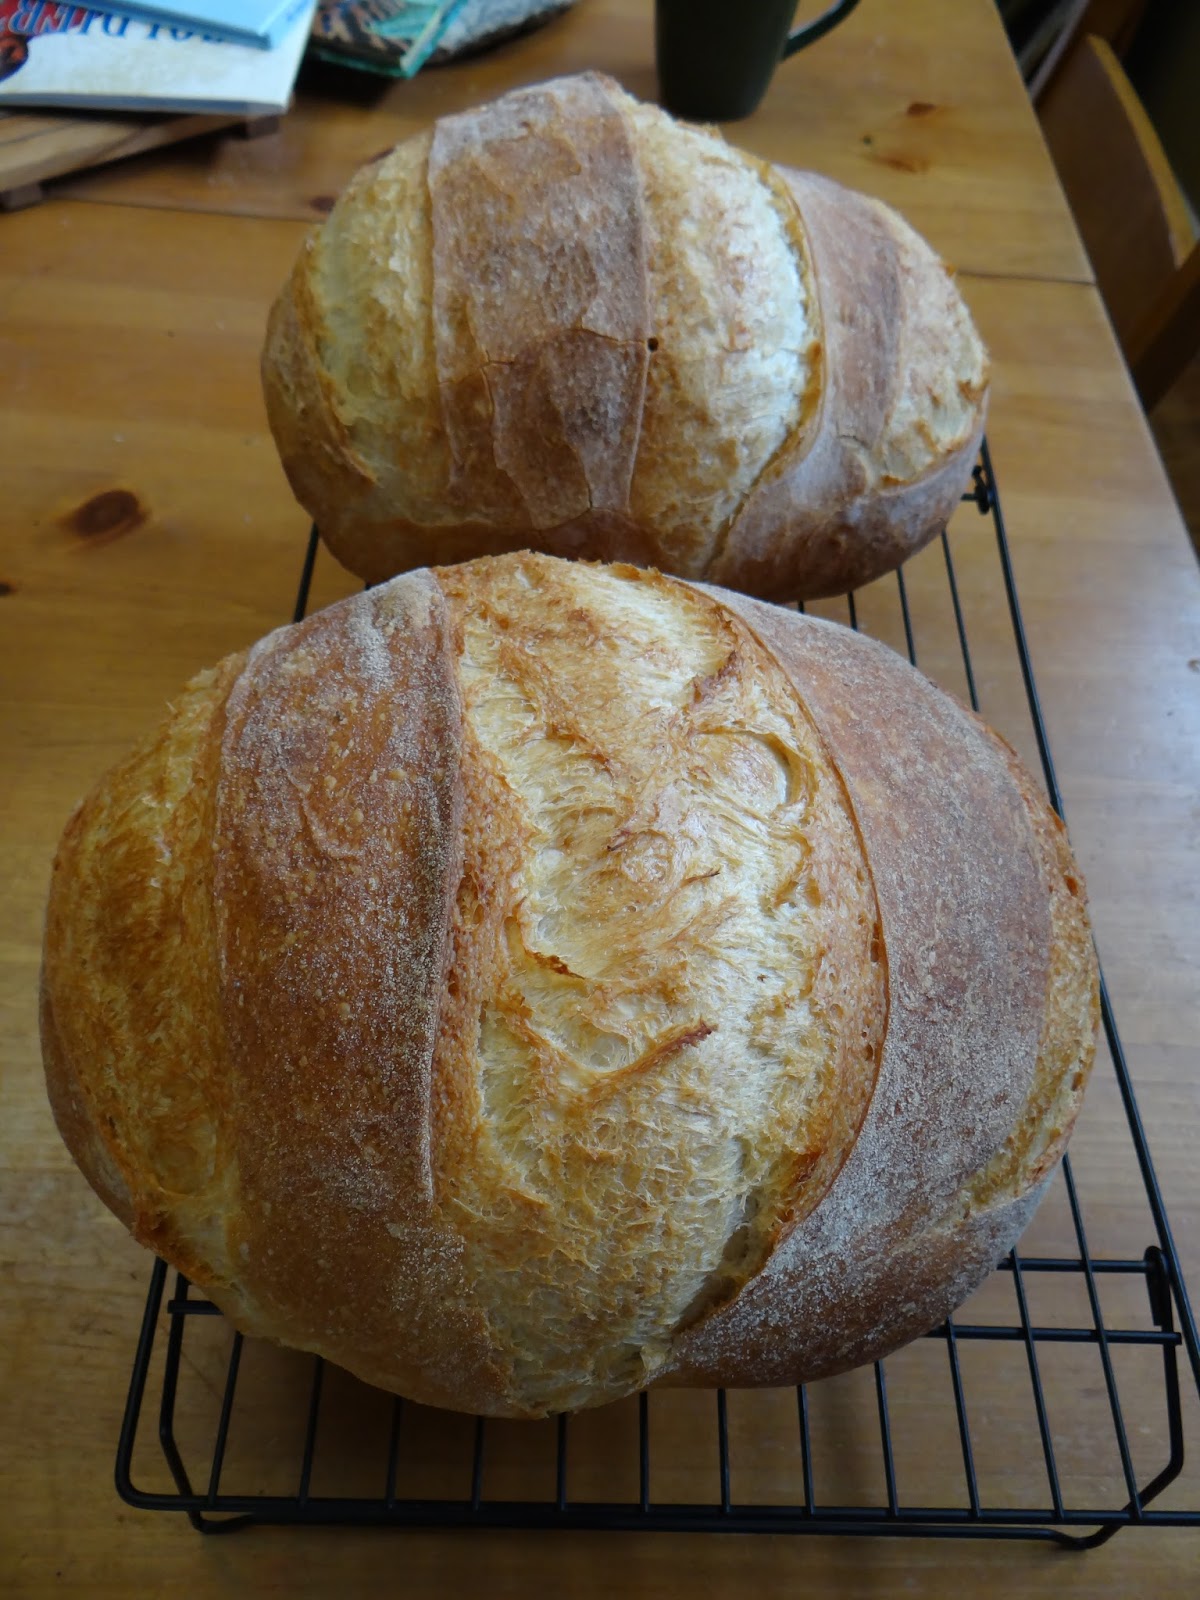
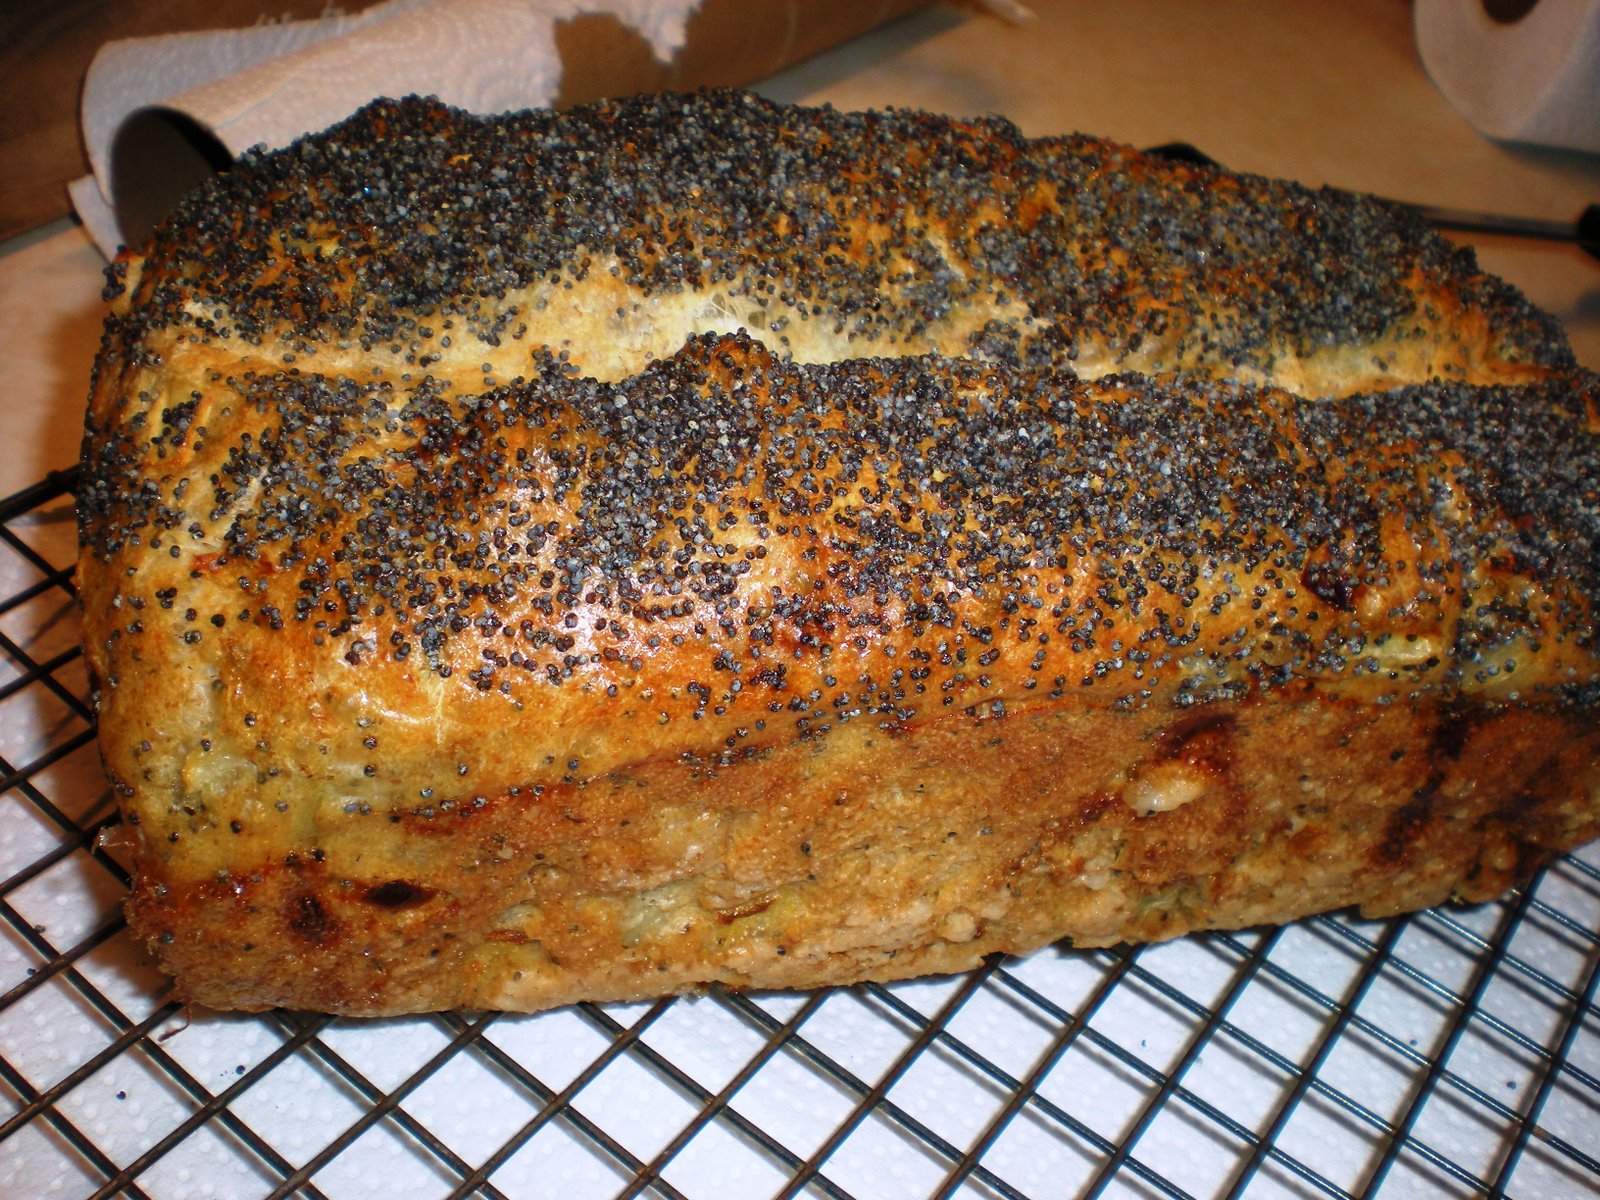
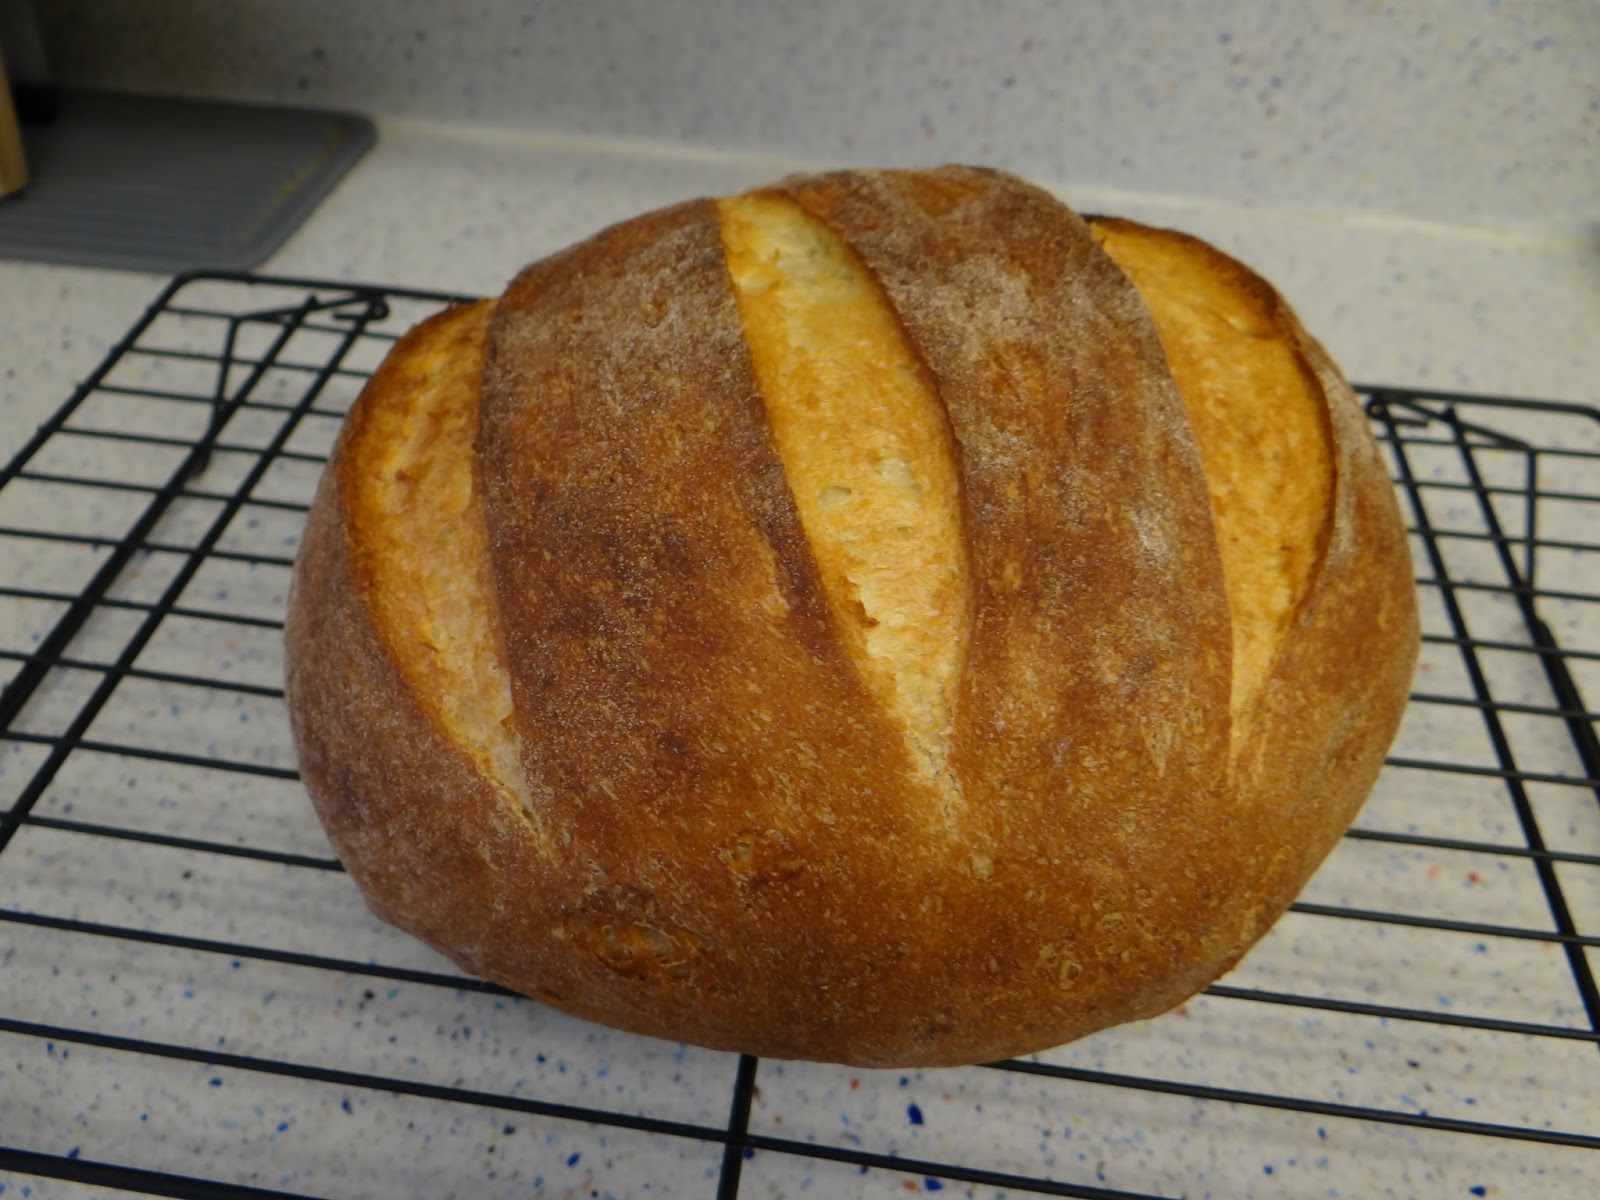
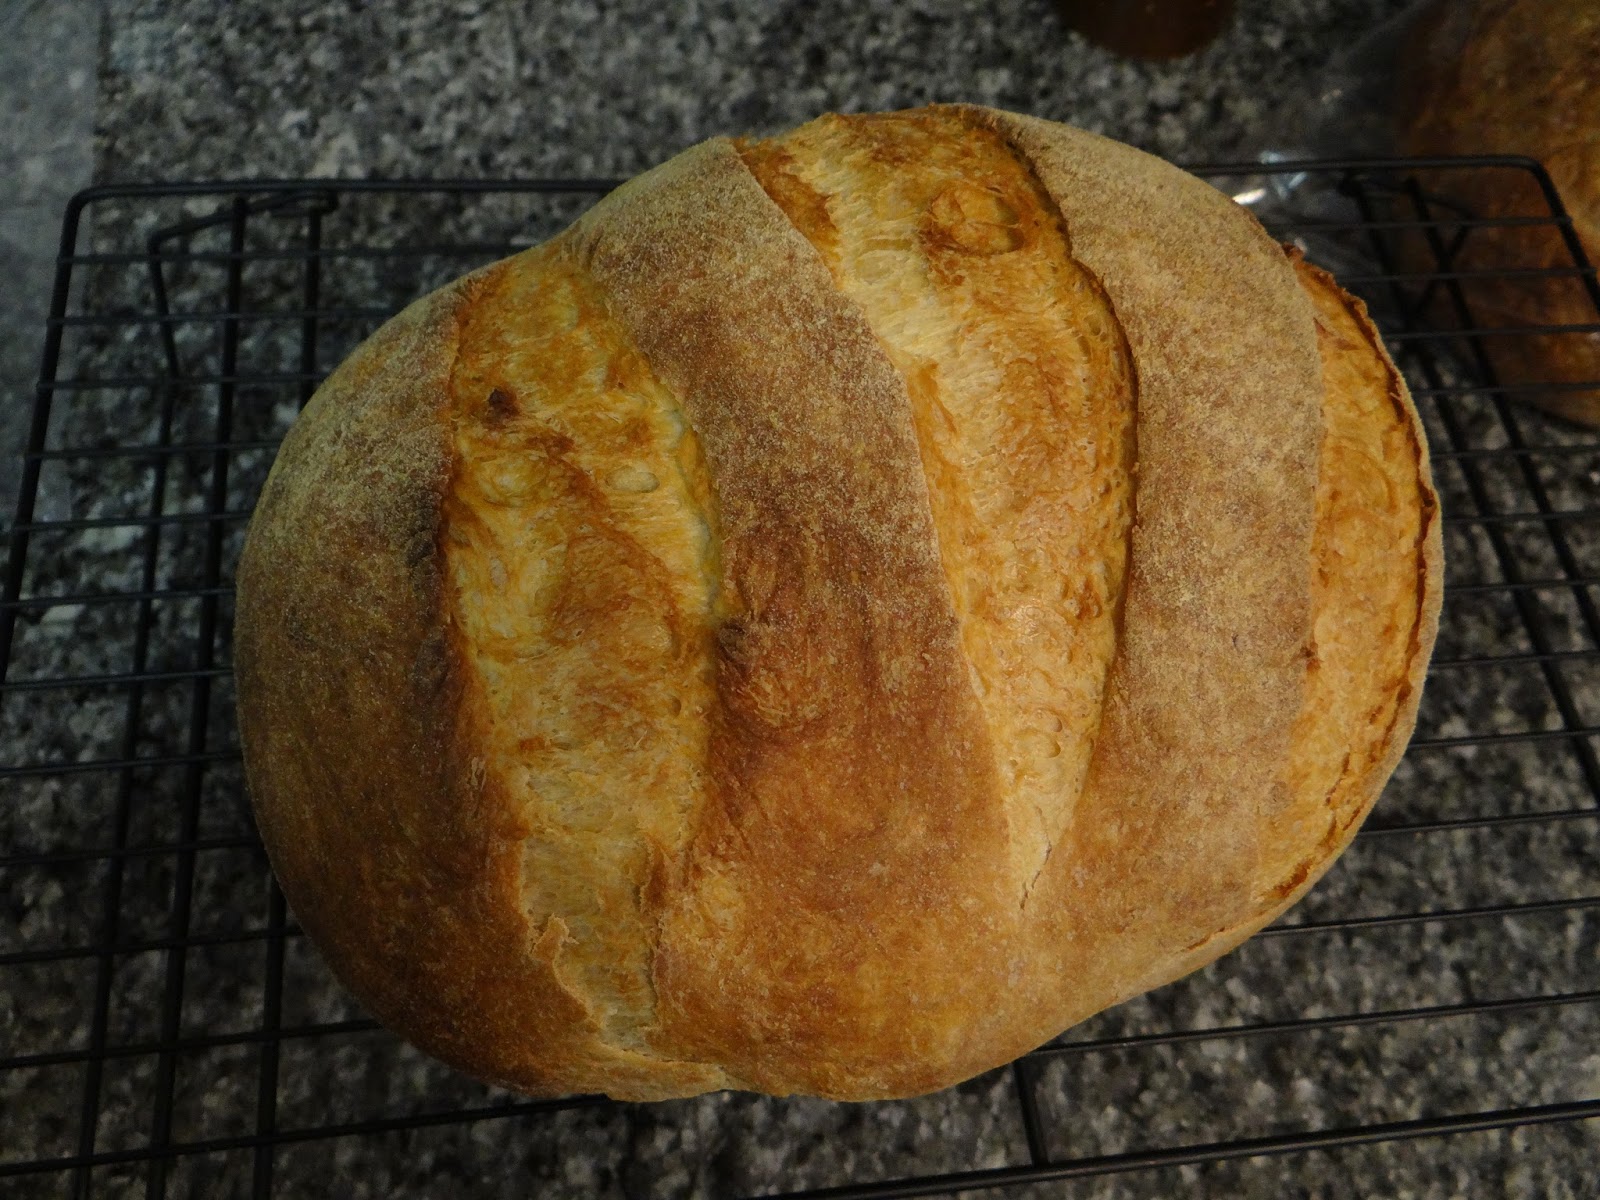
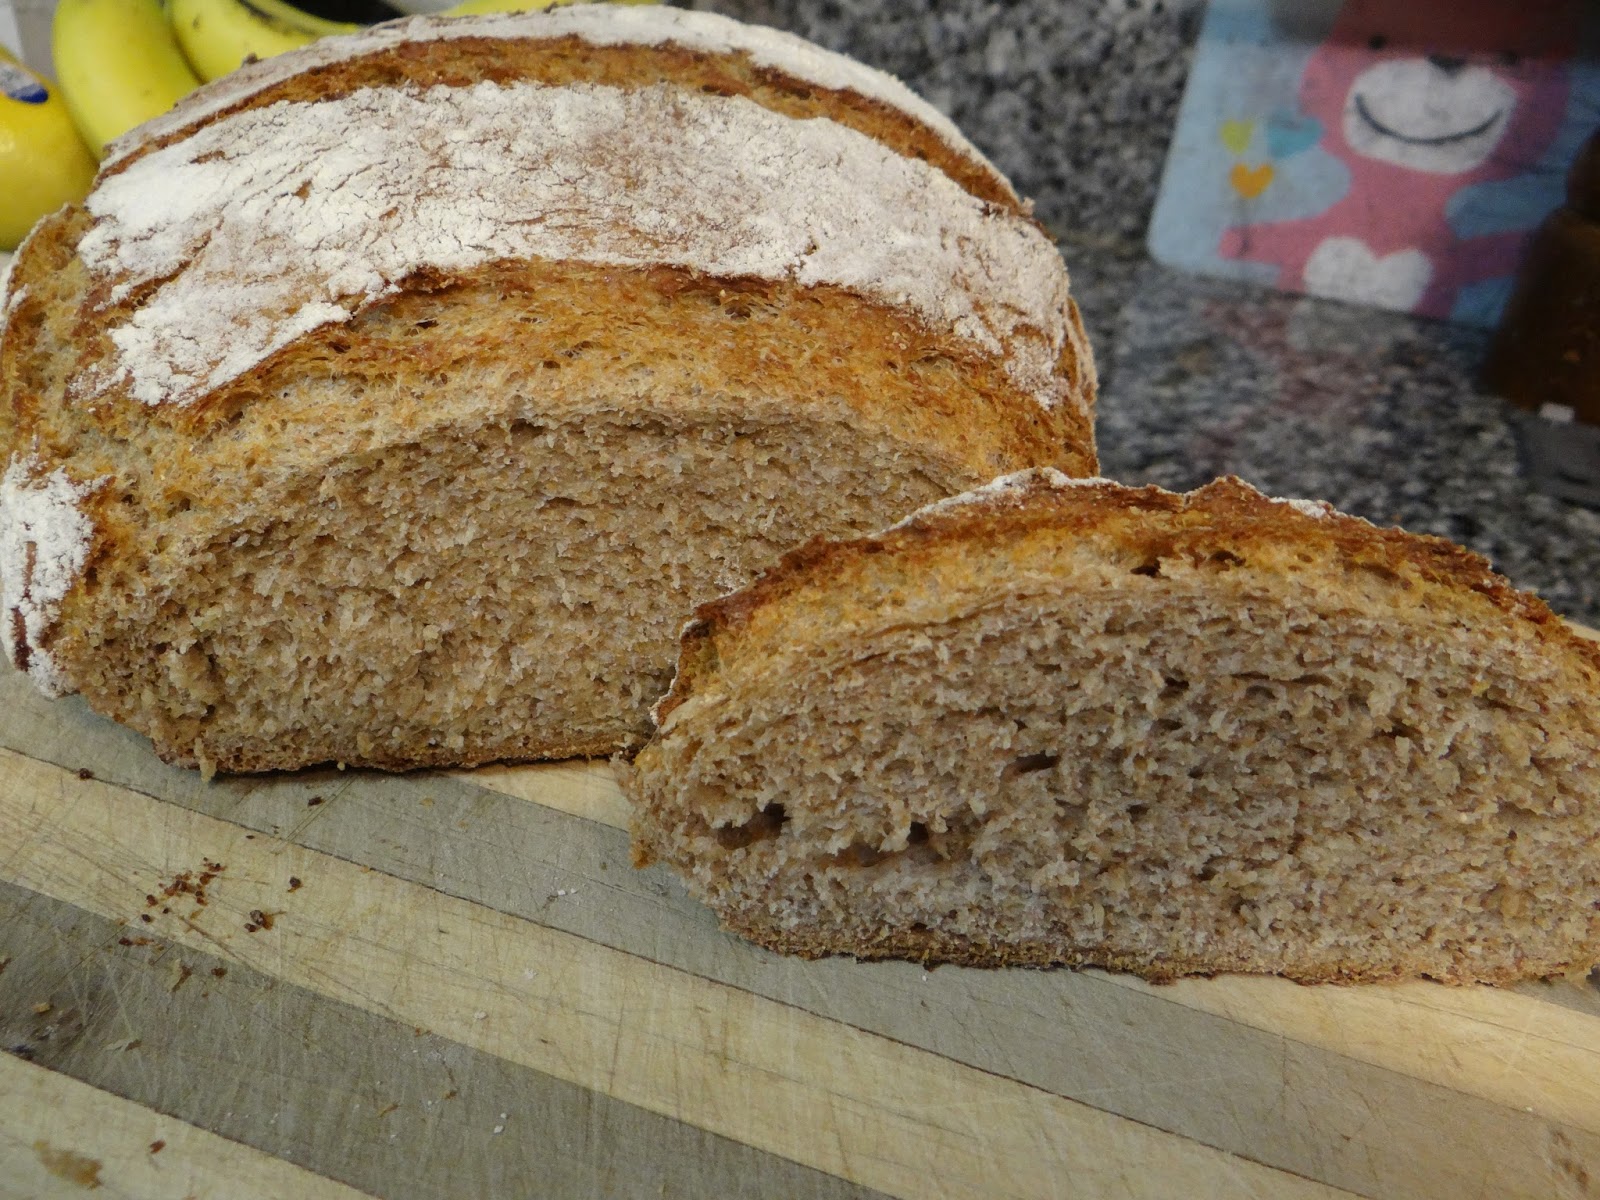
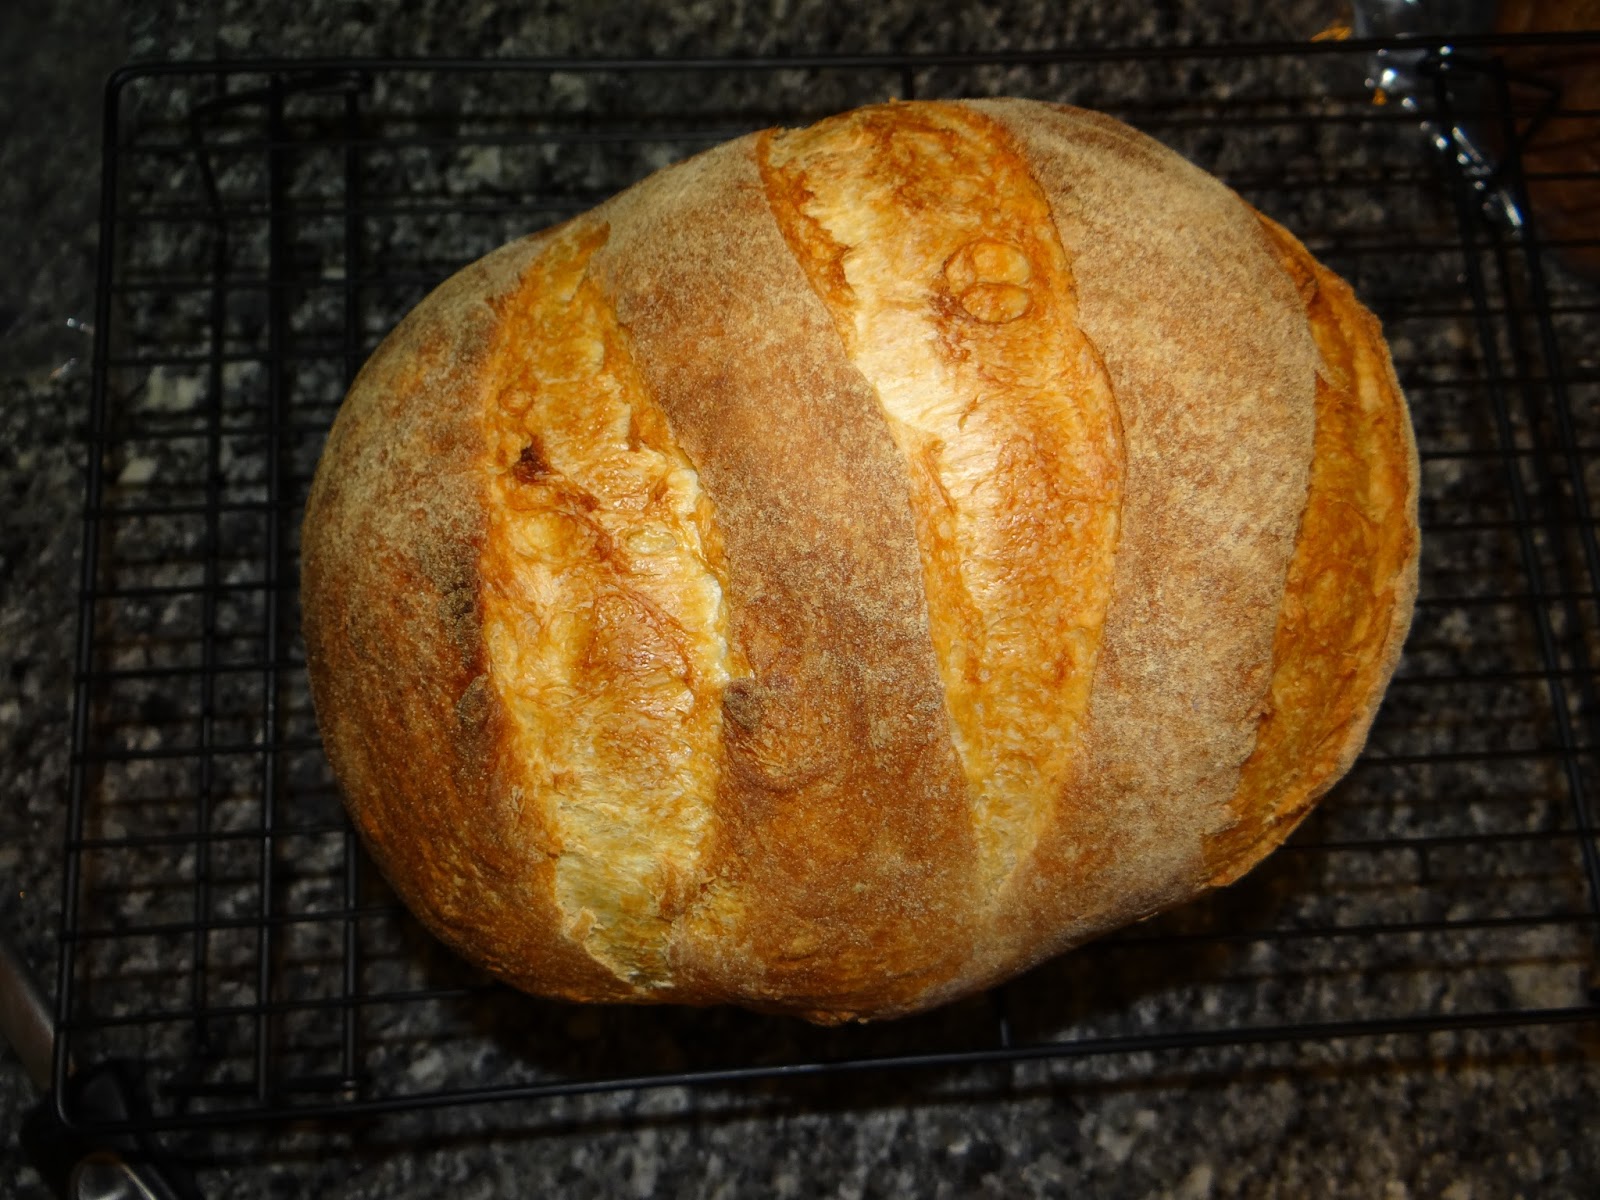
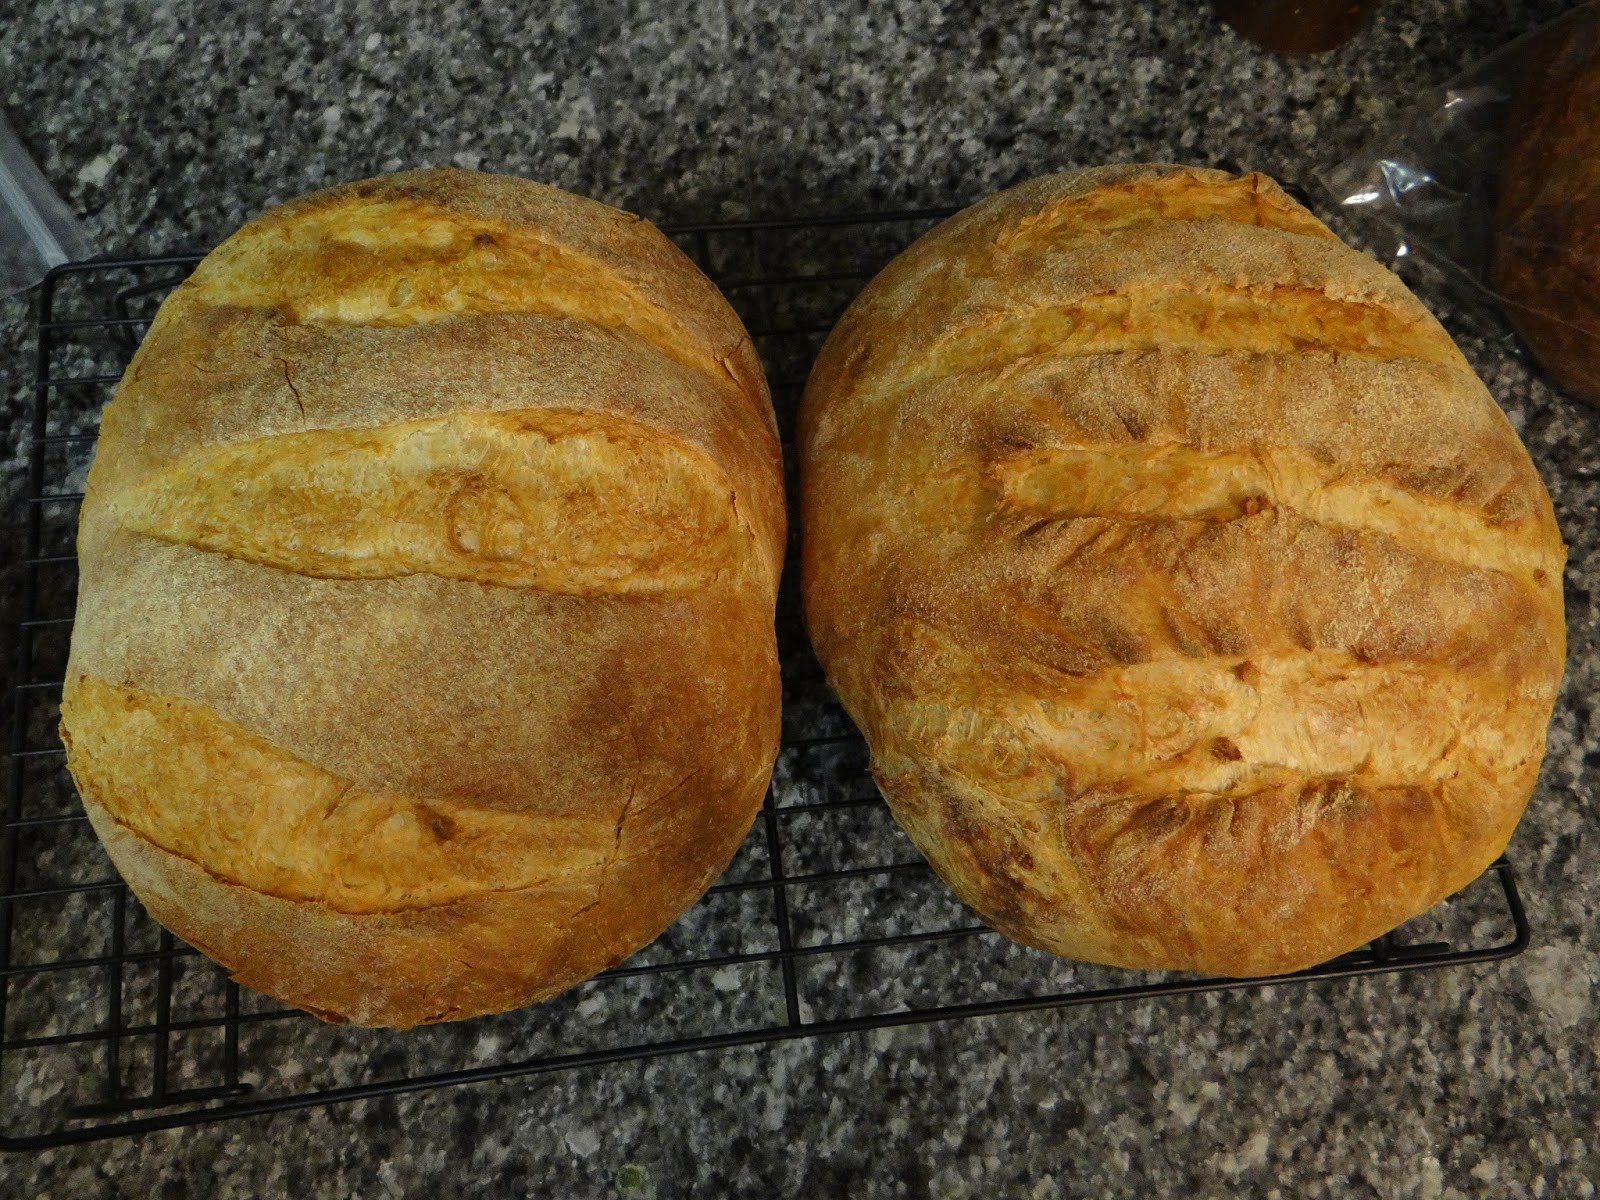
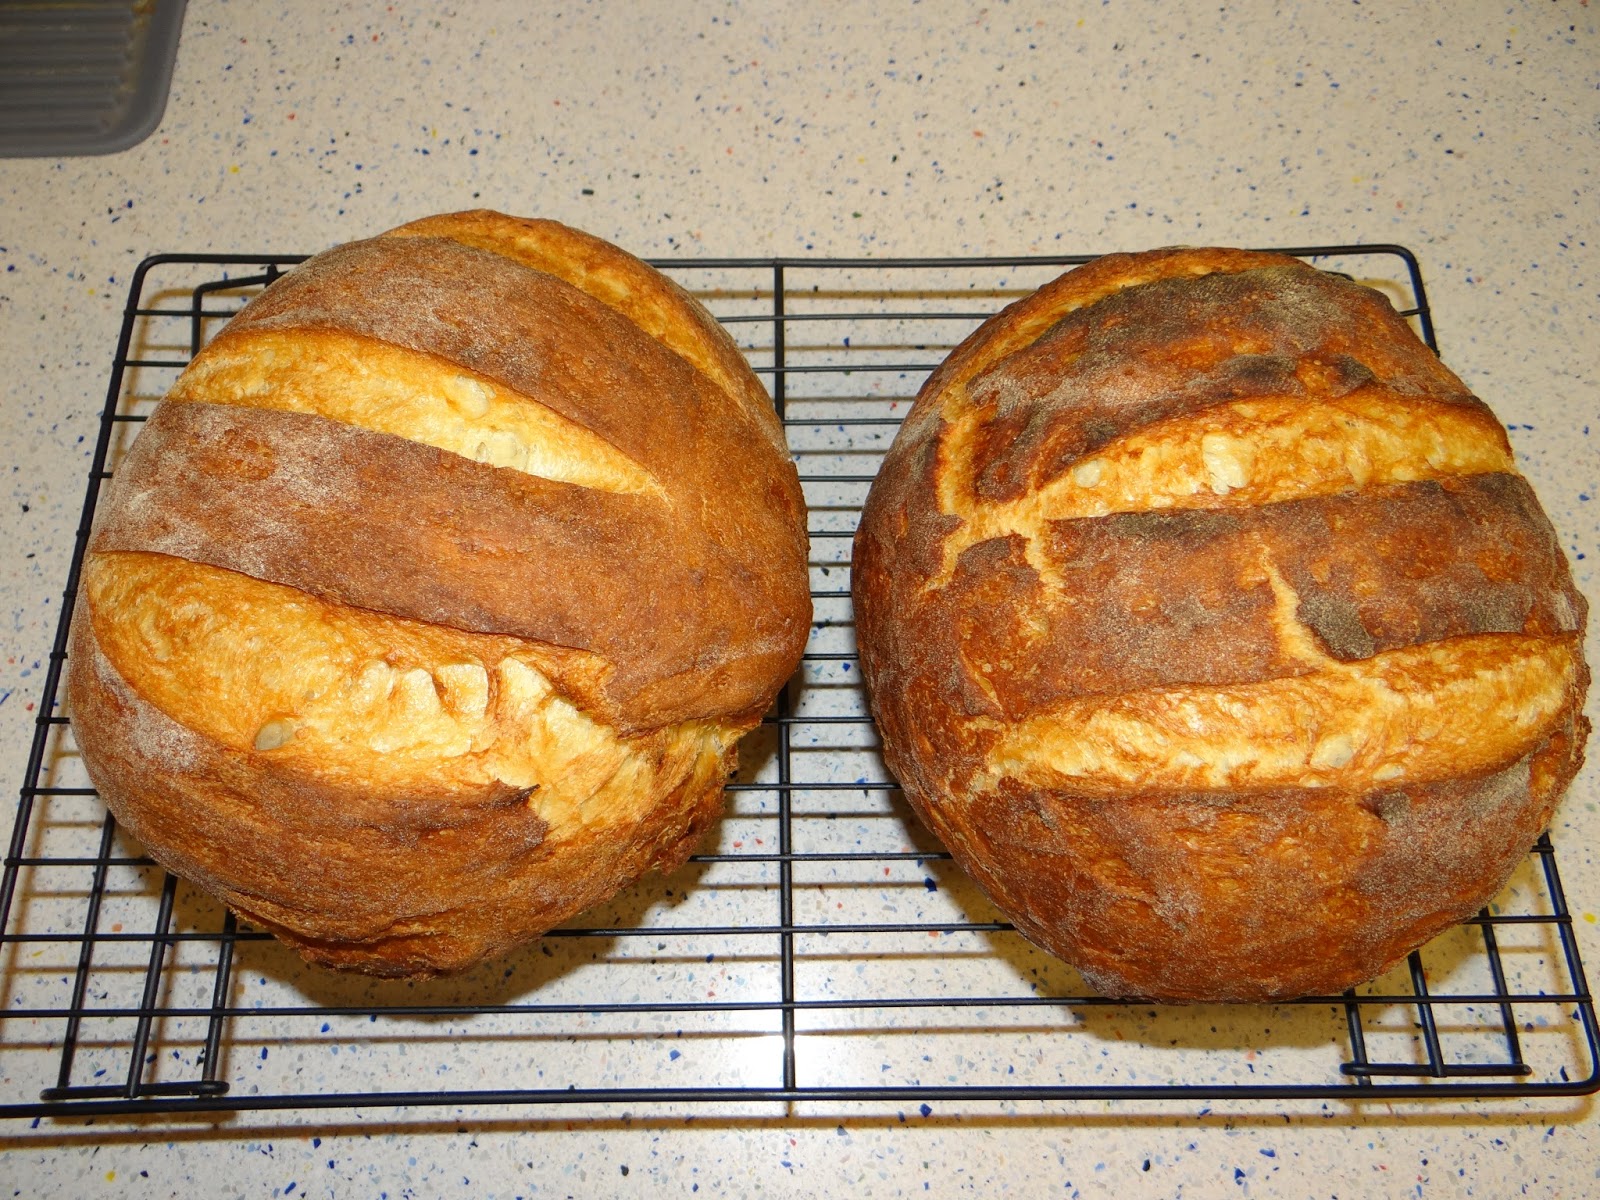
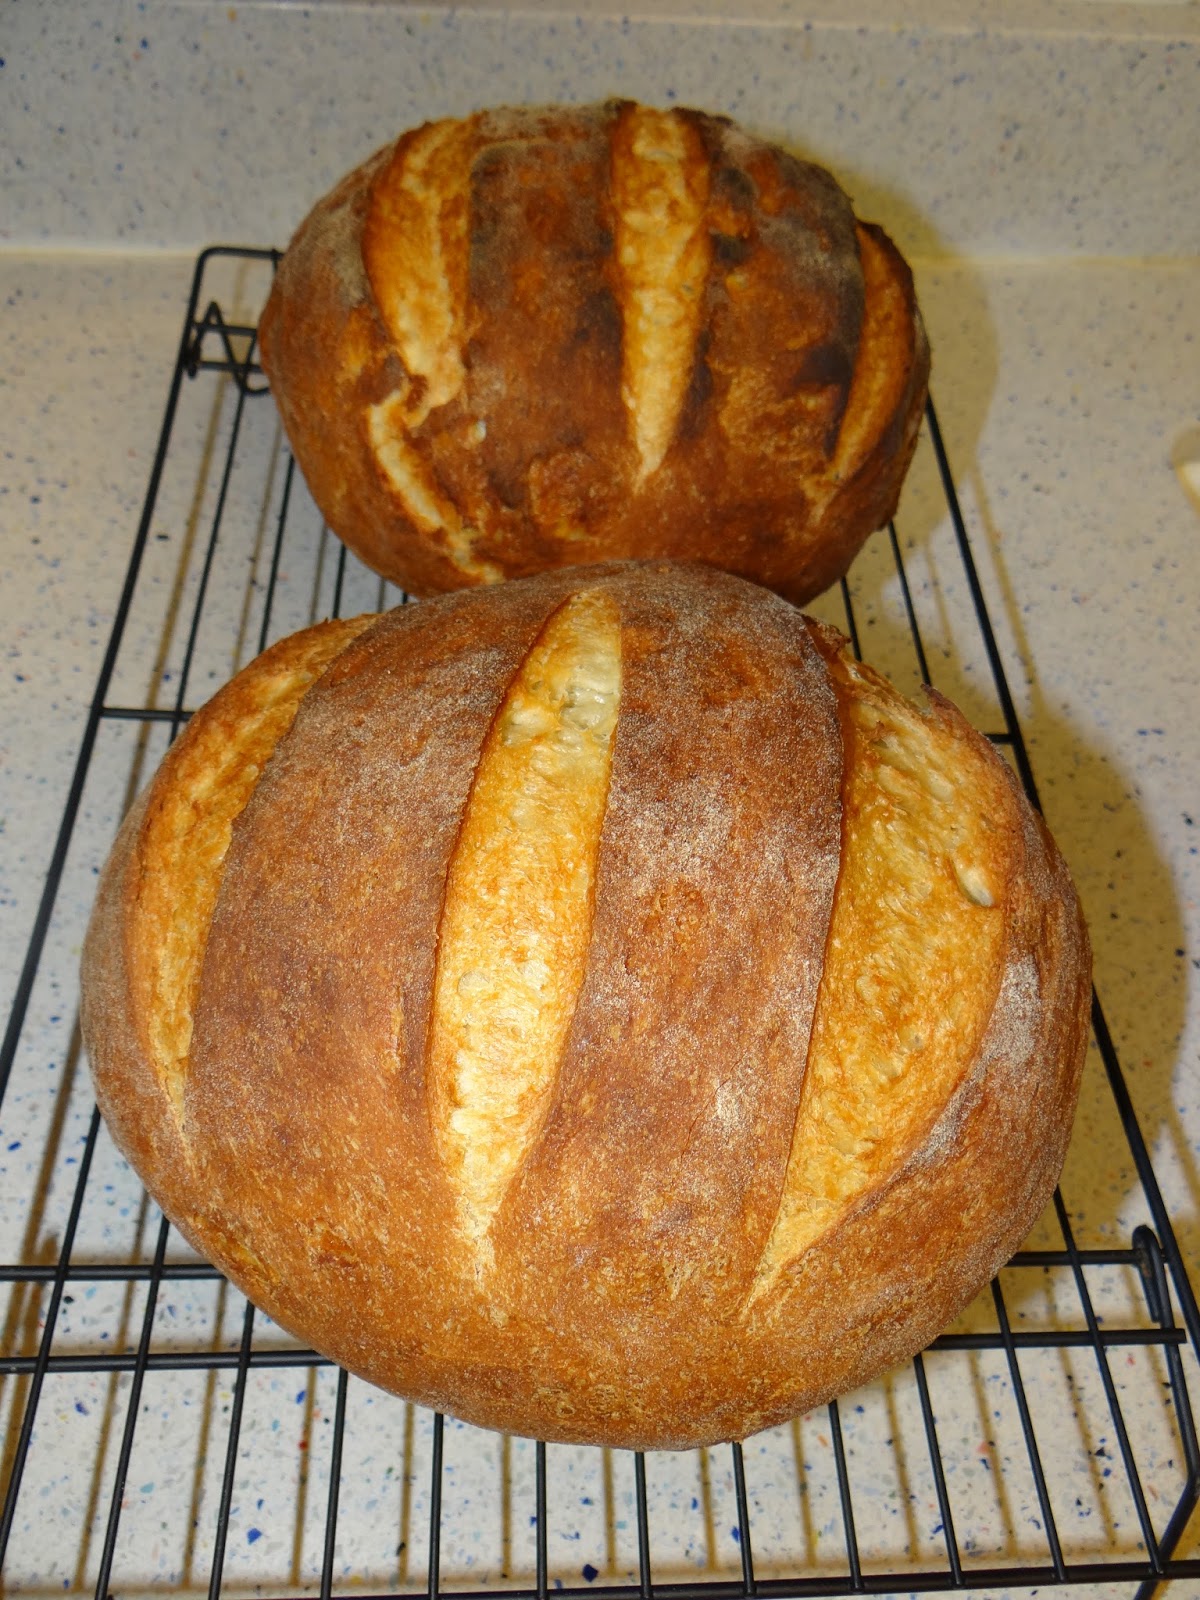
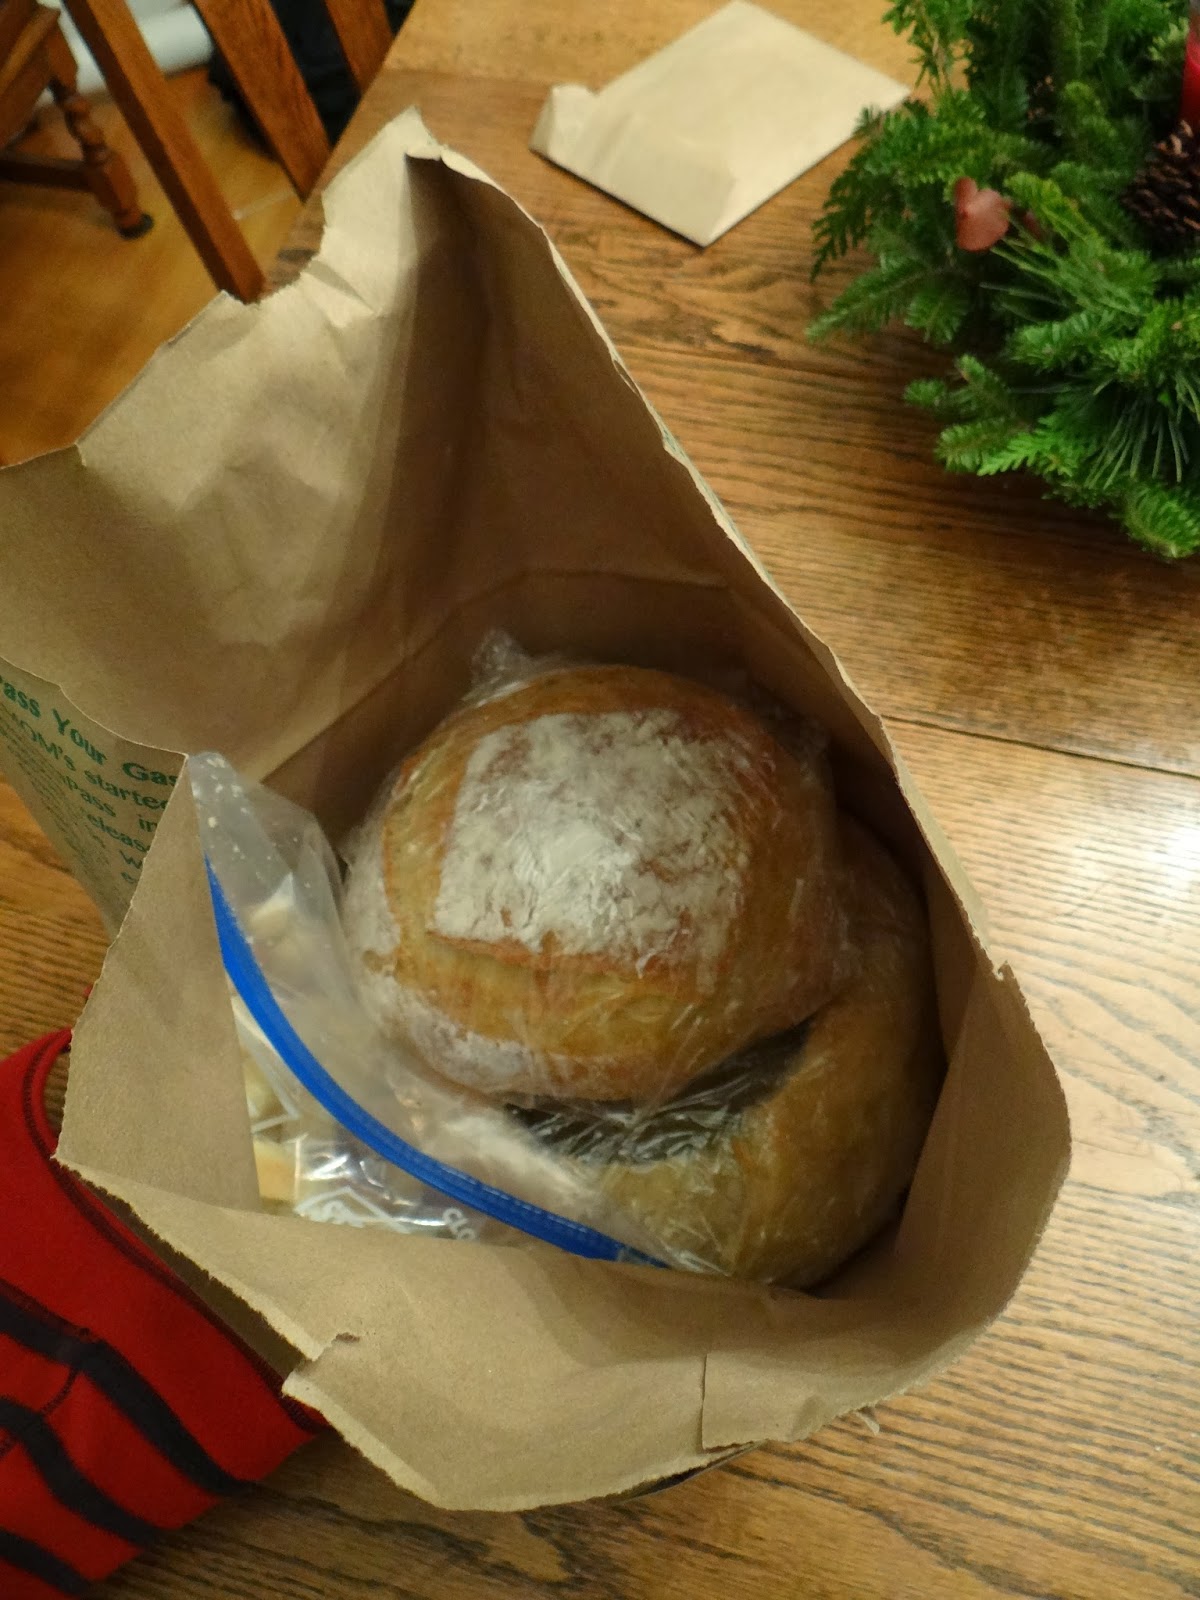
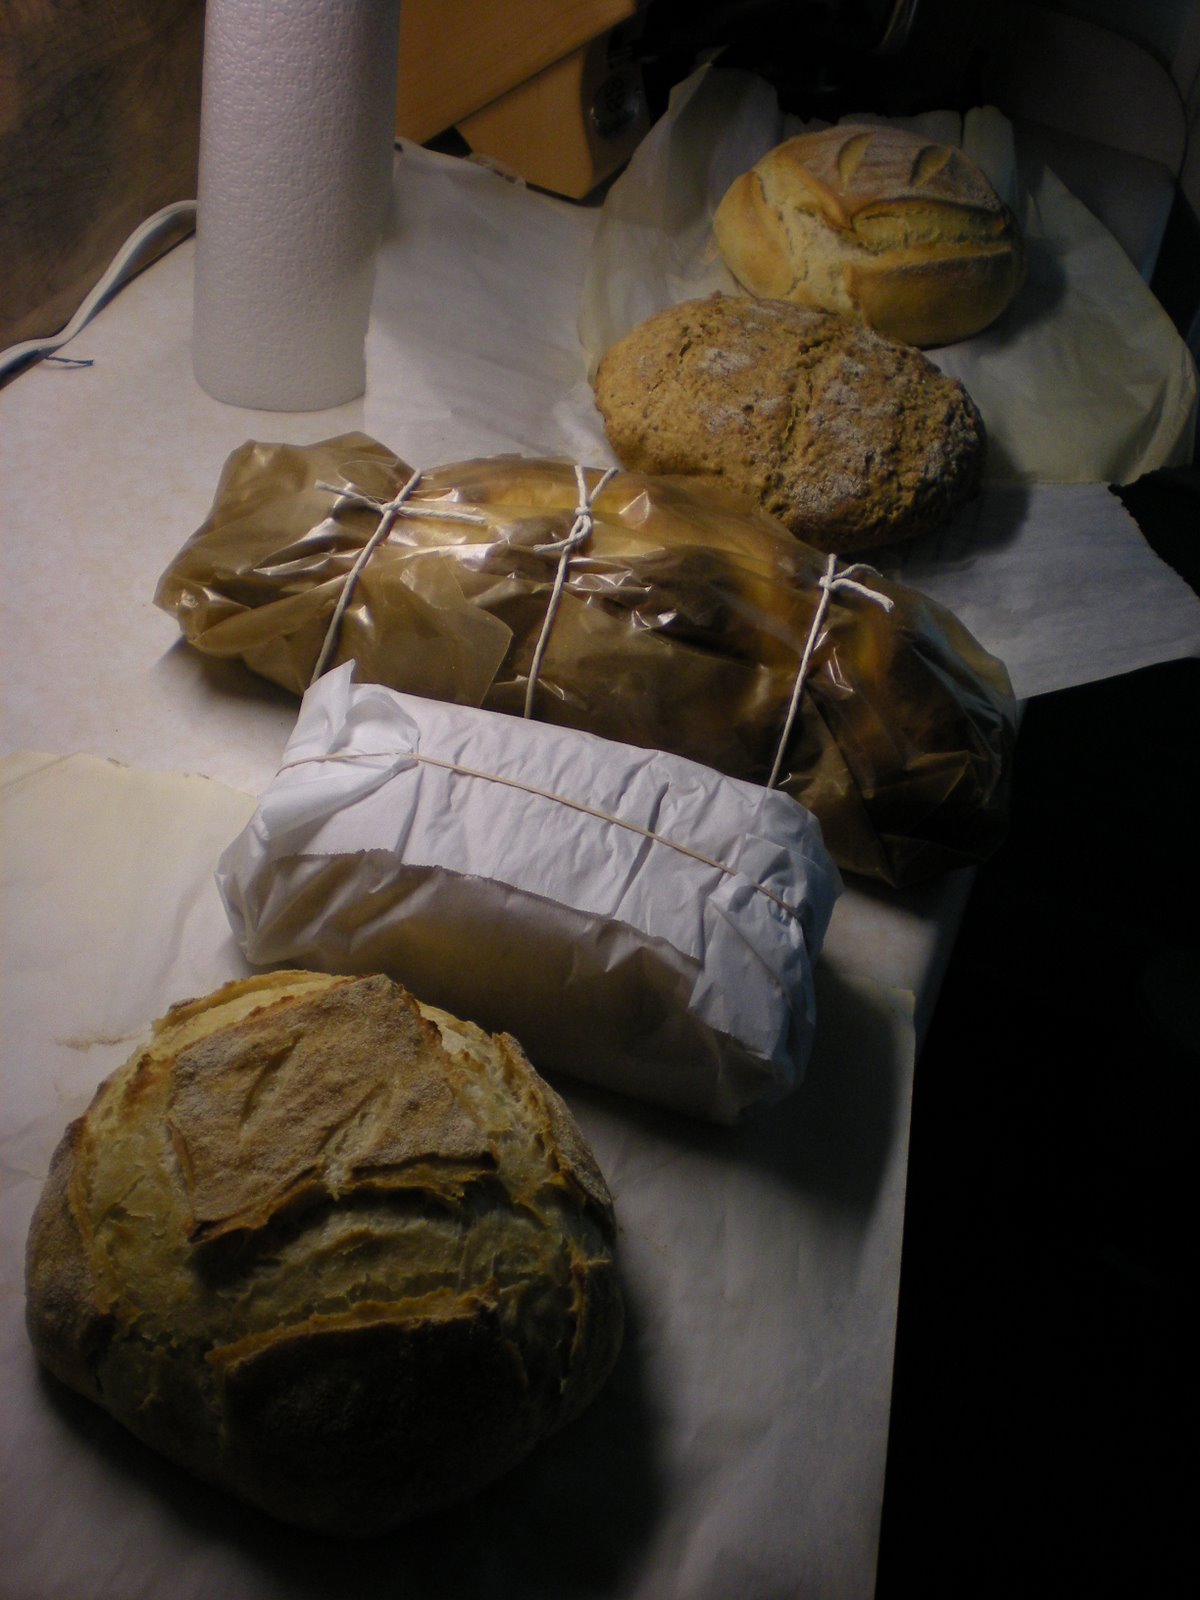
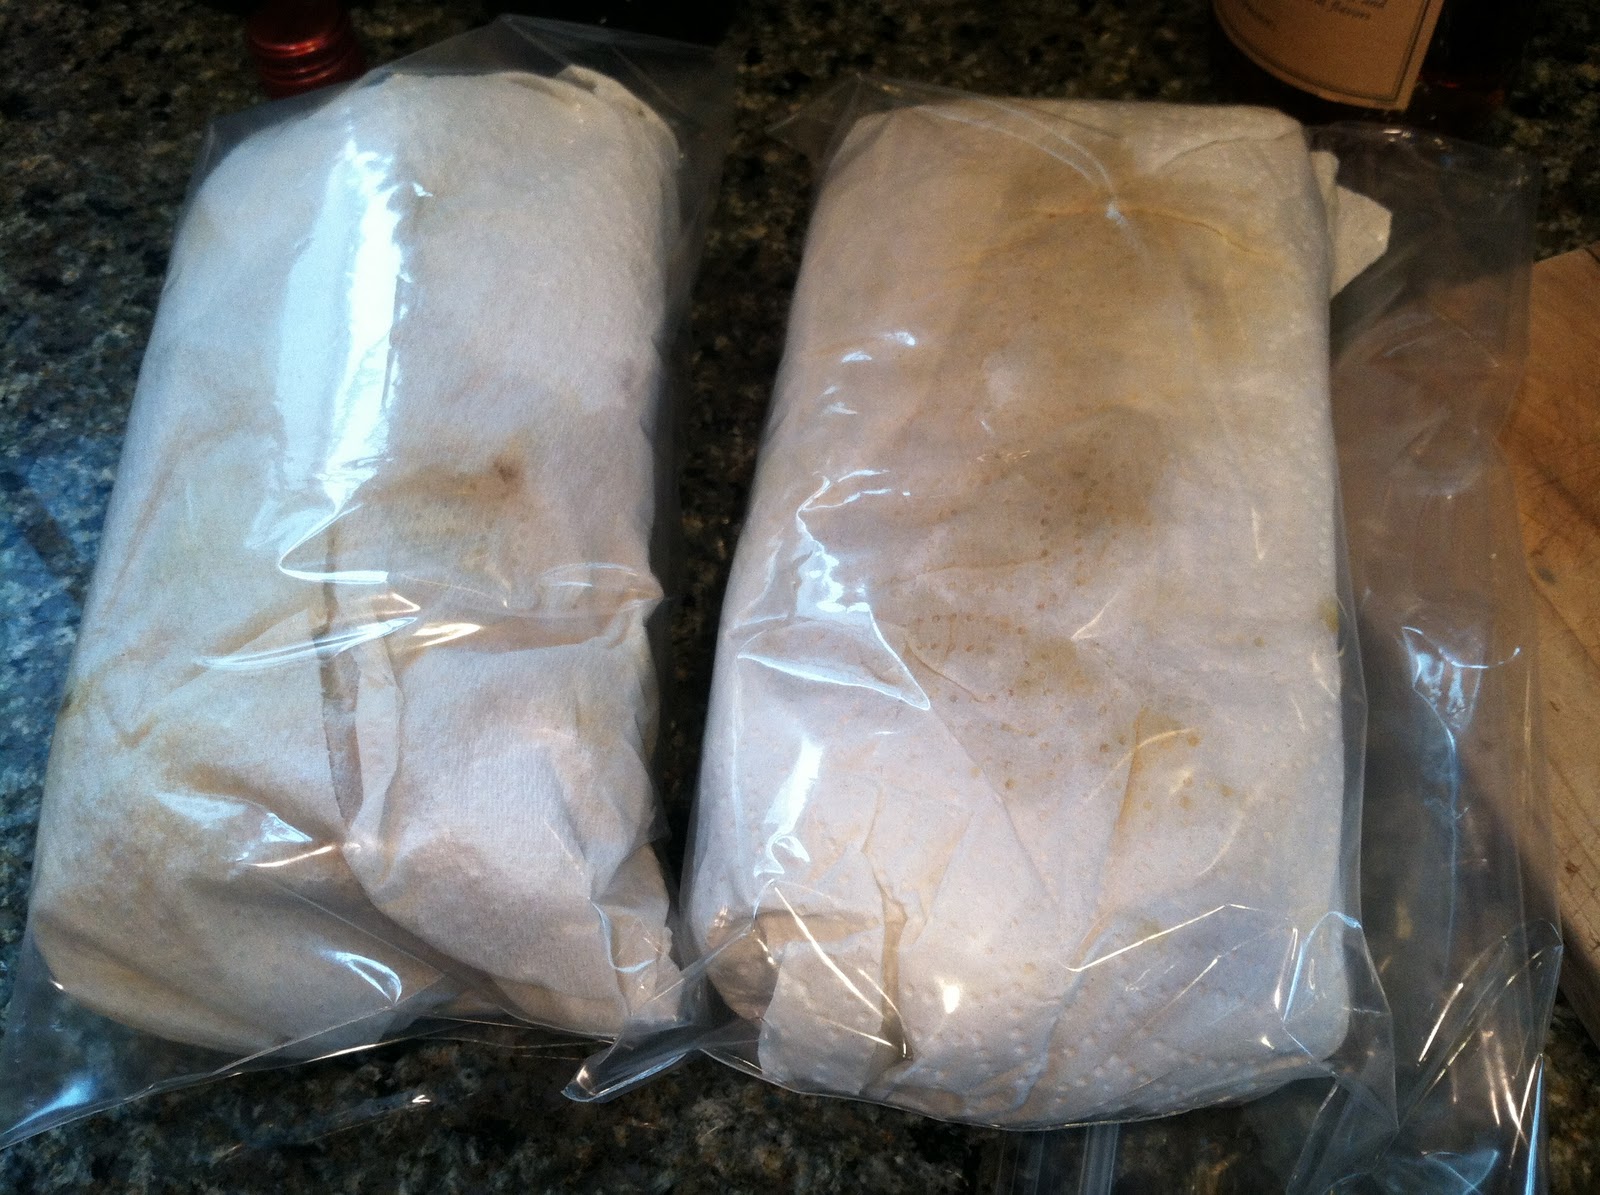
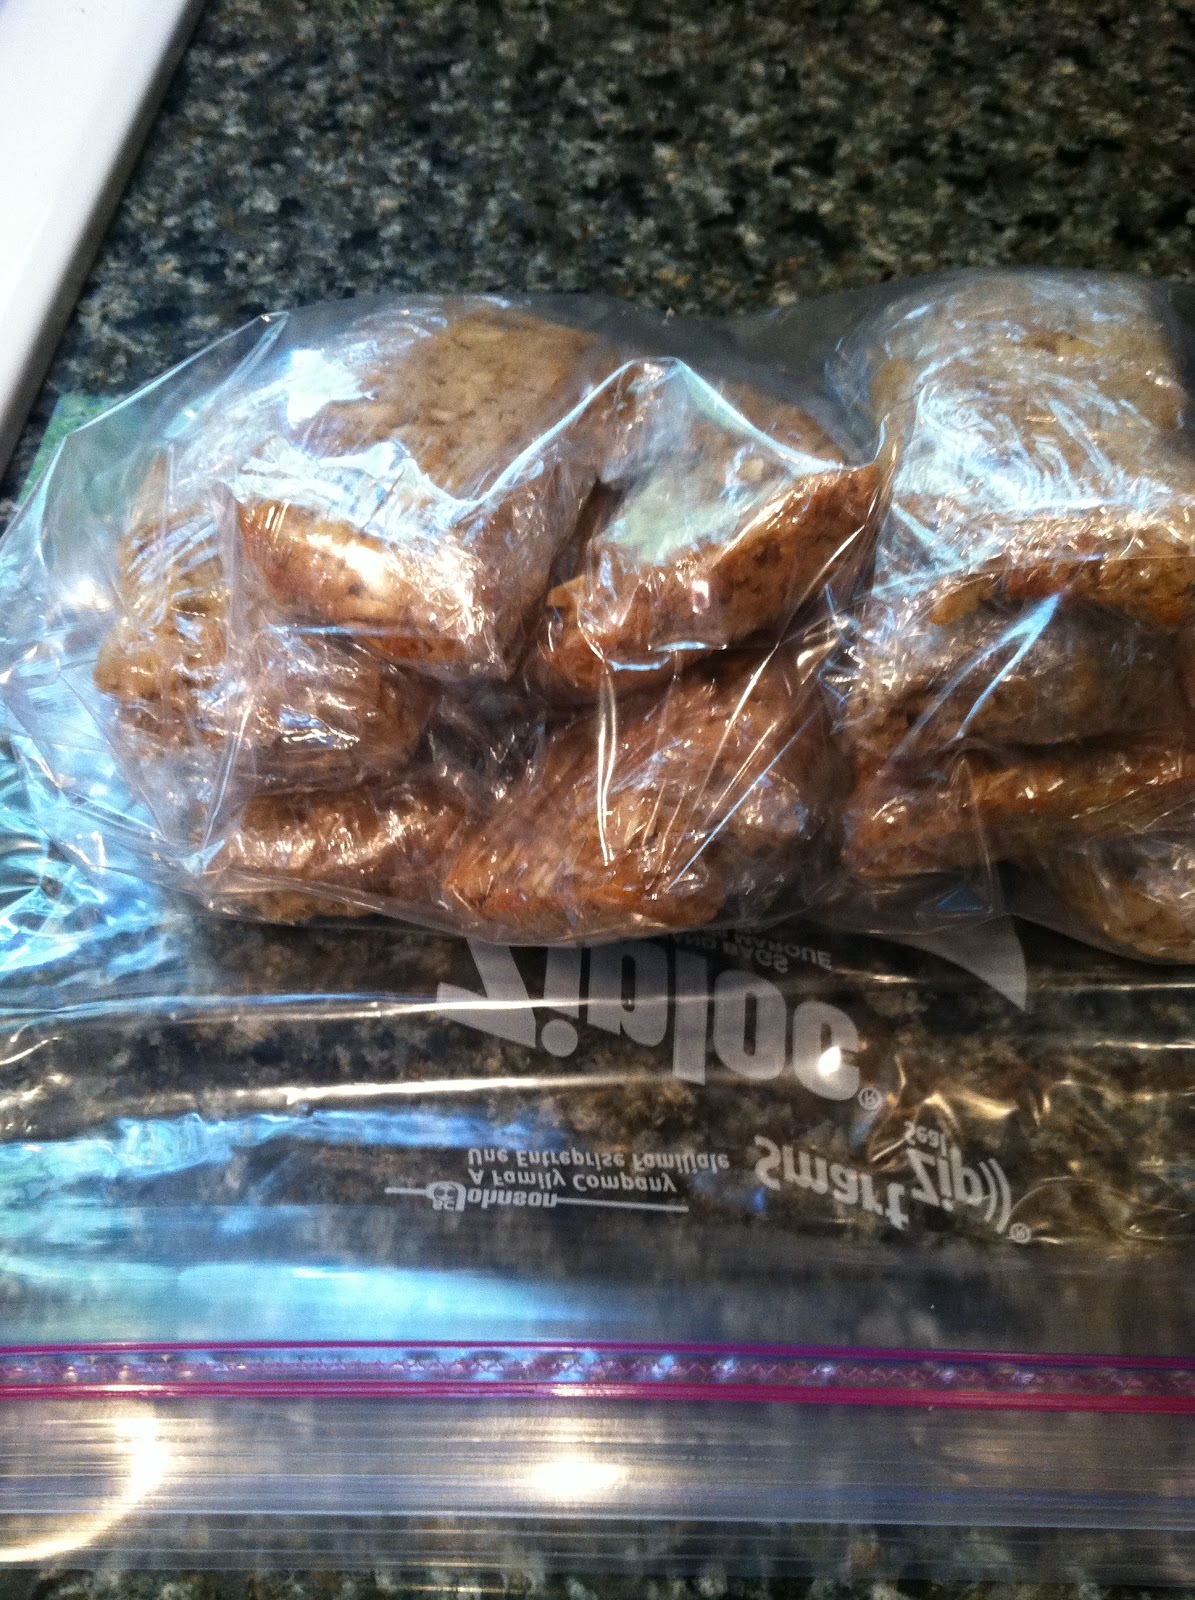
I don’t know if you can tell from the pictures, but these loaves are HUGE!  I may further divide them next time into three loaves, because these are unlikely to fit in the gallon-size plastic bags I usually store my bread in.  The size does validate my hypothesis- that increasing the hydration would result in larger holes and more oven spring.  
And– success!  Look at those holes in the crumb!
The flavor still isn’t what it could be, so I may cut the yeast even further and let it rise overnight.  Other than that, I’m pleased with the improvements I made this time.  
Have you attempted this bread yet?  How did it do?  Please leave a comment below!

The Science Behind… eggs, the egg-straordinary baking multi-tasker

If I find myself with leftover rice, my go-to dish is torta di riso salata with cheese and eggs.  Sometimes if I have spinach or broccoli I’ll throw that in too.  It’s super easy, and I usually have all the ingredients on hand.  The key to the dish’s success is the eggs, which bind everything together so it’s easily slice-able like a pie.  I think it merits a The Science Behind… post because eggs are so crucial to so many baked goods.

In this post, I will answer the following questions:

1. Why are eggs so useful in baking?
2. How do eggs work as leavening agents? Binding agents? Thickening agents? Emulsifiers?
3. How can I use eggs to modify a recipe?
4. How do I avoid baking mishaps using eggs?

these granola bars use eggs as the primary binder

1. Why are eggs so useful in baking?

Eggs are very useful in baking, because they are multi-taskers.  They do so many different things depending on how you use them.


Think about all the dishes that owe their existence to eggs: meringue, quiche, souffle, angel food cake, puffy pancakes, mayonnaise, french toast, hollandaise, custard, crepes… the list goes on and on.  Not only that, but there is an infinite number of ways an egg can be cooked: baked, fried, poached, boiled, hard-boiled, scrambled, etc.  Eggs are very healthy for you, because the yolks and whites are nutrient powerhouses, high in healthy fats and proteins.


2. How do eggs work as leavening agents? Binding agents? Thickening agents? Emulsifiers?

For baking, eggs are particularly important as binding agents and leavening agents.  The fat in egg yolks also soften gluten strands, creating a soft crumb in breads.


Binding agents hold all the ingredients together.  The proteins in the egg white are primarily responsible because they create a protein net that binds to itself.


The protein net is also responsible for eggs’ role as leavening agents.  They are known as mechanical leavening agents, in contrast to chemical leavening agents like baking powder, and biological leavening agents like yeast. Mechanical leavening agents are activated by whipping air into the mixture. When you beat eggs with a whisk or an electric mixer you are incorporating air into the eggs. It is this air that raises the mixture. Egg whites can expand up to eight times their volume! 
Whisking also denatures the protein in the eggs, which changes the shape and allows air to be trapped between the protein. 

Egg yolks are also used as a thickening and emulsifying agent.  Eggs absorb moisture under gentle heat, making them useful thickeners for custards and curds.  Emulsifiers stabilize a solution so its ingredients stay mixed together instead of separating.  Some examples are Hollandaise sauce and mayonnaise.

noodle kugel
pear tart with custard
macarons


 3. How can I use eggs to modify a recipe?   The combination of protein and fat in eggs can lend structure and softness to baked goods.  The key is knowing when to use the white and yolk together, and when to add just one or the other.  If your recipe has a lot of gluten formation, you may want to soften the texture by adding an egg, or one whole egg plus an extra egg yolk.  

If you are making a quick bread, the protein in an egg can add necessary structure.

Another way to use eggs for dramatic effect is to use an egg wash on top of your loaf.  It creates a beautiful, shiny surface for fancy breads like challah.  You can make an egg wash by whisking together one egg (or egg white) with a tablespoon of water, then brushing it on top of your loaf before it goes in the oven.  An egg wash with just egg white creates a very shiny surface, while an egg wash with the whole egg creates a shiny, golden effect.  Try them both out to see which you like better.


whole egg wash


An egg wash can also act like a glue for toppings like seeds
buns with egg white-only wash


4. How do I avoid baking mishaps using eggs?
Eggs can be tricky to use because if they are heated too quickly they scramble, and if they are beaten too much they become rubbery.  One way to bring eggs up to temperature without accidentally cooking them is to temper them, or temper hot ingredients before adding them to a mixture that contains eggs.  For example, when I add hot melted butter to my pancake batter.  If I added the hot butter right into my batter, it would scramble the eggs.  Instead, I temper it first and then, when it is the same temperature as the rest of the batter, I add it in.

Tempering means slowly adding a thin stream of the greater mixture into the smaller mixture (in this case, the melted butter) while whisking to incorporate, then turning around a whisking the butter mixture into the greater mixture.

Torta di riso and quiche use eggs primarily as binding agents, although the rice pie does expand slightly in the oven as it bakes.  It usually collapses again once it cools.


If you do use eggs in baking, you need to be careful to balance the fats and proteins in the eggs and the other ingredients.  Breads can taste rubbery if they have eggs and yeast if you don’t add other sources of fat, or extra egg yolks.


The combination of egg white and gluten creates a protein net that is too strong, baking into a loaf that is overly rubbery and chewy.  Adding milk, butter, oil, or more egg yolks to a recipe is a way to alleviate this problem.

Quick breads avoid this rubbery protein problem by combining the dry and wet ingredients and immediately baking before the gluten can form.  That way, only the egg serves as a binder.  In quick breads the egg, baking powder, and baking soda serve to leaven the dough.  The egg protein net captures the carbon dioxide bubbles released by the baking powder and baking soda, as well as whatever air became trapped by beating the eggs before they were added to the recipe.


Do you have any other questions about eggs?  Please leave a comment below.

Sources:

https://en.wikipedia.org/wiki/Leavening_agent#Mechanical_leavening

http://www.get-baking.com/raising_agents.html

https://collegekitchenscience.wordpress.com/tag/raising-agents/

http://www.streetdirectory.com/food_editorials/meals/breakfast_meals/eggs_in_cookery_the_magic_of_eggs.html

http://www.eggs.ca/eggs101/view/95/food-science

The Science Behind… using a couche or proofing basket

For most of my breadbaking, I have avoided using a proofing basket.  I didn’t really see the point – what does a floured towel do that’s so special?

A lot, it turns out.

Until now, for the final rise, I would shape my dough and place it on a piece of parchment paper, then cover it with an overturned pyrex bowl.  This allowed the dough to rise a little bit more and the gluten to relax before baking.

But for the past few weeks, I’ve been making loaf after loaf of Preston Yancey’s white bread from his latest book, Out of the House of Bread.  After his dough is shaped, it goes into a proofing basket for the second rise.  And, it appears, that makes all the difference in getting a crackly crust and a beautiful scoring pattern.

As I’ve been doing research, I’ve realized there are two different proofing apparata for two different loaf shapes.  For boules, or round loaves, a proofing basket works best.  For baguettes, a couche works best.

In this post on The Science Behind, I’ll be answering the following questions:

1. What is a couche?  What is a proofing basket?  What is a banneton?
2. What are the benefits of using a couche?
3. How can I use a couche to improve my bread?
4. How do I make a couche or proofing basket?

1. What is a couche?  Literally, “bed” or “resting place,” a couche is a tea towel or piece of thick canvas or linen that provides support for baguettes.  Couche cloths are sometimes placed into baskets to create proofing baskets which support round boules.  Using the baskets alone without a couche is called a “banneton.”

DSC02804

Because I don’t want to spend the rest of this post saying “couche, proofing basket or banneton,” I’m just going to use “couche” from now on to refer to all three.

DSC02748

proofing baskets (lined with couches)

DSC02767

couches

 2. What are the benefits of using a couche? The benefits of a couche are two-fold, I’ve discovered.  First, by cradling your dough after it’s been shaped, you maintain the integrity of the shape without having to worry about the dough spreading out and flattening.

Here is how I used to let my doughs rise after they’ve been shaped:

This is perfectly fine for a low-hydration dough, which holds its shape well and has lots of gluten formation.

But for doughs that are high hydration and very slack, they can spread during the final rise if they are left without anything to cling to.

Second, the couche breathes and is covered in flour, drying the surface of the dough to create a skin.  Now, I always though you wanted to avoid a skin, since I thought it would impede oven spring.  But the more I looked into it, I realized that a skin on your dough is the first step to a super crispy crust.  Also, I recalled that by scoring your dough, you are cutting through the skin and providing weak points for the oven spring to expand.

As you can see in this picture, the contrast between where the bread was scored and where the skin was left intact is very distinct:

DSC02800.JPG


3. How can I use a couche to improve my bread?  Couches are typically used during the second rise, after a dough has been shaped.  You put the dough into the couch seam side up (if your couche is in a bowl) or seam side down if you are making baguettes.

4. How do I make a couche?  You can buy a couche, but making one is really easy.  

First, sprinkle some flour on a linen, canvas or cotton towel.  Make sure it’s a flat weave towel, not a terry cloth one.  

Use your hand to rub the flour into your towel.

If you are making a boule, line a mixing bowel with your couche cloth to create a proofing basket.


After using these towels several times, I decided to experiment with cloth napkins, which have a tighter weave.  I ended up preferring the couches made with the napkins rather than the tea towels.

DSC02799.JPG

couches made with napkins

If you are making baguettes, you will want a stiffer material than cotton.  Canvas and linen are better choices.  This is a graphic I found about using a couche for baguettes.  Getting the dough from the couche onto the paddle without using your fingers takes a bit of practice!

http://www.leetfarmer.com/wp-content/uploads/2012/04/Uncouched.jpg

Once you have baked your bread and are left with a floured towel, you have two options.  You can either designate your towel as your official couche cloth, at which point you can stop washing it and let the flour build up in the weave of the fabric.  Otherwise, if you know you probably won’t be using the couche method often, you can wash it in between baking sessions.  I haven’t had any problems washing the flour out of the towel.

It’s up to you – most bakers who bake often don’t wash their couches.  Since I’ll be making Preston Yancey’s white bread at least seven more times and I have decided I like this method, I bought myself some bannetons.

Have you ever baked with a couche?  Do you think it enhances the appearance of your dough? Let me know in the comments!

sources:

http://www.thefreshloaf.com/node/782/baking-couche-what-gives

http://www.thefreshloaf.com/recipes/bakedpotatobread

The Science Behind… scalded flour

After accidentally using hot water instead of warm water during the autolyse period of Preston Yancey’s white bread, I was surprised to learn that intentionally scalding the flour is a technique used in Japan for super-soft bread.

I wanted to learn more.  Why does scalding the flour lead to soft bread?

In this post, I will answer the following questions:

1. What is an autolyse?
2. Why would you add boiling hot water?  Why can’t you do this for regular bread recipes?
3. What is starch gelatinization?
4. What is tangzhong?
5. How can I use scalded flour in my bread baking?

1. First off, what is an autolyse?  It’s a technique used by some bakers to boost the gluten formation in their bread. By mixing water and flour before adding any other ingredients, you allow the protein to absorb all the water without having to share it with the starch and without being stressed by the carbon dioxide bubbles from the yeast pushing against the gluten net before it’s had a chance to firm up.  After an autolyse of just a few minutes, the gluten is very well formed and is ready to stretch with the expansion of yeast bubbles.  Salt and yeast are added after the autolyse period is completed.

2. What makes scalded bread different from the autolyse?  Why would you add boiling hot water to flour?  With an autolyse, you add warm water.  This is because protein can absorb more warm water than cold water. The autolyse is purely to develop the gluten.

Scalding flour with boiling water, in contrast, activates another chemical reaction entirely– starch gelatinization.  Instead of being absorbed by the protein, the hot water is absorbed into the starch molecules.  That leaves the gliadin and glutenin (the proteins in flour responsible for creating gluten) bereft of the water they need for strong gluten formation.

Bread with high gluten formation tastes chewy.   This is why you don’t want to overmix doughs like muffins and cakes- they can become rubbery.  By taking water away from the gluten and jump-starting starch gelatinization instead, you create a dough that is super soft.

Why can’t you do this for regular bread recipes? Simply put, you cannot substitute hot water for the usual warm water because it kills the yeast.  That is why it really only works when you add hot water to the flour and let it cool before adding the yeast and salt.

3. What is starch gelatinization? As you may recall from my The Science Behind… series on the baking process, starch gelatinization occurs in the high heat of the oven.  This graphic might clarify things:

Here is what happens when dough is in the oven.  First, the yeast go crazy and produce lots of bubbles before the heat is too high and they die off.

Next, the gluten strands release water to solidify around the carbon dioxide bubbles created by the yeast.

With all the free water suddenly available (released by the gluten), the starches absorb it until they can’t absorb any more; they then burst, releasing the water and sugars in a process called gelatinization.

So instead of waiting for starch gelatinization to occur in the oven, scalded flour introduces it much sooner in the bread baking process.

But what exactly IS it?  This article explains it best:

This formation of gummy networks gives polysaccharides (heated starches) the ability to replace eggs in many baked goods with relative success. The tangled networks can entrap water and other molecules in the batter, locking in moisture and keeping ingredients evenly dispersed. Polysaccharides also interrupt the springy gluten networks formed by flour to create a more tender, delicate texture often desired in muffins and quick breads. And just as a network of egg proteins can hold things together, polysaccharide gels help keep baked goods from falling apart. Who would have thought that such different molecules could function so similarly in the kitchen!

Here’s a graphic.  As you can see, the starch molecules absorb water under heat until they burst, forming a tight net of gel.

https://scienceandfooducla.wordpress.com/2013/04/30/baking-without-eggs/

Here is the problem, one that I ran into and one that has been solved by the Japanese technique of tangzhong (more on that below): you don’t want to scald the entire flour content of your dough.

You do still want some gluten in your dough to help with structure.  This is where tangzhong comes in.  It can be understood as something of a roux.  Like a roux you might use in a gumbo, adding just a little bit of scalded flour will help soften your dough, while maintaining the gluten structure.

4. What is tangzhong?  Tangzhong is a technique I learned about recently.  According to this post,

 The Tangzhong roux technique was developed in Asia around 2000. The technique was first mentioned by Yvonne Chen in her book, “Bread Doctor”, published in Taiwan in about 2003. Tangzhong means “soup” in Chinese.  

A Tangzhong Roux (also called a Tangzhong Water Roux or Water Roux) is a flour and water roux that is added to yeast bread recipes. This is done in order to make a loaf of bread that is lighter, has a more tender crumb and a longer shelf life.

The flour and water are mixed and heated to 149-F (65C). This gelatinizes the flour and forms an unflavored translucent pudding-like roux.

http://yireservation.com/recipes/soft-asian-milk-bread/

If you plan to use a water roux in a regular recipe such as my 2-3 white bread, use only about 5% of the total flour weight to calculate your roux flour weight.  The flour in a water roux absorbs 5x the flour weight in water.

So if you are planning on making a dough with 375g of flour, your roux should be about 19g of roux flour (375 * .05) and 95g of roux water (19 * 5).  The post on Chowhound suggests just adding it to your recipe without doing any recalculations for hydration.

Just add your paste to the amount of water you would regularly use (in the case of my 2-3 dough, 250g of water) and then, when it is lukewarm, adding it to the normal 375g of flour. 
 
5. How can I use scalded flour in my bread?  Besides the Japanese soft breads, I learned that scalded flour is a technique practiced in Scandinavia as well.  Virtuous Bread has some tips for using scalded flour (in sources below).  I learned through my research that scalded flour is most often used in non-wheat doughs like ryes, which have very little gluten content and do not hold their structure well.  By scalding the flour, bakers can achieve a soft dough that has a cake-like consistency, less bitter flavor, and holds together without the help of gluten.

For a rye bread recipe with scalded flour, check out this post:  rye bread with scalded flour.

I hope you enjoyed this tutorial on scalded flour and starch gelatinization.  It’s something I was unfamiliar with, but I’m thinking it could be a great way to add softness to breads without fats like eggs or milk.

Have you ever used scalded flour or a water roux in baking?  Let me know in the comments!

Sources:

Sourdough Library

Science and Food

Virtuous Bread

Chowhound Tangzhong Roux FAQ
 

Rye Bread with Scalded Flour

After doing a bit of research, I found that many rye breads use scalded rye flour to improve the taste and texture of the loaves, relying on starch gelatinization to provide some structure, a hint of sweetness, and a creamy texture to a dough with very little gluten formation.

I picked a recipe that uses a scalded rye paste that gets mixed into a whole wheat dough, since I’m not a huge fan of 100% rye breads.

The recipe from All You Knead Is Bread.  You can also find it here

You will need:

For the scalded rye paste
150g rye flour
300g boiling water


For the dough
600g whole wheat flour
300g warm water
7g active dry or instant yeast
20g salt
1 tablespoon of honey
1/2 teaspoon ground cinnamon

1. Mix together the rye flour and boiling water.  The consistency and taste reminds me of cream of wheat.  When the paste has cooled a bit, cover and let sit for several hours or overnight.

2. Add the other ingredients to your rye paste.  Knead for 15 minutes.  The dough will be very gummy and sticky, since there is virtually no gluten being formed by the rye and whole wheat flours.

3. Cover the bowl with plastic wrap and let it rise for 2 hours.

4. Prepare two couches with floured tea towels (I totally forgot to divide my dough and ended up with one large boule).  Divide your dough in two pieces, and use your hands to roughly shape your dough(s) into a boule, and place each into its couche with the smoother side down and let rise another hour.

Make sure your couche is well floured, since this dough is sticky.  I rolled the dough in the couche a few times until it was completely coated in flour.

5. Preheat your oven to 450 degrees F.  Preheat with the dutch oven inside.  When the oven is ready, turn out your dough into the dutch oven and slash it quickly on top.  Return the lid to the dutch oven and bake for 15 minutes, then bump the temperature down to 400 and bake another 15 minutes covered, then remove the lid and bake a final 10-15 minutes uncovered.

Looking good right out of the oven!  Low-gluten doughs score very well since you don’t have to cut through much gluten.

It’s a little flatter than an all-purpose or bread flour dough would be, but still has a nice shape.
I’m very happy with the interior.  It’s nice and dry, not gummy.

The rye flour is 20% of the total flour in the recipe, giving it a nice rye flavor.  By scalding the flour and adding some honey, the dough is not bitter.  

Pardon all the shots of the crumb; I’m just a little smitten.  I’m used to making rye breads that look like this:

I was nervous about how gummy and sticky and not smooth the dough was after the first and second rise.  But the starch gelatinization that occurred by scalding the rye flour did its job perfectly, absorbing a lot of water but making a loaf of bread that has a nice and soft interior that is not gummy at all.
I will totally be making this recipe again.  If you want more information about scalded flour, check out my The Science Behind… scalded flour here.
Have you ever made rye bread successfully?  What are your tricks?  Do you think you’ll try scalding the rye flour next time?  Please let me know in the comments!

Preston Yancey’s white bread, attempt #2

I wish I could take a picture of my copy of the book, but alas I bought it on my kindle.
here are some pictures with my kindle in the background.

As I mentioned previously, I am reading and baking my way through Preston Yancey’s Out of the House of Bread.

My first attempt was a disaster.  First, I think my lack of sleep lately resulted in incredibly low reading comprehension.  Also, I was unfamiliar with several of his techniques, including the autolyse, short refrigeration period, three-stage baking process, and use of a couche. Also, somehow I forgot to add salt.

To make matters worse, I realized halfway through that my oven was being tied up for the next five hours by Mr. Bread Maiden’s sauerkraut, resulting in my having to cart two bowls of dough to my mother-in-law’s house to bake them.

note the abrupt change in the color of the counter halfway through

This ended up working in my favor, however, because 1) My MIL has razor blades which resulted in the most beautiful scoring pattern ever, and 2) she was there to document a process I don’t think I’ve ever captured in pictures before- scoring and putting the bread in the oven.  It happens so quickly, and since I’m usually alone when I bake I can’t stop and take pictures.

tipping the dough out of the couche into the dutch oven

scoring the dough inside the dutch oven – I kinda like my scoring on parchment then moving parchment to the dutch oven process better – less risk of burns and dropping a razor blade into the dutch oven 🙂

As I always say, you need to attempt a recipe at last three times before judging it.  Preston’s book has you bake the same bread NINE times!  If I haven’t perfected it by then, I’m really doing something wrong.

despite my mistakes, they still turned out beautiful.  Not bad for a first attempt!

This time around, things went much better.  I used warm, not boiling hot water during the autolyse, remembered the salt, and had the time and oven space necessary to do each step in the right order.

In my defense with the boiling water autolyse thing during attempt #1… the previous night I had read my MIL’s Cook’s Illustrated with an article about a Japanese technique called Tangzhong, which employs a paste made from flour and hot water.  The hot water triggers starch gelatinization instead of gluten formation, resulting in a very soft crumb.  The idea must’ve stuck in my brain, so when I read the instruction to use “warm, NOT hot water,” my brain thought “oh, it’s like that Japanese technique.  I’ll add hot water.”

Ok, onto attempt #2.  For the recipe, see my first post.

This time I knew that eight cups of flour + three cups of water + nearly a tablespoon of yeast makes a huge bulk fermentation.
My yeast, sugar and honey mixture.  This time I just drizzled some honey and called it good.  That’s the benefit of making the same recipe over again – you come to learn what is essential to measure correctly, and what you can safely eyeball.  
Before autolyse
After autolyse before adding yeast mixture.

after adding yeast mixture, oil and salt.  

After refrigerating for 1.5 hours.

Preparing my couche.  Sprinkle a little flour on a cotton (not terrycloth) tea or kitchen towel.

Now, use your hand to grind the flour into the towel until it’s dry and smooth against your hand.  Place your floured towel in a medium-sized mixing bowl.  You have made a couche.

Remove your dough from the bowl and divide into two equal pieces.

Shape each piece into a boule, tucking the sides underneath and pinching them together to form a seam on the bottom.

Here’s the top, with the seam hiding on the bottom.

Place your dough seam side UP in your couche, then cover and let rest for another 1.5 hours.

Once the oven is preheated, gently turn out your dough from the couche into the dutch oven so that the seam is now on the bottom.  Bake per Preston Yancey’s instructions.

Once again, I was totally blown away by how beautiful the loaves were that came out of the oven.   


 That said, once again I was disappointed when I cut into the loaves.  This time, there were some small air pockets, but in general it was a very tight crumb.  Not really what I imagine when the crust is really crusty – I want big holes!

Since I followed all the instructions this time around, I have to chalk it up to the quick fermentation time.  Still- all that yeast should result in very dramatic holes.  It’s possible that the short refrigeration time stiffened the gluten too much, so the carbon dioxide bubbles couldn’t expand and create holes.  I don’t know. 


But I have at least seven more chances to troubleshoot and find out how I can tweak things to get the bread I want.  Perhaps less yeast and an overnight fermentation?  We’ll see.

Preston Yancey’s white bread, attempt #1

Sometimes there are recipes where I swear all reading comprehension has left me.

This Saturday I tried out the white bread from Preston Yancey’s new book, “Out of the House of Bread,” and it went so spectacularly wrong that I was tempted to give up my Bread Maiden card.

Despite messing up nearly every single step (and I did have the recipe right in front of me), the bread came out of the oven beautiful and tasty, and I learned a few new techniques that I might use in the future.

There’s a reason I recommend making the same recipe at least three times.  Now that I have a better sense of his method, it’ll be faster and easier for me to make again, and next time hopefully correctly!

I can already see a “The Science Behind…” post, and a book review post from this book.  I’m not sure it was meant to be used for Lent, but I’m following it during Lent and so far I’ve really been enjoying it.  There is just something about bread baking that is deeply spiritual for me, and even though my first attempt at this recipe was a huge flop, I almost like that better than if it had been an immediate success – I’ve had to slow down and pay more attention.

Here’s the recipe.  His is much more detailed, which may be part of the reason I got so tripped up following his instructions.

You will need:

8 1/4 cups all-purpose flour
3 cups warm water and another 1/4 cup
2 1/4 teaspoons instant or active dry yeast or 1 packet
1 tablespoon sugar
1 teaspoon honey
1 tablespoon salt
1 tablespoon oil or other neutral oil

1. In a very large bowl, mix together your flour and 3 cups water.  Cover the bowl with plastic wrap and let sit for 15 minutes.

Here was my first mistake – for some reason I added boiling hot water for the autolyse instead of merely warm water.  Where Preston wrote, “add warm, NOT hot” water, I read “add hot water.”  I then let the dough cool before adding the yeast, since I knew hot water would kill the yeast.

2. In a small bowl, mix together the 1/4 cup water, honey and sugar.  Sprinkle the yeast on top and let sit for 15 minutes.

this was fine. 

3.  Pour the yeast mixture into the flour mixture and knead together until fully combined.  Add salt and oil.  Cover the bowl with plastic wrap and let rise 1.5 hours.

Here is where I realized my mistake with the boiling hot water – it had triggered starch gelatinization instead of gluten formation.  The dough was incredibly gummy.  I tried to make it work.

4. Punch down the dough and perform a few stretches and folds so the gluten is stretched out and the surface of your dough is nice and smooth.  Re-cover and place in the refrigerator for 1.5 hours.

 As you can see, the gluten is not forming a nice, strong net because the water is caught up in the starch molecules and there’s none left over to make gluten.
after about 100 stretch and folds, the gluten is finally starting to form.  

5. Prepare your couches.  Take two clean cotton kitchen towels (NOT terry cloth) and rub a bunch of flour into them.  Remove your dough from the refrigerator, divide into two boules, and place each boule seam-side UP in each mixing bowl.  Cover and let rise another 1.5 hours on the counter.

6. After an hour, preheat the oven to 500 degrees F with a cast iron dutch oven inside.  Preston has detailed instructions about what to do if you don’t have a dutch oven.

7.  When your bread is ready, take the lid off the dutch oven and gently upend your dough into the dutch oven from the couche.

Using a razor blade or serrated knife, cut three deep cuts into the top to score it, return the lid, and bake for 15 minutes.

as I was scoring my dough, I dropped the razor blade into the dutch oven.  Since I didn’t want to reach into a screaming hot dutch oven, I decided just to cook it like that and retrieve the razor blade when the dutch oven was cool.

8.  After 15 minutes have elapsed, turn the oven down to 450 and bake another 15 minutes.

9. After 15 minutes at 450 degrees F, remove the lid from the dutch oven and continue baking until the bread crust is brown and quite hard, another 15 minutes.

10. Remove from the oven and let cool to room temperature or overnight.  The bread will keep best if you wait to cut it until you need it.  Or follow my storage tips here.

When my loaf came out like this, I could not believe my luck.  They looked absolutely perfect, despite my royal screw-up.
However, the results of my scalded flour mistake were clear as soon as I cut into my loaf.  There were absolutely no holes where yeast had been trapped by gluten.  That said, due to the gelatinization, the crumb was incredibly soft.  In the future, I may do a variation of Peter Reinhart’s epoxy method by having one half of my dough autolyse with warm water and the other half with scalded flour so there is gluten formation and a super-soft crumb.  Apparently scalded flour is a baking technique they use in Japan.  And I thought there was nothing else I could learn in bread baking! 
I also liked the three tier baking process of 500 degrees x 15 minutes lid on, 450 degrees x 15 minutes lid on, 450 degrees x 15 minutes lid off.  It resulted in great oven spring and crusty crust.
Stay tuned, as I try this recipe again and learn to work with it.  

The Science Behind… cooling

Hi everyone!

Here we are… the penultimate post in my series on The Science Behind… the baking process.  It’s been quite a ride. I hope it’s been as helpful for you to read as it has been for me researching and writing it.

Now, onto the topic of cooling and staling.  I decided to include staling in this post (and then go into more detail in the next post on storing your bread) because structurally and chemically, cooling and staling are basically the same thing.  In the last post of the series I’ll discuss staling as it relates to storing and consuming your bread.

In this post, I’ll cover the following questions:

1. What happens to bread once it’s taken out of the oven?
2. Why should I wait to cut into a loaf of bread until it’s room temperature?
3. Why does bread get stale?

That’s it!  Three questions.  Can you believe it?

1. What happens to bread once it’s taken out of the oven? 

Before I tackle what bread does once it leaves the oven, let’s review what happens to bread IN the oven.

As you can see from my handy chart (top two bullet points), in the presence of high heat, water gets absorbed by starch molecules.  The starch molecules become so engorged they explode.  They burst, releasing water and sugars in a process called “gelatinization.”  You can imagine gelatin, right?  Imagine the sugars and water in a gloopy jello-like mass, with no structure.

Gelatinization gives bread its moist mouth-feel, which is pronounced if you take a loaf of bread out of the oven and immediately cut into it and eat a slice. 

Sugars do not like being gelatinized.  They like to align themselves in long strands of glucose, forming a net not unlike the gluten nets with which you’ve become familiar throughout this baking process series.

As the bread cools, the sugars scramble to re-structure themselves (recrystallize) and push out the water.  This process can take less or more time depending on where the bread is stored and whether the bread is lean (made with only flour, water, yeast and salt) or enriched (containing some fats).

Re-crystallization isn’t the only thing that happens once bread comes out of the oven.

If you baked your bread in a very hot oven, the bread will cool rapidly once it is taken out and the crust will start to contract as it cools.  The hard crust will crack as it contracts, and some of the water just under the crust will escape through the cracks as steam.  About 2-3% of the weight of your loaf will be lost due to moisture loss during cooling.  I like the imagery of the bread crackling as “singing.”  I even tried to record a video once when a loaf was singing quite loudly.

Initially, the only water that evaporates from your bread is just under the crust.  Over the next few days, more water will move from the interior to the crust.  That’s why your crust is only hard and crusty for the first few days, but softens after that.

2. Why should I wait an hour after the bread leaves the oven before I cut into it?

There are a few reasons to wait until the bread has cooled before slicing it.

First, gelatinized bread feels very wet and doesn’t have much structure.  It’s very easily torn apart, but it doesn’t stay together very well.  Good for melting butter, not good for sandwiches.  As the starches recrystallize, the starch molecules restructure themselves into long chains again, helping firm up your crumb.

Second, you give your crust a chance to crackle and contract.

Third, you prevent water from escaping.  You see, while the crust does crackle a little bit in places, most of it stays hard and thick, trapping in most of the water.  

Finally, particularly for ryes and sourdoughs, the flavor gets better if given a chance to cool and rest.  I typically leave my breads out to cool overnight.  After that, I can store the dough in plastic bags without worrying that the condensation won’t be trapped in the bag, ruining the crispy crust.  More on that in my post on storing your bread.

3. Why does bread get stale?

The process of staling is the process of sugar re-crystallization.  Bread cools and the gelatinization process reverses itself.  Sugars push out the water that got tangled in its net and get some of their structure back, releasing water that had previously been absorbed.  This crystal structure feels dry and leathery

I’ll talk much more about the staling process in my next post, The Science Behind… storing your finished loaf.

My sources for this post:

http://www.seriouseats.com/2014/06/does-refrigeration-really-ruin-bread.html

http://www.thefreshloaf.com/node/18026/consistent-crackly-crust-conundrum-conquered

http://www.thefreshloaf.com/node/27074/science-baking

The Science Behind… storing your finished loaf

 Hey everyone, this is a quick final post for The Science Behind series on the bread baking process.  It continues where I left off with the last post about cooling, basically answering one main question (and a few smaller questions):


1. How should I store my bread to slow down staling and molding?
2. Why should I pre-slice my bread before I freeze it?
3. Why do different breads stale/mold at different rates?
4. What should I do if my bread gets stale / grows mold?

Let’s go.

1. How should I store my bread to slow down staling and molding?

So far we’ve learned that during baking, sugars absorb tons of water and go all wiggly in a process called gelatinization.  When bread is taken out of the oven, the sugars push out the water molecules and slowly re-crystallize into a larger, more orderly structure.  The crust of your dough prevents most of the water from escaping as steam, but over time the water that is pushed out of the crystallized structure gets to the surface and is wicked away into the air, making the bread texture feel drier and drier.  Not all the water goes away, but the crystal structure makes the bread feel tougher and drier than it did when it was fresh.  The cooler the place you store your bread, the faster re-crystallization will take place, and the faster your bread will go stale.  This is particularly true in refrigerators, which circulate cool, dry air.

On the flip side, you have molding.  Bread molds because, as I mentioned above, the bread still has water trapped inside it.  Warm, moist conditions are optimal for mold growth.  If you trap the water inside or around the bread without giving it a way to get wicked into the air, mold will start forming after a few days.  If you leave your dough on the counter at room temperature, it will grow mold much more quickly than if you store it in the refrigerator.

But now we have a problem, don’t we?  If you store your bread in the refrigerator, it will go stale faster.  If you store it on the counter, it will grow mold faster.

What to do?

You have three choices.

Option #1: Store on the counter, don’t pre-slice it and eat it quickly.  My bread stays soft, but starts growing mold after a week on the counter in a plastic bag.  However, if I store it in a paper bag it doesn’t mold but gets hard and dry.  If you are likely to finish your bread before the week is out, I would store it on the counter in a plastic or paper bag (pick your poison: quicker molding or tougher bread).  If you have a super crusty crust on your bread and want to avoid plastic bags, once you slice it, place it cut side down on your counter.  That way, the crust will prevent some of the water from wicking away.  You can’t do this with breads that have a soft crust though. By keeping the loaf whole instead of pre-slicing it, you also delay some molding from occurring because it limits the surface area where mold from the air can settle, and the crust is less porous than the interior so mold doesn’t spread as easily.

Another option for avoiding plastic is to wrap your bread in wax paper.  By using wax paper, you prevent water loss but still allow some ventilation so moisture isn’t entirely trapped in and around your loaf.  However, I’ve found this sort of a difficult method of bread storage because you can’t tape the wax paper shut like wrapping paper; you need to use twine or string, which makes it hard to unwrap and re-wrap.  Just a quibble.

While I don’t typically store bread in wax paper, I think it looks festive when I give bread as gifts

Option #2: Refrigerate it, don’t pre-slice it and wrap it tightly in plastic wrap.  By slicing your bread, you expose more of the surface area to the dry air of the refrigerator.  Leave it in loaf form.

Option #3: Freeze it, either as a whole loaf or pre-sliced.  This is probably the best way to keep your bread fresh for a long time.  Unlike in the refrigerator, in the freezer the water molecules freeze in place, keeping them from being pushed out by the sugar crystals.  Unlike the counter, the freezer isn’t warm enough for mold to grow.  When you are ready to eat it, thaw the whole thing on the counter overnight or just take out a few pieces and toast them to thaw.

Obviously not a picture of a loaf of bread being frozen, but this is what I do every weekend.  I make a big batch of pancakes, then freeze them on a cookie sheet, then once they are frozen store them in a plastic bag.  Same principle as with the frozen loaf – I can take out just the number of pancakes I need, and by freezing them this way they don’t stick together.

Ok, now for the smaller questions.

2. Why should I pre-slice my bread before I freeze it?  This is just another technique for lengthening the life of your bread.  By pre-slicing your bread before you freeze it, you can remove just the amount of bread you need without having to thaw the entire loaf.

pre-sliced and wrapped granola bars

3. Why do different breads stale/mold at different rates? You might have noticed that your baguette goes stale within a day while banana bread, whole wheat or challah takes much longer to go stale.

  • Enriched doughs last longer than lean ones.  This is due to added fats in the dough, particularly eggs and dairy fats, which get entangled in the sugar structures along with the water molecules during baking and delay re-crystallization.  If you want your lean dough to last longer, add a tablespoon or so of olive oil. 
  •  Sourdoughs last longer than breads made with commercial yeast.  Enzymes in sourdough delay re-crystallization more than commercial yeast.   If you want your bread made with commercial yeast to last longer, use less yeast and let it rise for a long time, ideally 12-24 hours.  That way there’s more ethyl alcohol building up, and acid helps prevent staling.
  •  Whole grain breads last longer than white breads.  Whole grains contain bran and germ, which are harder for mold to digest than the refined sugars in white bread.   
  • Store-bought breads last longer than homemade breads. Commercial breads have added preservatives which extend the shelf-life of bread and keep it softer longer. 


Do keep in mind, though, that once again some of the same elements that delay staling speed up molding.  Moist dough = delayed staling but faster molding.  Longer fermentation = delayed staling because acidic, but it also more fully breaks down the organic material in bread so it is a readily accessible food source for mold.  Once again, pick your poison.


According to my research, here are some other antifungal (anti-molding) ingredients:
vinegar or other acids

honey
coconut oil

unsulphured molasses
raisins

raisins- who knew they were antimicrobial?

sourdough starter (particularly the lactobacilli, which convert to hydroxy fatty acids)


4. What should I do if my bread gets stale / grows mold?  If your bread goes stale, there are a few ways to revive it.  Sometimes sprinkling it with water and microwaving it will make it soft for a very short while.  My suggestion, instead of trying to revive your stale bread, is to embrace it.
There is a multitude of ways to use stale bread, from croutons to french toast to bruschetta.


If your bread grows mold, like anything else soft that grows mold, discard it.  I used to think if you cut off the moldy parts that it was still ok to eat, but that is only true with hard cheeses.  the mold you see is only part of the organism.  Mold eats by first sending out root threads that digest the food, and these can reach deep into your bread.  While most people with healthy immune systems won’t get sick by eating moldy bread, it’s best to throw it away.

I hope you appreciate that in my discussion of mold, I did not include any pictures!
 

So that’s it; the baking process as explained by science.  I hope you’ve learned a lot.  If you feel there’s something I haven’t covered, please feel free to leave a comment below.

My sources for this post:
the microbial shelf life of bread
Molds on food: are they dangerous?