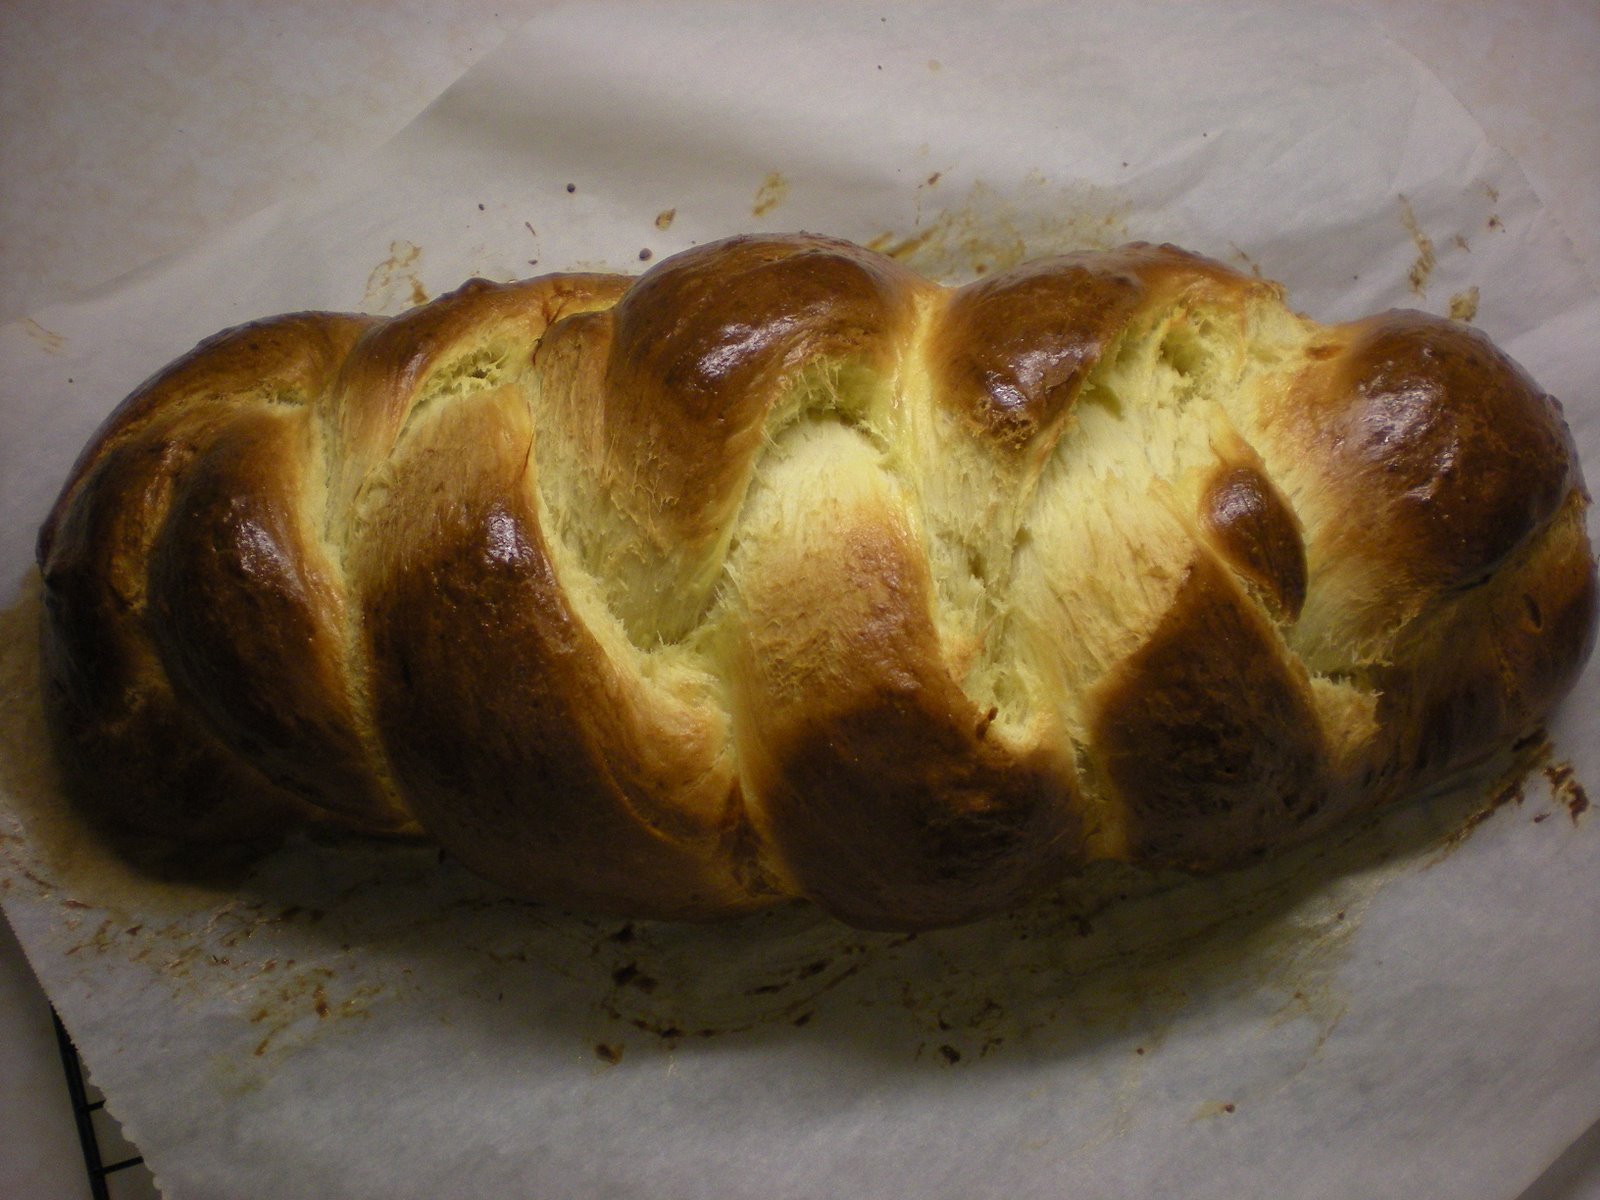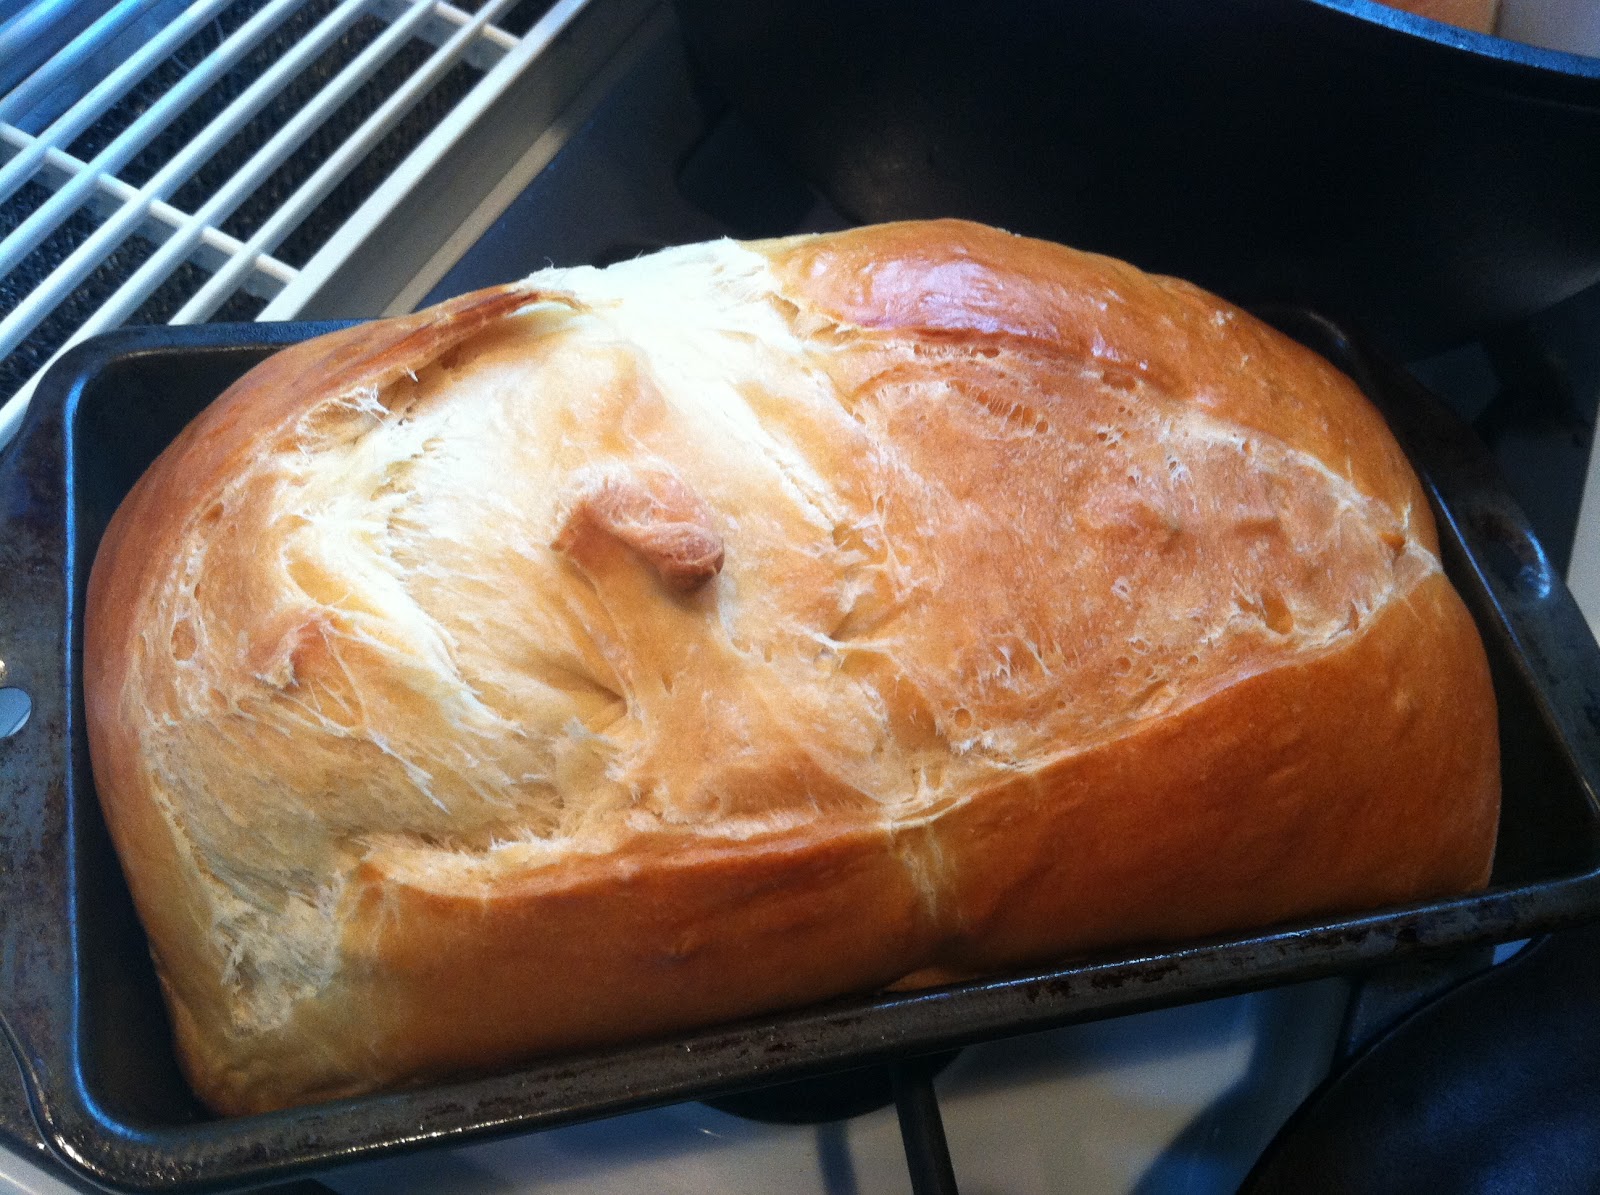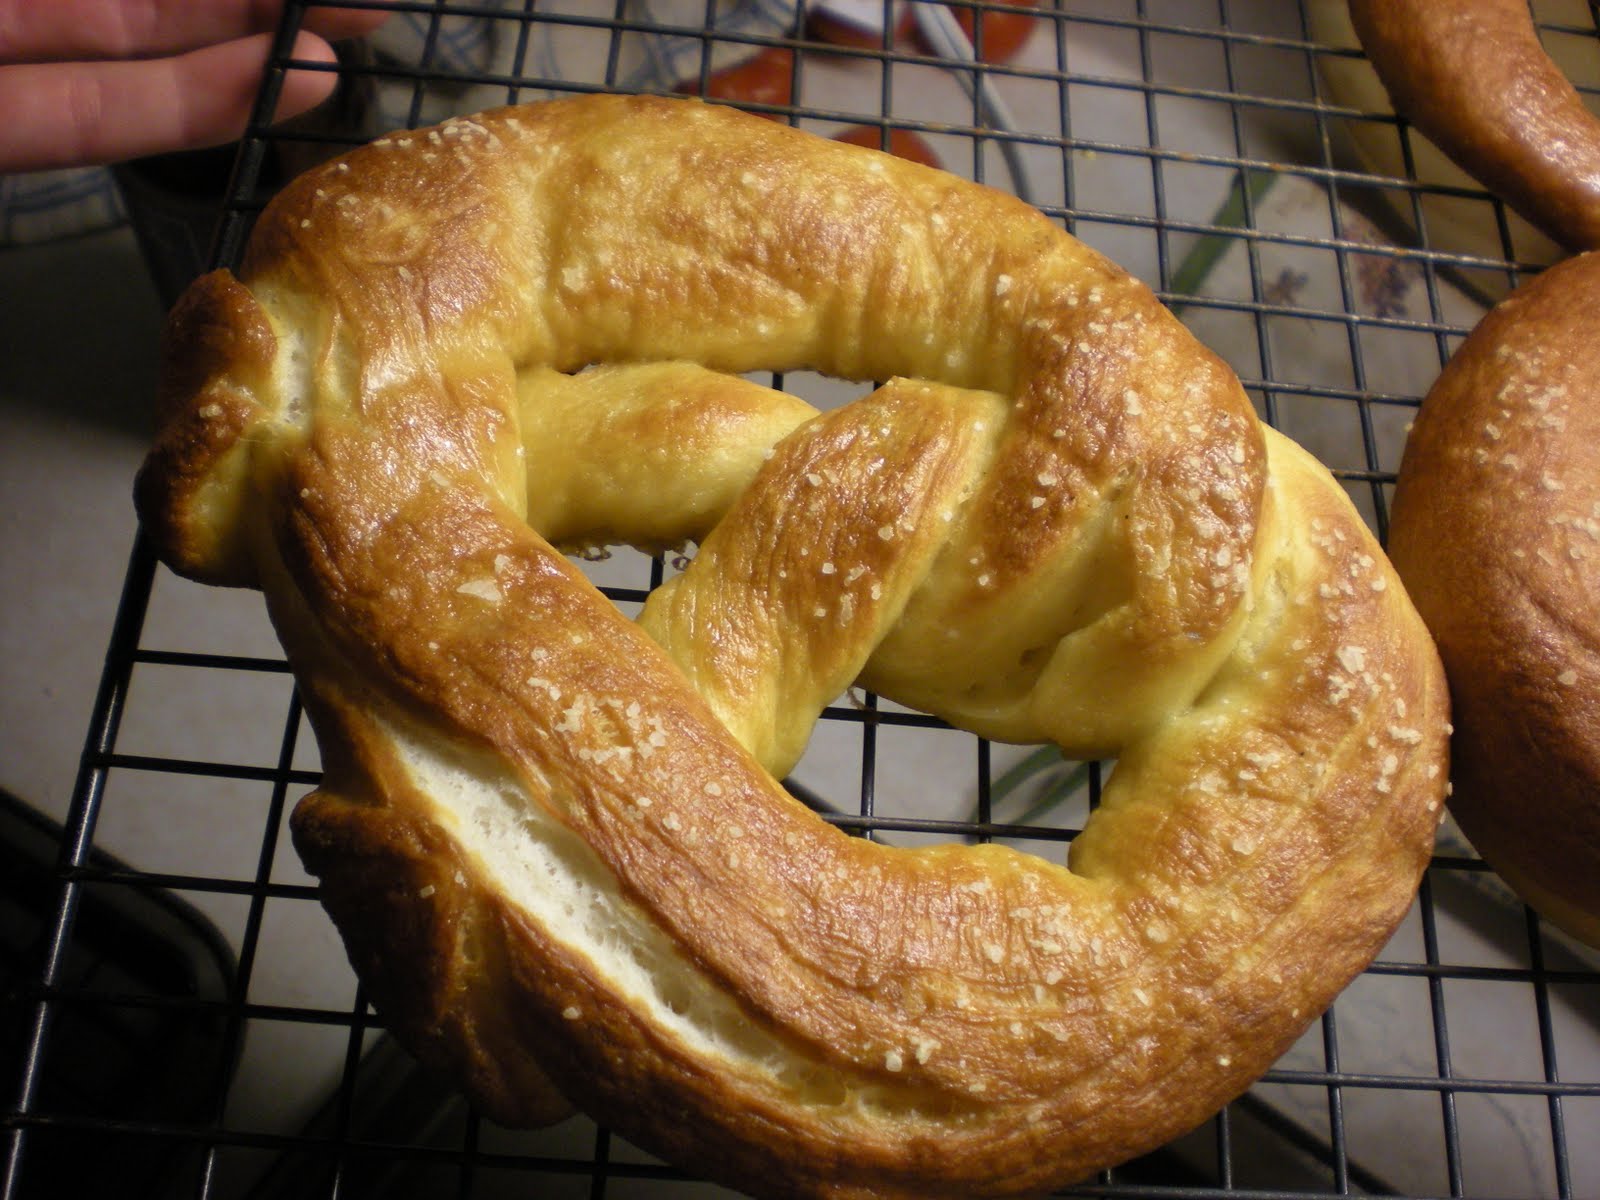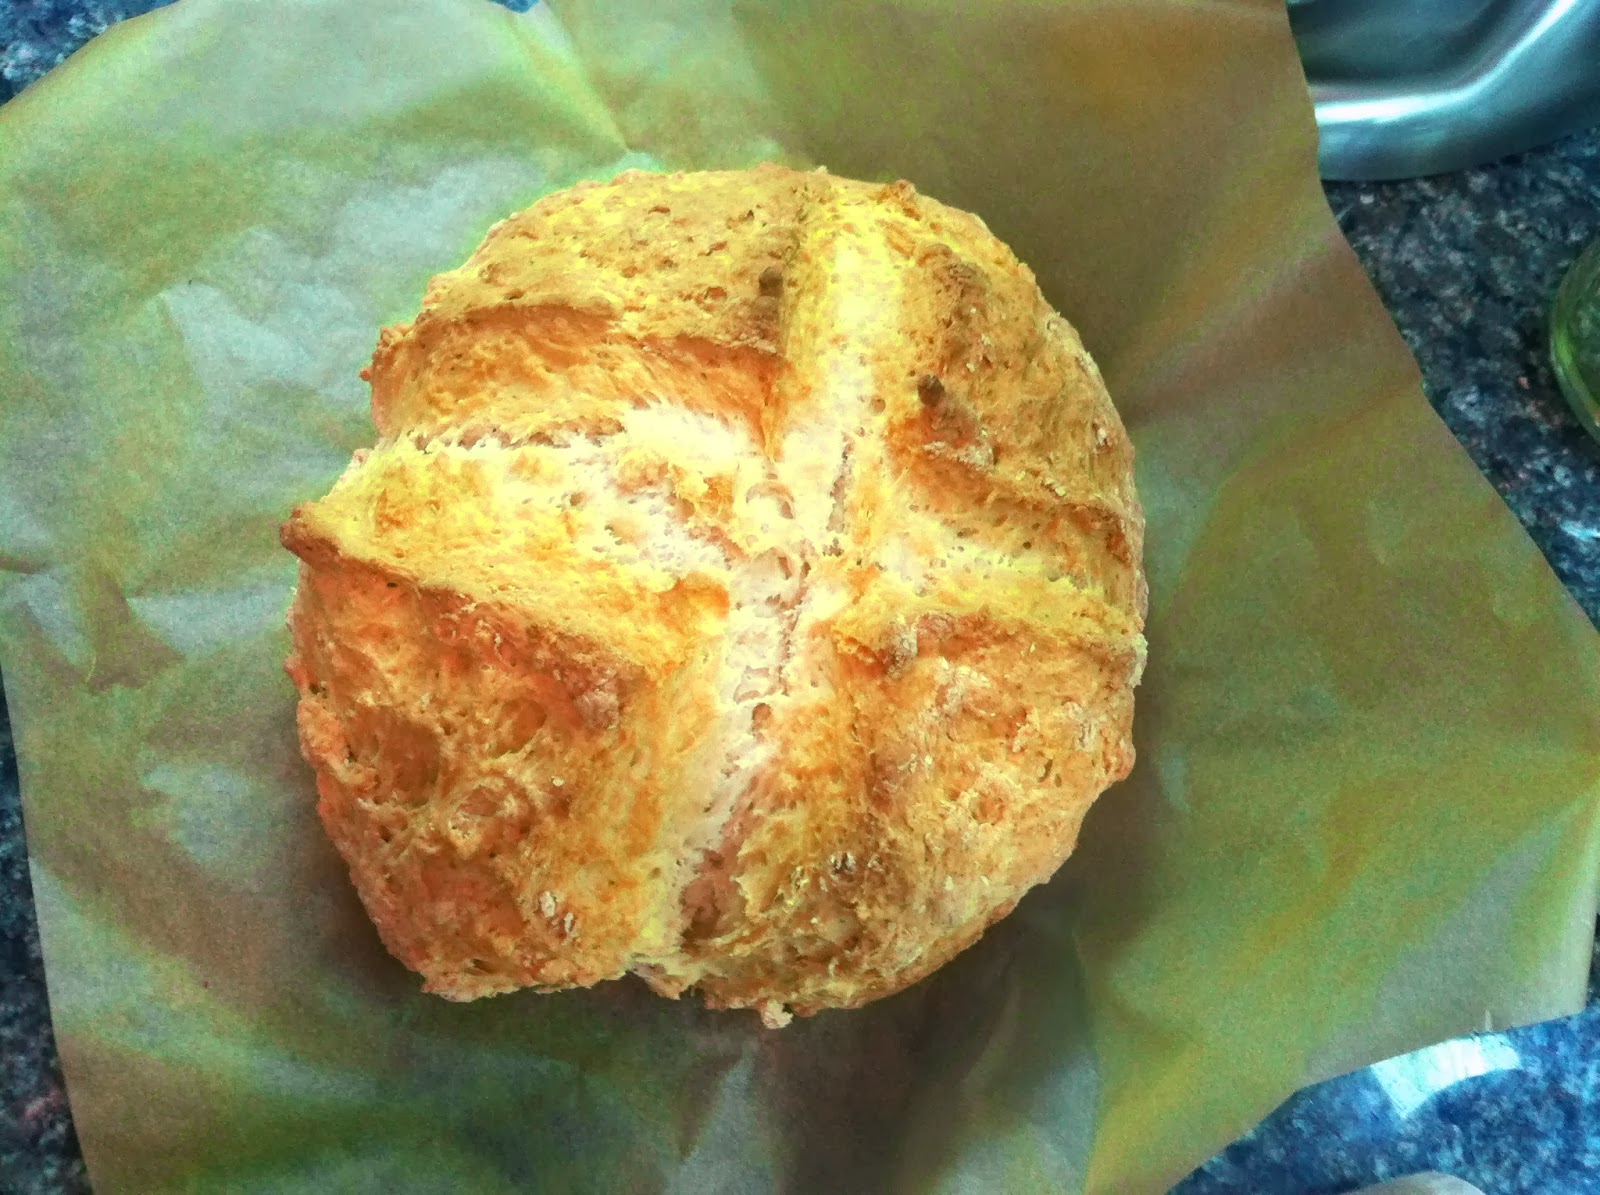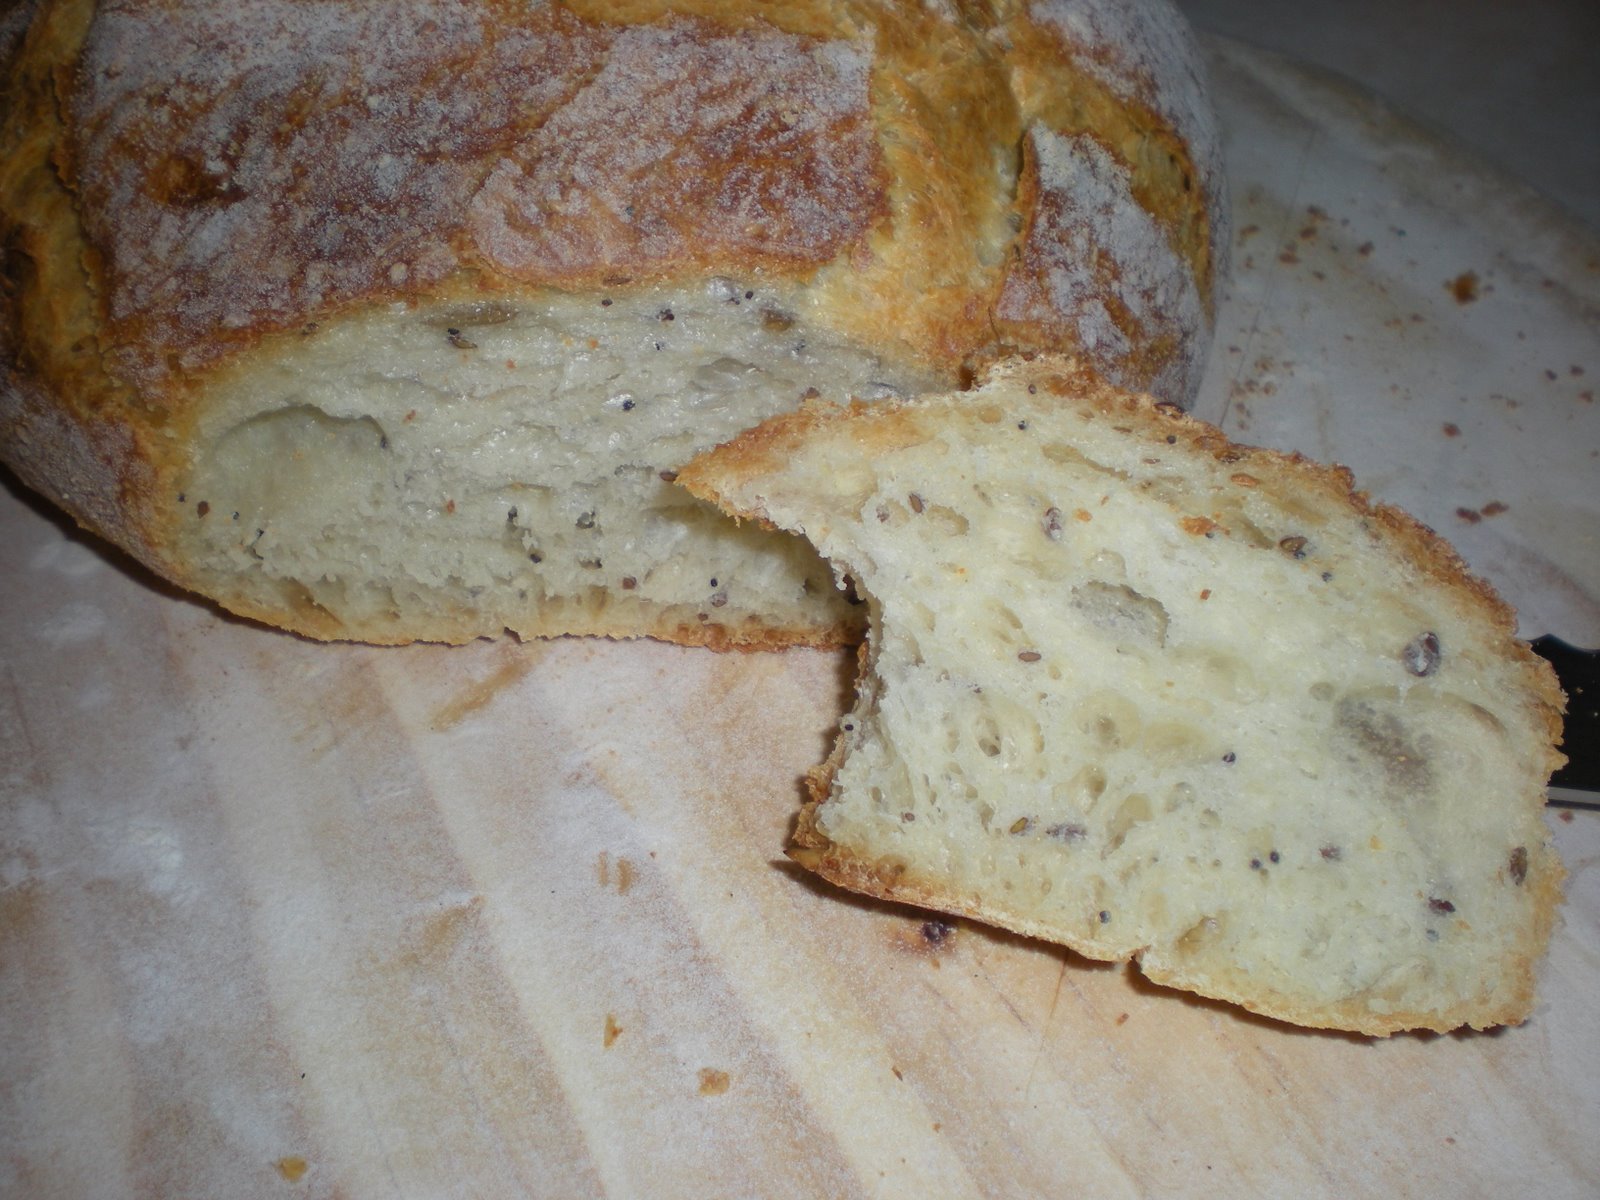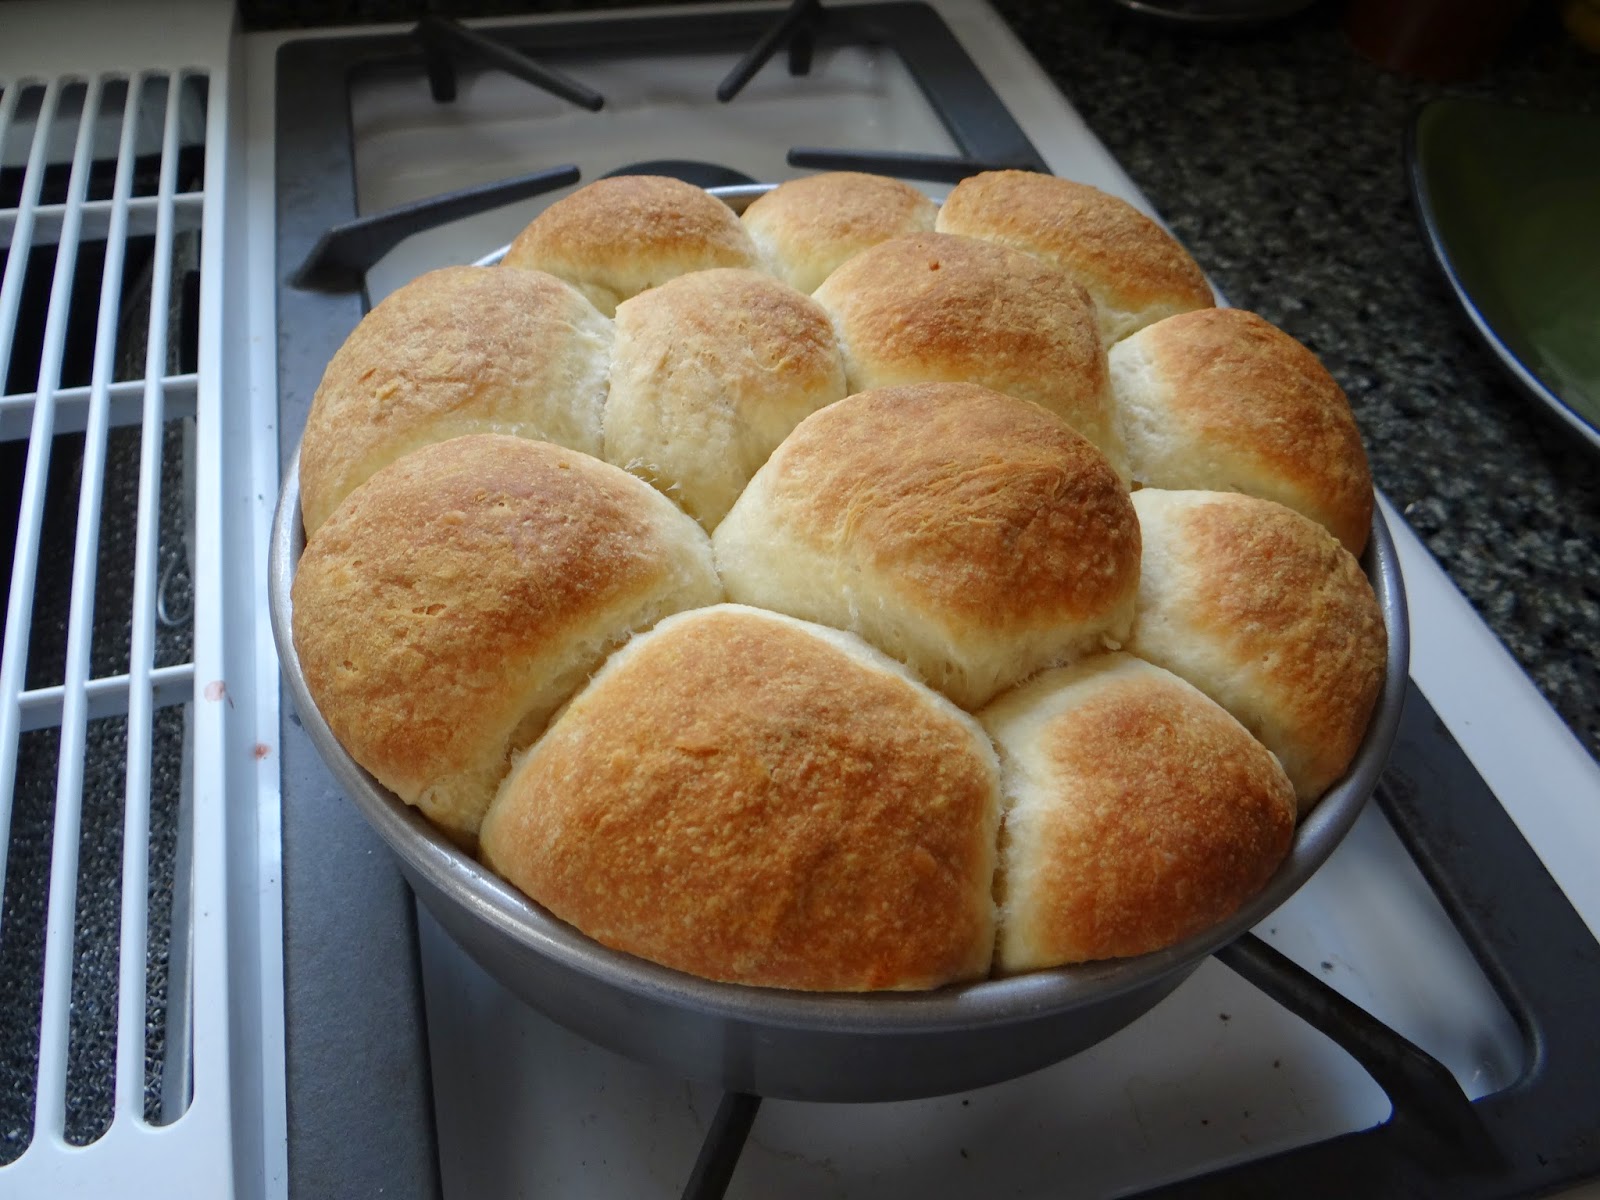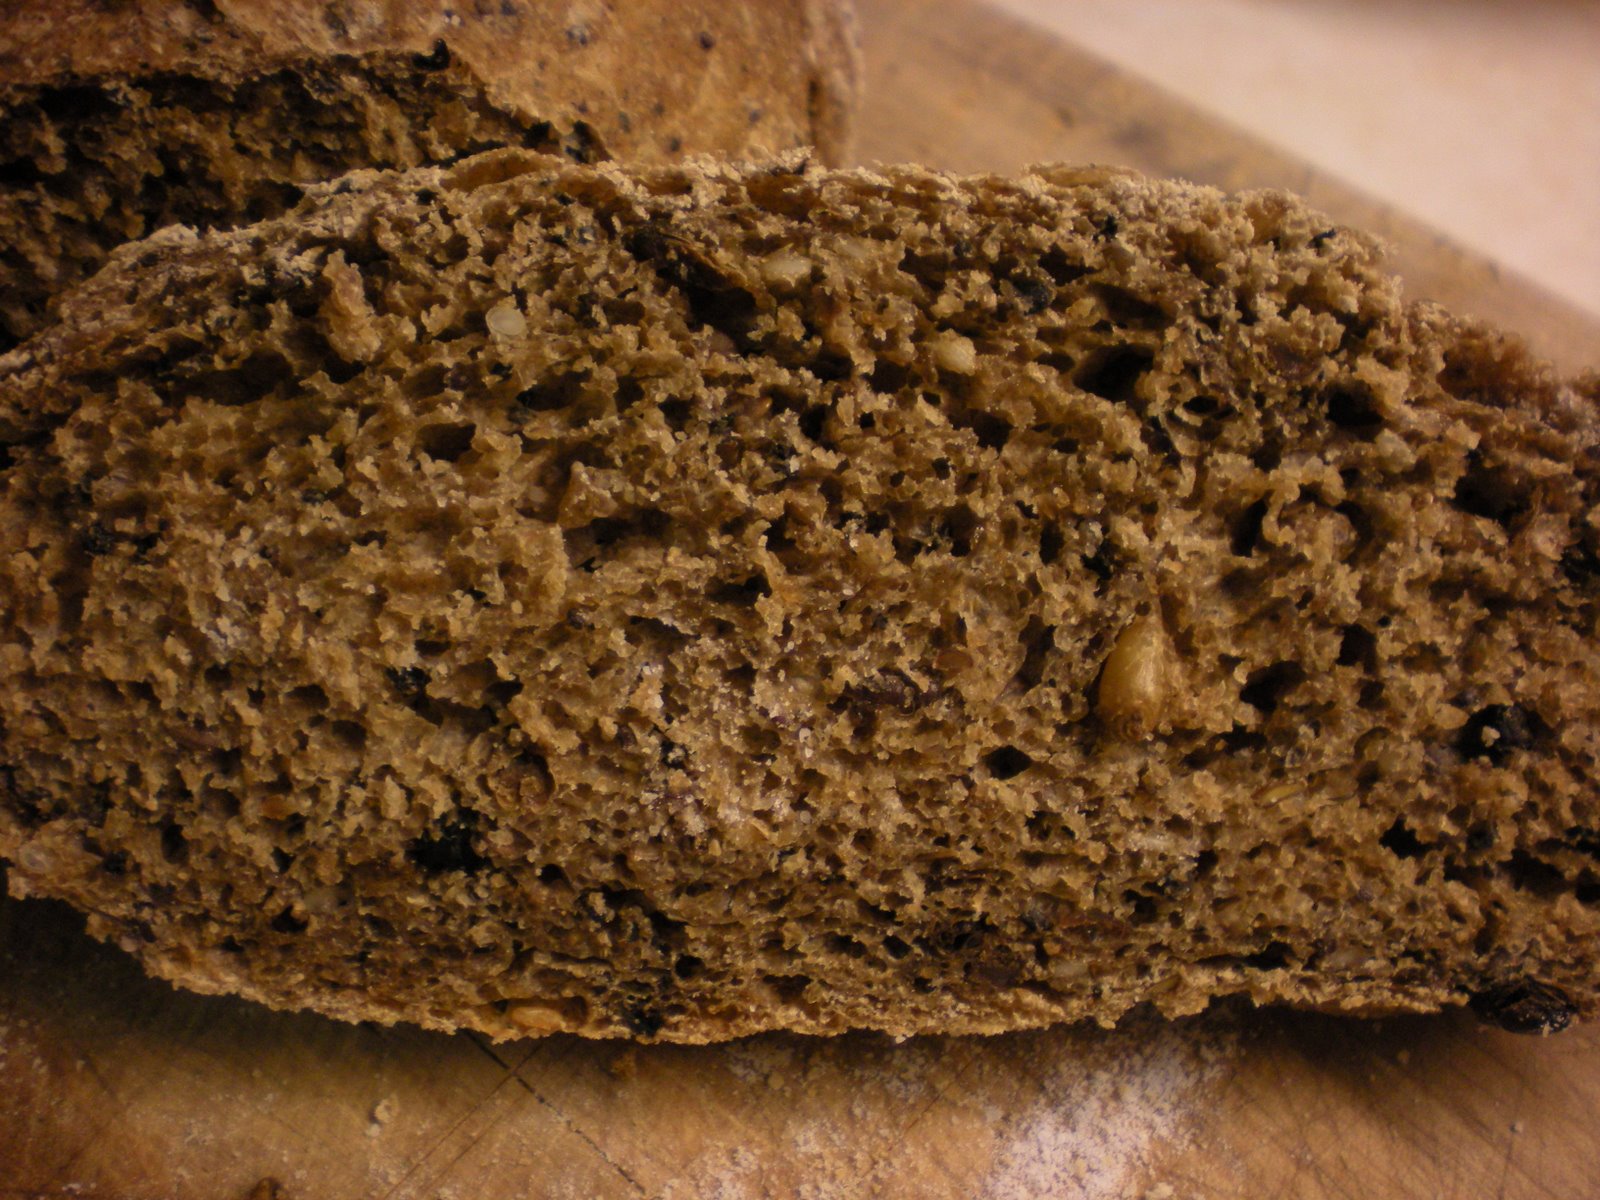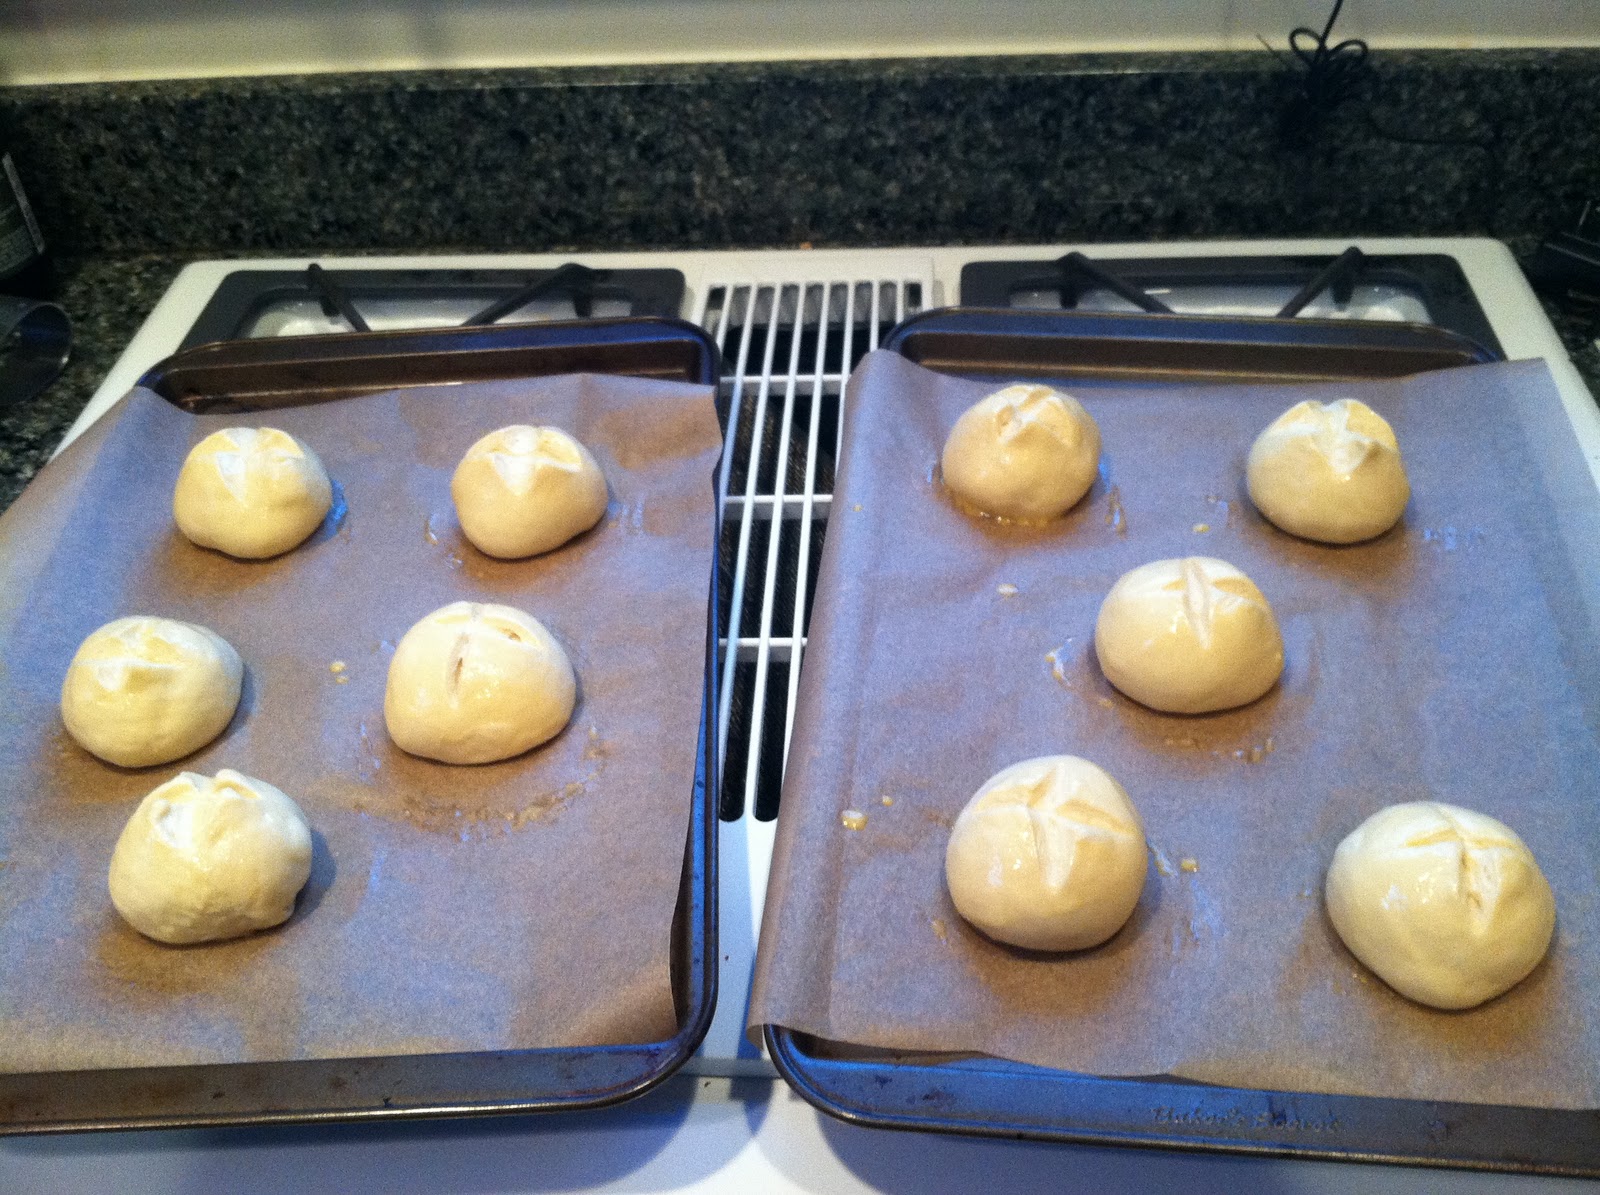
The last time I blogged about this bread was six years ago, and it was the laziest post I think I’ve ever written.
Here it is in all its glory:
——————————————————————————————————————
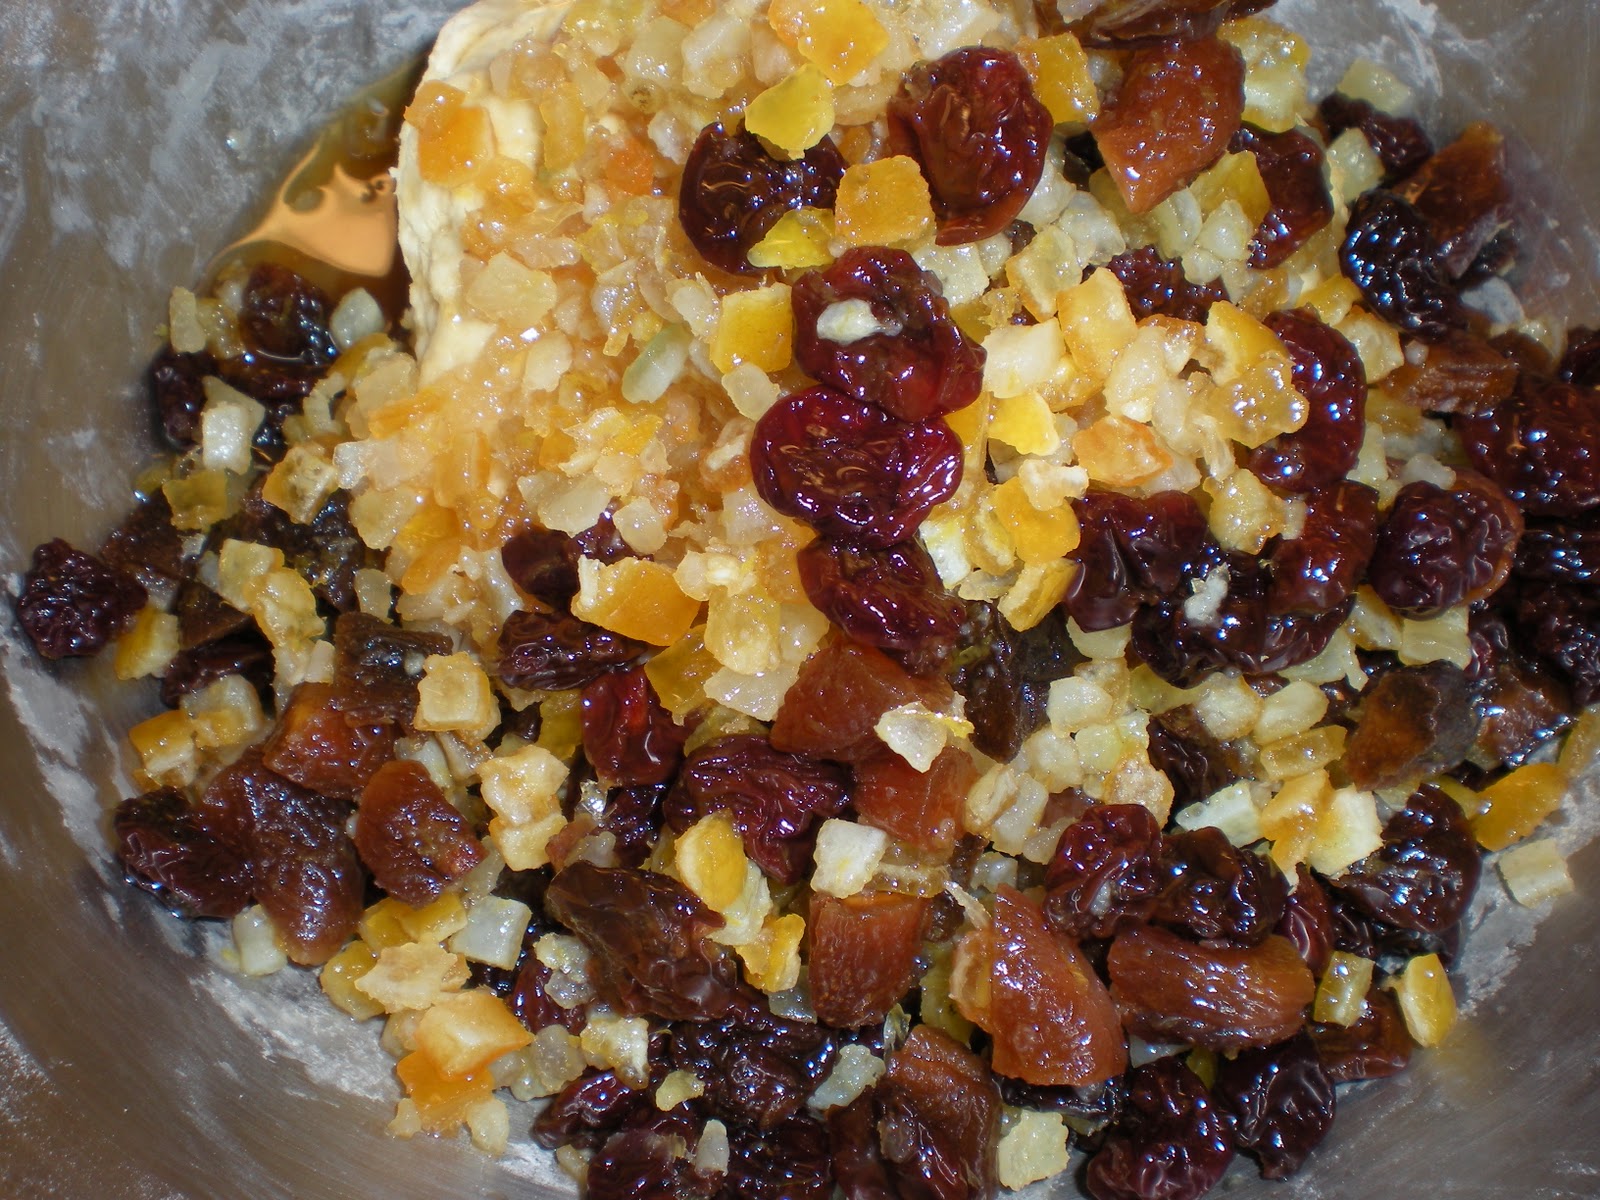
So, as some of you know, Mr. Bread Maiden and I are the proud owners of Jennifer McLagan’s Fat cookbook, and we’ve been working our way through it. Perhaps the most interesting recipe we’ve tried so far is what I made yesterday, kugelhopf au lard. I’ve been on this fruit bread kick lately, so you might be asking why the sudden shift to savory. Well, this bread is actually very similar to the stollen. It uses mostly the same ingredients, in the same order, except at the point where one would add fruit to the stollen, you add instead bacon, shallots and sage.
The reason this recipe jumped out at me initially was the title. This dish comes from the Alsace region, and the German-French fusion could not be more obvious. The dough is very German, with its eggs and milk, but the french added shallots and sage and made it lighter. Brilliant.
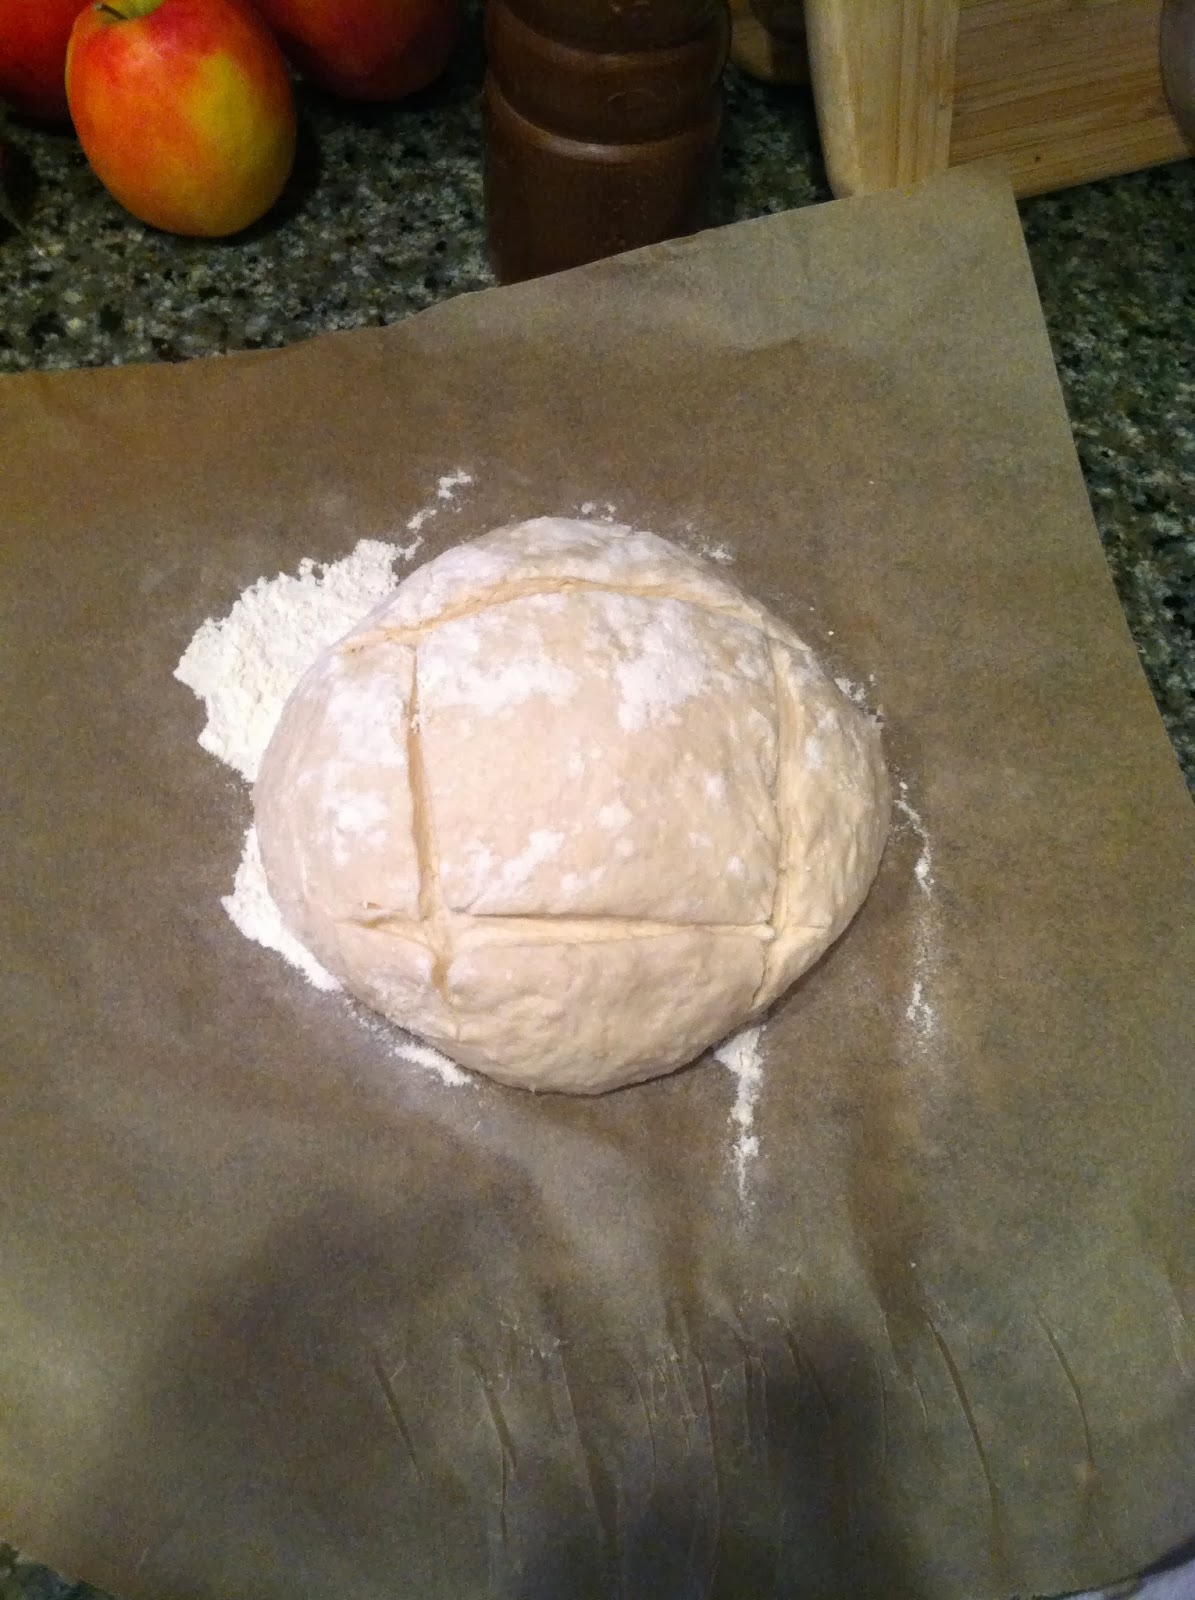
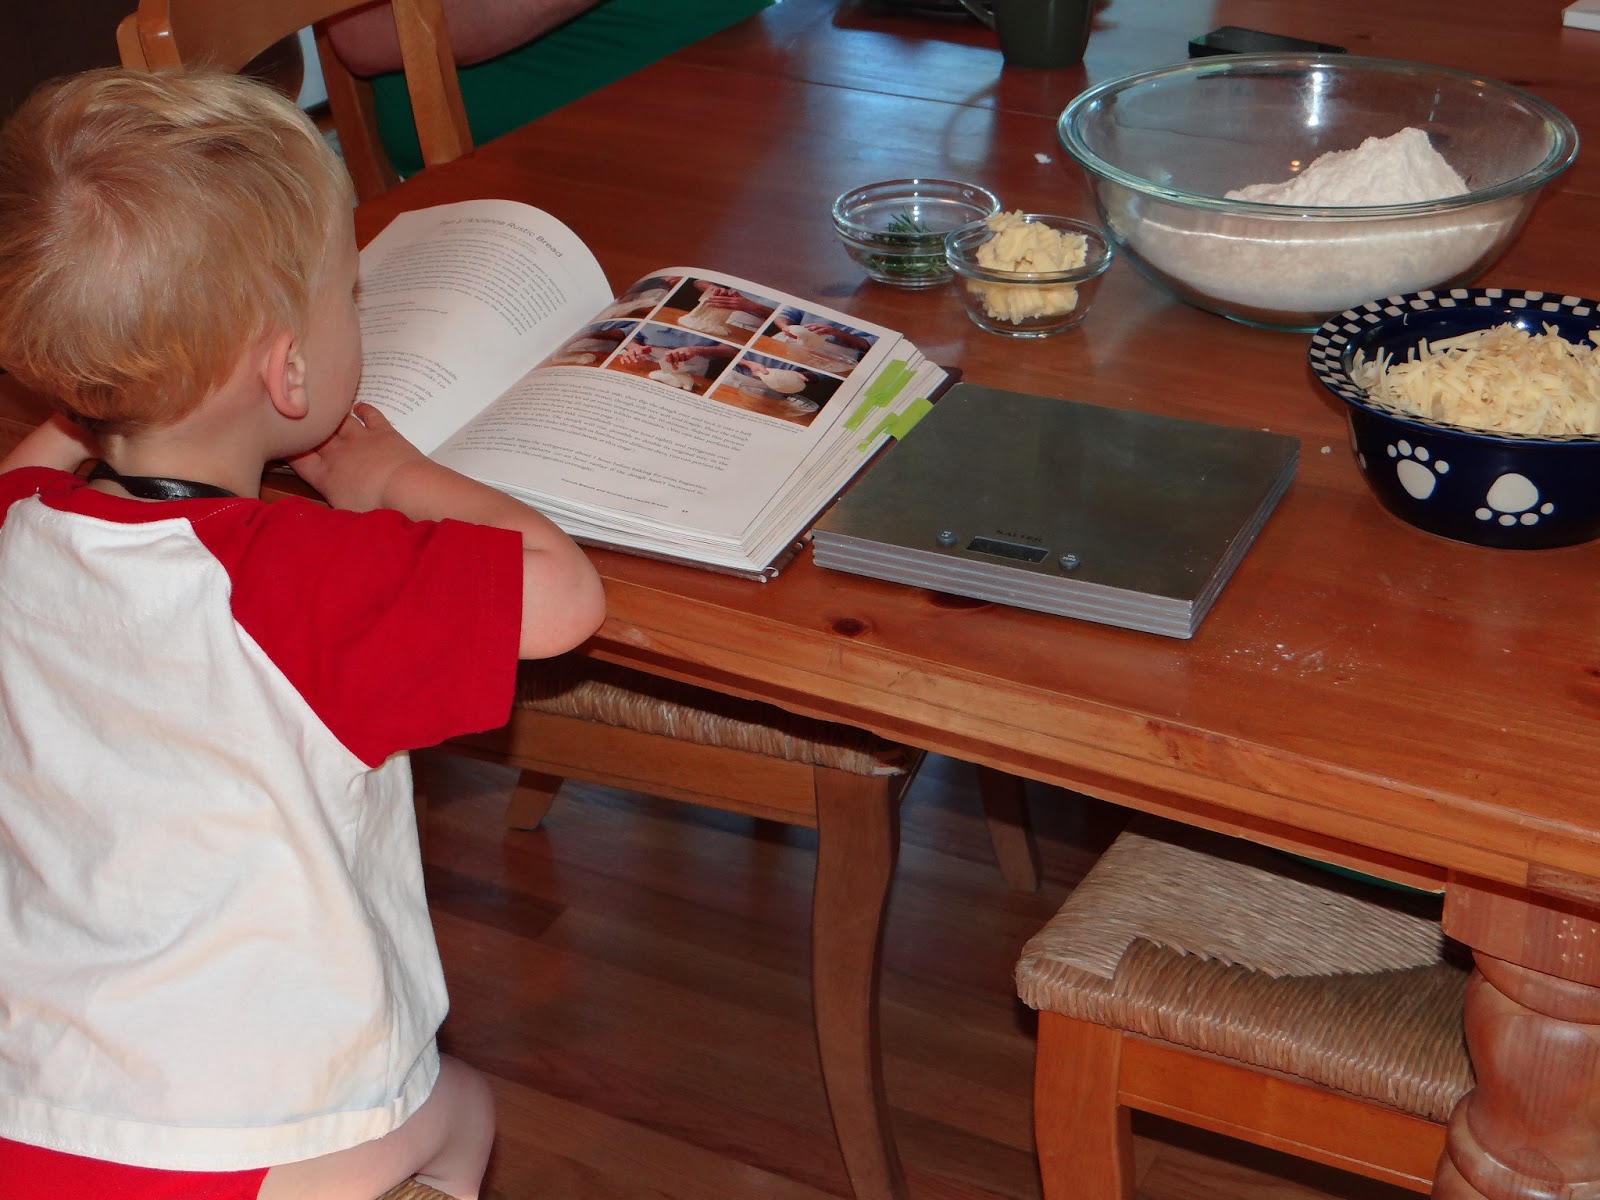
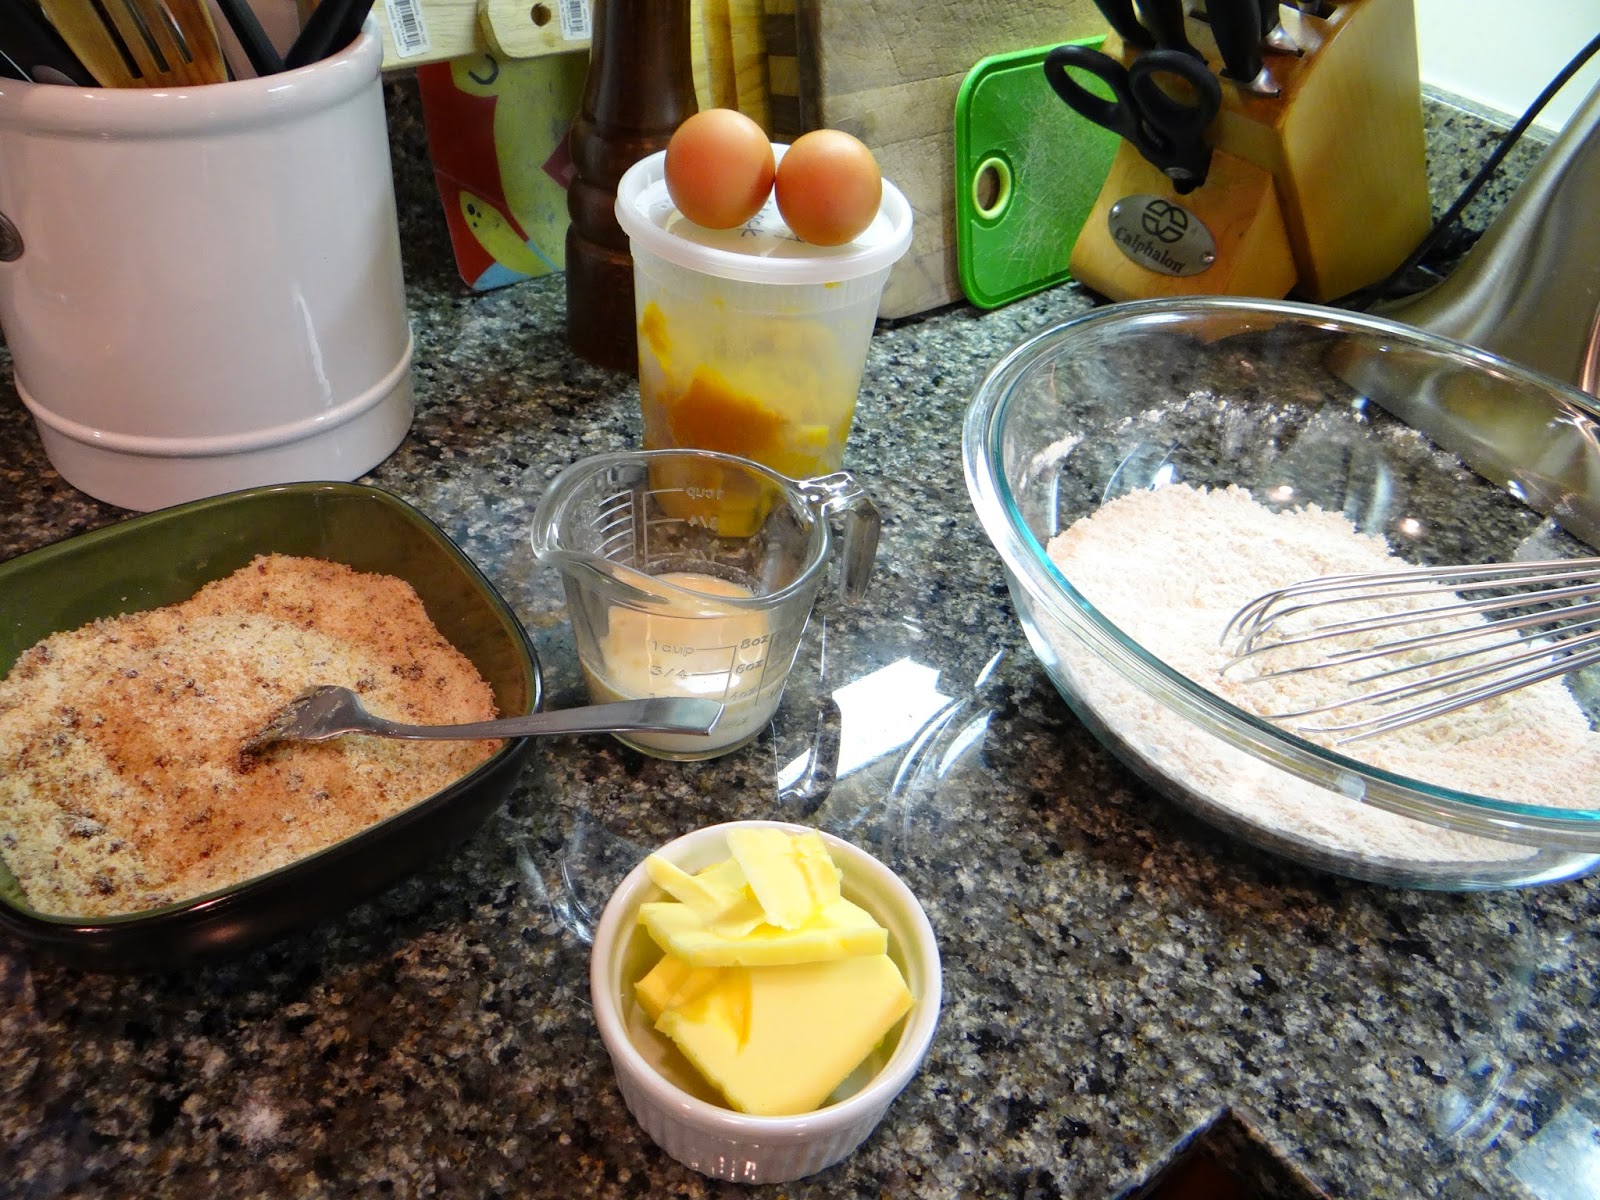
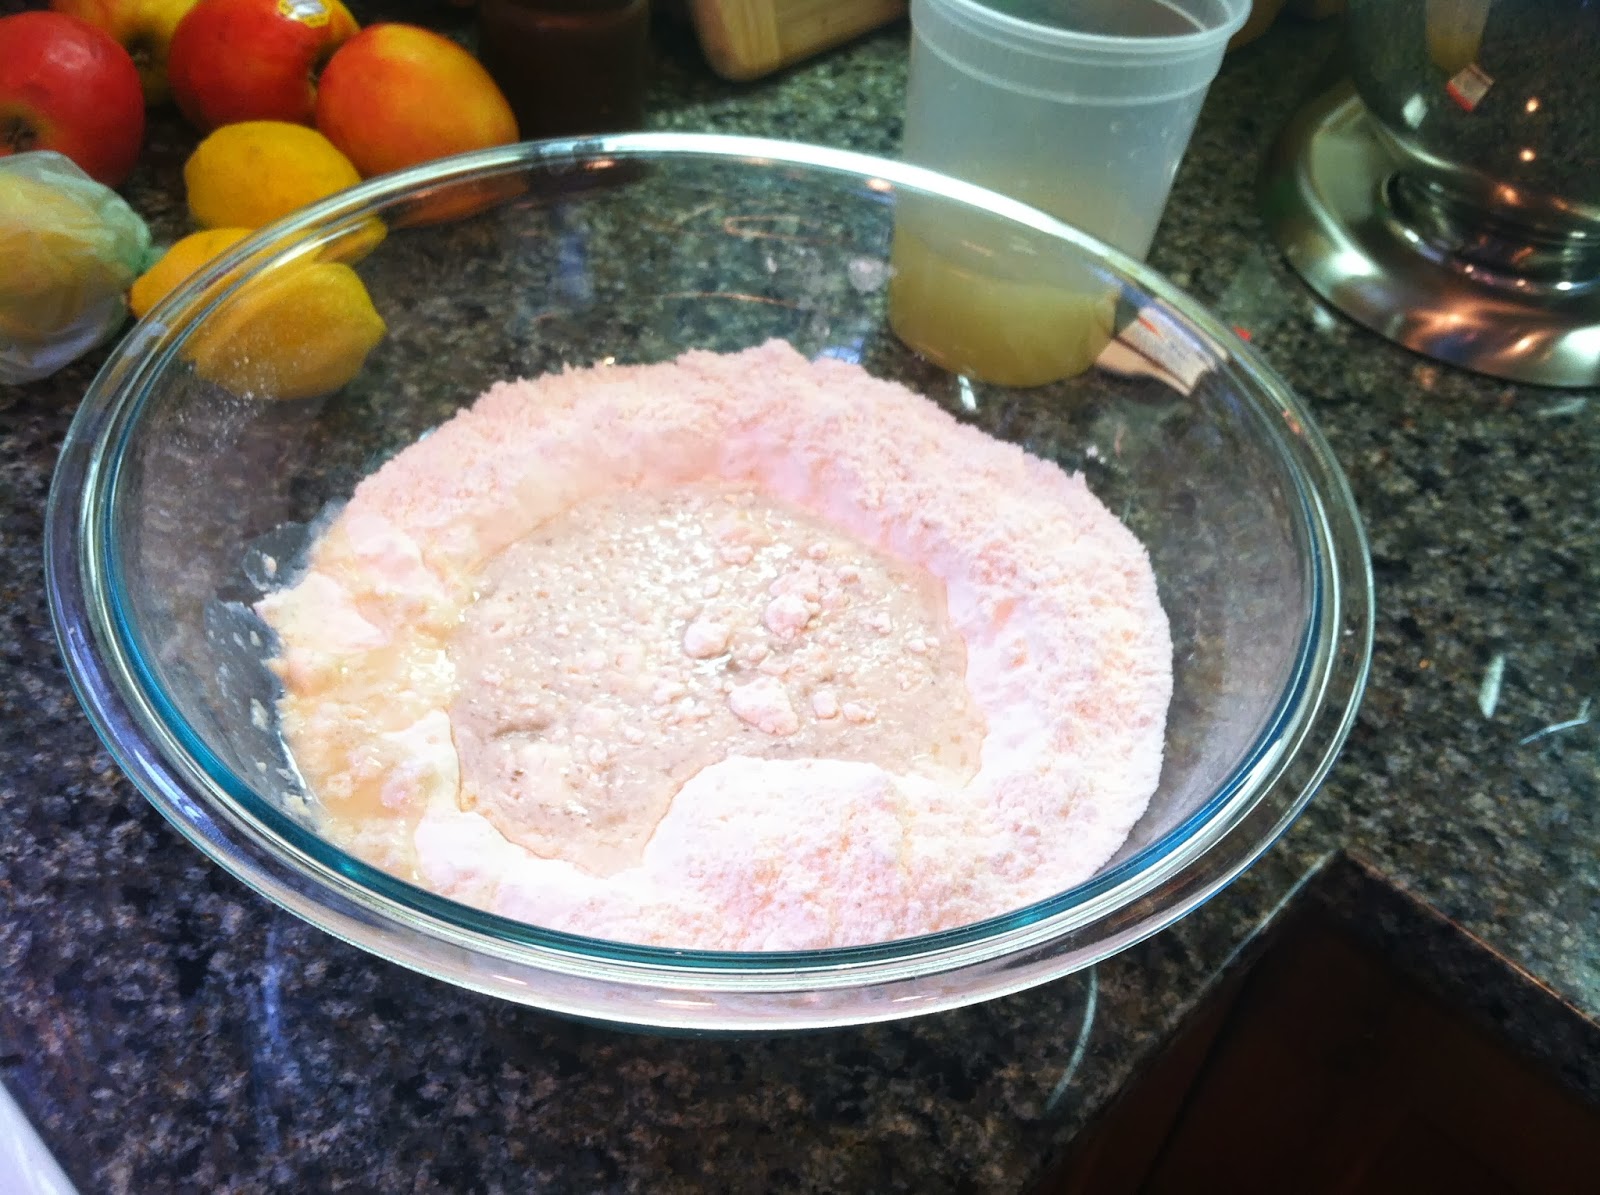
Because yesterday I was busy making three recipes at a time, I didn’t get to take as many pictures or pictures of every step. So until I make another one, these will have to suffice.The milk and eggs in this recipe make the dough so wonderfully light (until you add the grease and bacon). The dough was so oily it was hard to manage. But it rose beautifully both times.


______________________________________________________________________
That’s it! That’s the whole thing! I didn’t have a chance to take pictures, the end.
Obviously I will be taking another crack at it. Because Kugelhopf au lard is a fantastic recipe and it deserves to be shared with the world.
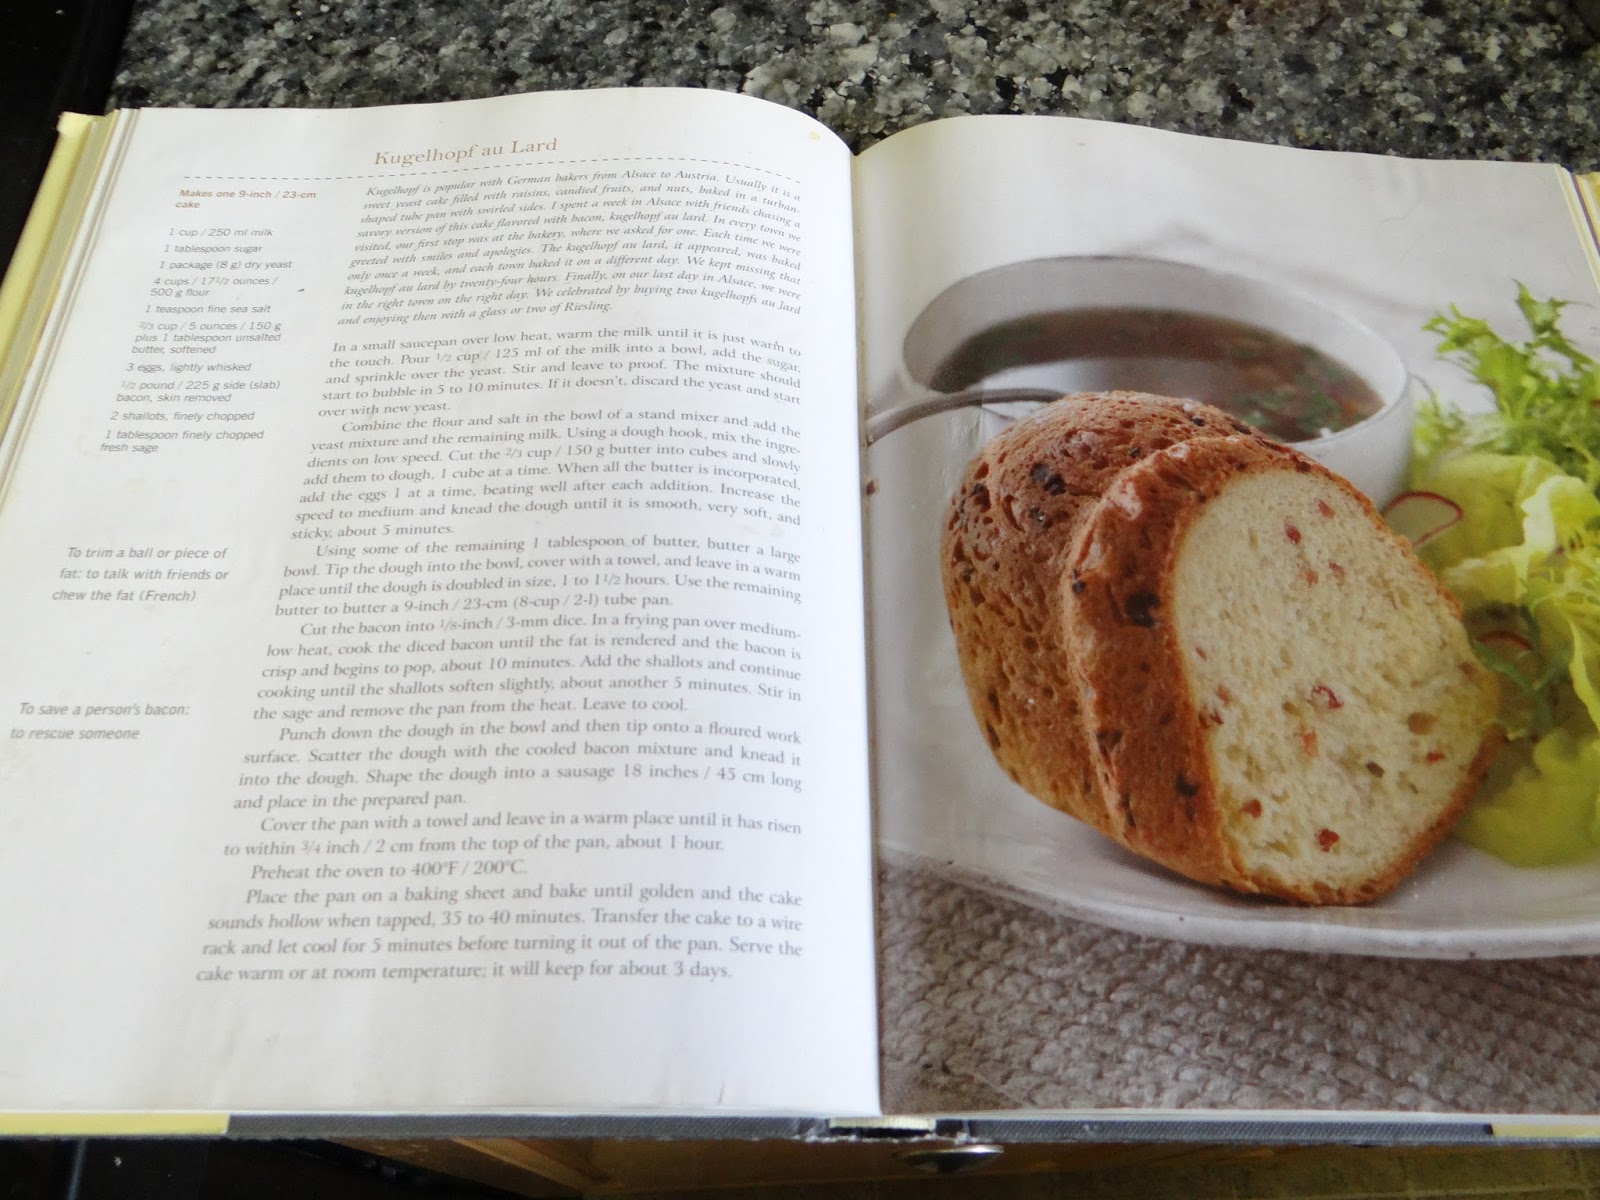
The cookbook where the recipe comes from, Fat by Jennifer McLagan, is awesome.
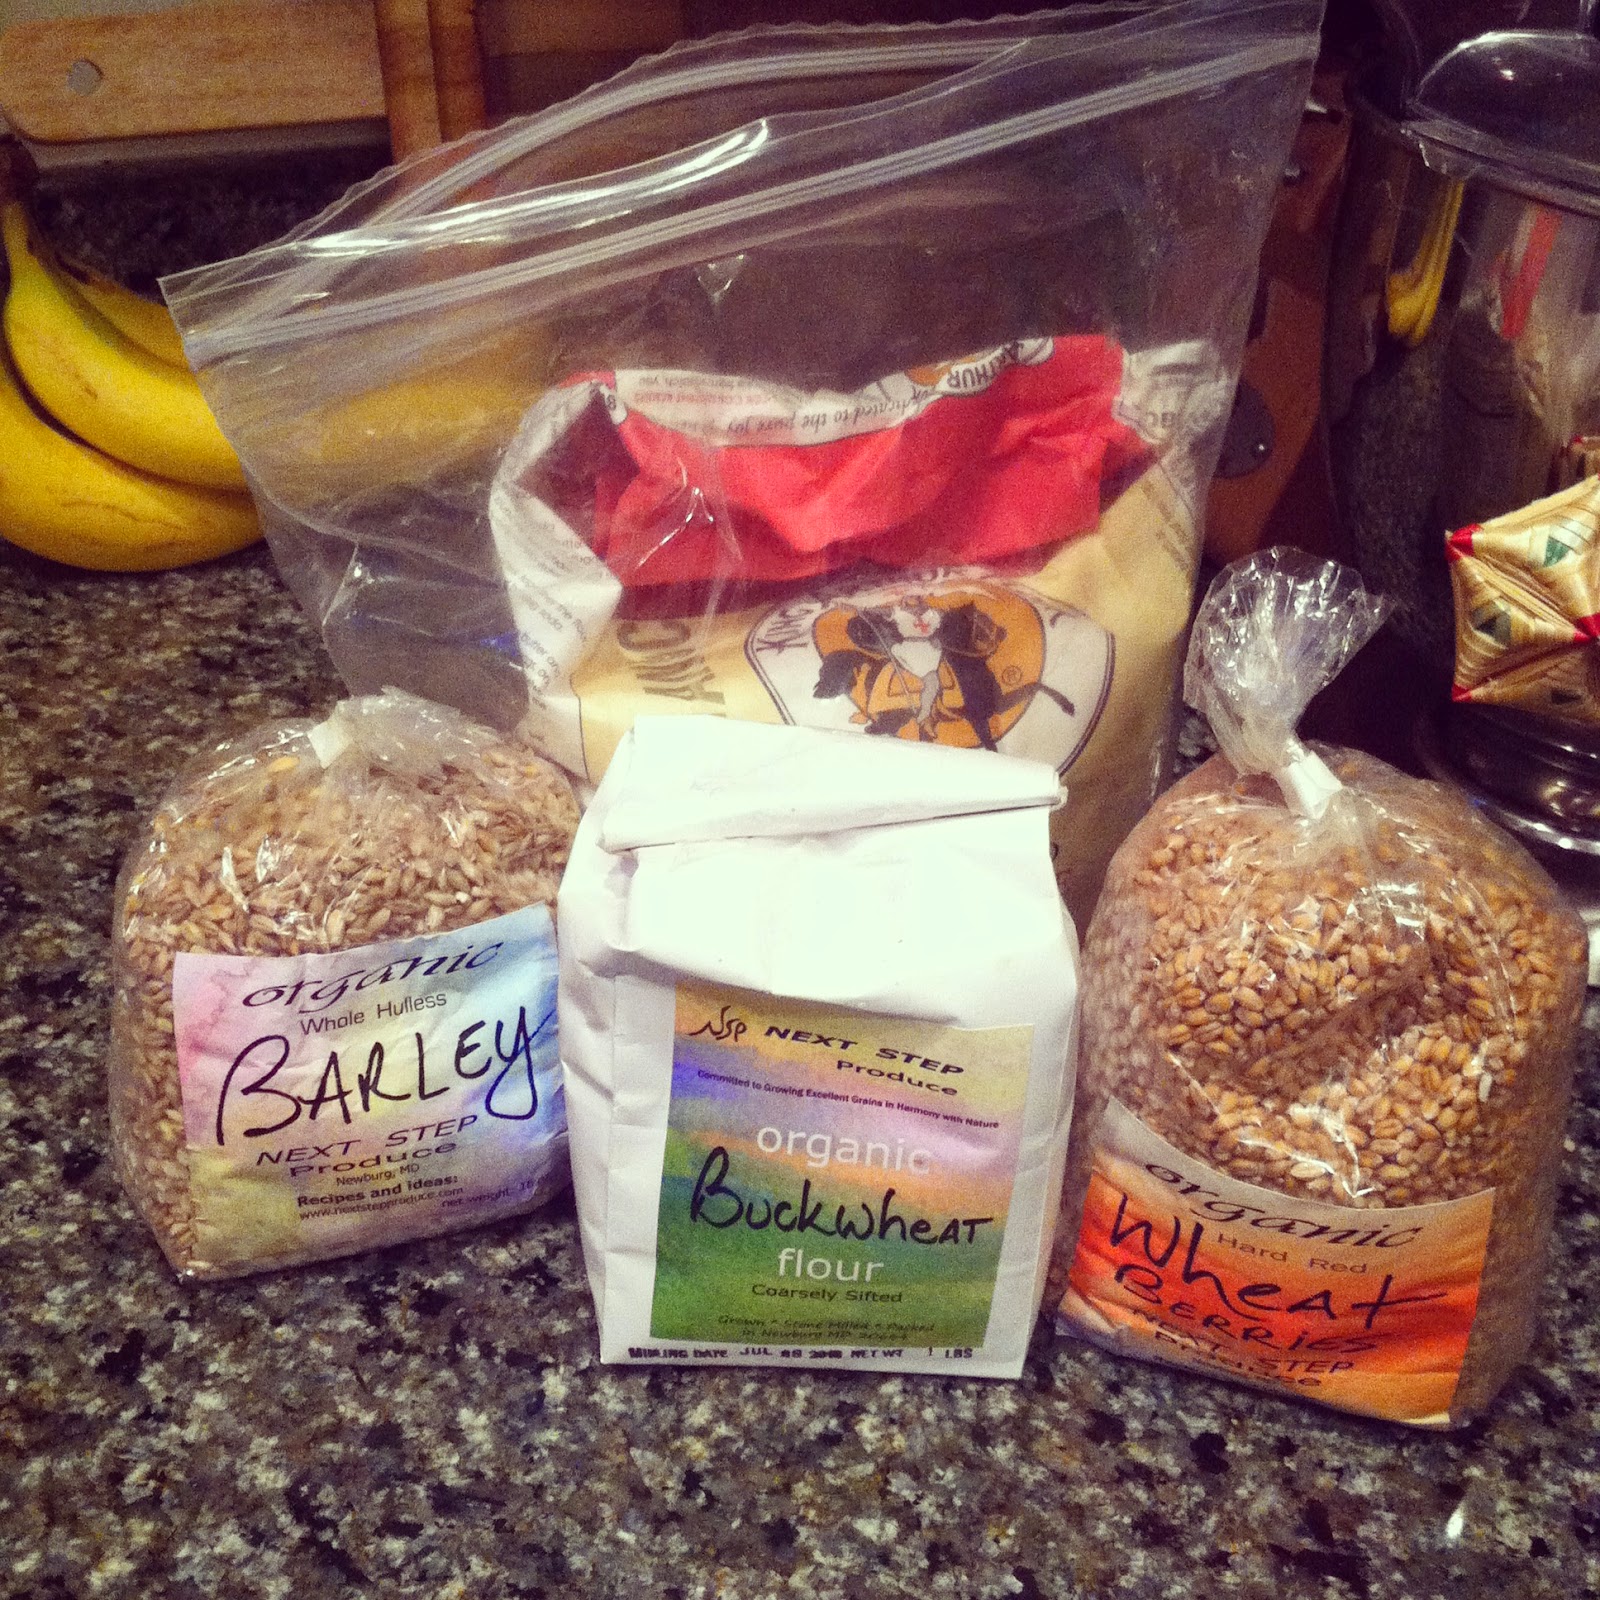
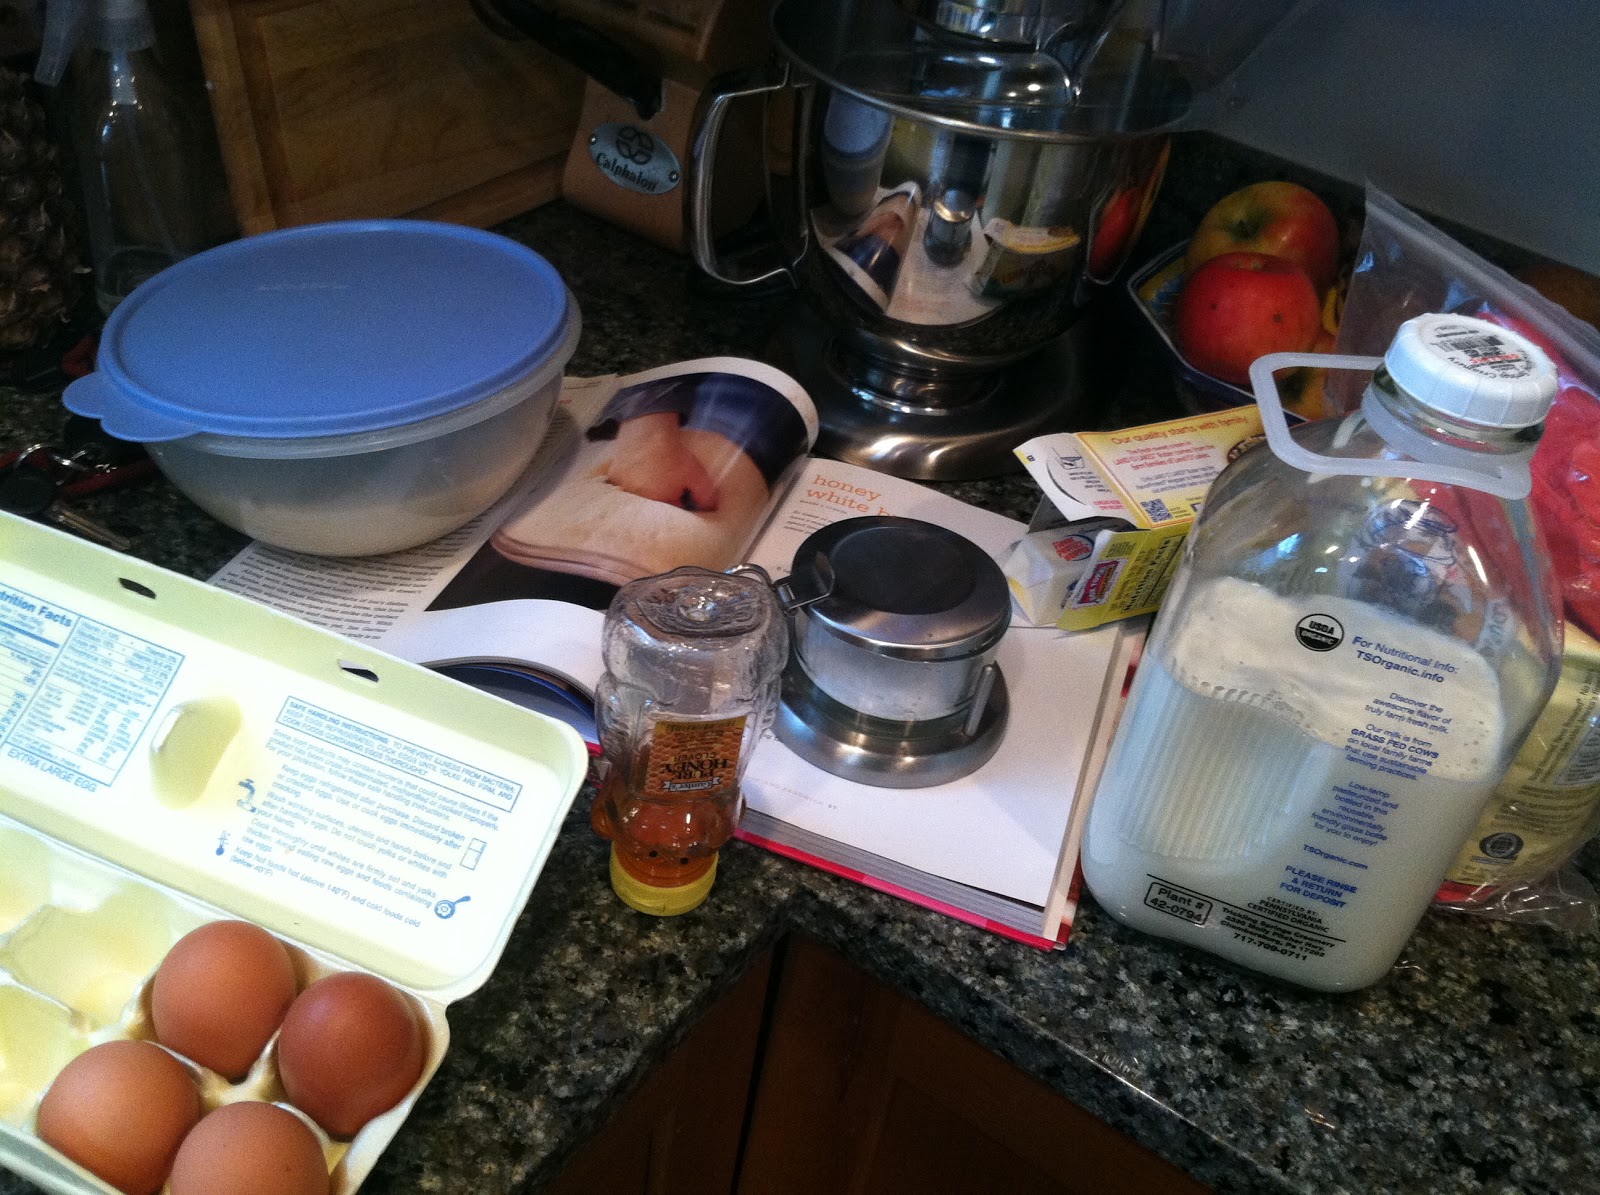
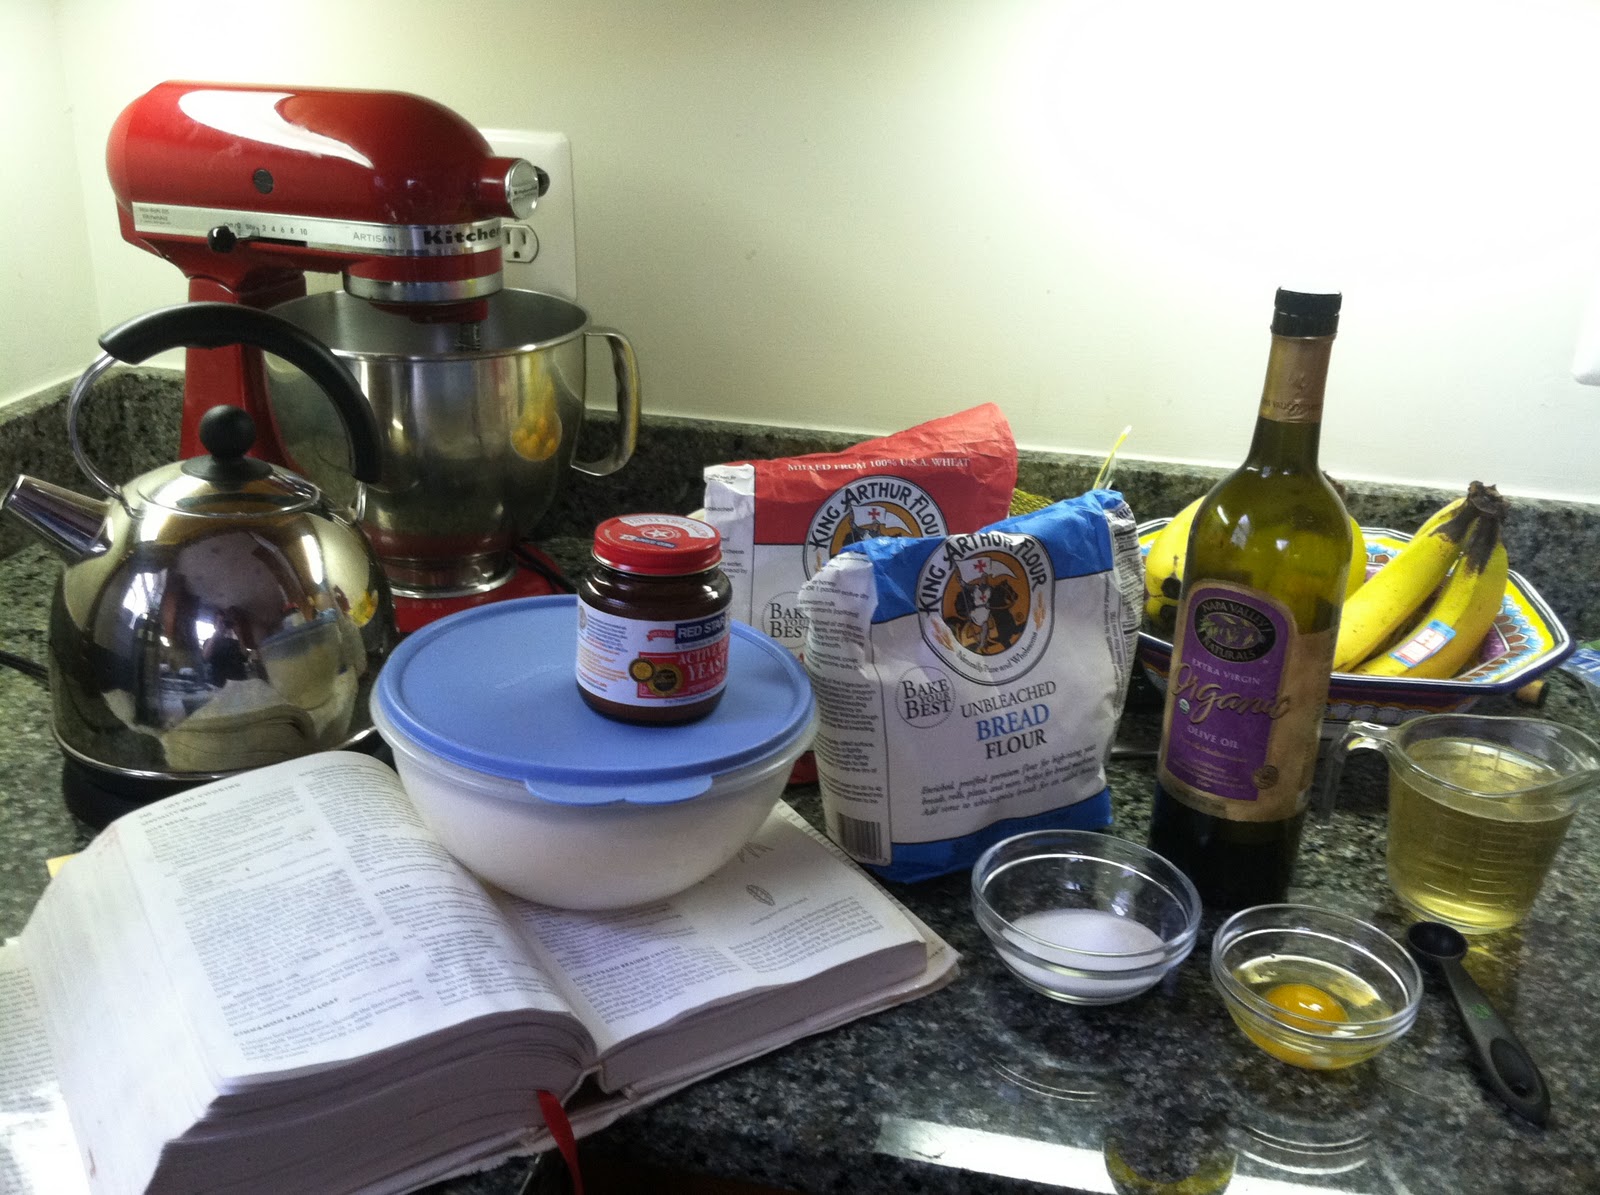
You will need (for four loaves):

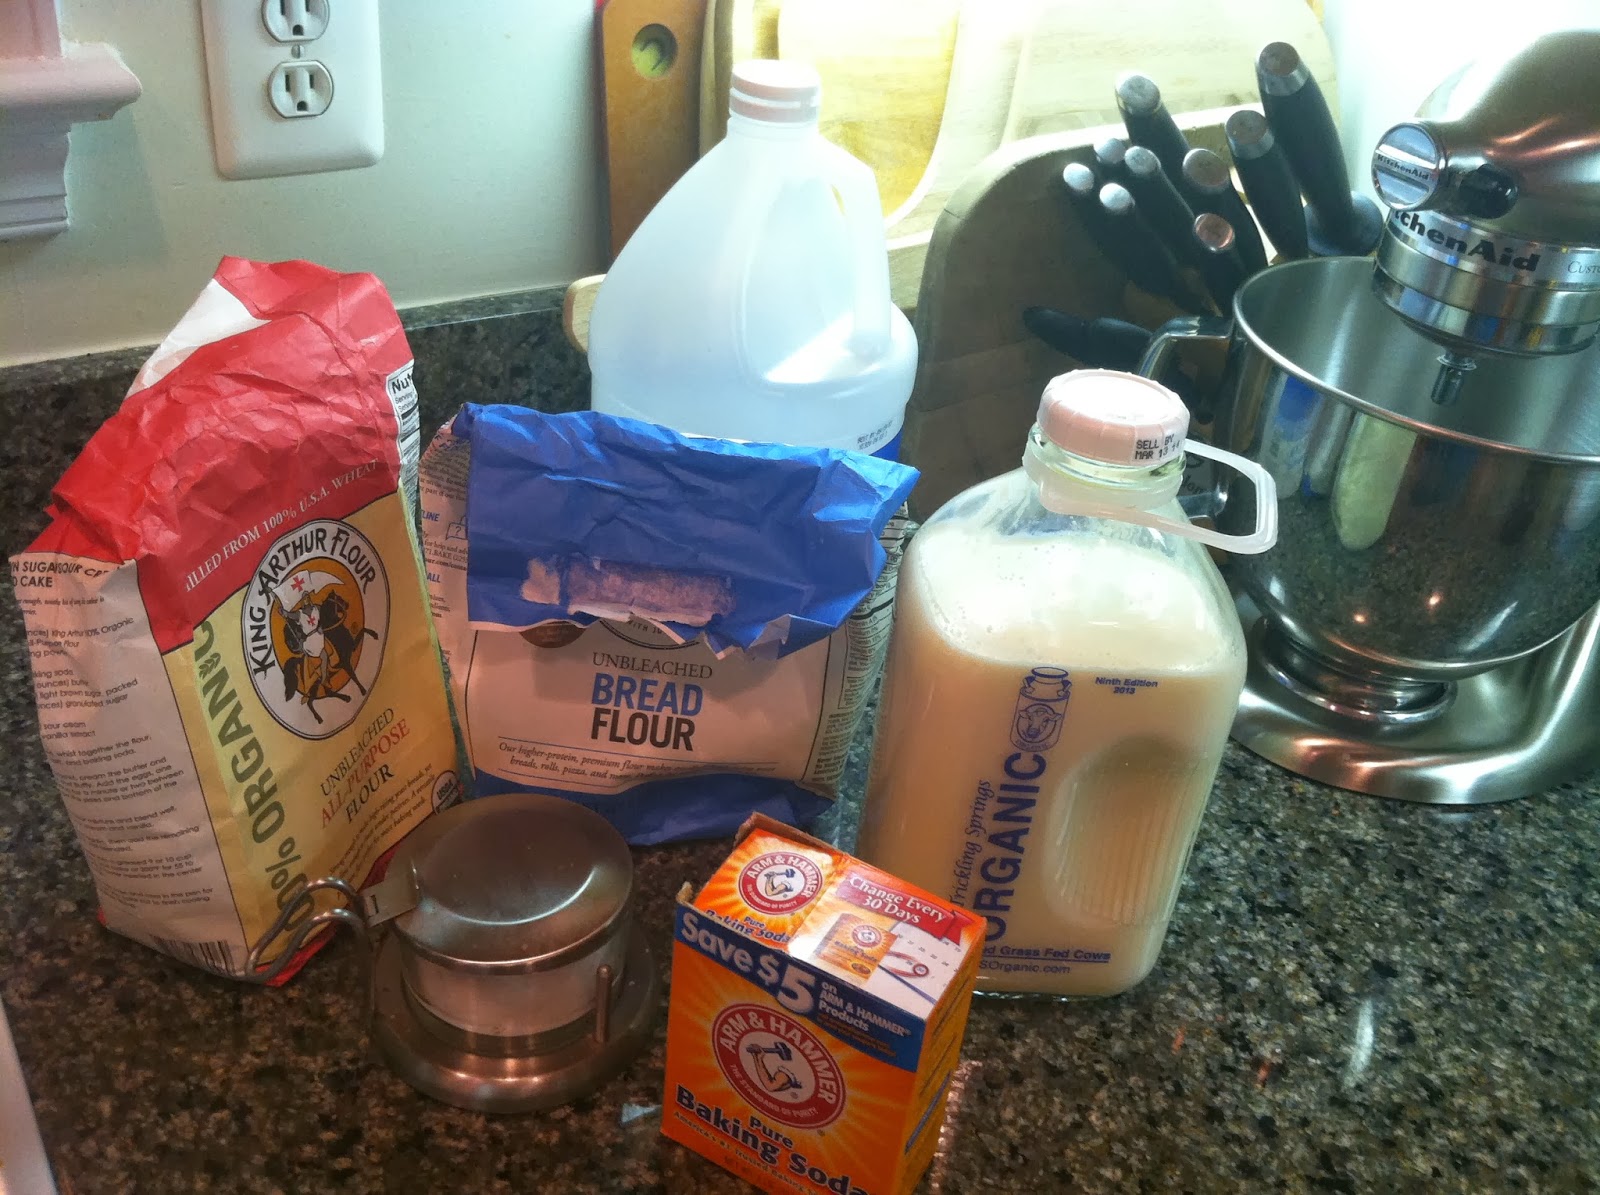
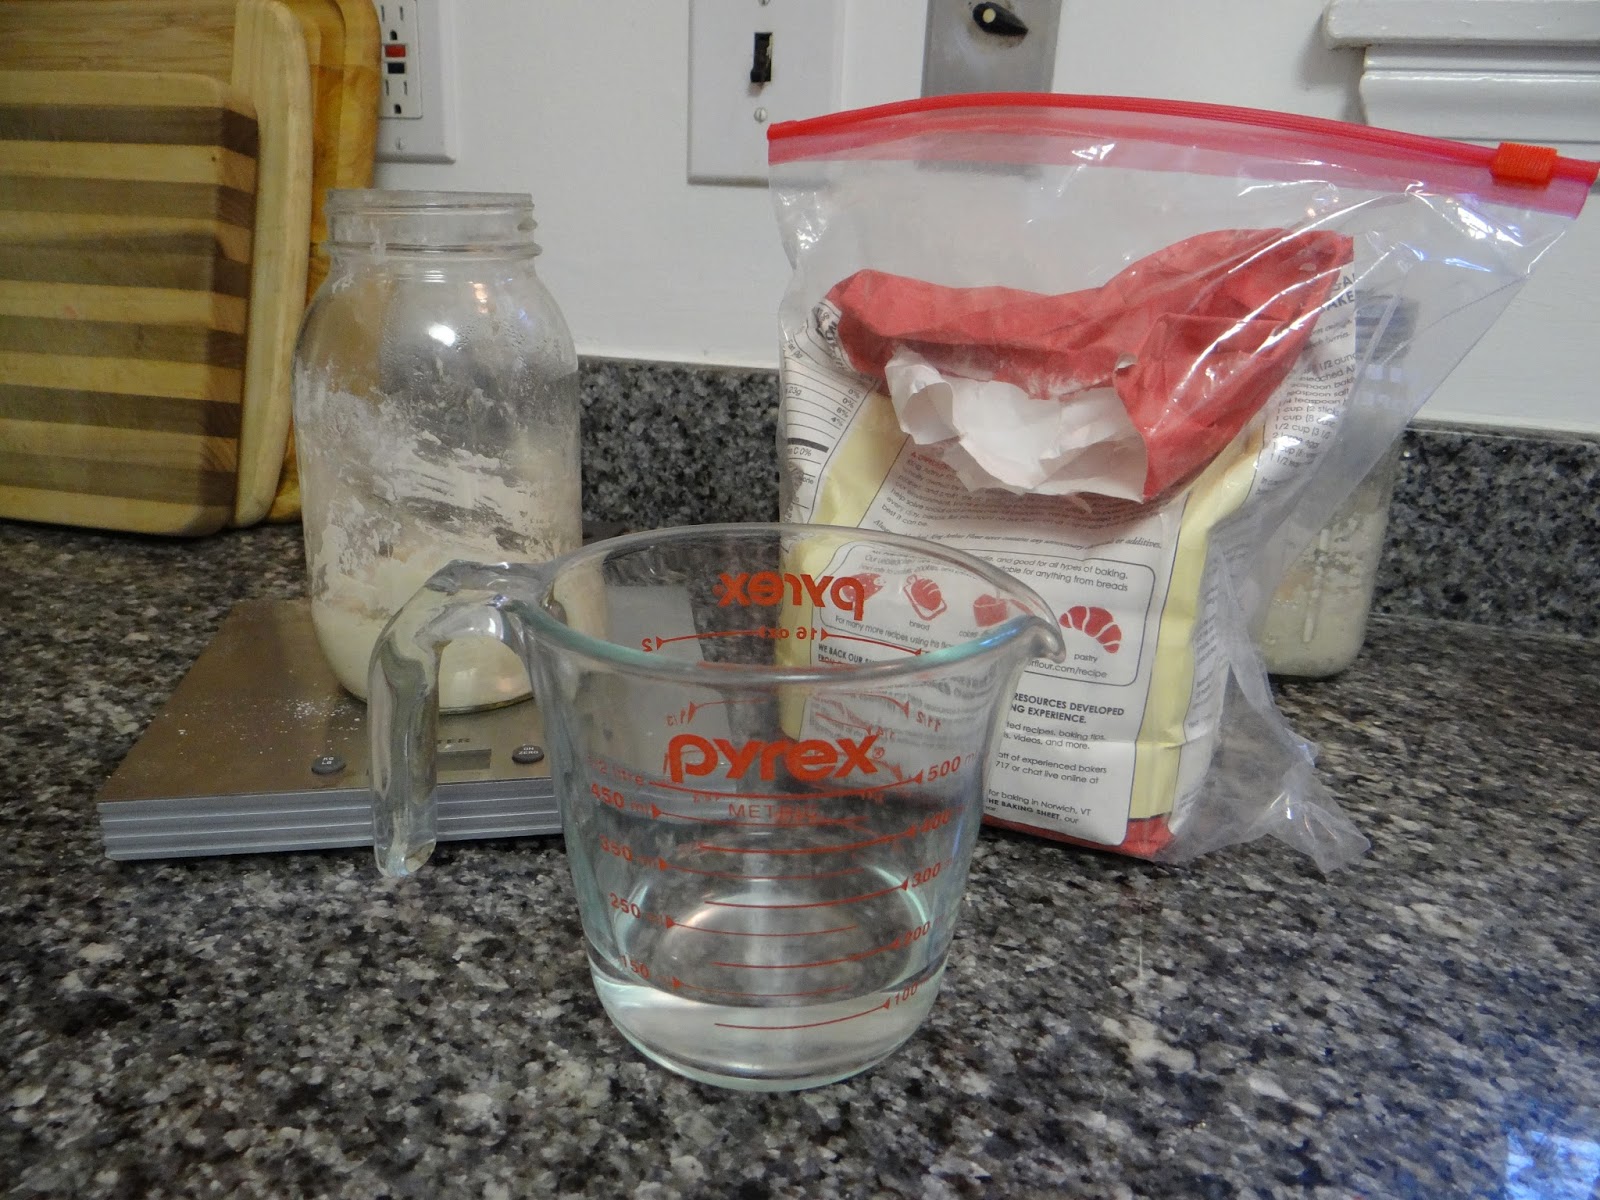
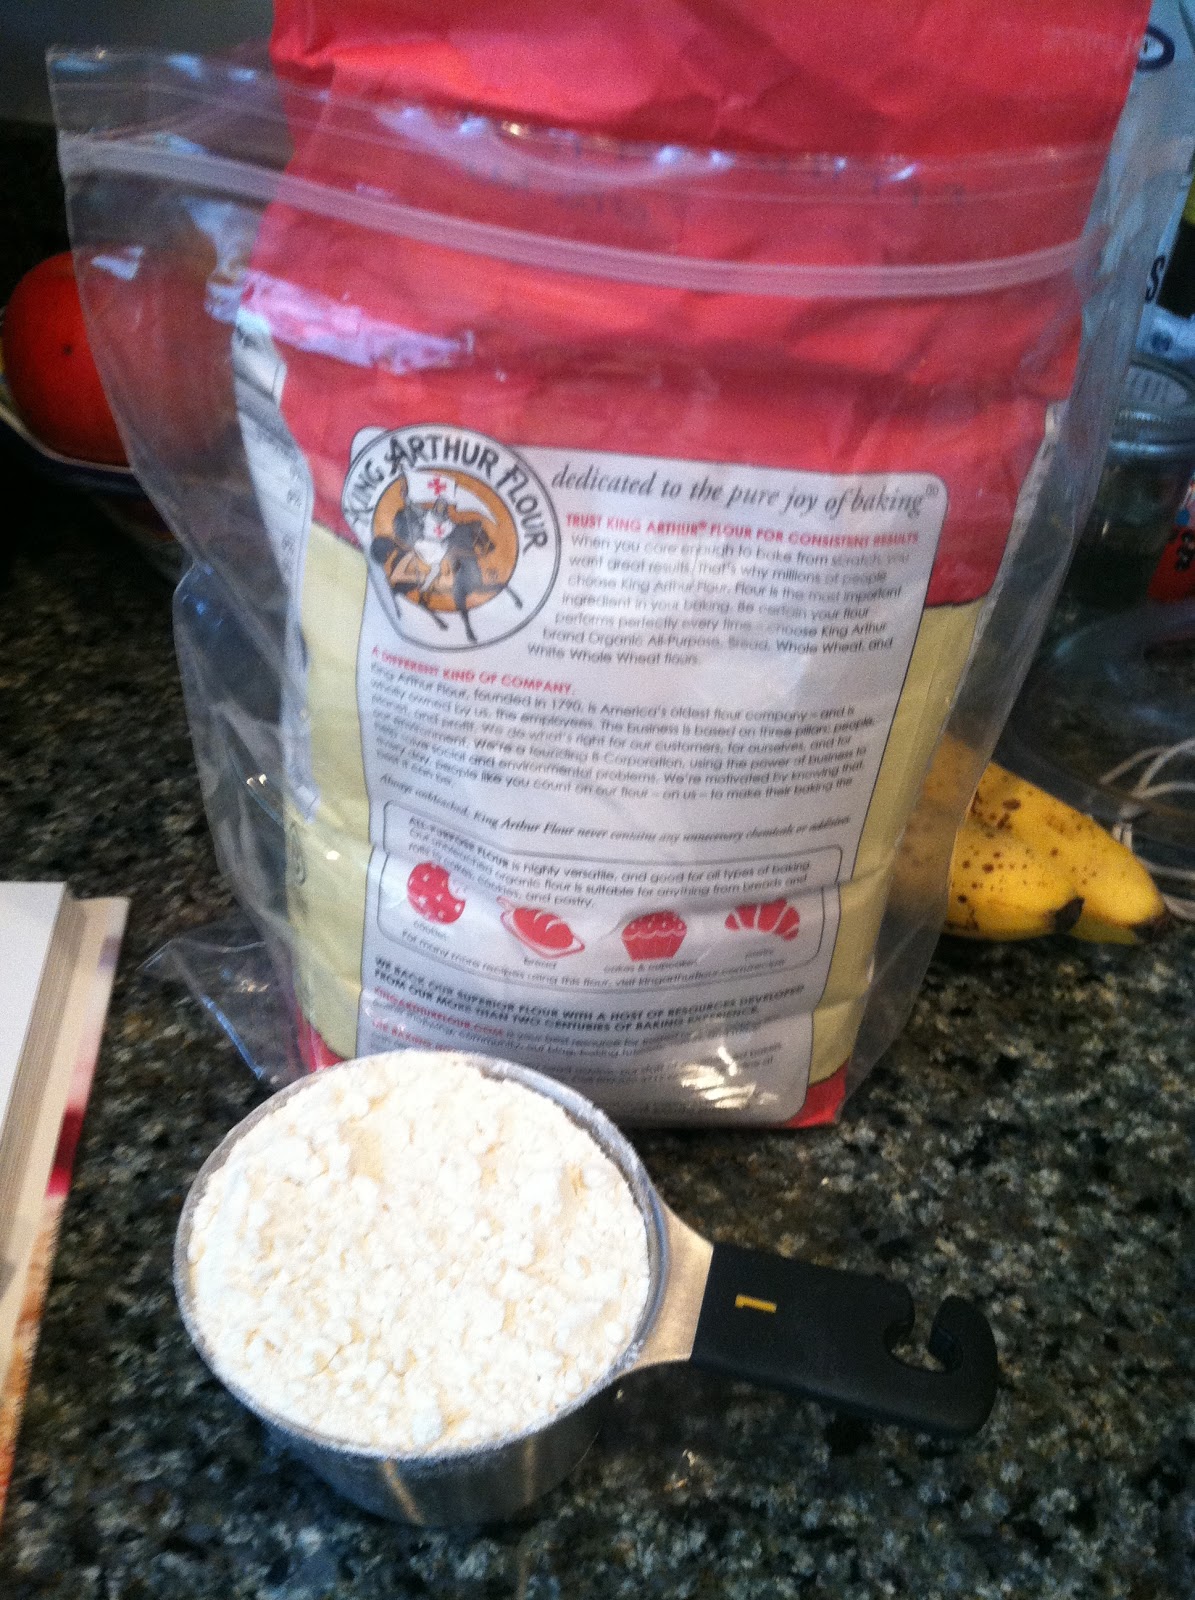
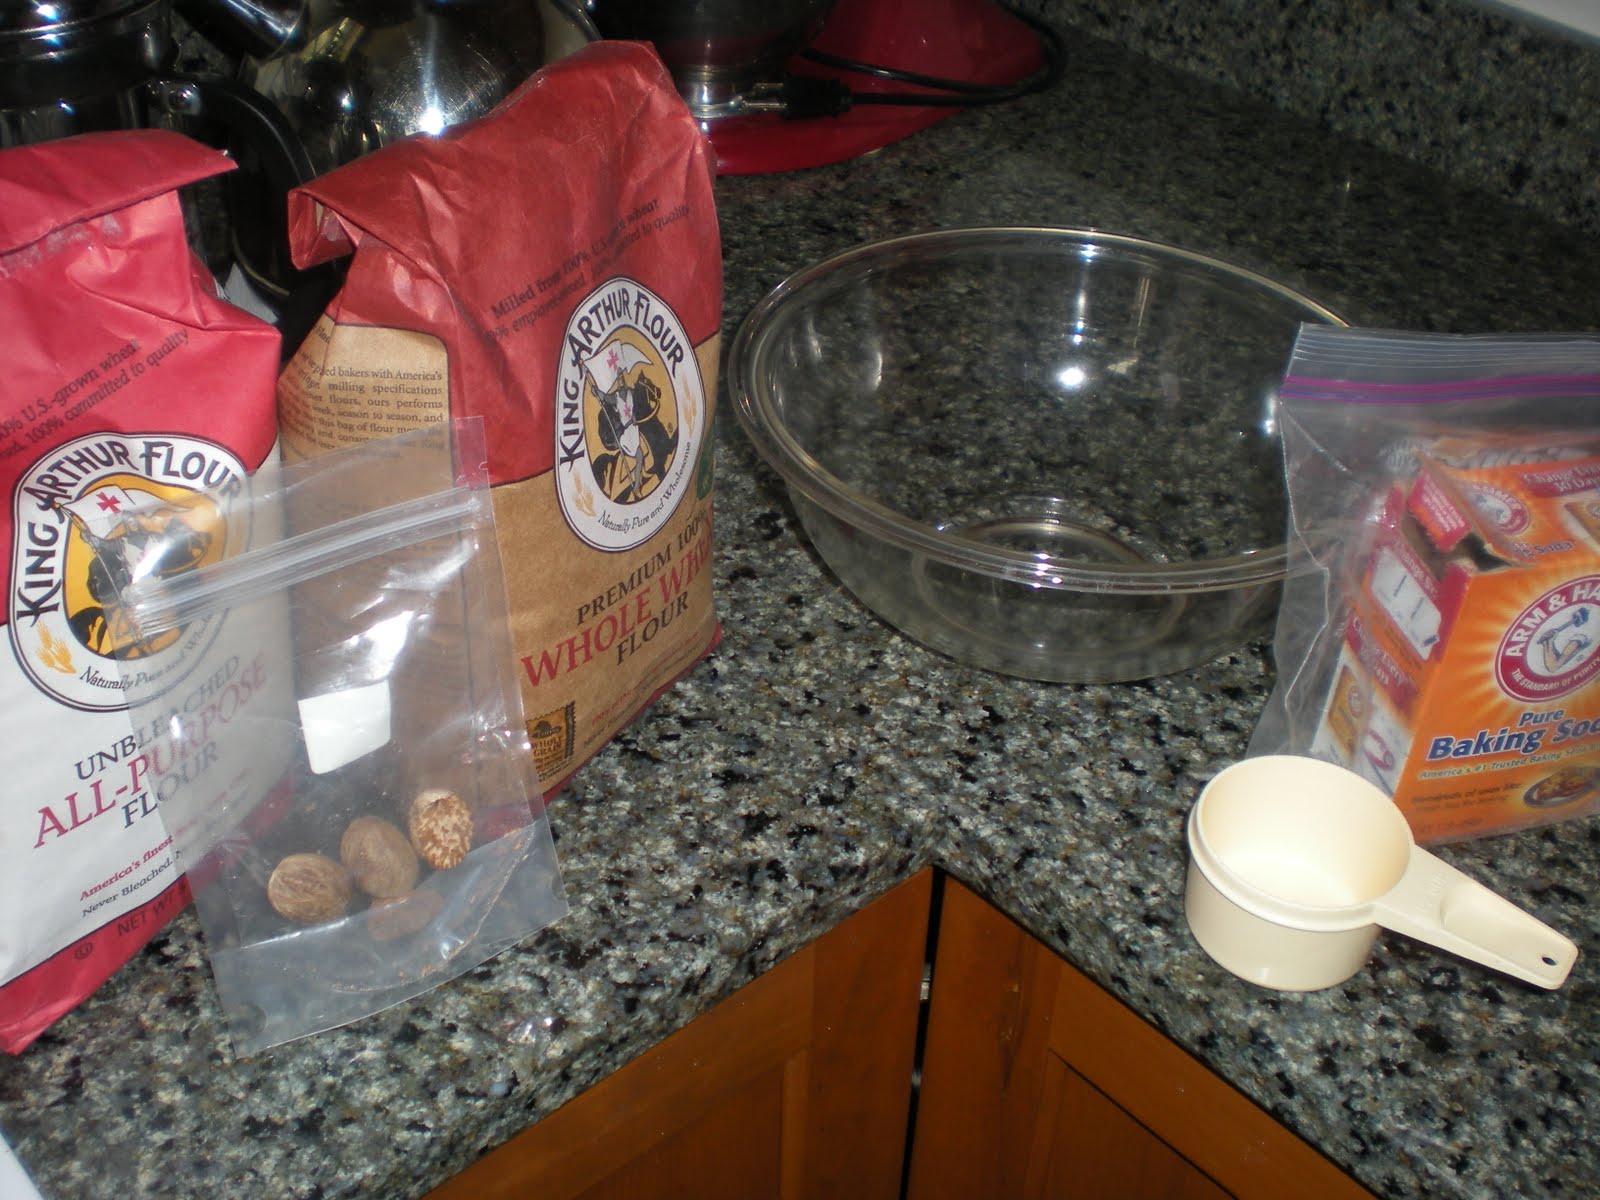
8 cups (1000 g) all-purpose flour
2 teaspoons salt
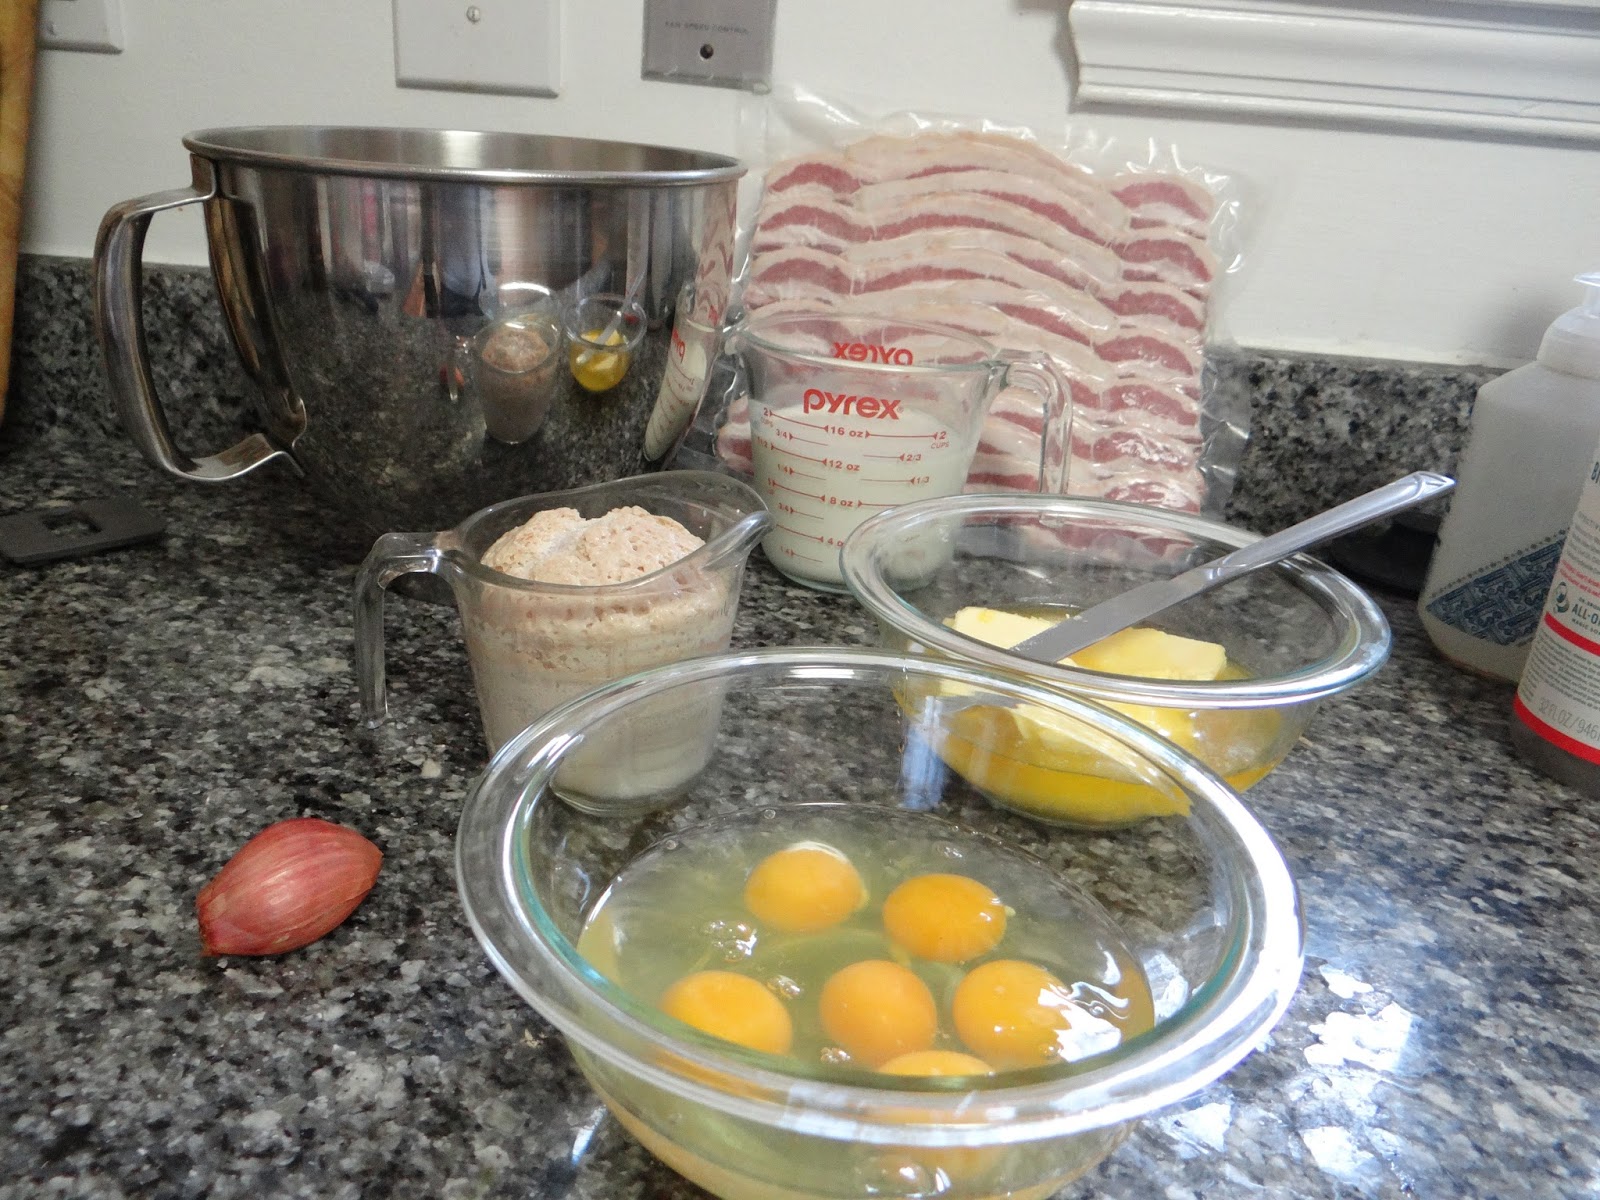
6 eggs
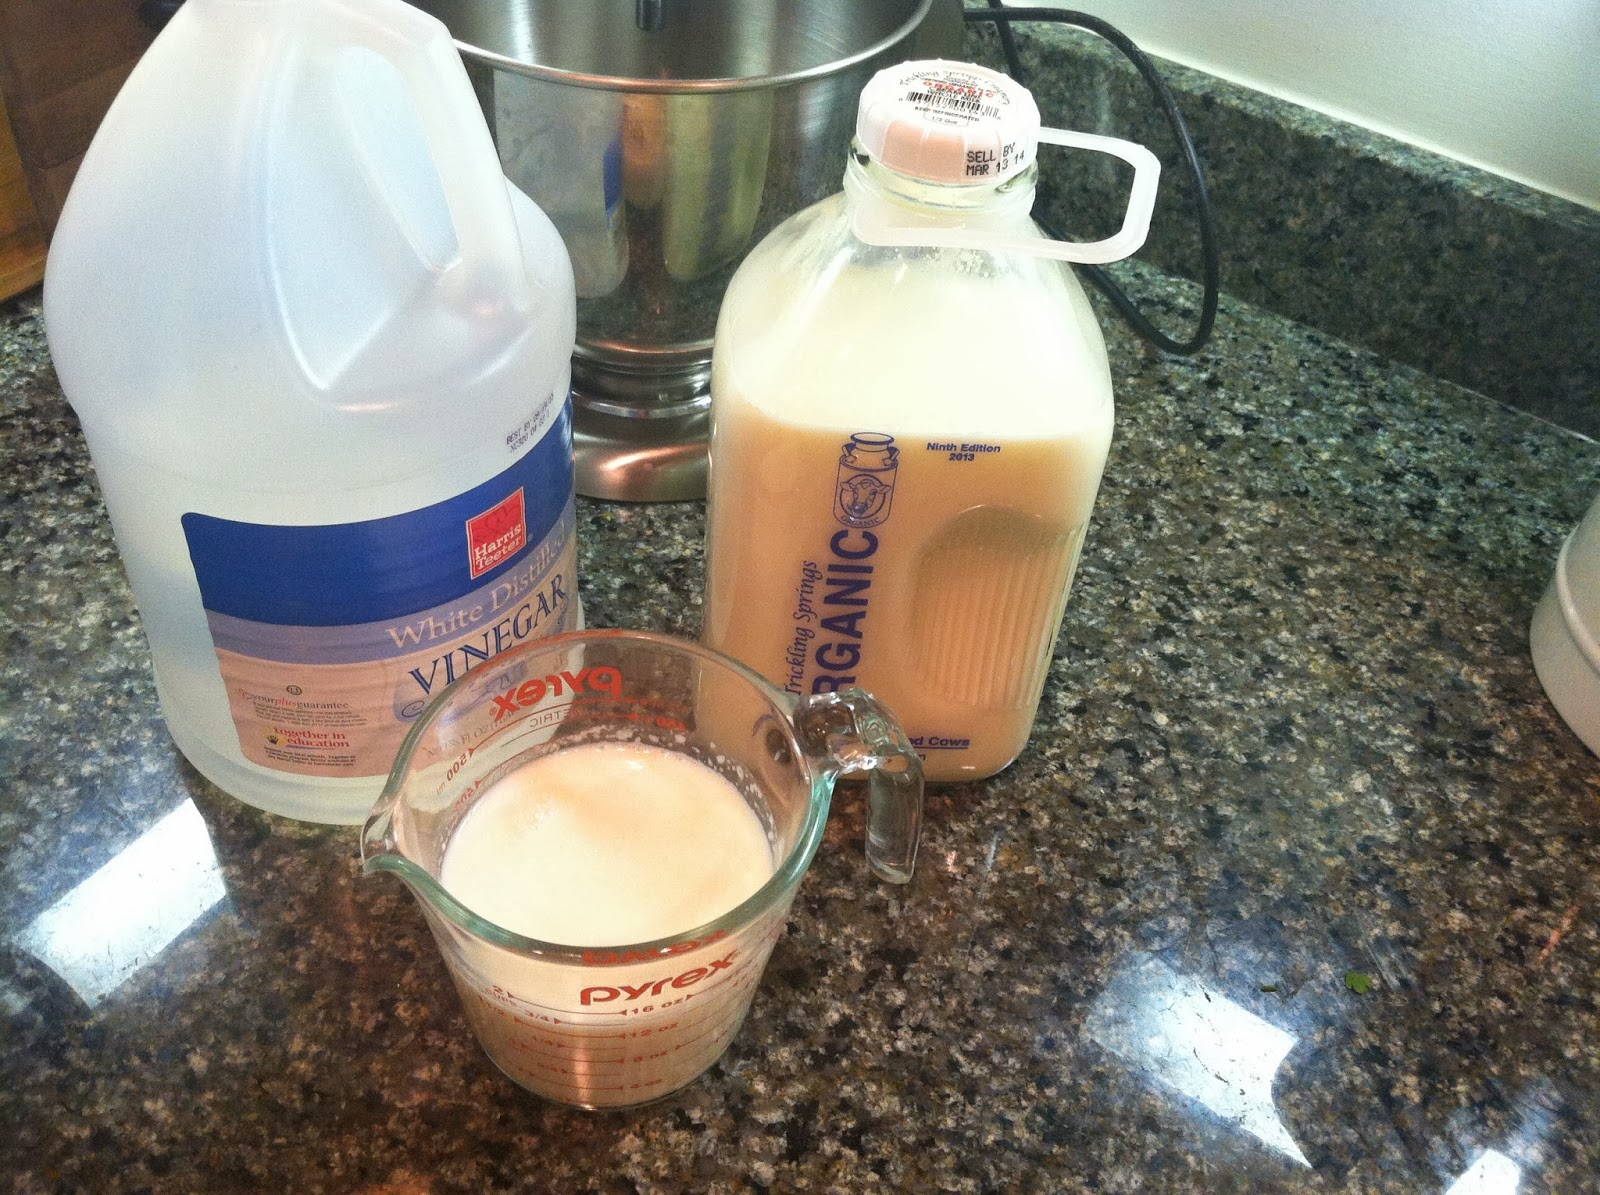
2 cups (500ml) milk, warm
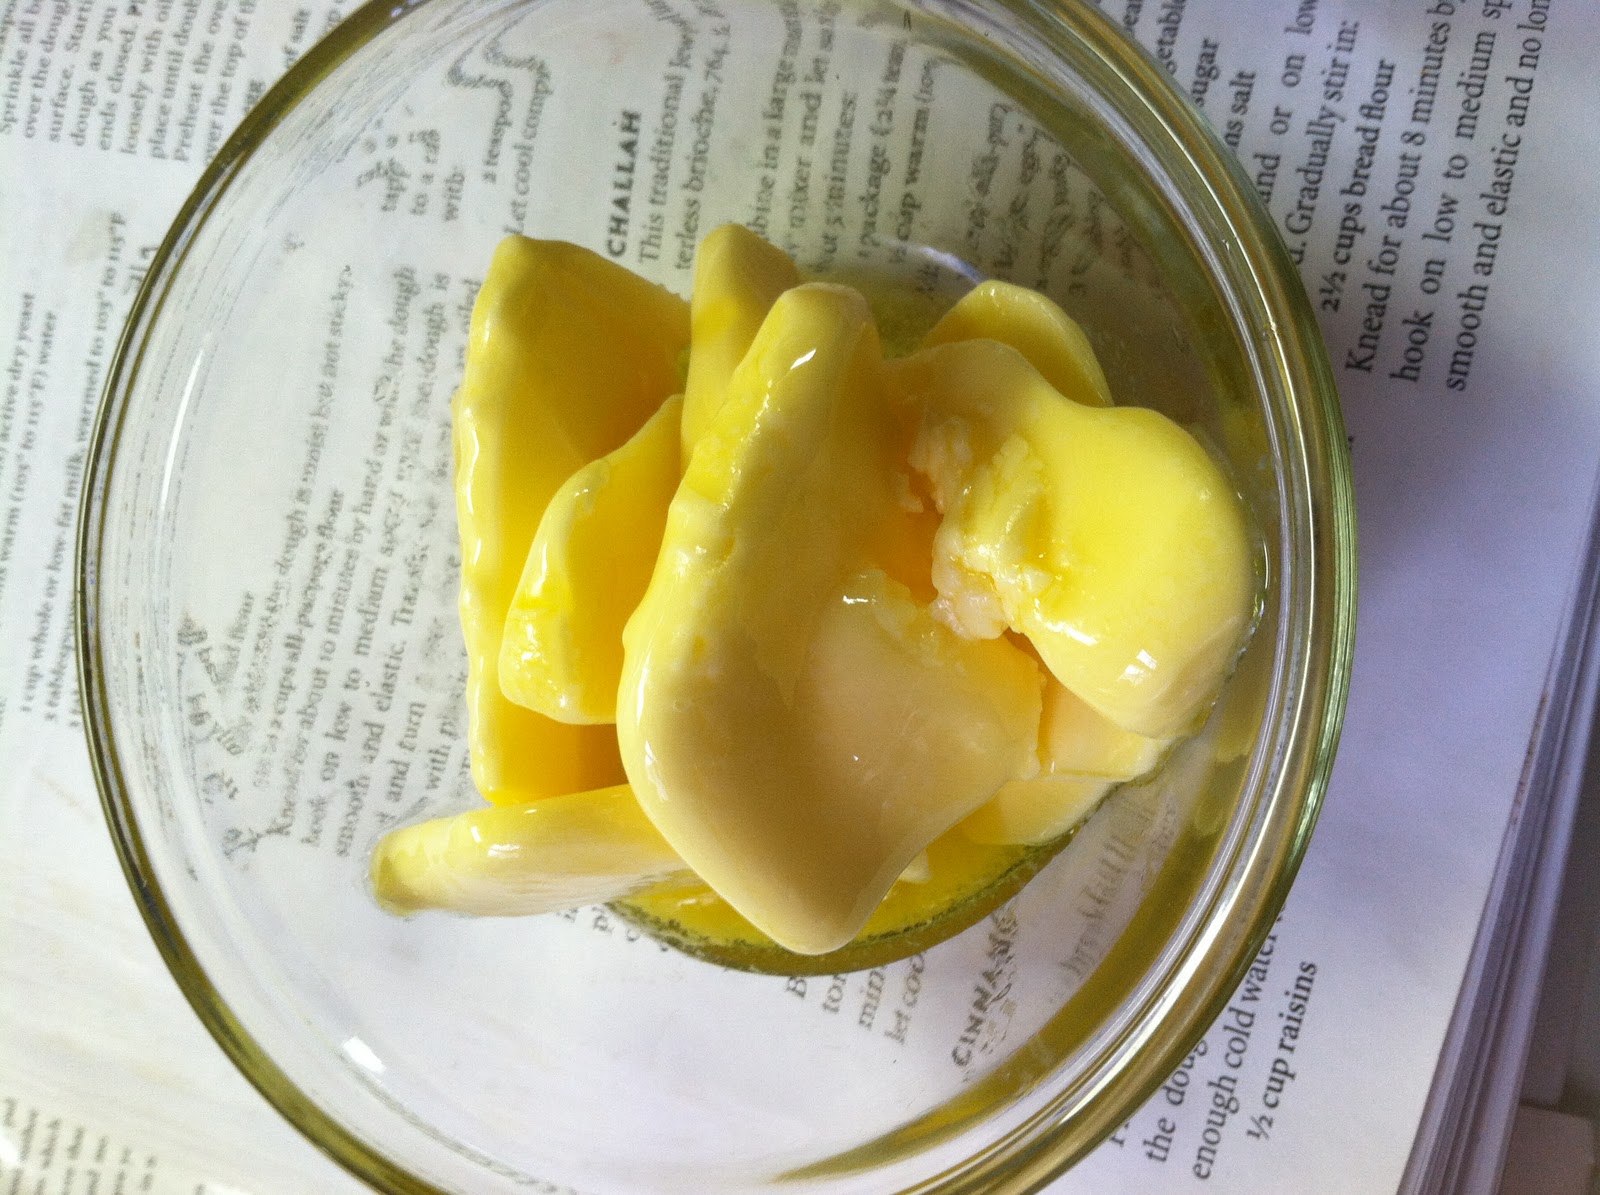
300 g butter, softened plus another tablespoon or so to butter a large bowl and four bread pans
2 shallots, diced finely
2 tablespoons thyme or sage
1 pack of bacon, thick-cut
4 teaspoons yeast
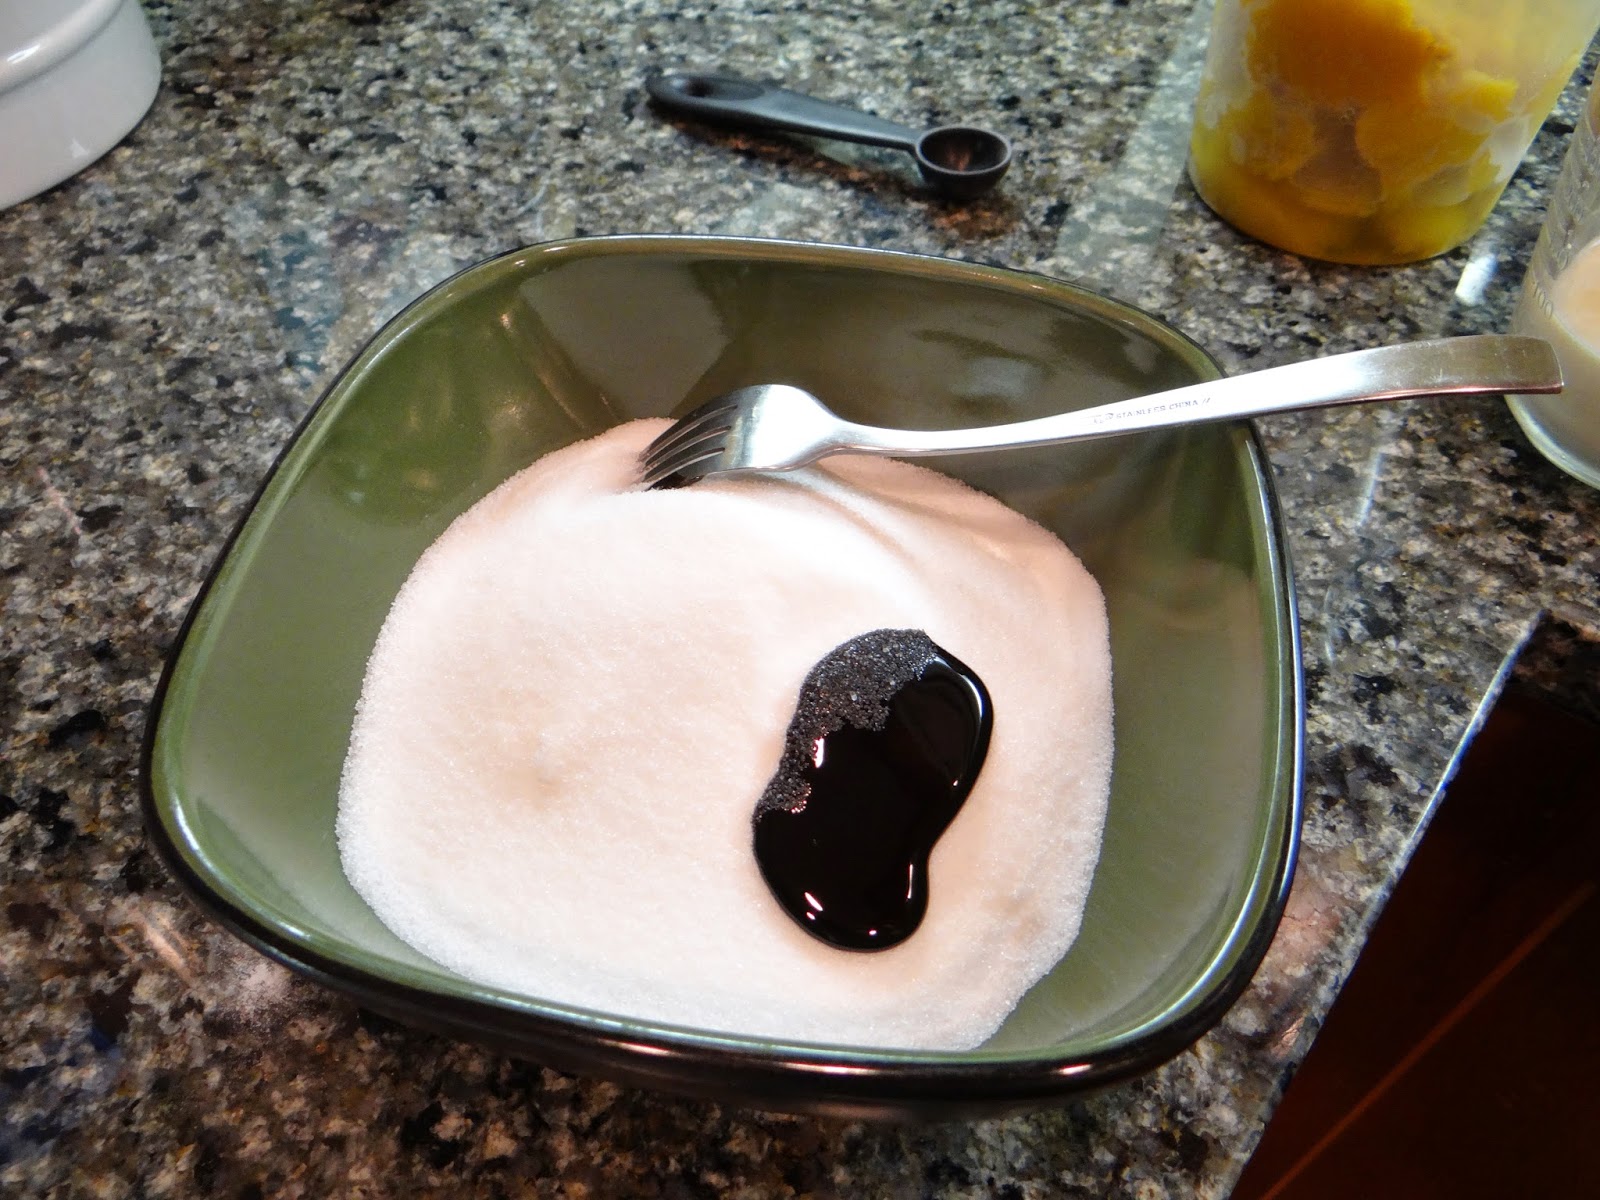
2 tablespoons of sugar
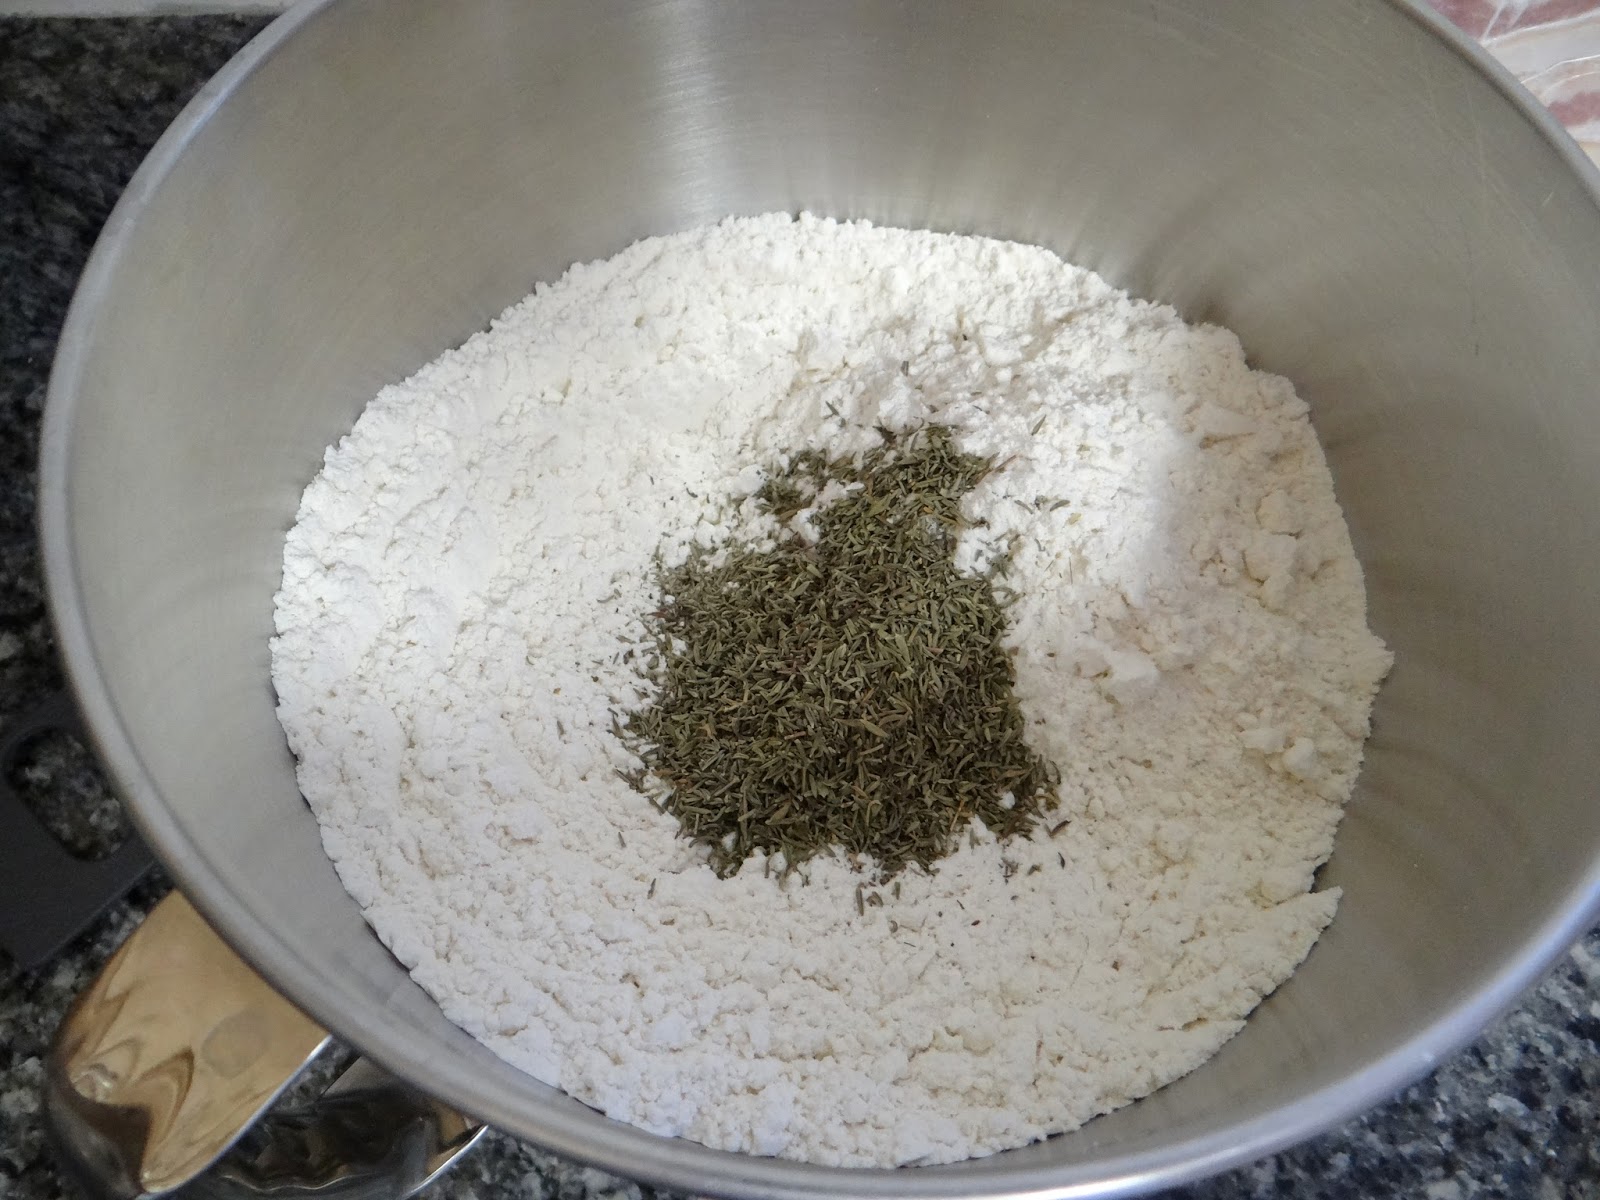
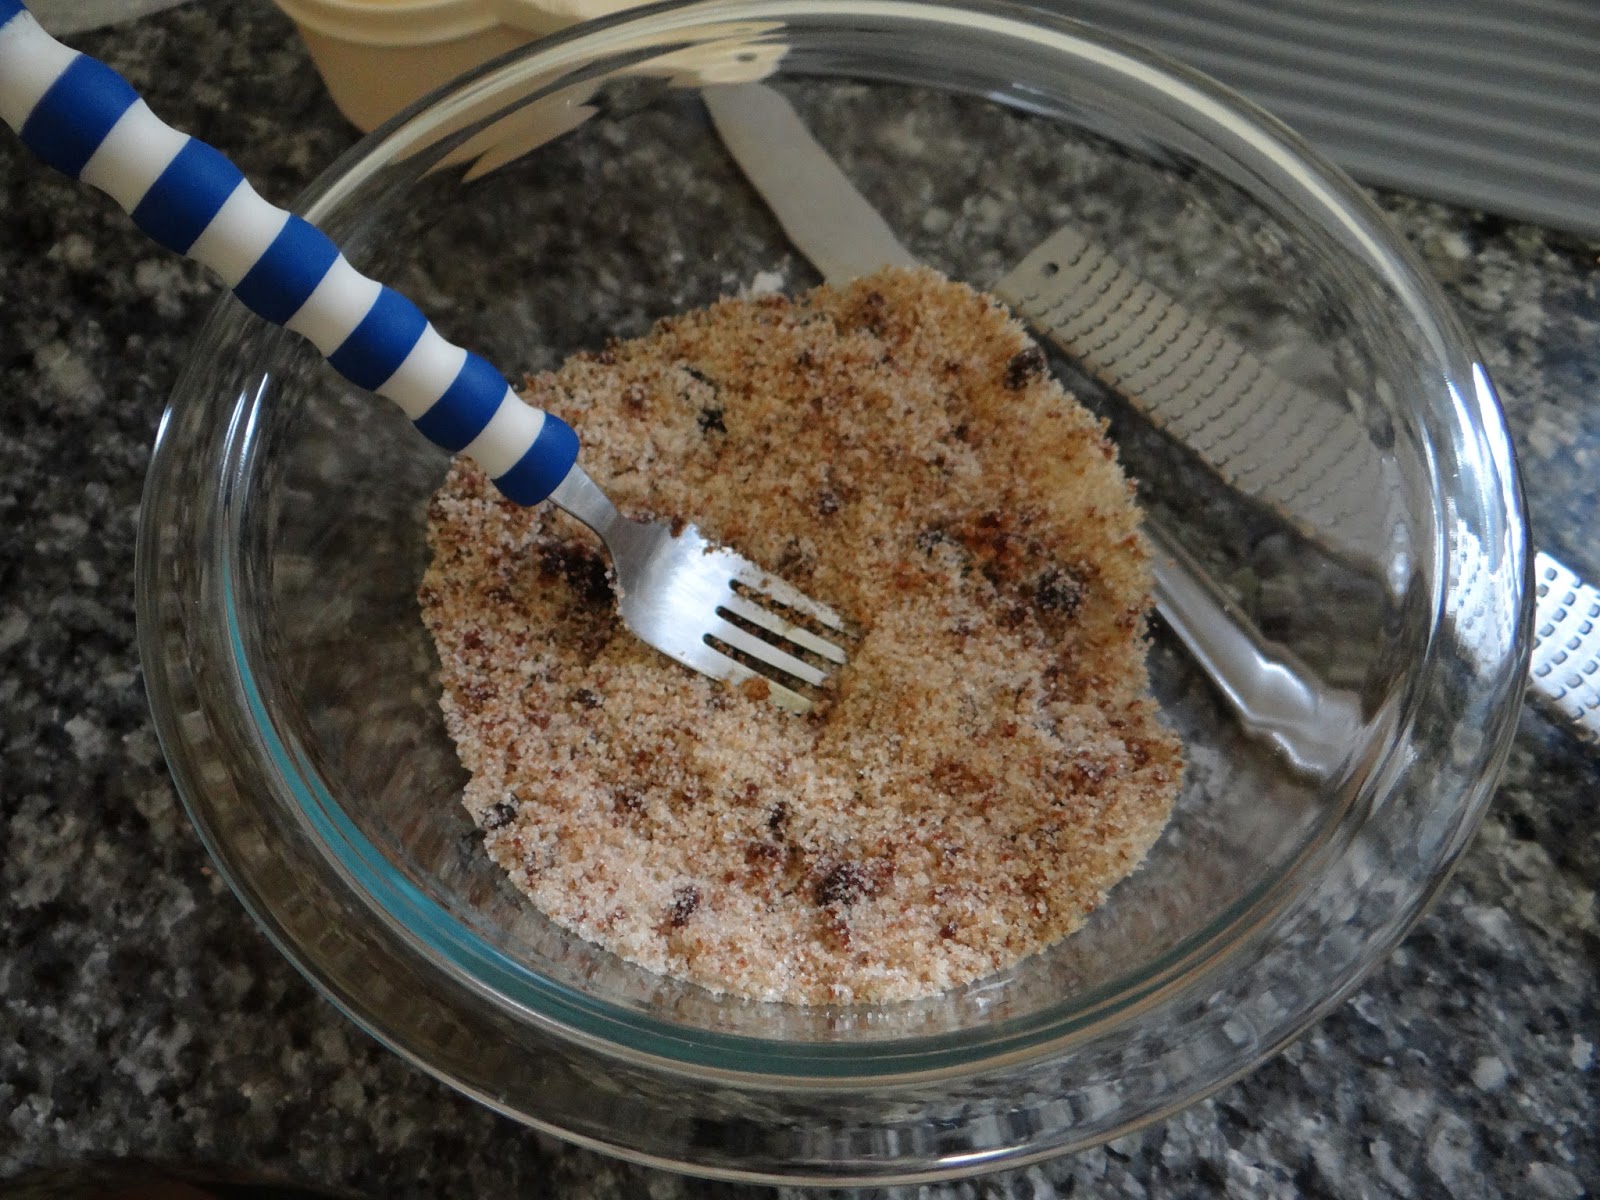
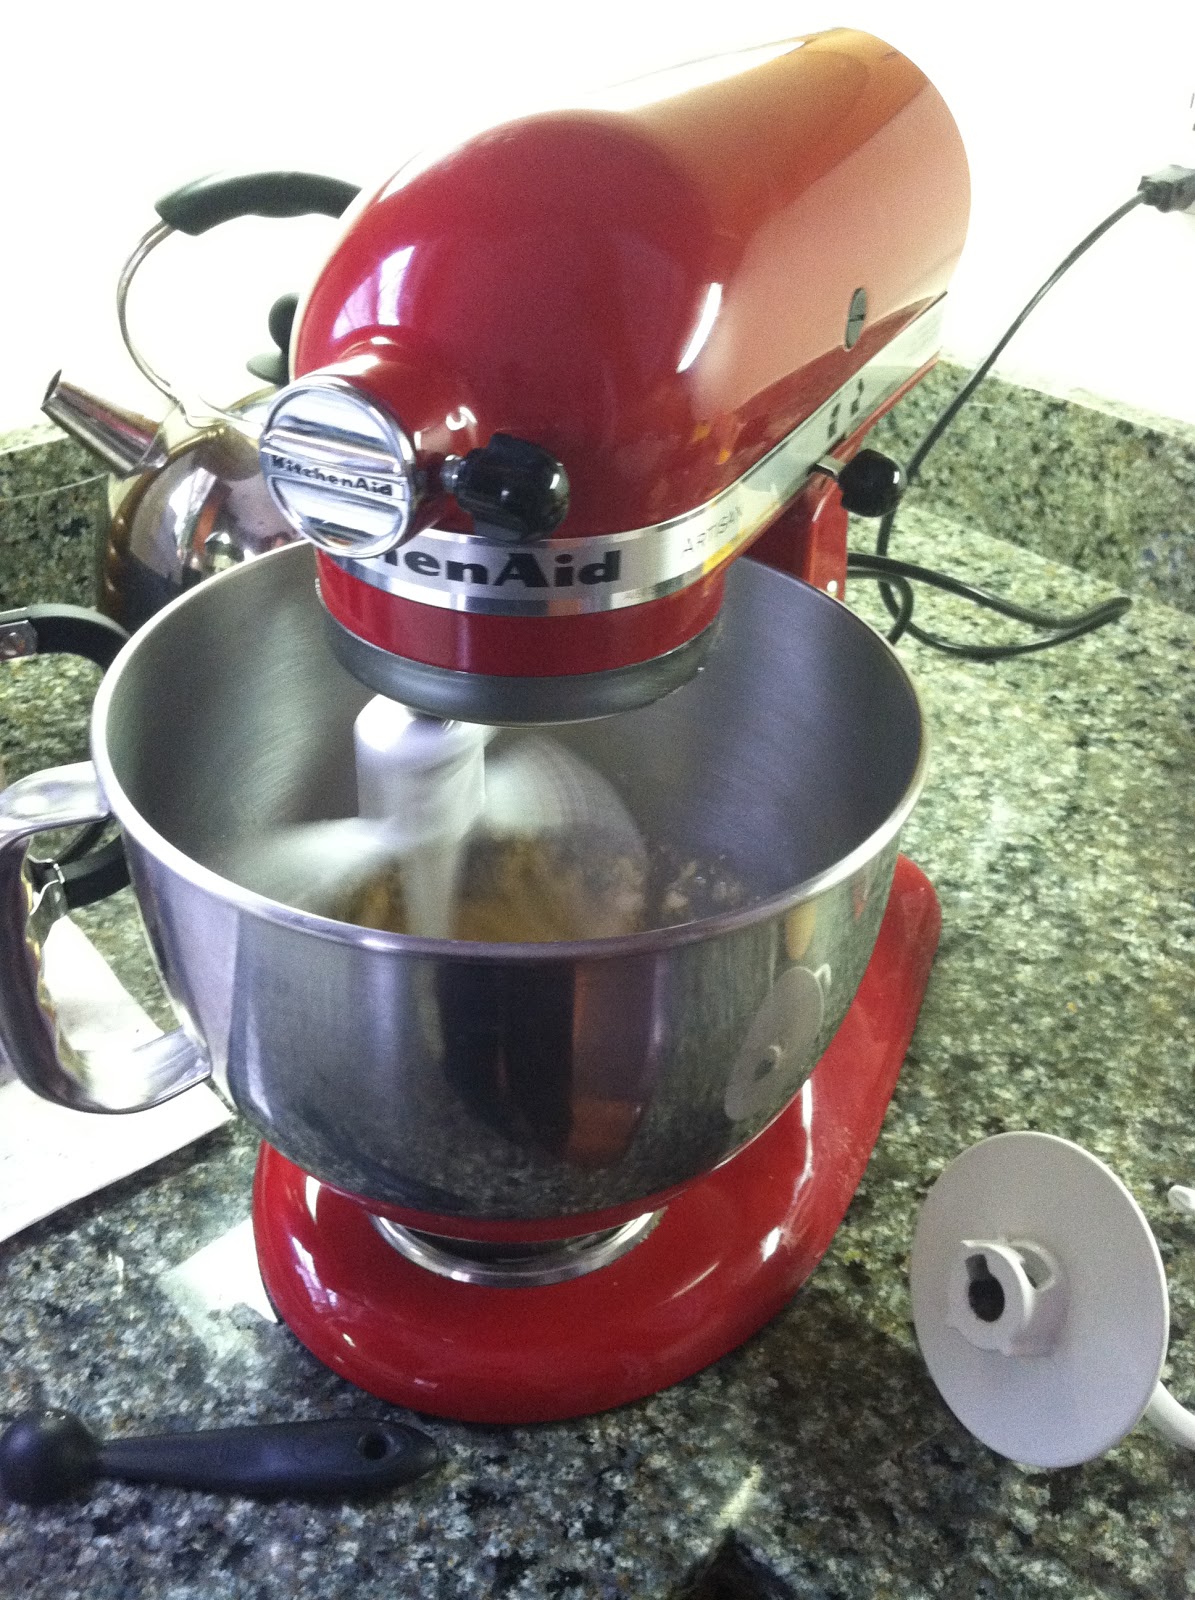
1. In the bowl of a stand mixer (with the paddle attachment), whisk together the flour, salt and thyme. The original recipe calls for fresh sage, but I didn’t have it so I used dried thyme.
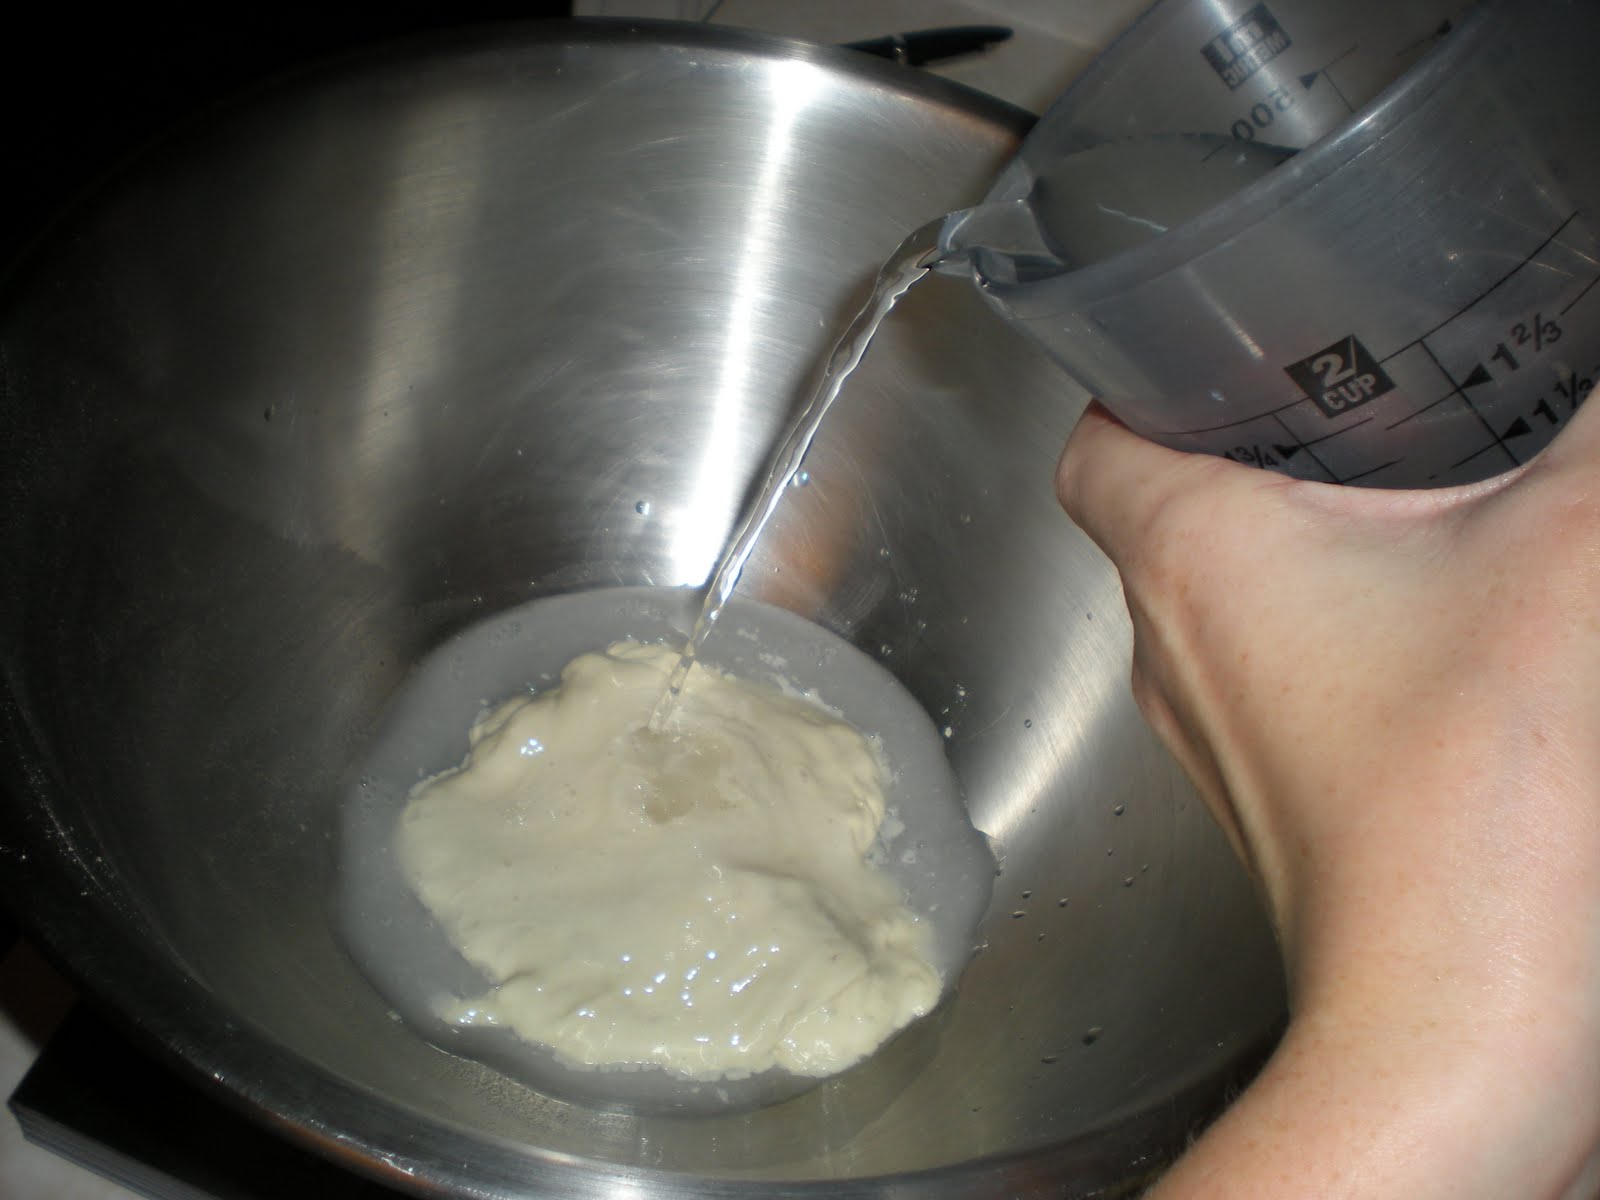
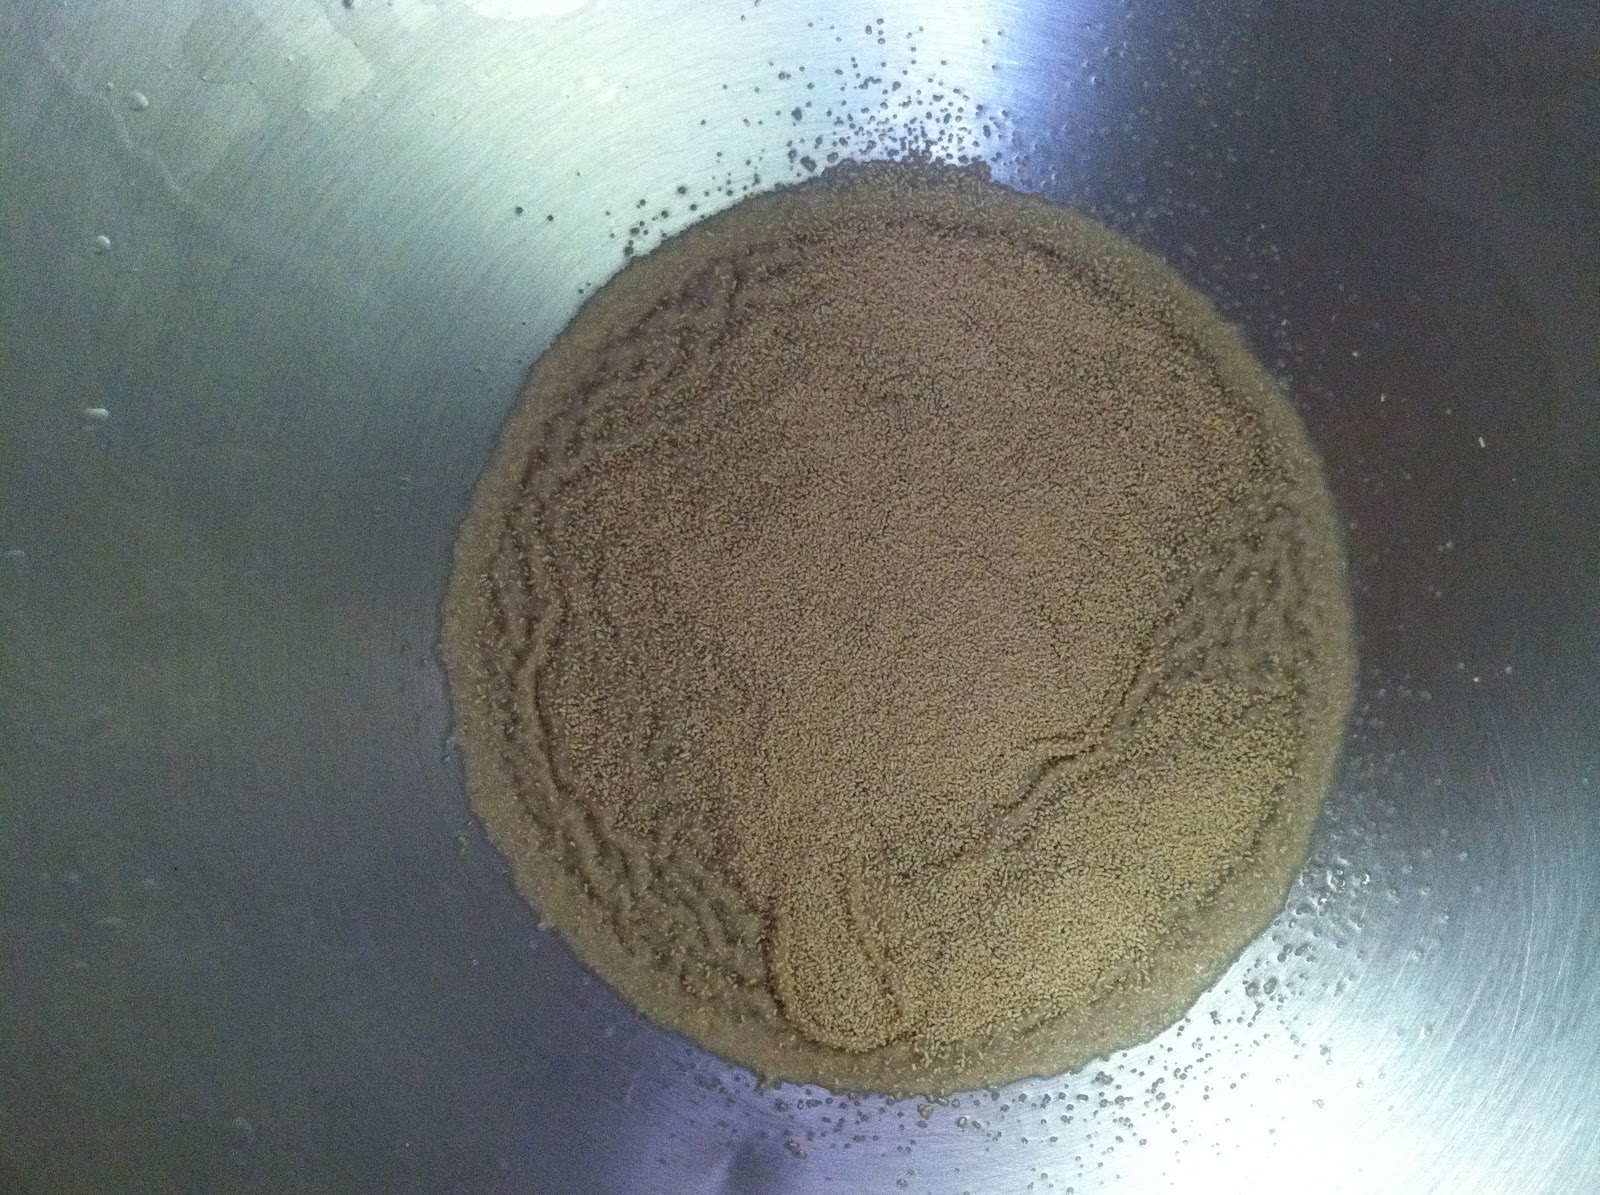
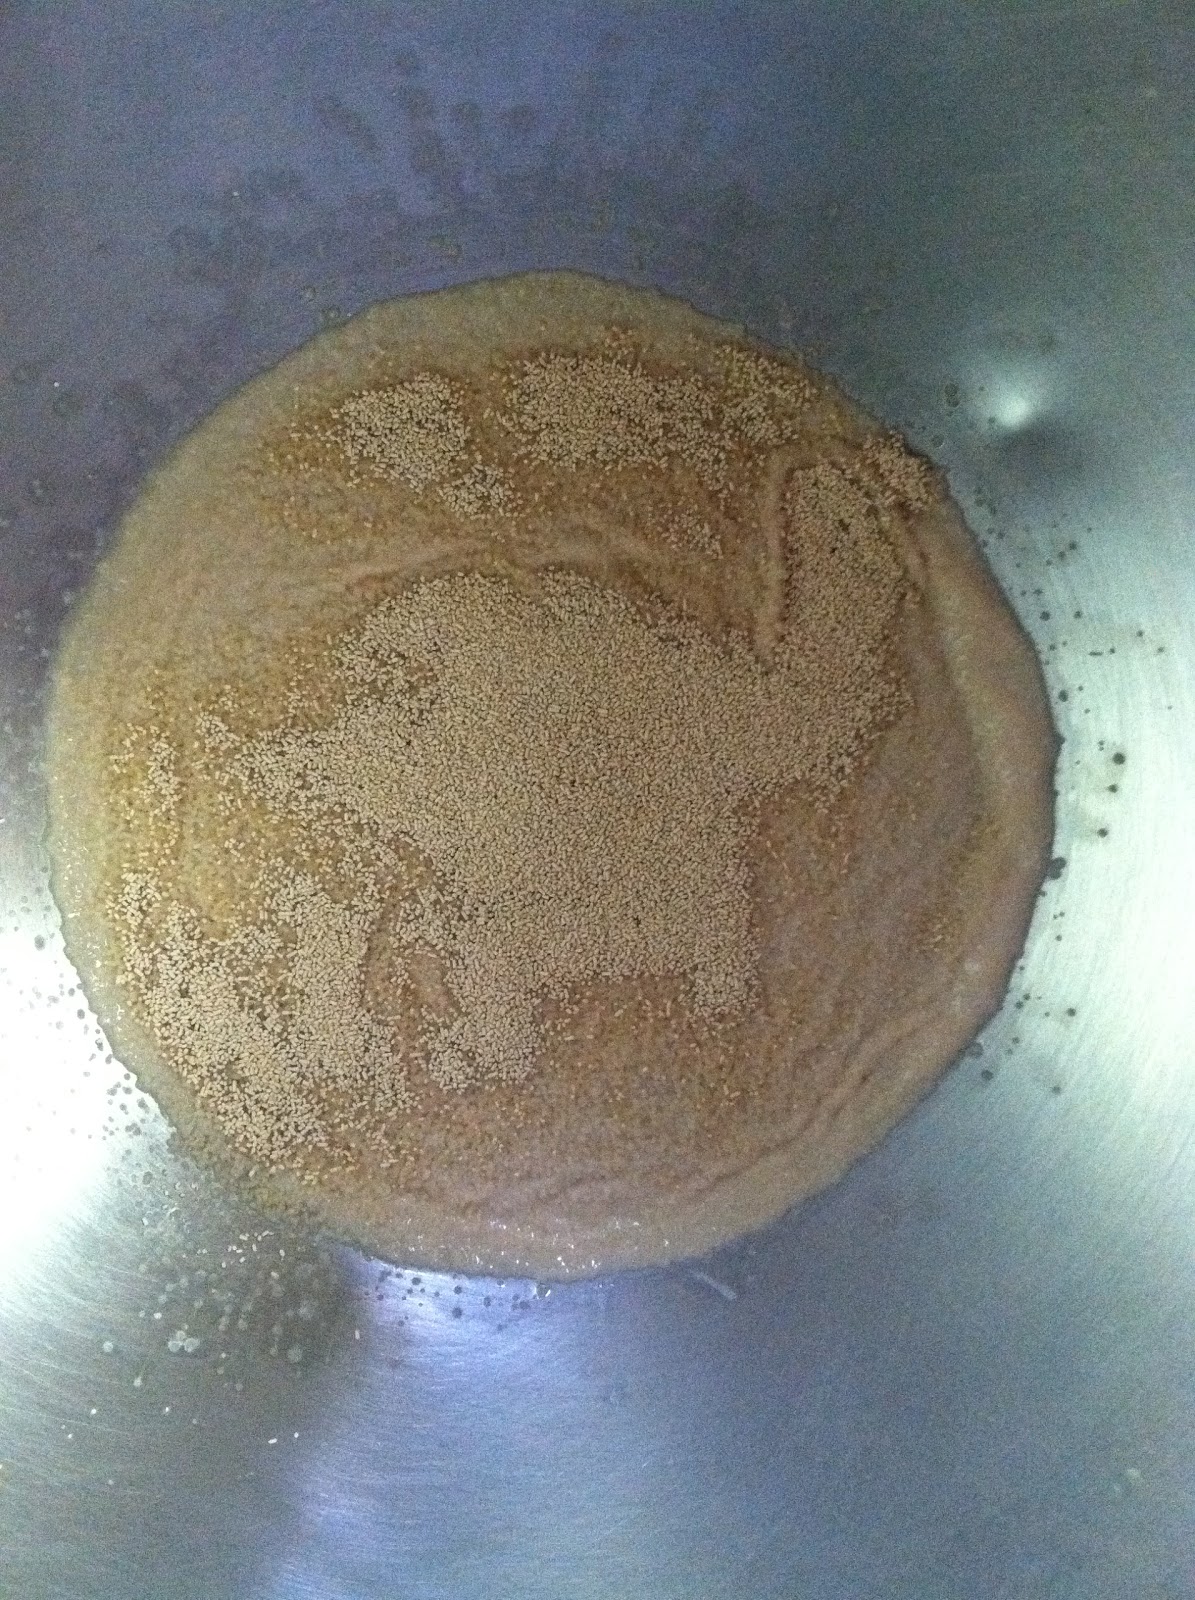
2. Warm the milk and add your yeast and sugar to one cup of it. Let it get all frothy. If it doesn’t get frothy, throw it out and start over. Either your yeast is bad or the milk is too hot. If you can’t stick your finger in the milk comfortably, it’s too hot.

3. When your yeast mixture is frothy, add it to the flour, salt and thyme. Add the rest of the milk too.
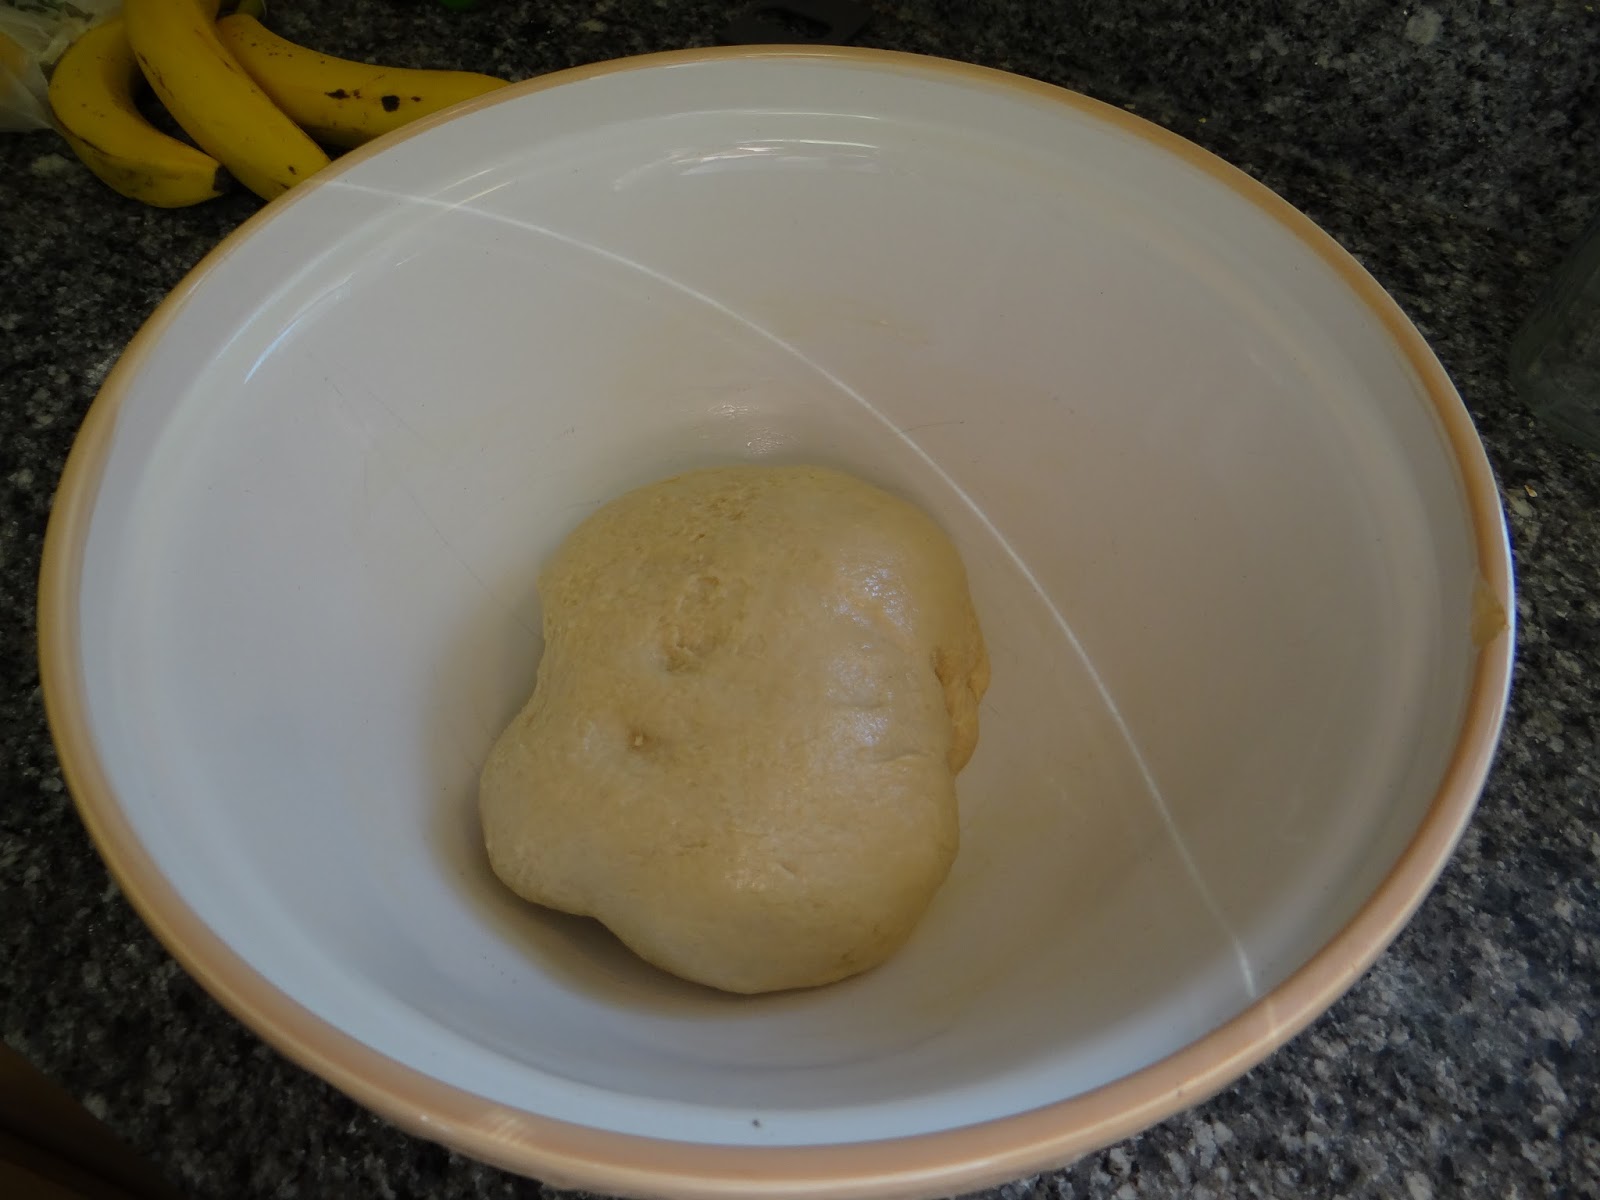
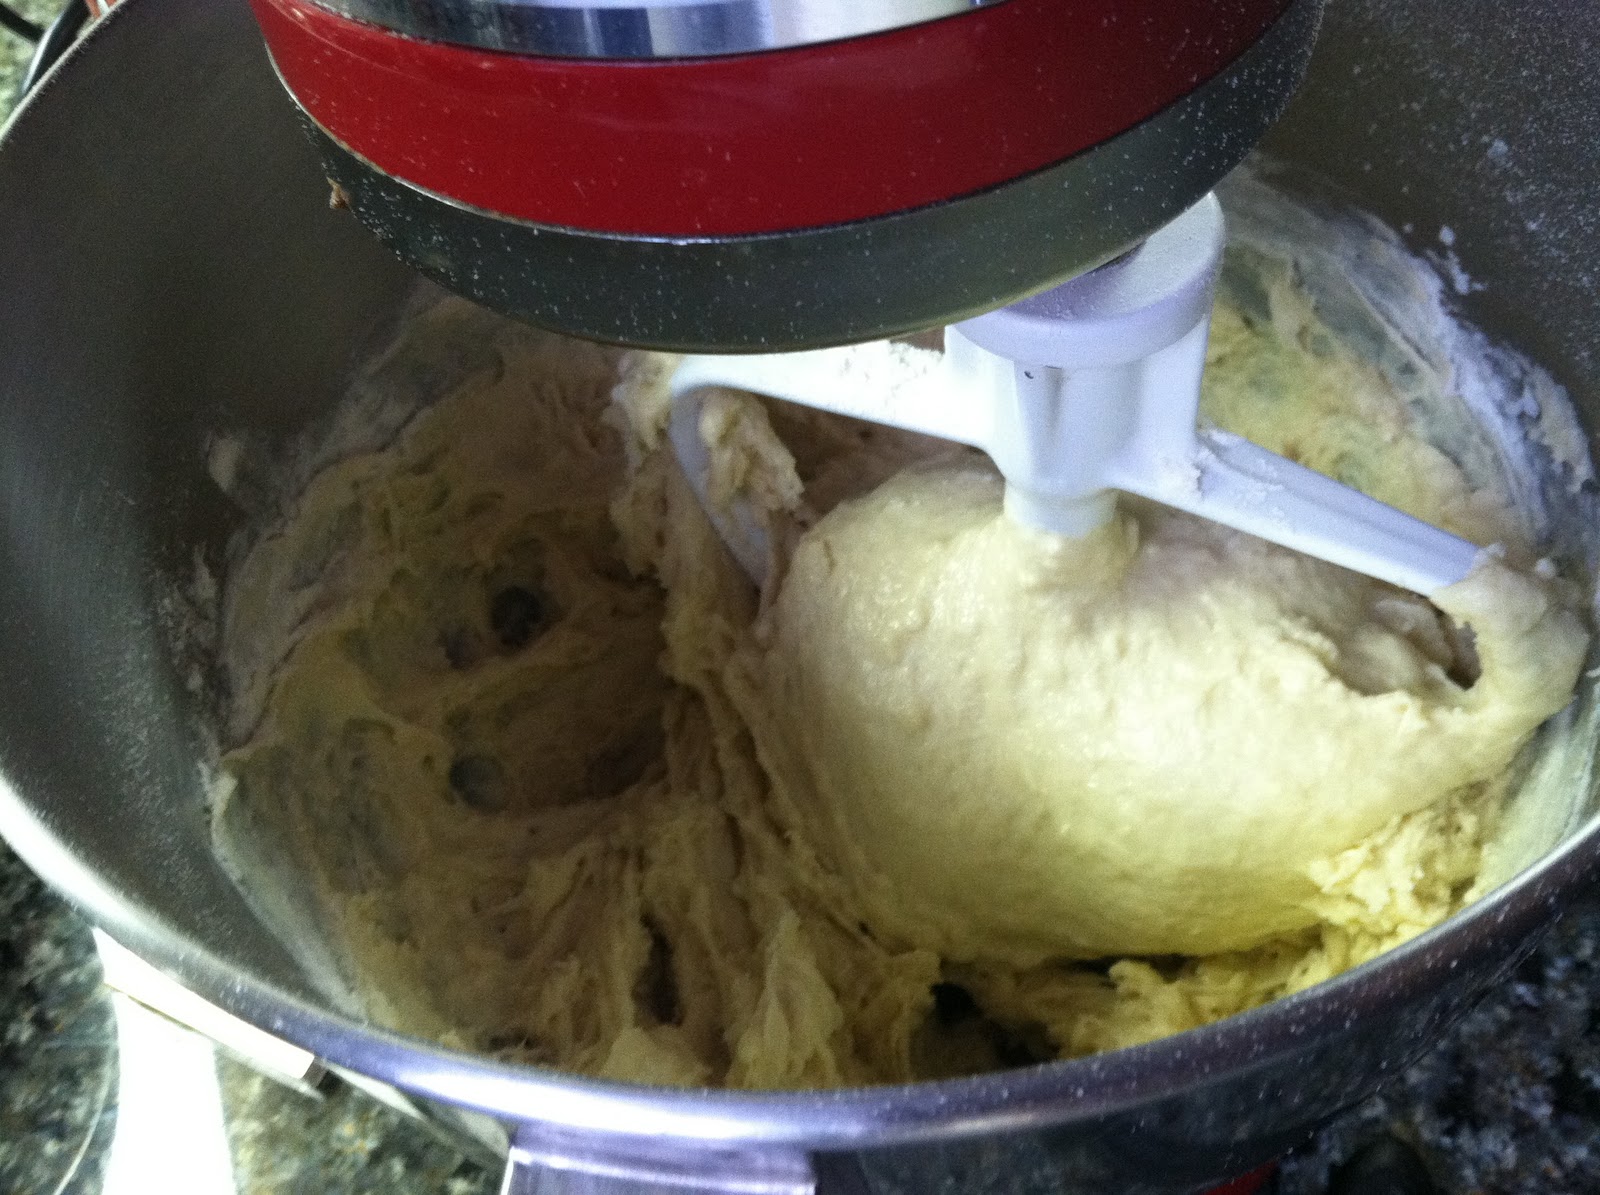
4. Now add the eggs, one at a time. Your dough should be really, really wet and sticky.
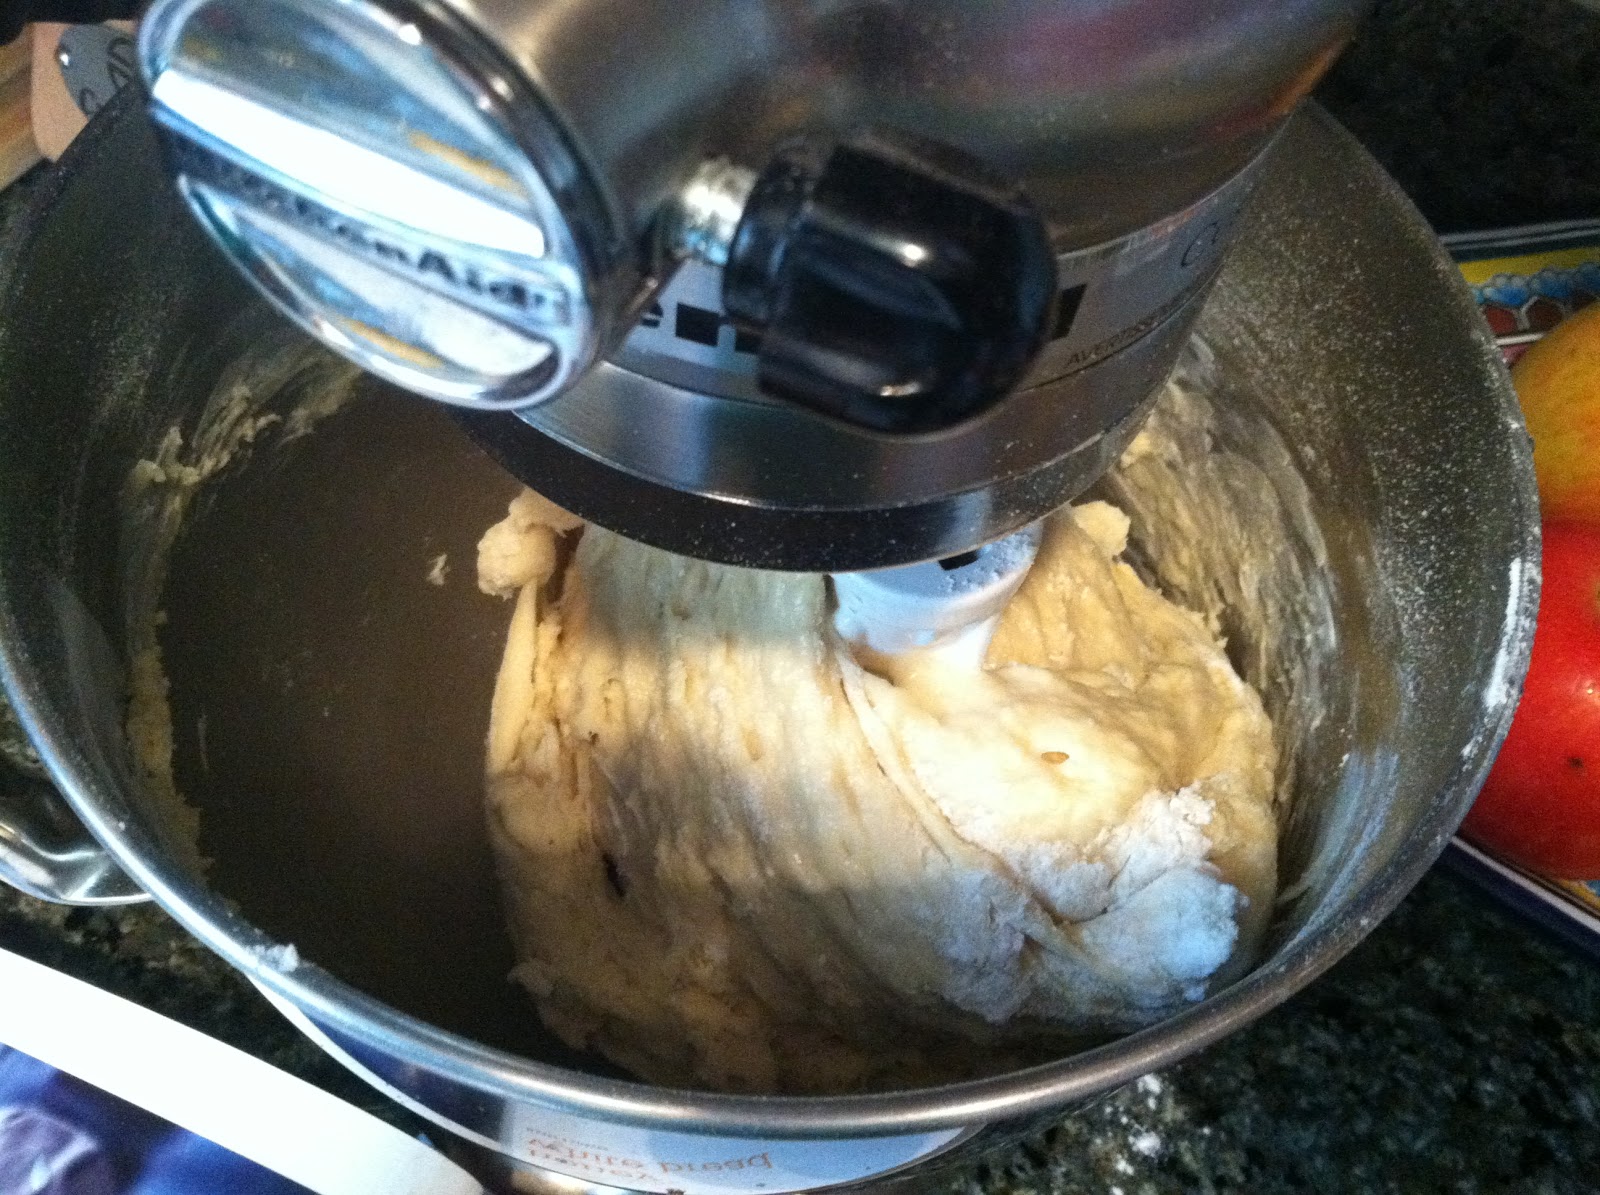
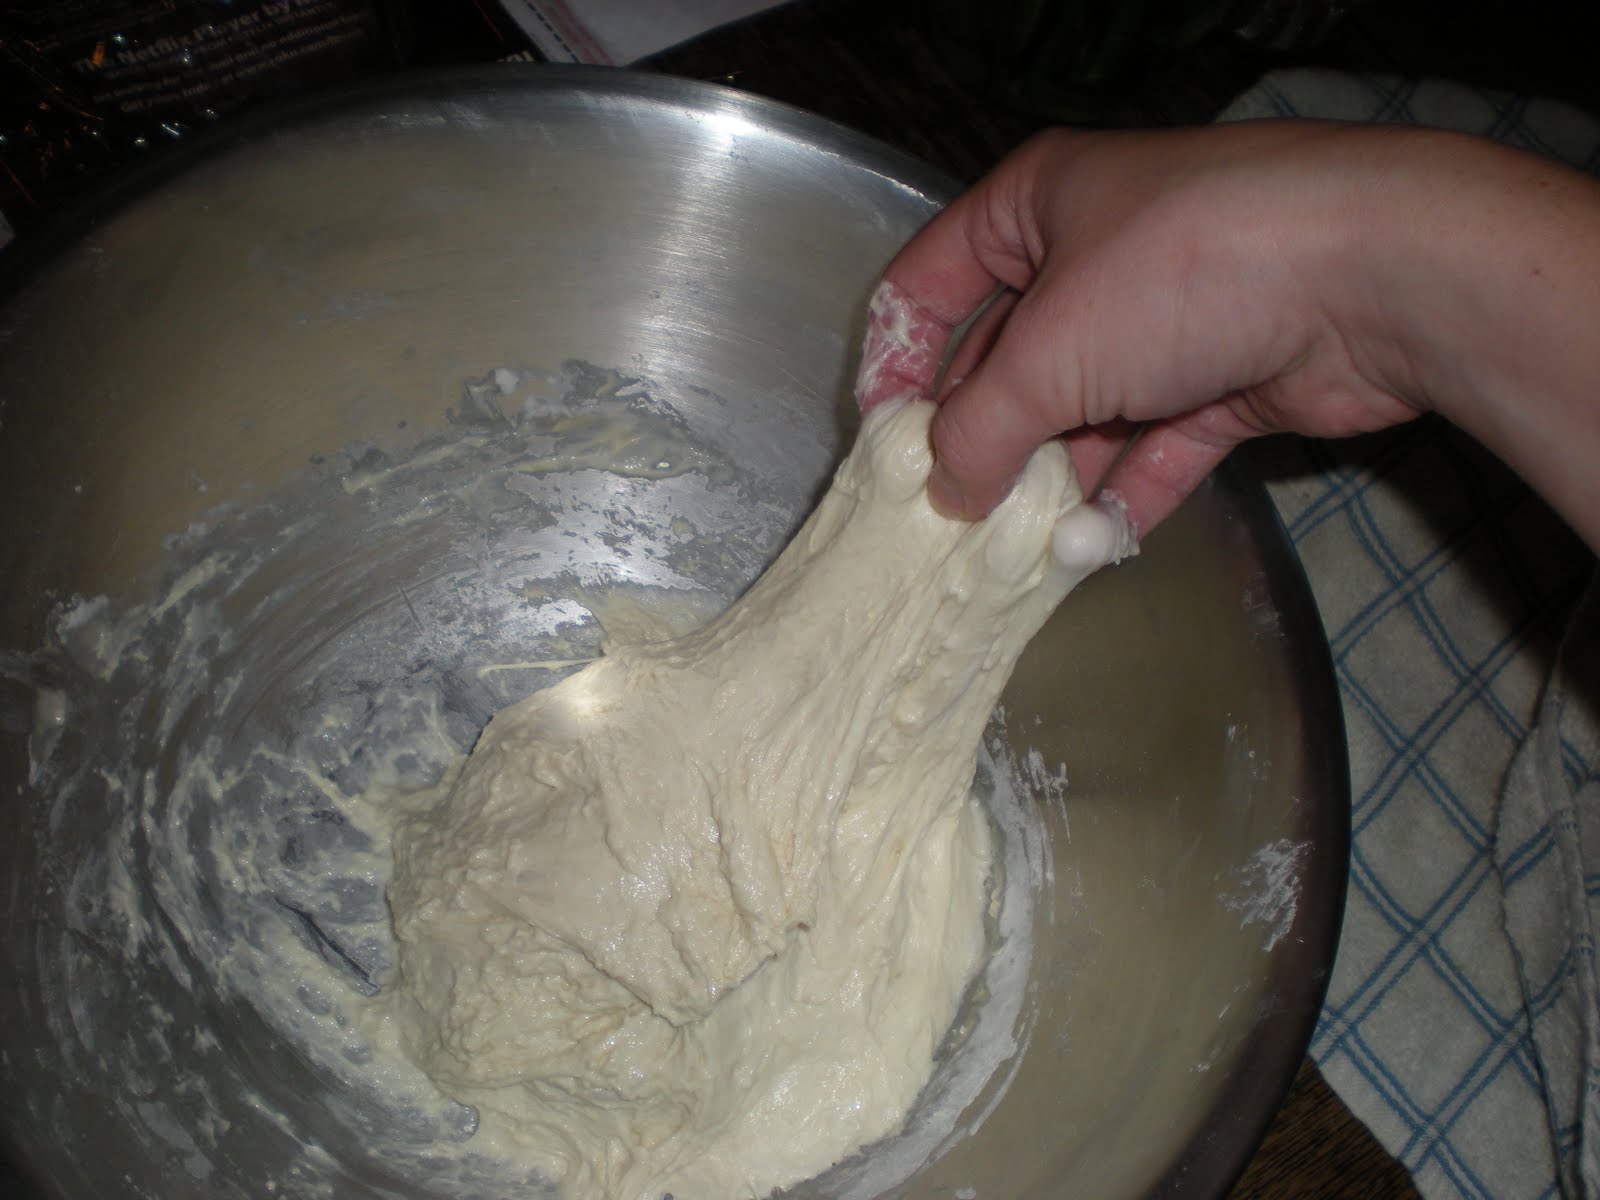
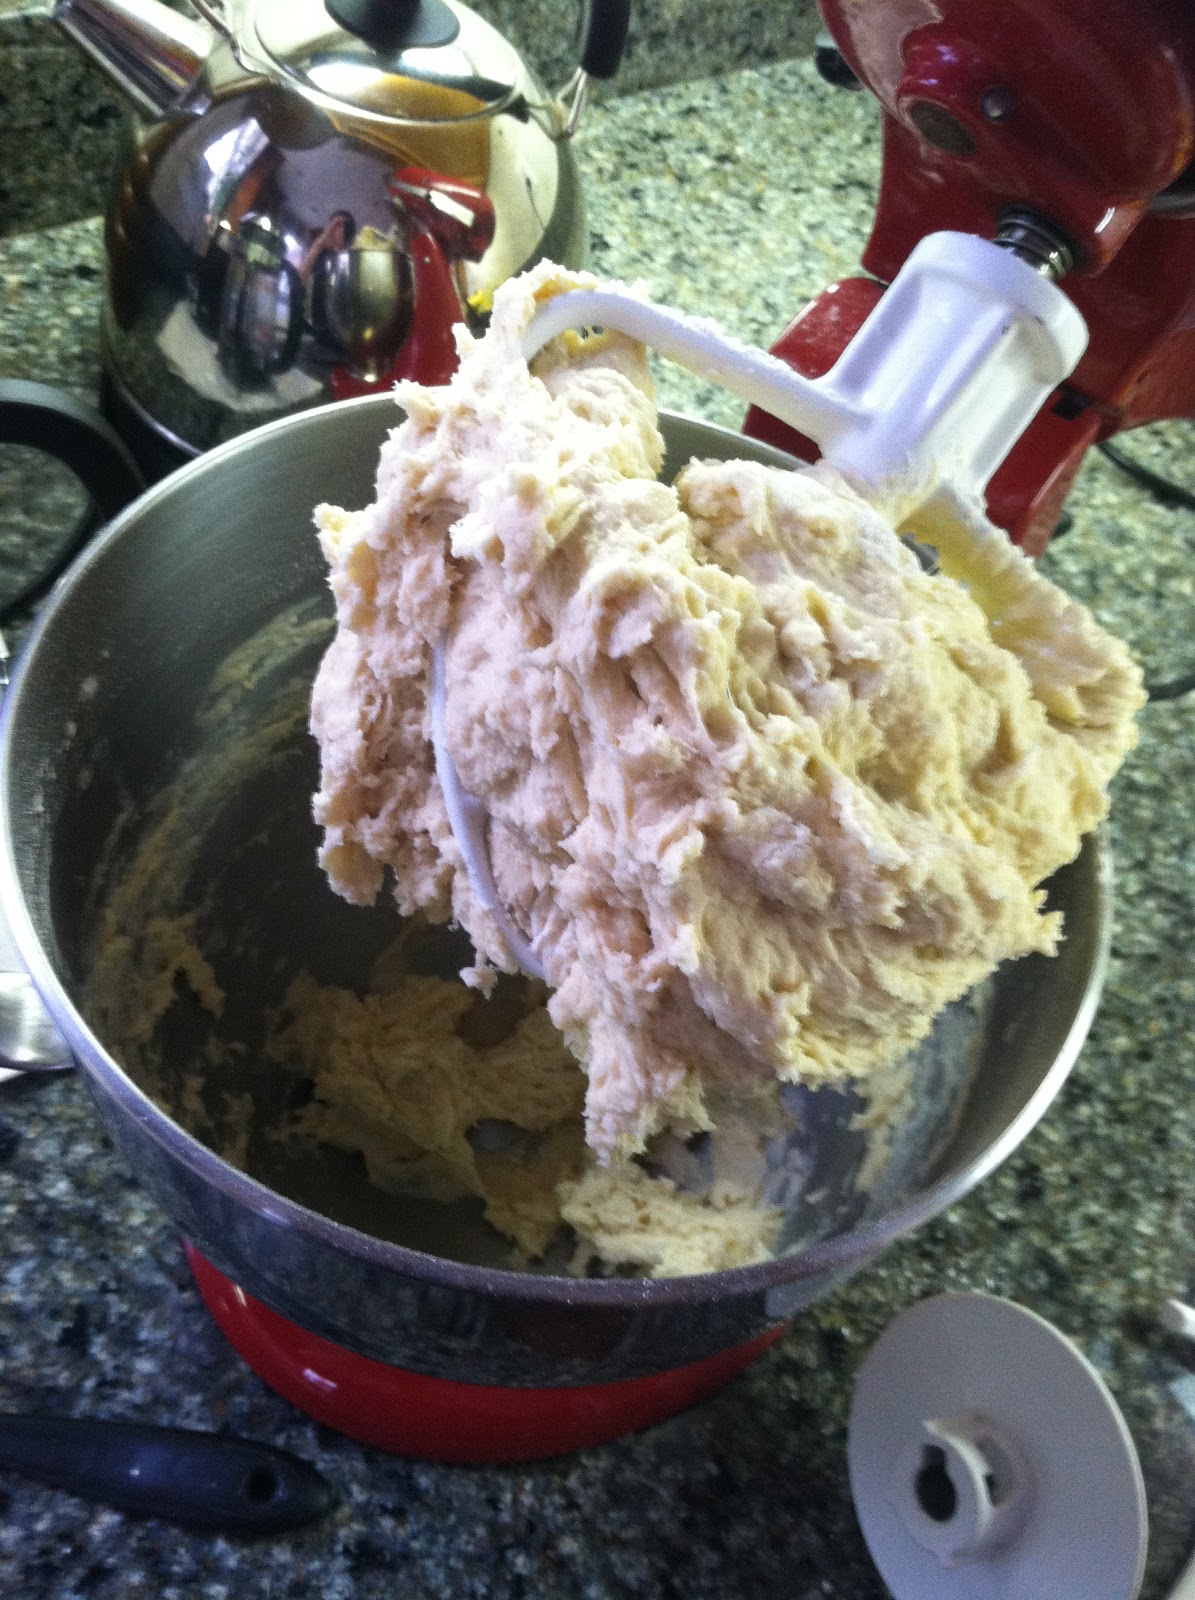
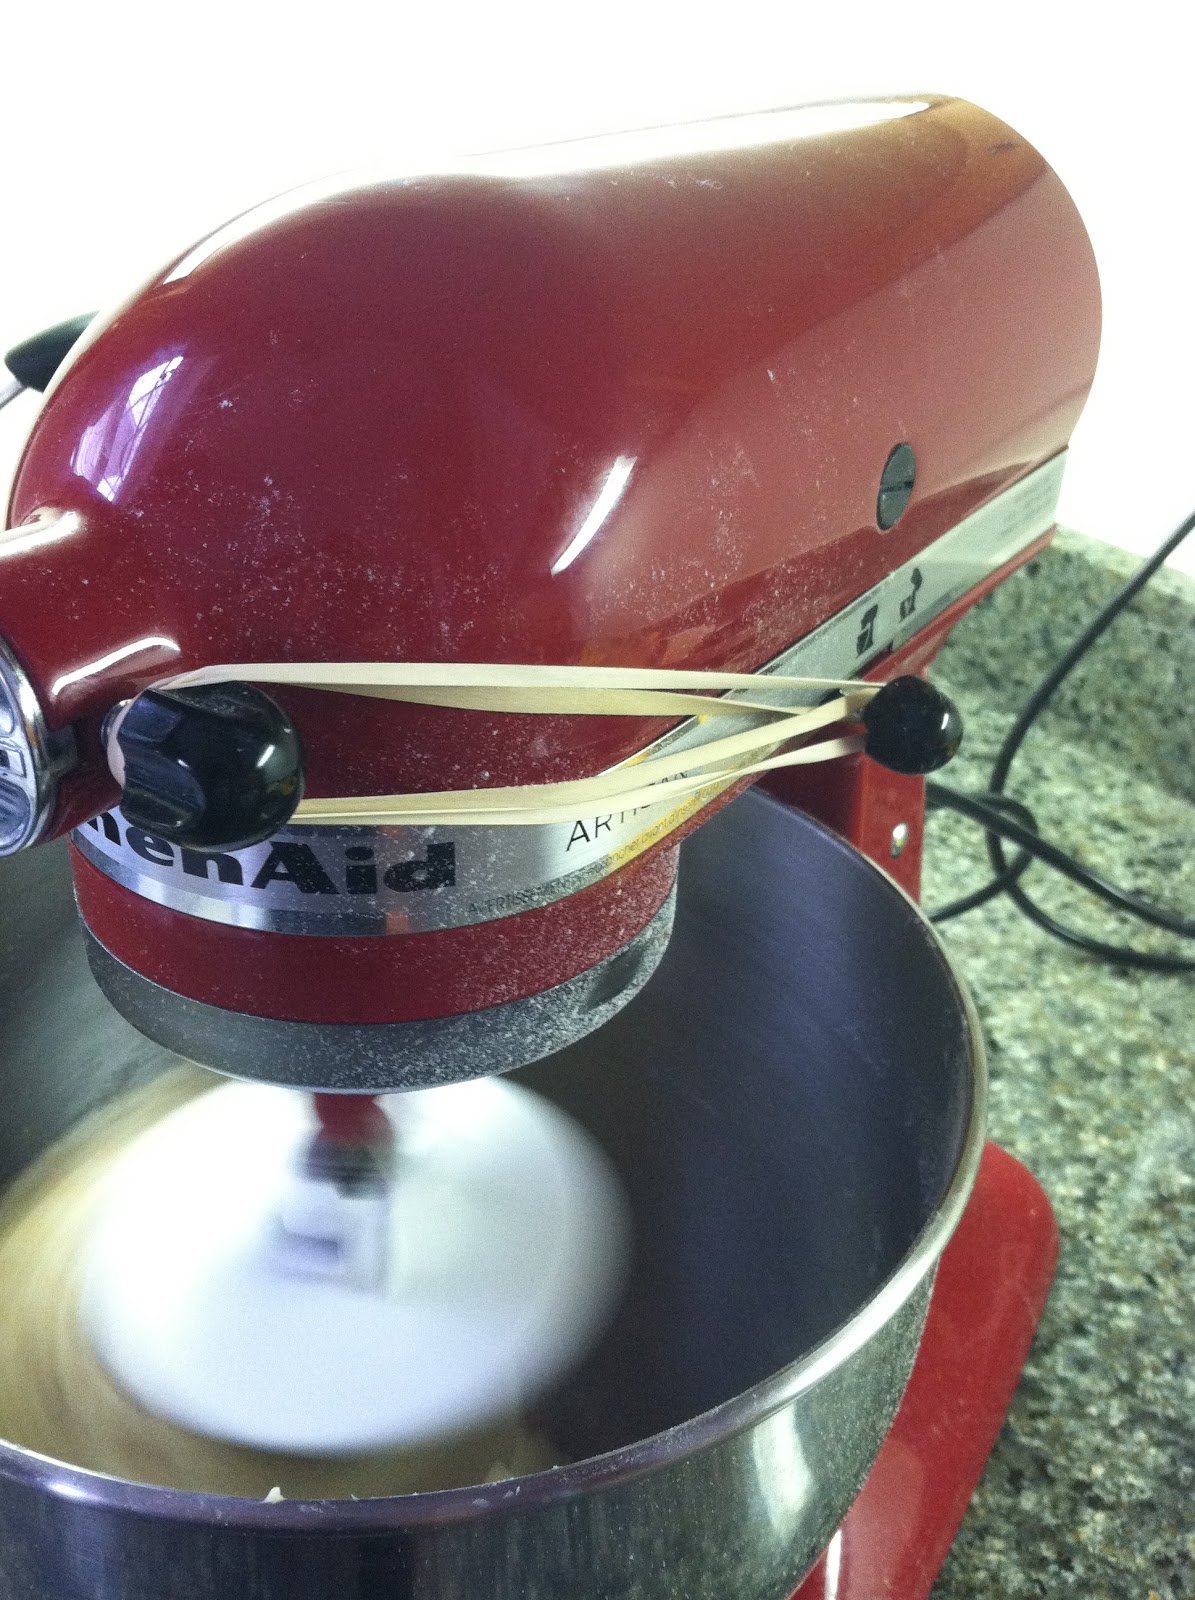
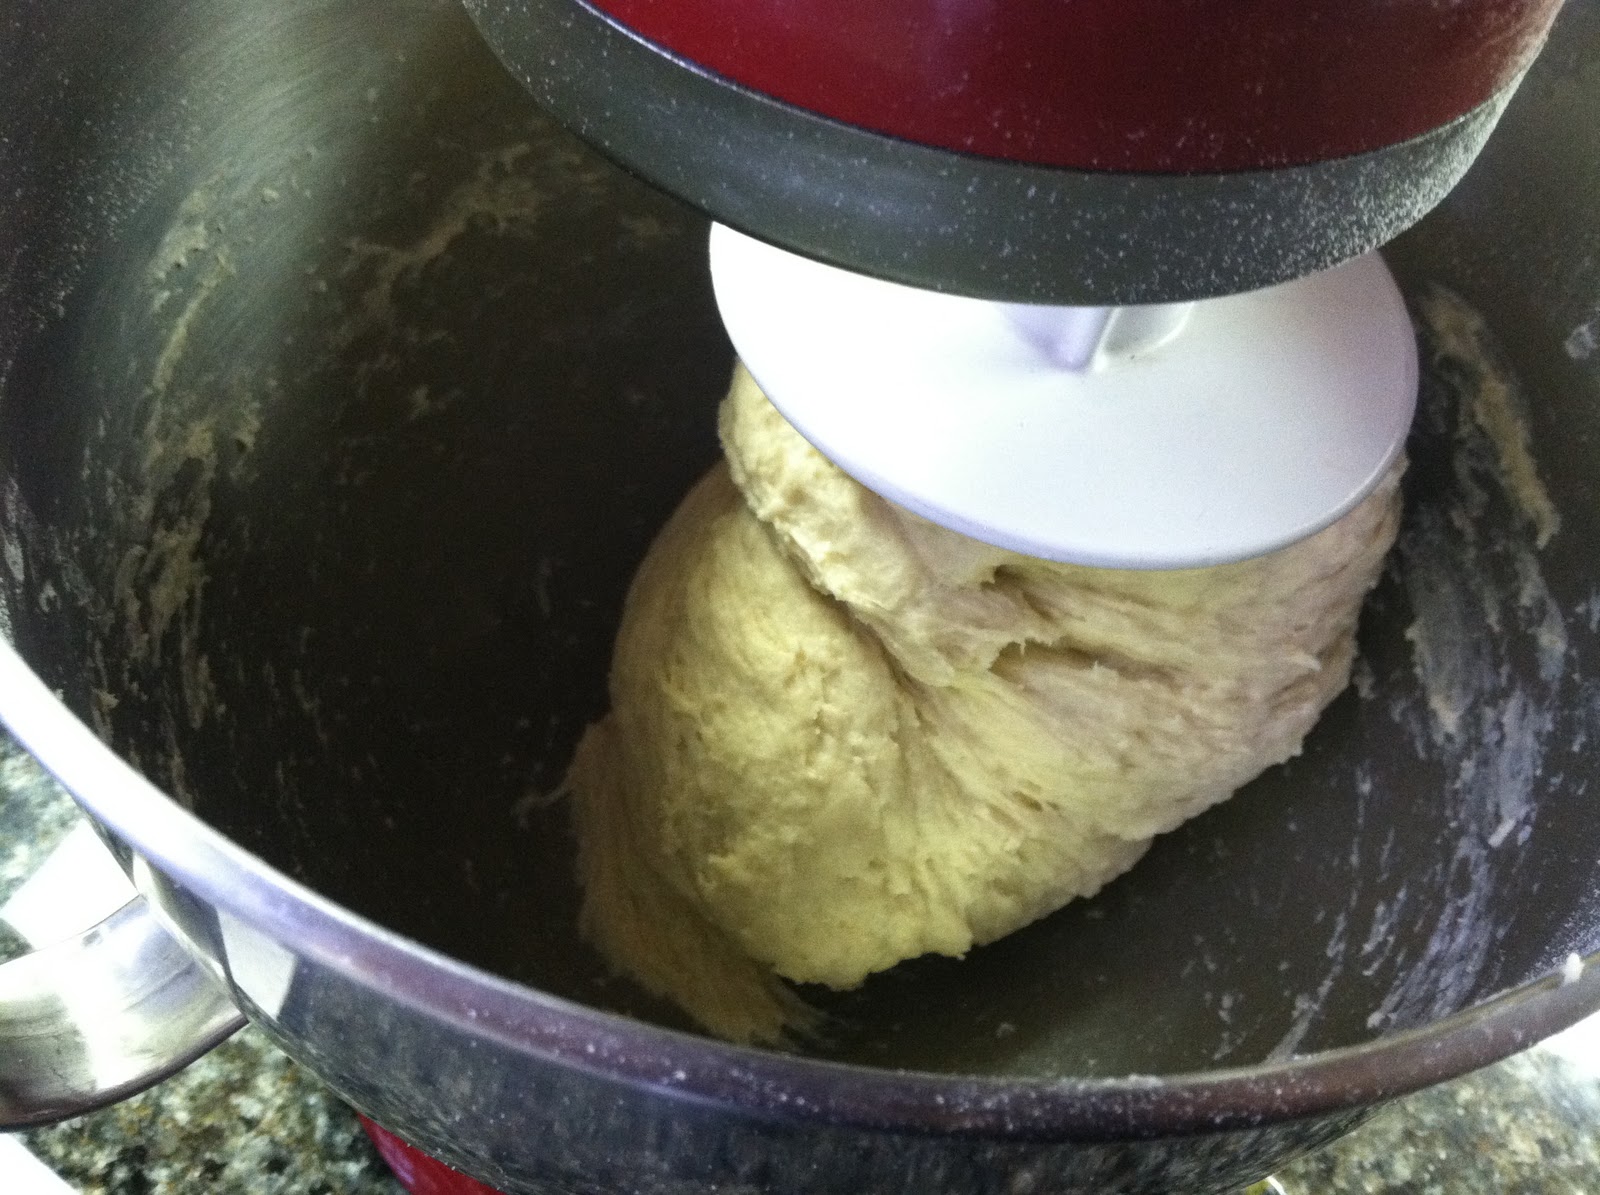
5. Switch to the dough hook. Knead on medium for 10 minutes. At this point, my dough looked more like batter and it was super sticky. Clearly, the dough hook wasn’t doing it. And given the high hydration of this dough I was going to have trouble kneading it. Problem was, the dough also has a lot of yeast, so it was going to rise quickly. I decided to use my secret weapon for wet doughs: the stretch and fold technique.

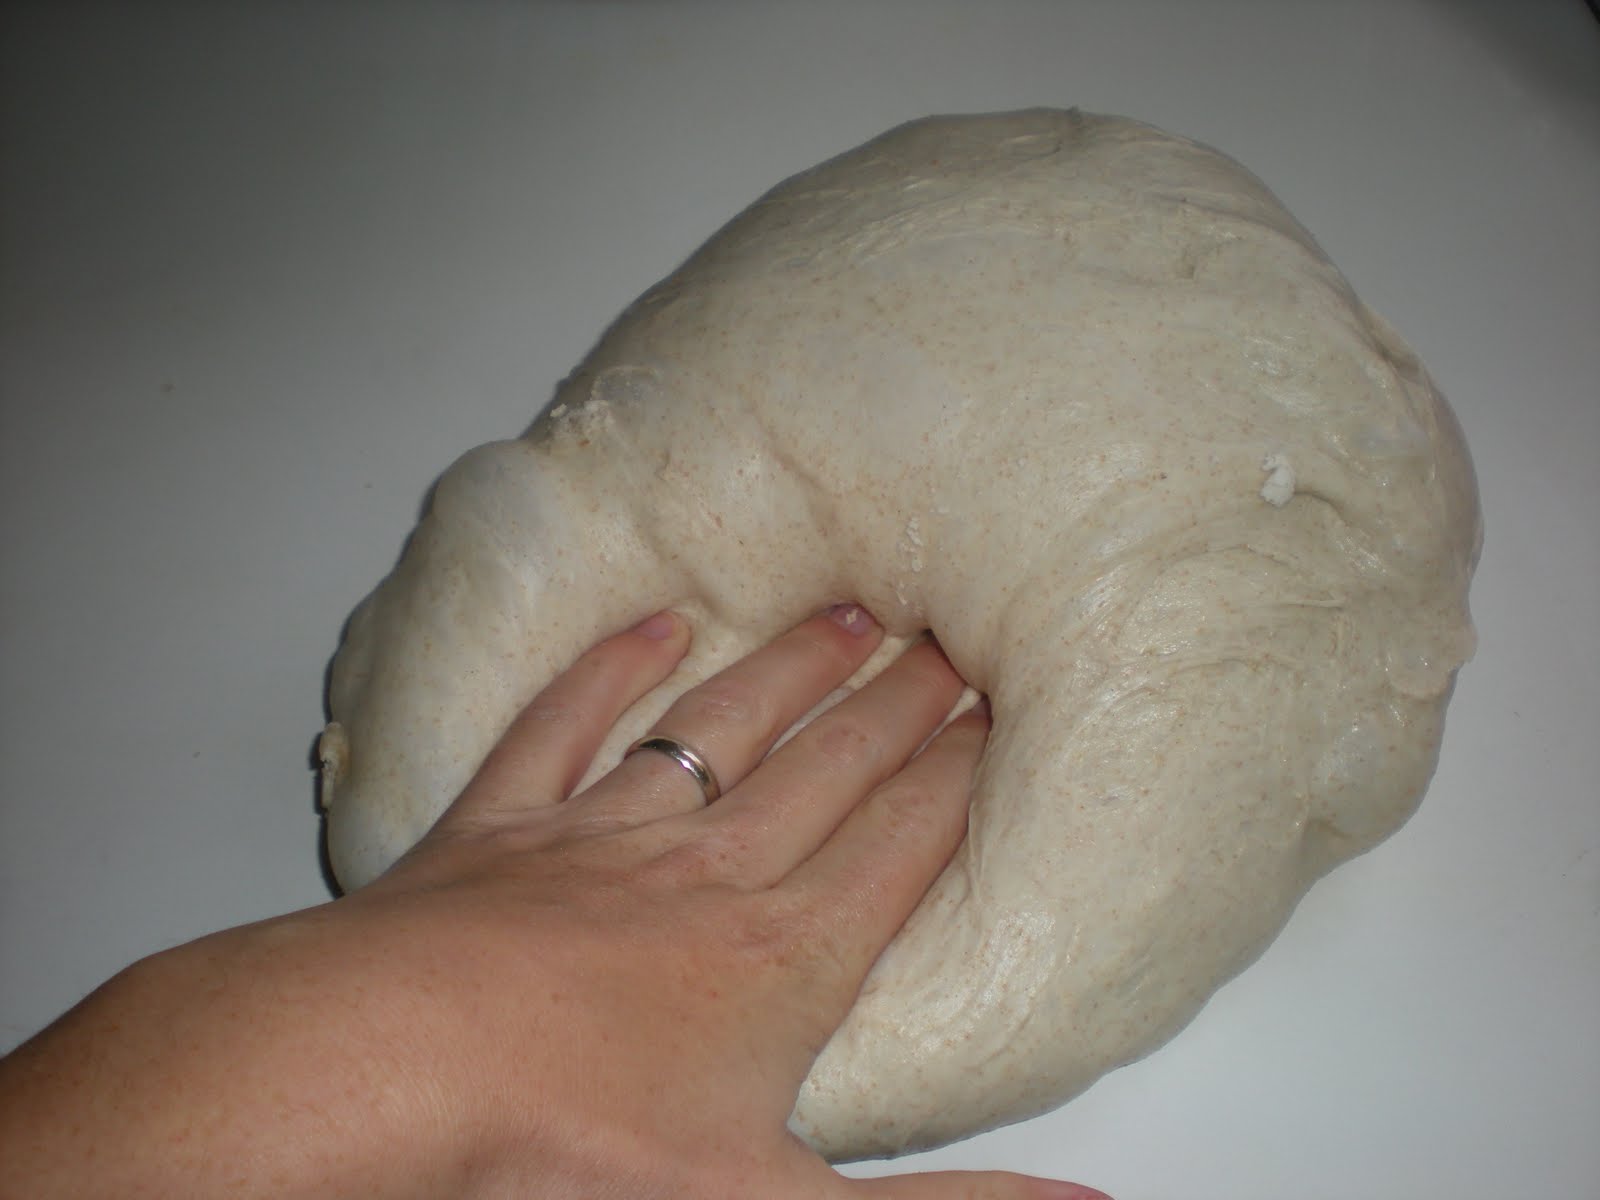
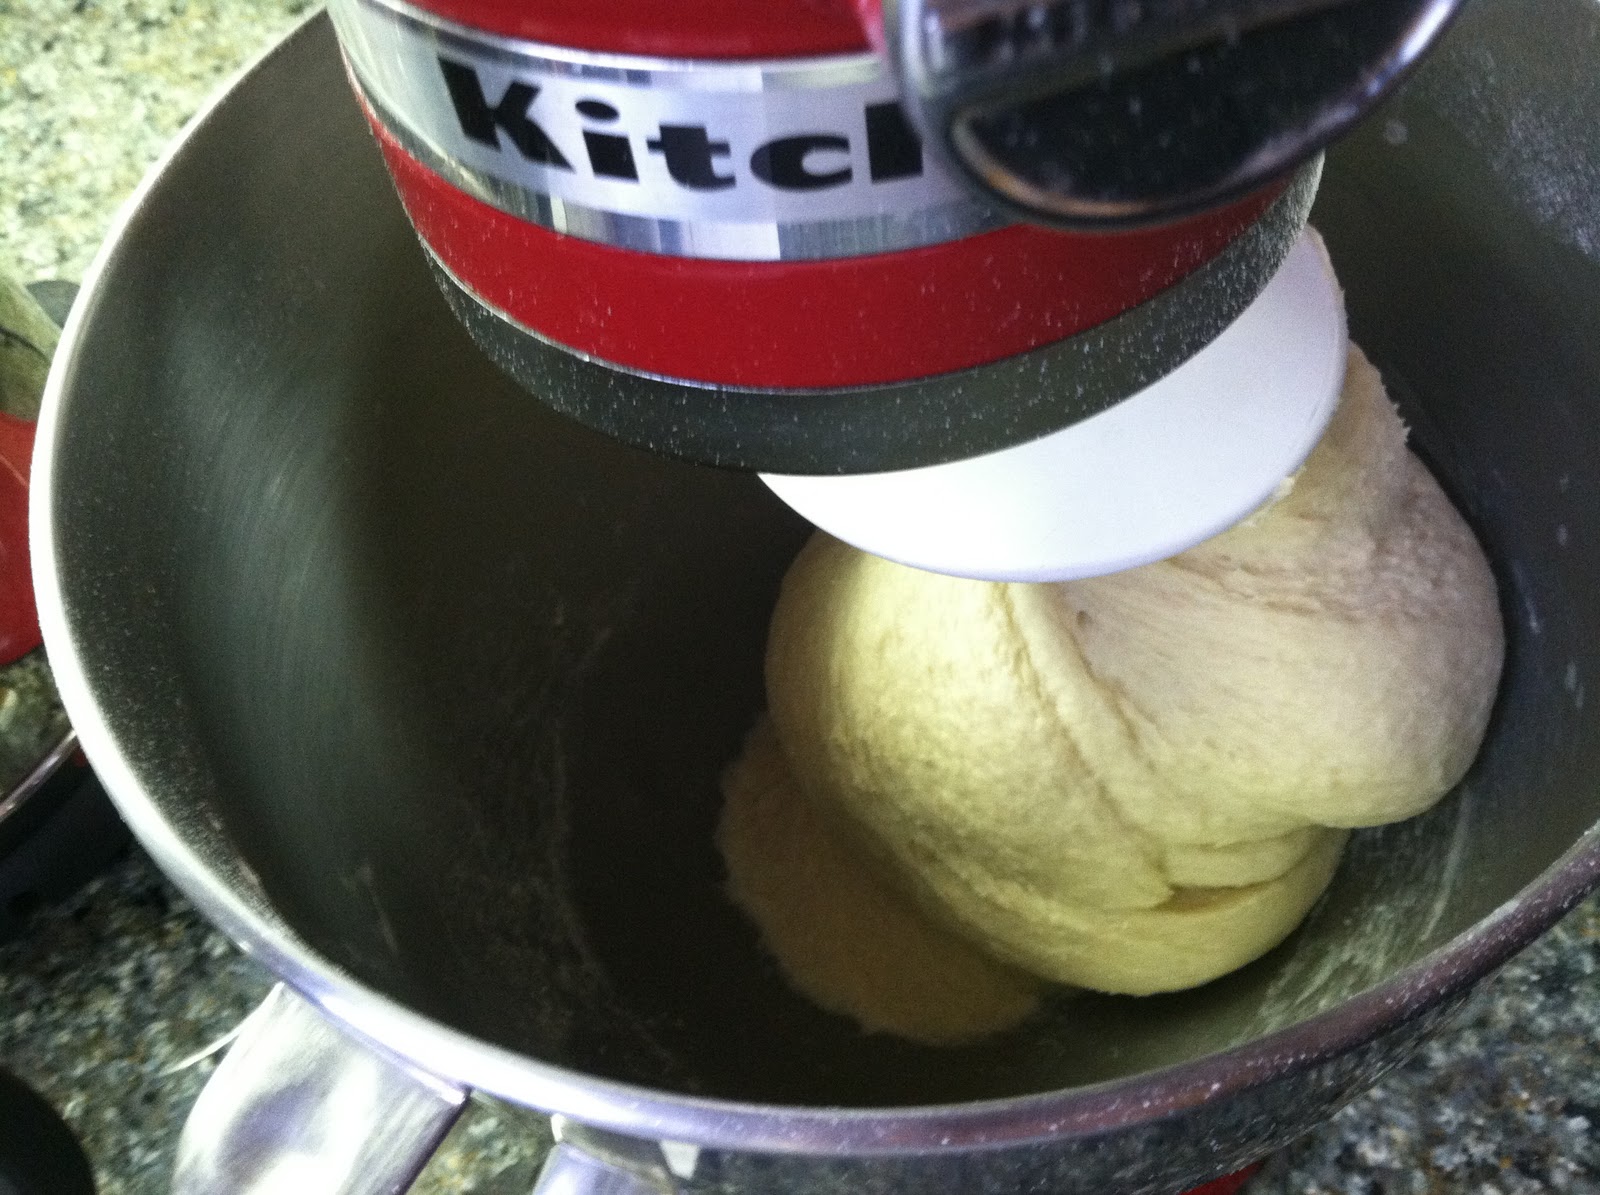
6. I buttered a very large bowl and removed the dough from the mixing bowl into the large buttered bowl. With clean dry hands, I took one side of the dough and stretched it gently, then folded it on top. This step takes the squiggly gluten strands that have been created from the interaction of flour and water and stretches them out, so they start to provide a structure for the dough. Do four stretches, rotating the bowl each time so you are stretching out and folding over a different corner.
Here’s a video of the process:
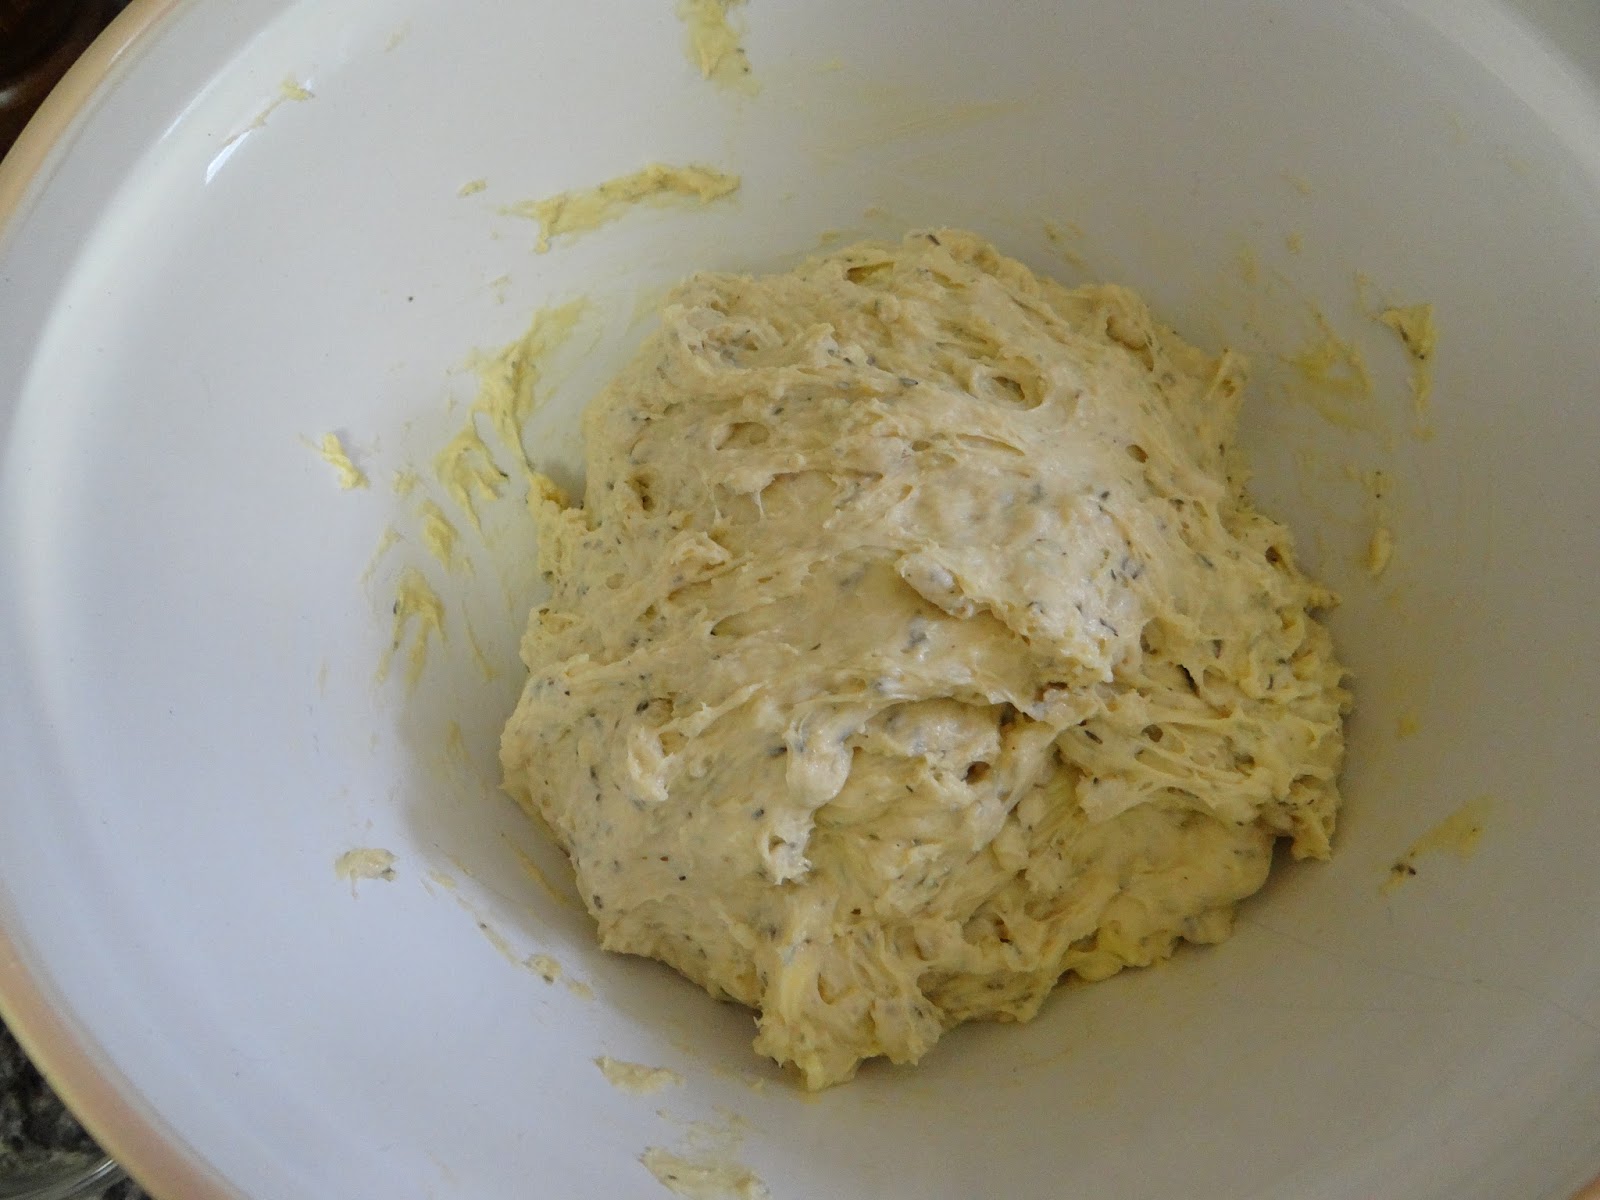
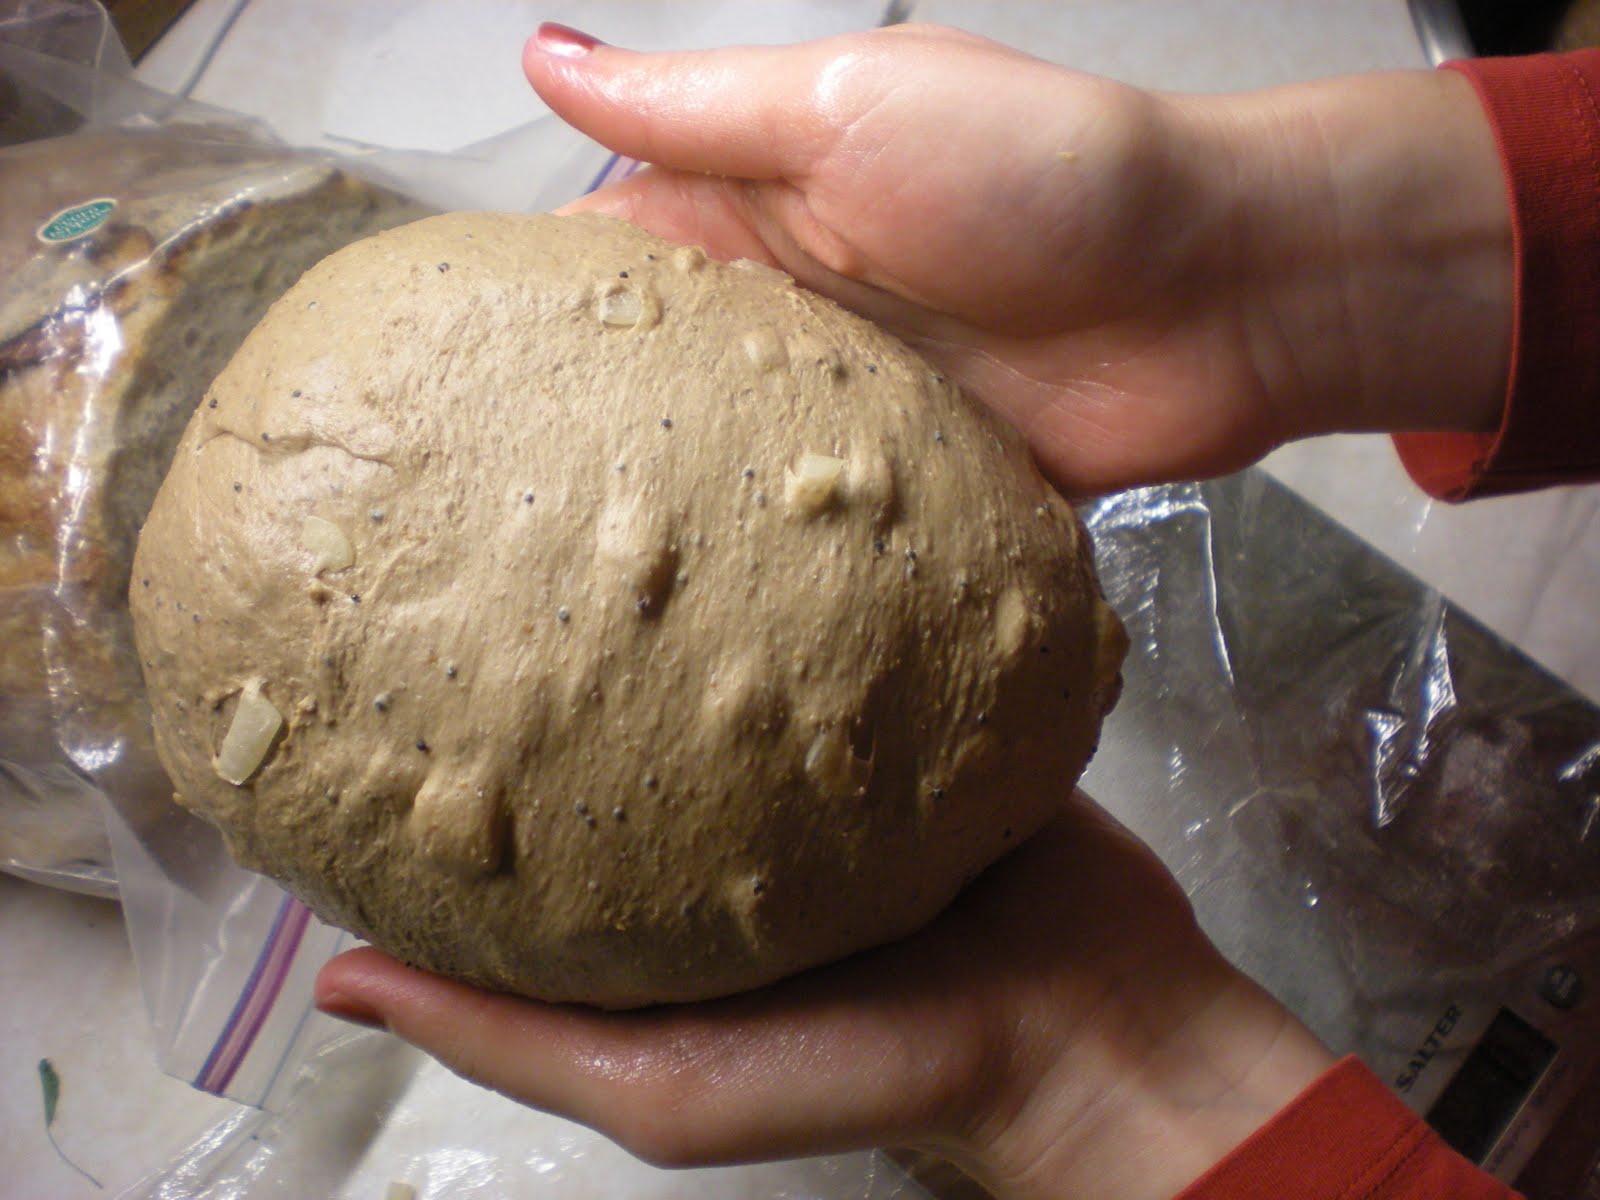
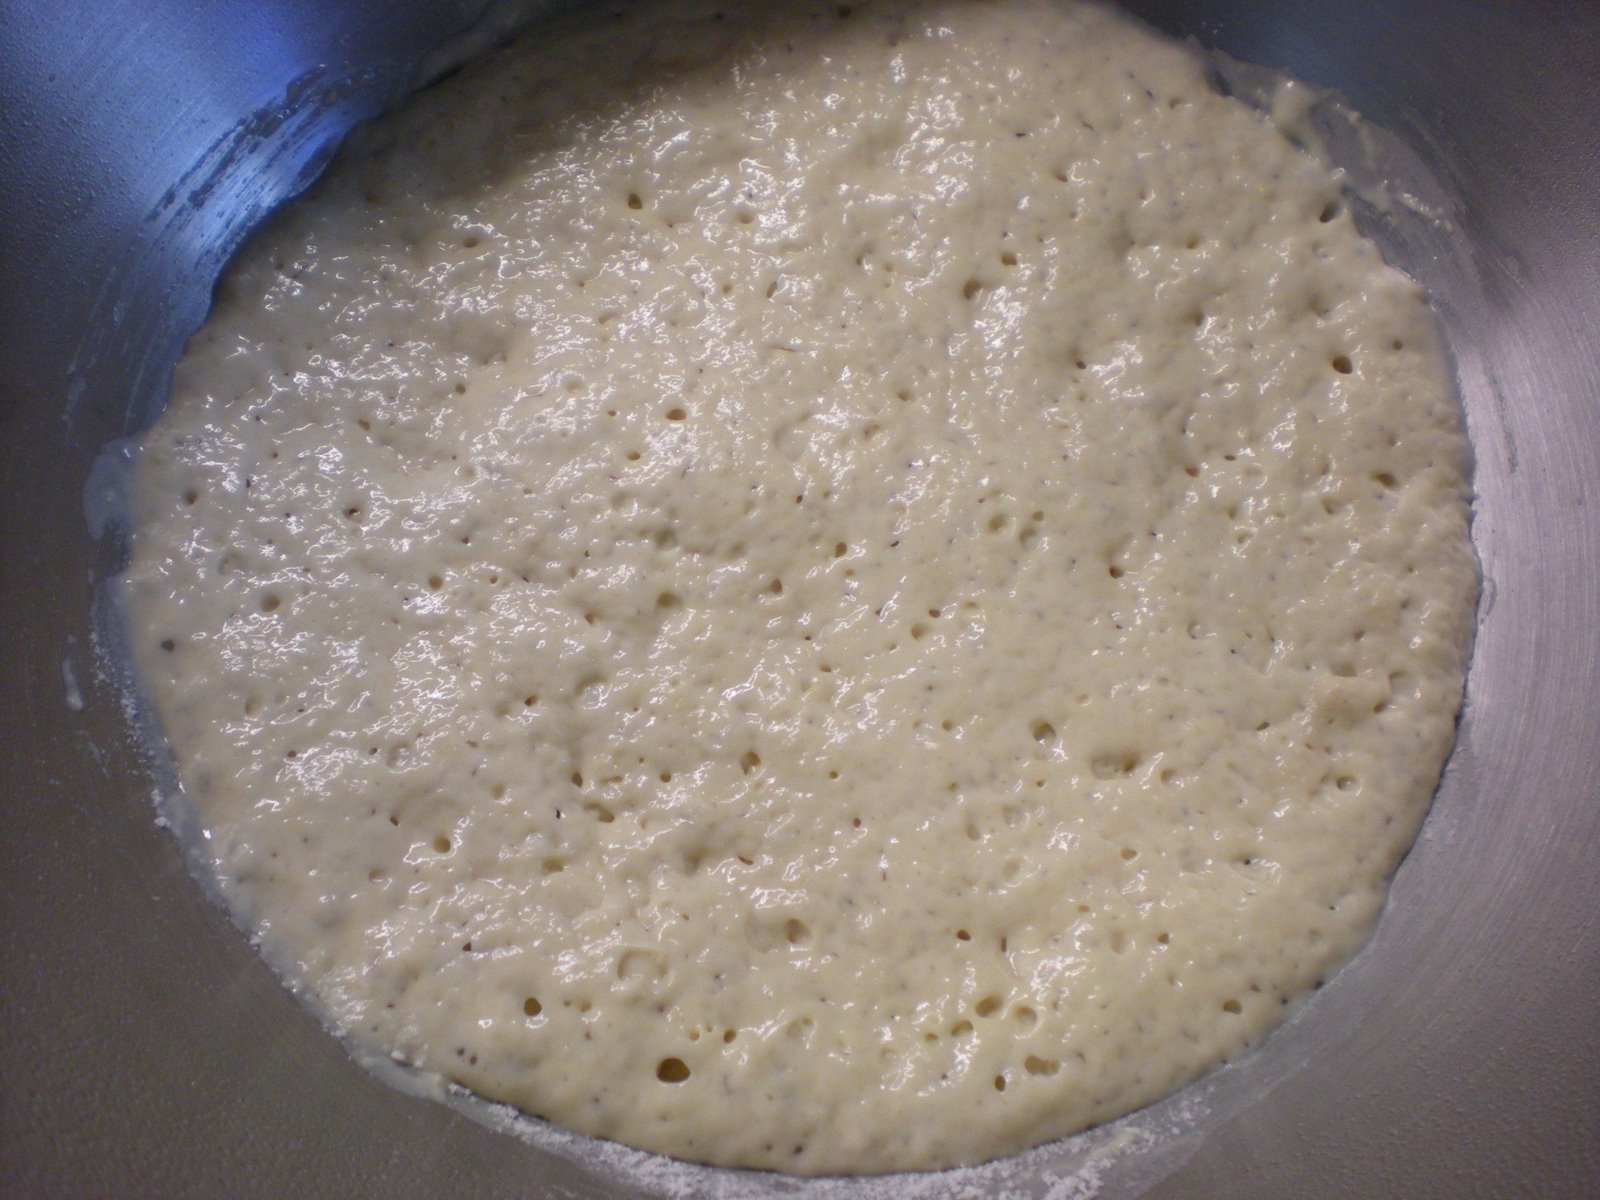
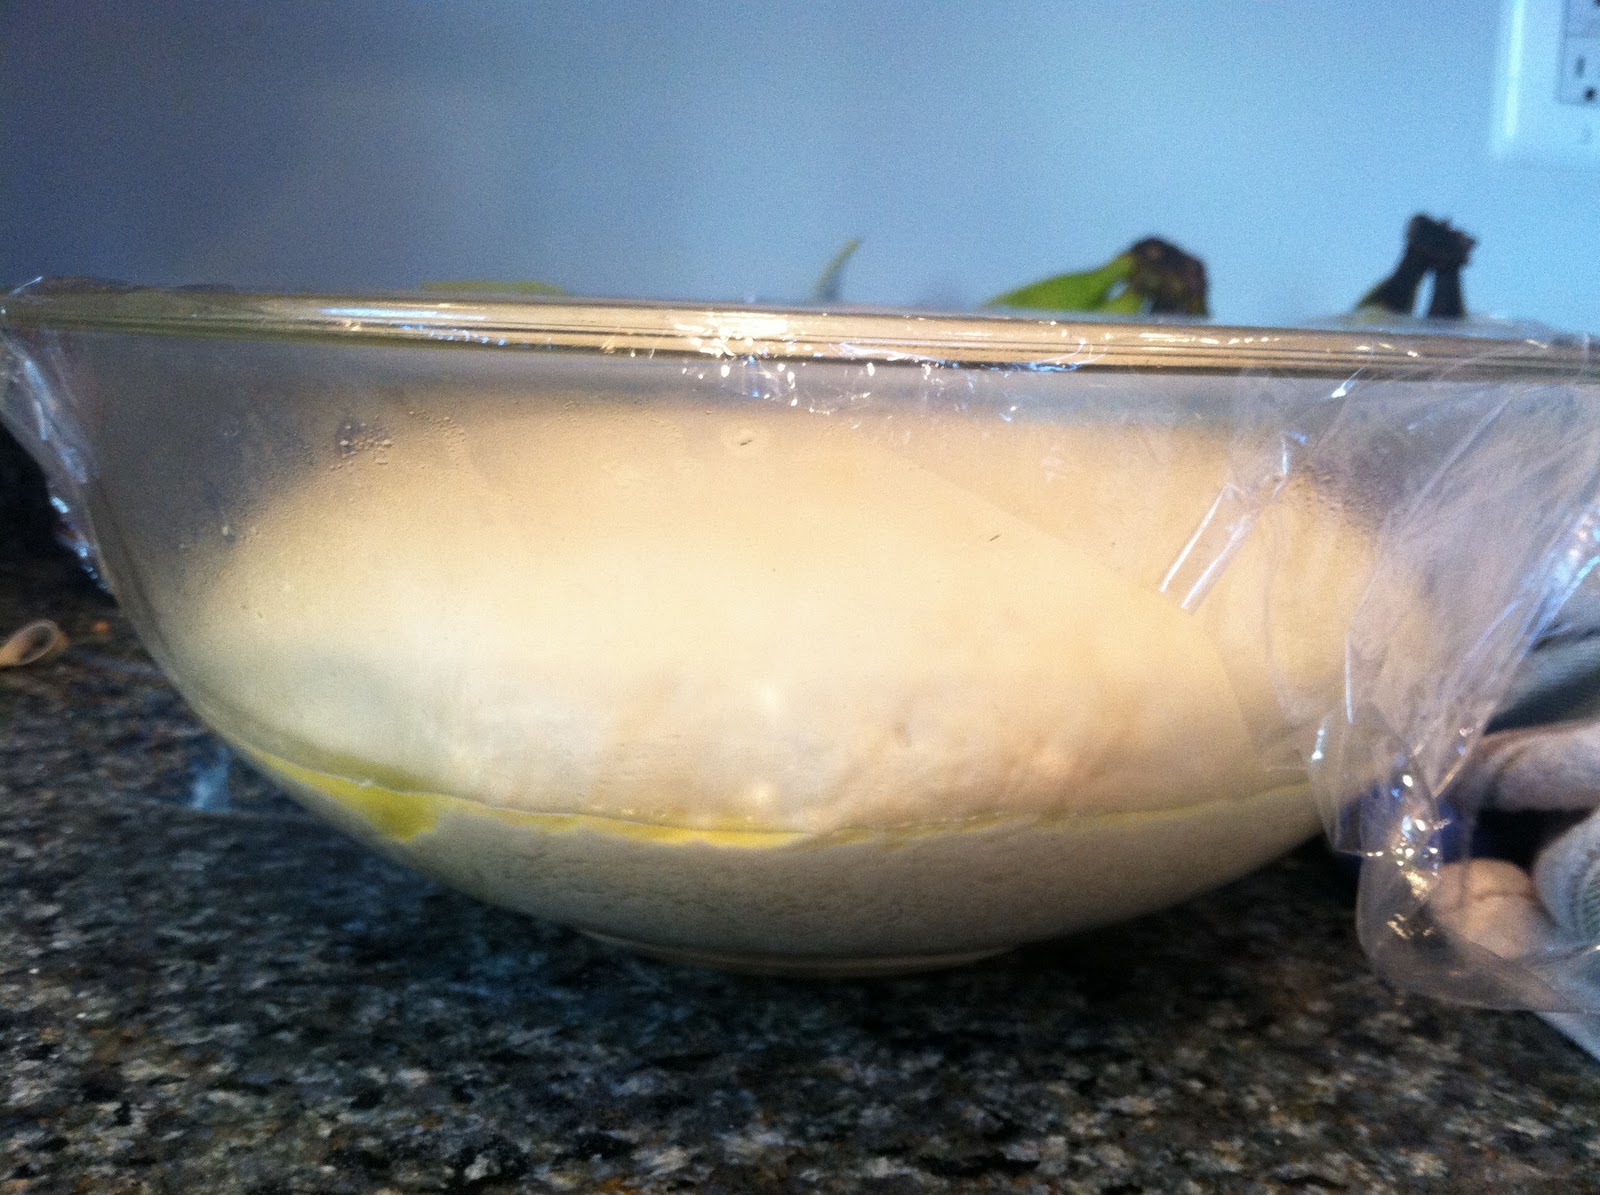
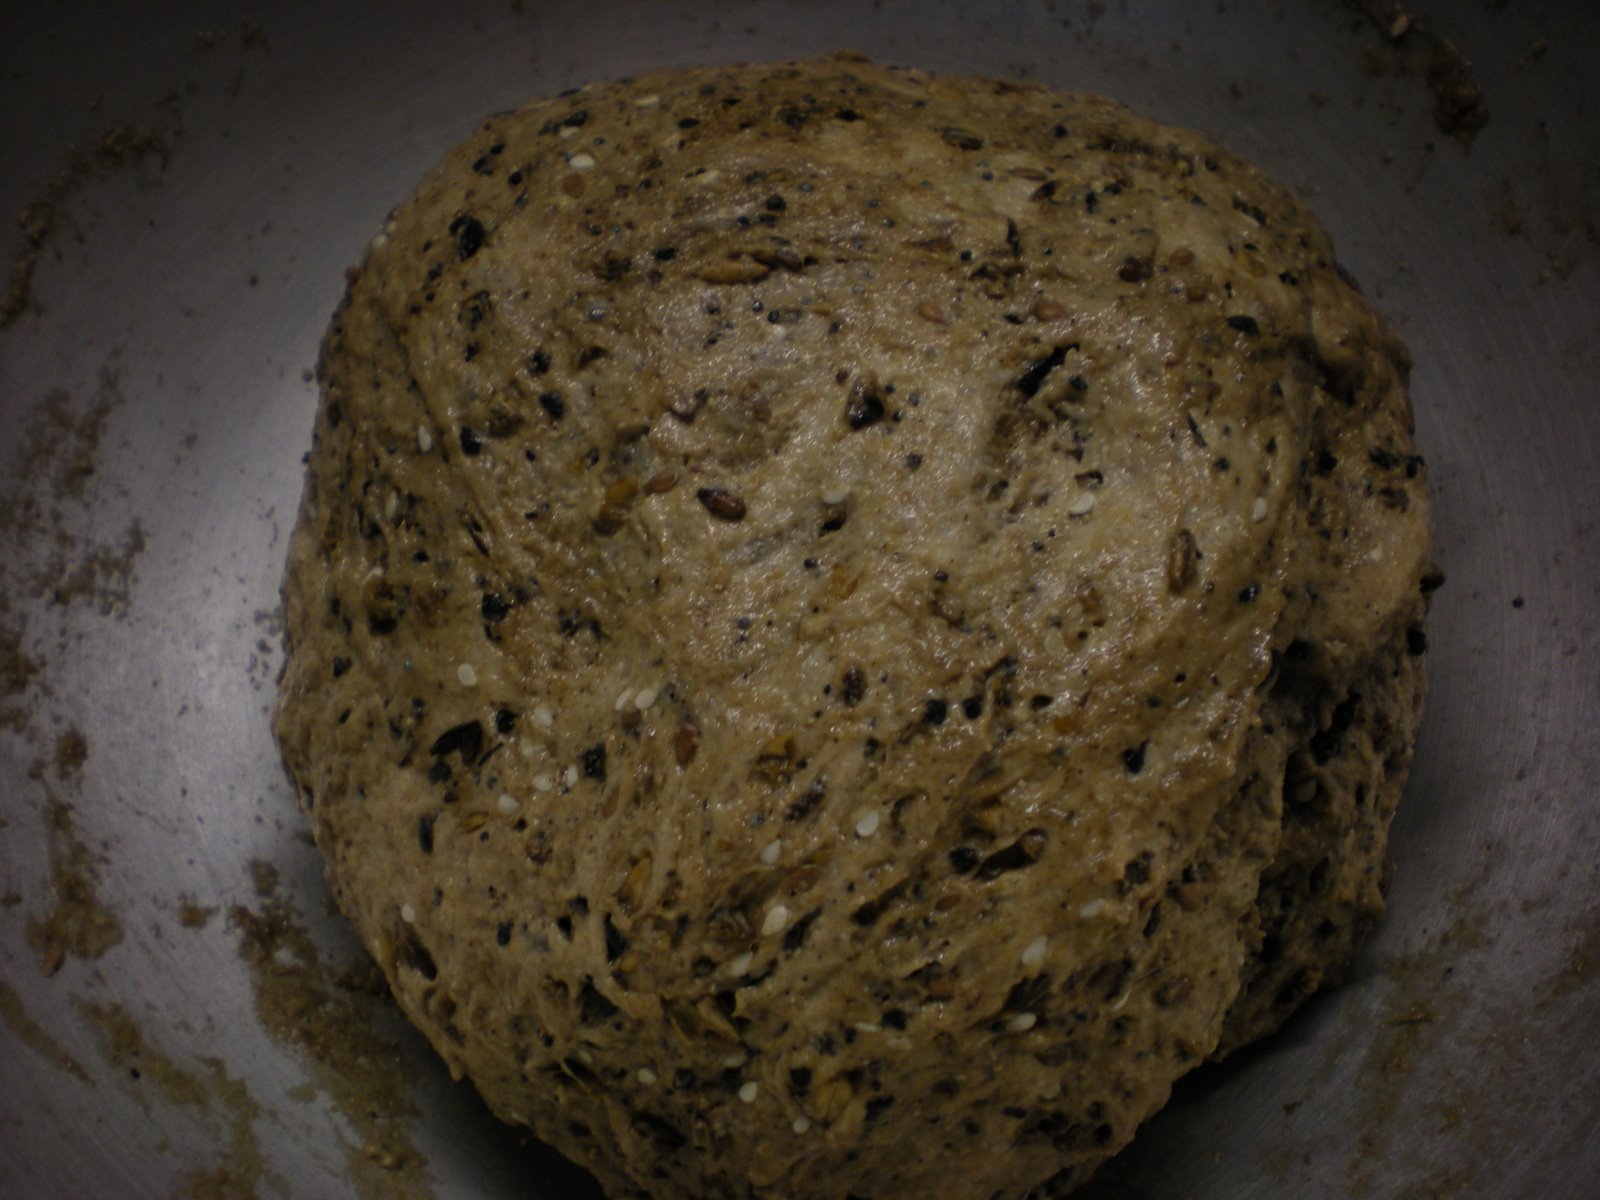
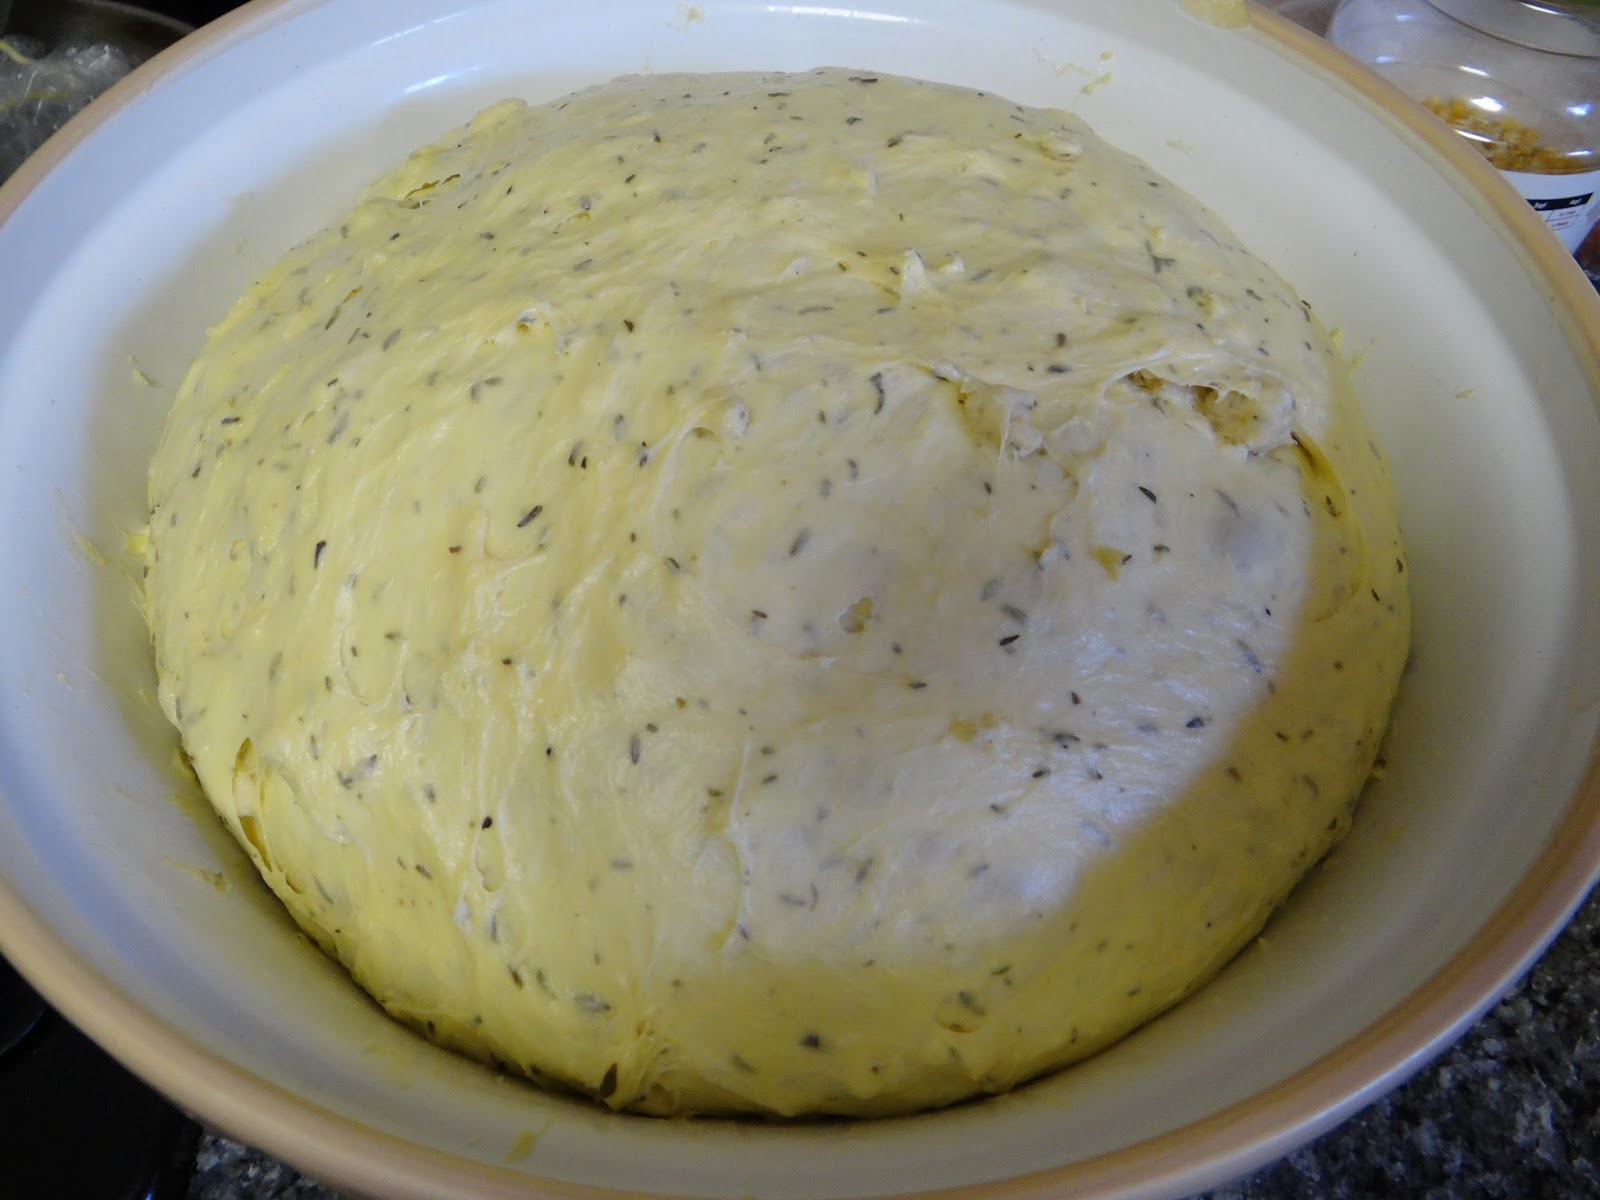
As you can see, even after only four stretches, the dough is starting to form more of a ball. Cover the bowl with saran wrap and let sit for about fifteen minutes. Then do another series of stretches and folds.
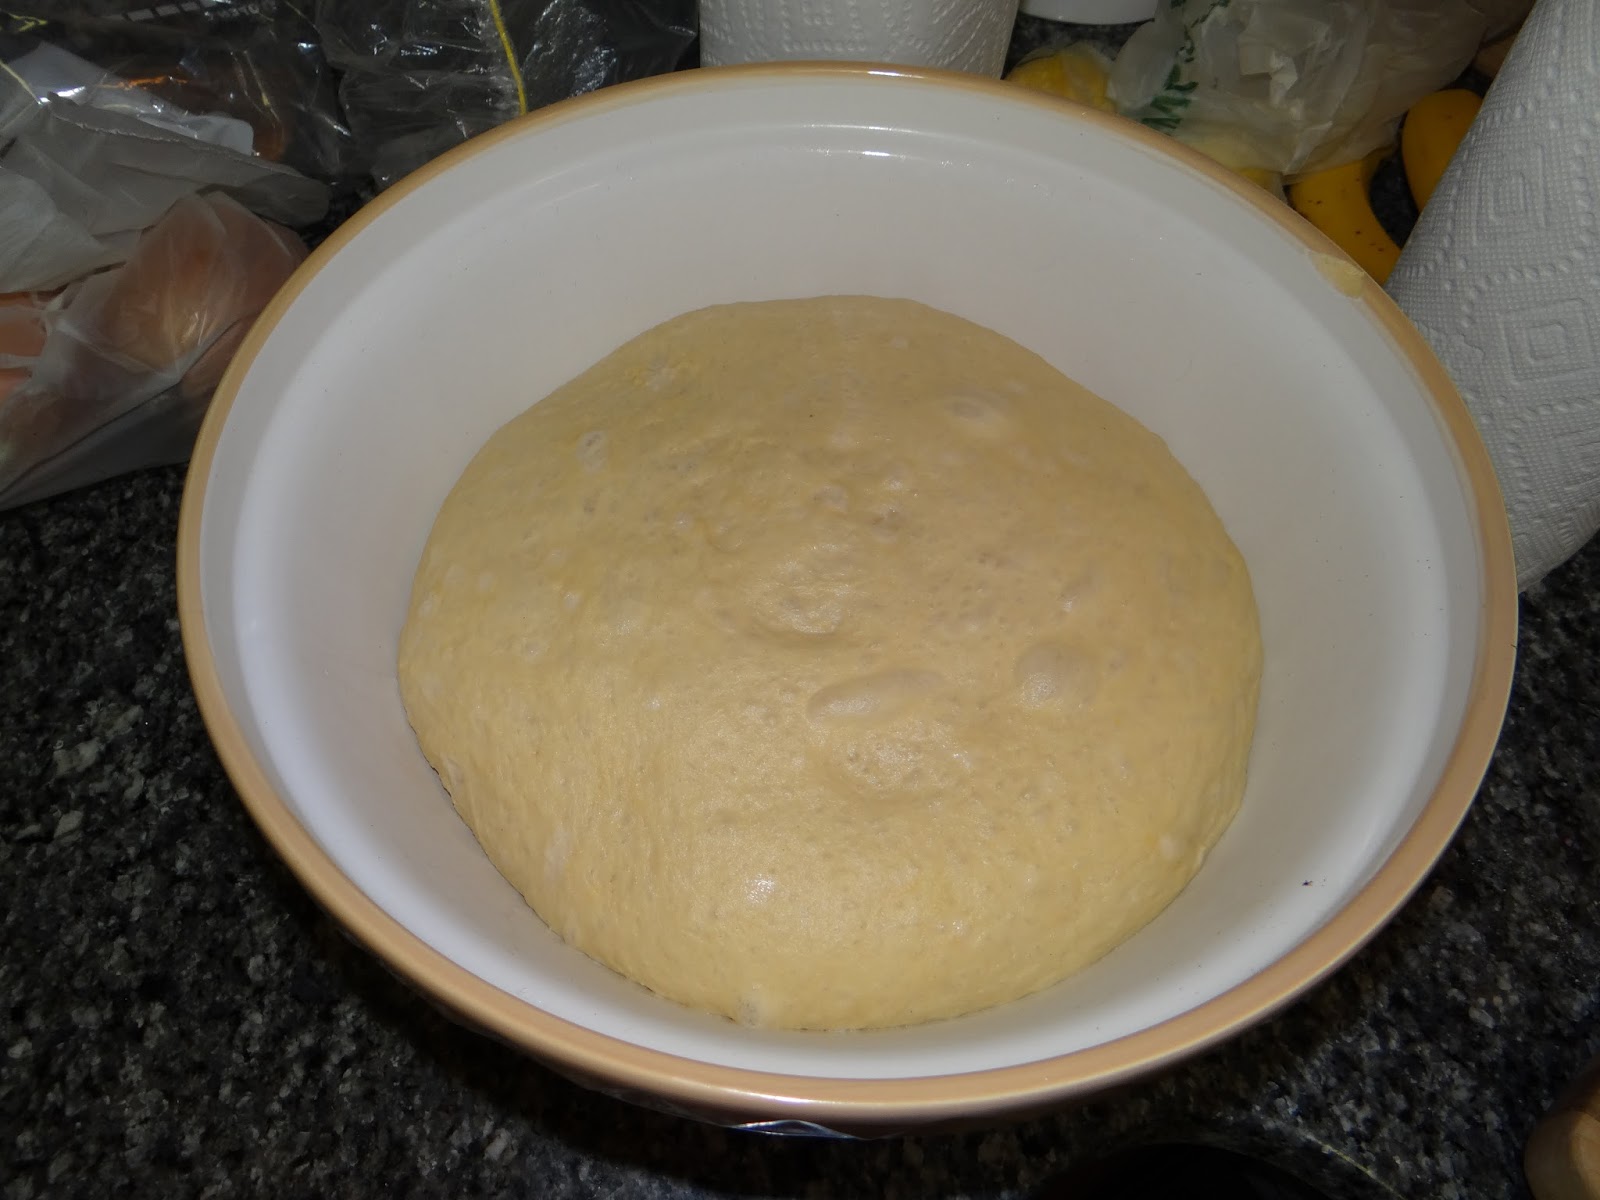
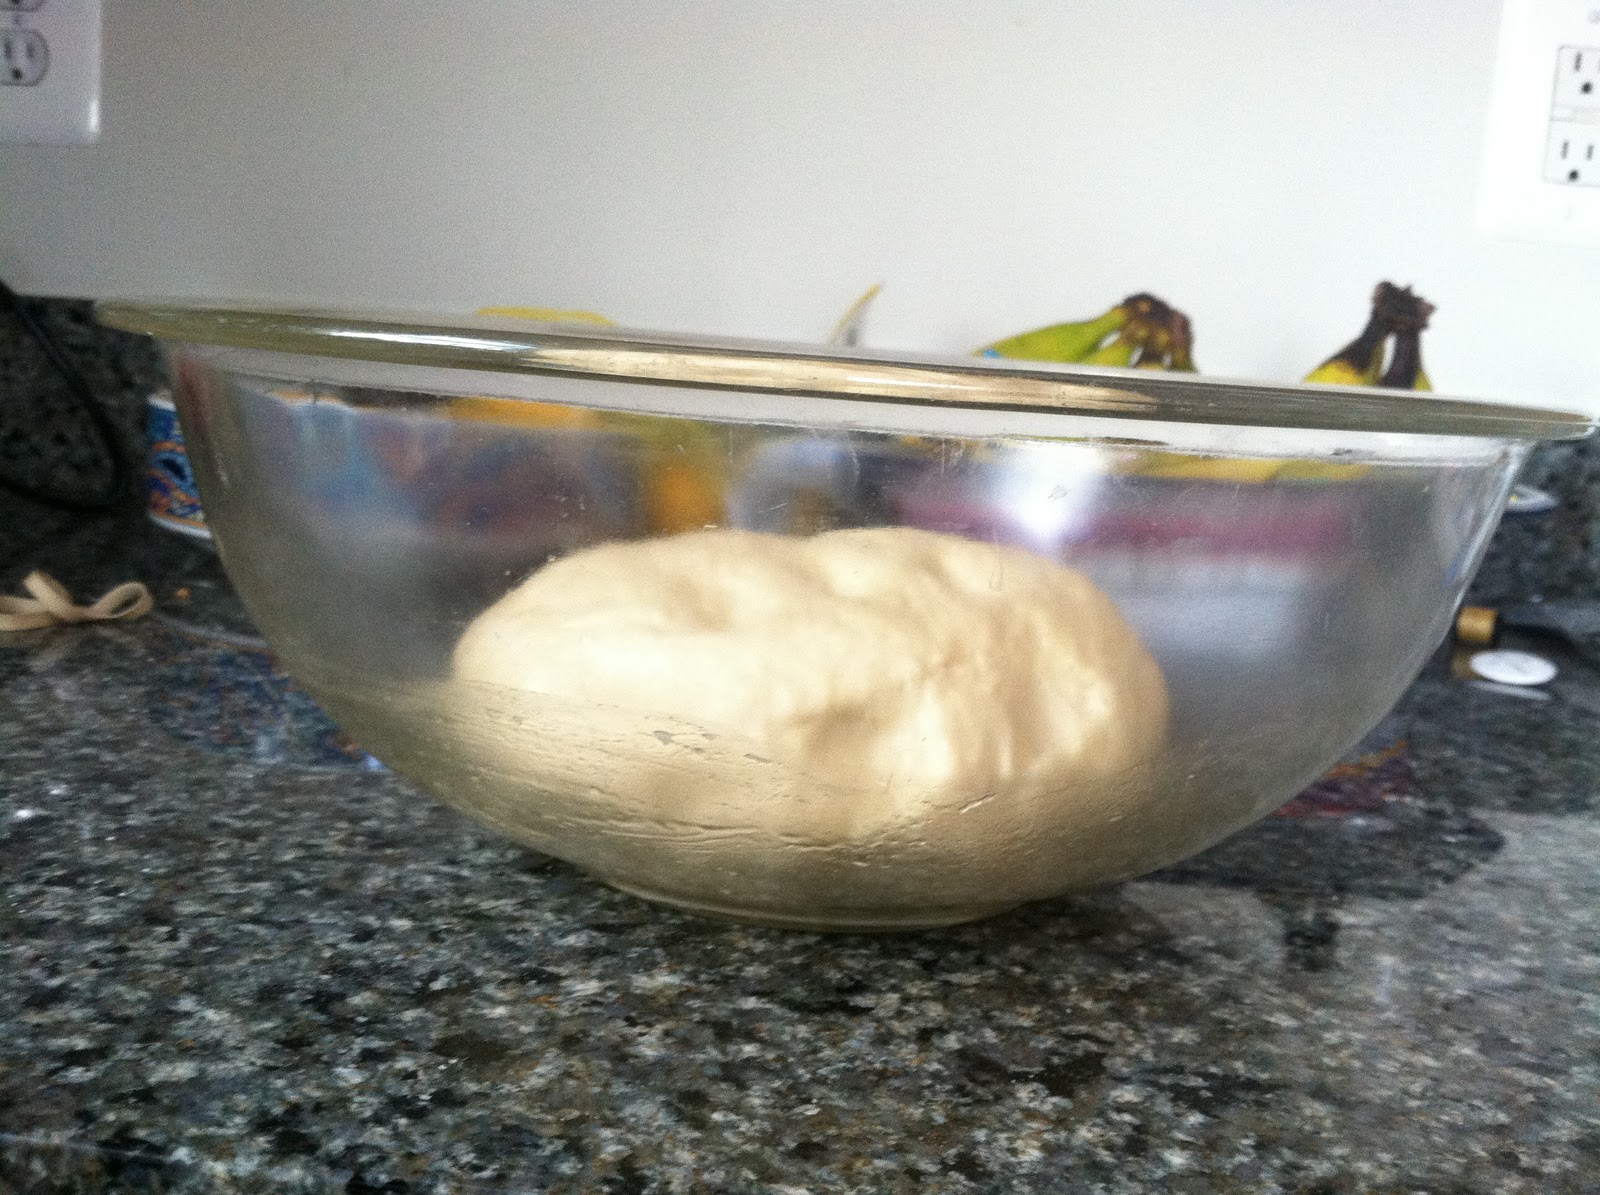
More structure. In another fifteen minutes, do another series of stretches and folds, then cover and let rise for about 1.5 hours.
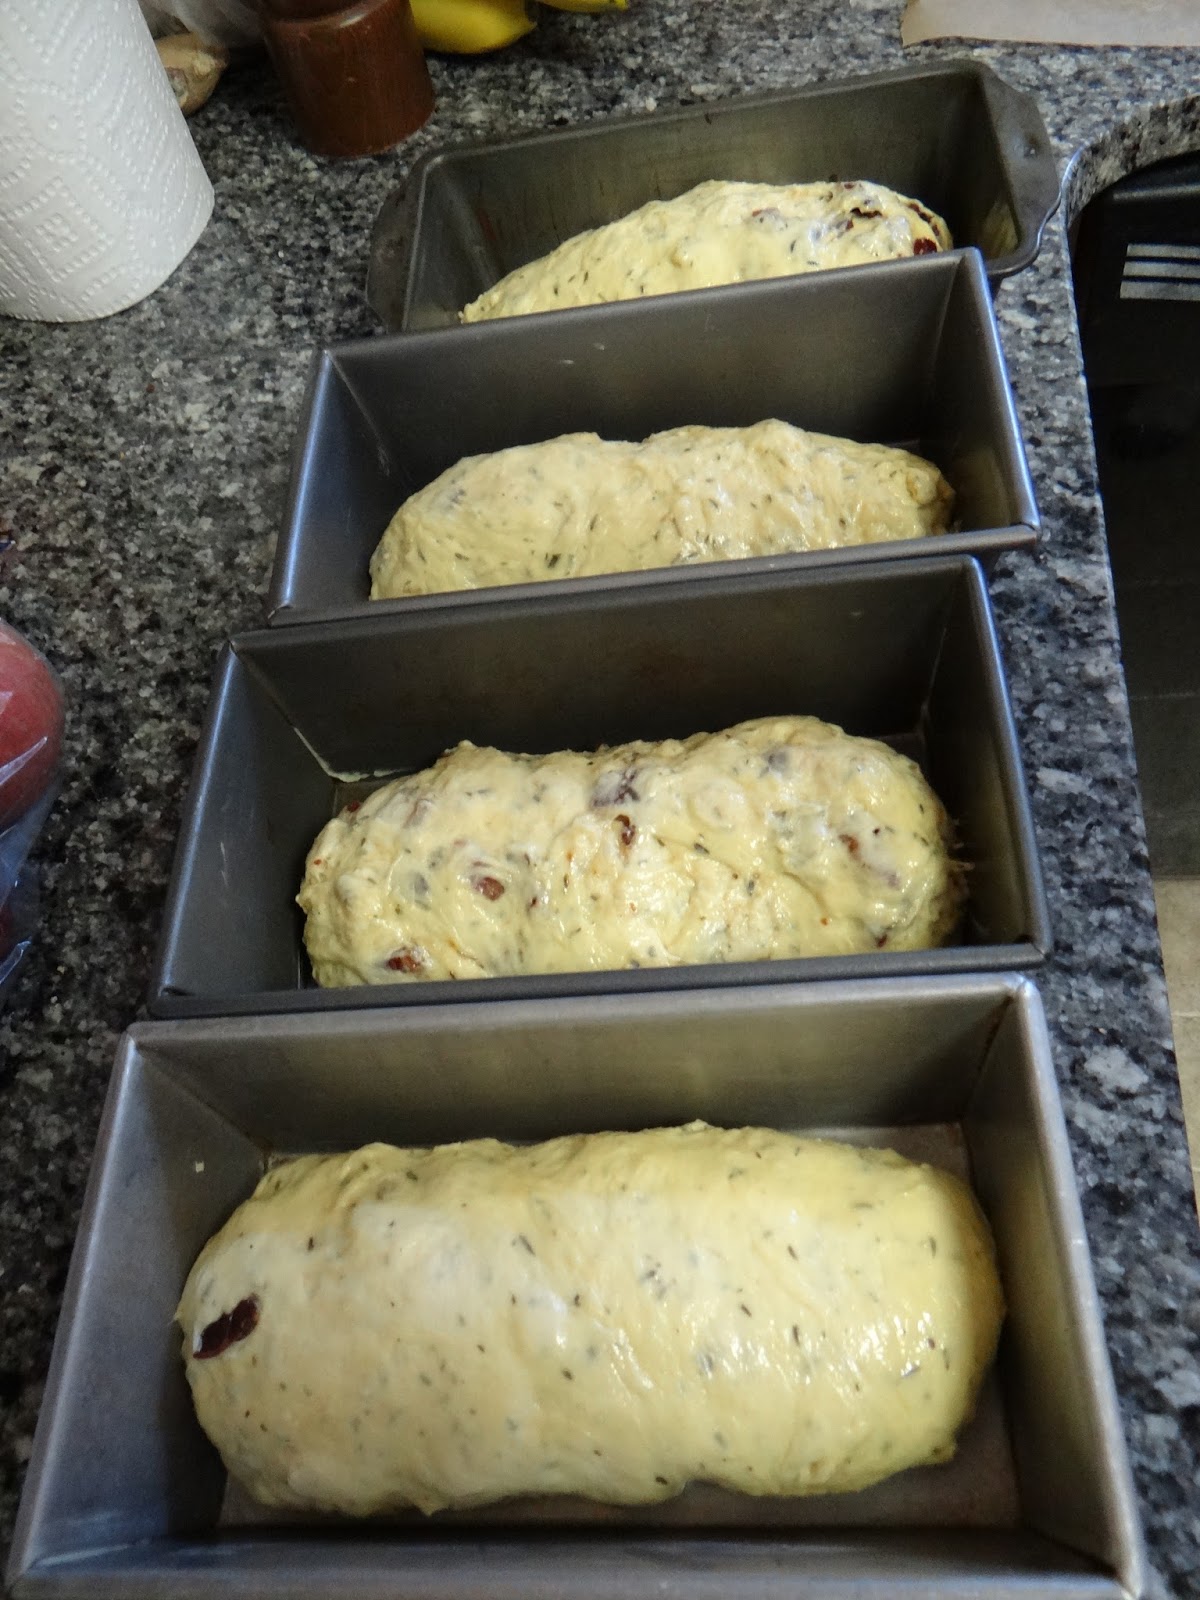
7. In the meantime, butter your bread pans.

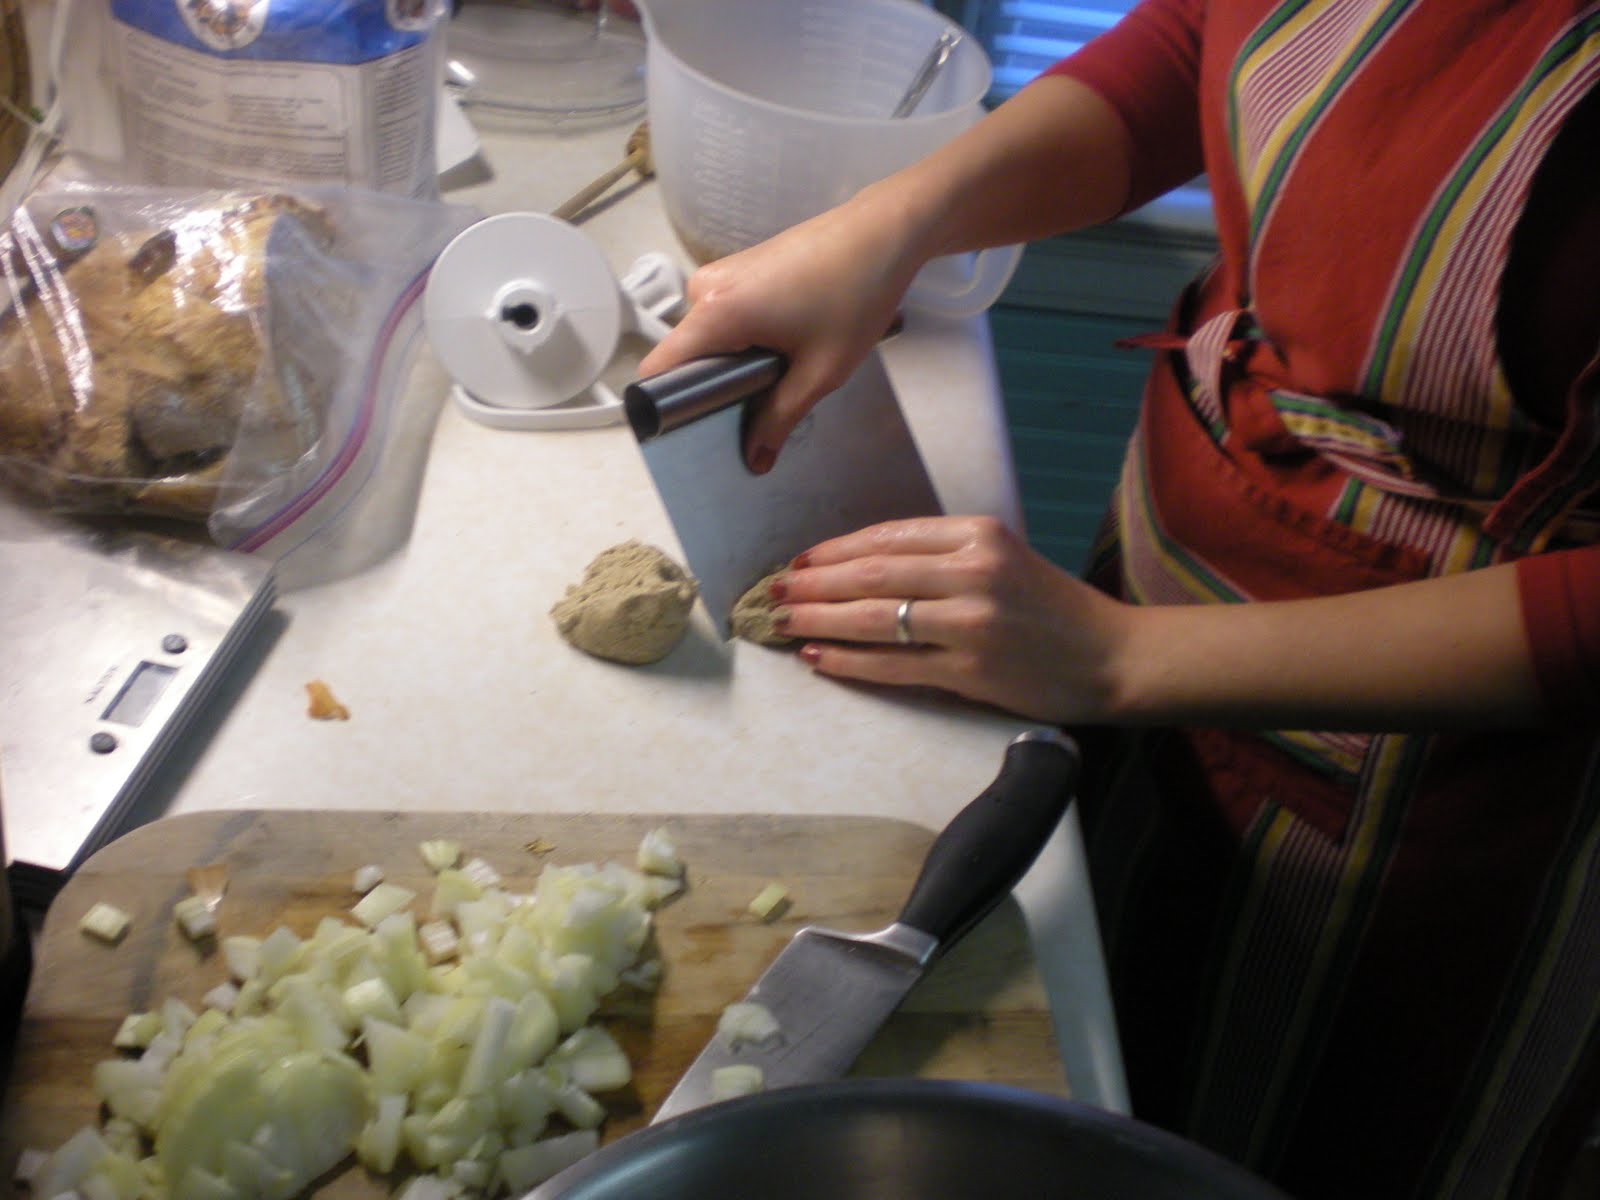
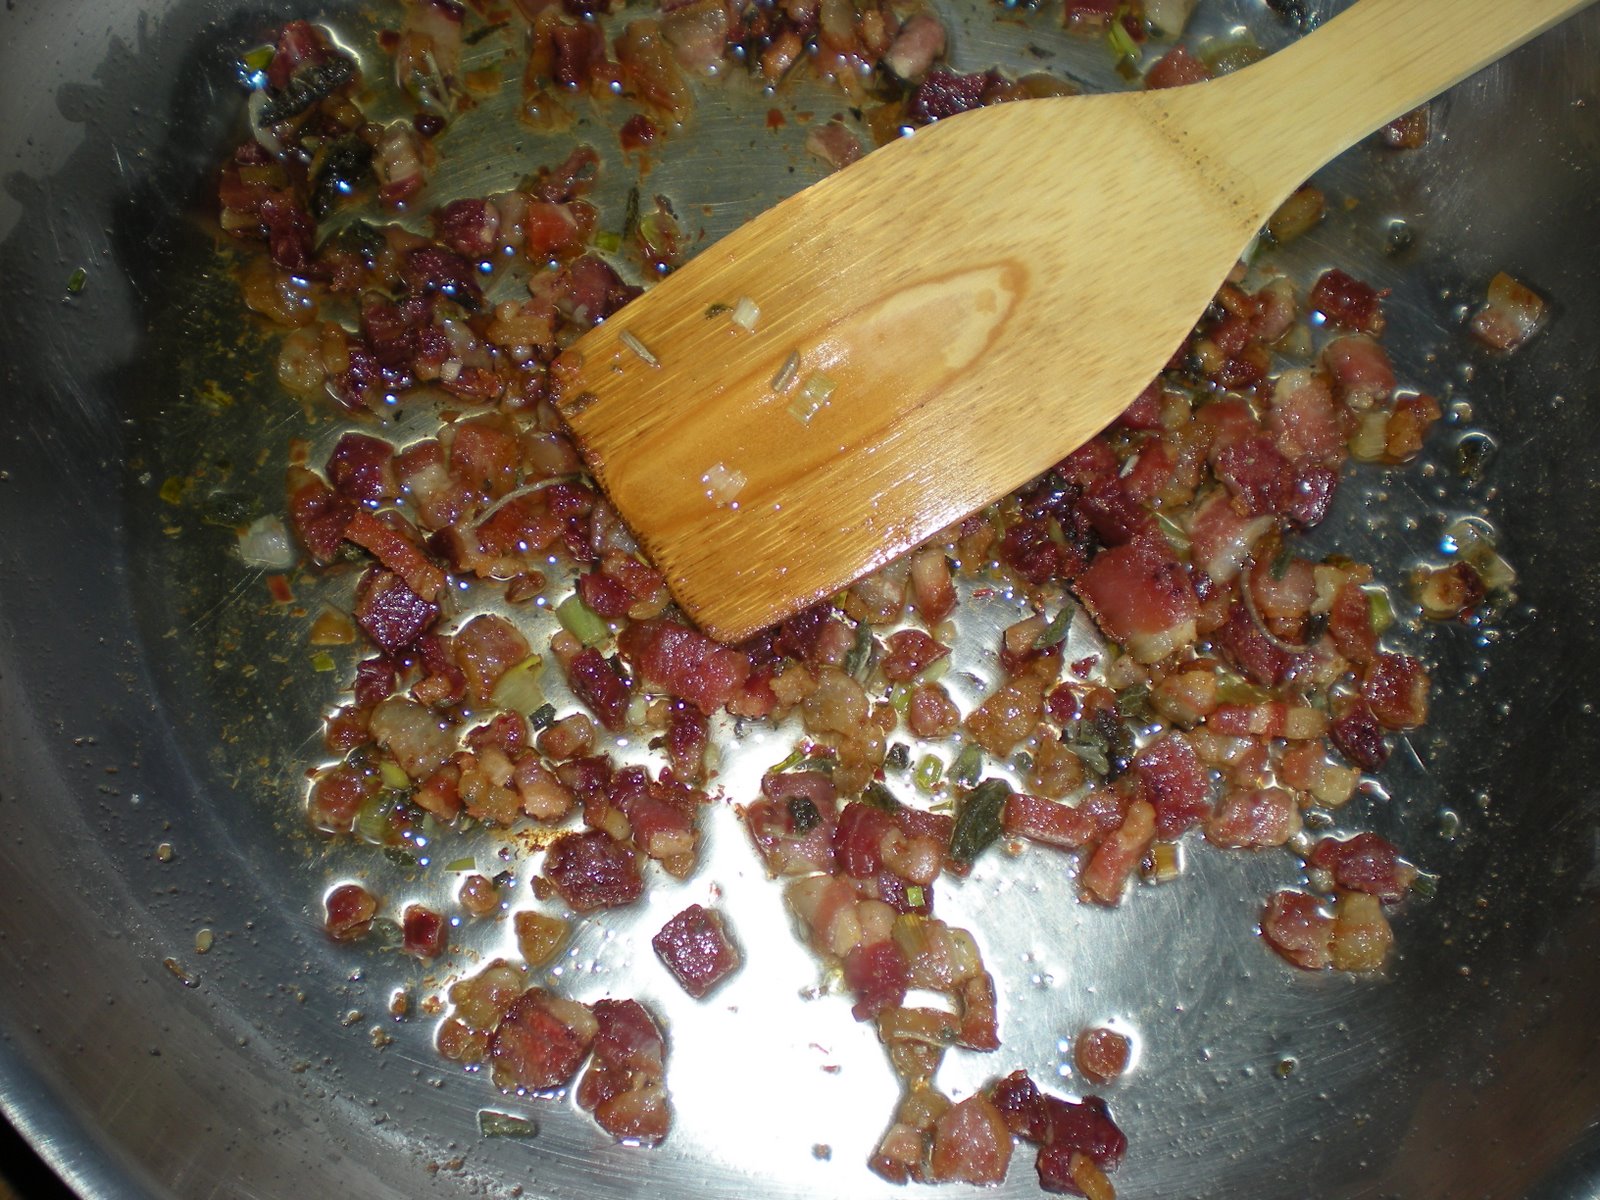
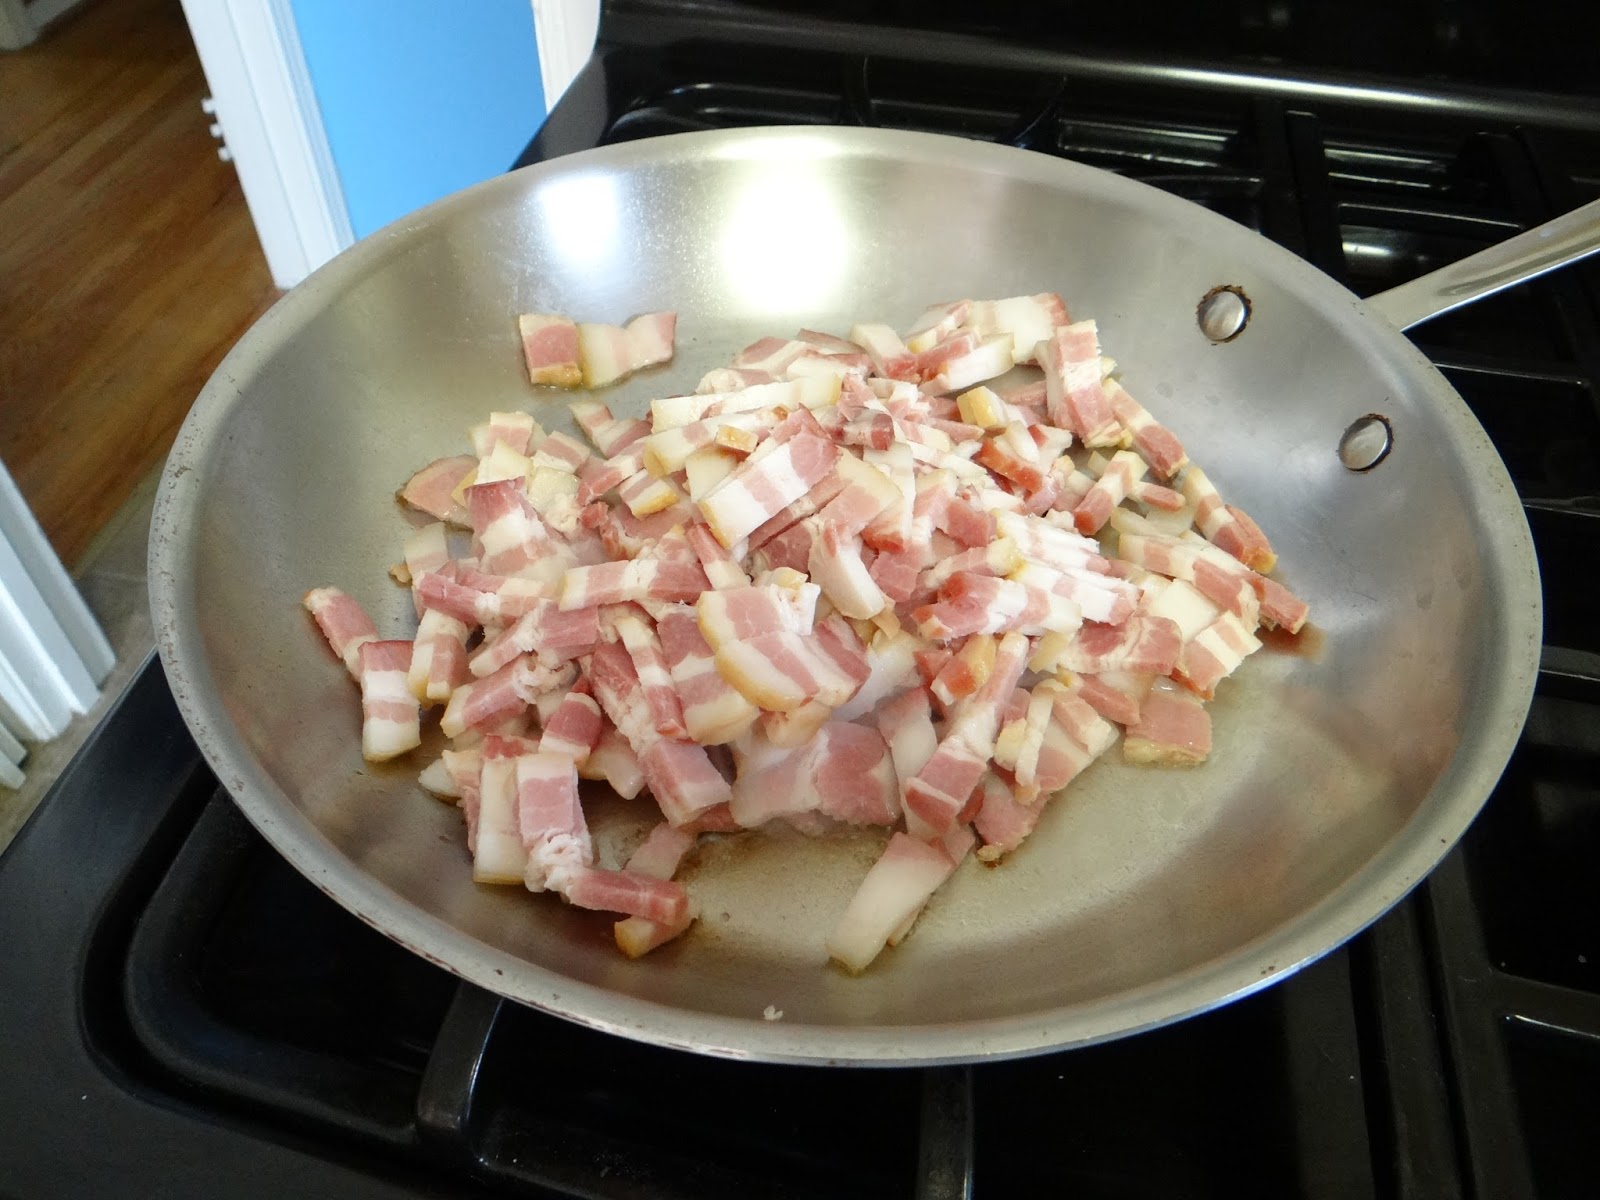
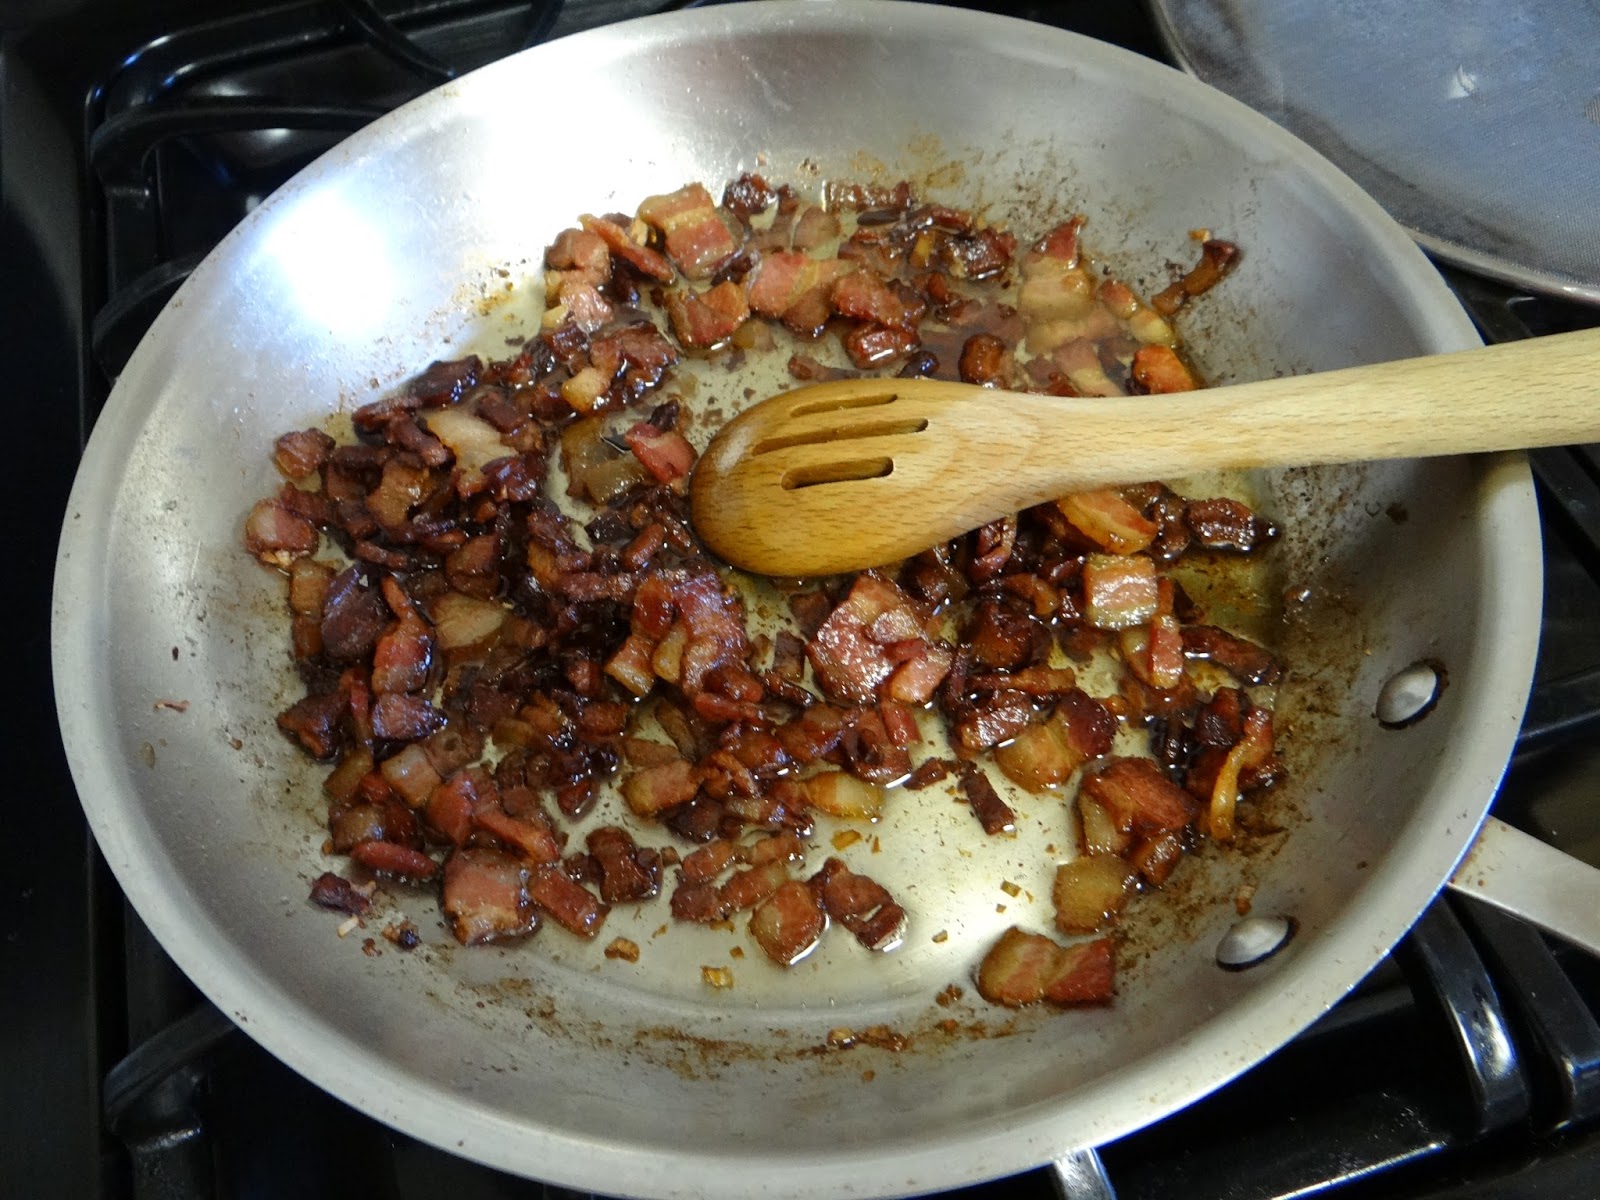
8. Now you will want to fry up your bacon. Cut it into a small dice and fry until just crispy. Add the shallot. Then let the bacon cool COMPLETELY. It should be room temperature for the next step.
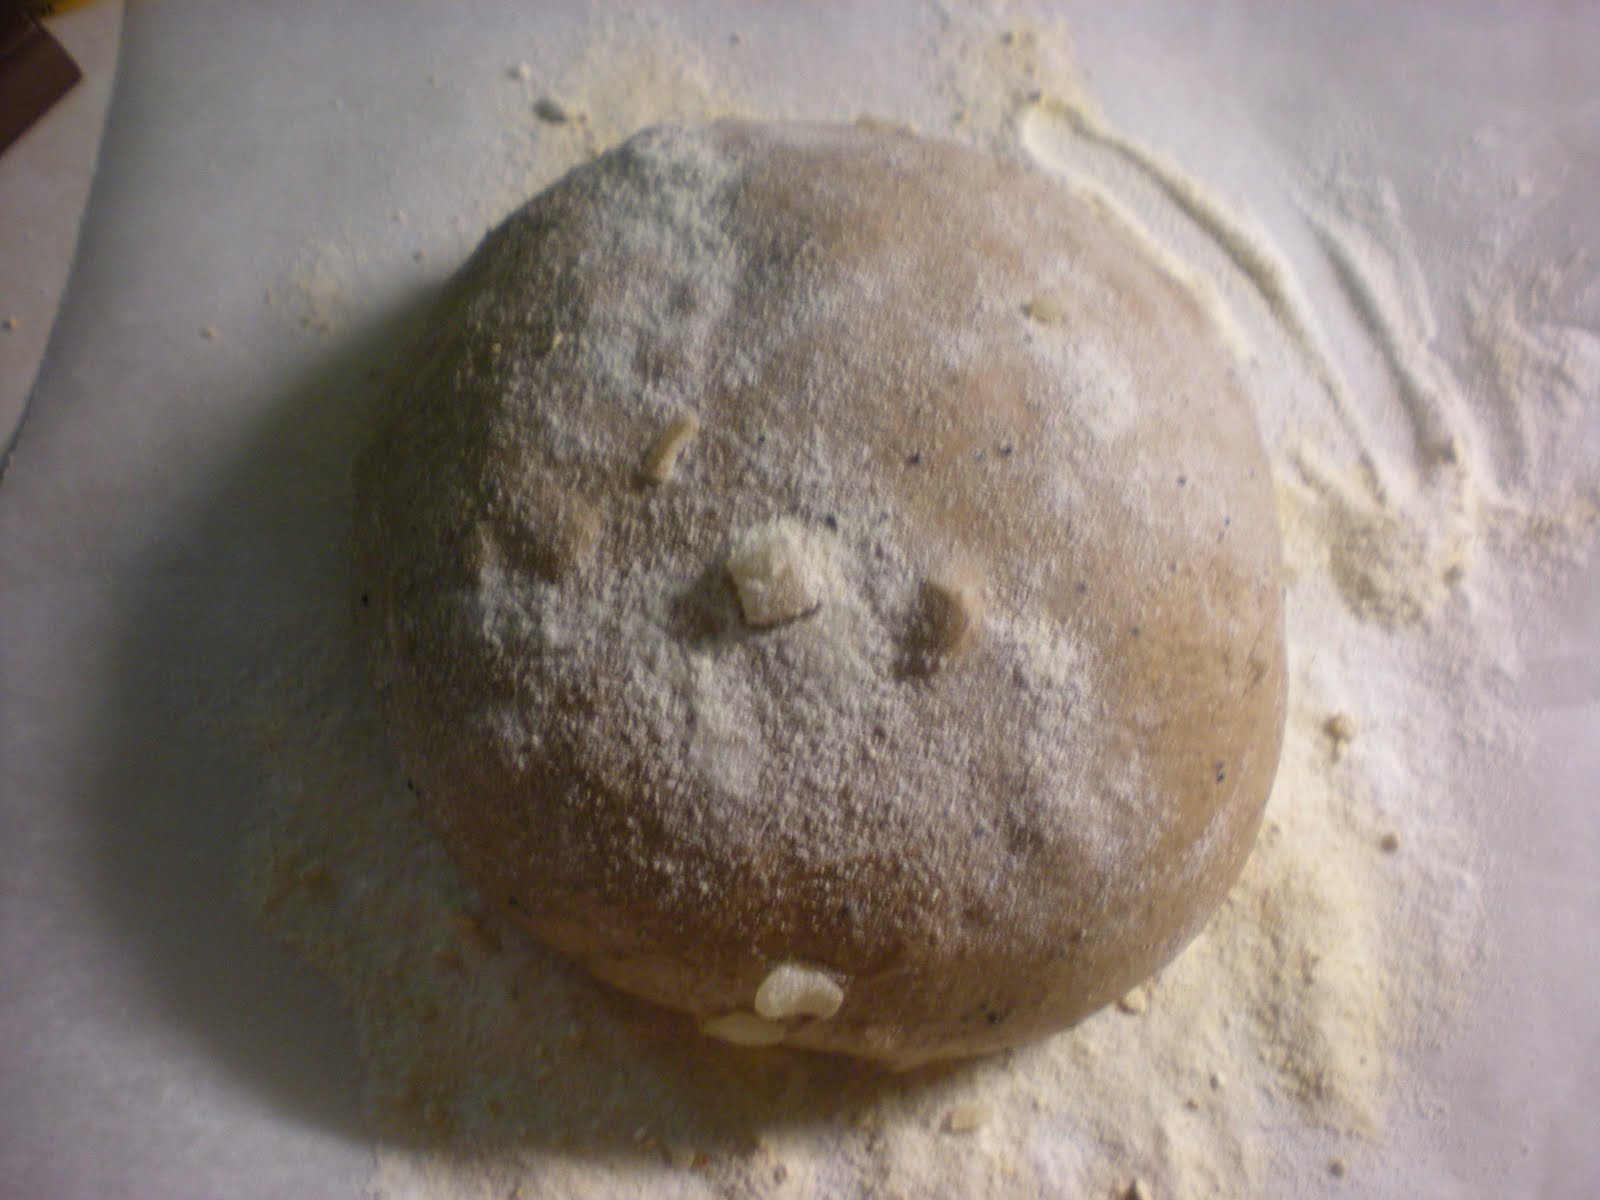
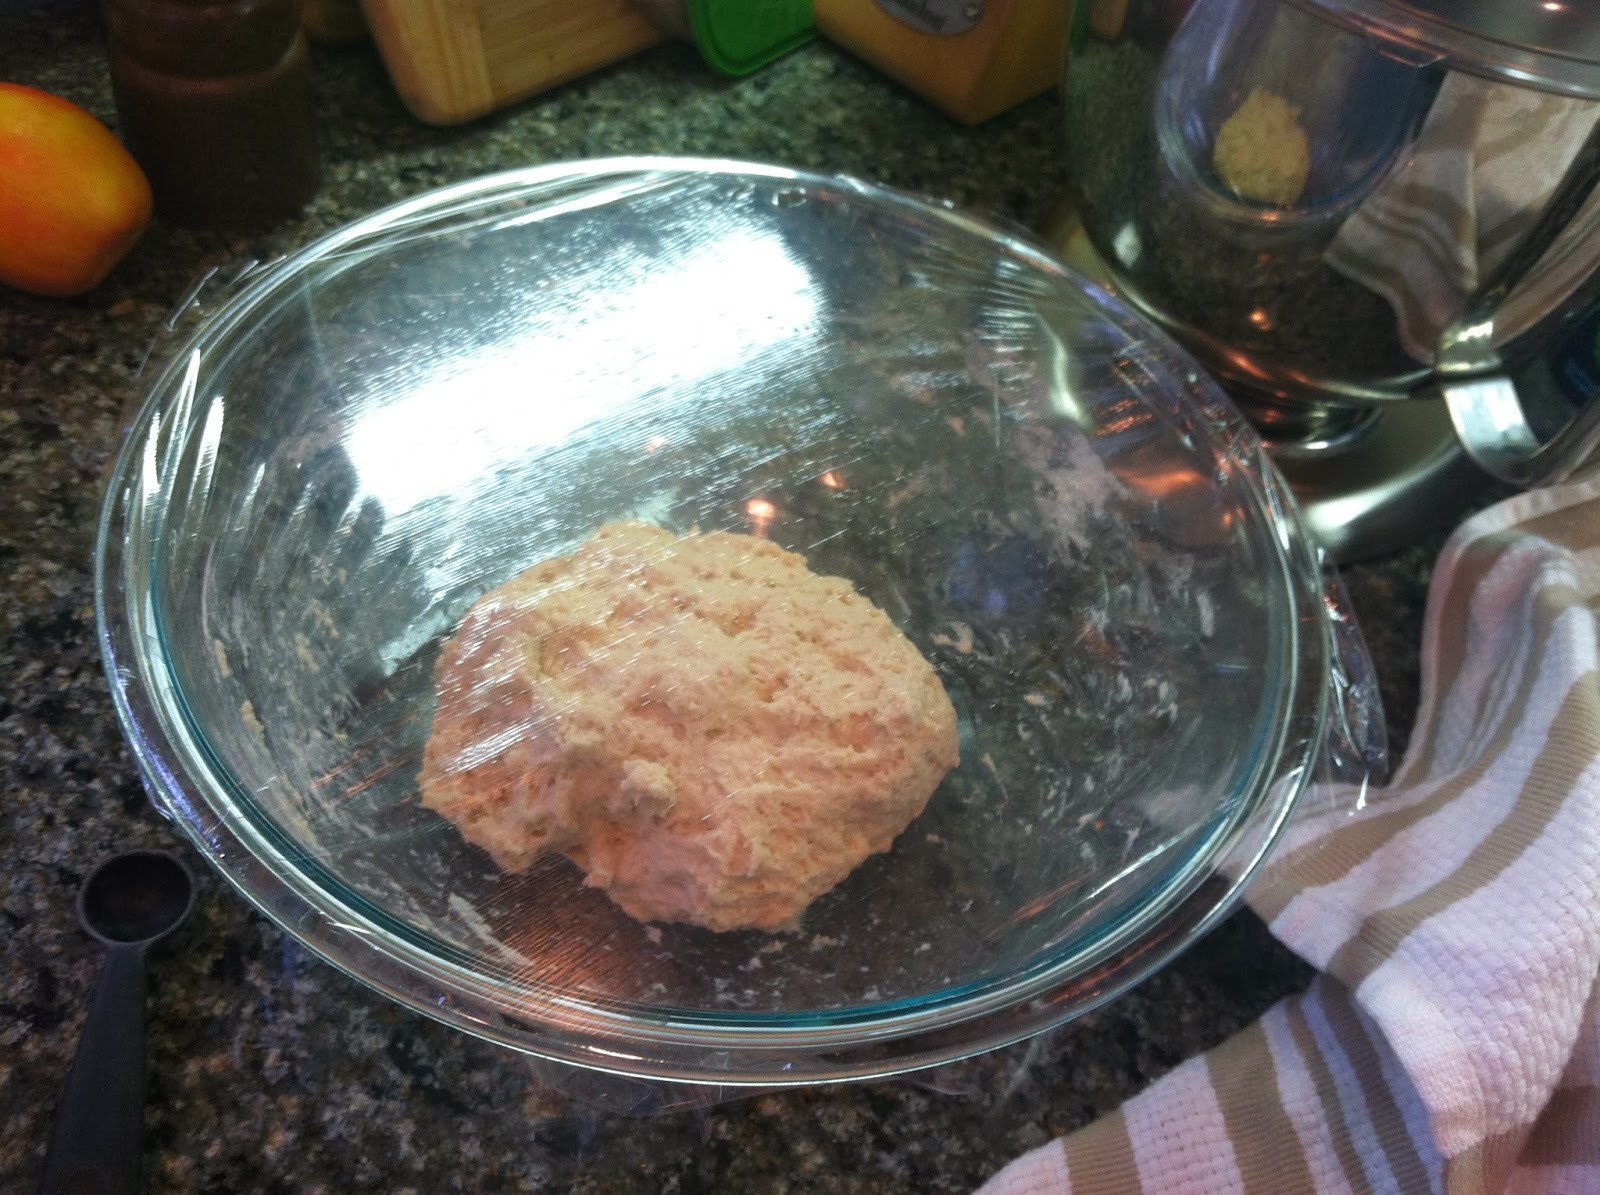
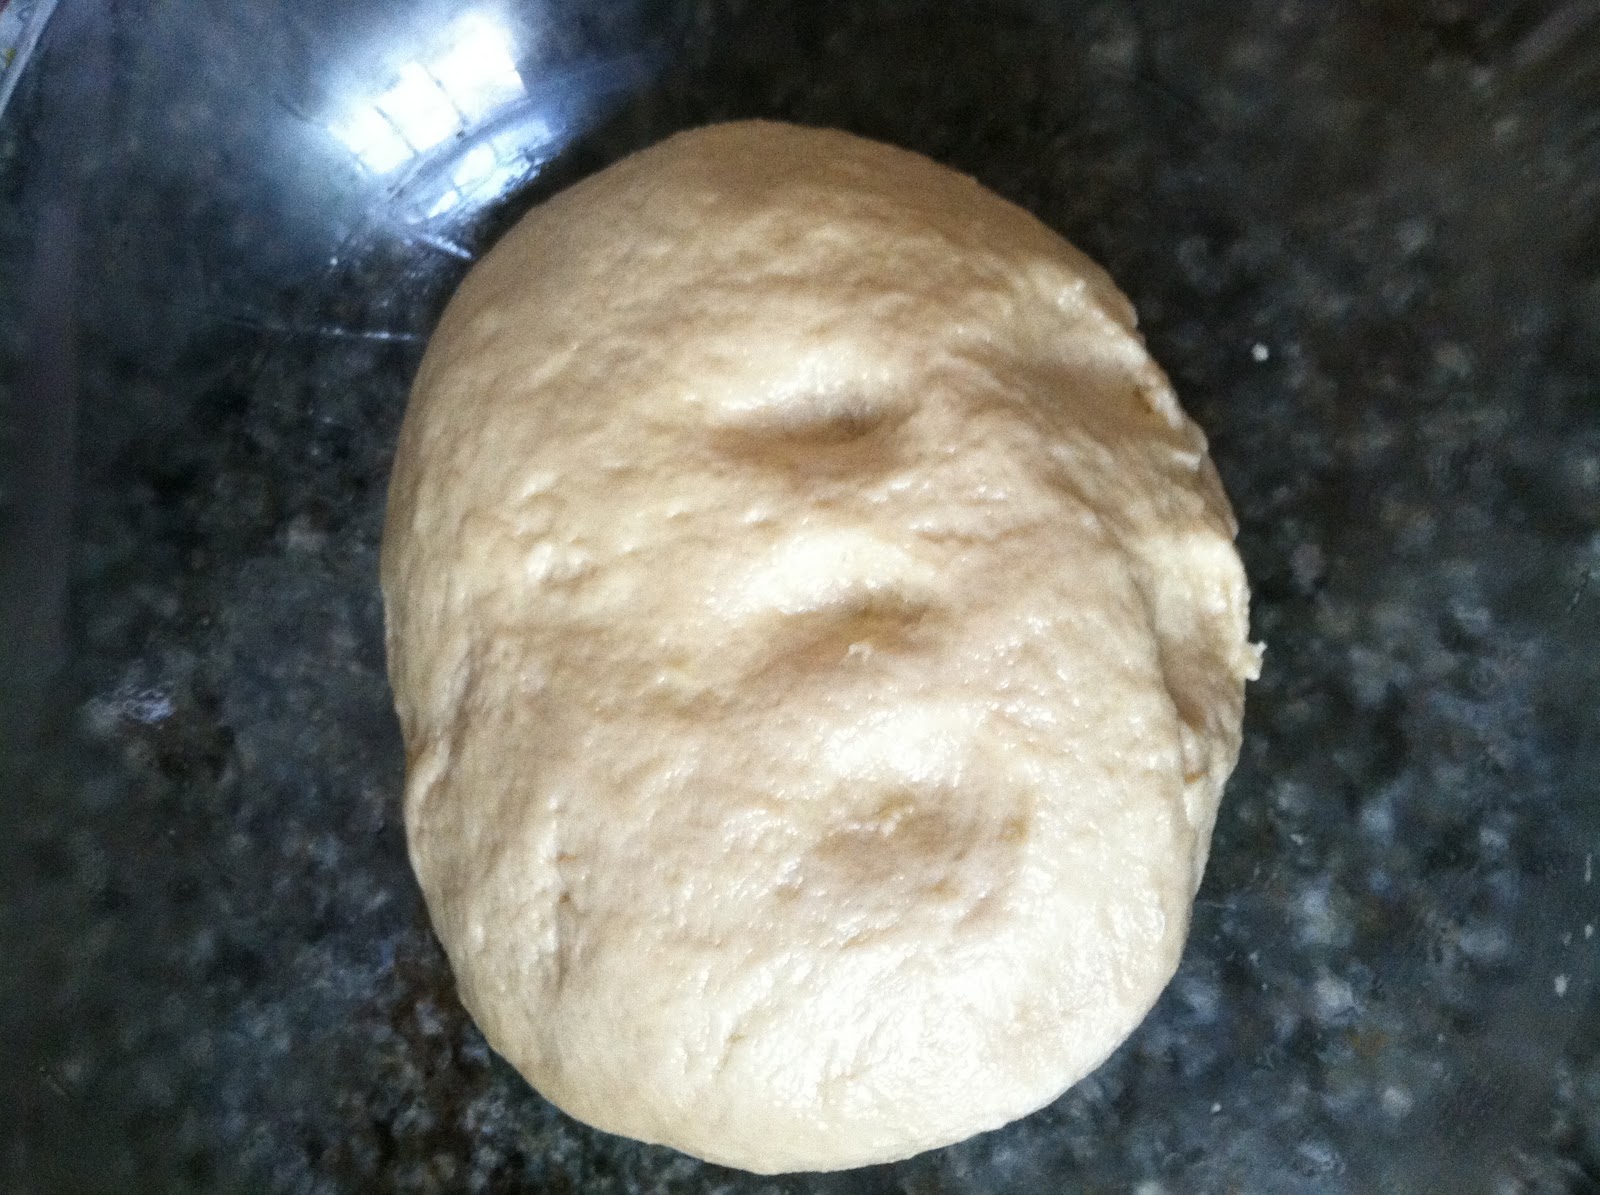
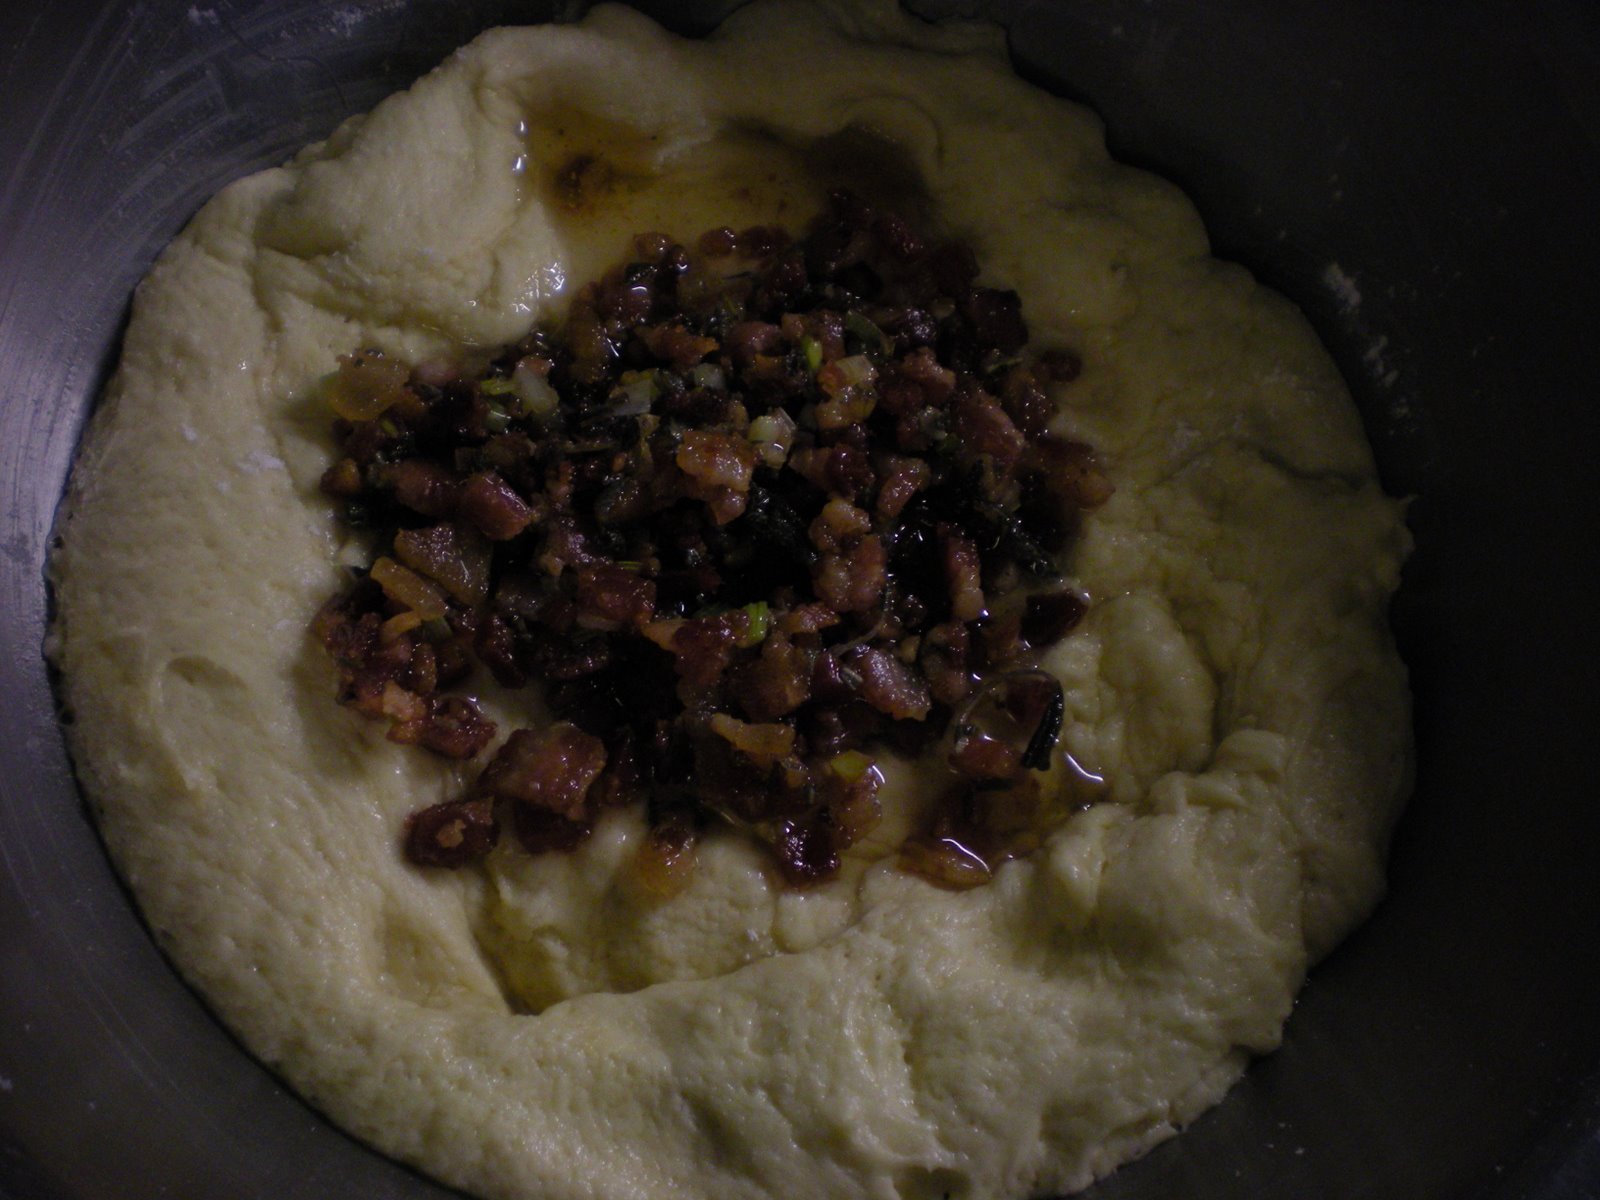
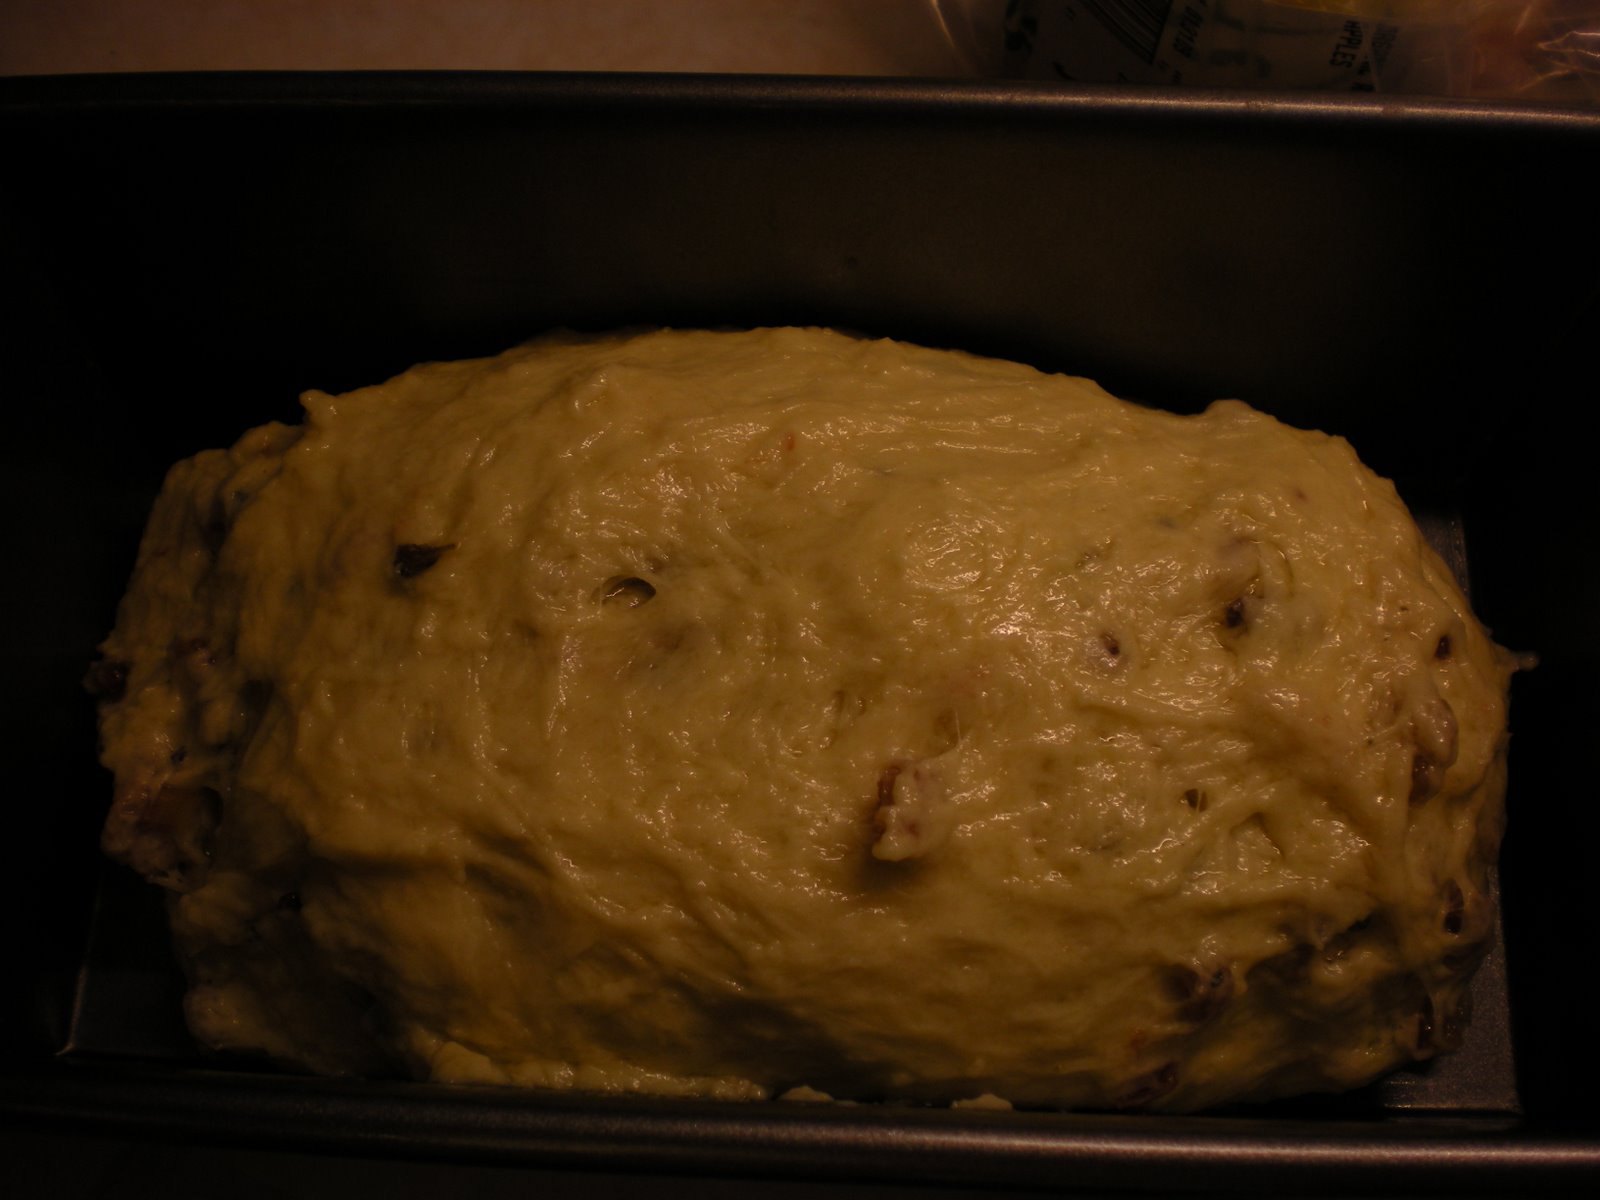
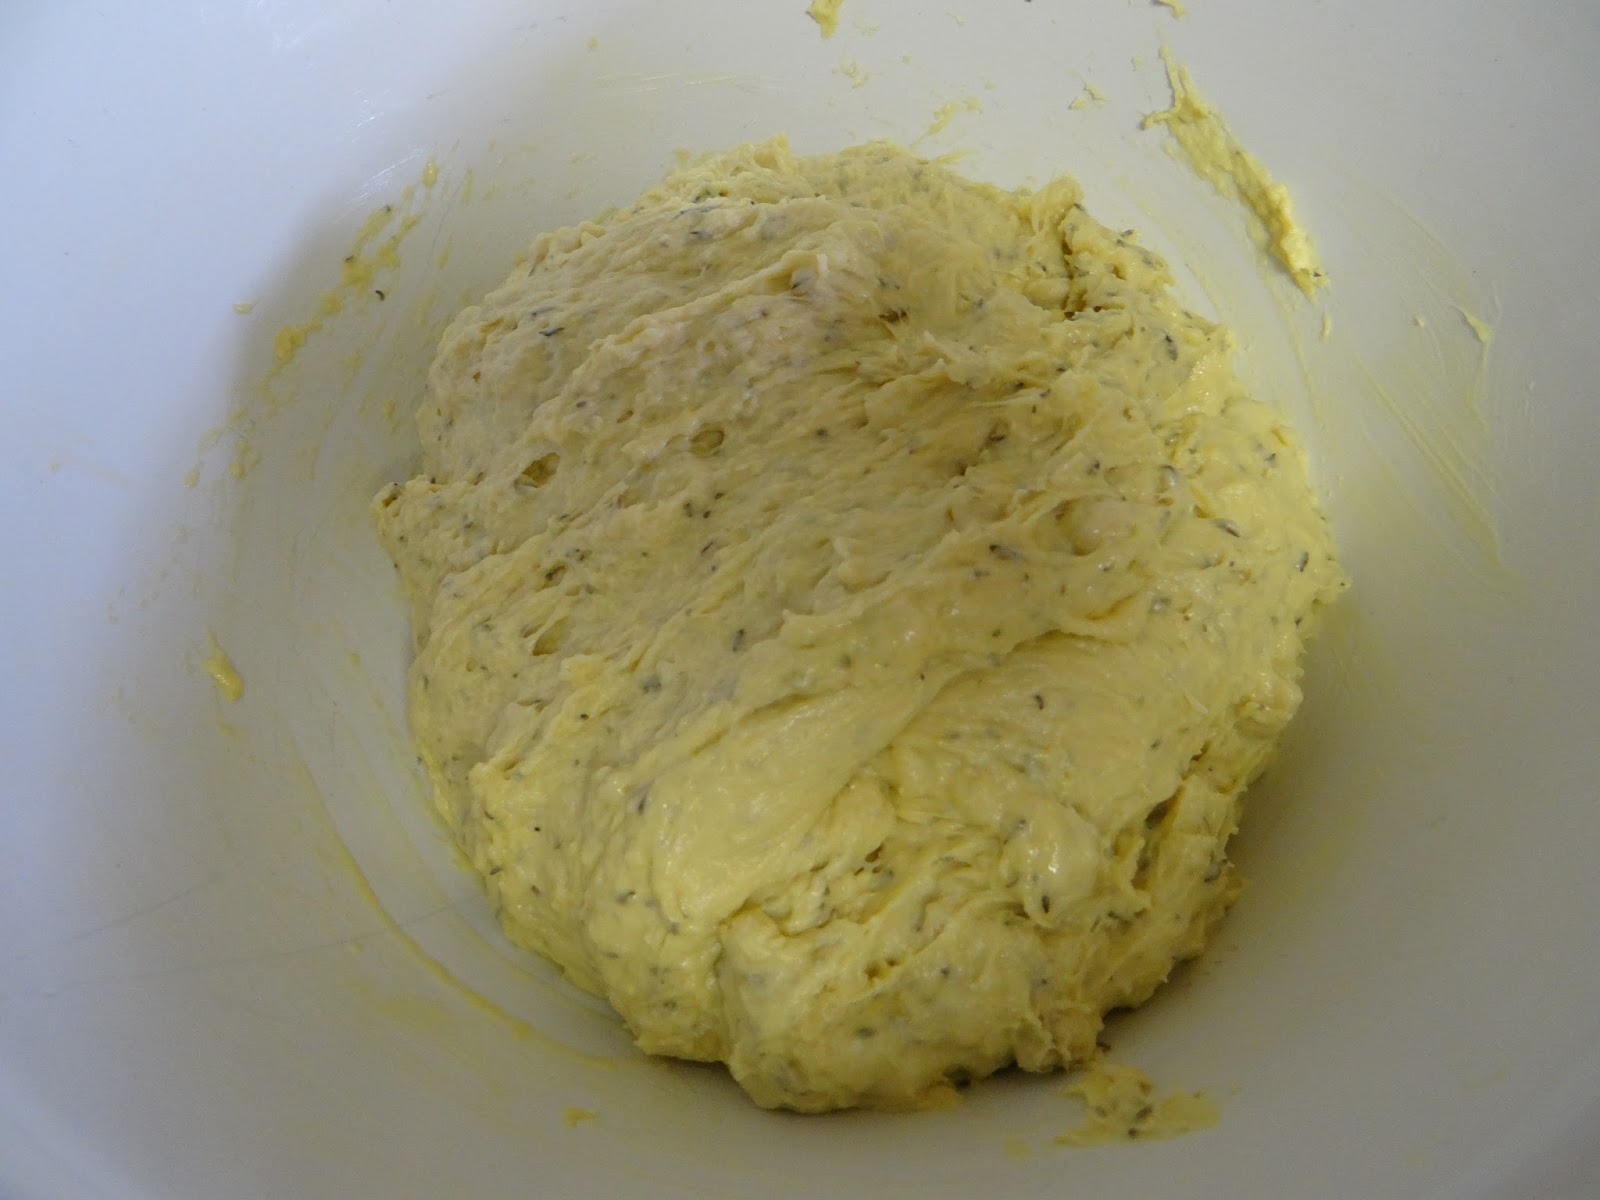
9. At the end of 1.5 hours, your dough should look like this:
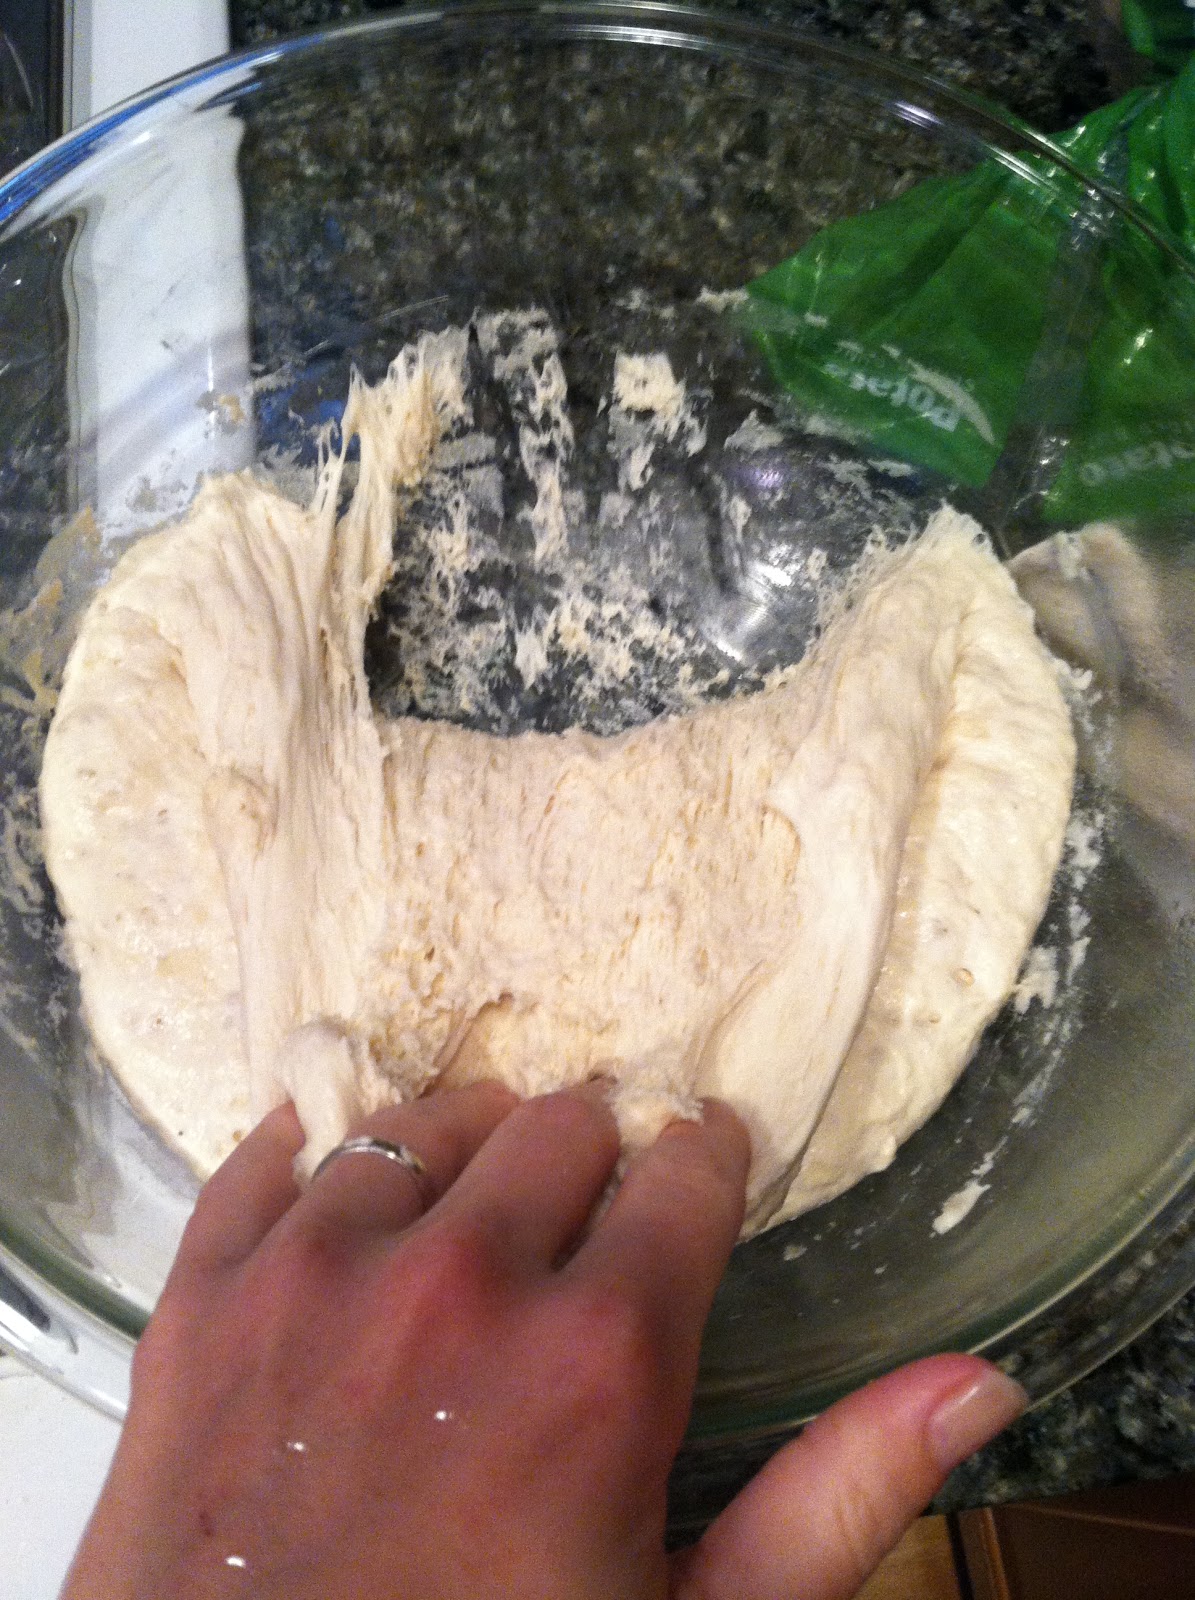
Punch it down, then add the bacon and drippings to it.
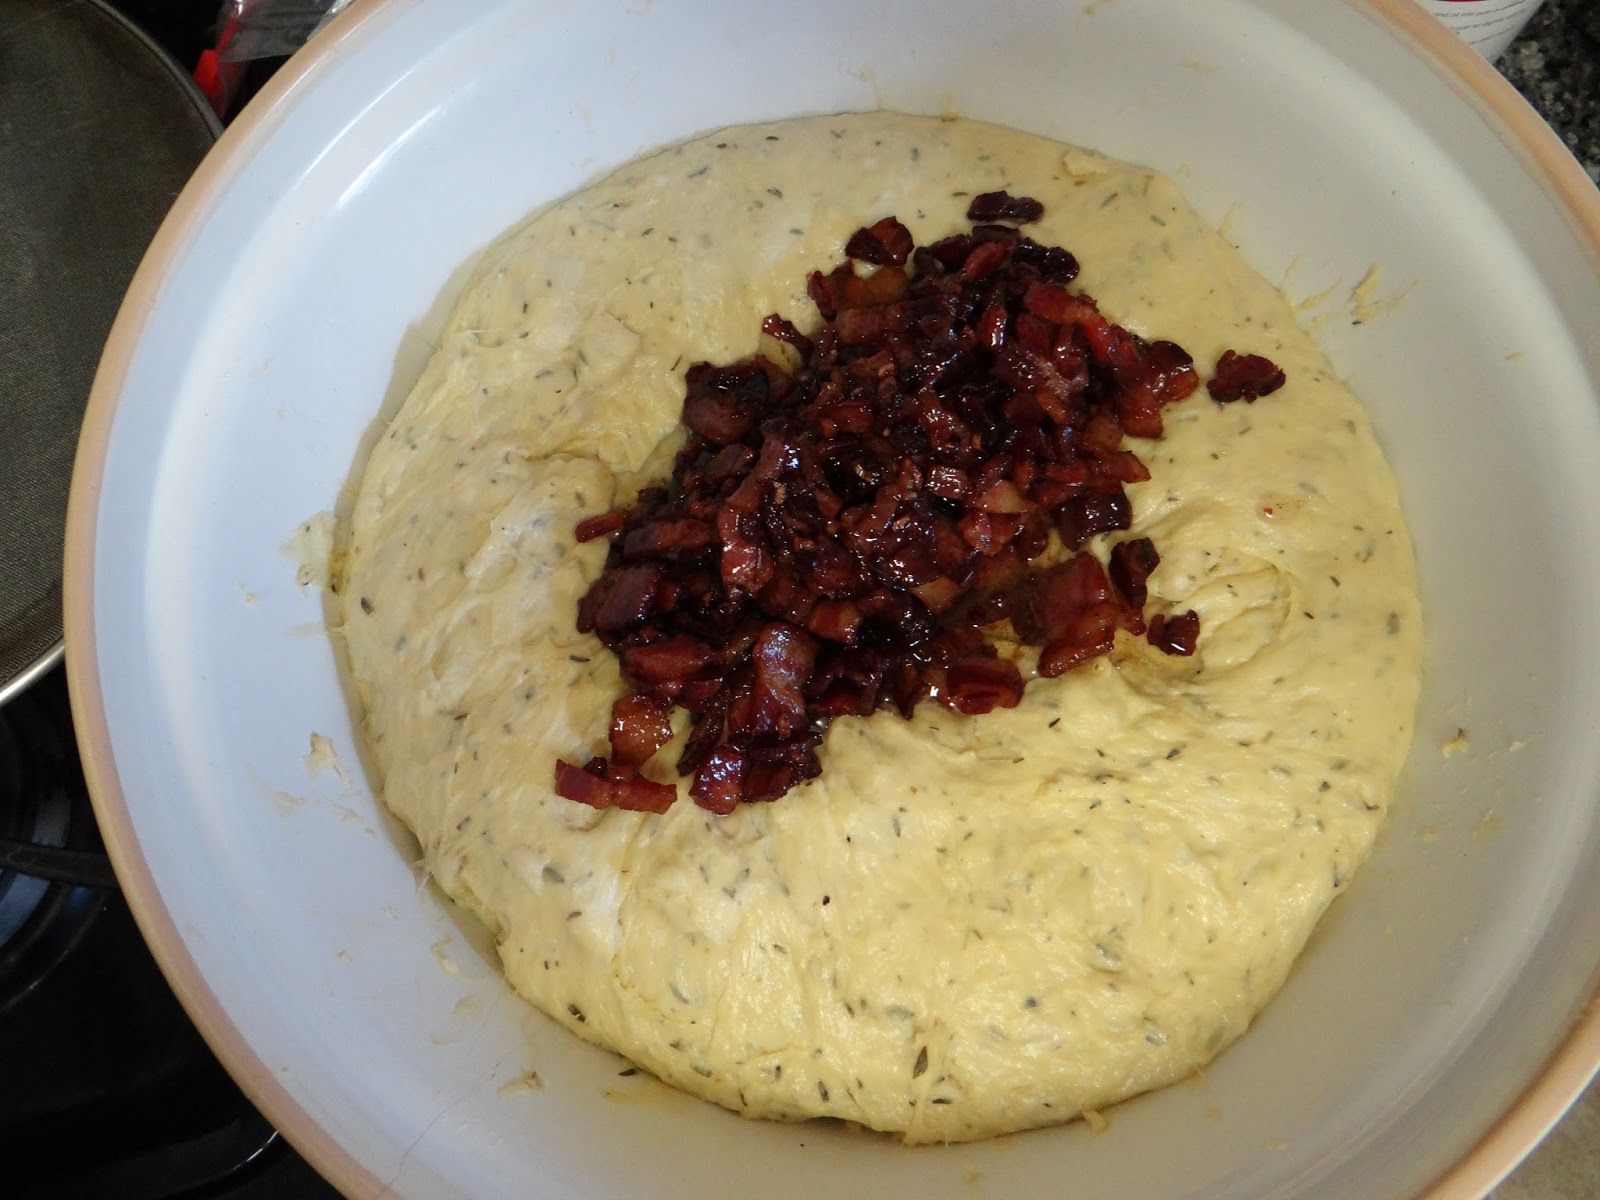
Using the same stretch and fold technique you used above, gently coax the sides of your dough around the bacon and drippings until they are all incorporated into the dough. Since you already have a wet dough, this is going to get very wet and greasy again. Don’t worry, it’ll all work out in the end.

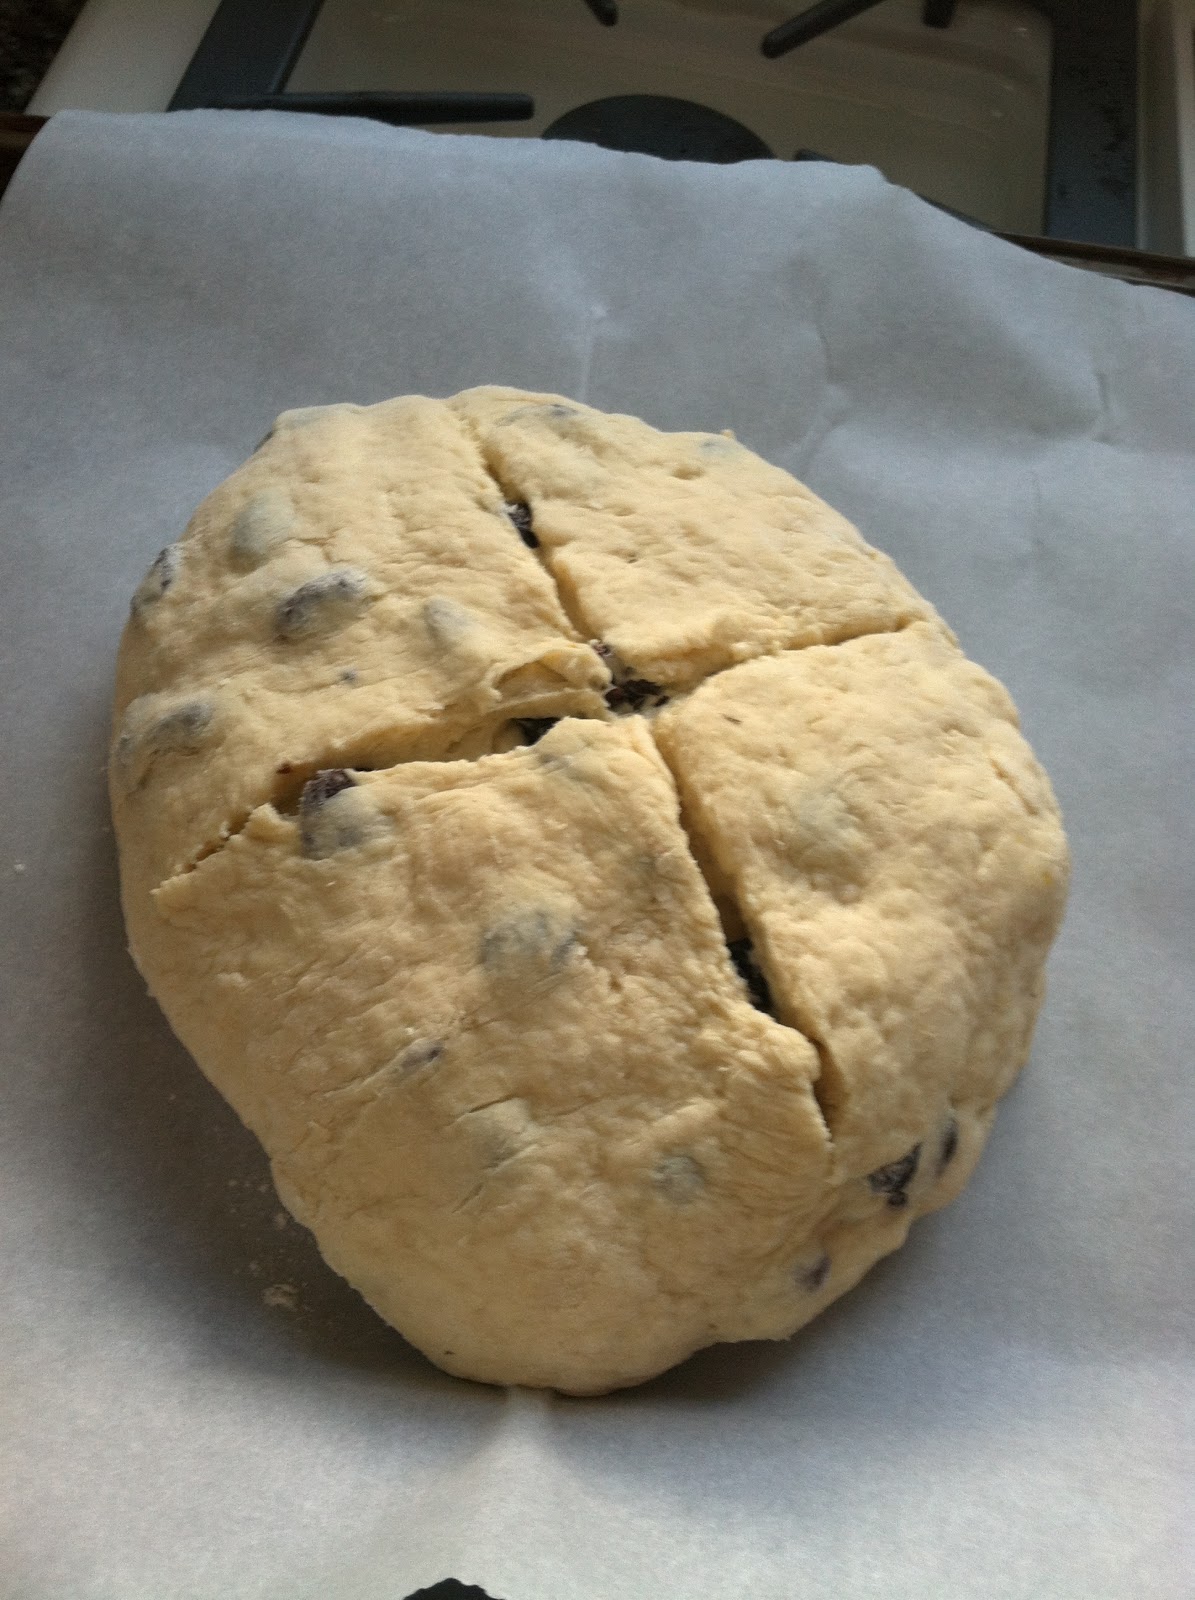
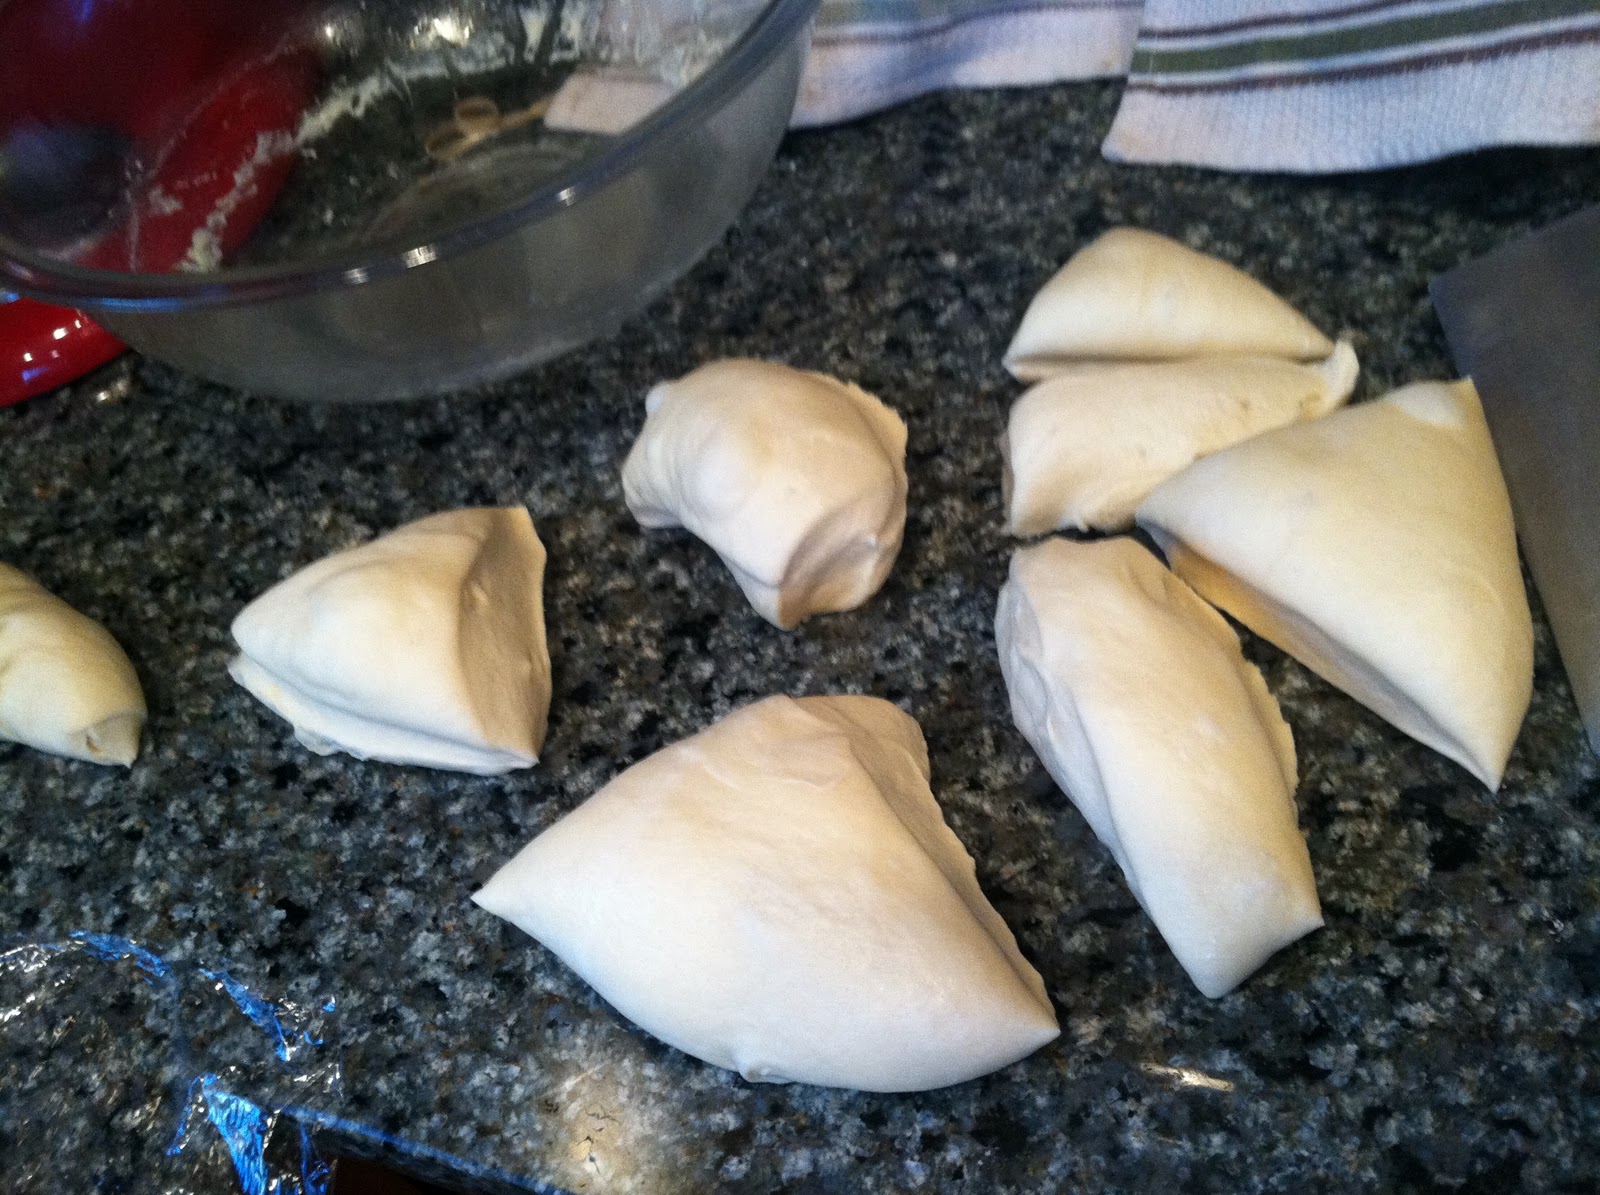
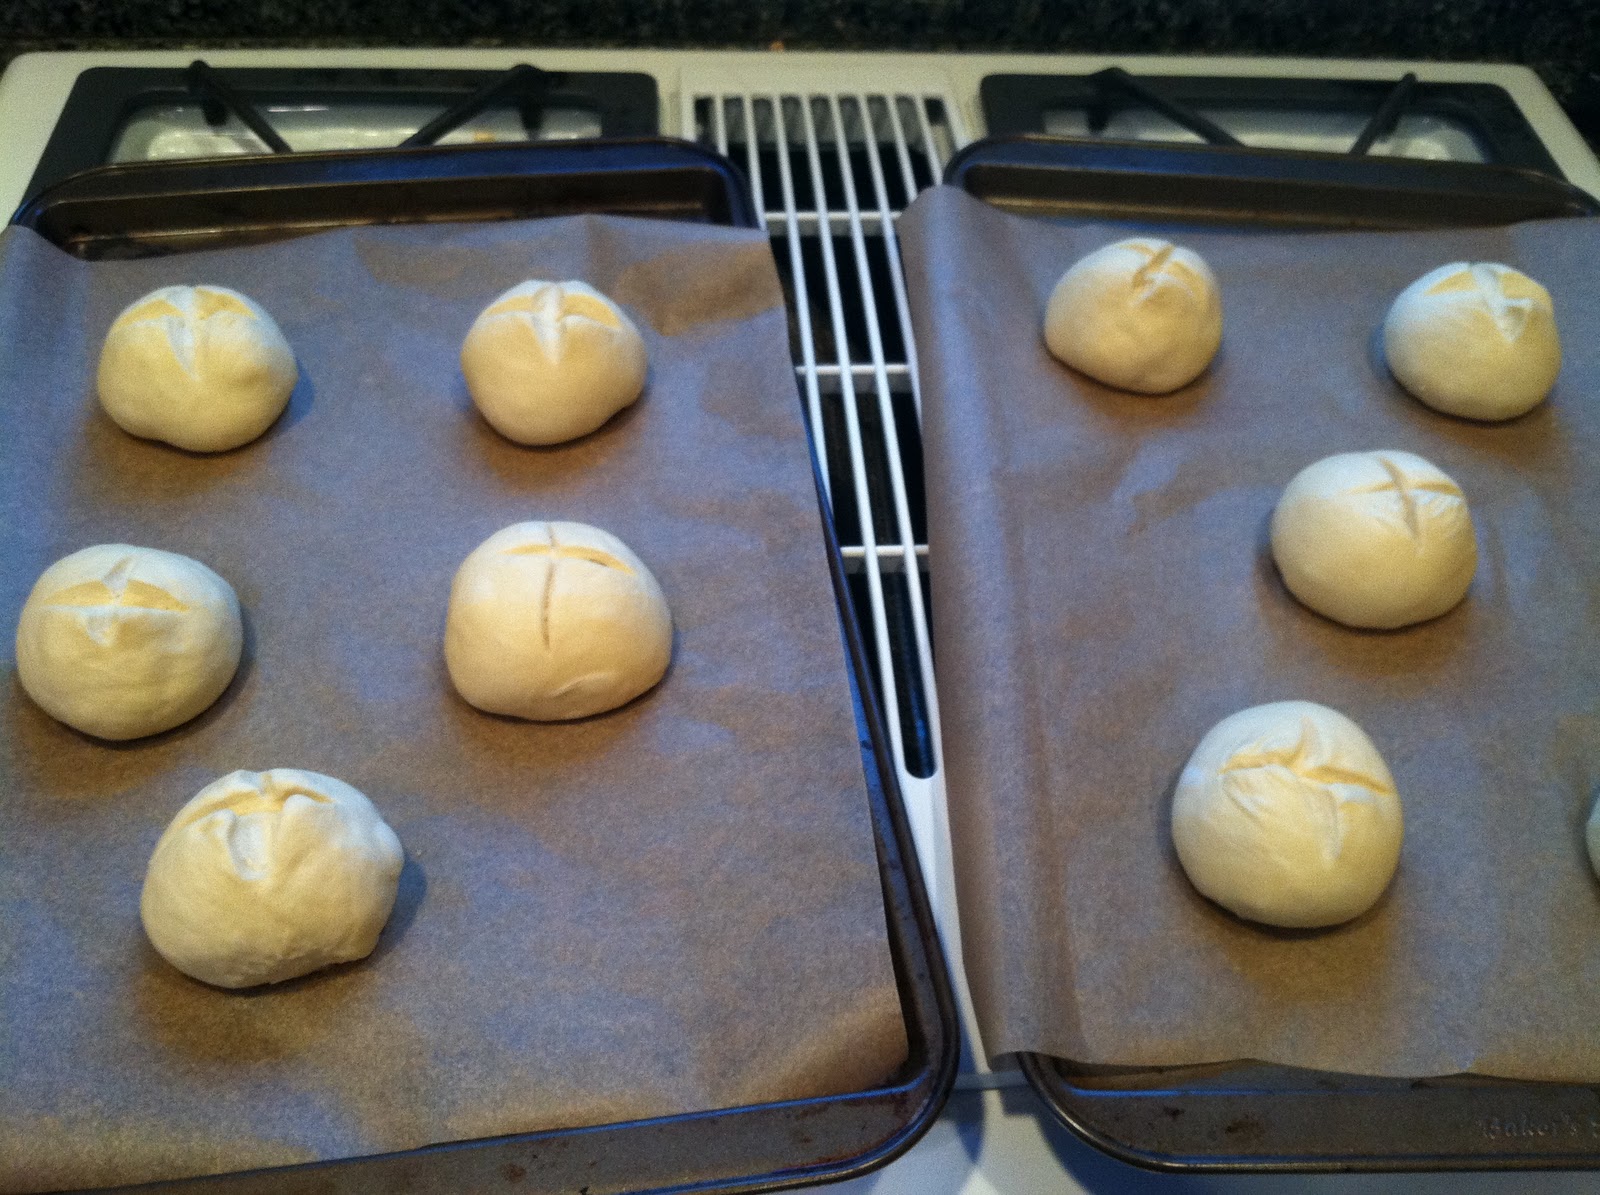
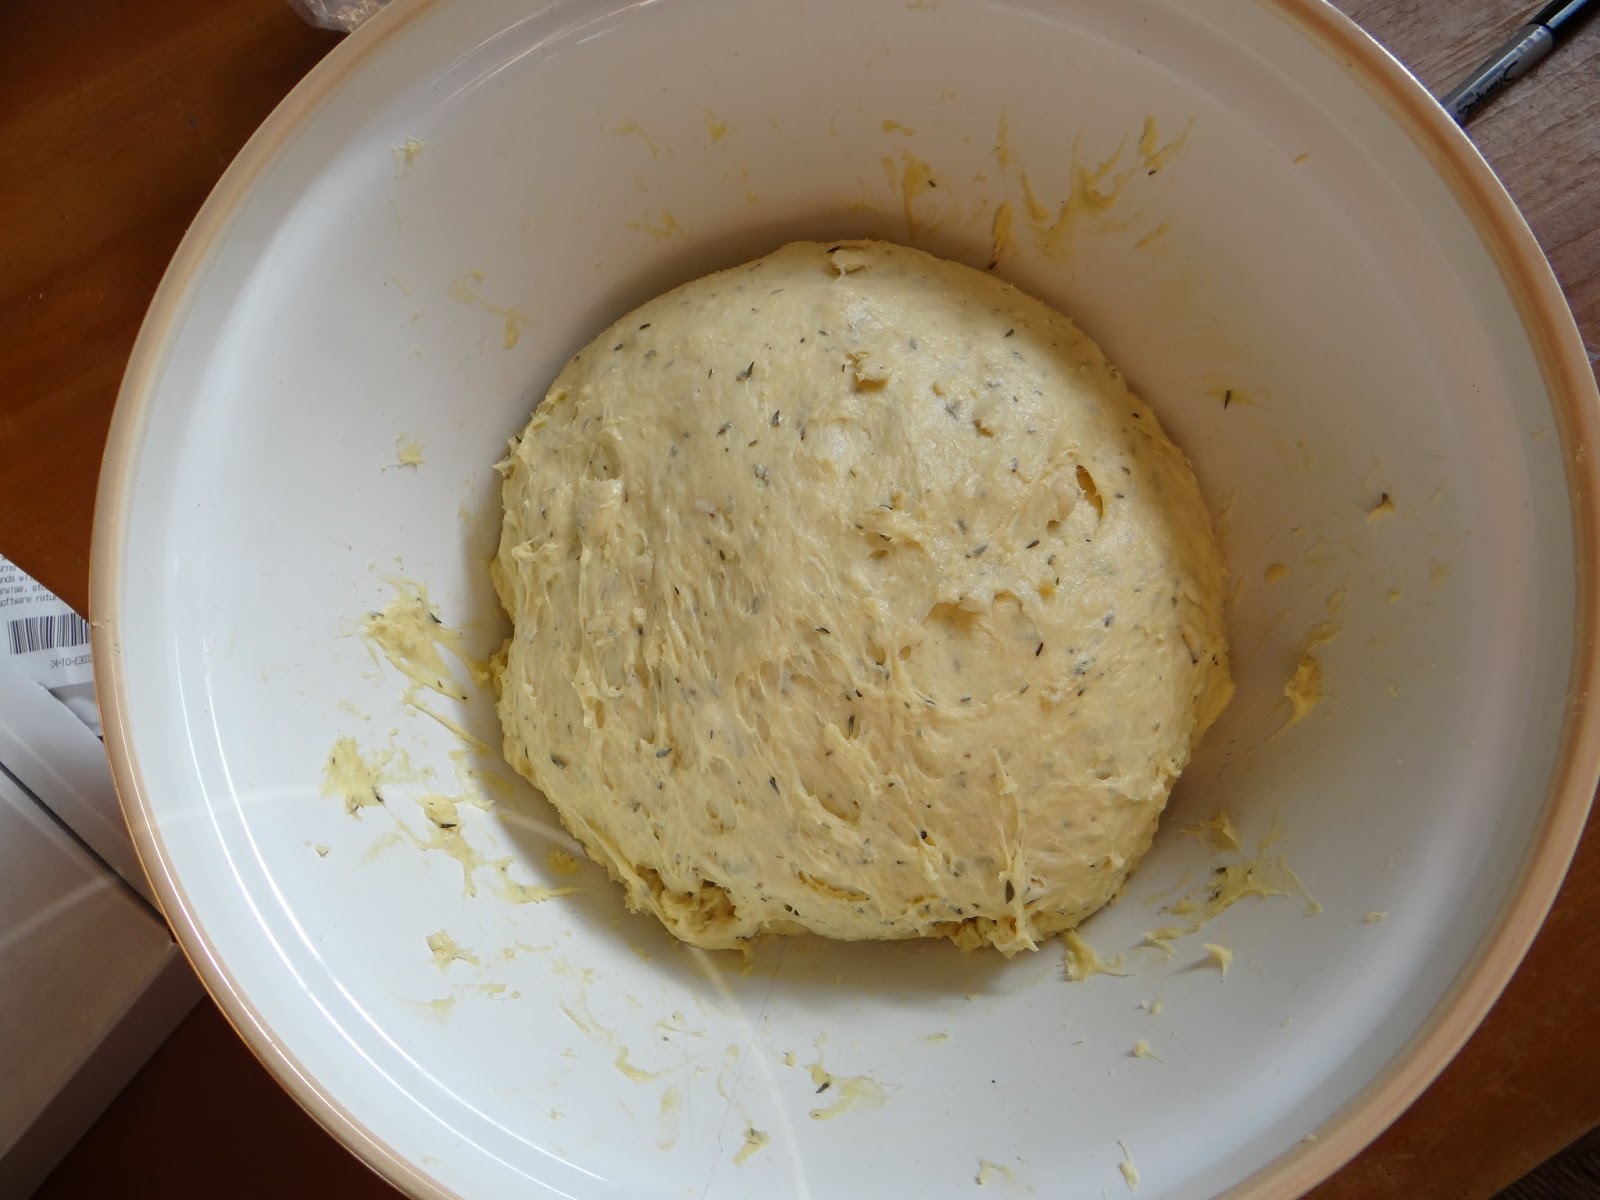
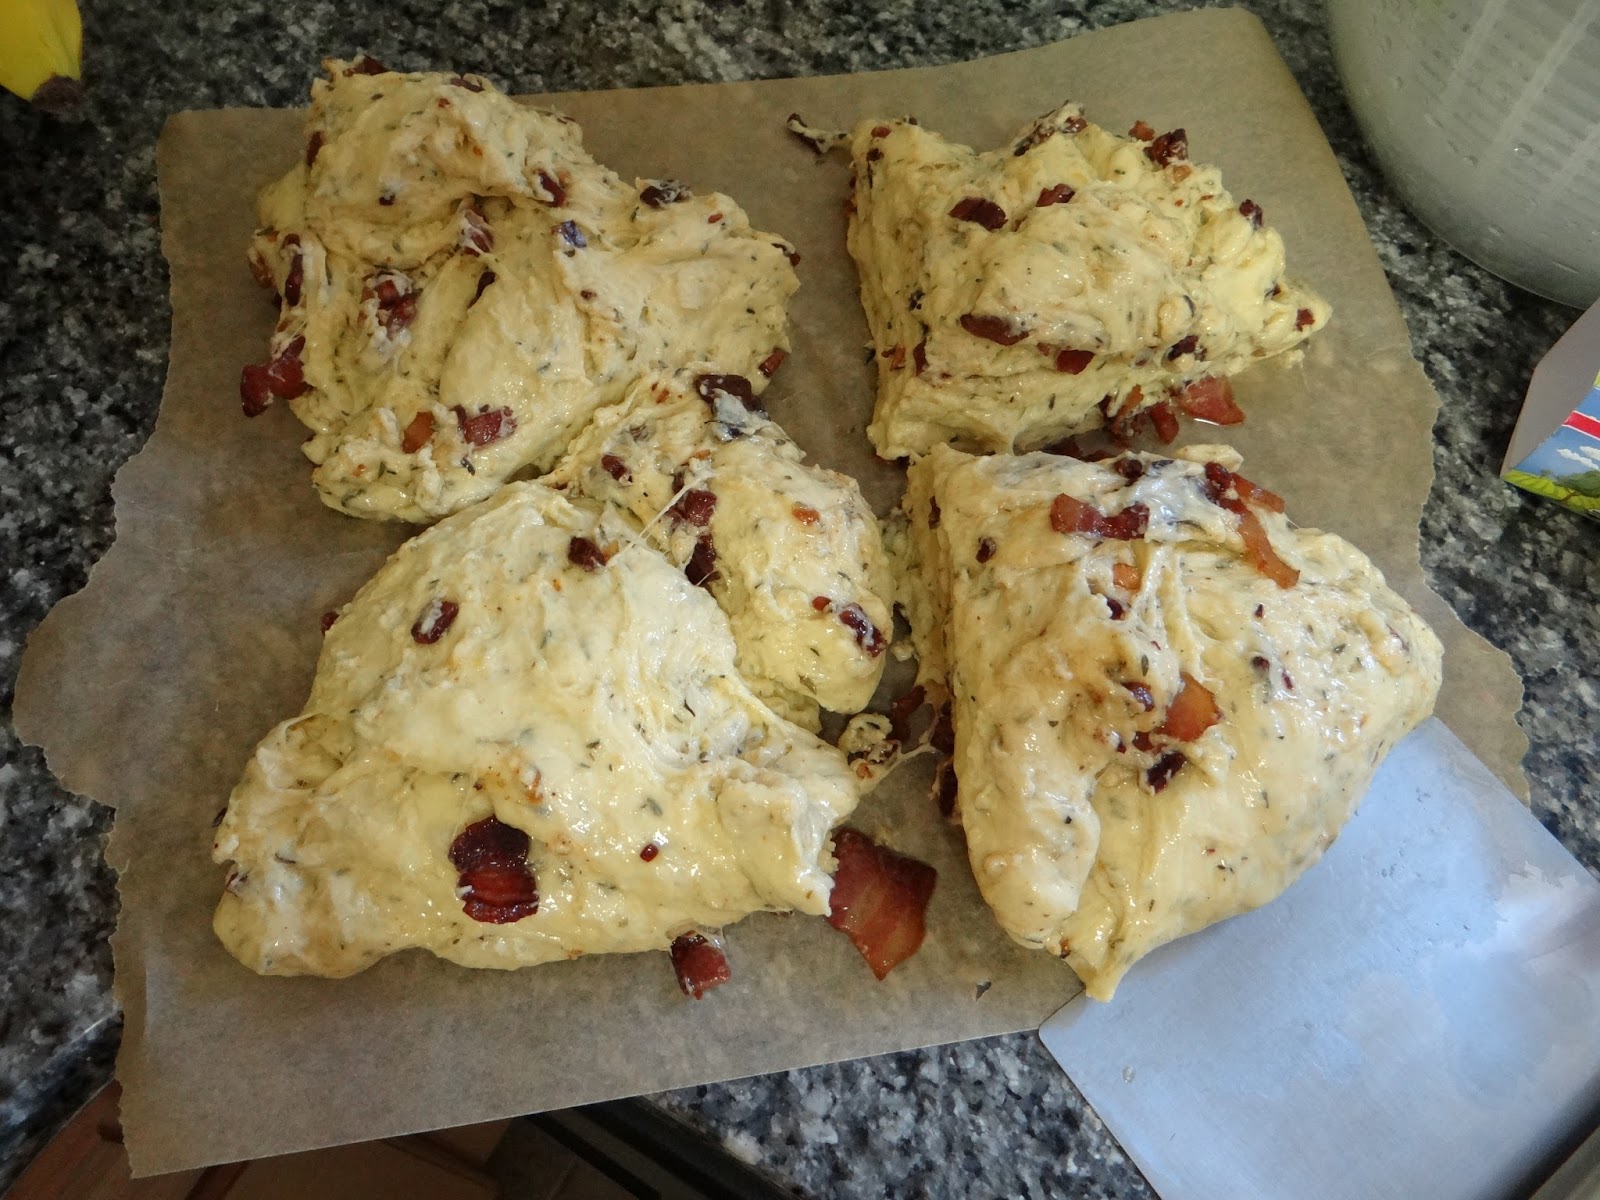
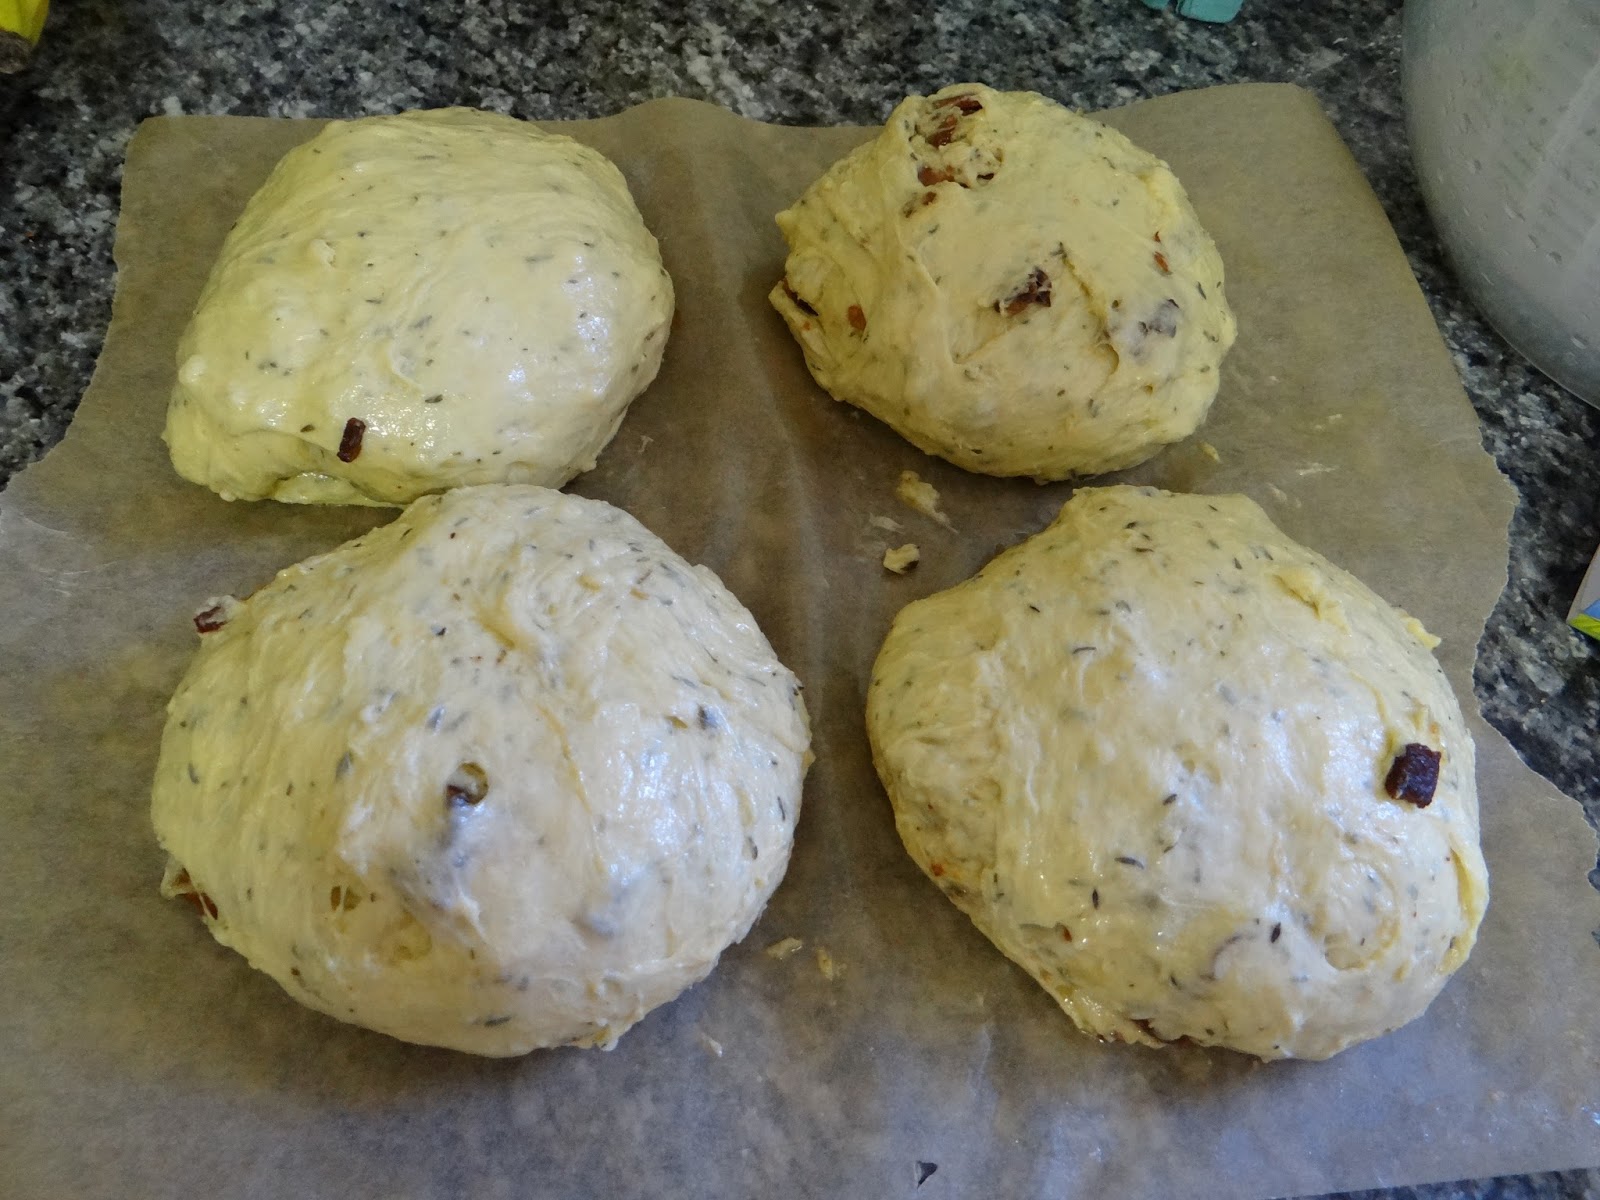
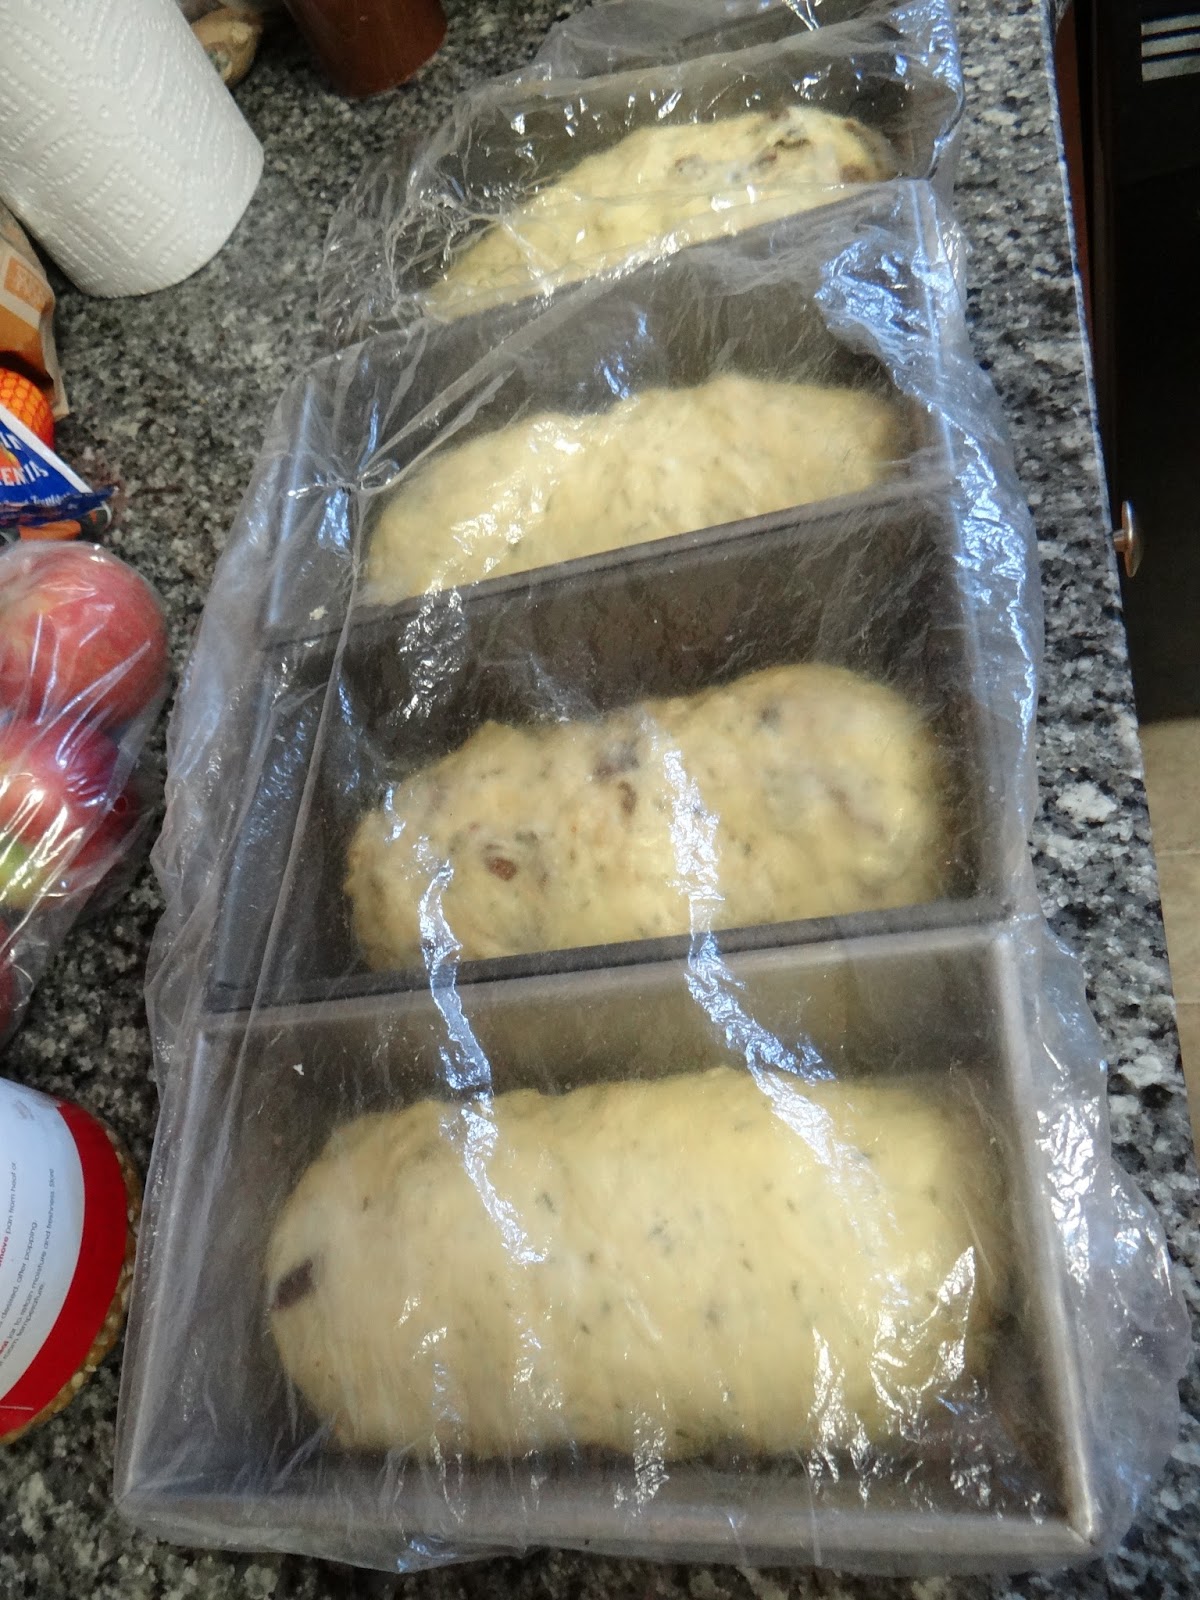
10. Let the dough rest in the bowl for about ten minutes, then use a bench scraper to divide the dough into four equal (by weight) parts. This is very, very important because you want them to cook evenly in the oven later. The dough should be pretty gloopy. But again, stretch and folds are your friend! Gently shape them into circles for another rest.


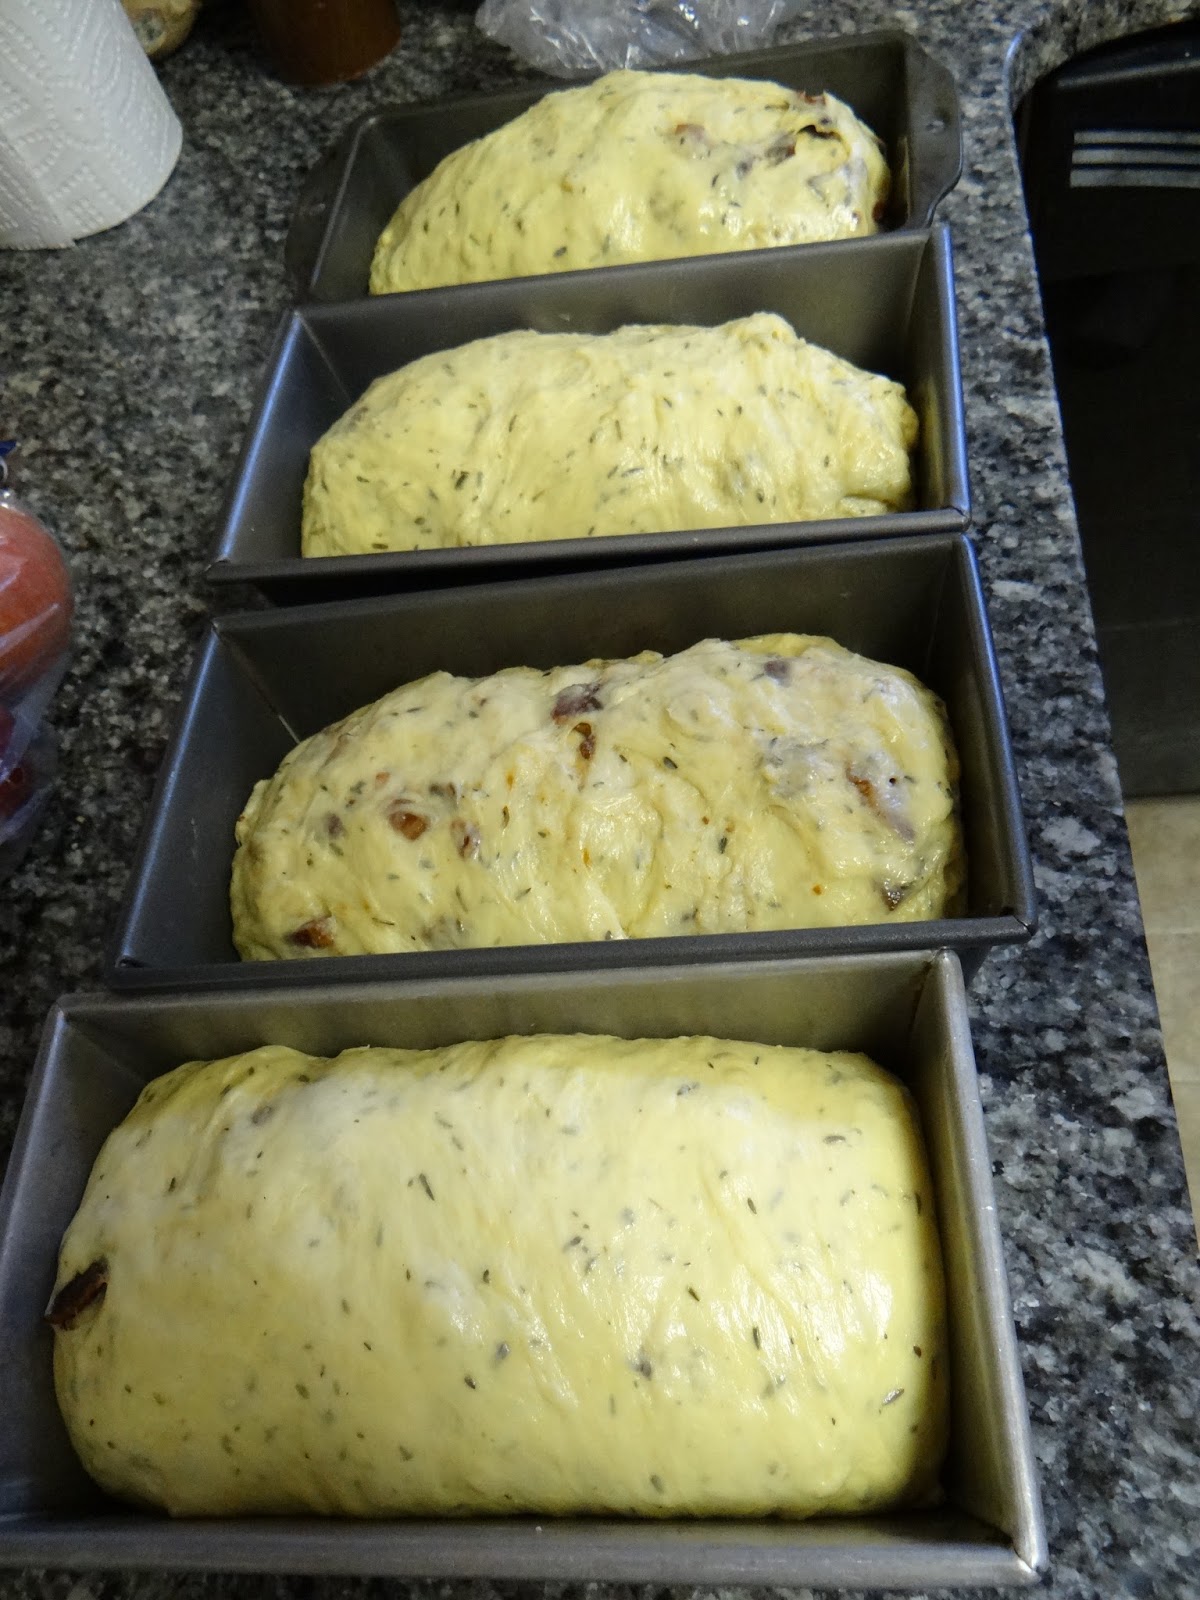
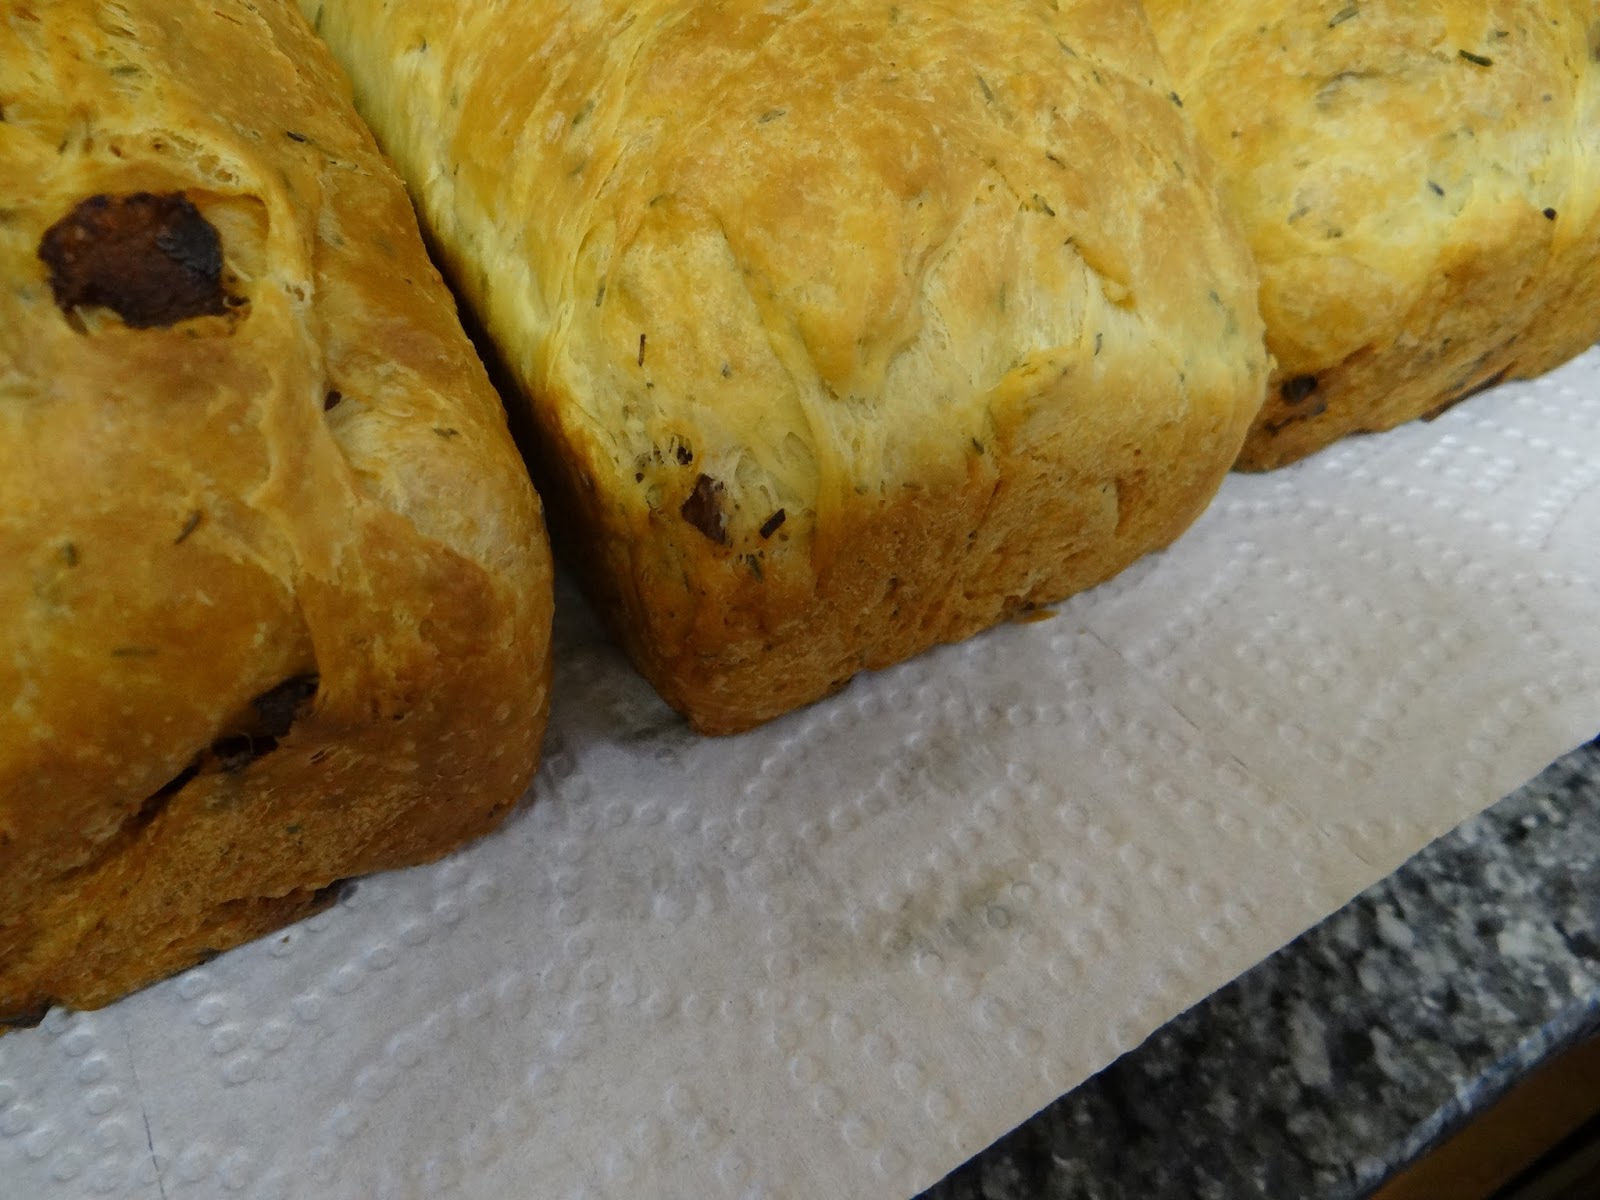
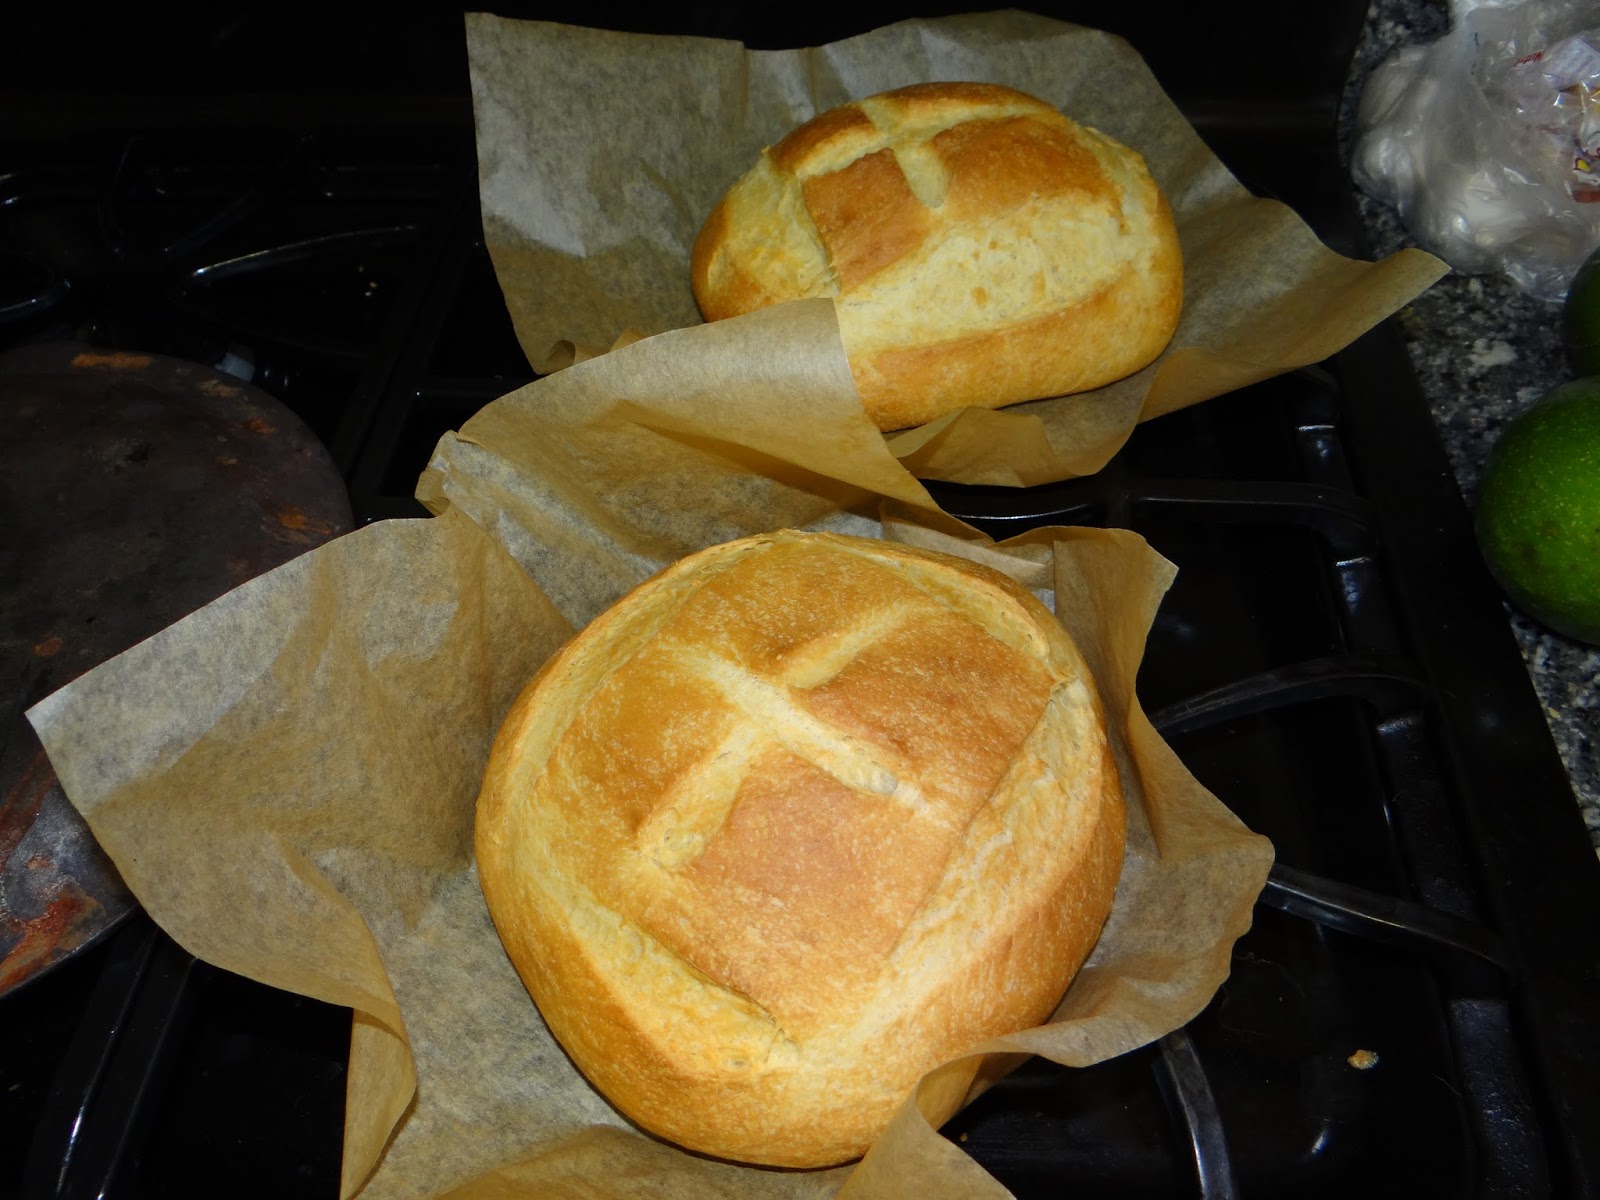
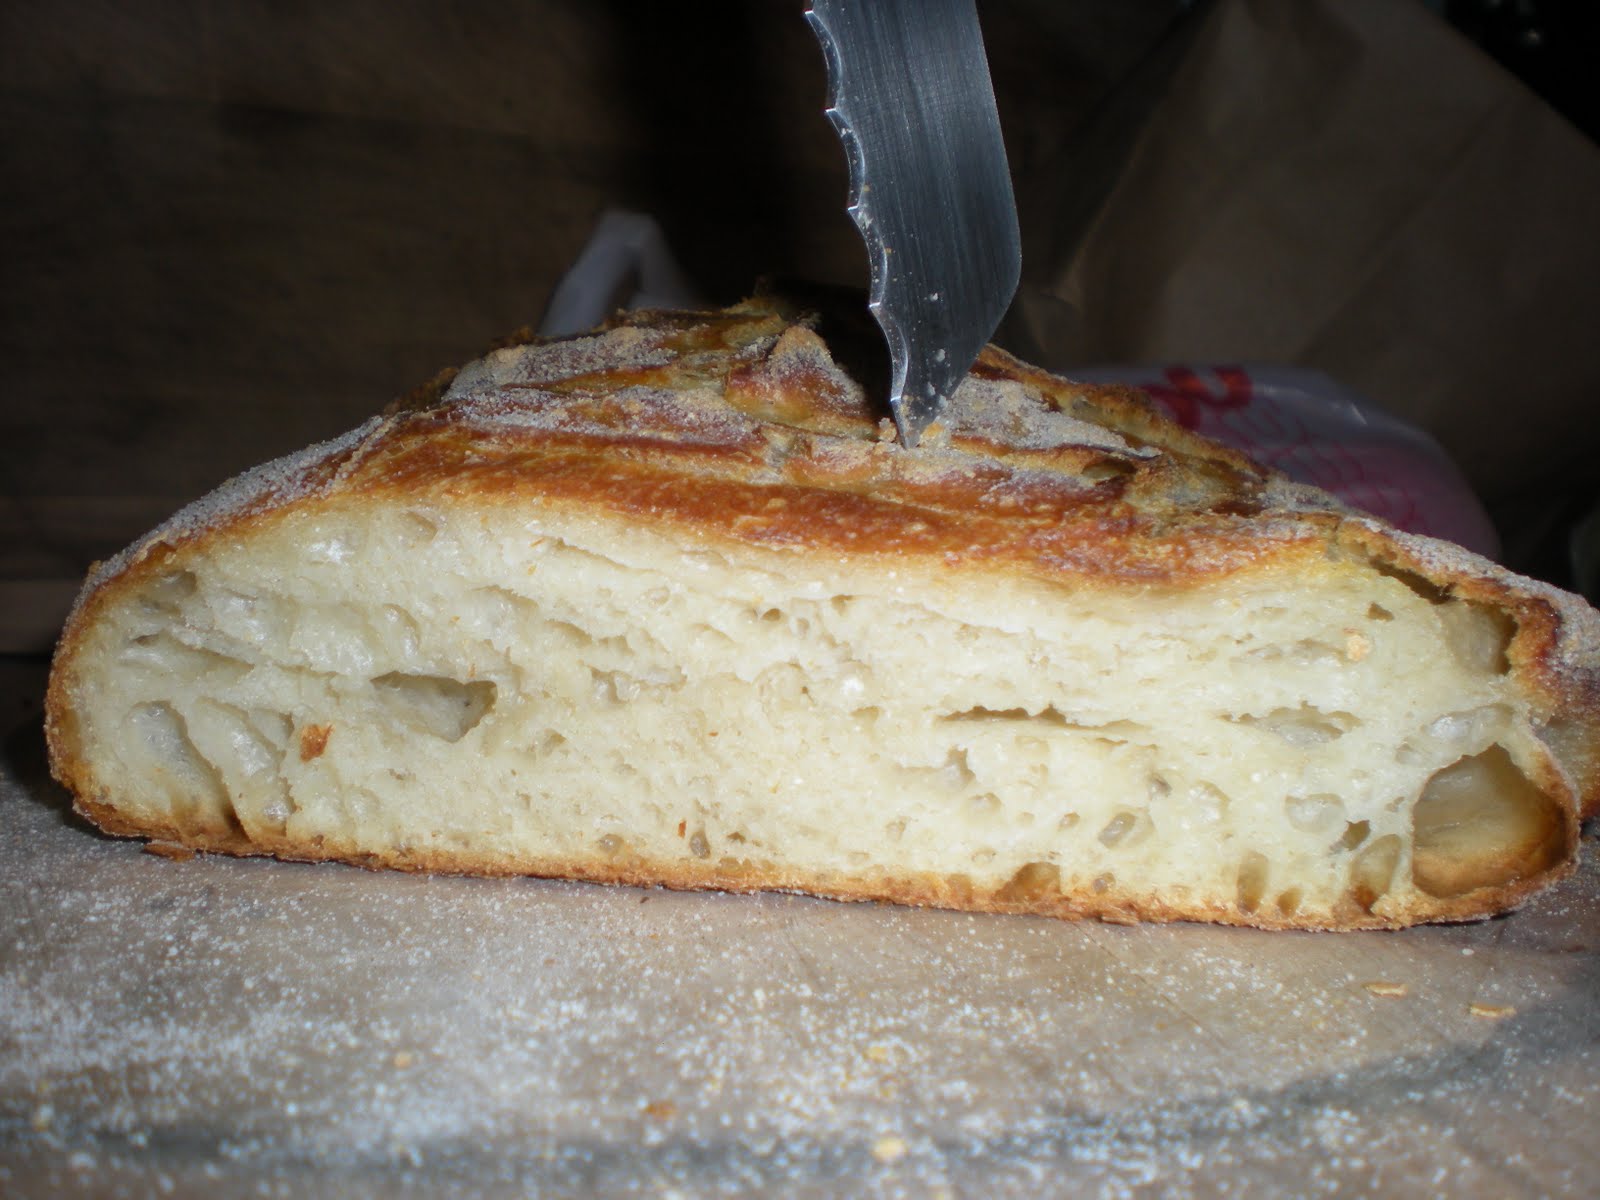
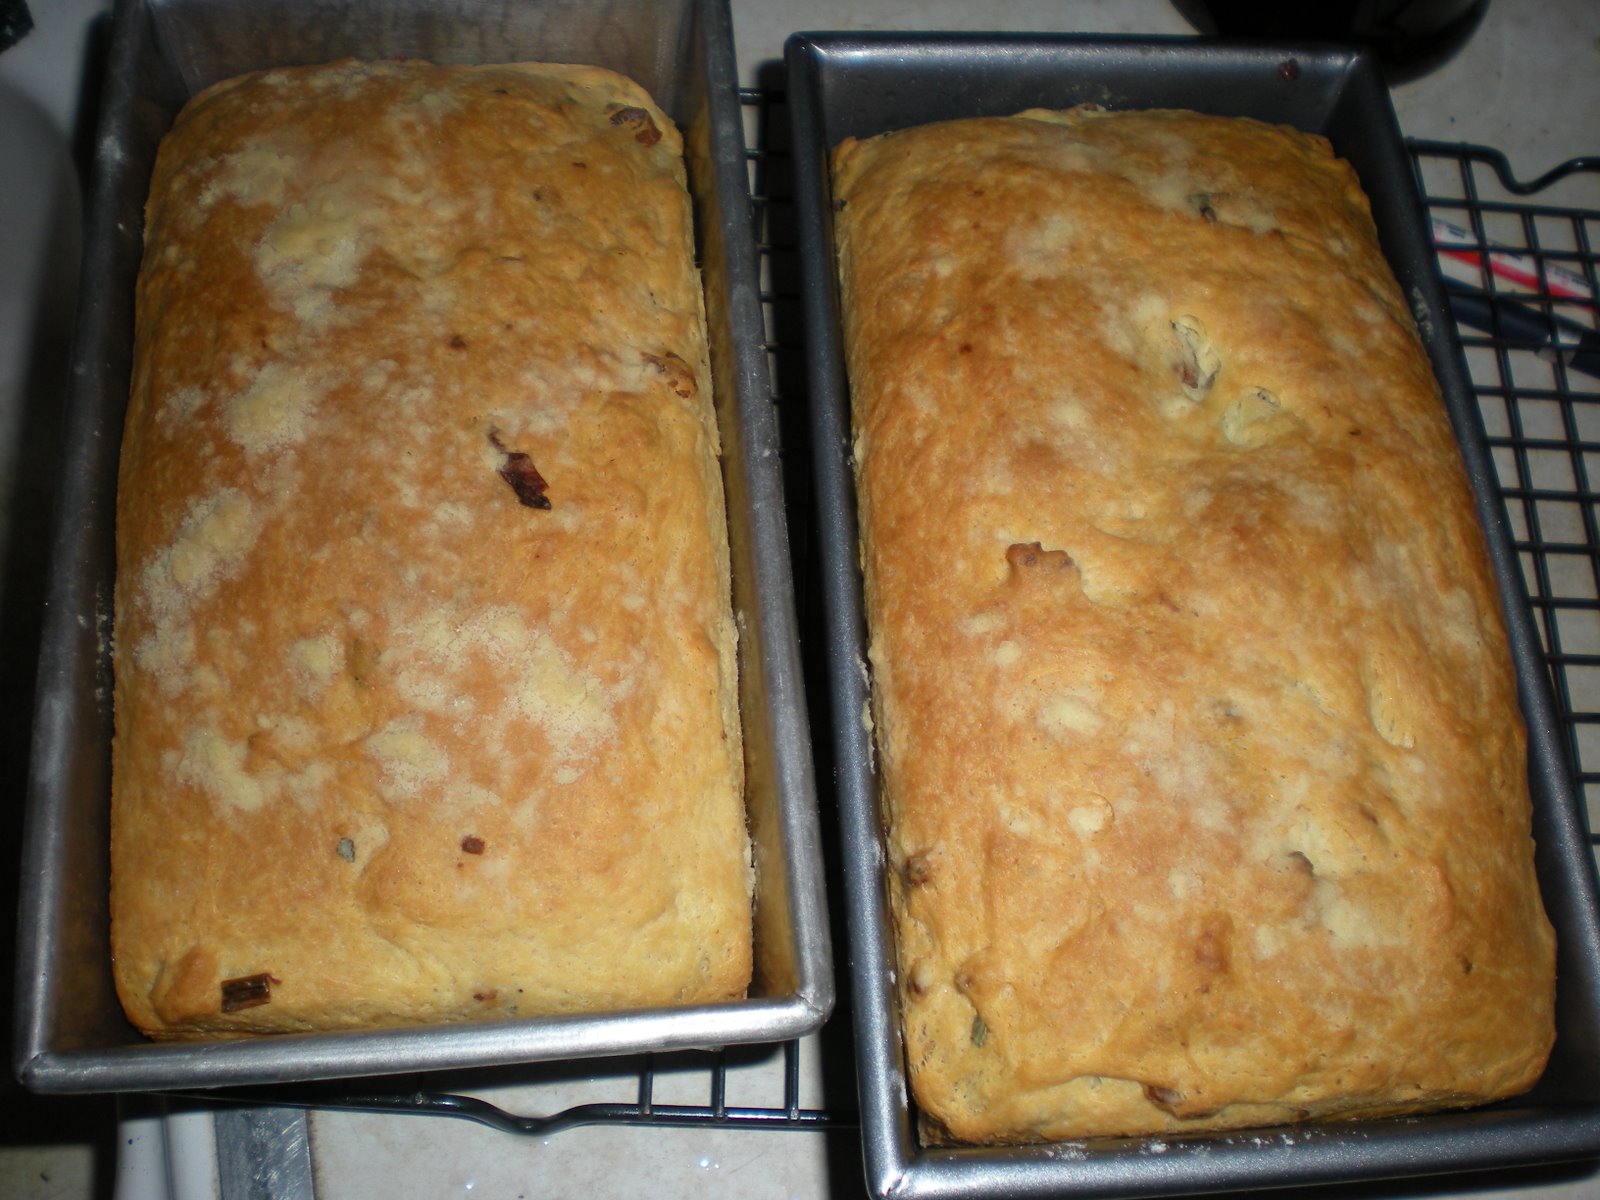
12. Bake your loaves for 35-40 minutes. Remove from the oven when the top makes a satisfying thump when tapped with your fingernail. Let them rest for about ten minutes before removing from the bread pan to a cooling rack. Because these loaves are so greasy, I line the cooling rack with a paper towel.