Bread for communion by intinction part II, now with more bread math!

Here is the post where I tell you how I came up with the recipe for my “look pretty” loaf for my church’s communion by intinction tomorrow!

If you have no idea what I’m talking about, click here.

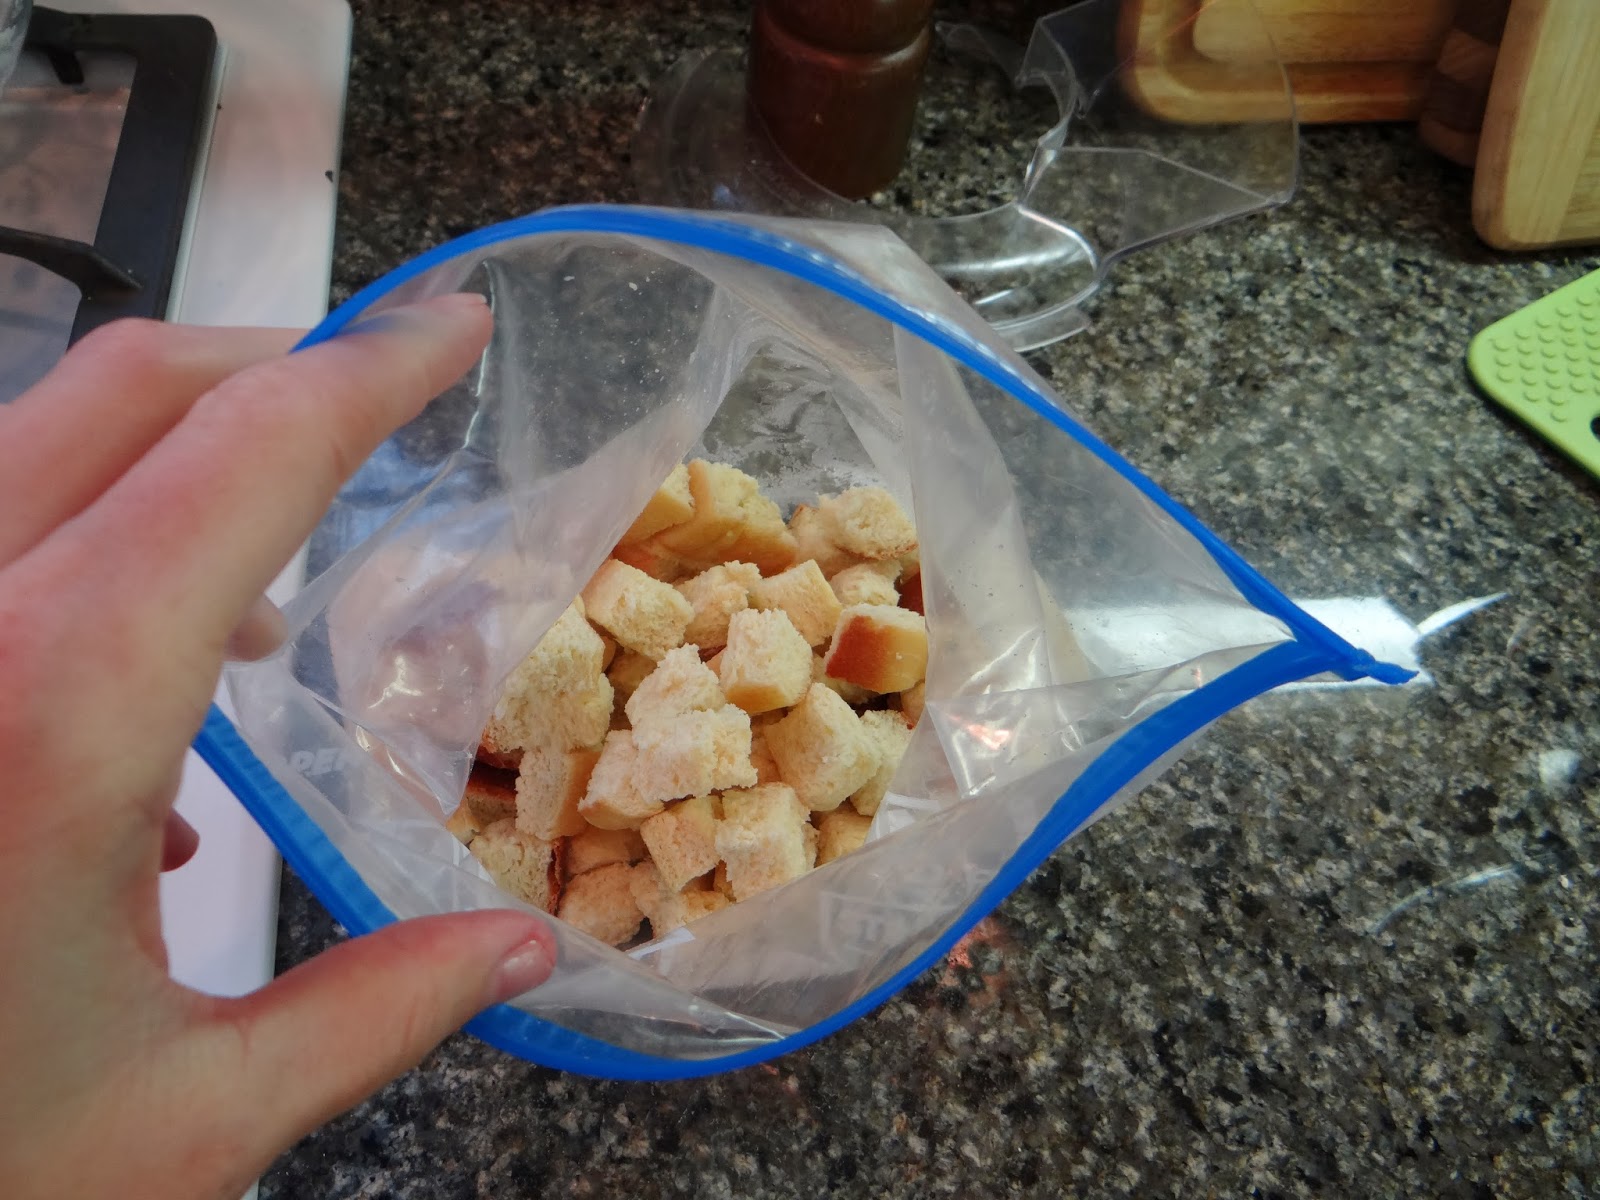
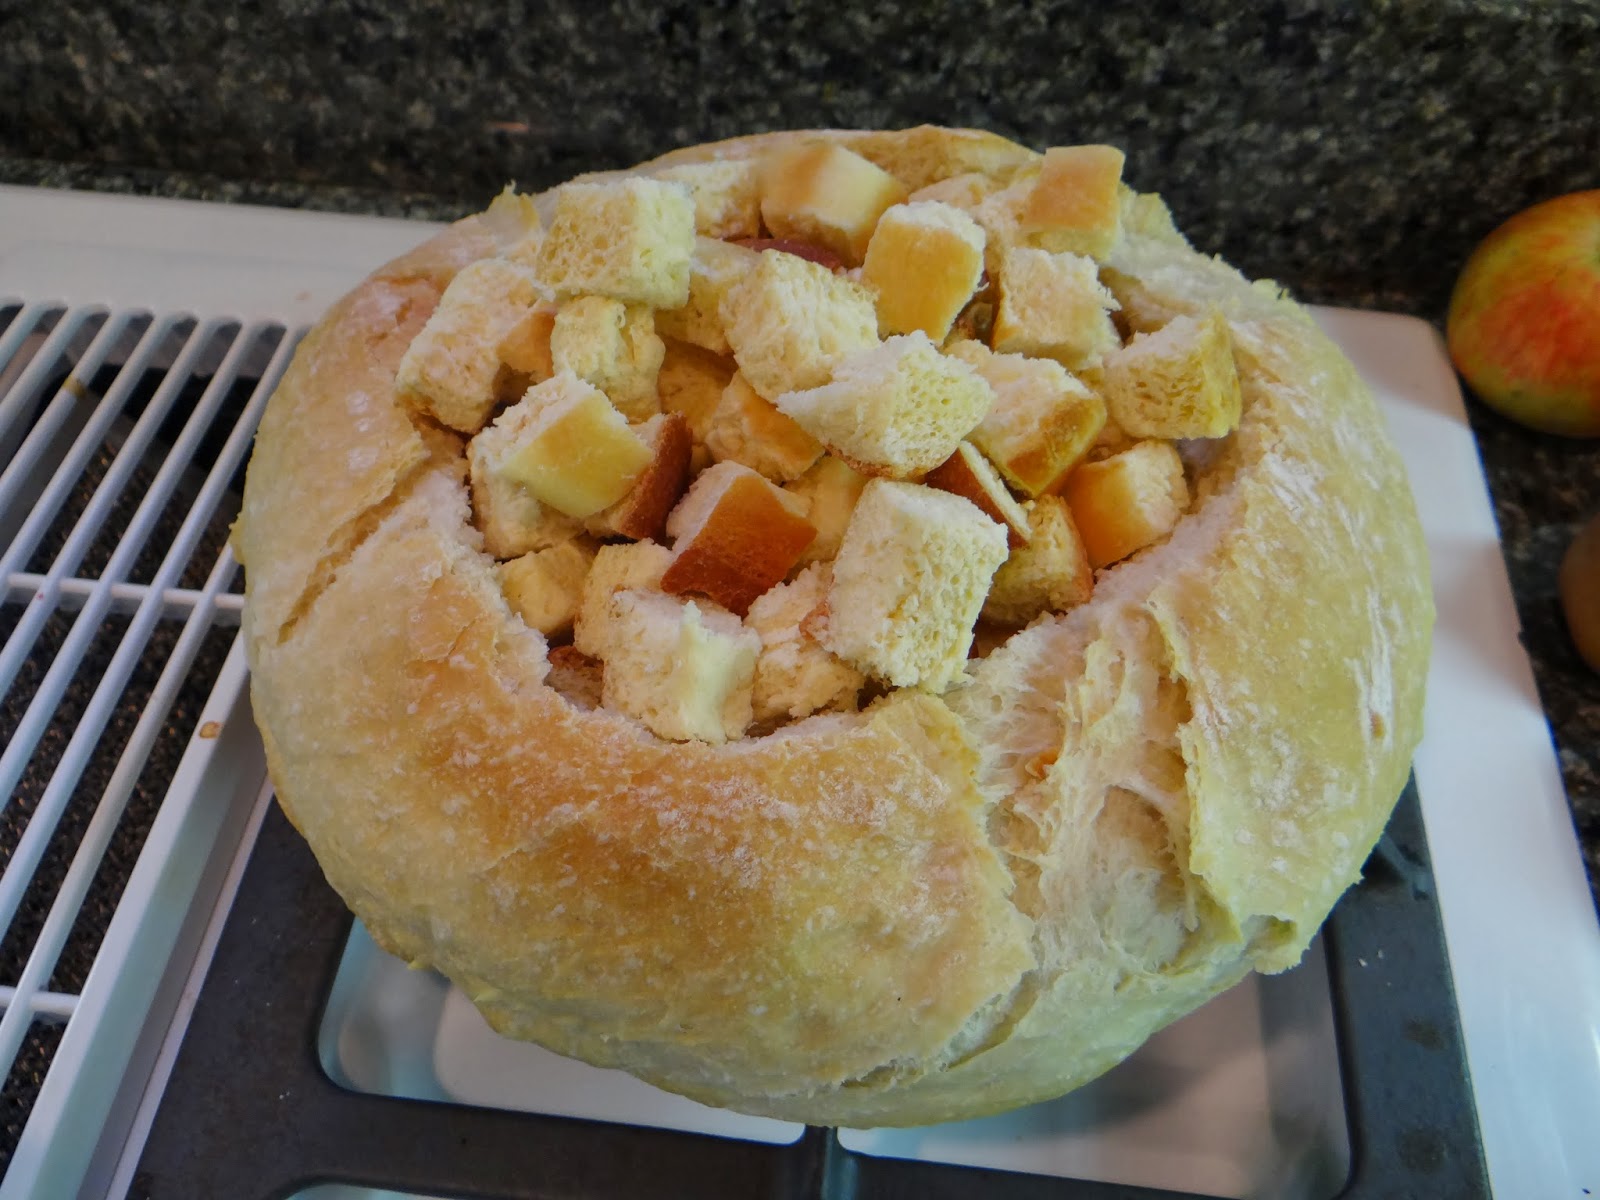
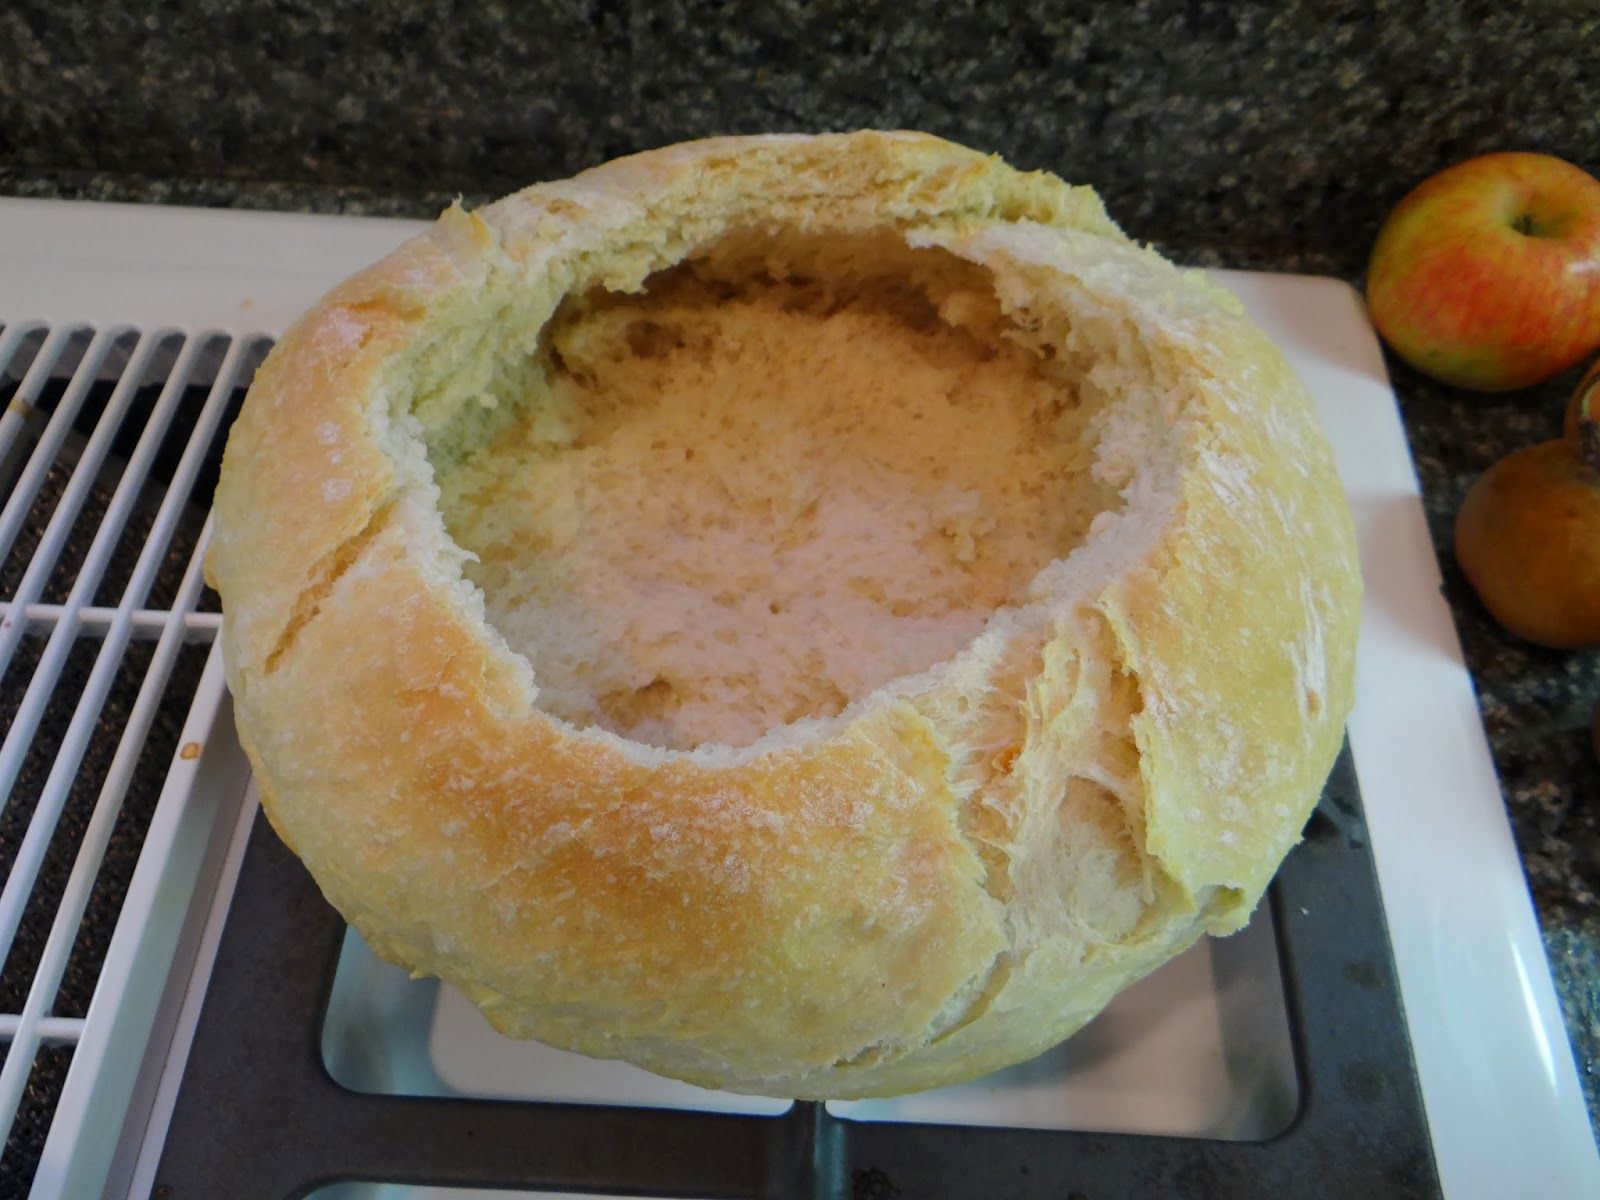
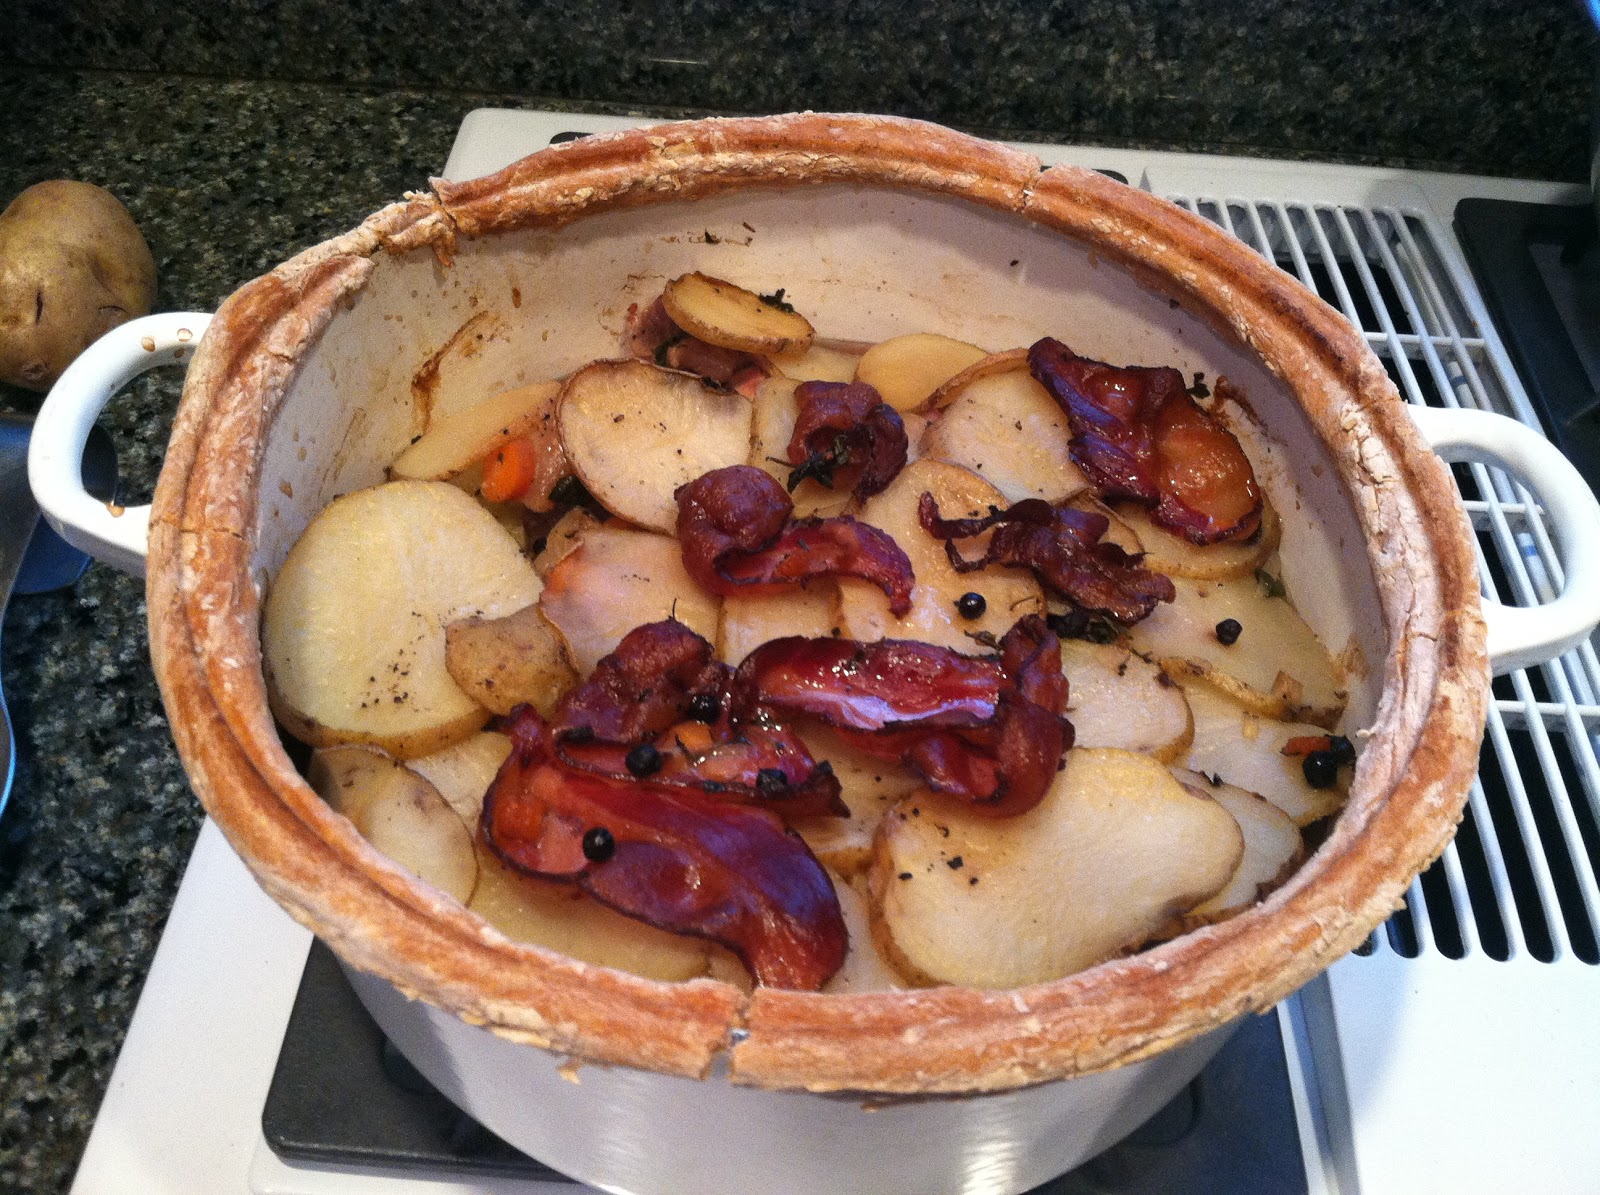
In the last post, I gave you the recipe for the challah, which I cut up and used to fill the bread bowl.  The challah is the part that people will actually eat.  It’s the “be tasty” loaf.

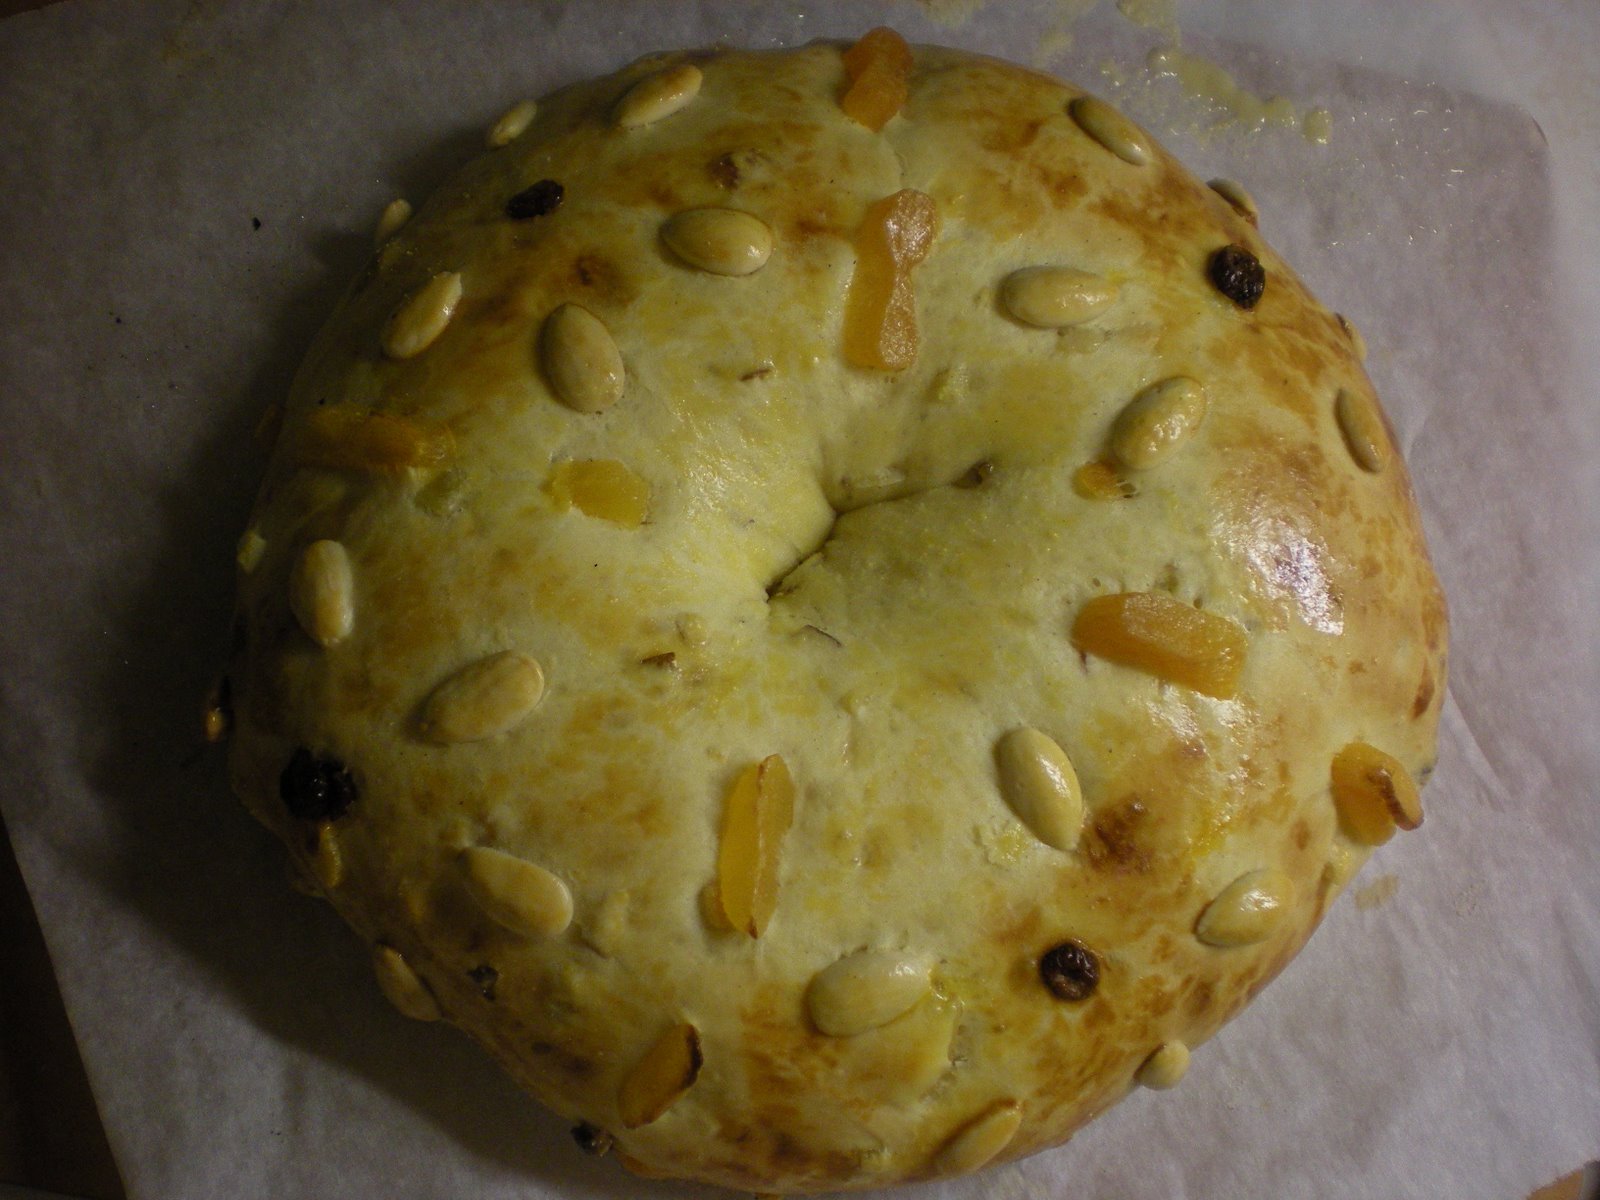
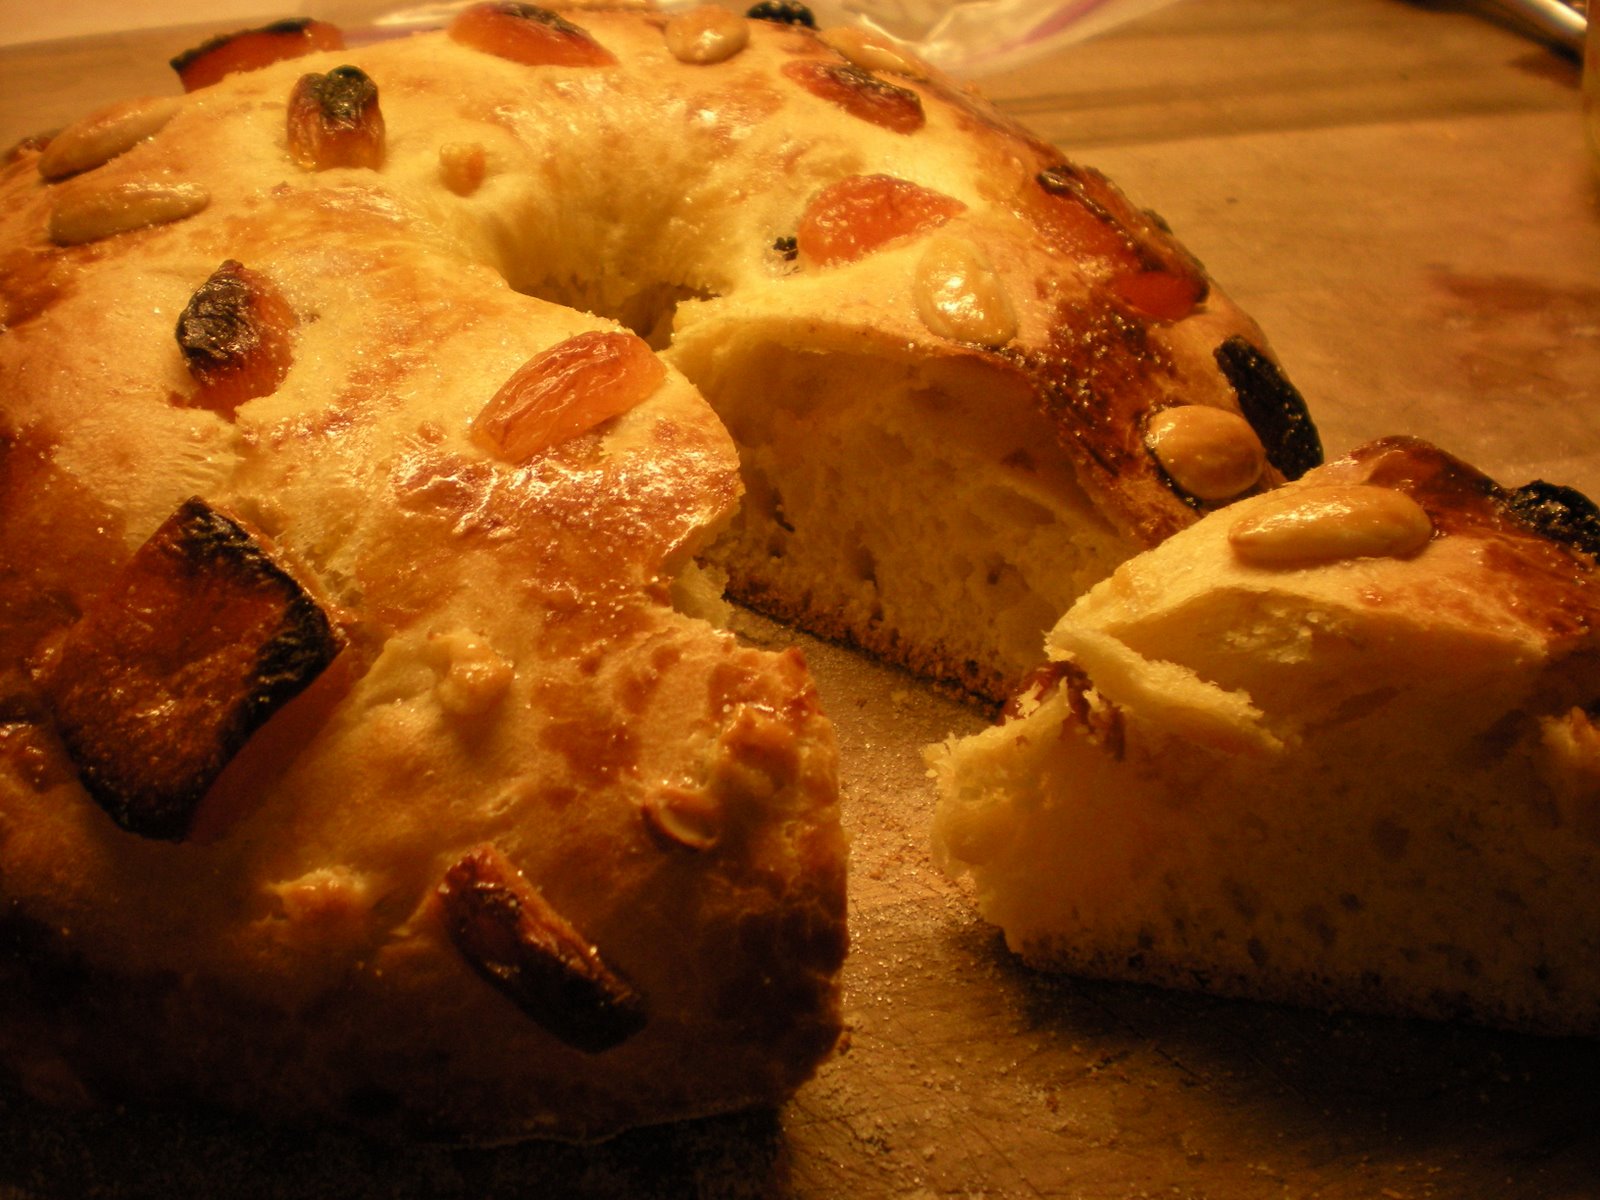
The “look pretty” loaf is the one that sits on the table in the front of the sanctuary, and which the pastor holds up and tears in half while telling the story of the Last Supper.  Its entire job is to look nice and be tear-able.

How do you make a loaf that tears easily?  Well, you need to add some sort of fat to enrich it.  I’m no food scientist, but I know that fat tenderizes the dough, making it easier to tear.  Fats can include milk, butter, oil, or eggs.

However, you can’t just throw these into a dough and call it a day.  They contribute to the overall hydration of the dough in indirect ways that need to be compensated for.

This is a job for…. bread math!

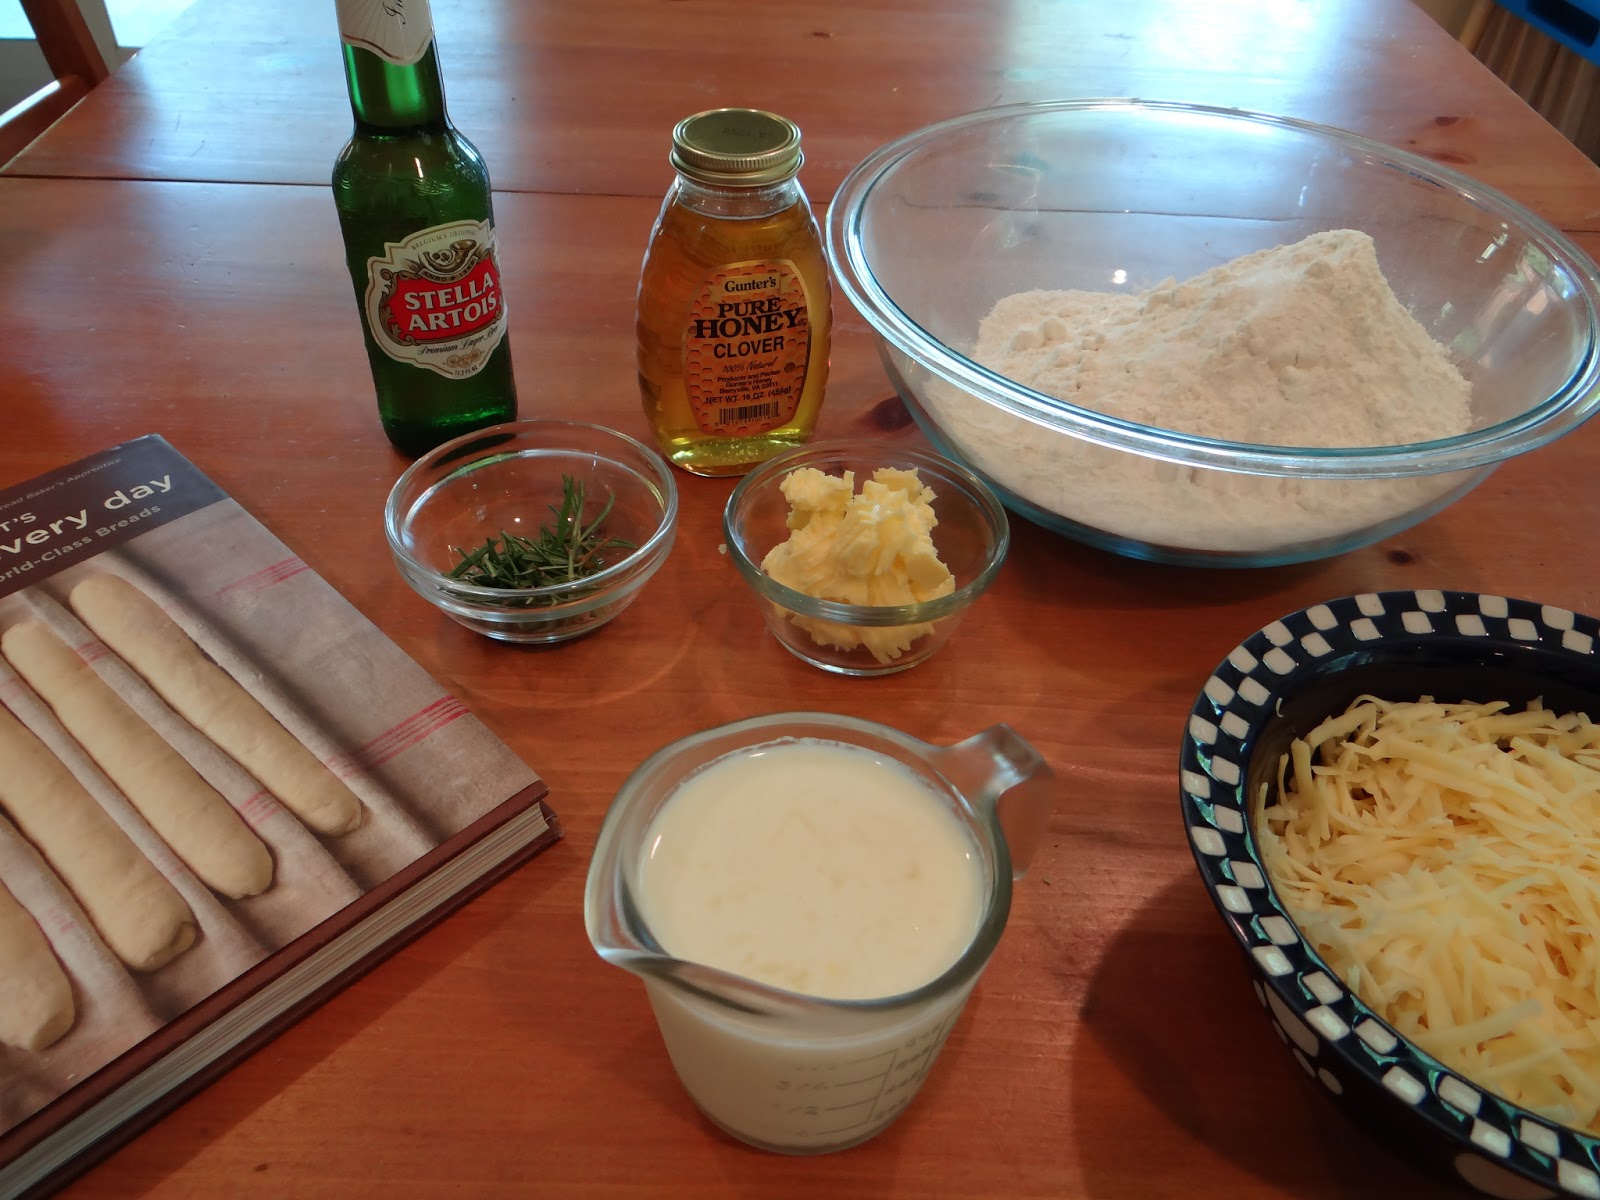
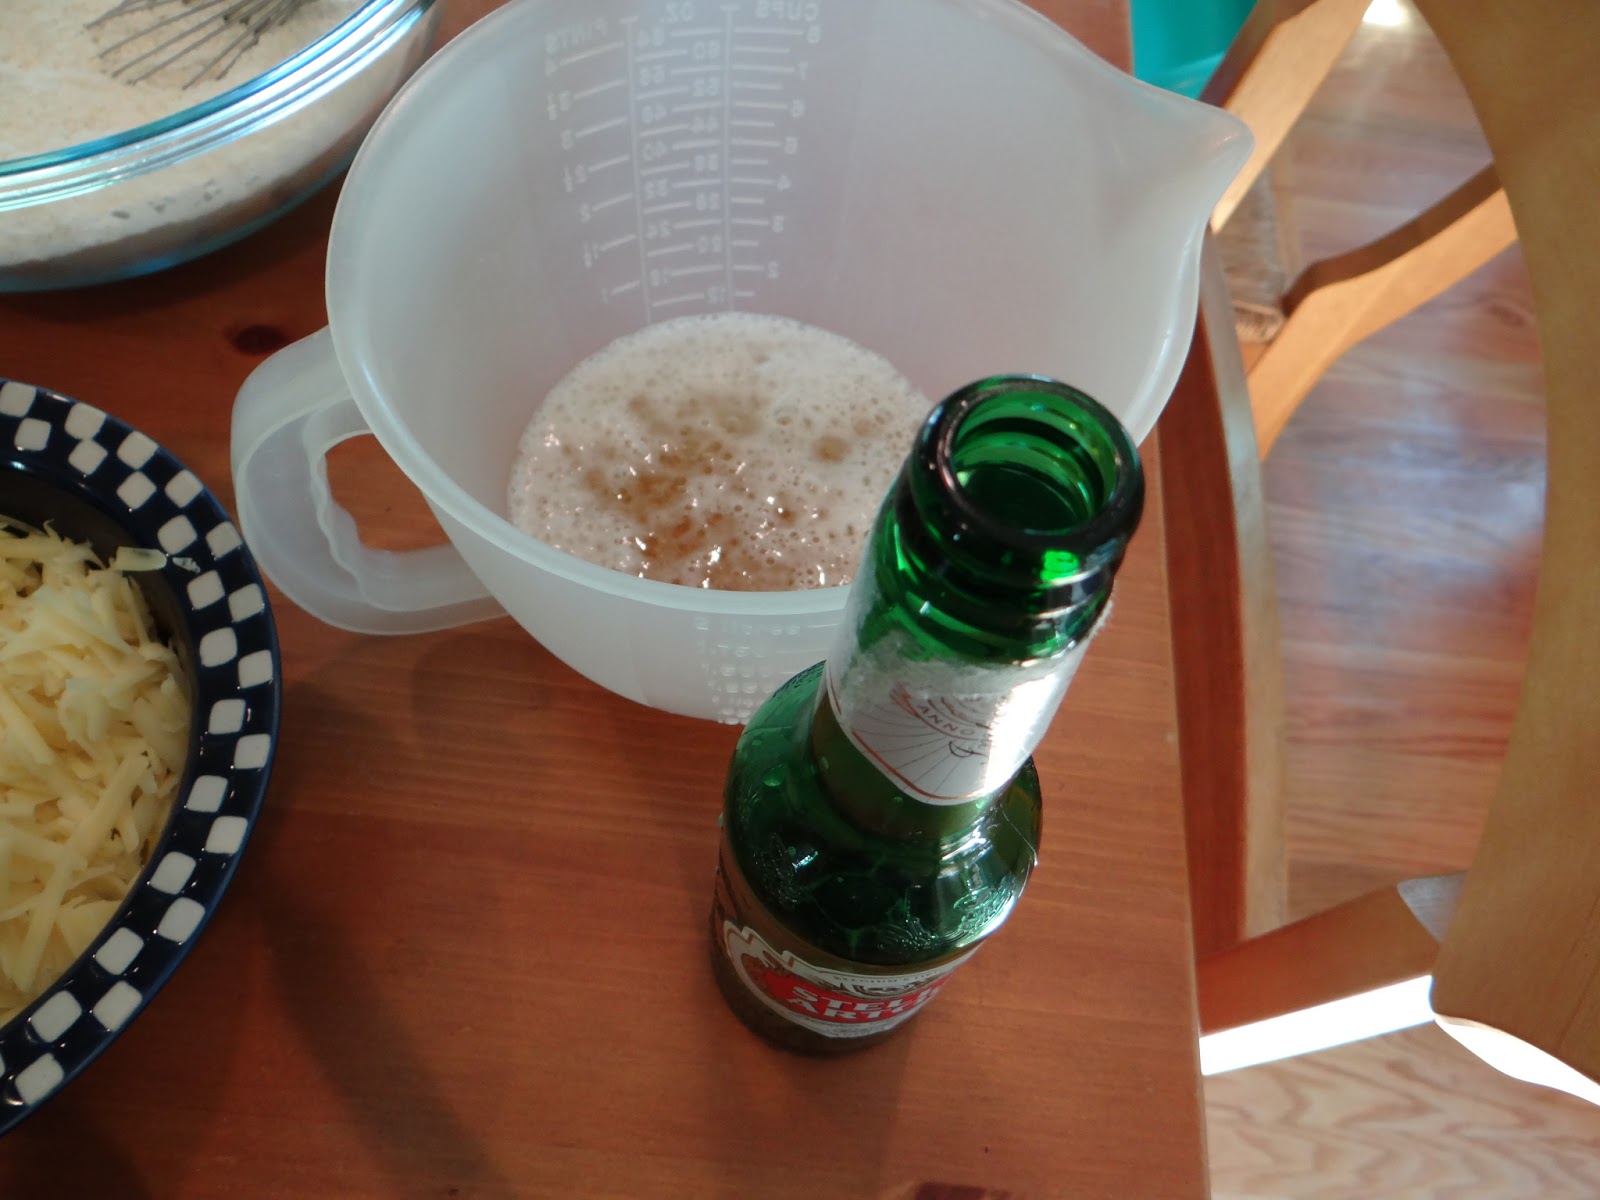
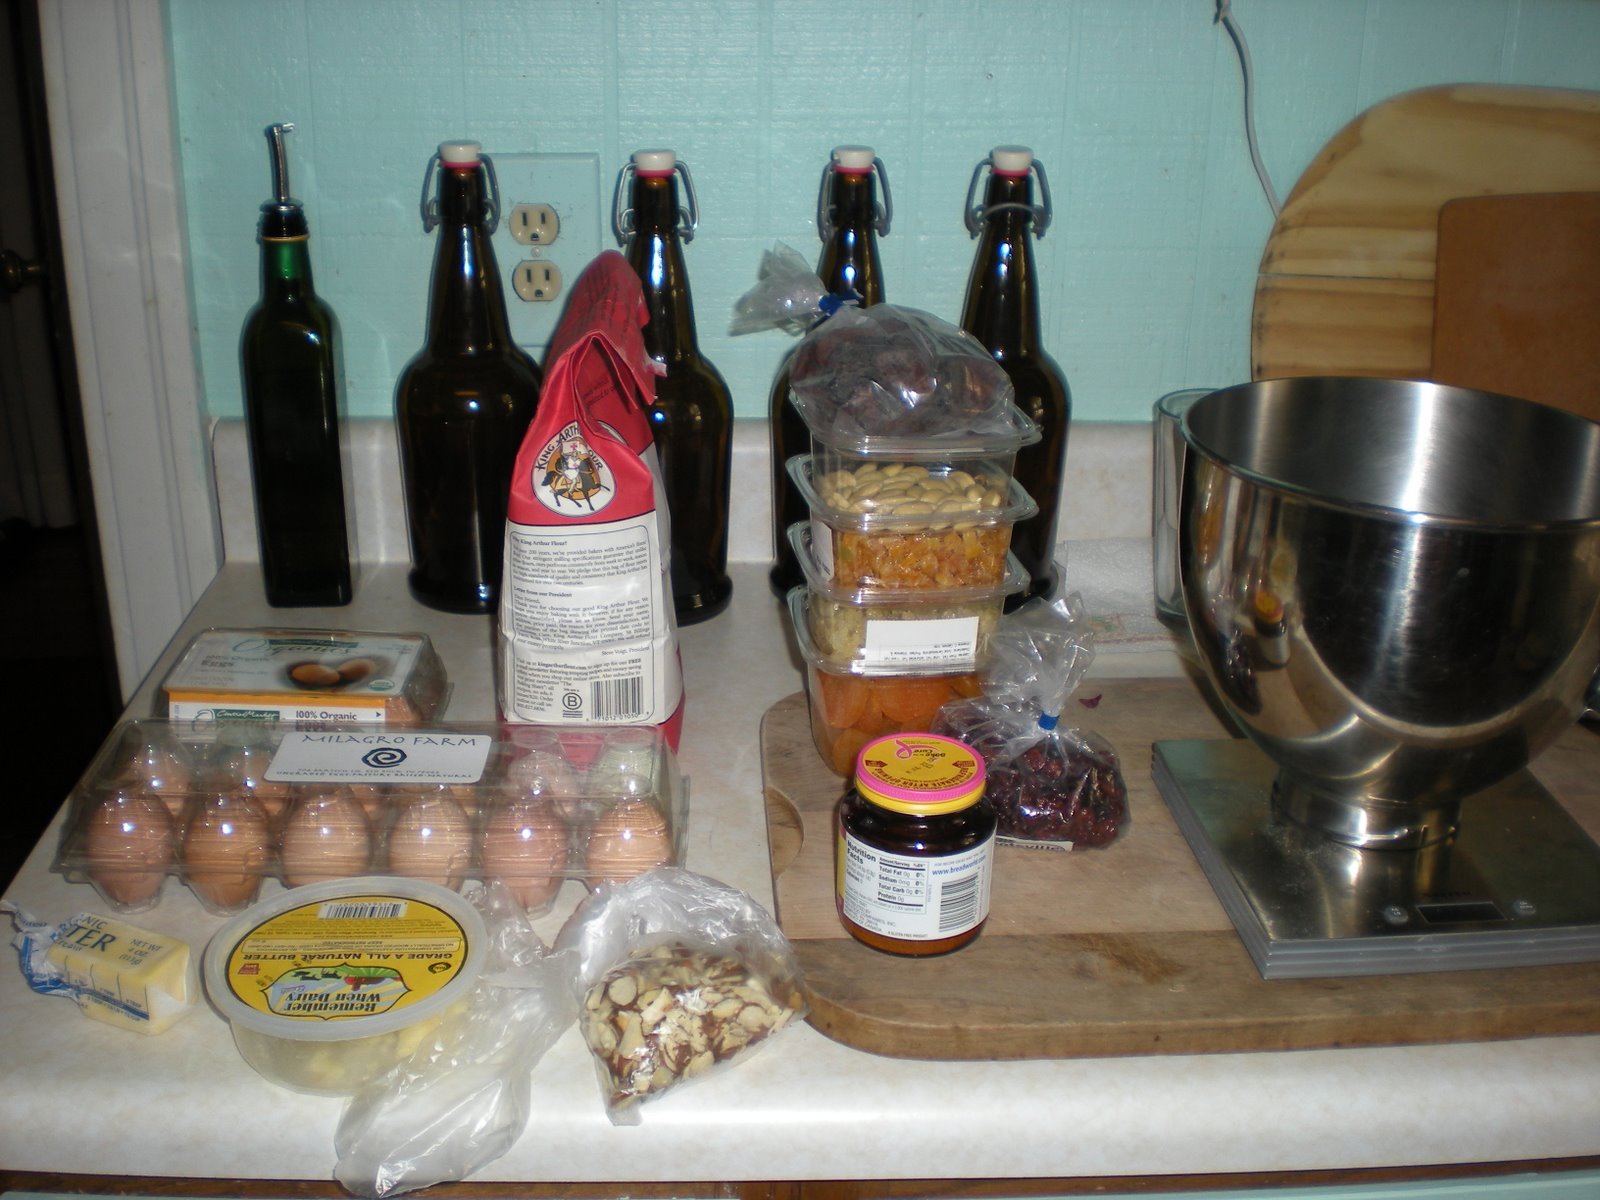
I decided I was going to add milk and an egg to soften my usual simplified 1-2-3 dough.  Here is how I did it:

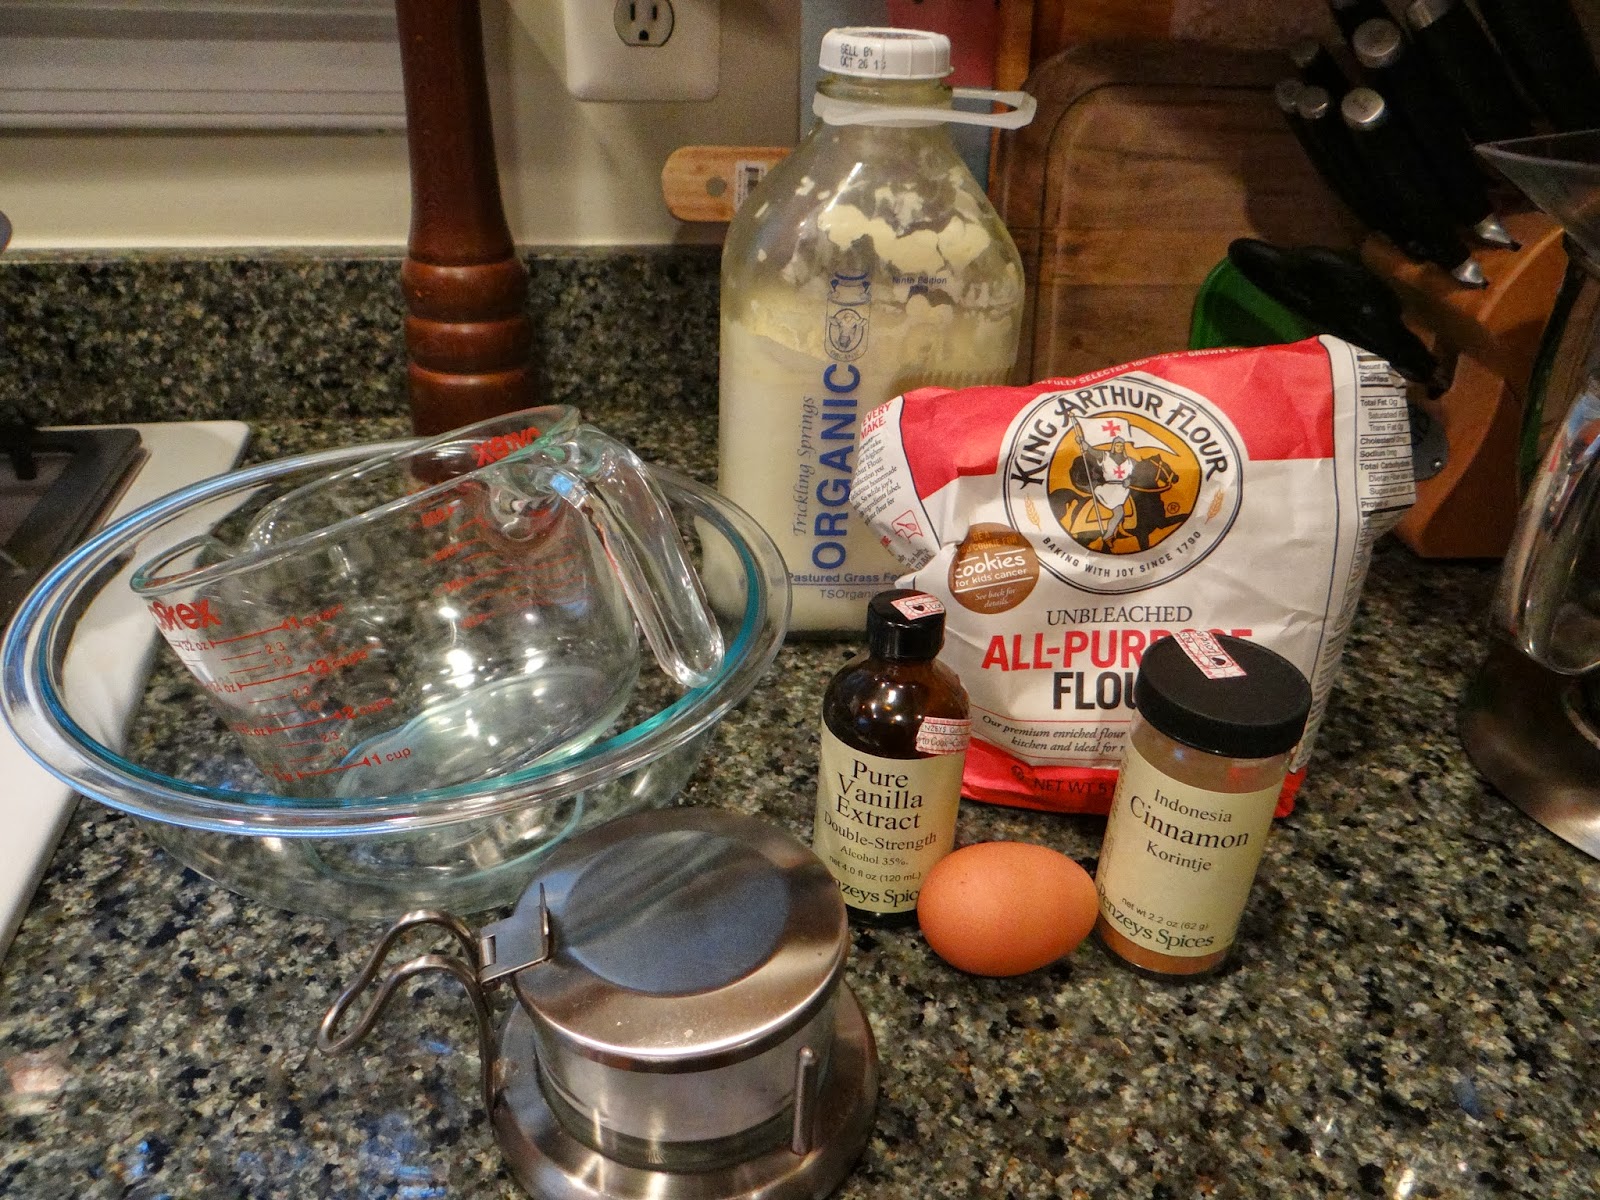
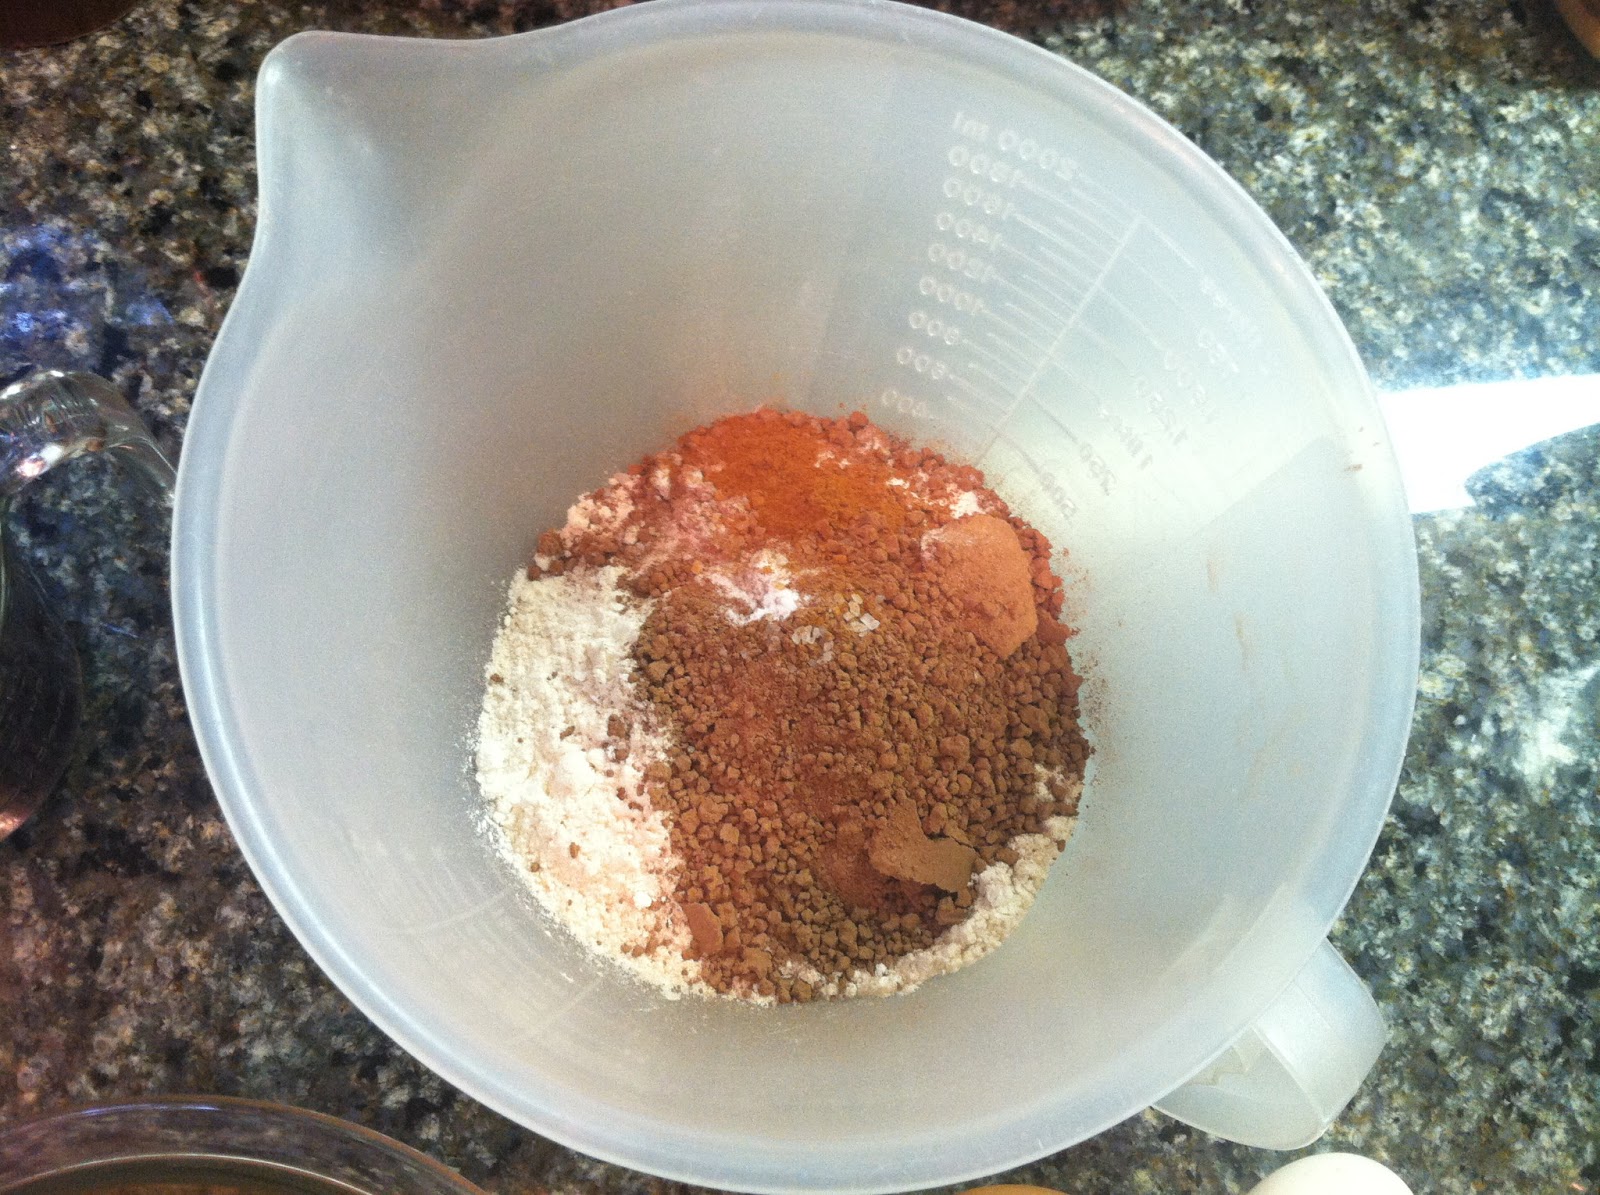
My 1-2-3 loaf uses 375g of flour and 250g of water.  So the milk and egg would need to be a part of the 250g of water.

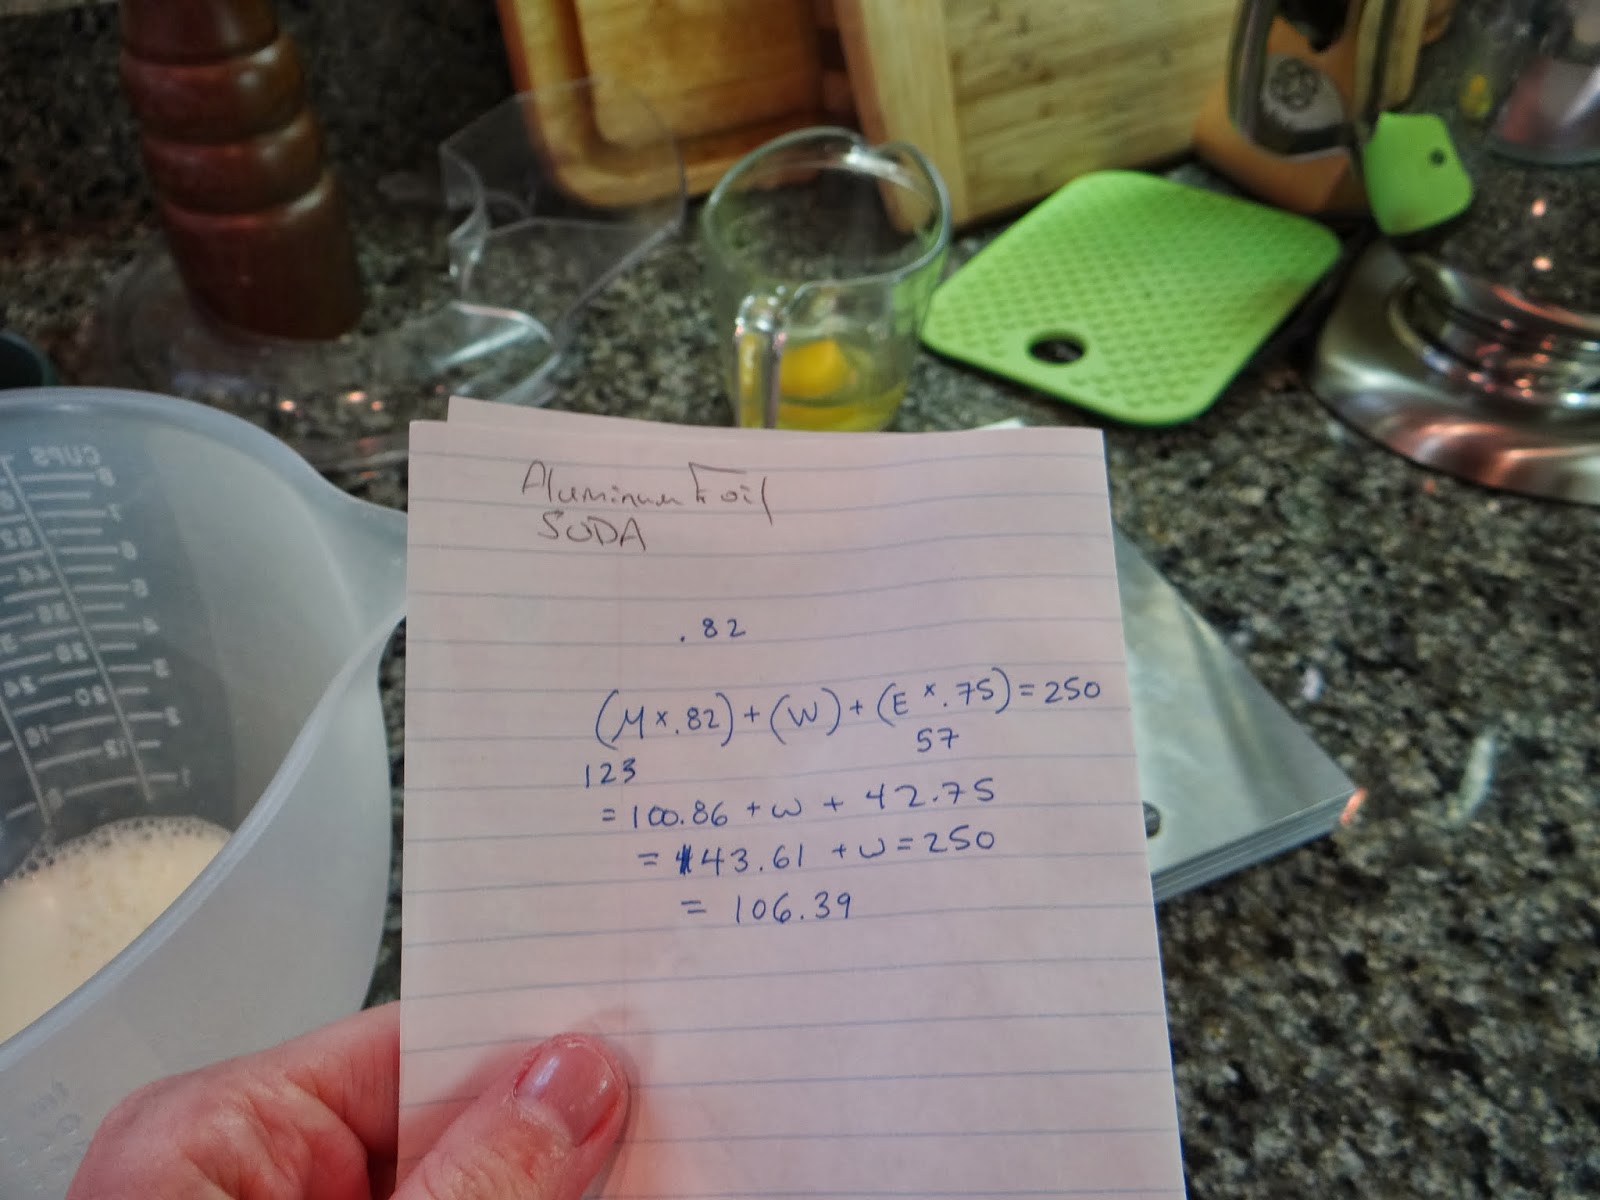
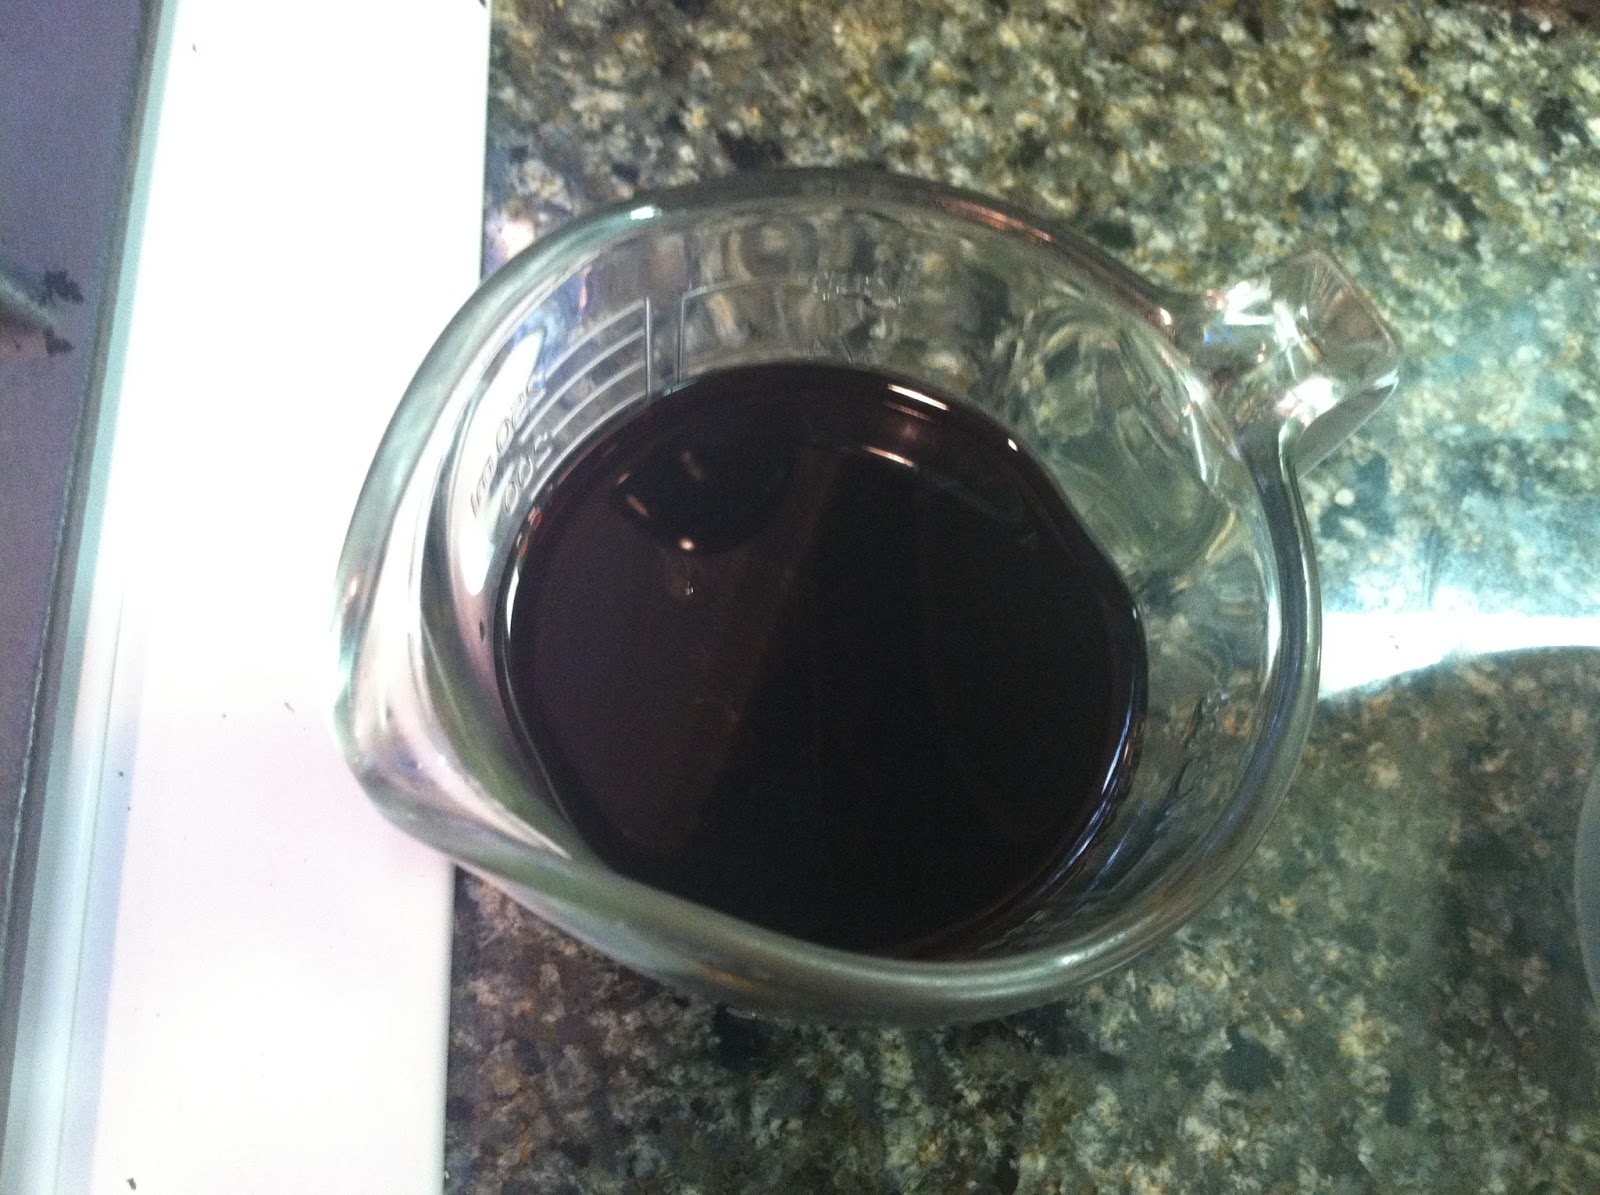
First, I figured out that milk is considered 82% hydration and an egg is 75% hydration.  That means they are 82% and 75% water respectively, and the rest is fat (or protein).

So in order to keep my 60% hydration level, I would have to measure the milk and egg by weight and calculate 82% of the milk and 75% of the egg and add them together along with some more water to equal 250g.

Here is my equation (if you can’t see in the above photo):

(milk * .82) + (egg * .75) + (water) = 250g

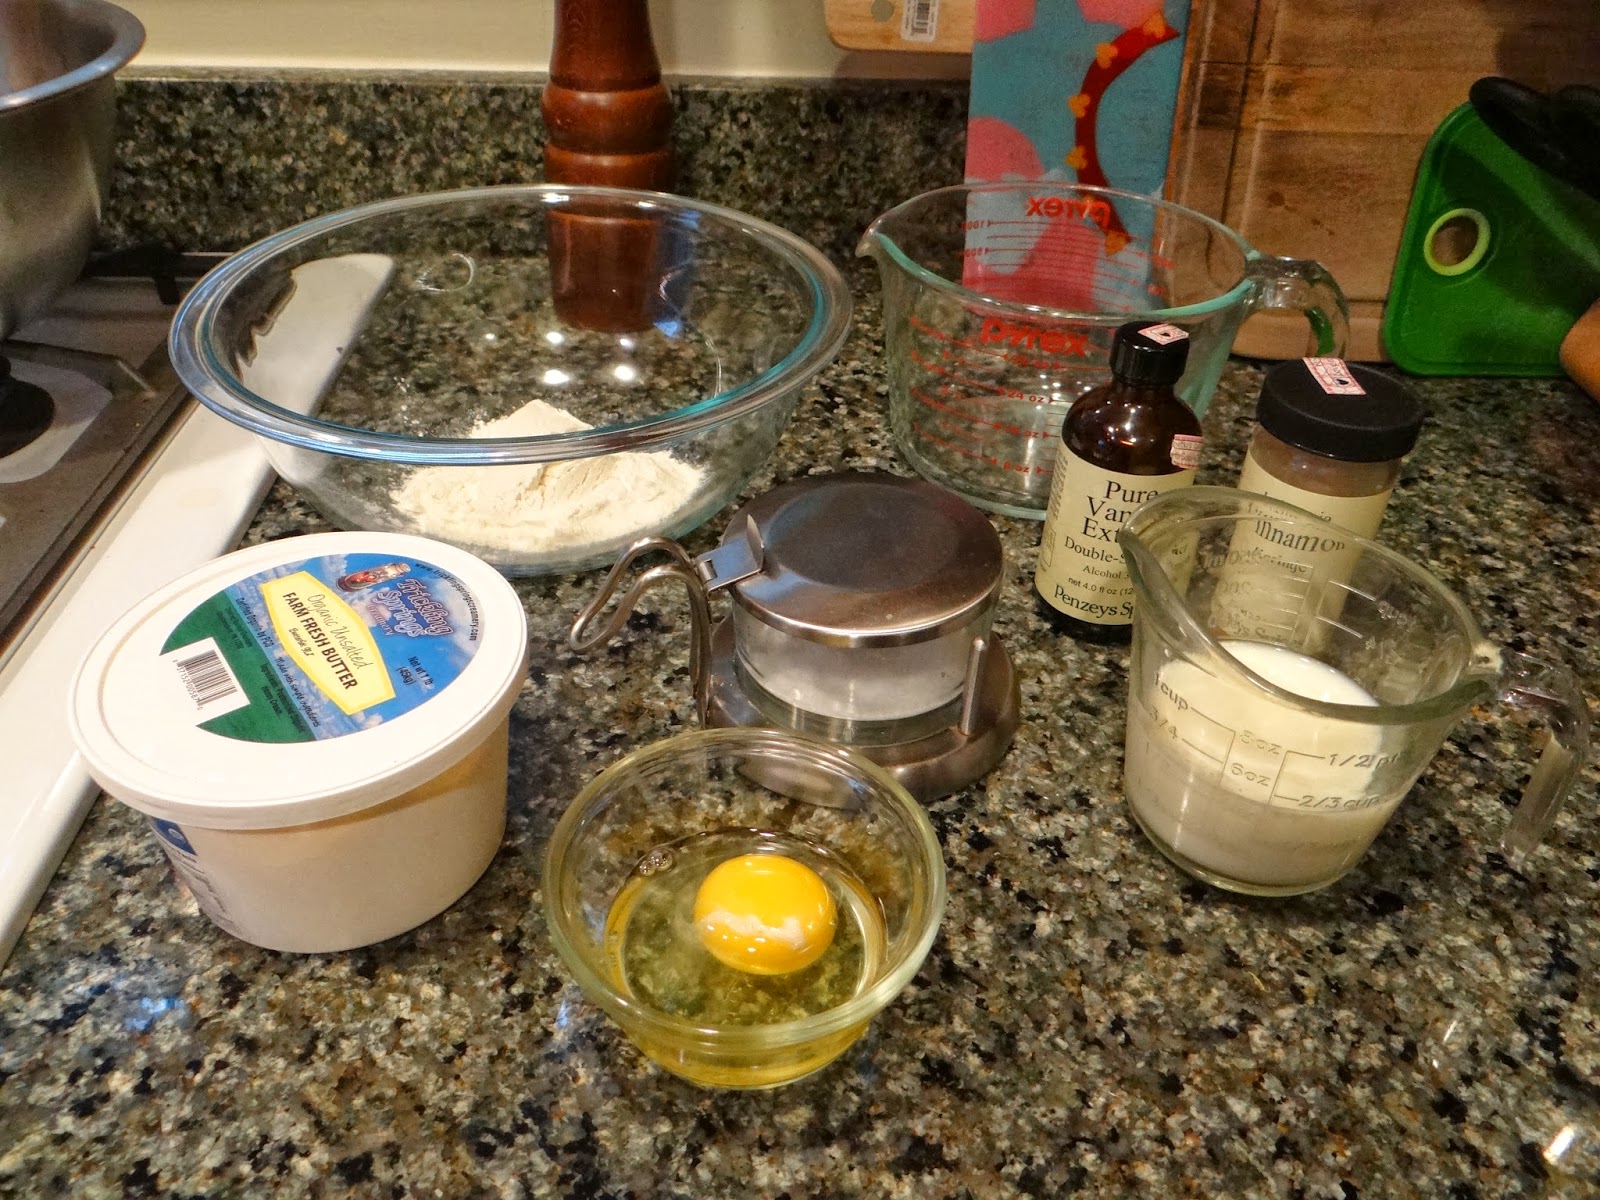
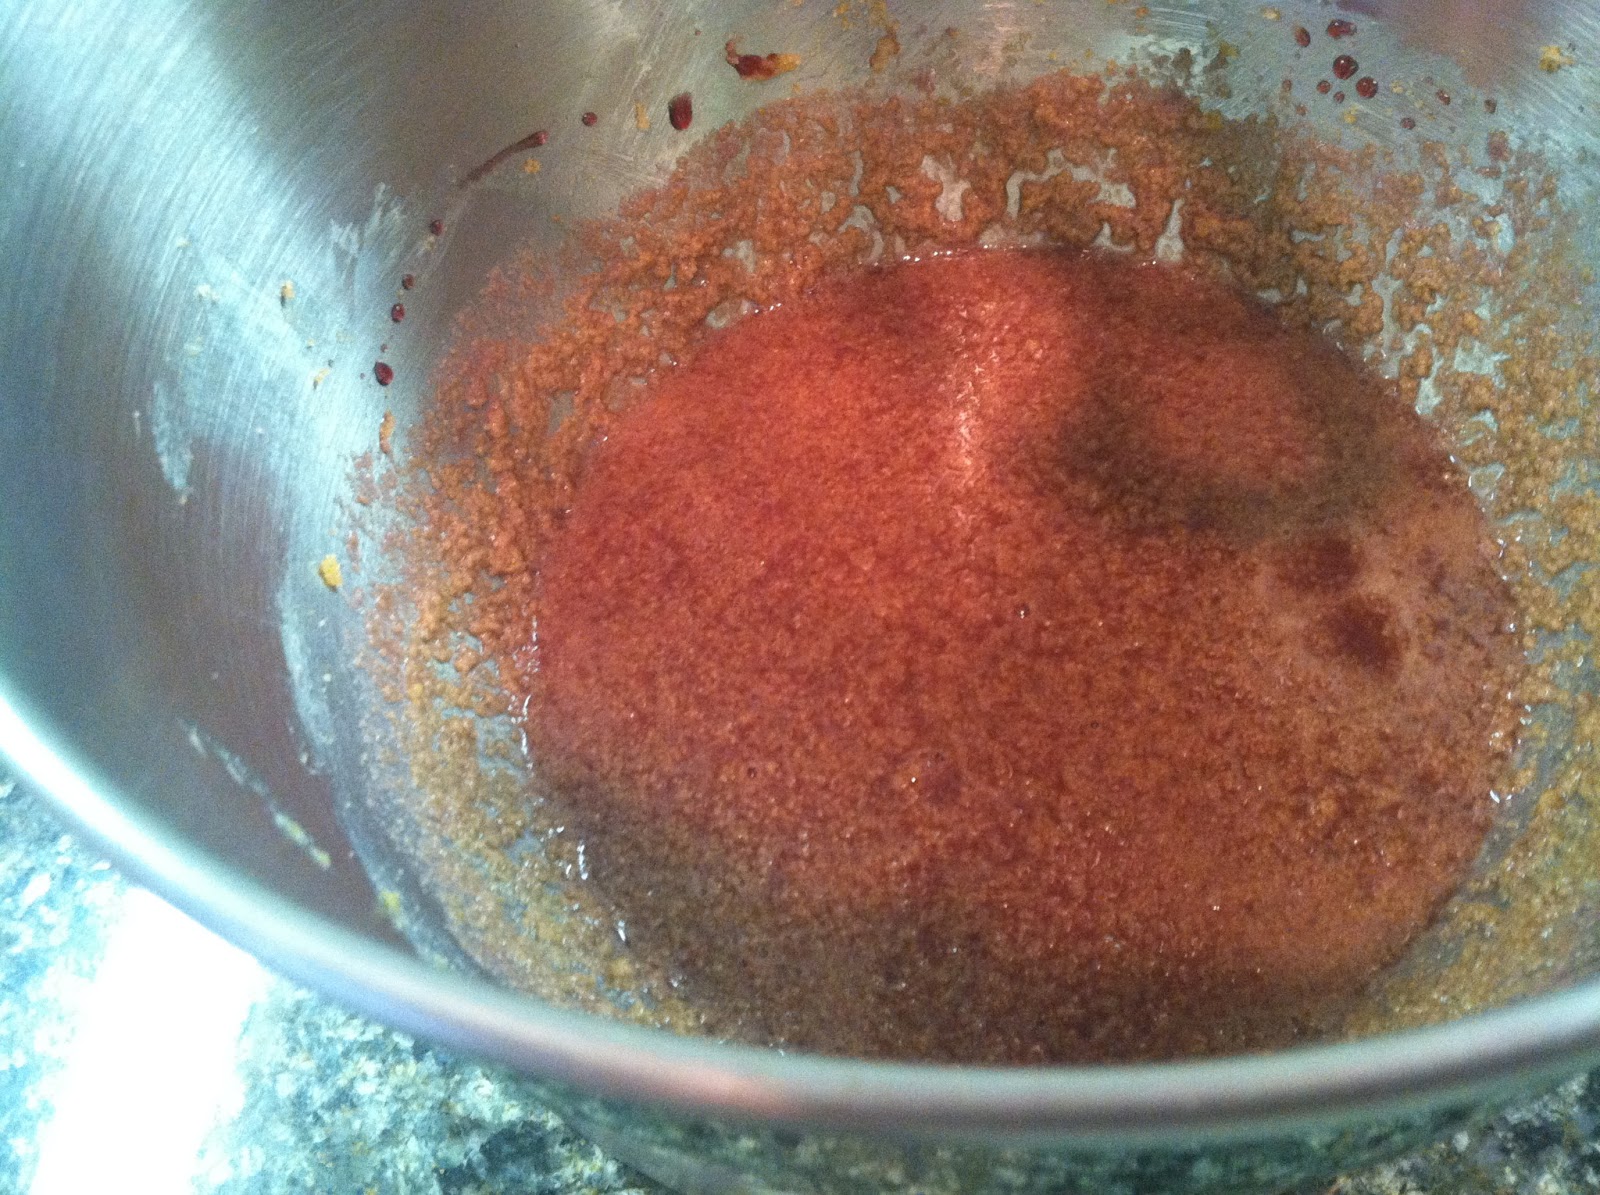
The egg was 57g, so 75% of the egg’s weight would be 42.75g.

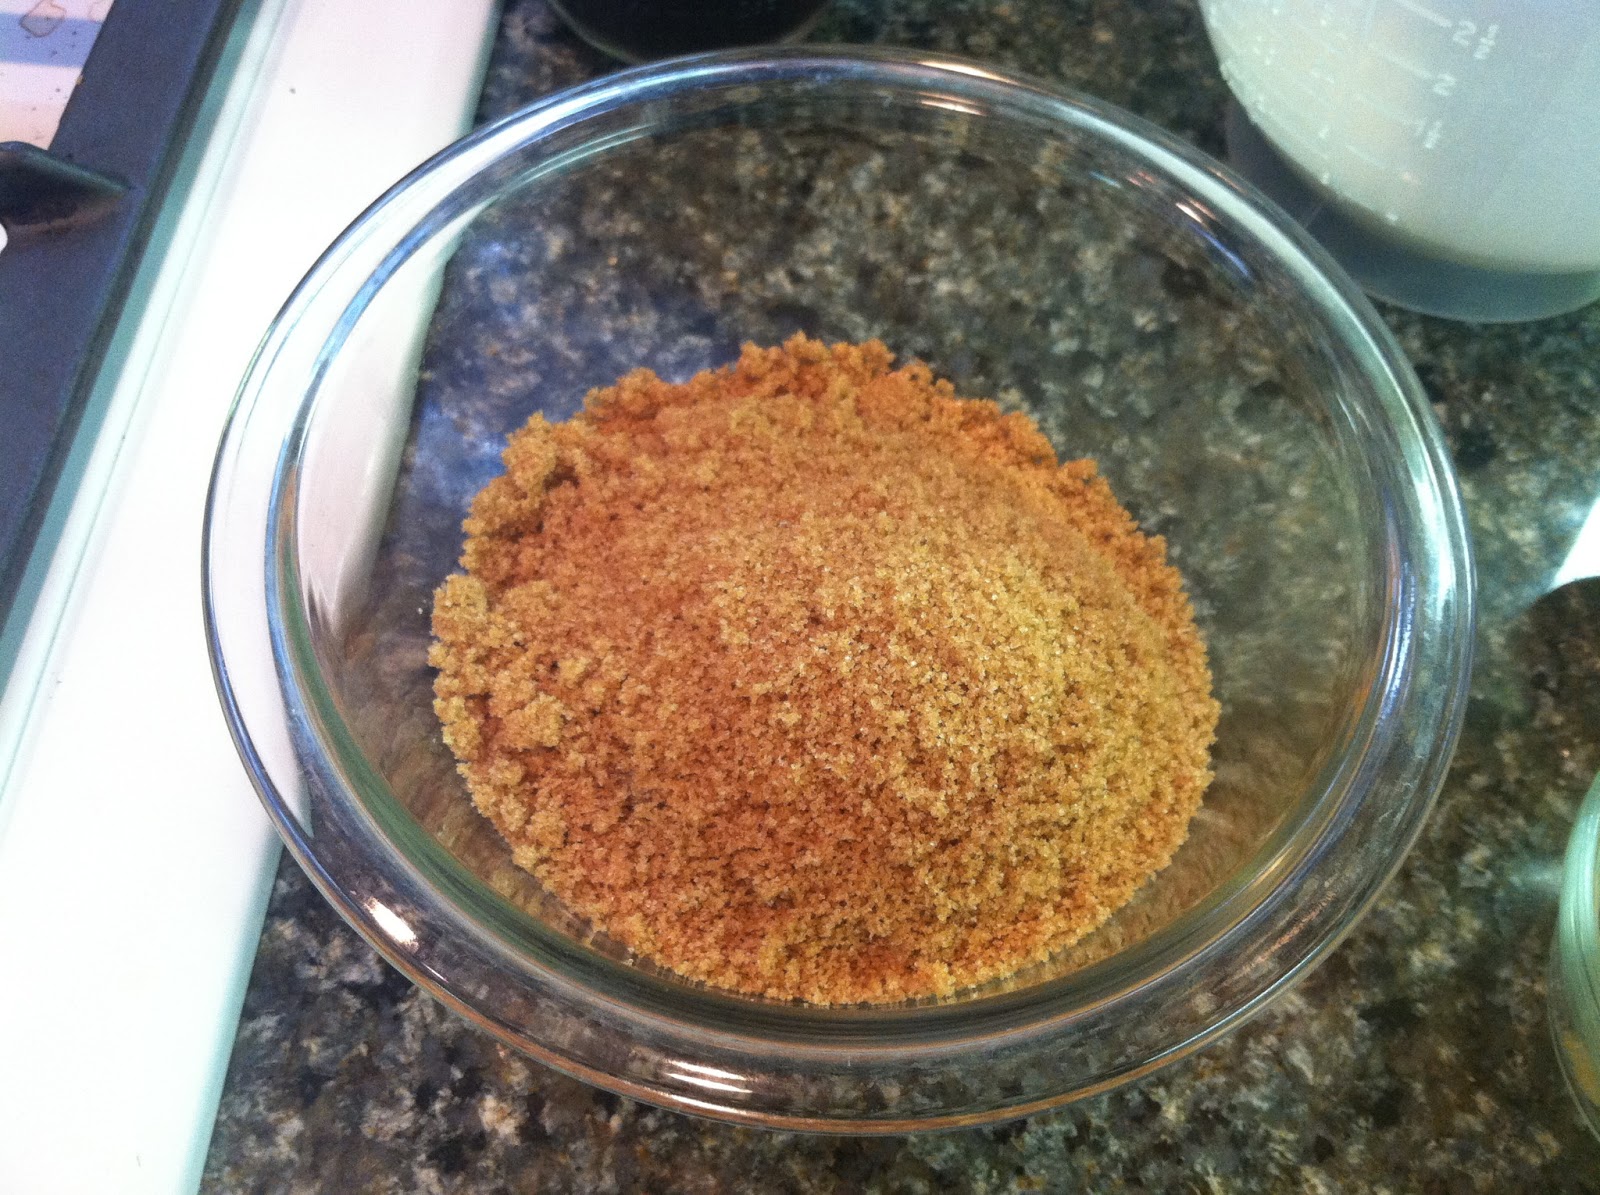
I measured out some milk and it was 125g, so 82% was about 100g.

Now the equation looked like this:

(100) + (43) + (water) = 250g

So I needed 106g of water to reach 250g!

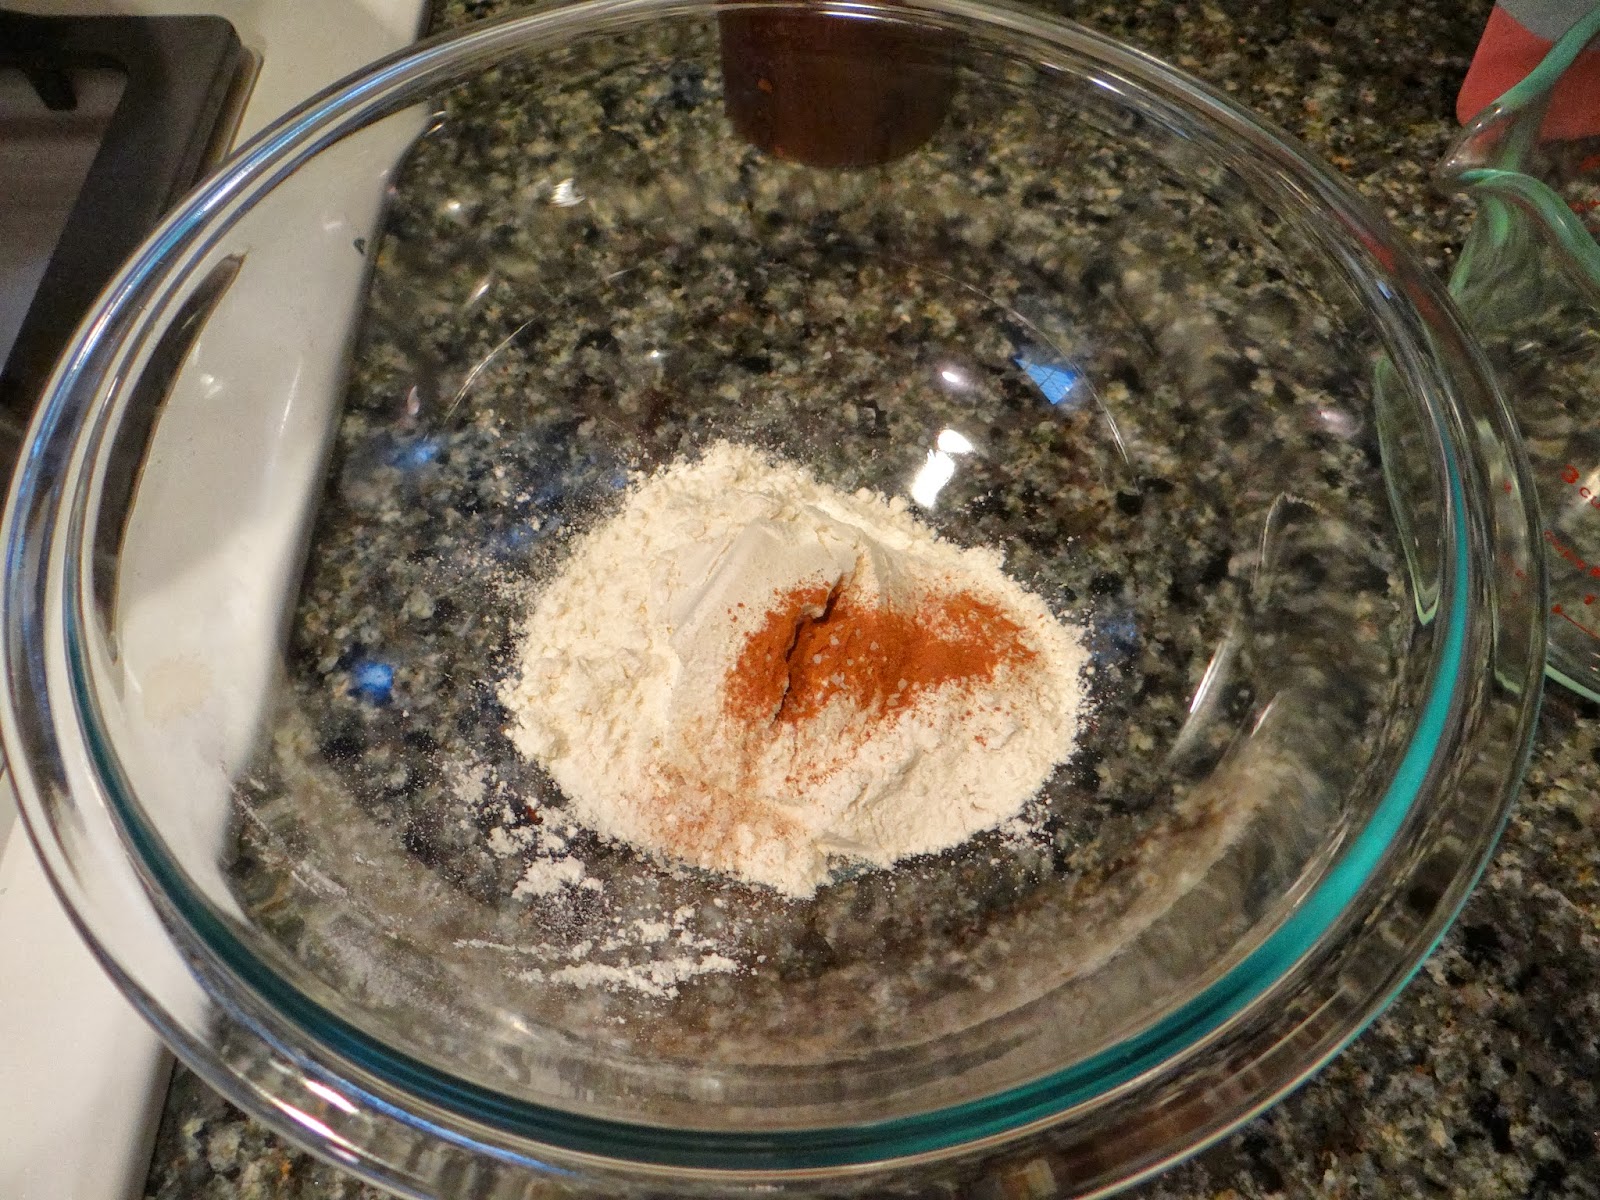
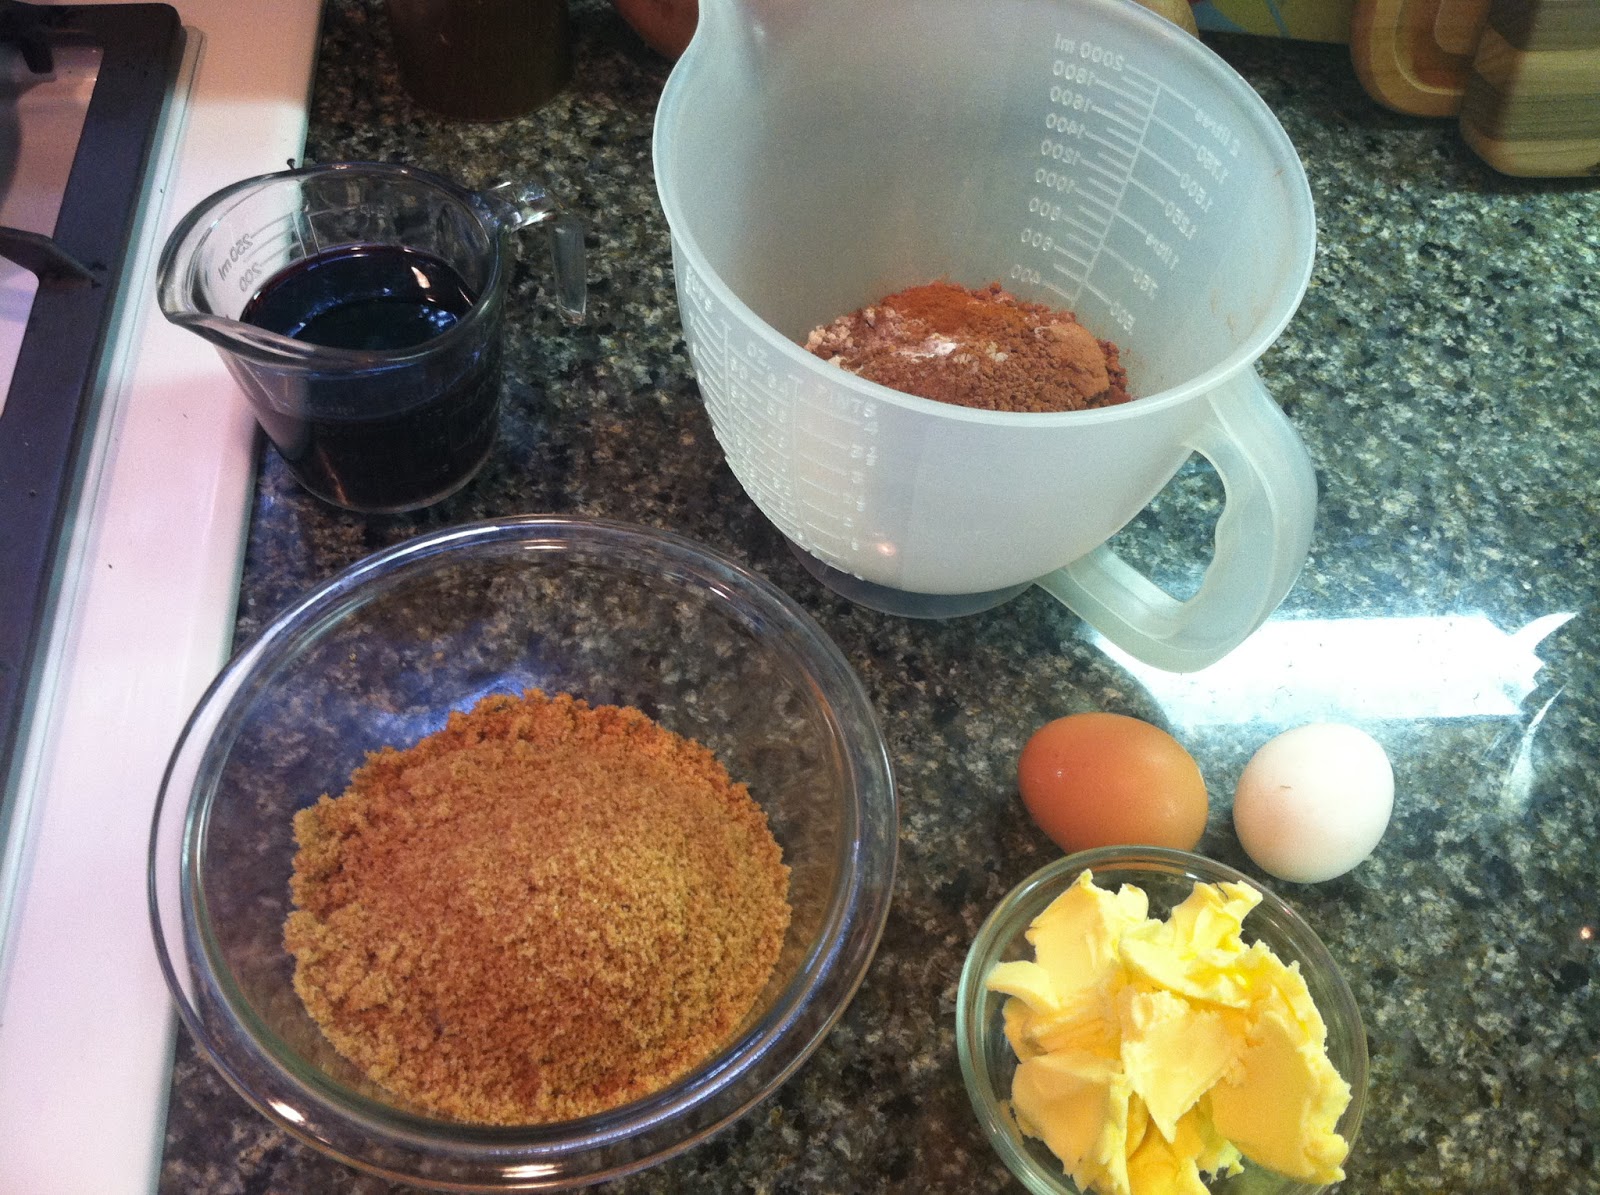
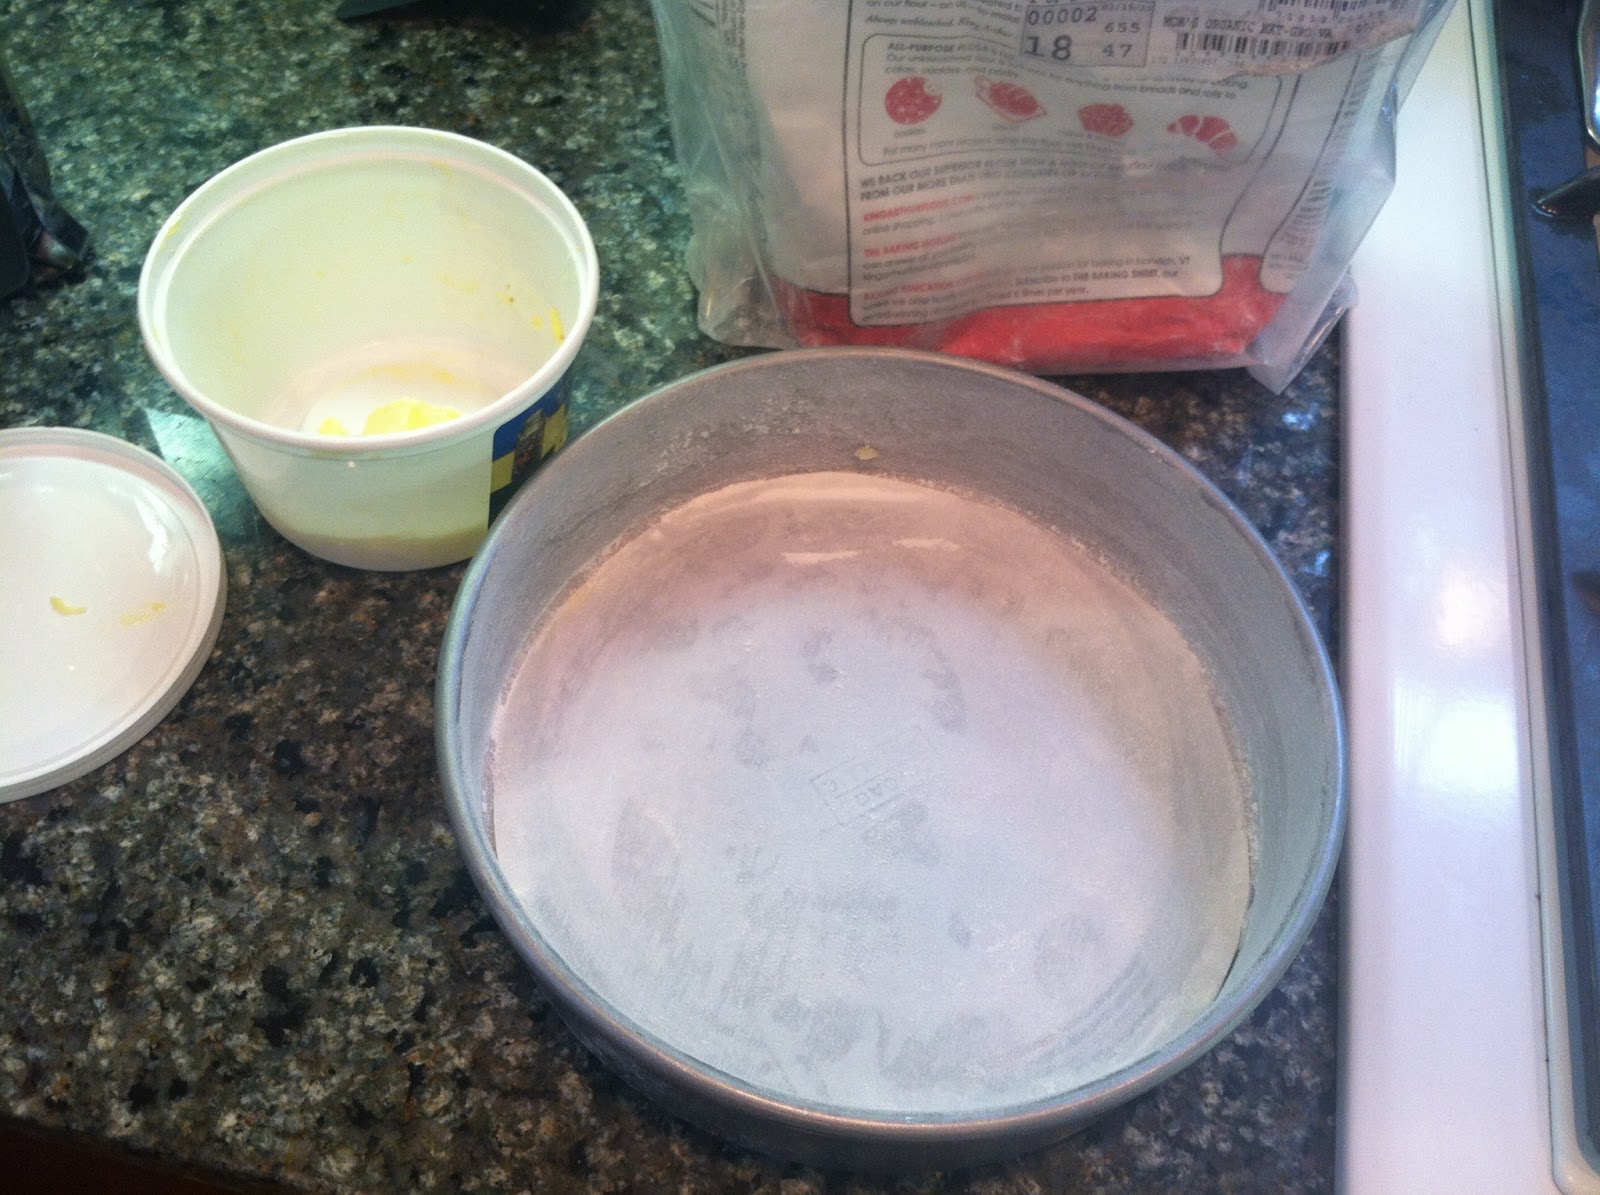
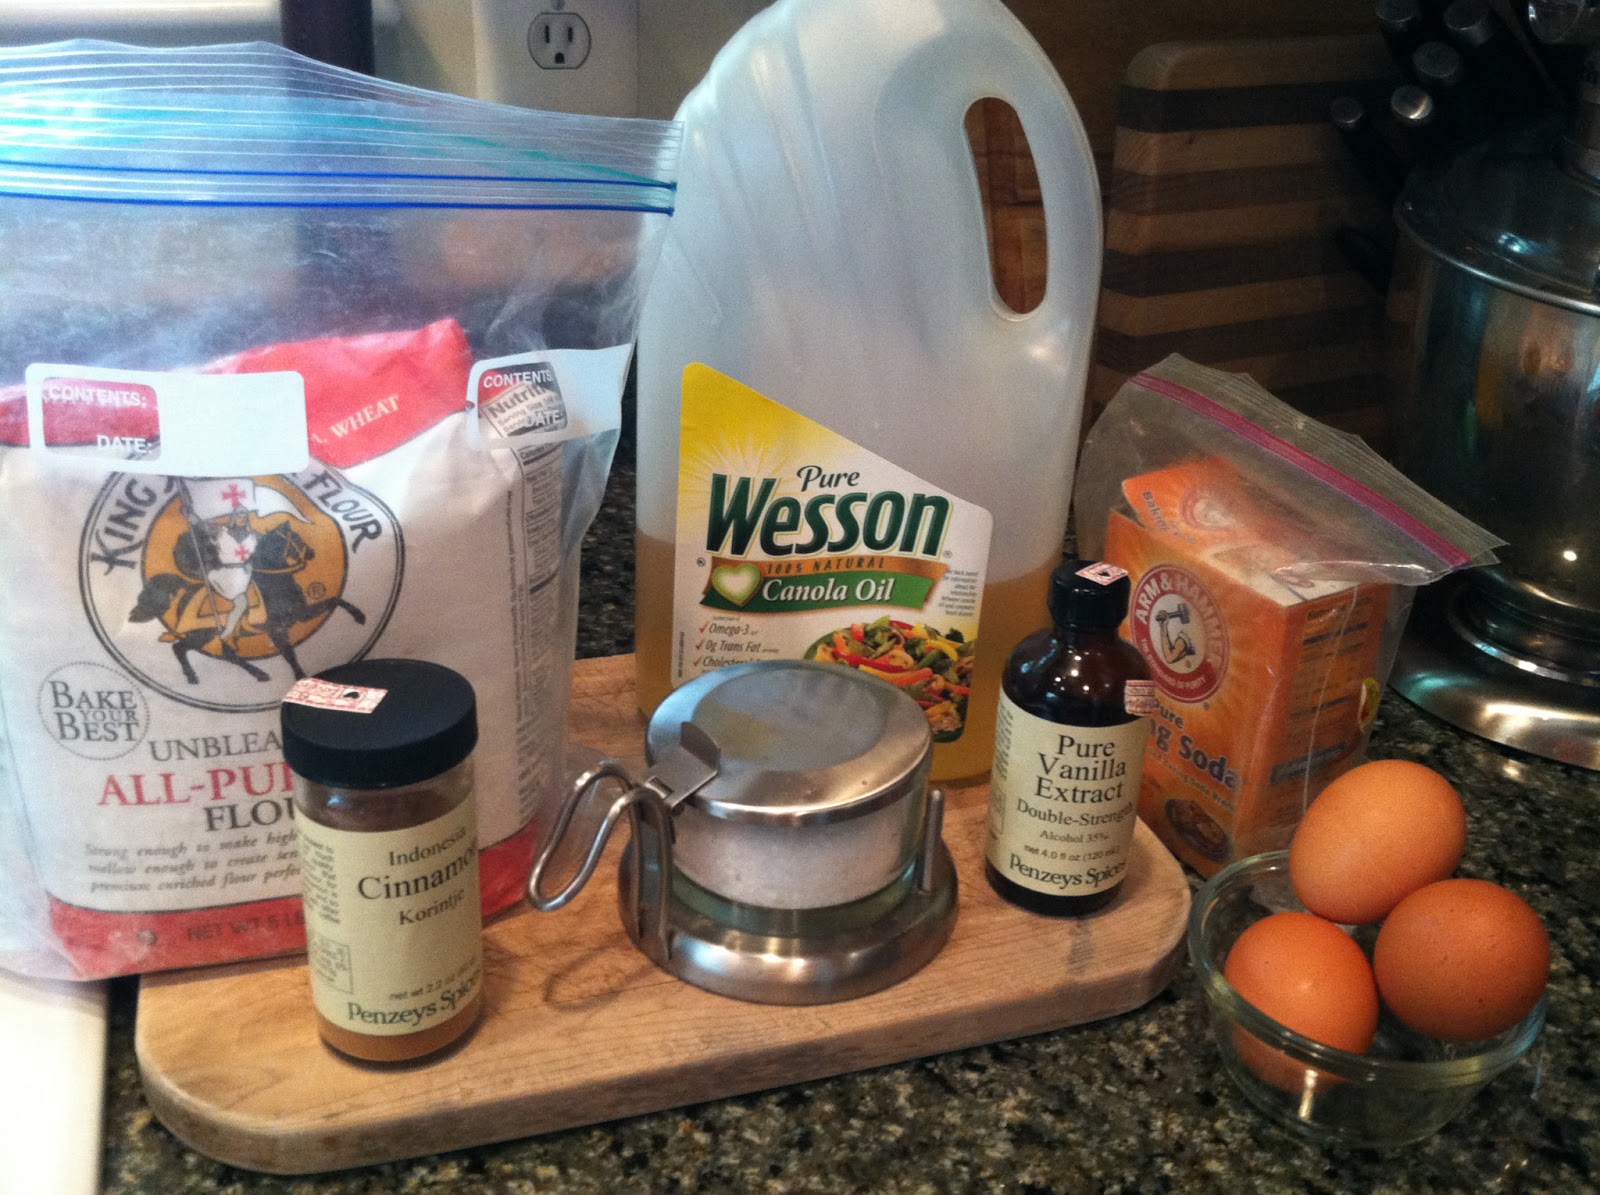
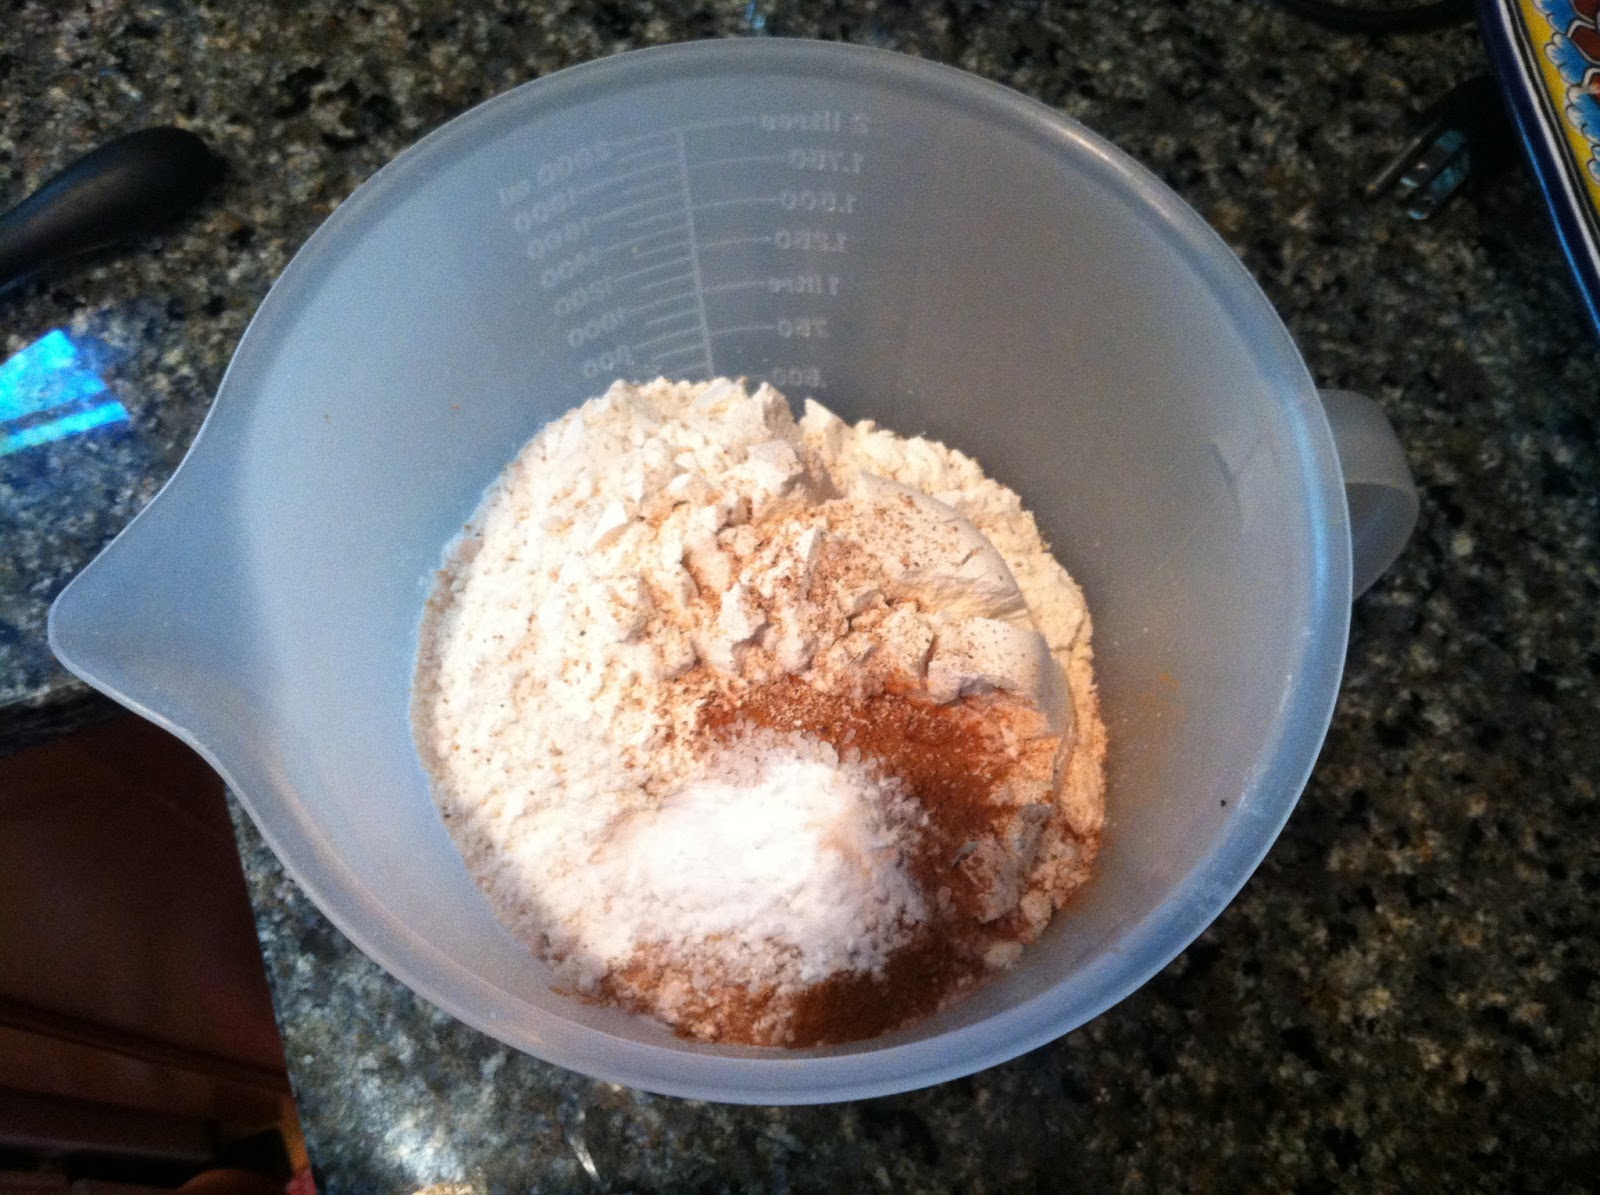
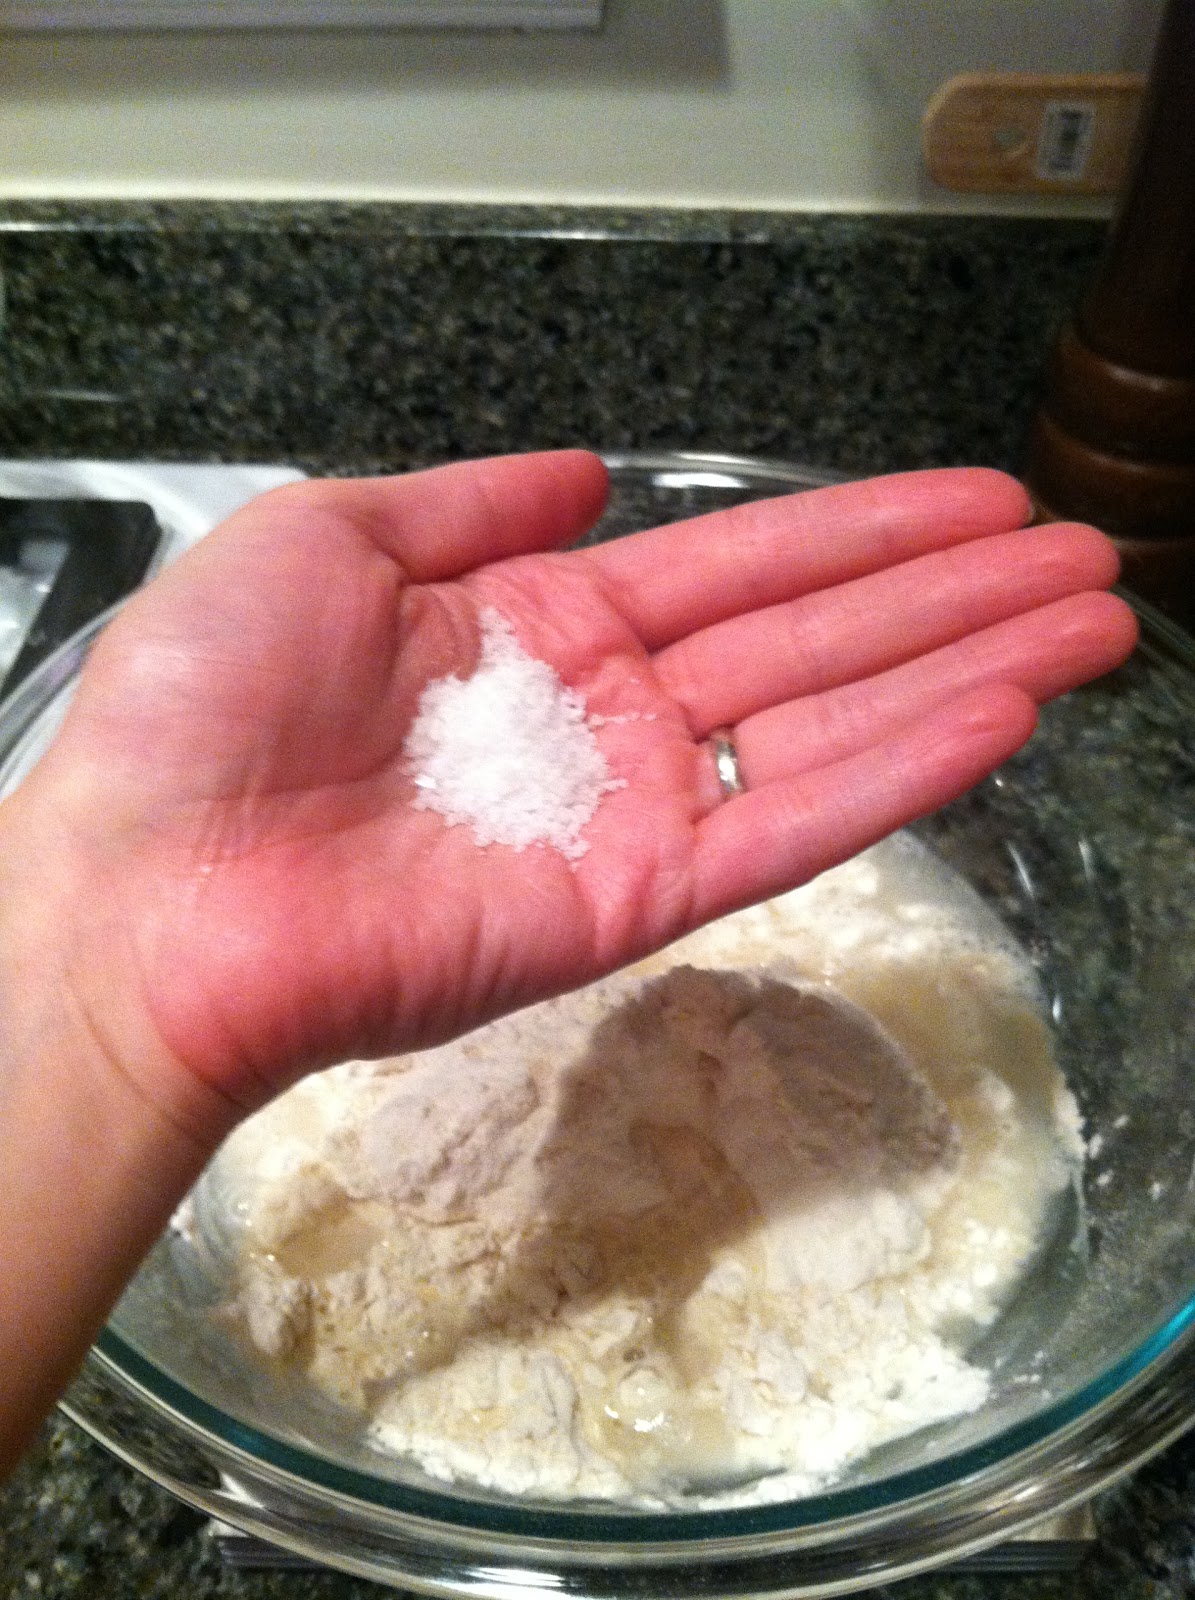
Along with the 375g of flour and 250g of water (and egg and milk) you should add about 7g of salt and 7g of yeast.  Salt and yeast don’t change the hydration; only flour and water do.

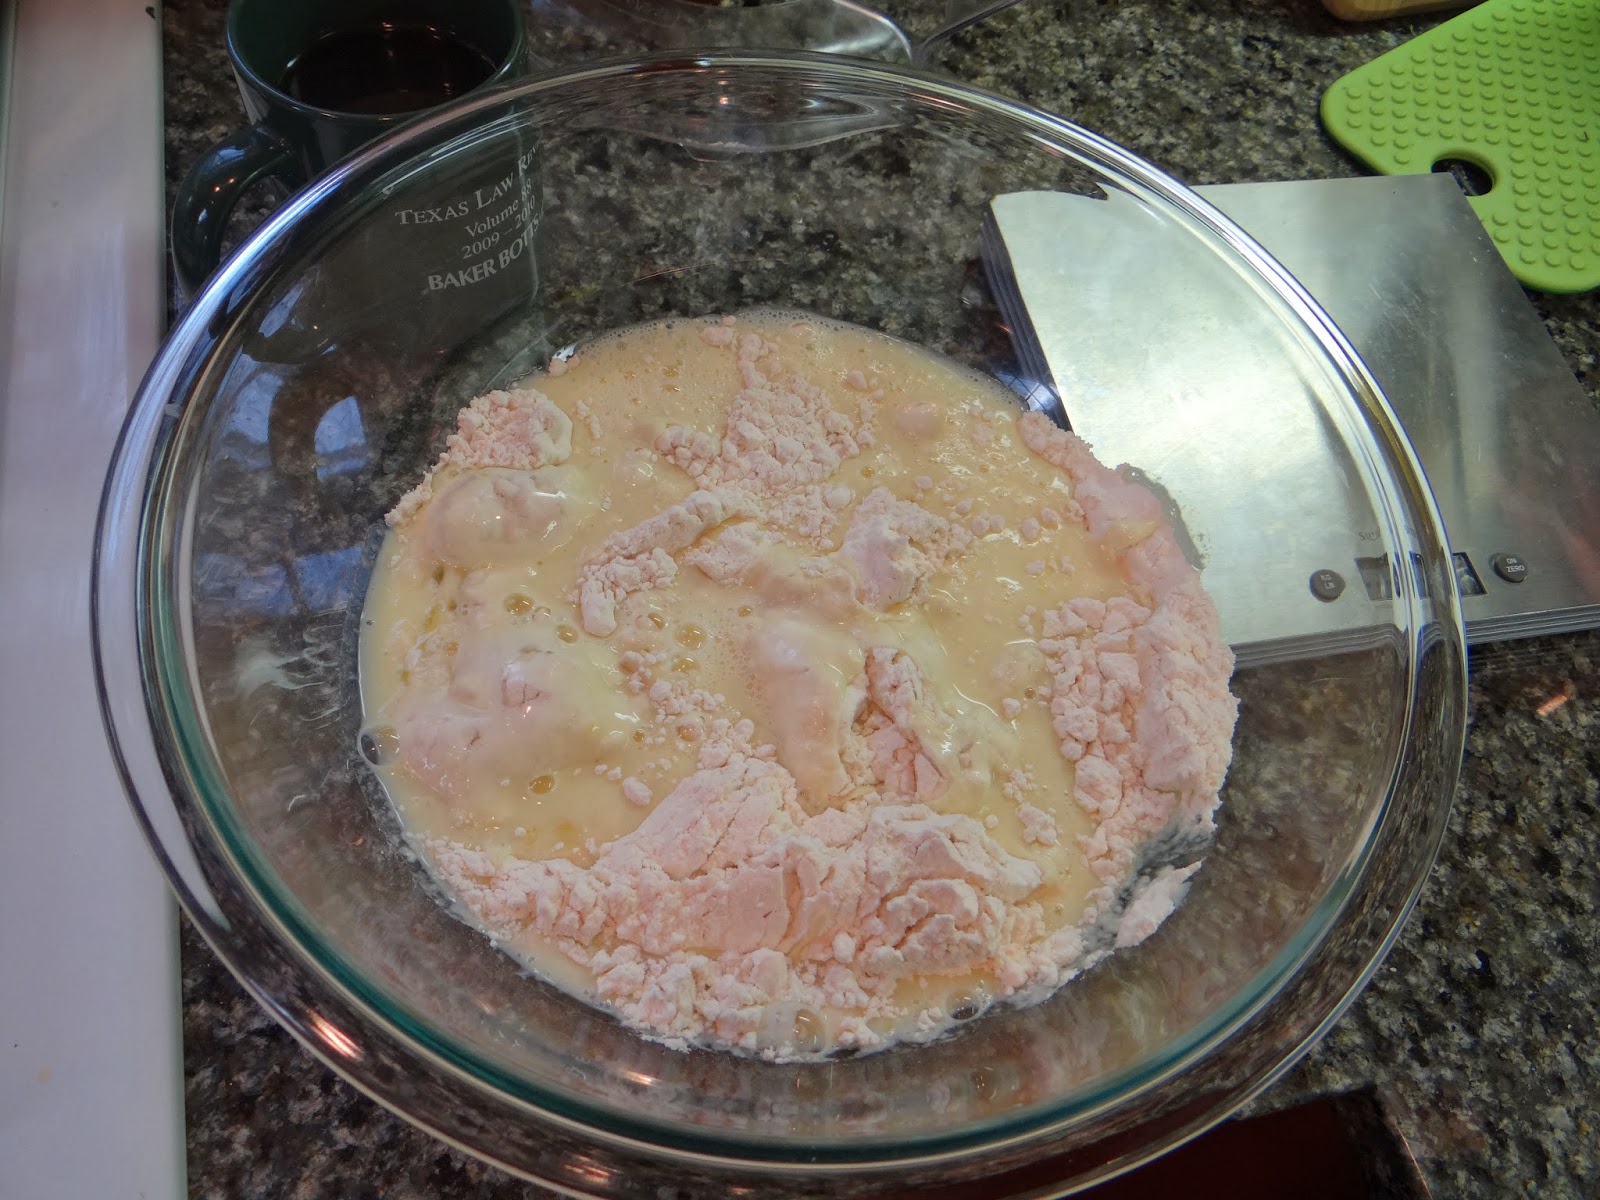
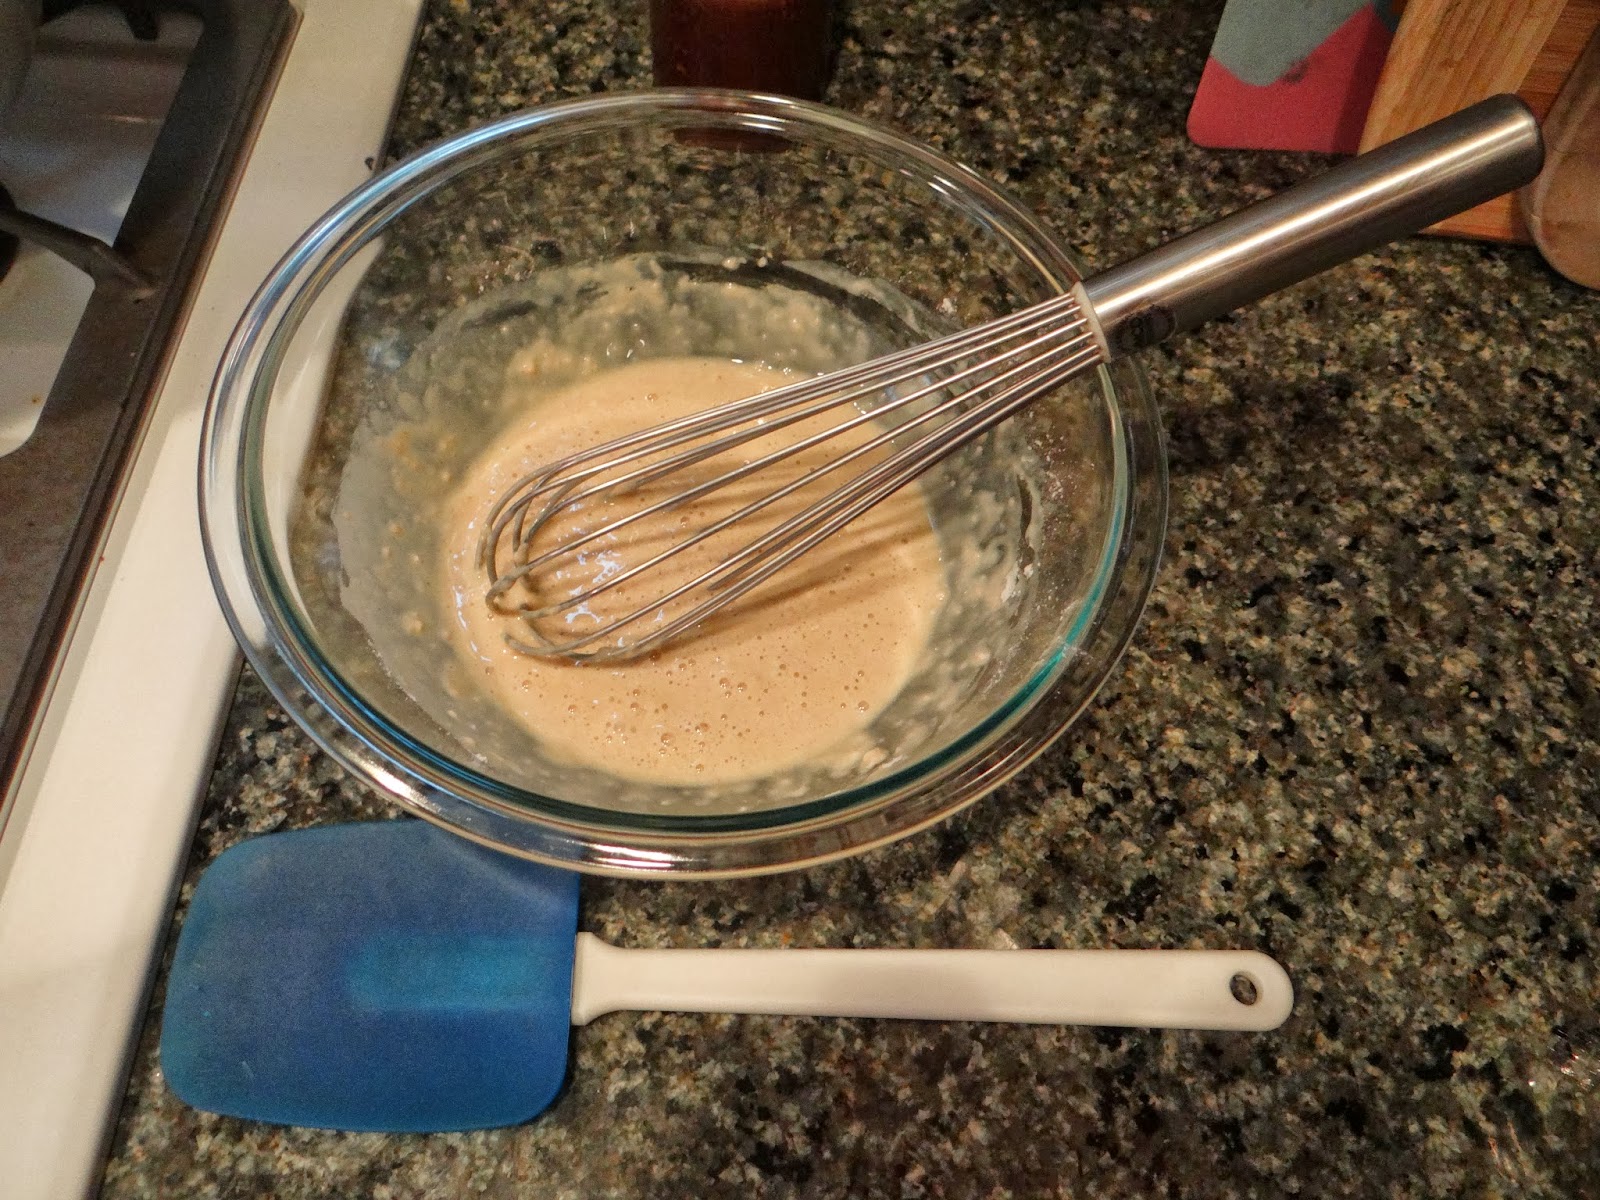
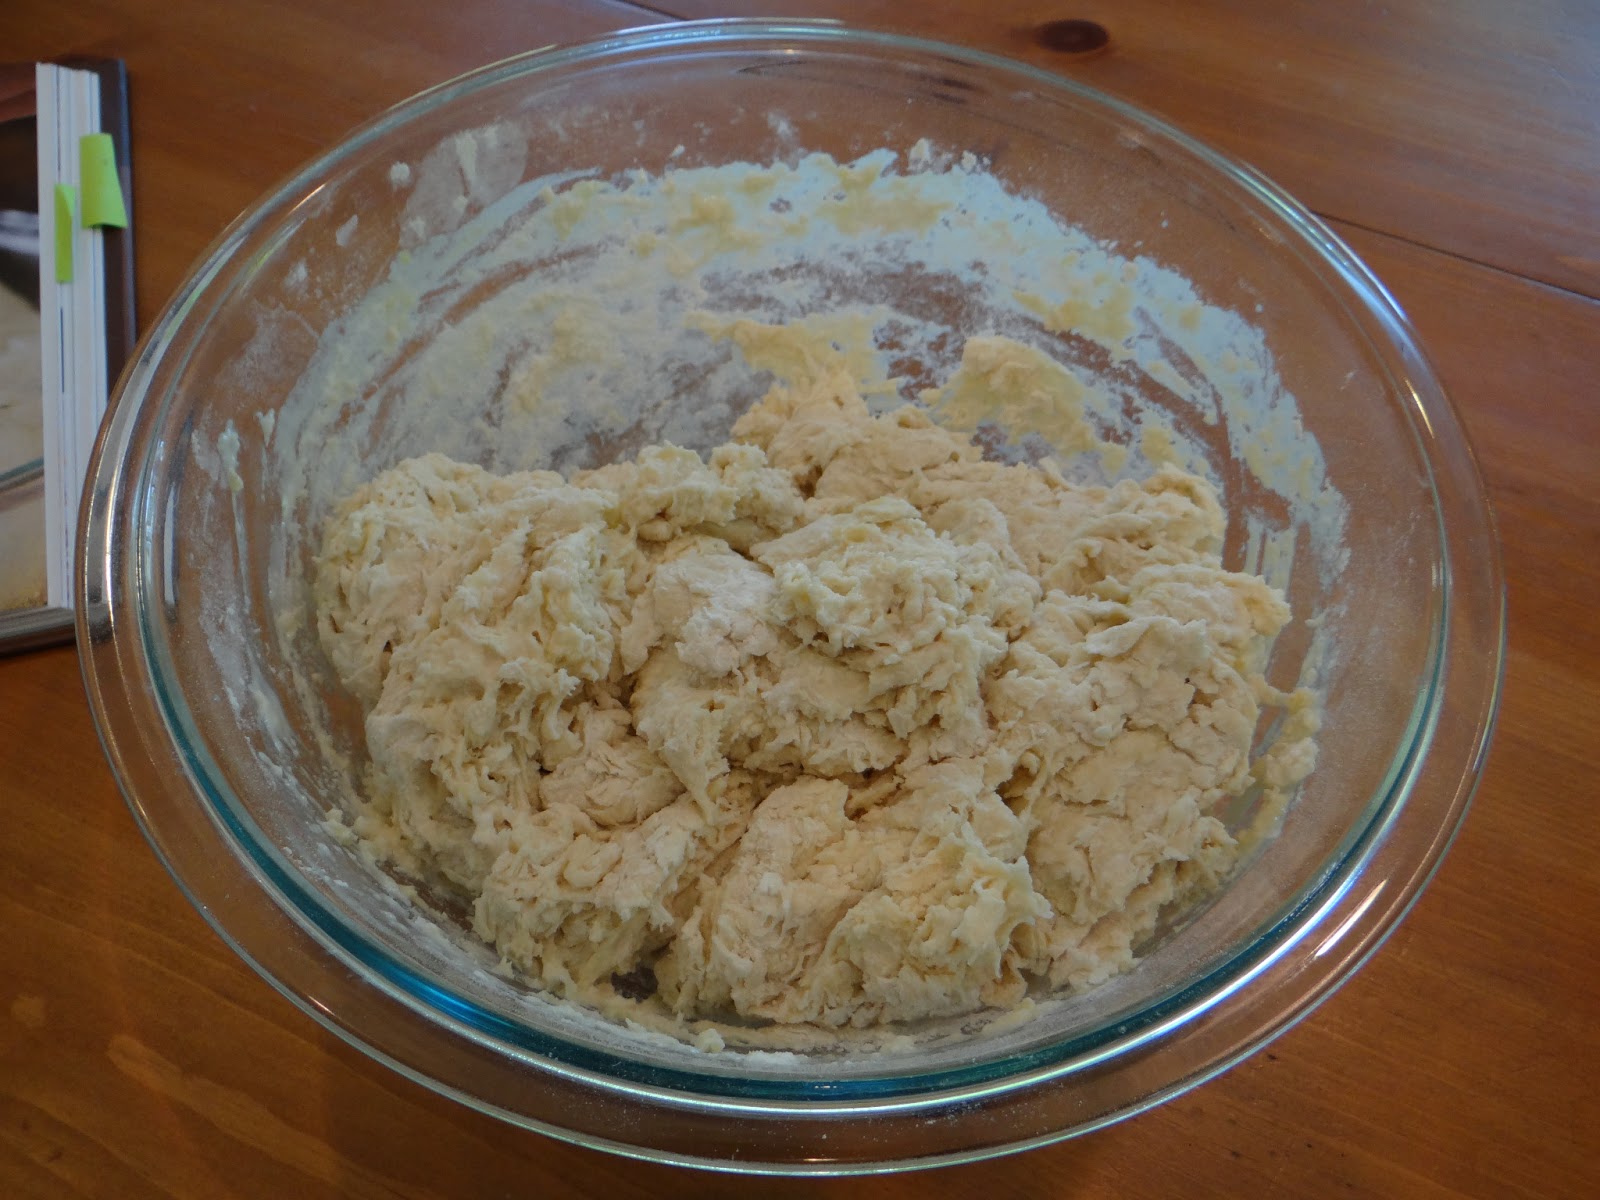
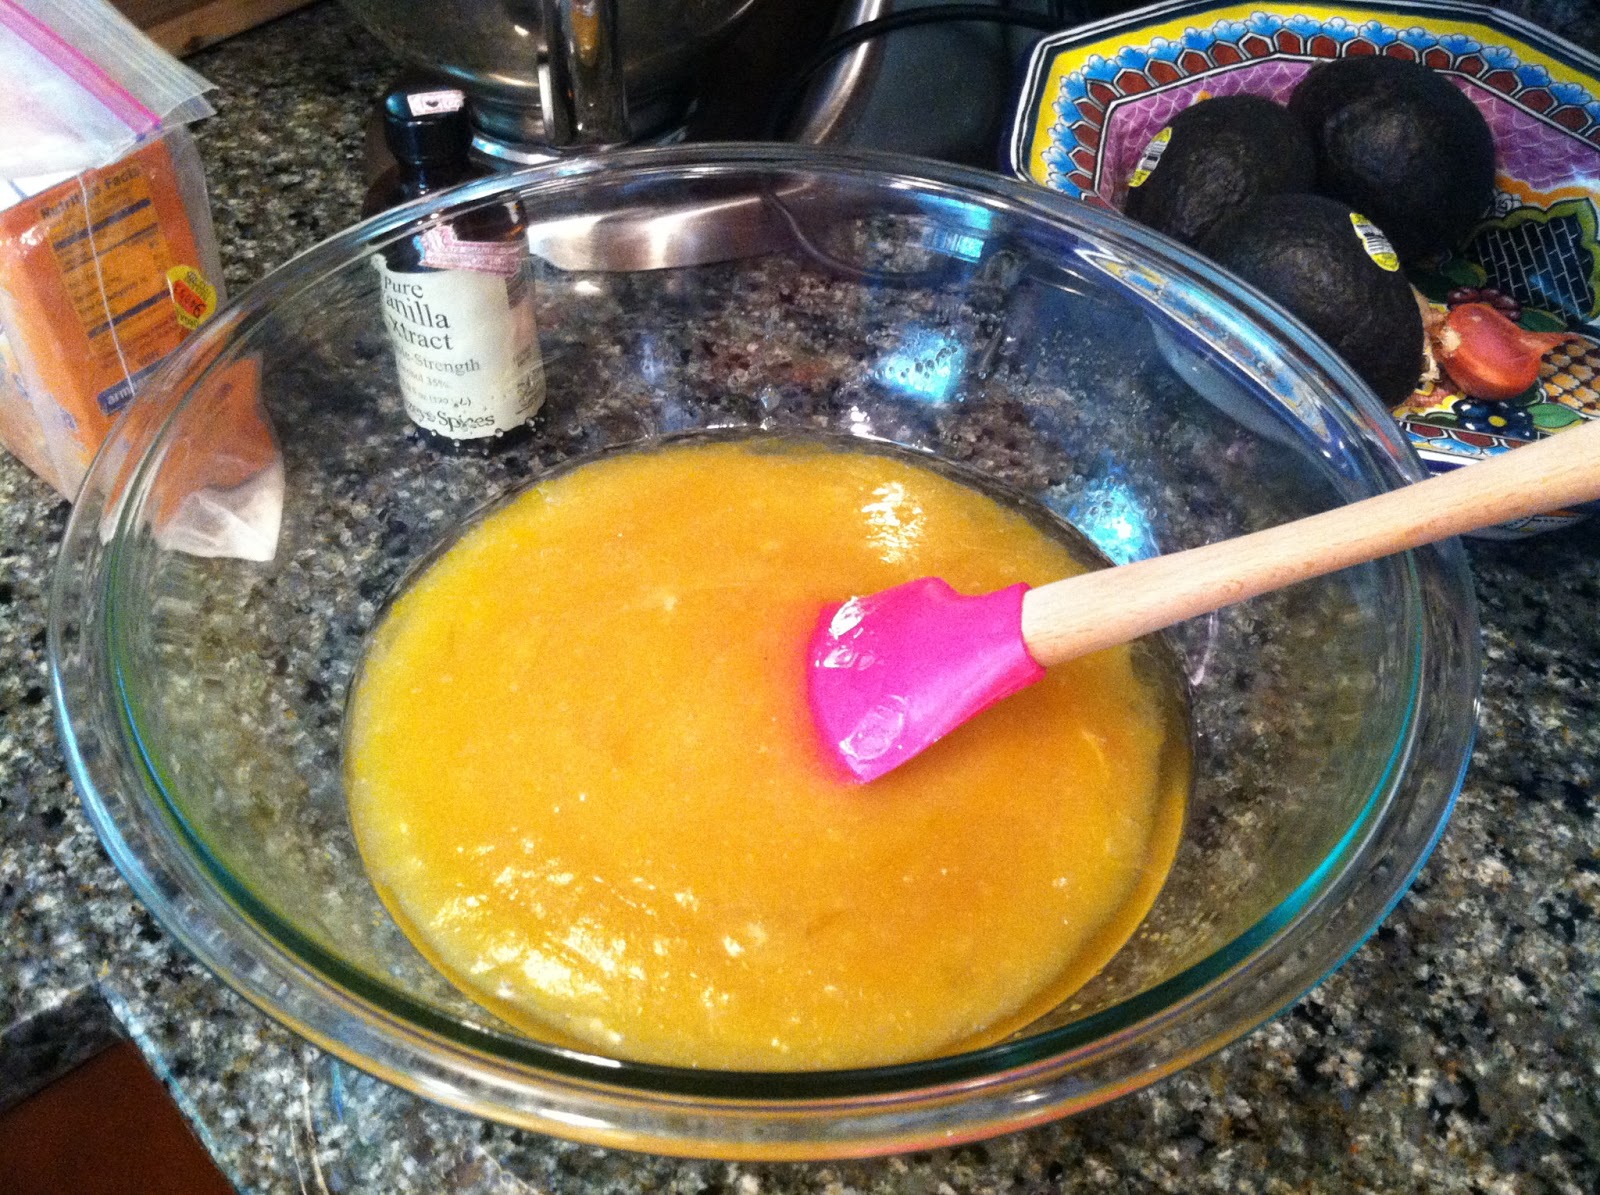
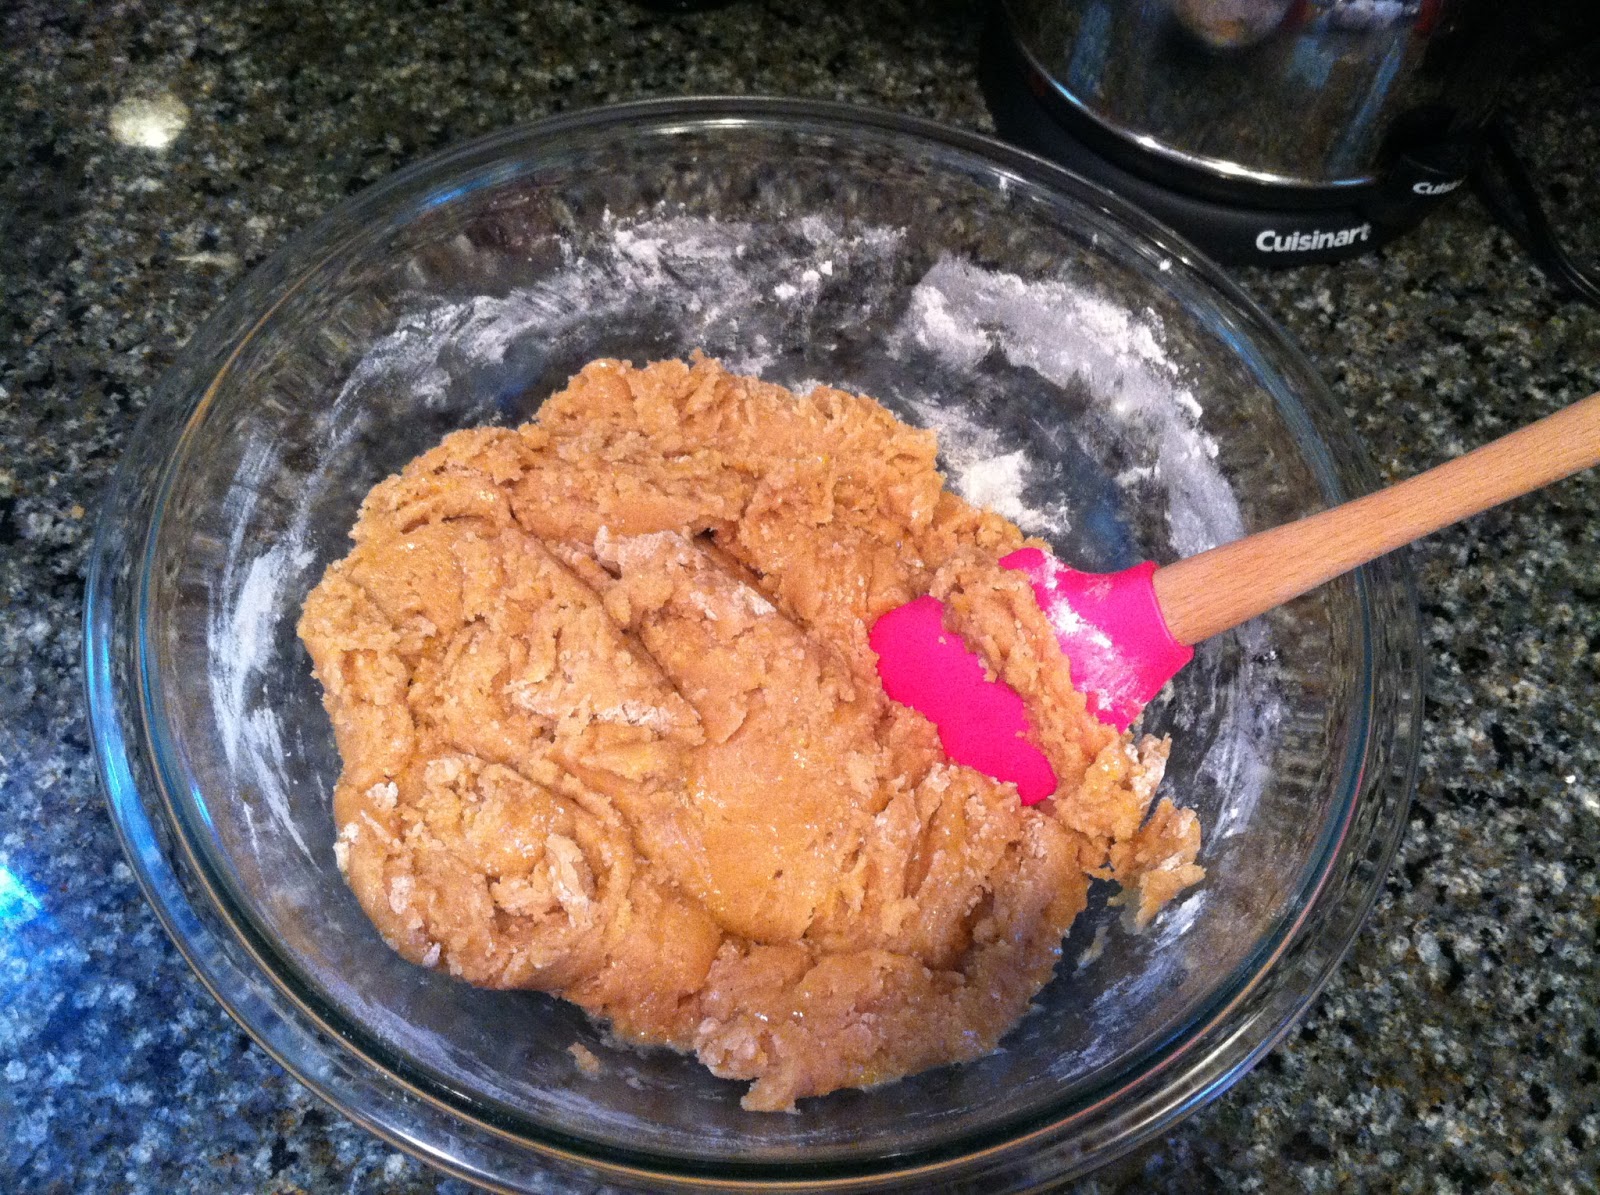
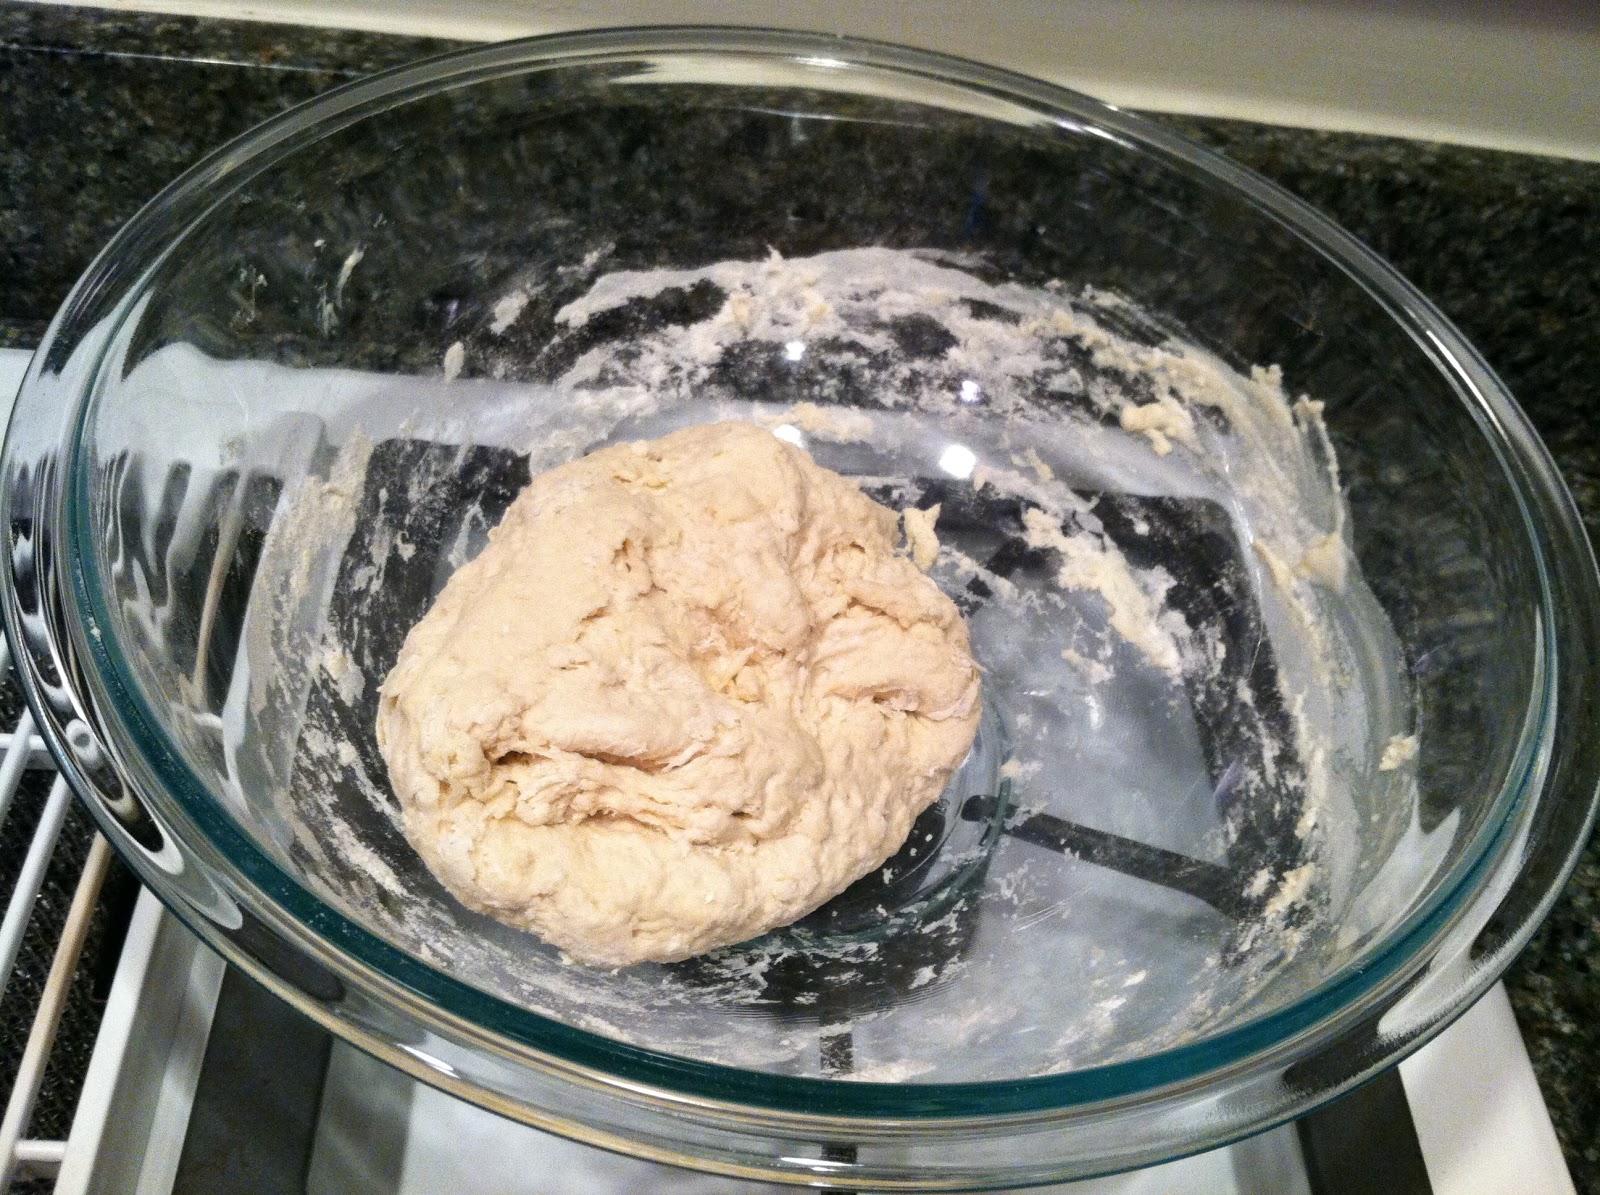
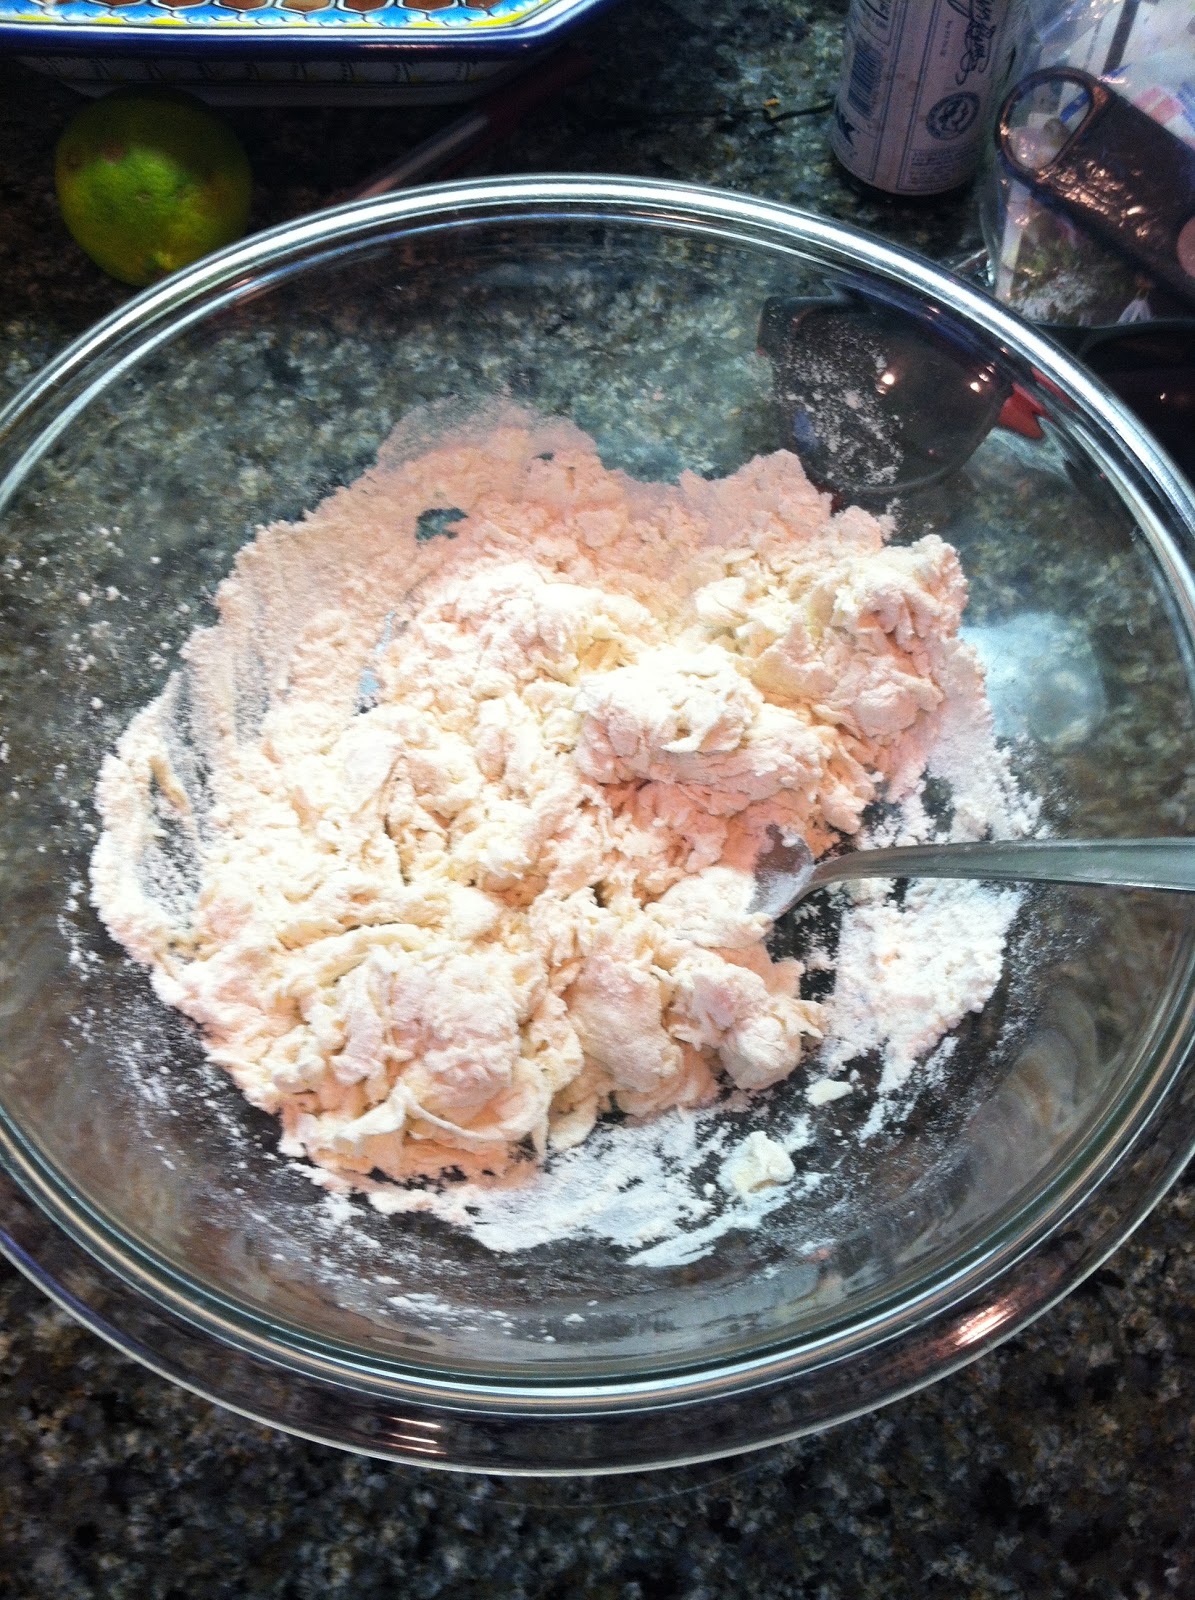
All mixed up, it looked like this:

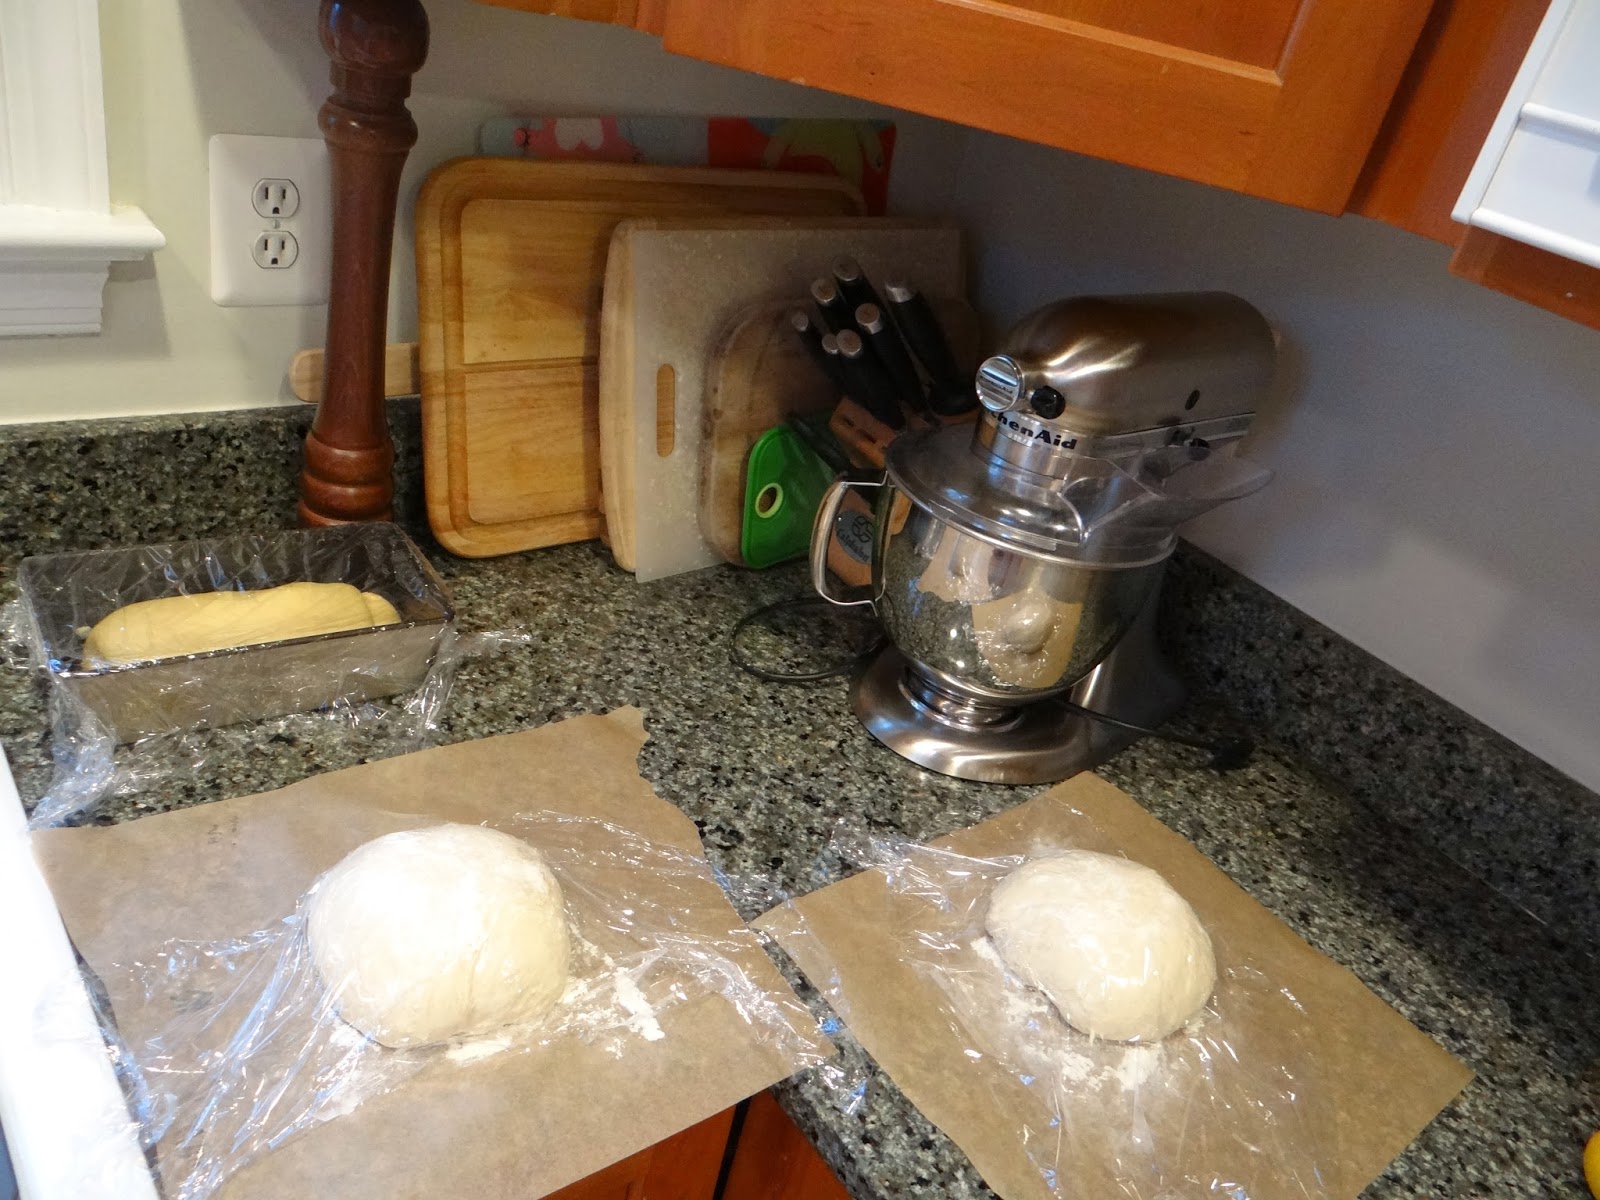
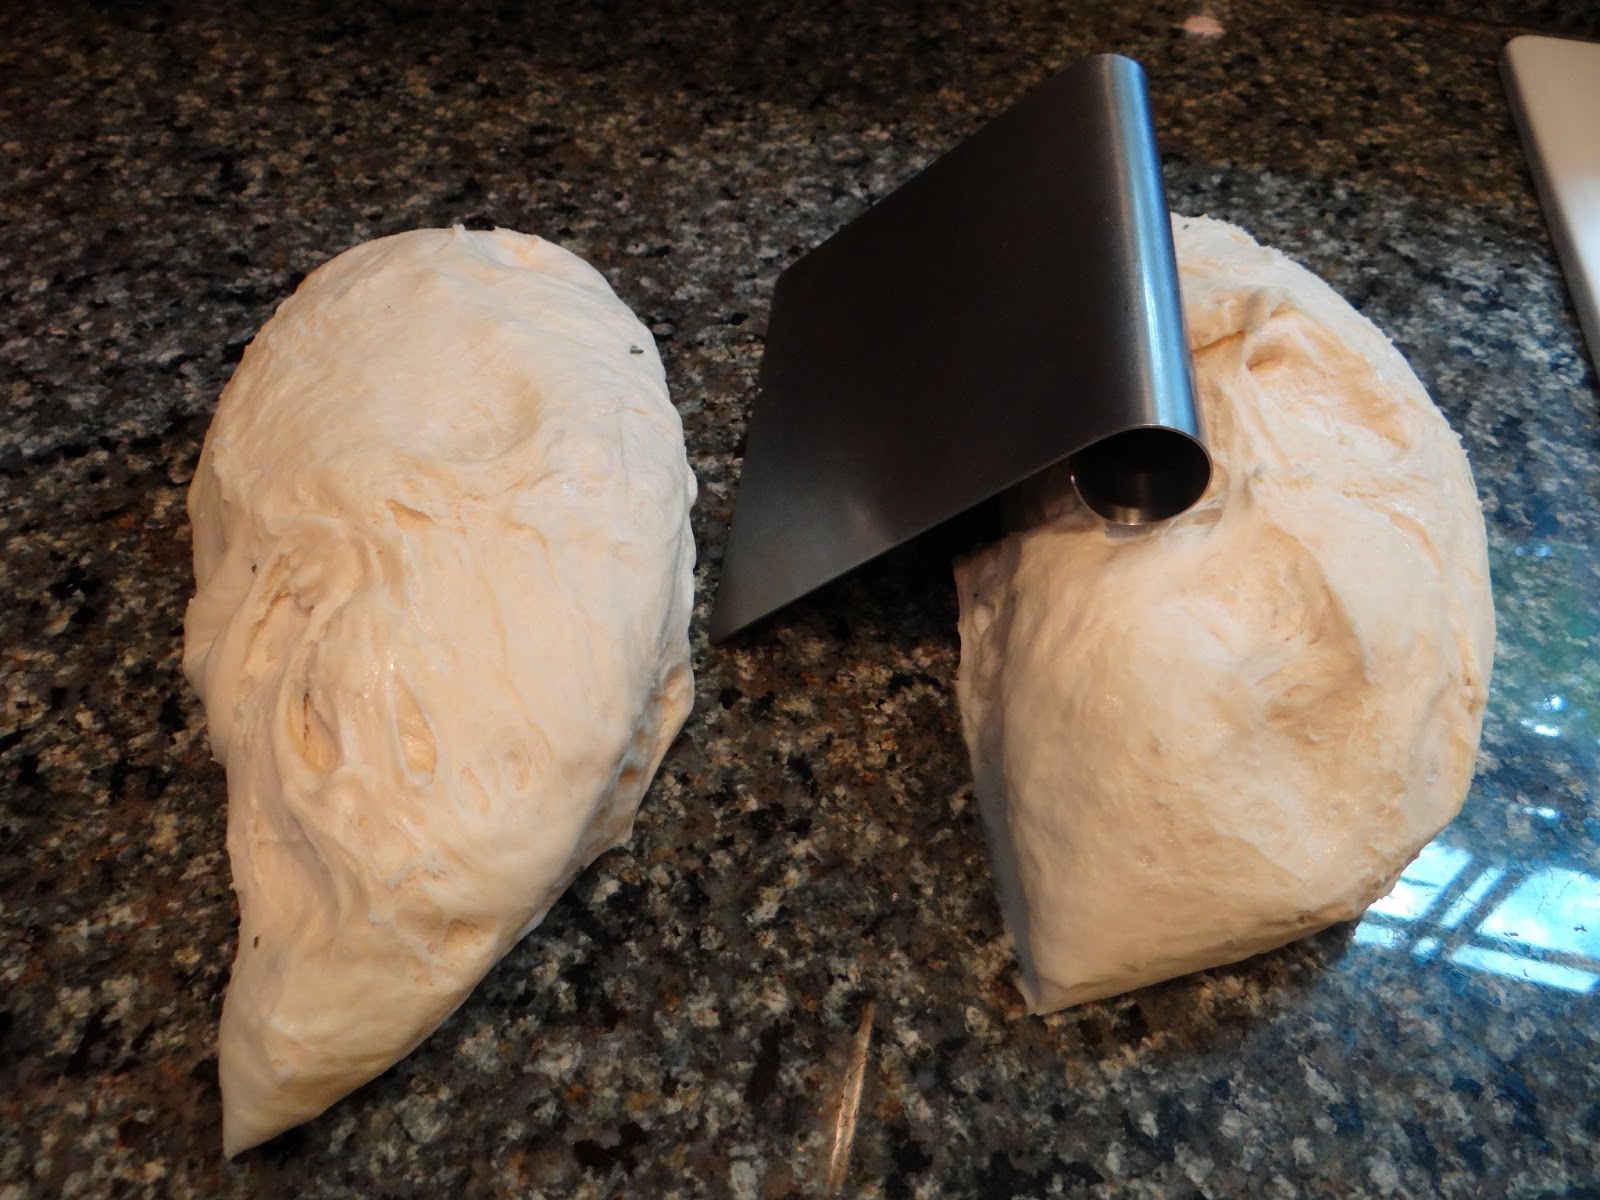
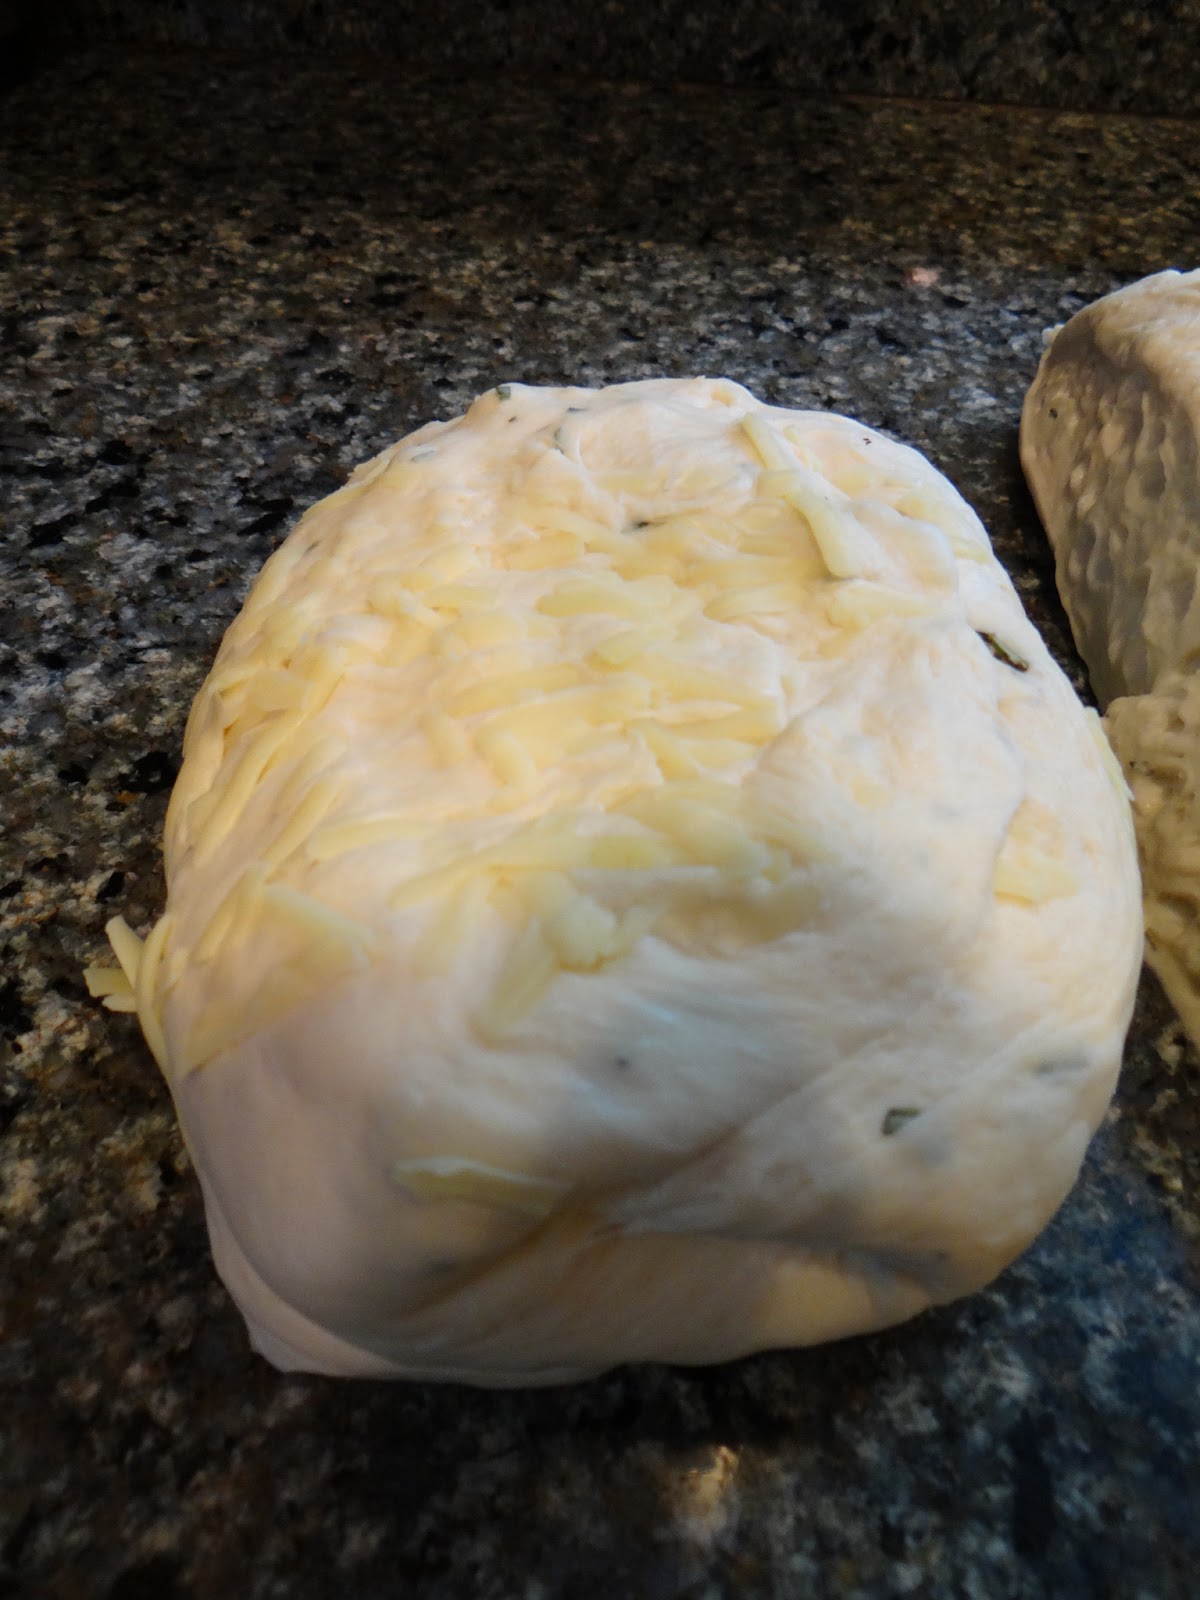
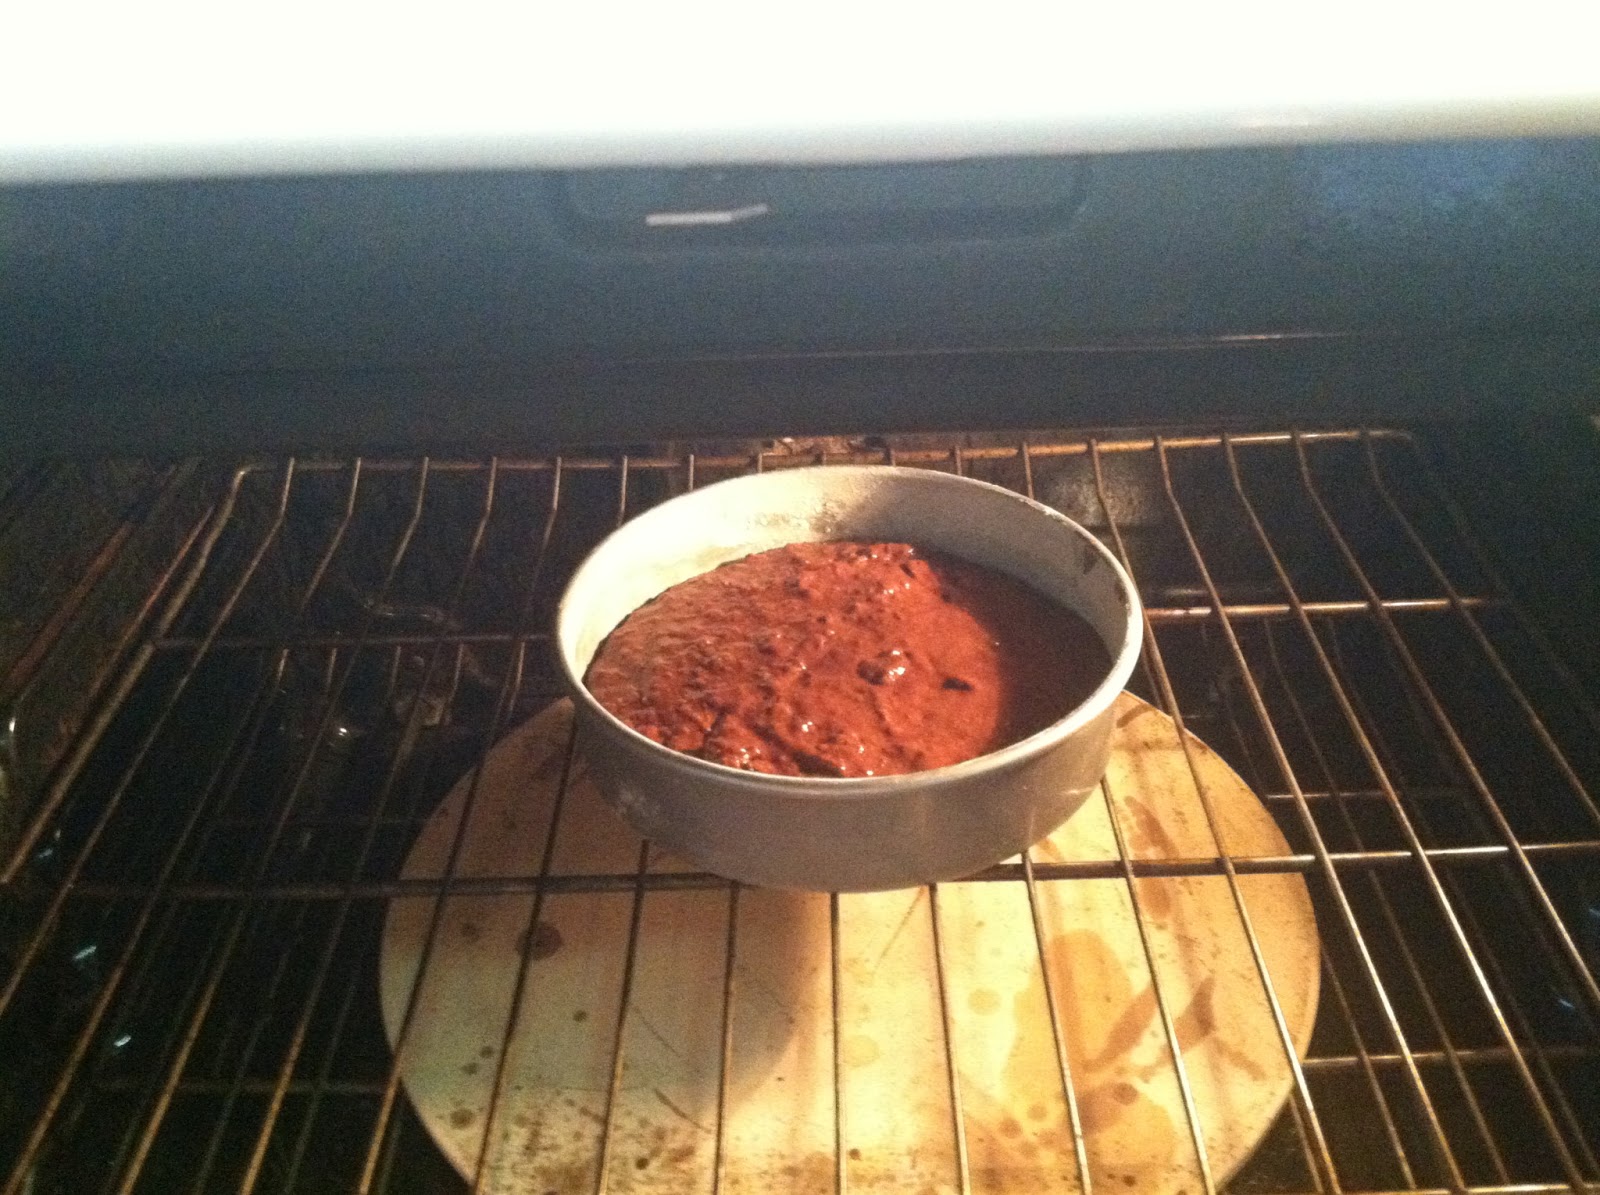
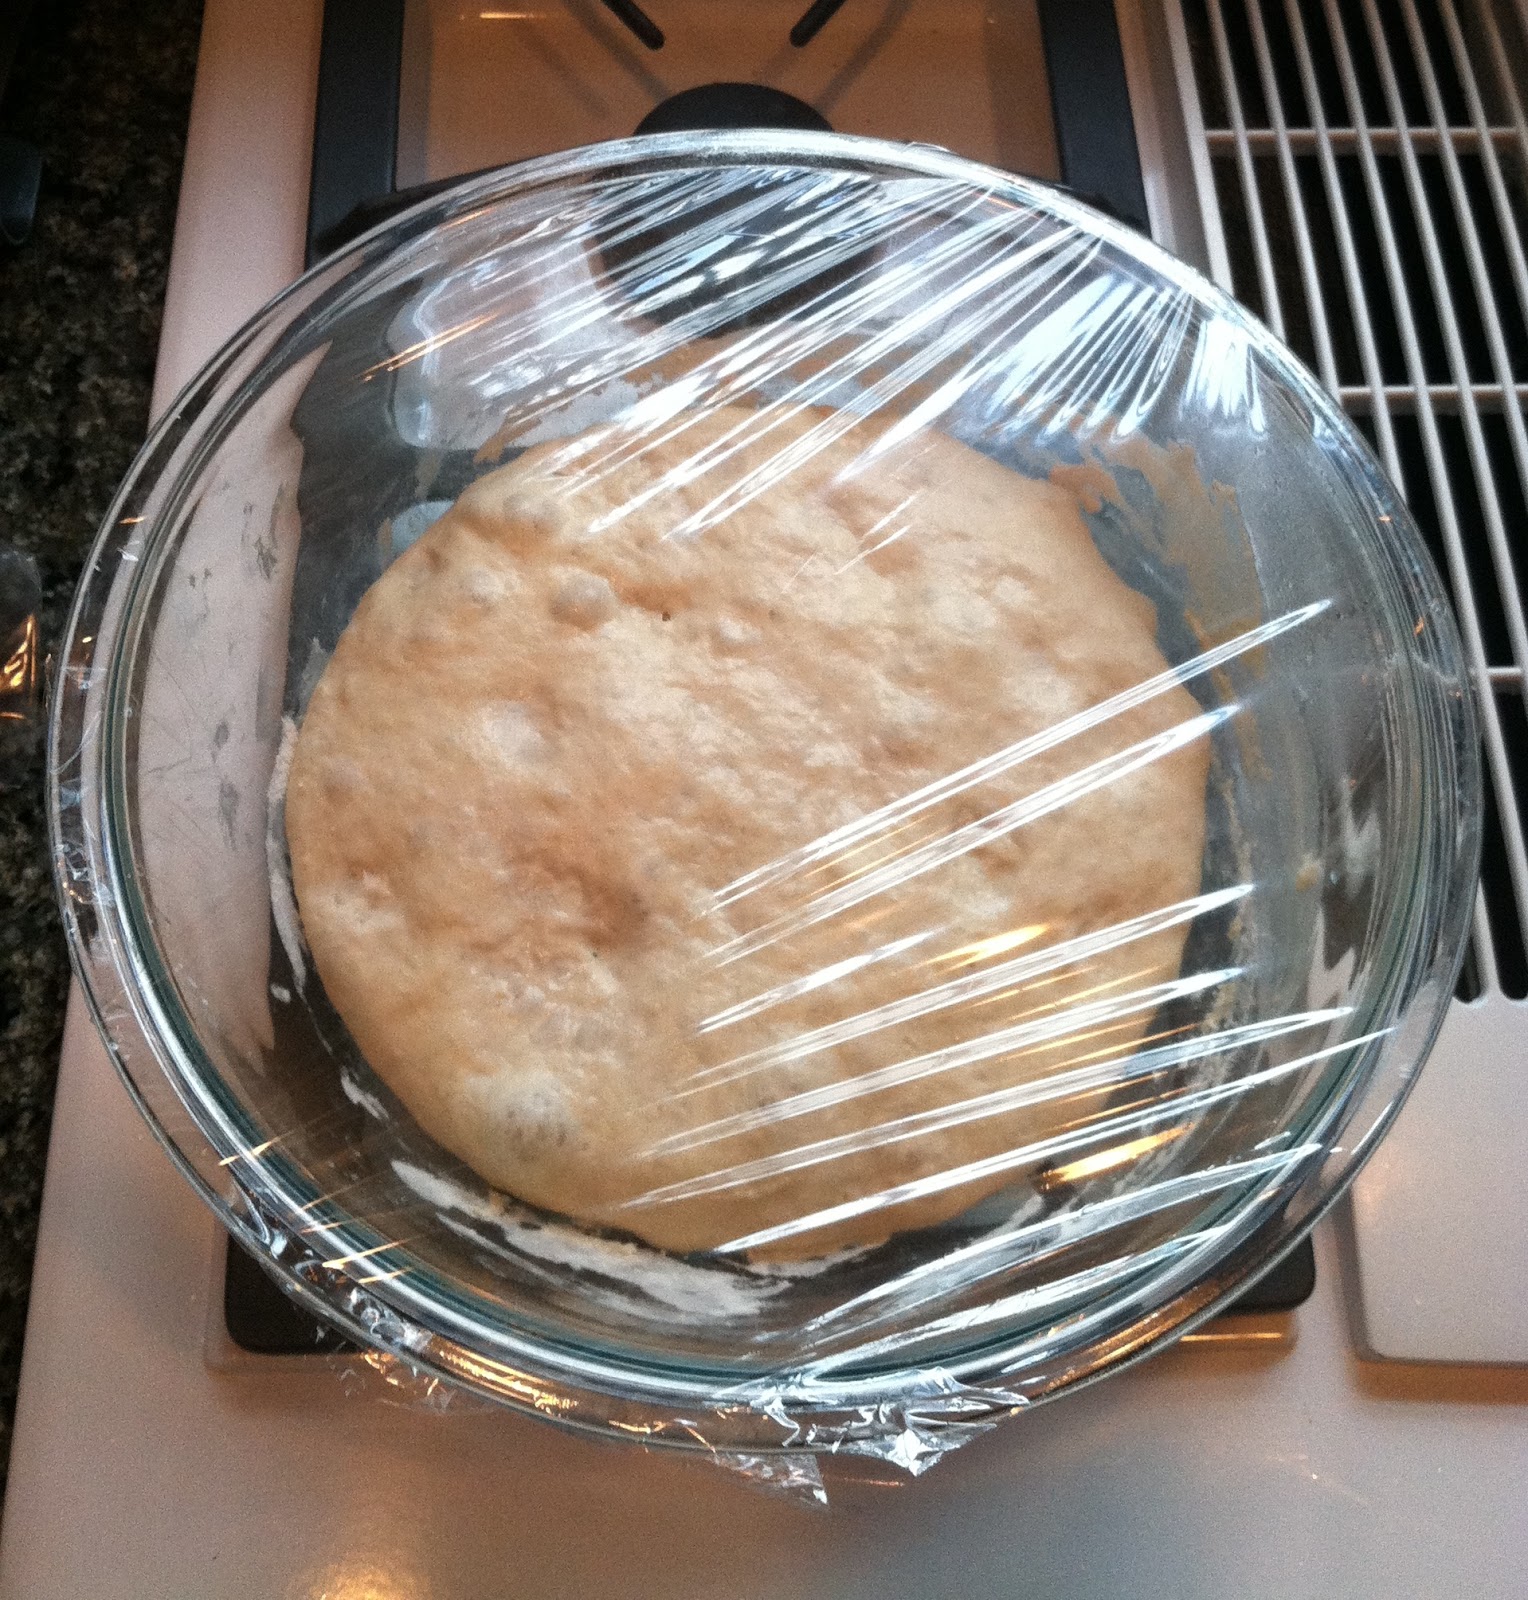
I covered it with plastic wrap and gave it a few stretch and folds once an hour or so, making sure the gluten was developing correctly.  It took about five hours to fully rise.  Here it is looking all smooth once the dough had time to rest and then the gluten strands started to form.

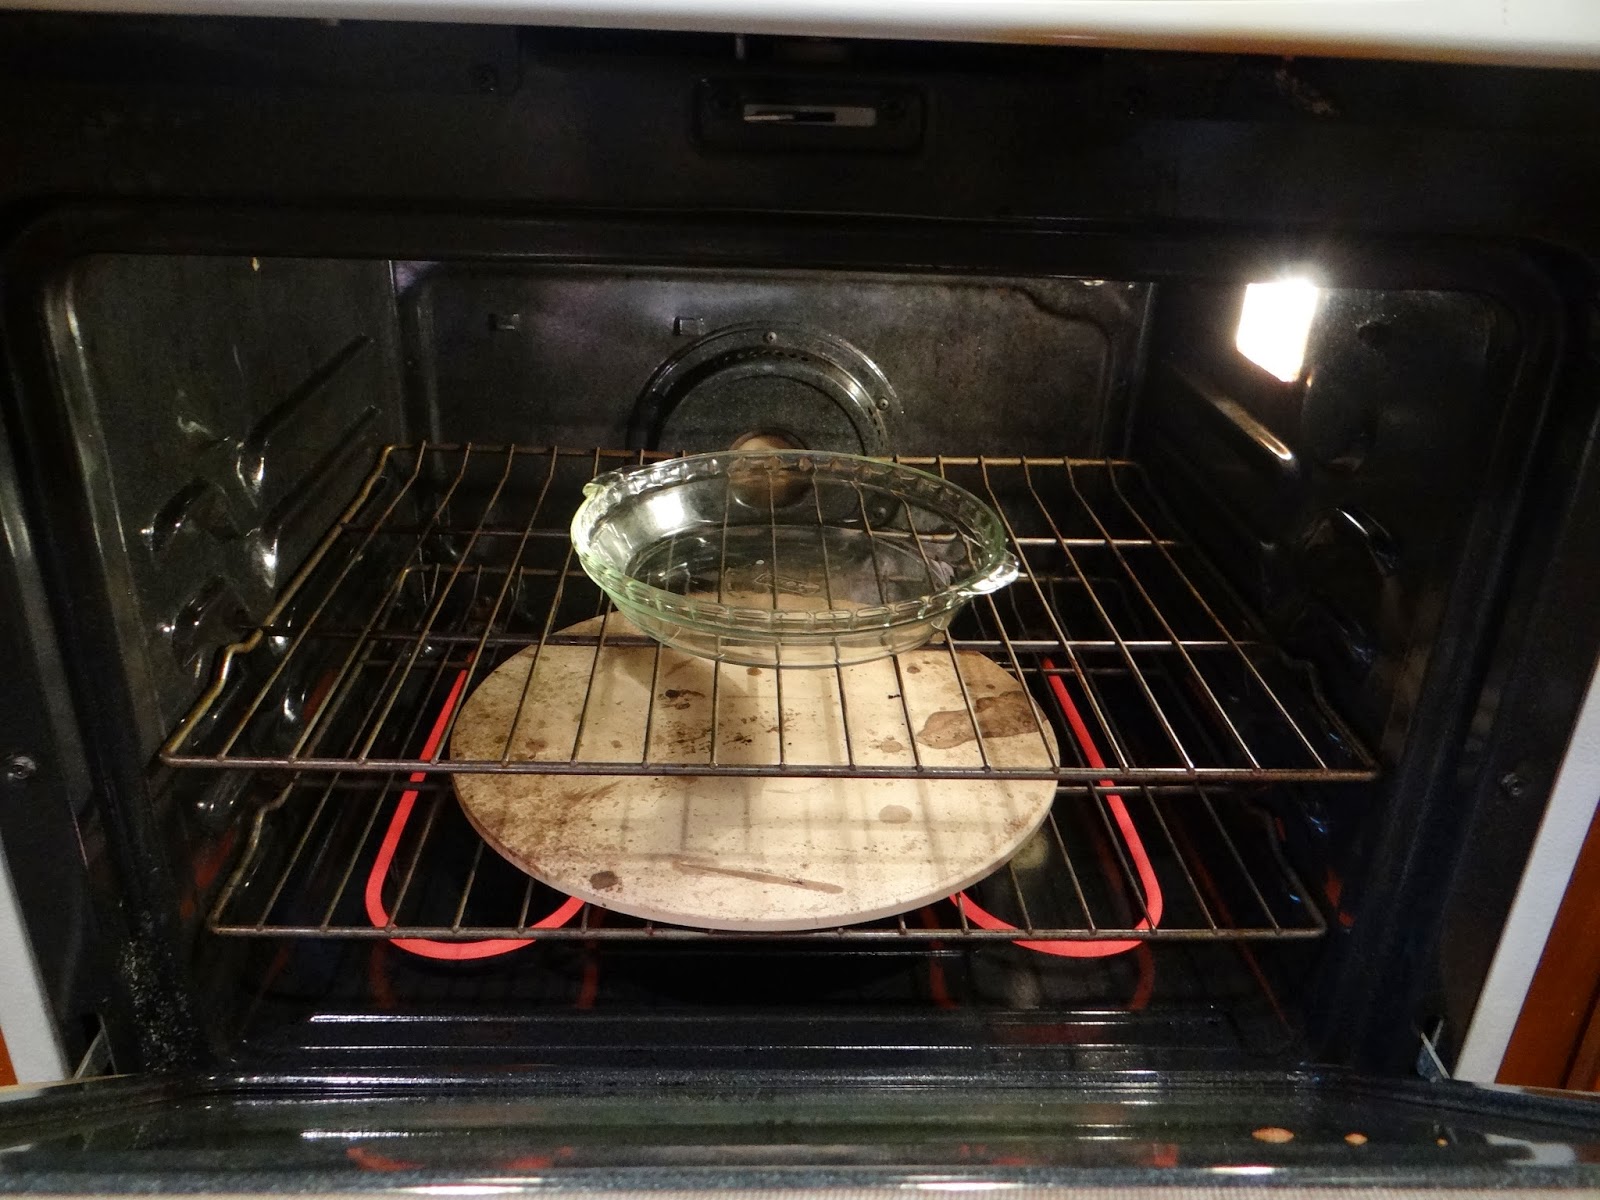
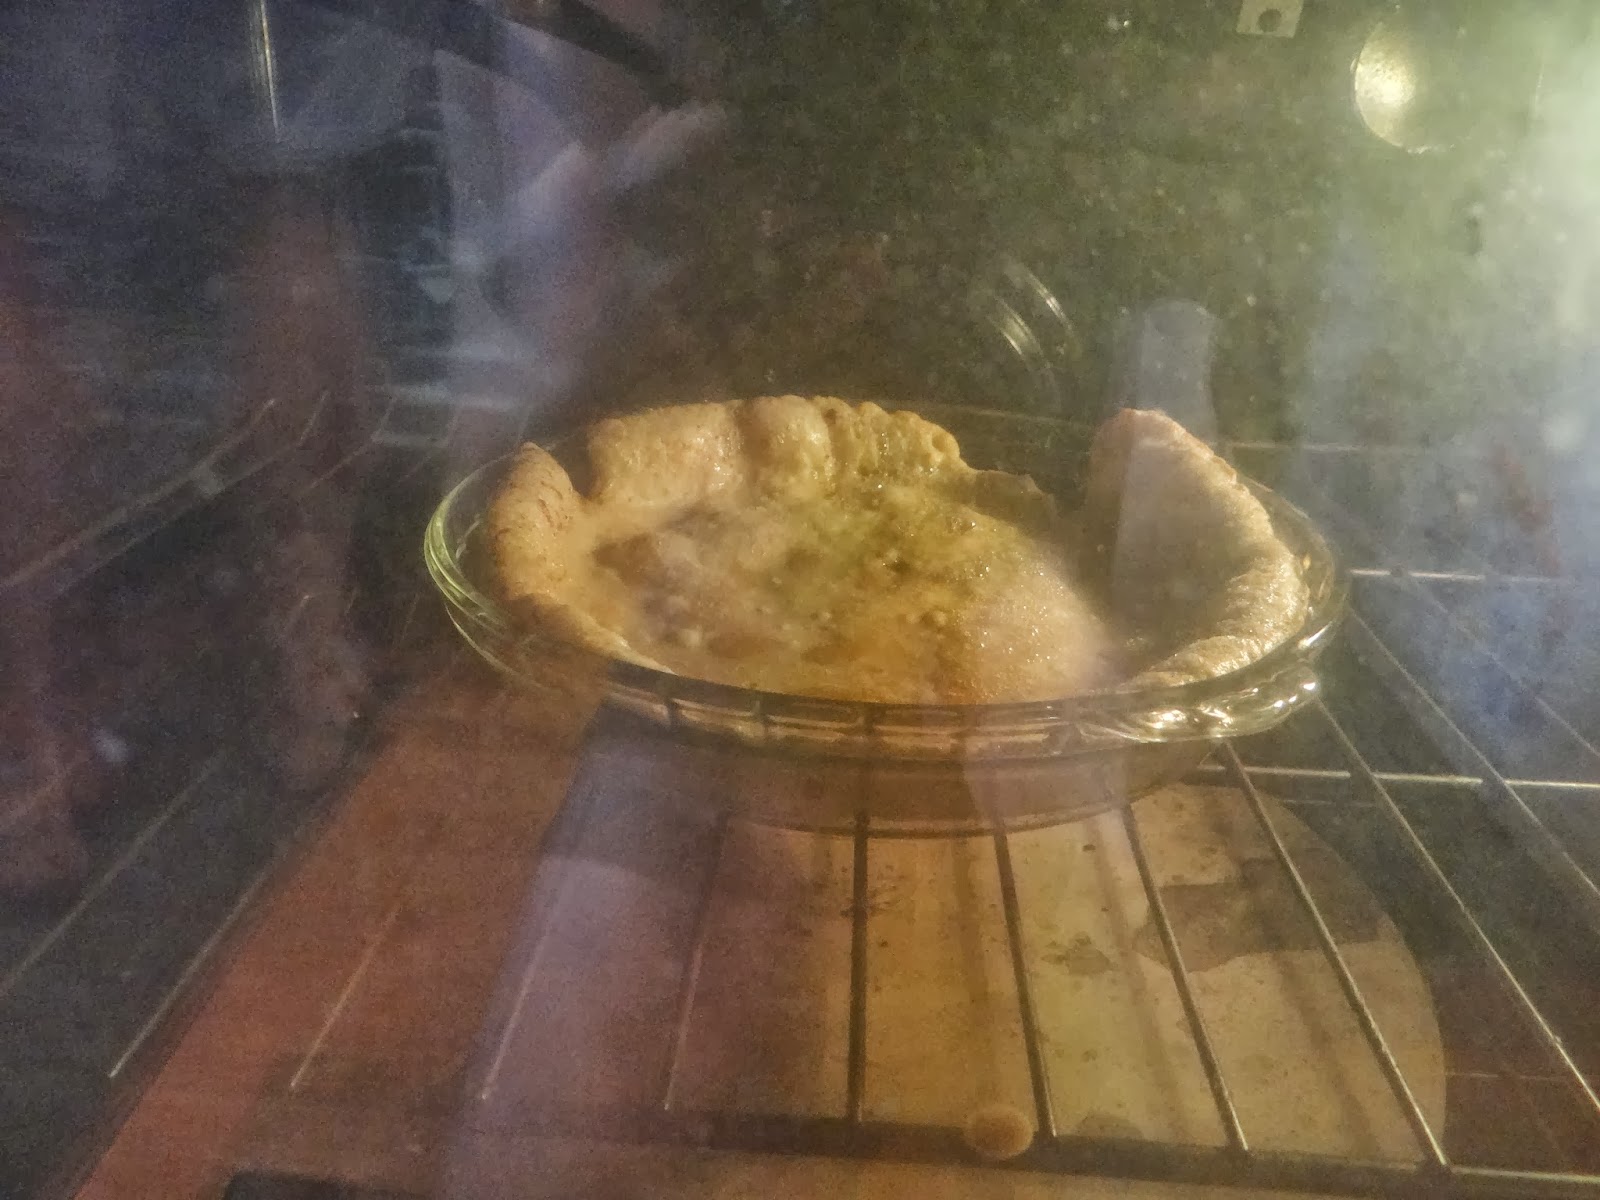
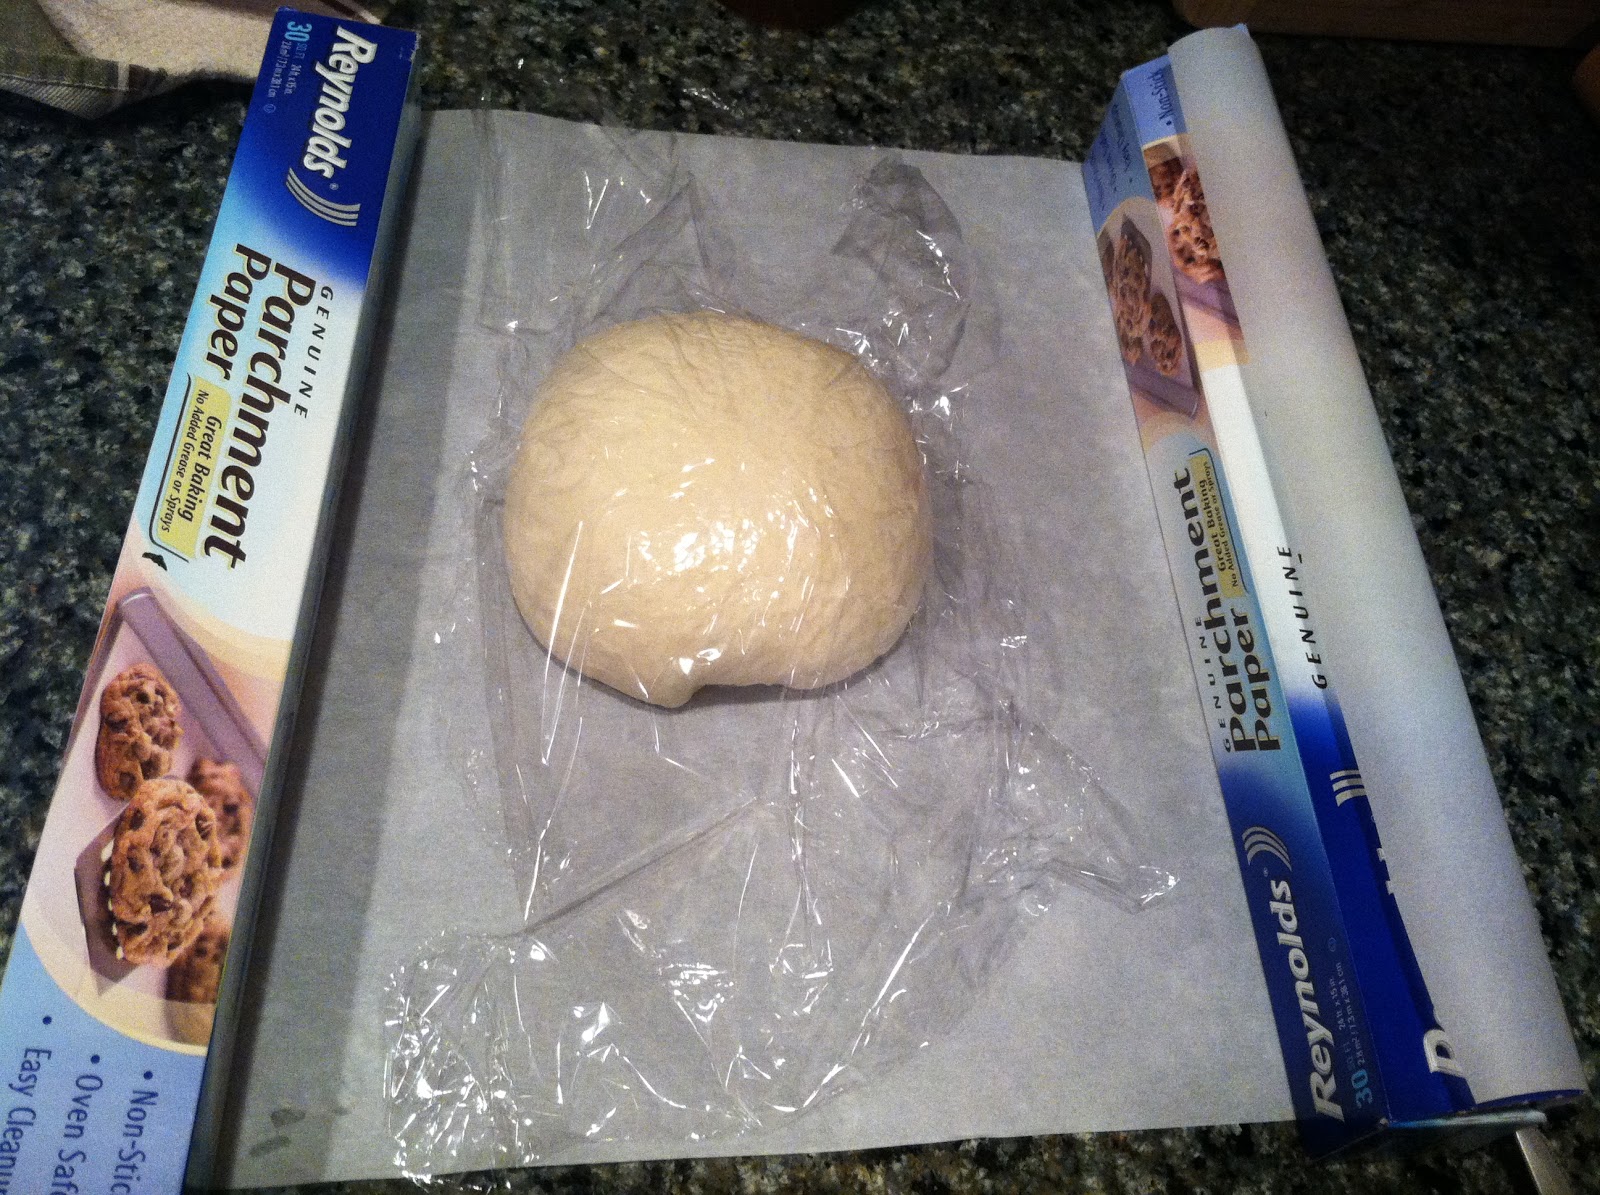
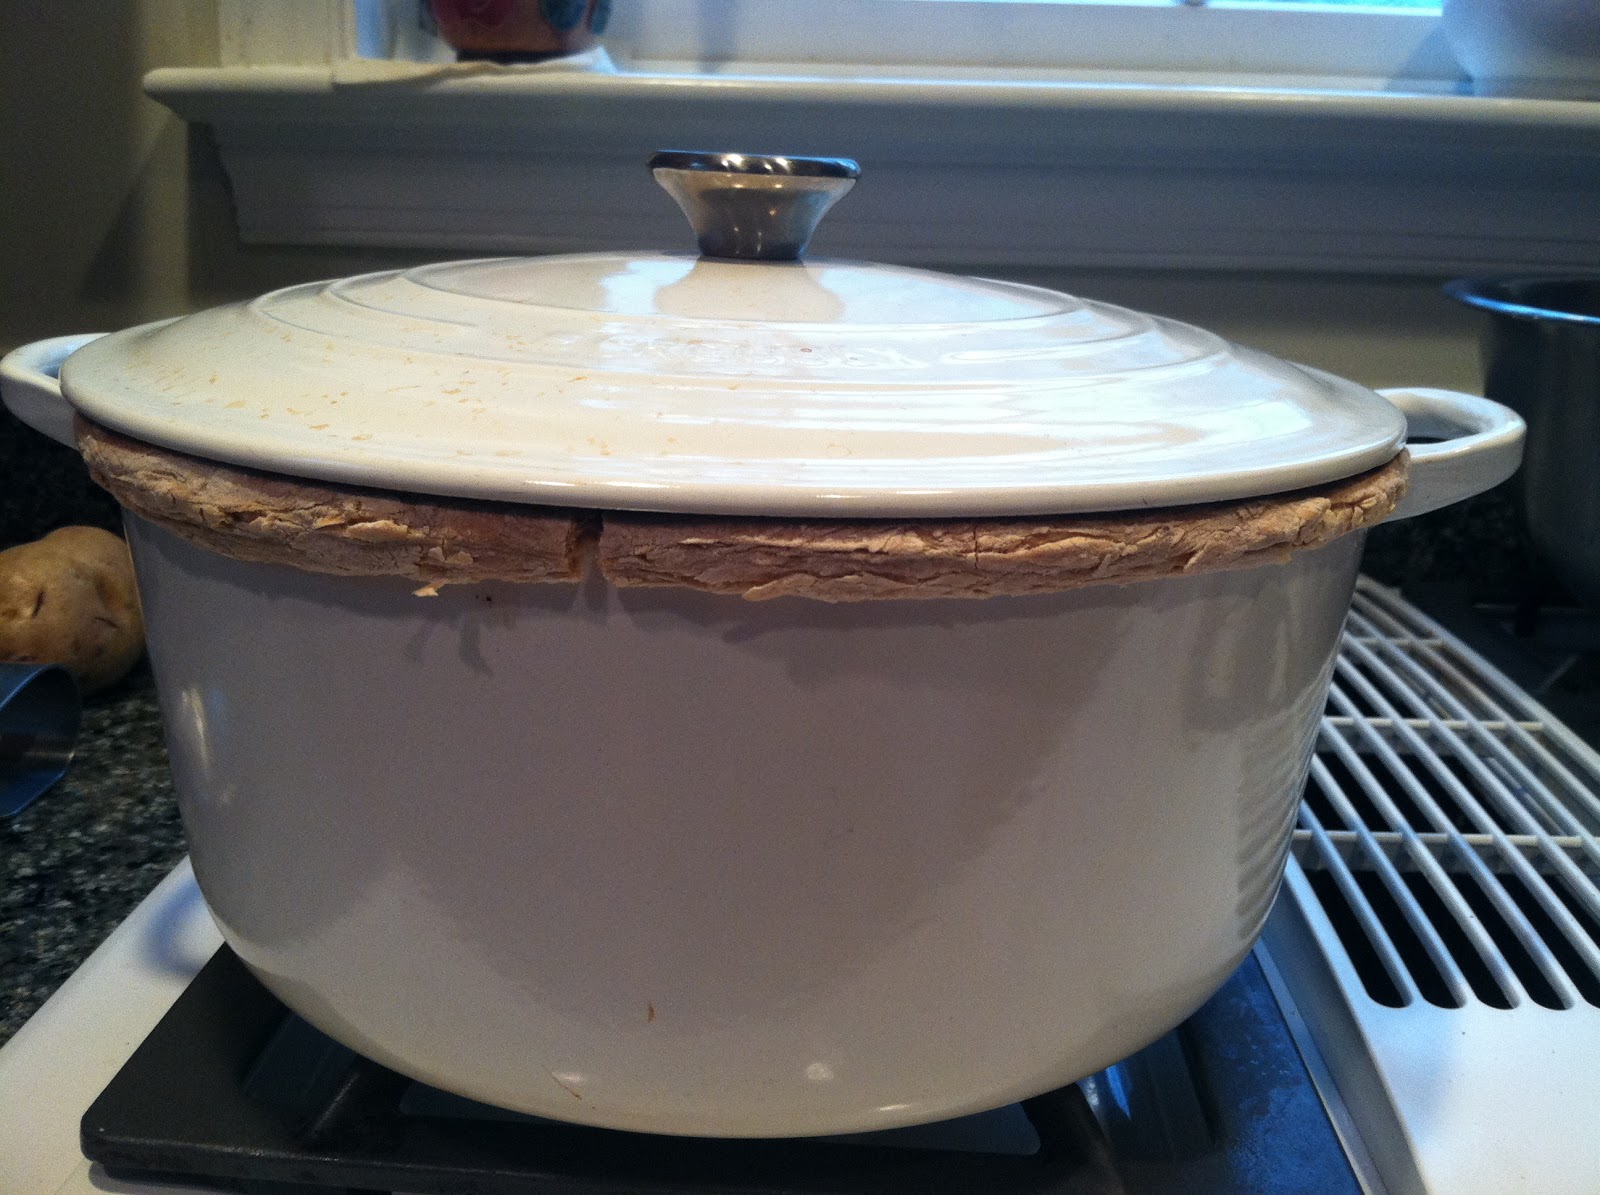
After the first rise, transfer to a piece of parchment paper and let rise another hour while you preheat the oven to 375 degrees F.  I’ve found that enriched breads do better at lower temperatures than in the screaming hot temperatures that lean doughs seem to love.  Oh, and throw your dutch oven into the oven as well.

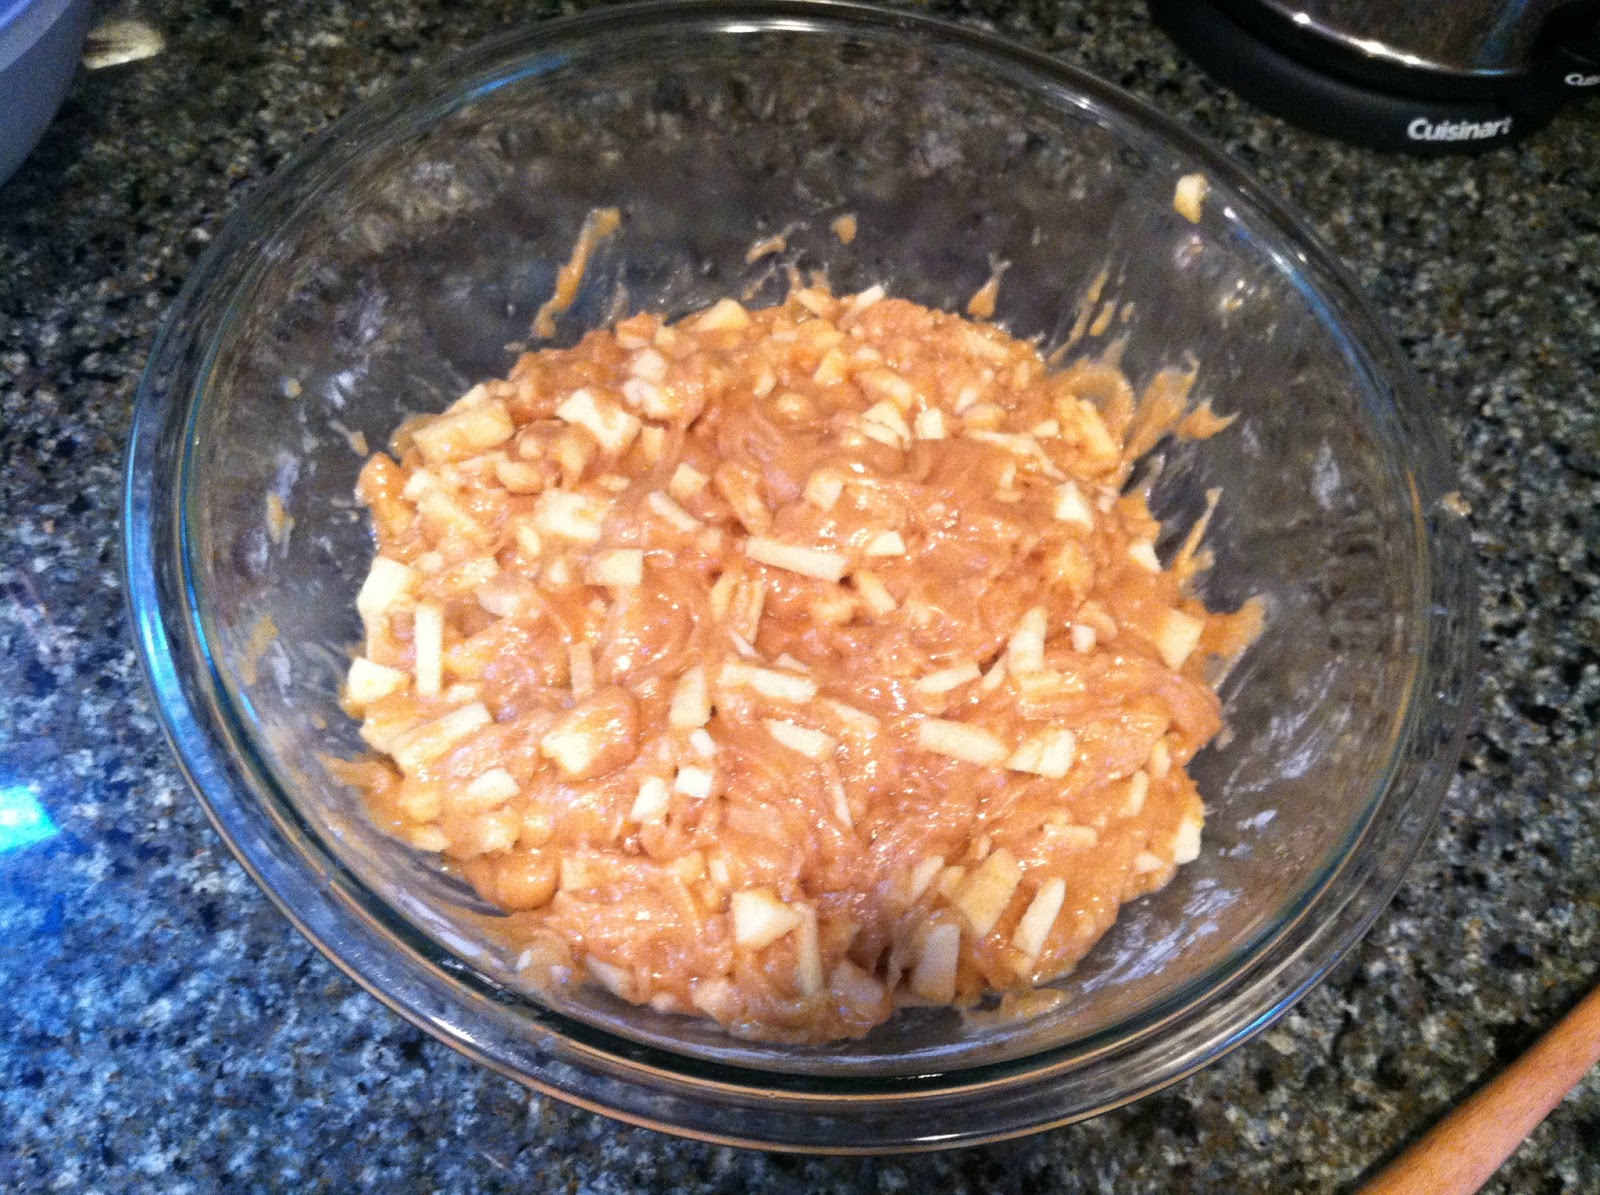
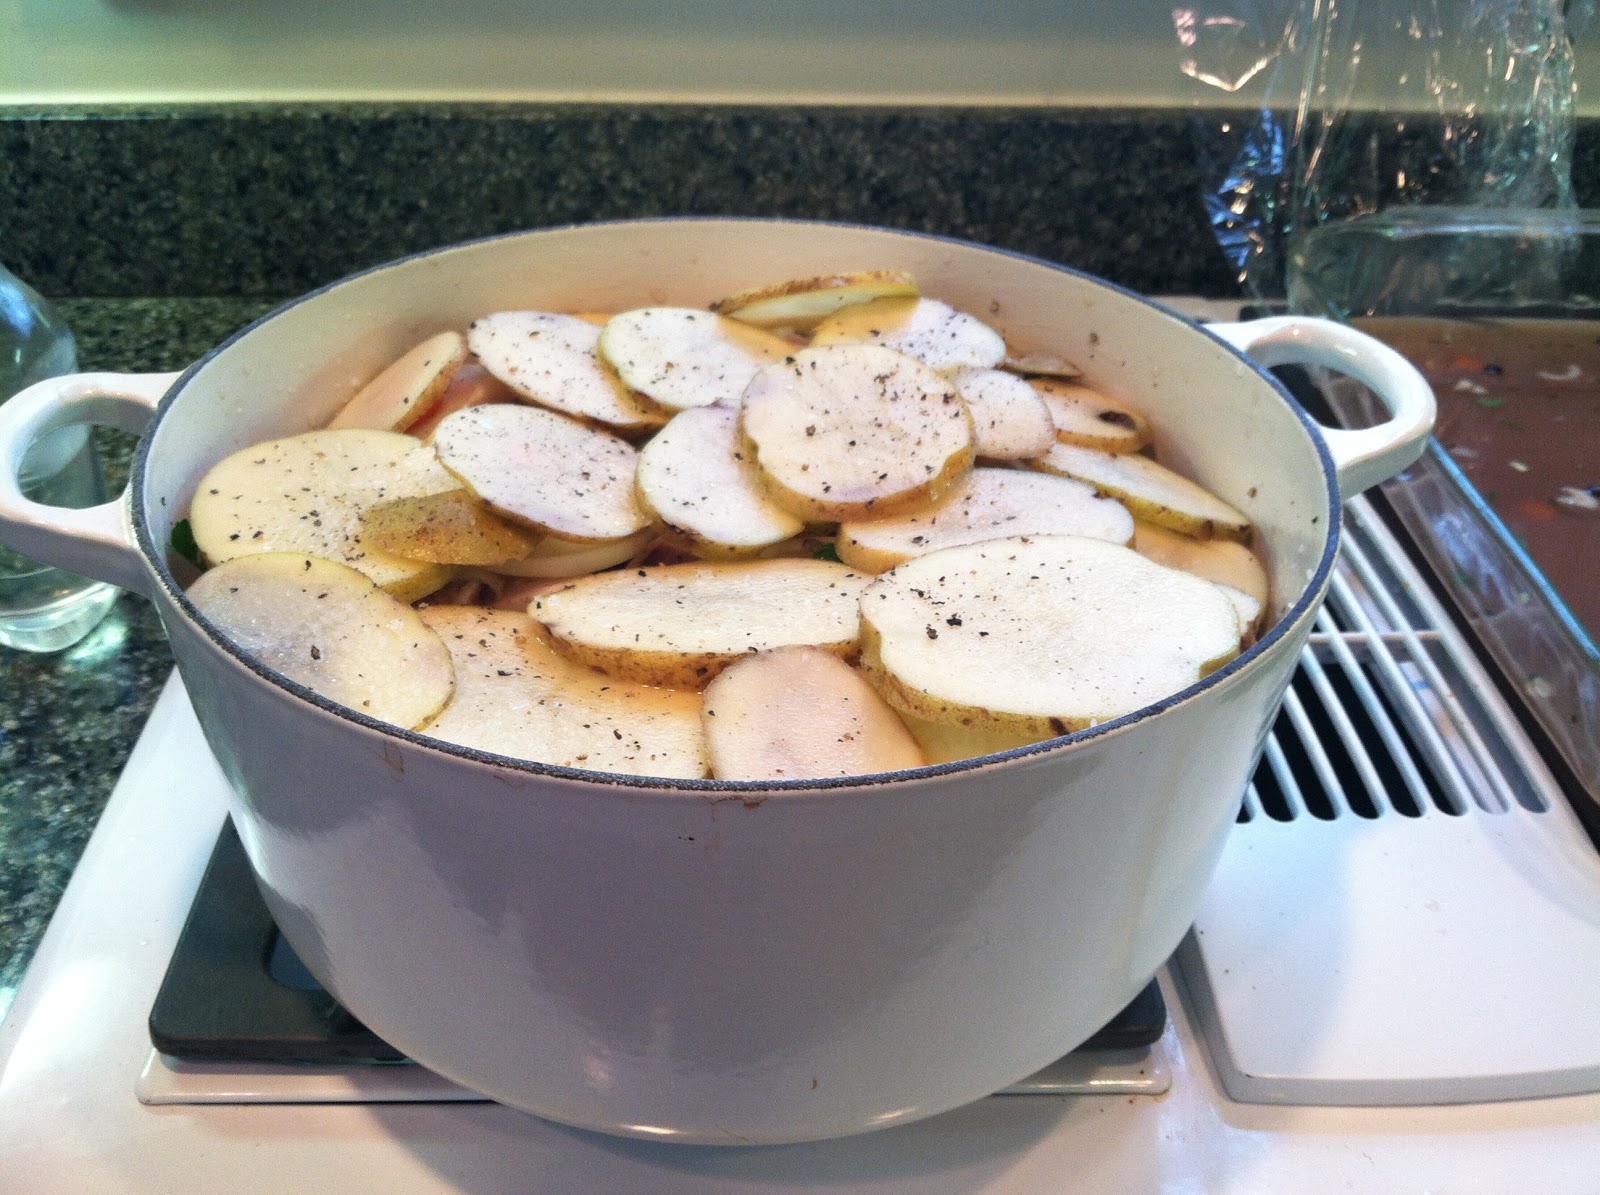
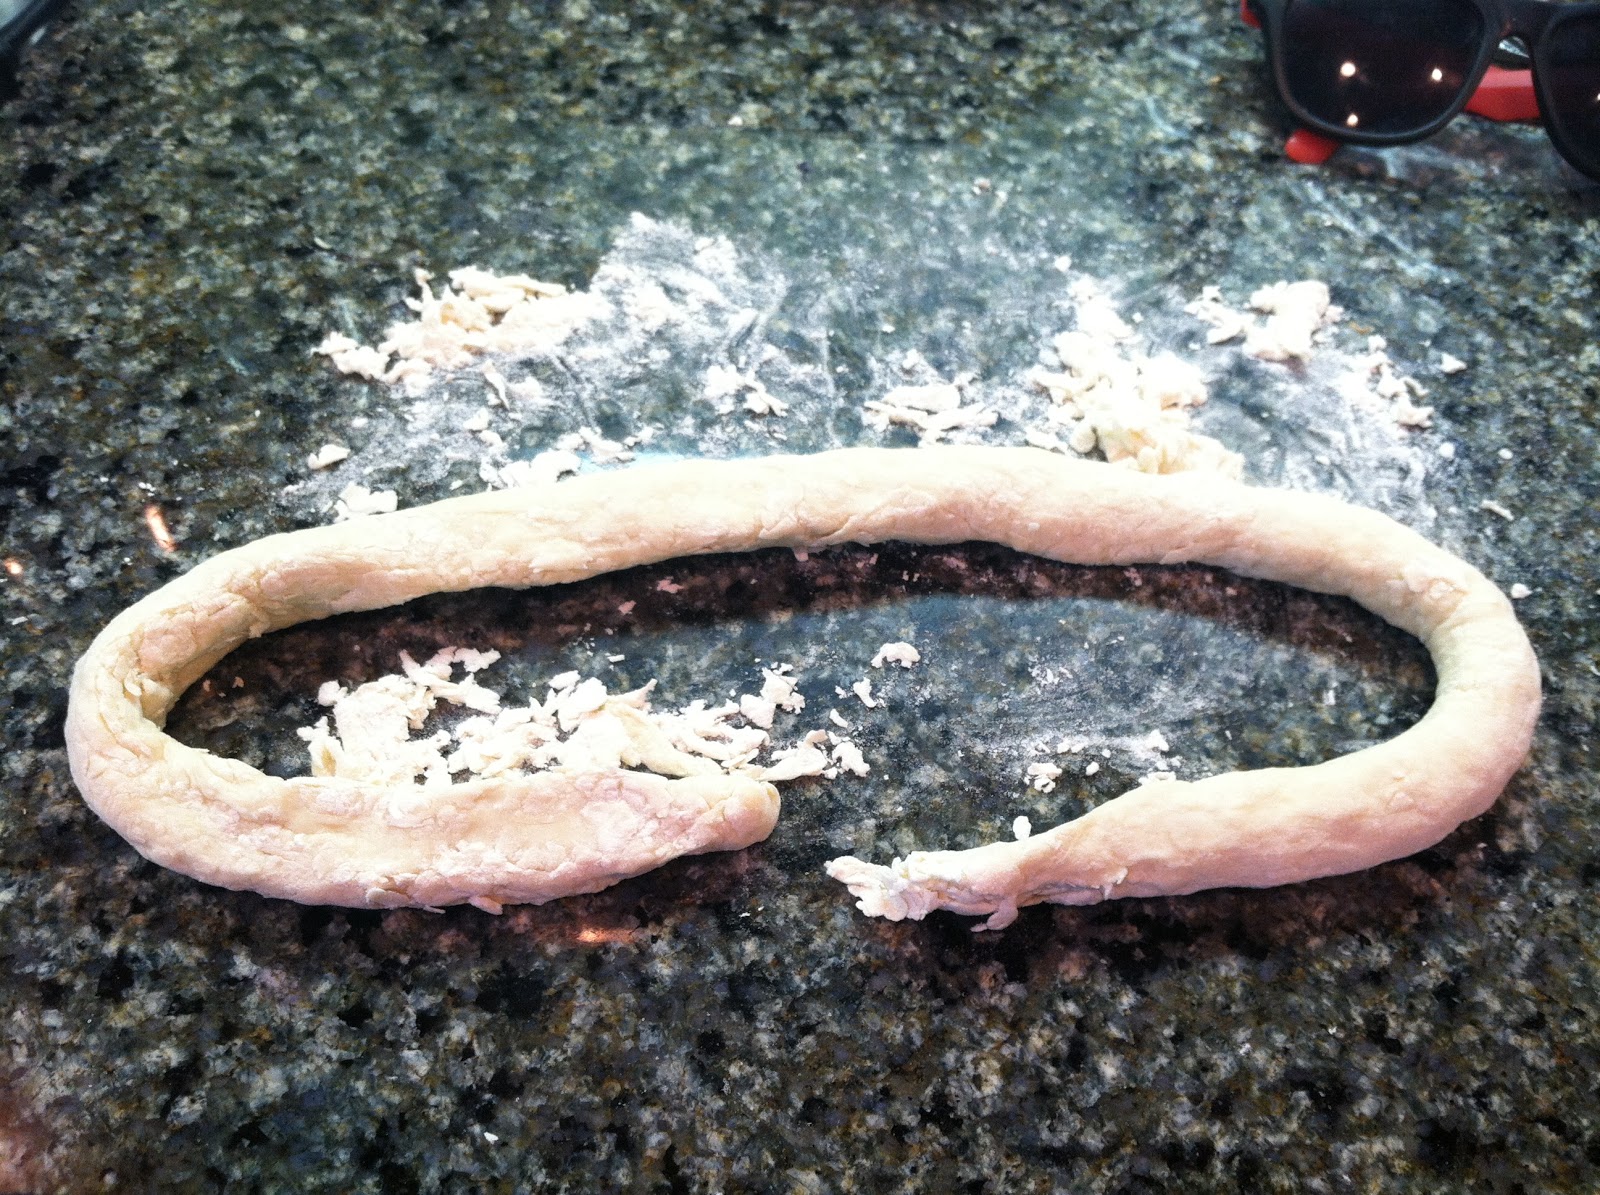
The dough was really sticky still so I covered it with flour.

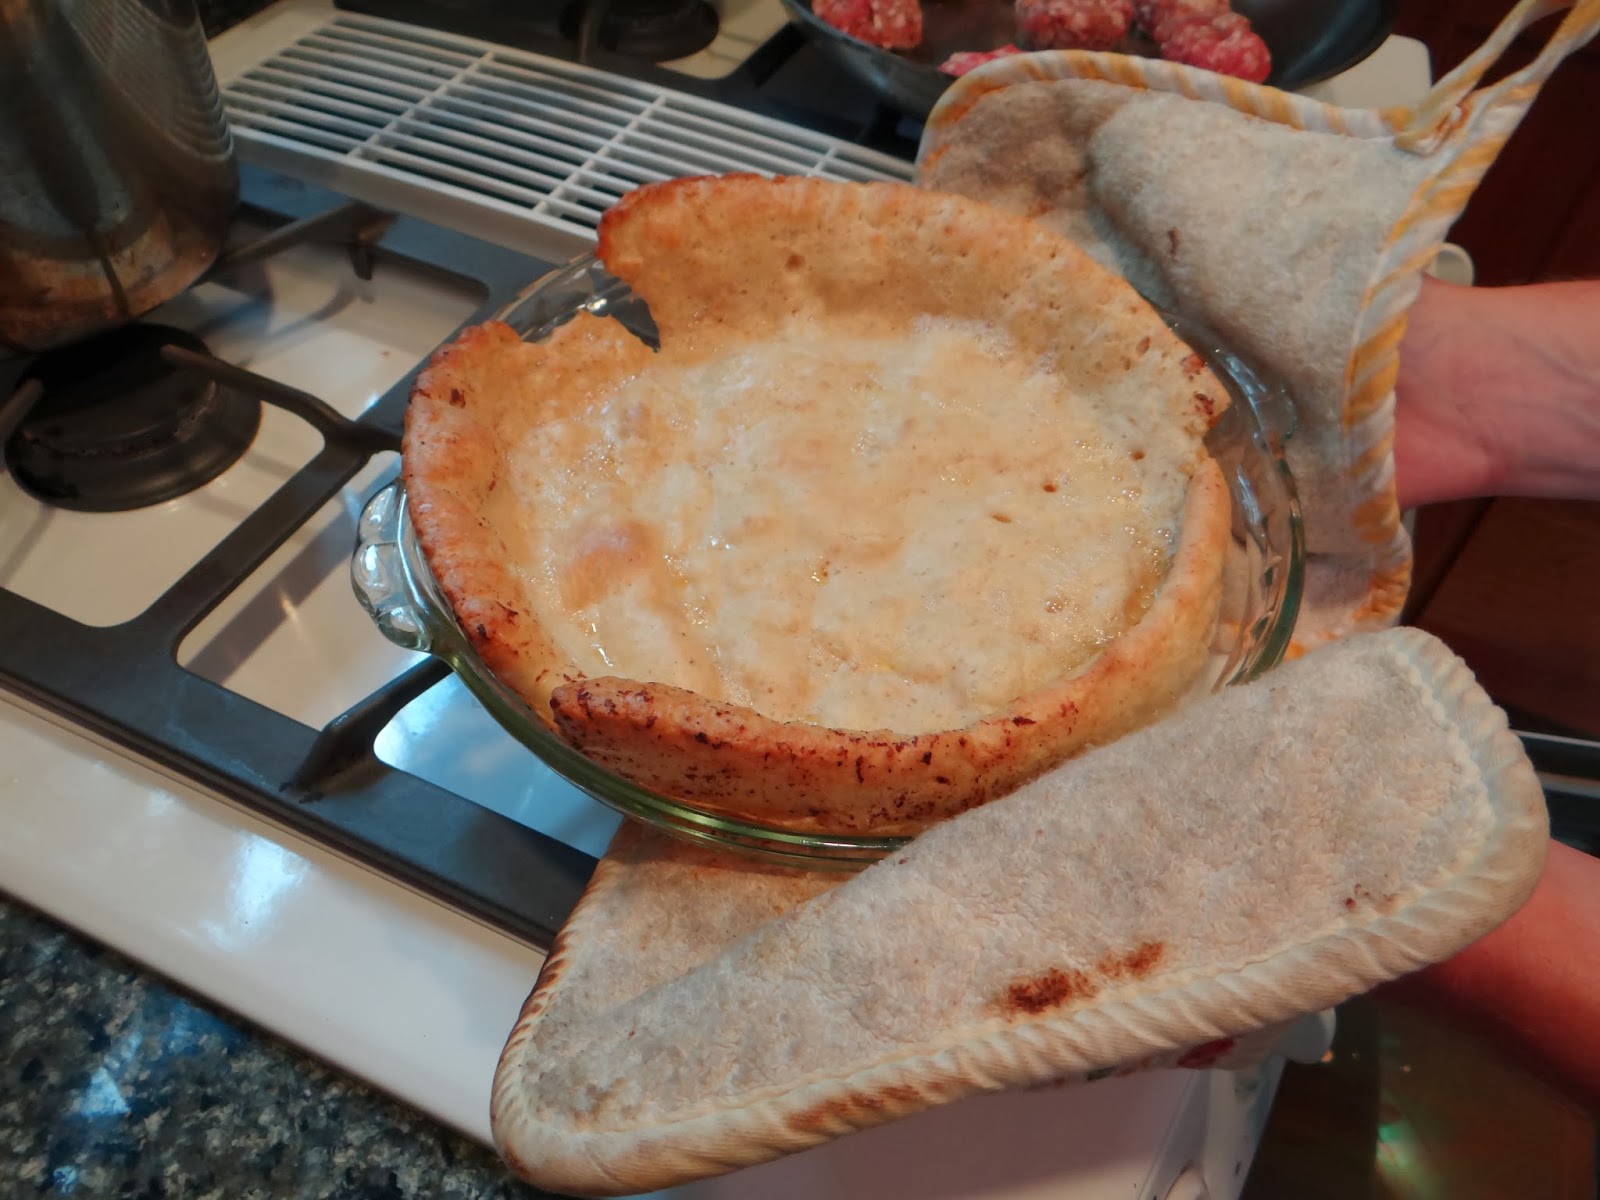
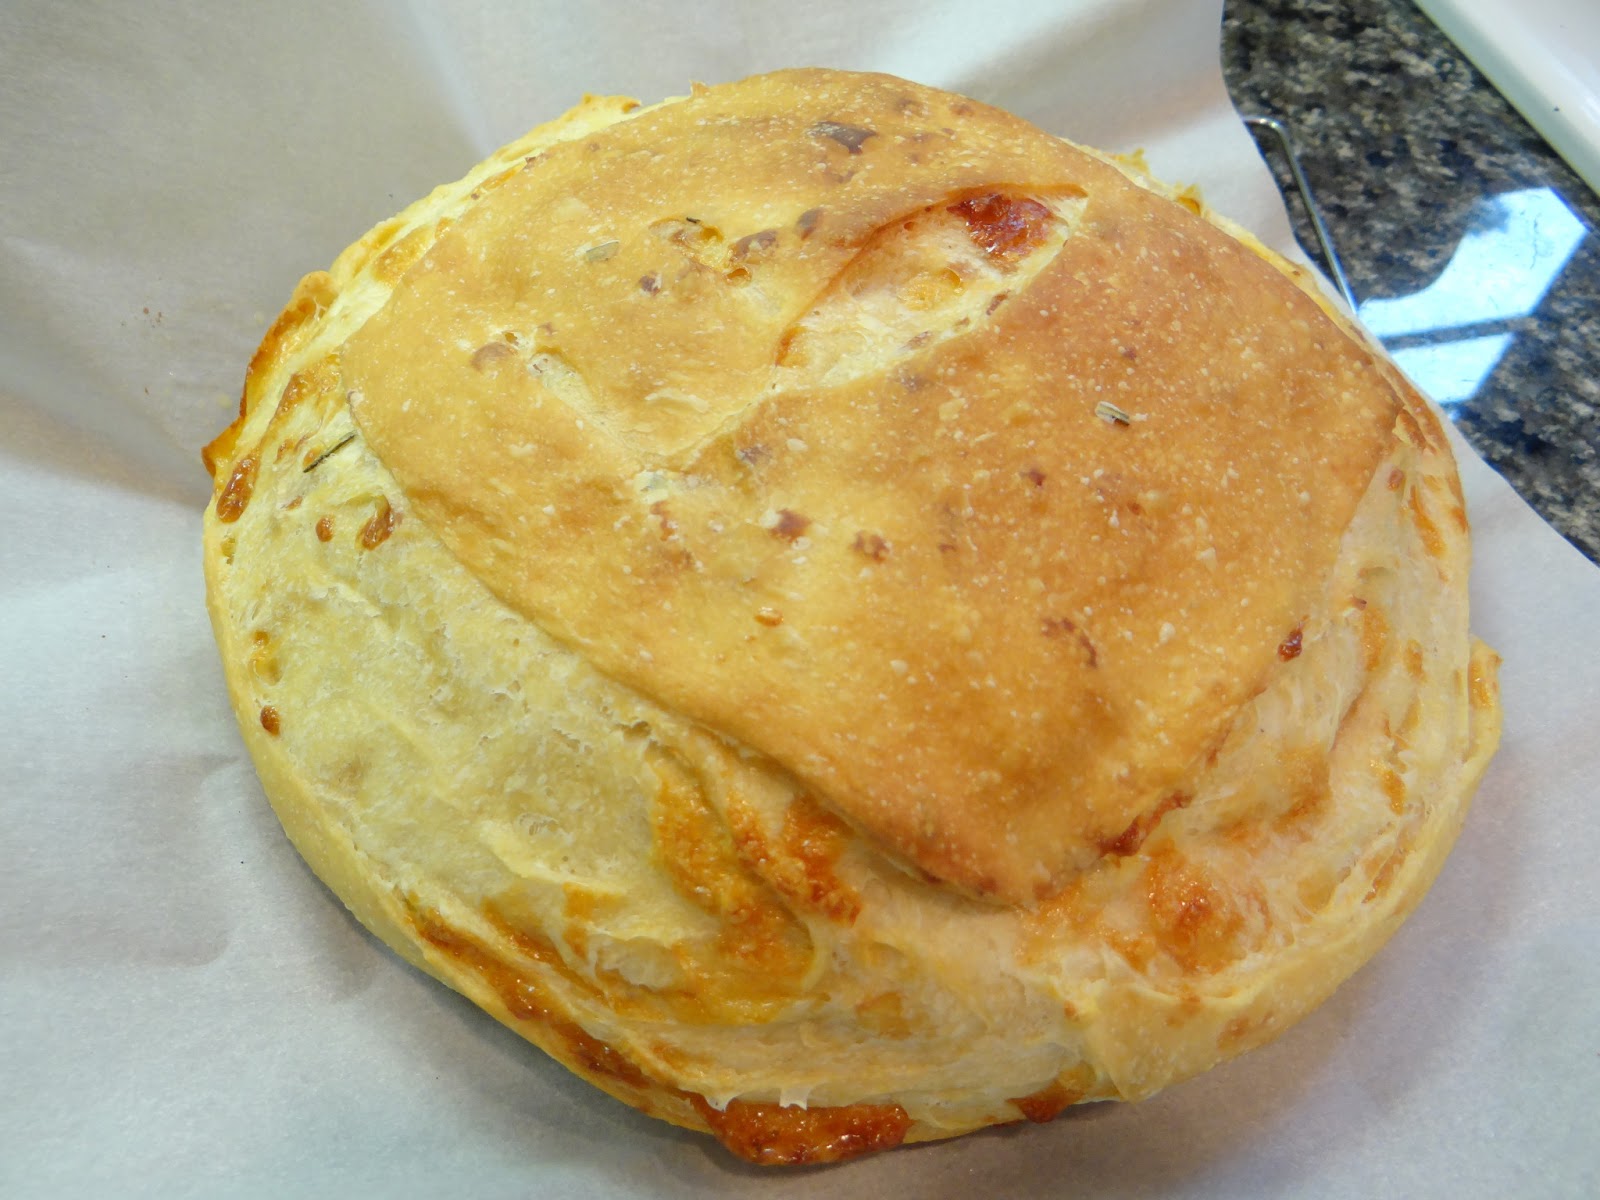
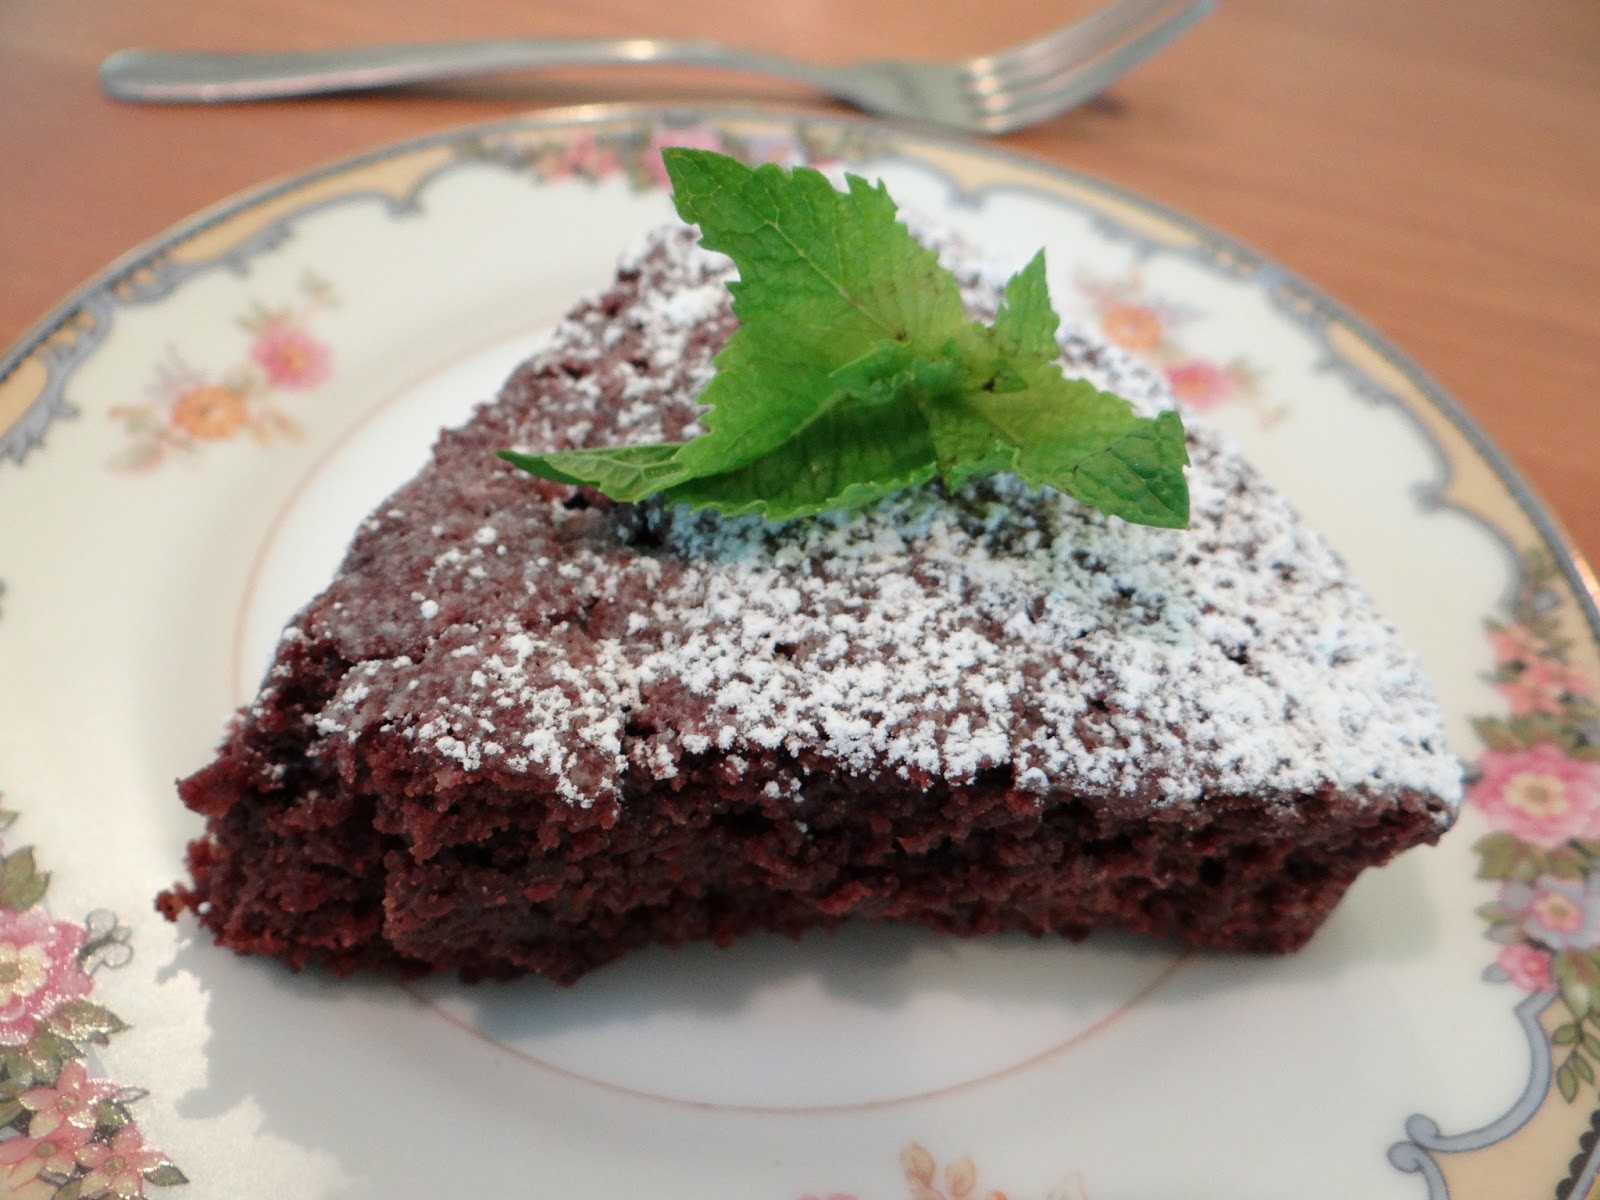
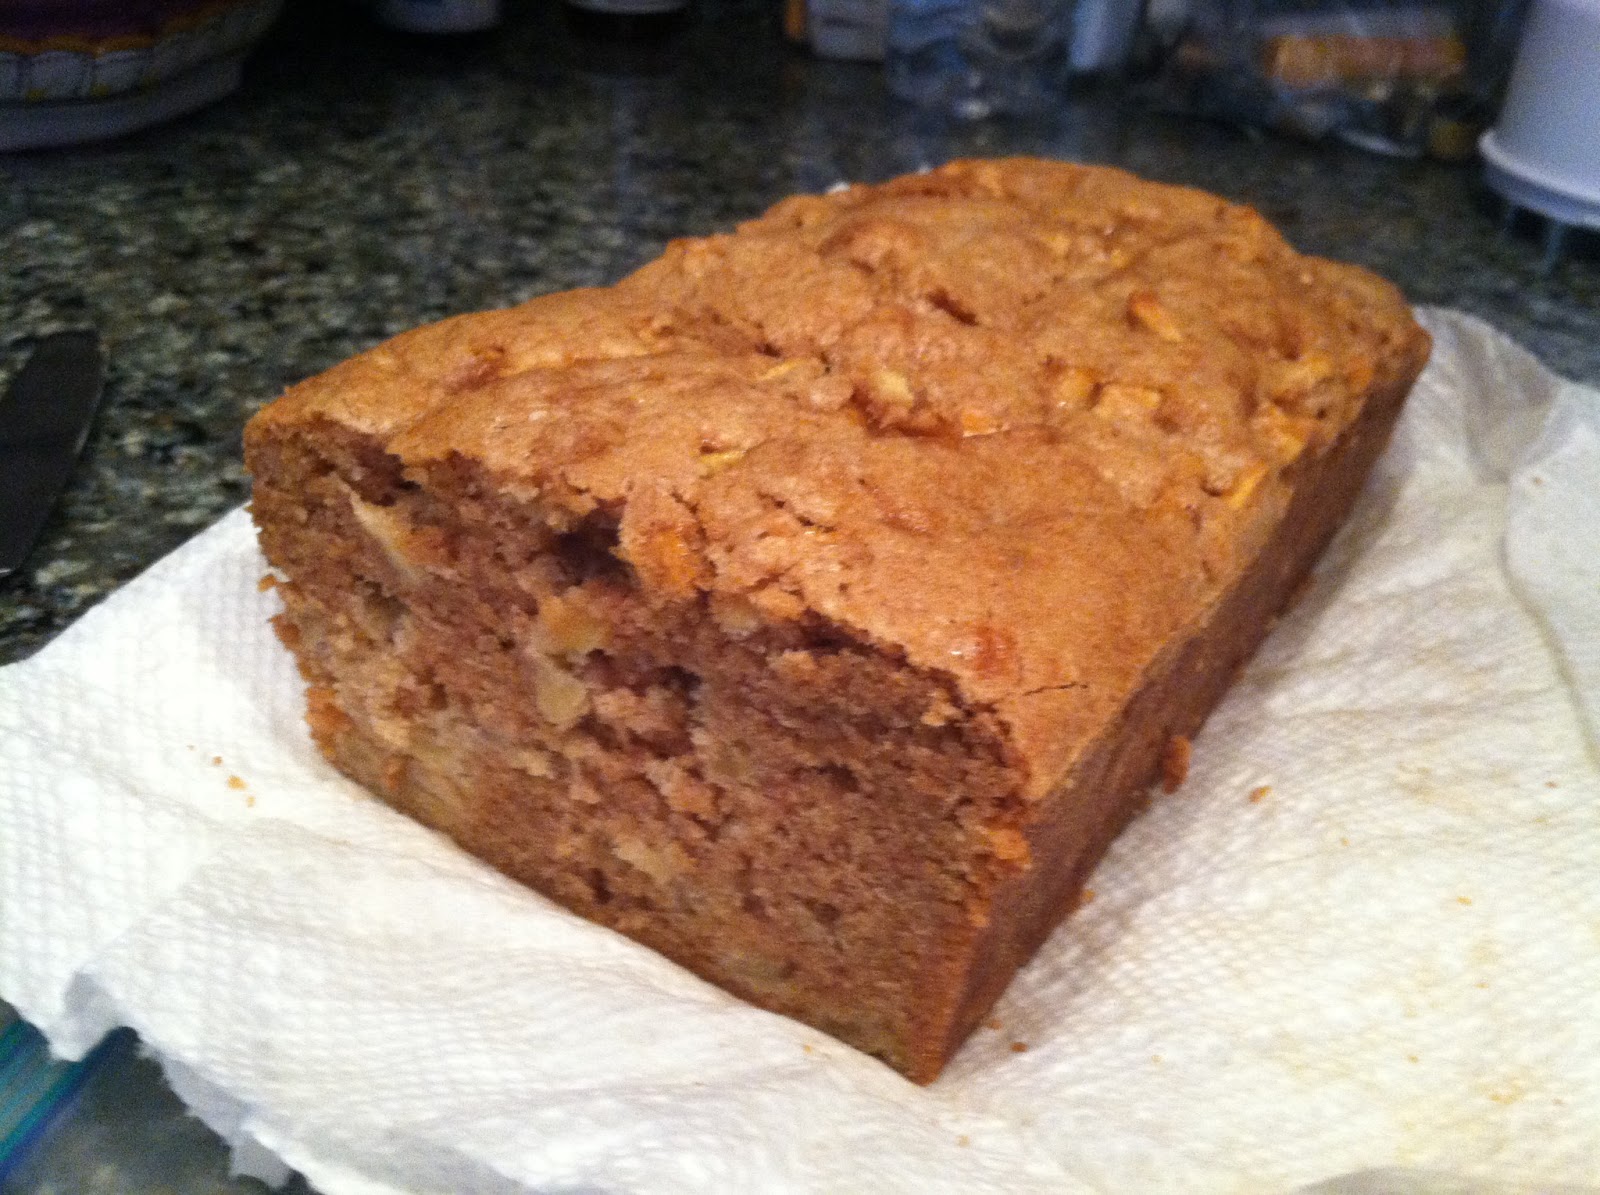
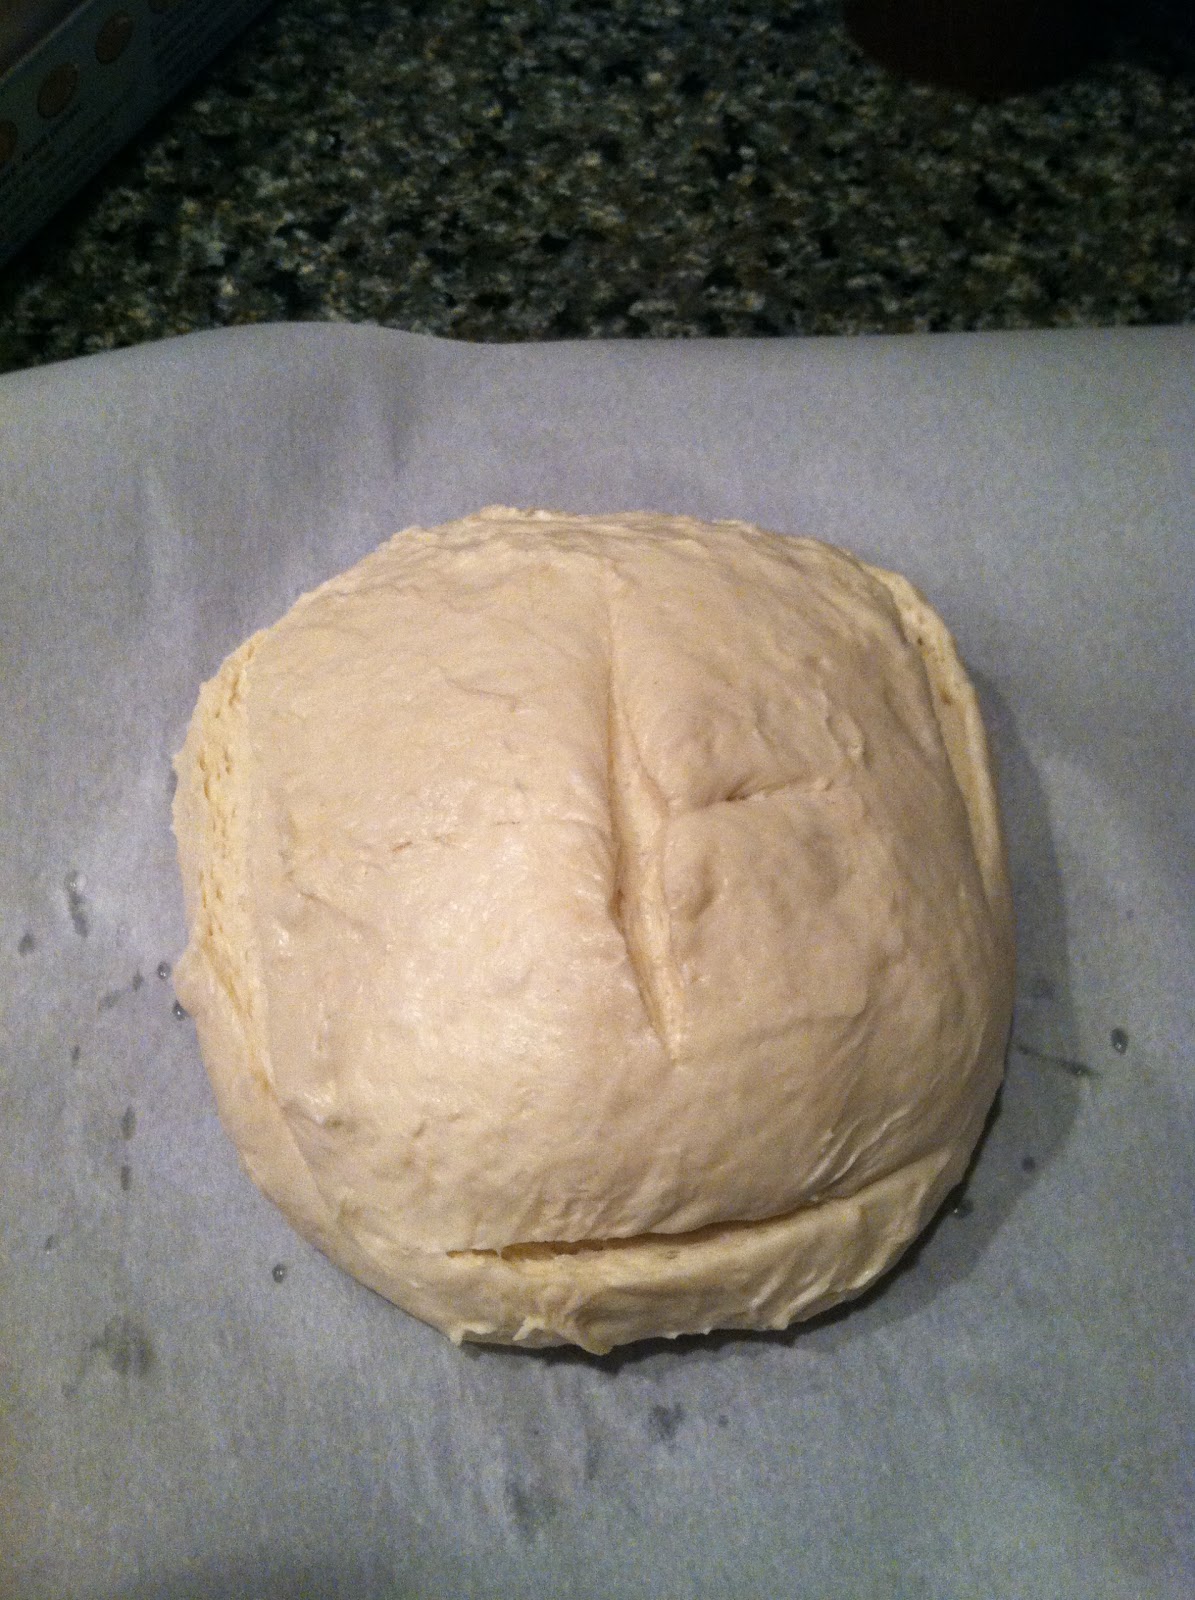
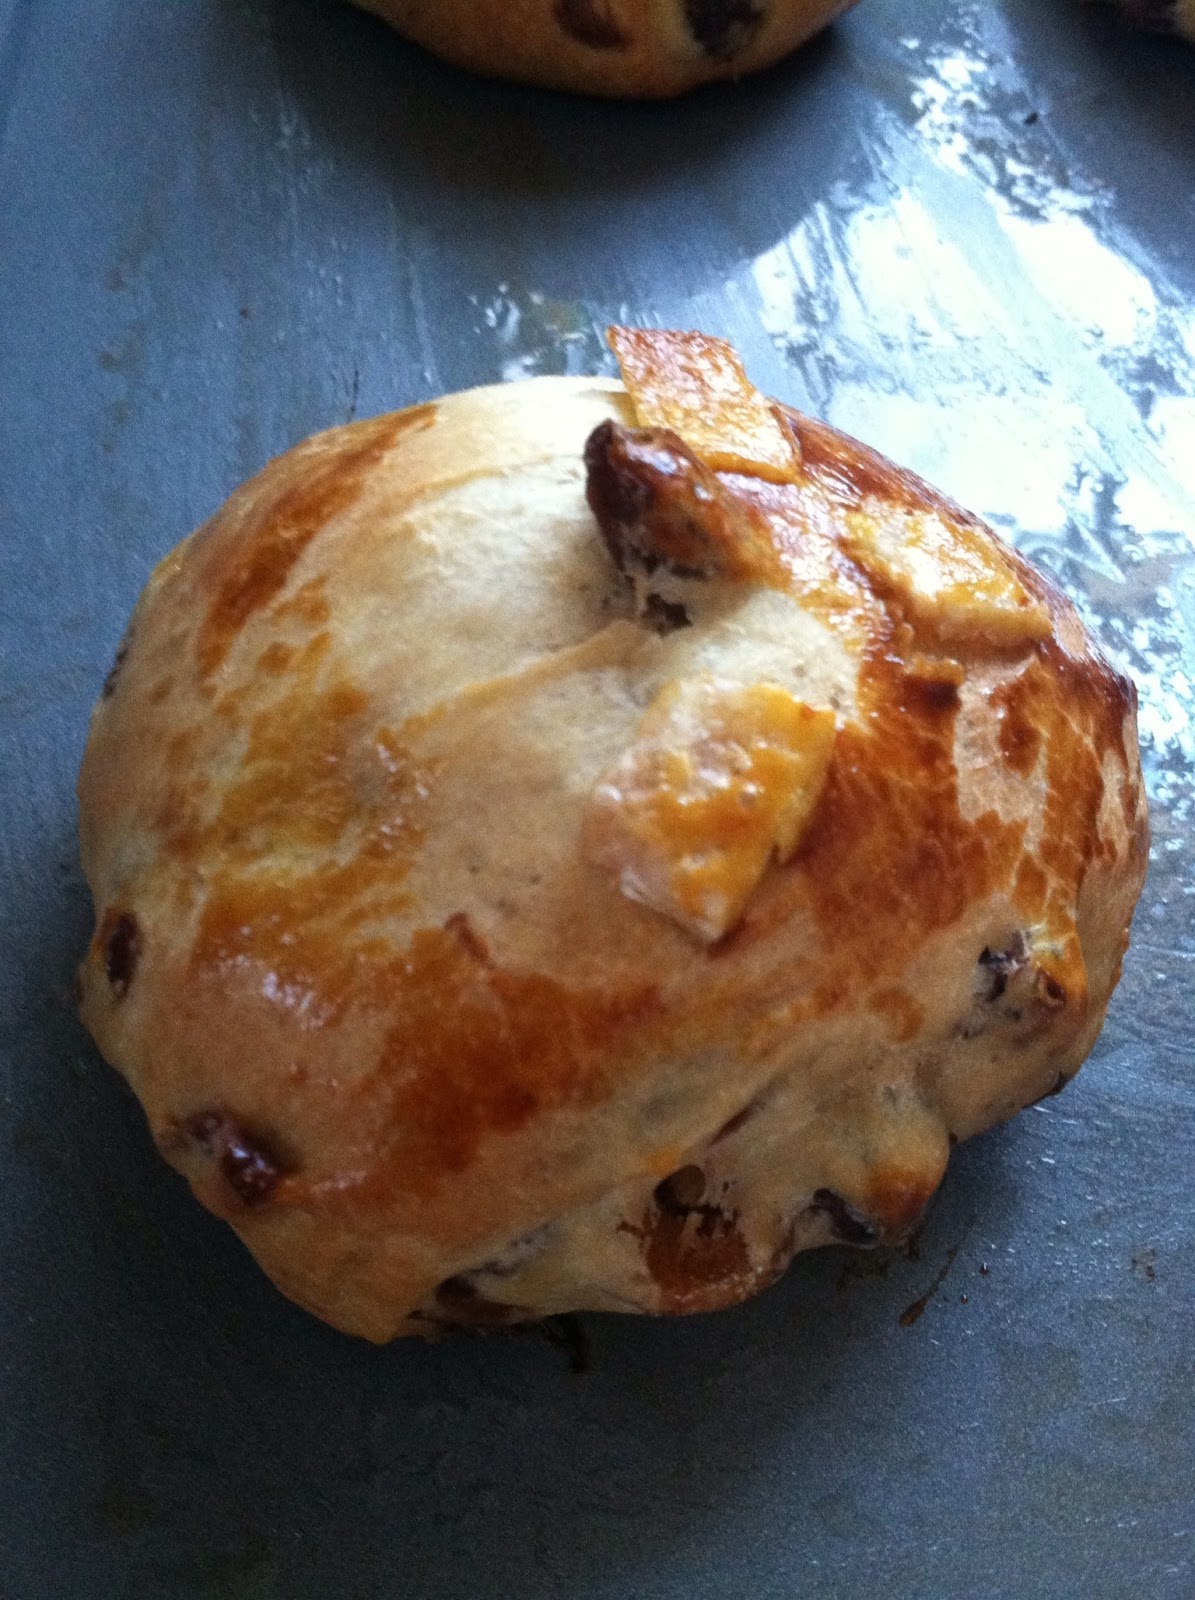
When the dough is ready, score the top with a sharp knife and put it in the dutch oven with the lid on.  Bake for 25 minutes, then remove the lid and bake another 15 minutes until the bread is golden and sounds hollow when tapped.

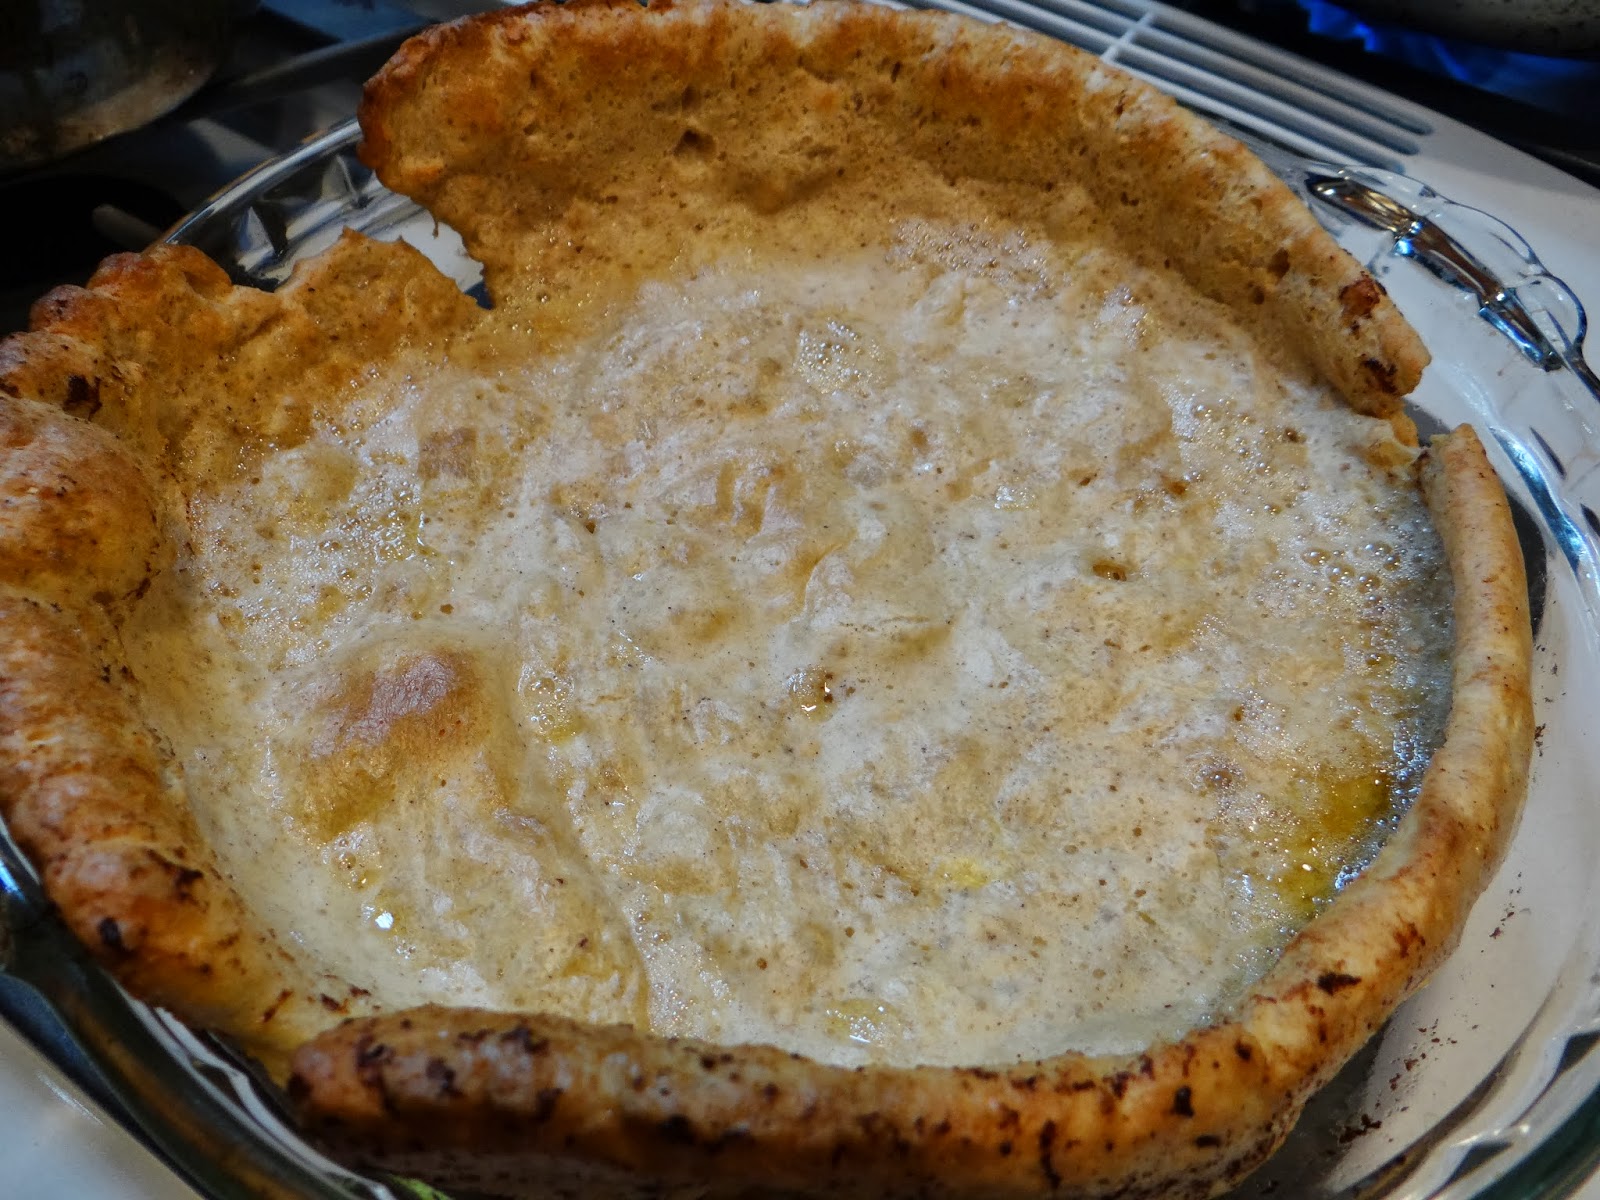
Yay!  Pretty bread is pretty!

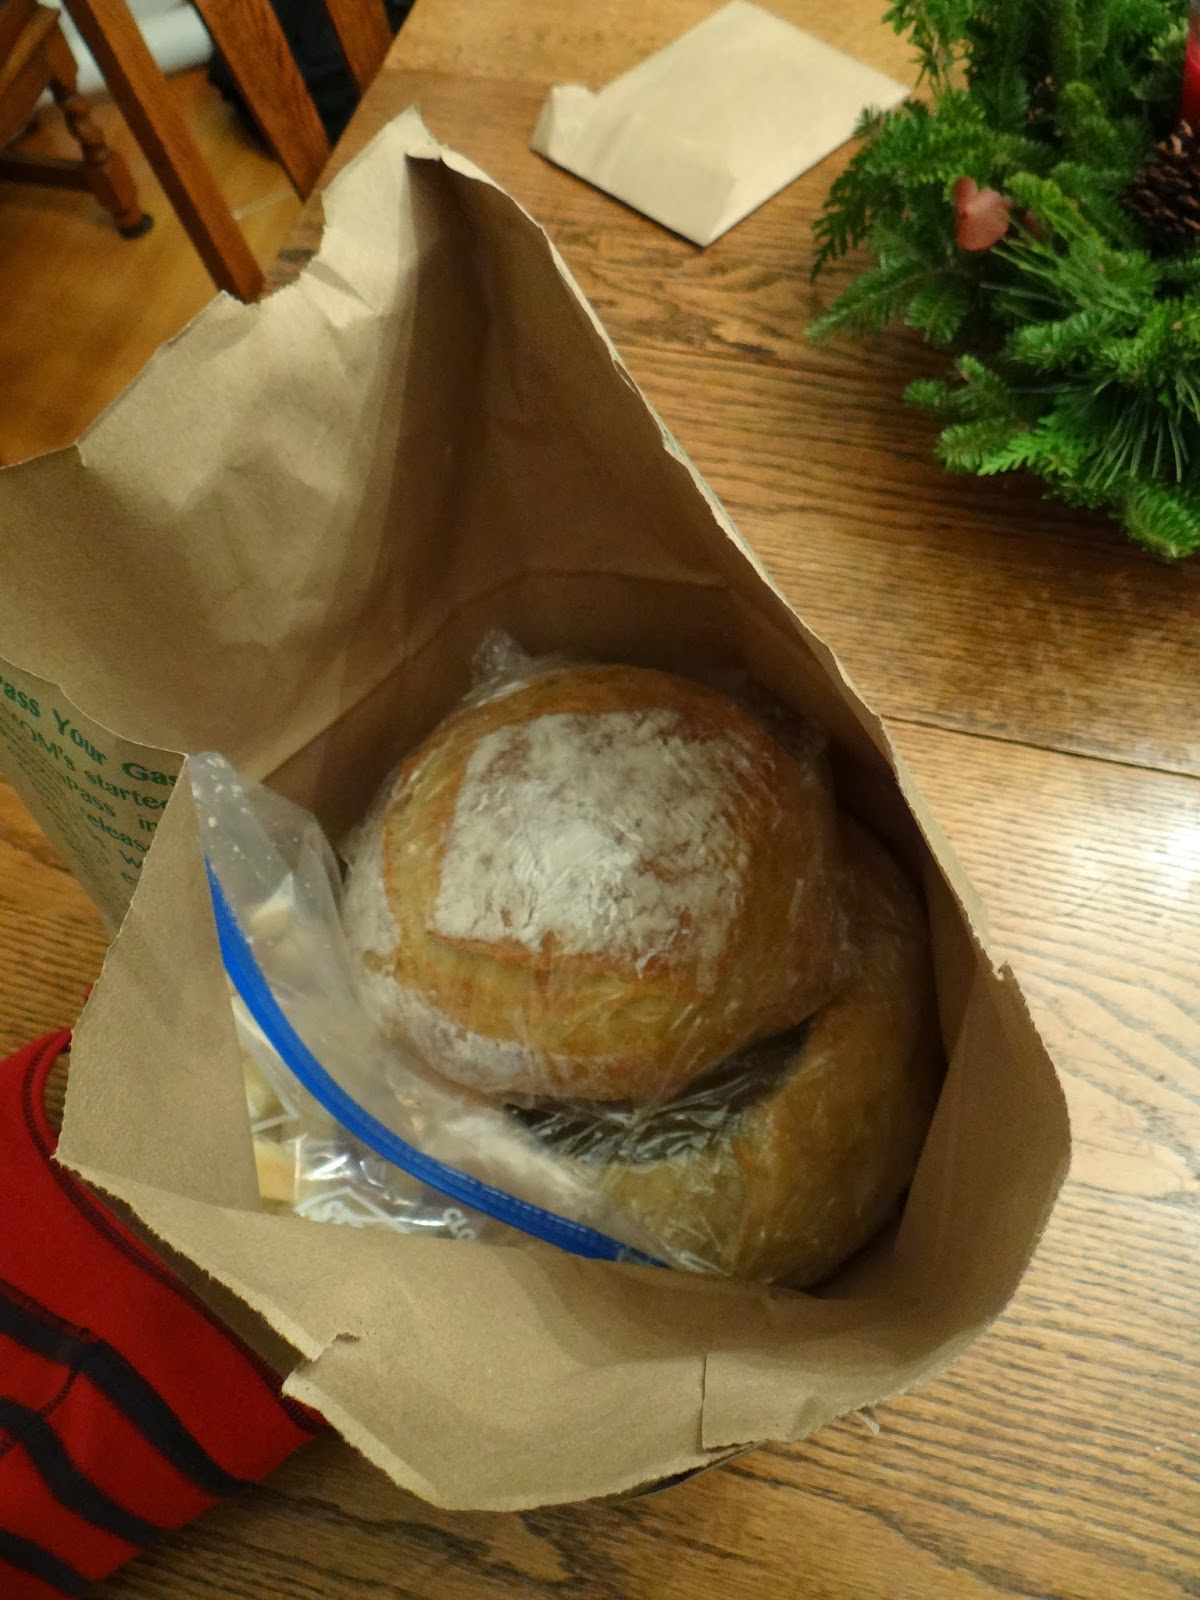
When your bread has cooled down, wrap it in plastic wrap and place it in your bag along with the bread bowl and your cut up challah pieces to bring over to the church.

Stay tuned for the third and final segment in this series on making bread for communion by intinction: making the bread bowl!

Thanksgiving and preparing bread for communion by intinction

As most of my readers know, this week we celebrated Thanksgiving.  With my parents living far away, our Thanksgiving crew included my siblings, in-laws, an aunt and her family who live in Baltimore, and some friends who have become family.  We cooked up a storm and ate tons of delicious food.  Then on Friday Little Bread Toddler allowed us to sleep in and we had a lazy day: running simple errands, window shopping for houses, and going to the playground.  Oh, and preparing communion bread for the first Sunday of December.

Those of you who don’t know the history of why I make bread for my church, click here.

This week is special because we are observing communion by intinction.  Catholics are familiar with the practice- it’s the dipping of the bread into the wine during communion.  As Baptists we don’t do it very often- usually the bread is passed around and eaten, then the wine (grape juice) is passed around and consumed.  But sometimes we do intinction when we are feeling particularly like communing with each other.

I’ve prepared the bread for intinction a couple of times now.  When my pastor first asked me to make it, I thought it would be no big deal.  I just made two loaves like I always do, and people could tear off a piece of the loaf and dip it.

Then the complaints started.

People did not like having to touch and eat bread that had been touched by other people, even though those other people were congregants and had been worshiping side by side with them for years.

Even though the whole point of intinction was a sense of community.

The irony was strong with this one.

But the people had spoken.  So the pastor and I cooked up a solution: I would hollow out a loaf of bread in the style of a bread bowl, cut the inside (the “crumb” in baker speak) into small chunks and put it back in the bread bowl so people could pluck a piece out instead of having to tear it.

Unfortunately, that plan didn’t work out so well.  The pieces I was able to hollow out were misshapen and didn’t result in enough pieces.  I ended up making three loaves: one to look pretty, one to be tasty, and one for the bread bowl.

Now that I’ve made bread for intinction a few times, I have it down to a science.  But it took a few tries to get it right.

I started out by making my “look pretty” and “bread bowl” loaves using my simplified 1-2-3 recipe and the “be pretty” loaf using Ina Garten’s Honey White Bread recipe.  But I’ve since stopped using the 1-2-3 recipe for communion bread.

The thing is, the 1-2-3 bread is crusty due to its lack of fat, and the first time I saw the pastor manhandling my “look pretty” loaf to get it to tear in half, I was mortified.  It requires a softer, more tear-able dough, which I will detail in a subsequent post.  I still use 1-2-3 for the bread bowl, but I’ve learned to double the recipe to hold all the pieces.  I freeze the hollowed-out part for bread crumbs.

For the “be tasty” loaf, I switch back and forth between Ina Garten’s Honey White and the Joy of Cooking’s challah.  I find challah holds up better during intinction because the gluten really gets a chance to develop so it doesn’t fall apart in the cup when it gets soaked with wine.  So that’s what I’ve learned in a year of making communion bread.

Here’s a picture of all the loaves rising on the counter.

And here’s one with the towels taken off.

Bread Maiden’s Challah (adapted from The Joy of Cooking, 1997)

You will need:
2 teaspoons yeast
1/2 cup warm water
1/2 cup AP flour
3 tablespoons vegetable oil
3 tablespoons sugar
2 eggs
2 egg yolks
1 1/4 teaspoon salt
2 1/2 cups bread flour

1. Mix together the yeast and water in the bowl of a stand mixer with a paddle attachment.  Let it get bubbly, about five minutes.

2. Add the AP flour, vegetable oil, sugar, eggs, egg yolks and salt and mix until combined.

3. Add the bread flour a little at a time.  When it’s all in, switch to the bread hook and knead for another 8-10 minutes until it’s soft but not sticky.

4. Oil a bowl and move the dough to the bowl, flipping the dough to coat it all over with oil.  Cover and let rest for a few hours.

5. Grease a bread pan with butter.  Punch down the challah down, roll up into a long roll and cinch the end.  Transfer to the bread pan, cover and let rest another hour.

6. Preheat the oven to 375. Because you are going to be cutting up the loaf into little pieces, feel free to skip an egg wash.  Bake  until golden and delicious, about half an hour.  Once it’s cool, cut into tiny pieces (if you are preparing to use for communion.  If not, slice and eat!)

I was able to slice about 160 or so pieces from one loaf.  Your mileage may vary.  Cut down to size, this bread is chewy but still sweet.  It will be perfect for communion tomorrow.  Please stay tuned for my next posts about the recipe I made up for my “be pretty” communion loaf and the 1-2-3 double size bread bowl loaf!

Puffy Pancakes

Puffy pancakes, also known as dutch babies, German pancakes or pfannkuchen, have become my weekend breakfast of choice.

I love real pancakes, but they take for-frickin-EVER on the griddle!  You are stuck in the kitchen pouring batter and flipping pancakes. It’s a nearly hour-long, super-involved process.  And that’s not even doing anything remotely fancy.  And then, you have to clean the griddle.  No thanks.

Puffy pancakes, in contrast, are a dream.  You mix up the ingredients and throw that bad boy in the oven to cook, uninterrupted, for 15 minutes while you casually brew up some coffee.

The other awesome thing is that this recipe is so easy, you can memorize it and make it forever and ever.

I got this recipe from Love, Taza here.  She uses two eggs but since I’m the only one at my house who ever eats these, I use one egg.  It seems a shame to waste an egg, since I can’t finish one of these by myself. Another reason to only use one egg if you’re cooking for one is that puffy pancakes are made to be eaten right away.  They become tough and rubbery if you try to store them.

You will need (for one pancake, serves 2):

1/2 cup of milk

1/2 cup of AP flour

1 egg, gently stirred

Pinch of salt

Butter

The above five ingredients are essential.  The next few are strictly optional:

Pinch of sugar

Pinch of other spice- I like cinnamon or nutmeg

Splash of vanilla

All mis-en-placed:

1. Place a glass pie pan in the cold oven with a dollop of butter.  Preheat your oven to 425 degrees F.

2. Mix the flour, salt, sugar and cinnamon together in  large bowl.

3. Mix the milk, egg and vanilla in a medium bowl.  Or, measure the milk in a slightly larger measuring cup than you need, and add the egg and vanilla into that.  One less bowl to wash!

4. Once the oven is preheated, pull the pie pan out and gently swirl the butter around to coat the bottom of the pan.

5.  Now pour the milk and egg mixture into the flour mixture and whisk to combine.  Using a spatula, scrape the batter into the pie pan and bake for 15 minutes.

Now here is the exciting part.  Were you asking yourself, “but why is it called a PUFFY pancake?”

Check it out.  Once in the oven, your batter goes from looking like this:

To puffing up like this!

And then comes out of the oven looking like this!

Unfortunately, after that dramatic presentation puffy pancakes quickly deflate 😦
So, mine could be prettier.  But popping this bad boy in the oven is way easier then babysitting a bunch of pancakes on a hot griddle!
I like to serve my puffy pancake with lots of syrup.  Other acceptable toppings include powdered sugar, jam or dulce de leche.
Bread (not so little anymore) Brother approves of his first puffy pancake.
Here is my staging of the final product:

Yeah right, like I have time to read the paper.  I guess a girl can dream.

Cheddar rosemary bread

I feel pretty confident in my bread making abilities.  People tend to like bread I bake, and I accept their praise, because it took a few years to get the hang of it and I do feel like I’ve earned it.

But sometimes a bread recipe comes along that is just so amazing that I don’t feel like I had a hand in what made it so great.  The ingredients and technique are so awesome on their own that my part was really just to get them from potential to realization.

This is one of those recipes.  It’s by the always fantastic Peter Reinhart, whose books I simply adore.

Step 1: Get your hands on a copy of Artisan Breads Every Day.

Just kidding.  But you really should.

Ok, depending on whether you have an hour beforehand to make buttermilk, you will either need 1 cup plus two tablespoons of milk and a tablespoon of white vinegar, or you can just buy the buttermilk.  If you have the choice, I would say to try making the buttermilk because store-bought is always low fat, and by making your own you can use full-fat milk and your bread will be softer and more delicious.  Just a thought.  Once you add the white vinegar to the milk, keep it in the refrigerator for an hour.  It will develop a clumpy consistency.

I used Peter Reinhart’s soft cheese bread recipe, which calls for onions or chives but I substituted rosemary because I woke up yesterday morning with a craving for rosemary bread.  It was awesome.

You will need:

6 1/4 cups (794g) bread flour (I used half bread flour and half AP flour because I ran out)
2 tsp salt
3 1/2 tablespoons honey
1 cup lukewarm beer (I used stella artois because that was the cheapest we had)
your buttermilk
1 1/2 tablespoons instant yeast
1/4 cup melted butter
one small bunch of rosemary, minced
1 1/2 cups grated sharp cheddar cheese (the PR recipe calls for 2 1/2 cups, but I ran out and it was fine)

1. Whisk the flour and salt together in a large mixing bowl.

2. Combine the beer, buttermilk and honey in a measuring cup then sprinkle the yeast on top.

3. Add the liquid mixture to the flour mixture and toss in the melted butter as well.

 
4. Using a large spoon, mix to combine the ingredients.  When you can’t easily use the spoon anymore, ditch it and mix with your hands instead (make sure they are clean).  Use a folding technique where you scoop one side from underneath and fold it over the top of the dough.  Almost like you’re folding a shirt or something.

5. Let the dough sit for ten minutes to rest, then sprinkle the rosemary on top.  Fold a few more times to incorporate the rosemary.

6. Transfer to a clean, lightly-oiled bowl, cover with plastic wrap, and let rise for about 60-90 minutes until doubled in size.

7. Lightly flour your work surface.  Take the dough out of the bowl, punch it down gently, and divide it into two loaves.  Flatten the loaves out with your hand, then spread half the grated cheese on top of each loaf.

8.  Peter Reinhart’s recipe just calls for you to roll up the loaf so the cheese is a spiral, but I wanted the cheese to be more evenly distributed so once I rolled it up, I folded it a couple of times, let it rest, then folded a couple more times.

9. Transfer the dough to a piece of parchment paper, cover with plastic wrap, and let it rest for another 60 minutes.  Preheat the oven to 350 degrees F.  When baking boules I like to bake them in the oven in the dutch oven so they puff up before the crust gets hard.
10. Once the oven is preheated, remove the plastic wrap, score the top of the loaf, and carefully place in the dutch oven.  Cover with the lid and bake for 30 minutes.  Remove the lid and bake another 15 minutes.
 

This bread is freaking awesome.  The buttermilk, beer and cheese give it an awesome tang that is irresistible. 

All the big tunnels are full of cheesy deliciousness.

Go make it!  Now!

Chocolate red wine cake

 
If you’ve never heard of Smitten Kitchen, you need to.

I had heard her mentioned off and on for a few years, but it wasn’t until I heard an interview with her on the Diane Rehm show that I realized how awesome she was.

Smitten Kitchen is the blog of Deb Perelman, who lives in New York and cooks awesome things.

During her interview with Diane Rehm, she rattled off a recipe for cucumber and cabbage slaw.  Since then I’ve made it a bunch of times and it’s really simple and delicious.

Then, during Passover, a dear friend was coming to dinner who was keeping kosher.  I found a recipe for chocolate caramel matzo crack and it was seriously so good.  I was considering hiding it before she came over so I wouldn’t have to share.

Deb (can I call you Deb?) has never steered me wrong.  Everything I make of hers looks exactly like her pictures promise it will.  I need to buy her book already.

So my third recipe of hers was one I’ve been wanting to make since I first came across it a few years ago.

I made this cake for my book club and they just loved it.  The combination of the chocolate and red wine was amazing, and the cinnamon gave it just the right amount of spice.

I won’t give the measurements because I would rather she get the hits on her blog, but here is a list of the ingredients and how I made it:

You will need:

Butter, room temperature
brown sugar
granulated sugar
1 egg + 1 egg yolk, room temperature
vanilla extract
AP flour
dutch cocoa powder
baking powder
baking soda
ground cinnamon
table salt

Once you have all your ingredients, now you will want to mis en place them.

Mix together your brown and granulated sugars into a bowl.

 Mix together the flour, chocolate, baking powder, baking soda, salt and cinnamon in a measuring cup.  This will make it easier to add a little bit at a time to the final dough.

Now measure out your wine and add the vanilla to it.

I should mention, at this point you will want to preheat your oven and prepare your cake pan.  Butter it up, then cut a circle out of parchment to fit the bottom of the pan.  Now grease that too.  Take a few tablespoons of flour and, holding the pan in the sink, shake it around until the pan is covered with flour.  Dump any excess flour into the sink.

Take your butter and add it to the bowl of a stand mixer.  Beat it about a minute until it’s nice and fluffy.  Then add the sugars and mix to combine.

At some point you will add the eggs.  I can’t remember when.  Maybe now?

Yeah, that seems right.  Add the eggs and the wine-vanilla mixture.

Now take your flour-cinnamon-cocoa mixture and pour it into a sifter.  Gently sift it into the bowl of the stand mixer.

Stir every so often so the flour is incorporated.  Don’t worry if it looks weird and clumpy.  That’s what Deb said and I believed her. Follow her instructions and she won’t lead you astray.  I promise.

Now take a spatula and scrape everything into your prepared cake pan and put in the oven.  It bakes for something like 55 minutes.

I forgot to take pictures of the final product as a whole cake, but here’s another action shot:

It’s a really, really delicious and very grown-up cake.  We ate it sprinkled with powdered sugar and it was perfect, but Deb has a recipe for a mascarpone whipped topping, which I can imagine just takes it over the top.

Another recipe from Smitten Kitchen that is a keeper!  And no, this is NOT a sponsored post!  I just think her recipes are awesome and am more than happy to shill for her for free 🙂

Apple bread

As I’ve mentioned before, most of my bread-baking these days is for my church, since Mr. Bread Maiden has sworn off carbs, and Little Bread Toddler is too young for the type of crusty, sourdoughy breads I usually make.  So my church benefits from my itch to bake whenever I scratch it!

While the adult members appreciate my efforts, the gratitude goes to a whole other level with my sunday school class.  They just love when I bring baked goods, no matter what it is.  I try and tie it to the lesson of the day, even if the link is tenuous. 

This apple bread?  It was for a lesson on Adam and Eve.  Get it?

The recipe makes two loaves, which is good because five sunday school kids devoured the first loaf.

Apple Bread

recipe based on this one

You will need:

1 1/2 cups all purpose flour
1 teaspoon baking soda
1/2 teaspoon salt
2 teaspoons ground cinnamon
1/2 teaspoon ground allspice
1/4 teaspoon ground cloves
2 large eggs
1/4 cup canola oil
1/4 cup applesauce
1 teaspoon vanilla
1 cup granulated sugar
2 cups chopped apples, skin removed (we used gala and macintosh apples)

1. Preheat your oven to 350 degrees F. Spray an 8×4 loaf pan with cooking spray and set aside (I doubled the recipe).

2.  Now, mis en place your ingredients.  I don’t think that’s a verb in English.

3. In a medium bowl, whisk together flour, baking soda, salt, cinnamon, allspice, and cloves. Set aside.

 4. In a large bowl, add the eggs and beat on medium speed for about 30 seconds. Add in oil, applesauce, and vanilla and mix until smooth. Next, add the sugar and mix until well combined.

5. Slowly add in the flour mixture and mix until flour is barely combined.


6. Gently fold in the apple chunks.


7. Pour batter into prepared loaf pan(s).

8. Bake for 50-55 minutes, or until loaf is golden and a toothpick comes out clean.
 
9. Cool bread in pan for 10 minutes. Loosen sides and remove from pan. Cool completely on a wire rack before slicing.


Happy eating!

Even easier than 1-2-3 bread

One of my earliest posts on this blog was 1-2-3 sourdough bread, which consisted of 1 part starter, 2 parts water, 3 parts flour (hence 1-2-3) and a pinch of salt.

^ I added flax seeds to this batch, which are the dark spots you see in the picture

It was easy to remember because you just had to add water in a ratio of 2/3 of the flour by weight.  I found 125g starter, 250g water, and 375g flour to make a decent-sized loaf.

The only problem?  This bread takes at least three days to make.  One to two days to revive the starter, and one to two days for the dough to rise.  I haven’t had the patience for it lately.   

Recently a friend of mine was putting together a gift basket for another friend whose daughter is in the hospital.  She asked for bread and she needed it two days from then, so I knew I wouldn’t have time to make a sourdough.

I made this bread instead.

It is super easy.  Even easier than my 1-2-3 loaf, because it doesn’t require starter, and you can estimate two of the ingredients.

I think I’ll call it “1-2 bread.”

You will need:

375g All-Purpose Flour (I like King Arthur)
250g water
1 teaspoon-ish of salt
1 teaspoon-ish of instant or active dry yeast

1. Measure out the flour first and then add the water.

2. Measure out roughly one teaspoon of salt and add to the flour and water.  Use a teaspoon if you like, but you don’t have to.  Most people think with baking you have to measure everything.  With bread, the only thing that is important is the hydration (i.e., the ratio of flour to water by weight).  Anything that significantly changes this ratio needs to be measured.  For everything else, you can wing it. 

3. Measure out roughly one teaspoon of yeast.  If you want to bake your bread in just a few hours and don’t mind sacrificing flavor, by all means add two teaspoons of yeast instead of one.  Since I don’t have that kind of time all in one big chunk, I like adding less yeast and letting the dough rise for a really long time- 24 hours.

4.  Mix everything up by hand.  It is really important that you use your hands because you can tell by touch whether it needs more water and that all the flour and water have been integrated into the dough.

5. Let the dough sit for 10-15 minutes.  This lets the dough relax and absorb a little more water.   You will see there is a huge difference in the texture between the first time you mix the dough, and after you have let it rest.

Pre-rest:

After 10 minutes, re-shaping the loaf:

^ see how smooth the dough is now?

6. Cover with cling wrap and place in the refrigerator overnight. 

7.  In the morning, remove the dough from the fridge (it will not have risen noticeably) and let the bowl sit on the counter during the day.  This is where you will see the big rise.

^ after 9 hours on the counter

 8.   That evening, punch down the dough, re-shape it, and transfer to a piece of parchment paper.  Cover with an oiled piece of cling wrap.

9.  Preheat the oven to 450 degrees F and insert your dutch oven or pizza stone to heat up while you wait about 45 minutes for your loaf to go through the second rise.

10.  Remove the cling wrap, score the loaf in a pretty pattern, and transfer the loaf and parchment paper to the dutch oven and close the lid. 

11.  Bake 25 minutes, then remove the lid.  Bake another 5-10 minutes, depending on how it looks and sounds.  Is the crust really hard already? Take it out; it’s done.

12.  Let it cool and listen to the fun crackling sounds the crust makes as the air is escaping.  Fun!

^ this loaf will be great for sandwiches

Since the little girl’s name begins with L, I thought it would be fun to personalize this loaf:

^ I made several loaves for this batch and experimented with different scoring patterns for each

I hope you enjoy trying out this easy, no-fuss recipe!

Bacheofe a la Saveur

I’m glad that title didn’t scare too many of you off!

This weekend in DC was like a microcosm of the month of March itself: sometimes rainy and cold, sometimes sunny and warm.  It doesn’t know what it wants to do.  But it was sunny enough on Saturday that we were out and about running errands, and then rainy and cold enough on Sunday that this delicious Alsatian stew was just the thing to warm us up.

What is Bacheofe?  Also spelled baeckeoffe, backenoff, or baekaoffa, it’s a wine-simmered Alsatian stew with meat and vegetables interwoven with potatoes.  The name means “baker’s oven,” because (according to Larousse Gastronomique), housewives would assemble the stews on Monday morning and drop them off at the bakery to cook in the residual heat of the ovens to be retrieved in the afternoon.  The neat thing about bacheofe is the thin rope of dough around the rim that seals the top to the dutch oven.

I came across bacheofe in Saveur magazine, hence the title “a la Saveur.”  The author’s version includes a bacon lattice on top, which I couldn’t resist.  You can find the recipe here: http://www.saveur.com/article/Recipes/Bacheofe-Alsatian-Stew.  It takes two days, so plan accordingly.

You will need:

Day 1:
1 lb boneless beep chuck, trimmed and cut into 1 1/2 inch pieces
1 lb boneless pork shoulder, same treatment
1 lb boneless lamb shoulder, same treatment
kosher salt and black pepper
3 cups (one bottle) dry white wine.  I used a sauv blanc but a gewürztraminer or other sweet German wine is more typical
1/4 cup parsley, finely chopped
2 tsp juniper berries
5 cloves garlic, chopped
2 bay leaves
2 medium carrots,sliced
2 medium yellow onions, sliced
2 small leeks, sliced
2 sprigs thyme

Day 2:
1/4 cup duck or goose fat
3 lbs yukon gold potatoes
1 lb thick-cut bacon
1 cup flour
5 tbl water

1. Place beef, pork and lamb in a bowl (I used a large glass baking dish) and season with salt and pepper.  Add the wine, parsley, juniper berries, garlic, bay, carrots, onions, leeks and thyme.

 Cover with plastic wrap and refrigerate until day 2.

2. Heat the oven to 350 degrees F. Rub an enameled dutch oven with the duck fat so it has a nice thick coating.

3. Slice the potatoes into thin slices and layer them with the marinated meat and vegetables, remembering to season in between each layer.

4. Make sure the last layer is potatoes.

5. Mr. Bread Maiden getting fancy with his photography.

6. Place your bacon slices on top of the potatoes.  Doesn’t that look pretty?

7. Pour the left-over marinade over the bacon.

8. Now comes the tricky part: making the dough.  In a small bowl, add the flour.  Pour the water over the flour and mix together until it just forms a dough.  If it can’t absorb any more flour, don’t force it.

9. When the dough forms a ball, flour a clean surface and knead the dough a little bit.  If it’s not malleable, let it rest for about 10 minutes until the dough relaxes.  Roll or squeeze the dough into a snake.

10.  Wrap the dough around the rim of the dutch oven.  Place the lid on top.

11.  Bake in the oven for 3 1/2 hours.

12.  Remove the dutch oven from the oven and let cool for about 10 minutes.  Break the seal using a knife or plastic spatula (if using an enameled dutch oven) if you need to.

Many recipes said the point of the dough rim was to create a tighter seal akin to a pressure cooker.    However, my lid came right off with no resistance.  I don’t think it made a difference.  We pronounced it quite tasty.

Butternut squash, white bean and bacon soup


We interrupt this bread blog to bring you one of my favorite recipes ever: butternut squash soup. It is so delicious, so healthy and filling that I had to share it.

I found it on Grubarazzi but made several changes.

You will need:

1 pack of bacon
1 large yellow onion, diced
4 cloves garlic, minced
1 large butternut squash, peeled and chopped
box of cherry tomatoes or can of chopped tomatoes
2 cans cannellini beans
1 bunch sage
2 springs thyme
2 sprigs rosemary
pinch of red pepper flakes
4-6 cups chicken or vegetable broth
salt and pepper

1. fry up the pack of bacon in a large saucepan. Move the crispy bacon to a plate to cool.  Leave the drippings in the pan.

2. Fry the onion in the bacon drippings until they are golden and translucent, about 5-10 minutes.

3.  Add the garlic and butternut squash and fry for about 5 minutes.

4. Add the broth and bring to a simmer.

 5. Add the herbs, beans, tomatoes and spices.  Let the vegetables soften, about 45 minutes to an hour.

 6.  Chop up the bacon and add to the soup.

 7. Turn the heat off and let the soup sit.  When the soup has cooled enough to handle, blend in batches.  Taste and season as needed.

I hope you like this soup!  I served it at a party and got rave reviews.  The beans provide a great heft to the soup instead of milk, a roux or heavy cream, which makes it great for people who can’t process gluten or lactose.

Rosca de Reyes Part II: Three Kings’ Buns!

I love making bread for the kids I teach at Sunday school because they love it and it gives me a chance to bring a little more of the daily life and traditions surrounding the Biblical lesson into the classroom.

The older I get, the more interested I am in the customs and habits of the people in the Bible.  They seem more real to me when I think about foods they might have eaten.

For example, I made challah, as well as unleavened challah, to teach the kids about the Israelites’ escape from Egypt.  Ok, so it wasn’t technically matzo, but the kids really understood the lesson more deeply by seeing what unrisen bread looked like and could feel and taste it.

I also like exploring the way different people around the world celebrate the same holiday in different ways.  This Sunday is Epiphany, or Three Kings’ Day, which depending on your brand of Christianity either celebrates the day Jesus was baptized or the day the three Wise Men came to visit the baby Jesus.  Regardless of faith, people often celebrate by eating a Kings’ Cake or Bread with fruit and nuts.  Any holiday that involves food is a holiday I can support.

Traditional King Cakes have a fun surprise- little trinkets or beans are hidden in the dough before it is baked, and are said to bring good luck to those who find the trinket in their piece.

One of my first posts on this blog was a Rosca de Reyes, a typical Mexican Epiphany bread.  While the recipe I ultimately used was a Chilean Christmas bread, I really enjoyed seeing the parallels.

Since I was making this bread for my Sunday School class of 5-10 year olds, I decided to make Rosca de Reyes buns so each kid would get the same size piece.

I slid a whole almond into each one.  Shhhh… I’m going to tell them I only put an almond in one of the buns.  That way they will be surprised when they all find one!

For the full recipe, here is my post from a few years ago.  Check out the sweet paint color in my Austin kitchen.  I miss that place.  It only took an hour for my cold butter to hit room temperature.  In January.

Once you get to step 8 (let the dough rise 1 hour), head back over here to find out how to make the Rosca buns!

For this part, you will need:

2 egg yolks
candied lemon (optional)
coconut flakes (optional)
Butter for greasing your baking sheet or parchment paper
15-20 whole raw almonds (can also be blanched)

 1. When your bread has doubled in volume, punch it down and weigh it using a kitchen scale.  I wanted buns about 80 grams in weight, and based on my calculations I would get 17 buns.  That seemed like a good number.

2. Cut each piece to the desired weight.  This dough is extremely sticky so you will need wet hands which you will want to wash frequently since the dough will want to stick to them and make a mess.  Transfer each ball to a greased baking sheet.  Preheat the oven to 375 degrees F.

3. Let the buns rest for about ten minutes before reshaping.  Count out your almonds and lay them next to your baking sheets.  Your hands will be sticky and you won’t want to reach into the bag with sticky hands.

4.  With wet hands, gently tuck an almond under one or all your buns, pulling the dough from the sides of the bun down and around the almond so the top of the bun becomes smooth.  Return to the baking sheet and cover with plastic wrap.

5. Once the buns have risen for about half an hour, you can decorate them.  I used a yolk wash, candied lemon peel, and dried coconut flakes.

Just take two egg yolks and mix them together to make the yolk wash.  Couldn’t be easier.

6. Press the candied lemon peel into the buns, then cover with the yolk wash.

I also added the coconut flakes to some of them.  I thought that would add a festive touch.  Since I’m guessing most of the kids in my class do not like coconut, I left most of them plain.  If I make them again for a party, I will probably put coconut on all of them.

7. When the oven is ready, bake them for about 20 minutes, rotating them at 10 minutes. 

8.  I was a little confused because this bread was soft when it came out of the oven and didn’t “thump” like my breads usually do.  But they are done, don’t worry!

This picture is funny because it looks like I lined them up from lightest to darkest.  The two buns in the bottom right corner are the ones with coconut.

The verdict?  These are GOOOD.  I haven’t made them since 2009.  I think this could become an Epiphany tradition for me. 

Thanks for looking and happy baking!