Baking With a Purpose II: Honey White Bread


As I wrote about in my last post, I recently started baking bread for communion at my church.  We do communion on the first Sunday of the month, so it is a pretty low-key commitment.  I make one loaf for the pulpit for the pastors to break apart ceremonially, and one for the congregation to actually eat.  I have done it twice so far, and learned a lot.

Most important being: the softer the better.

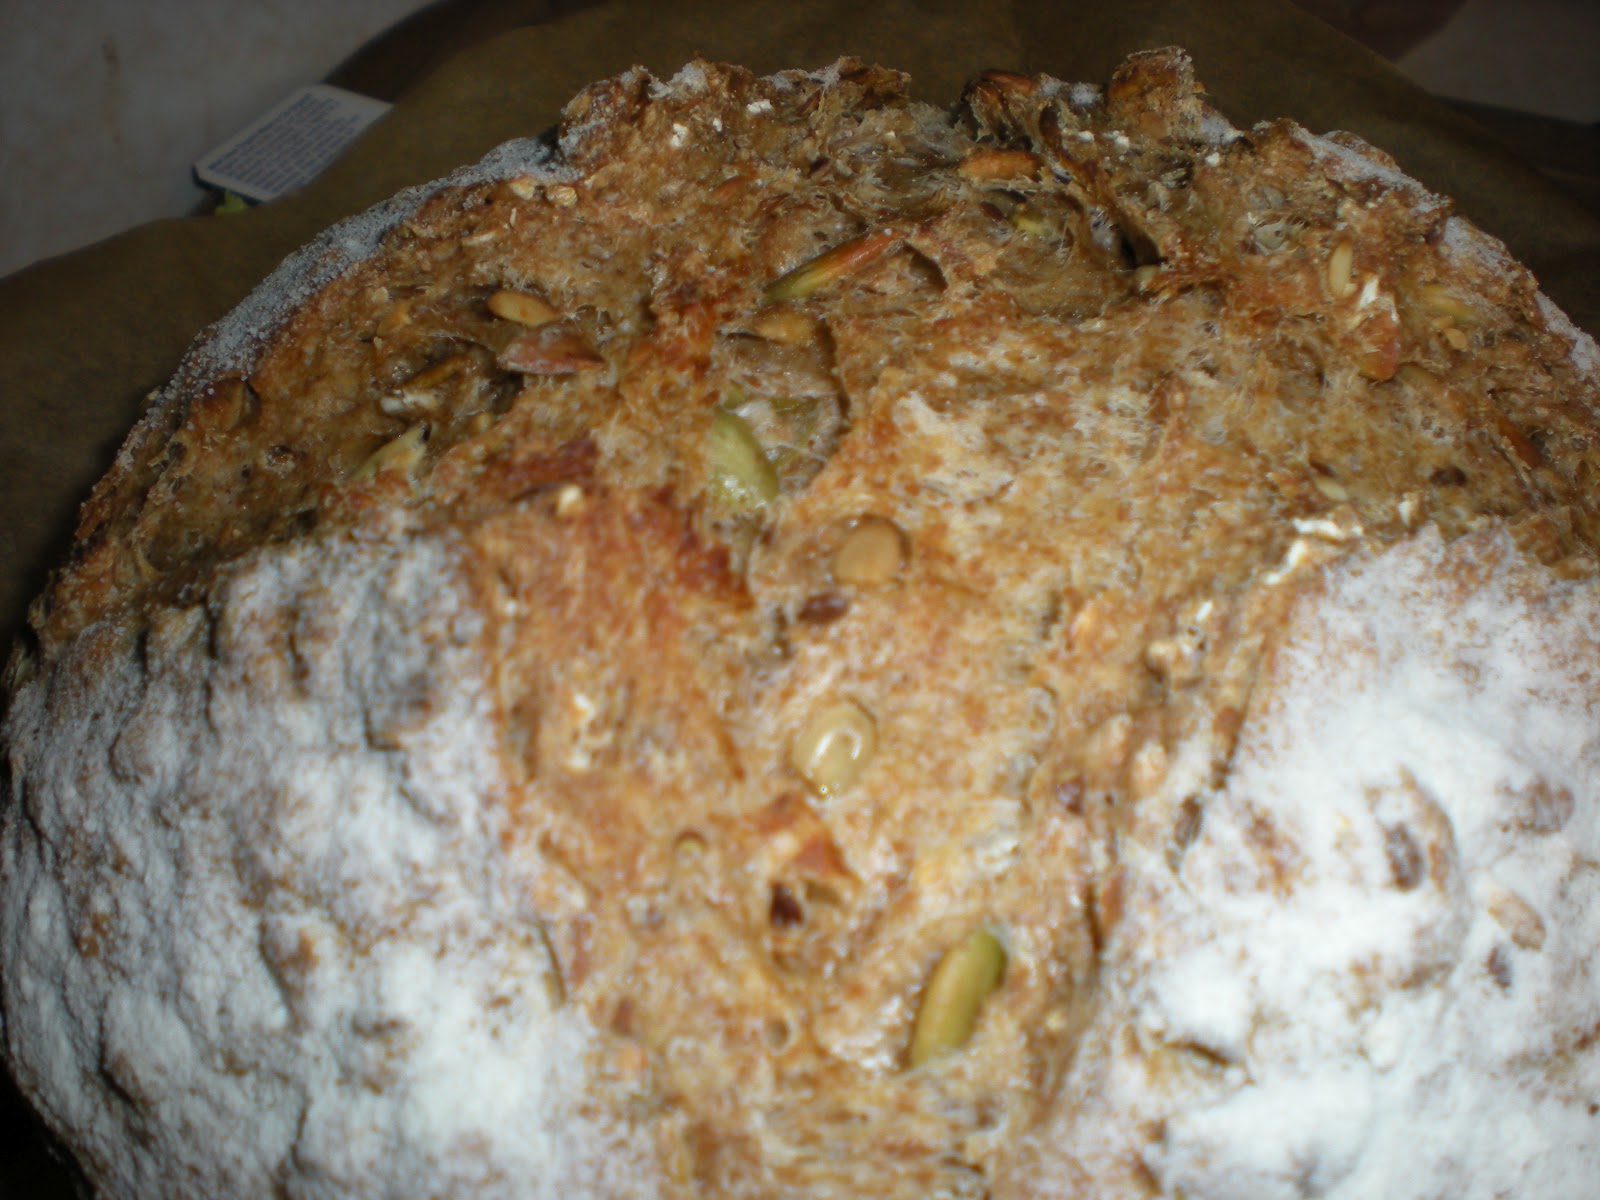
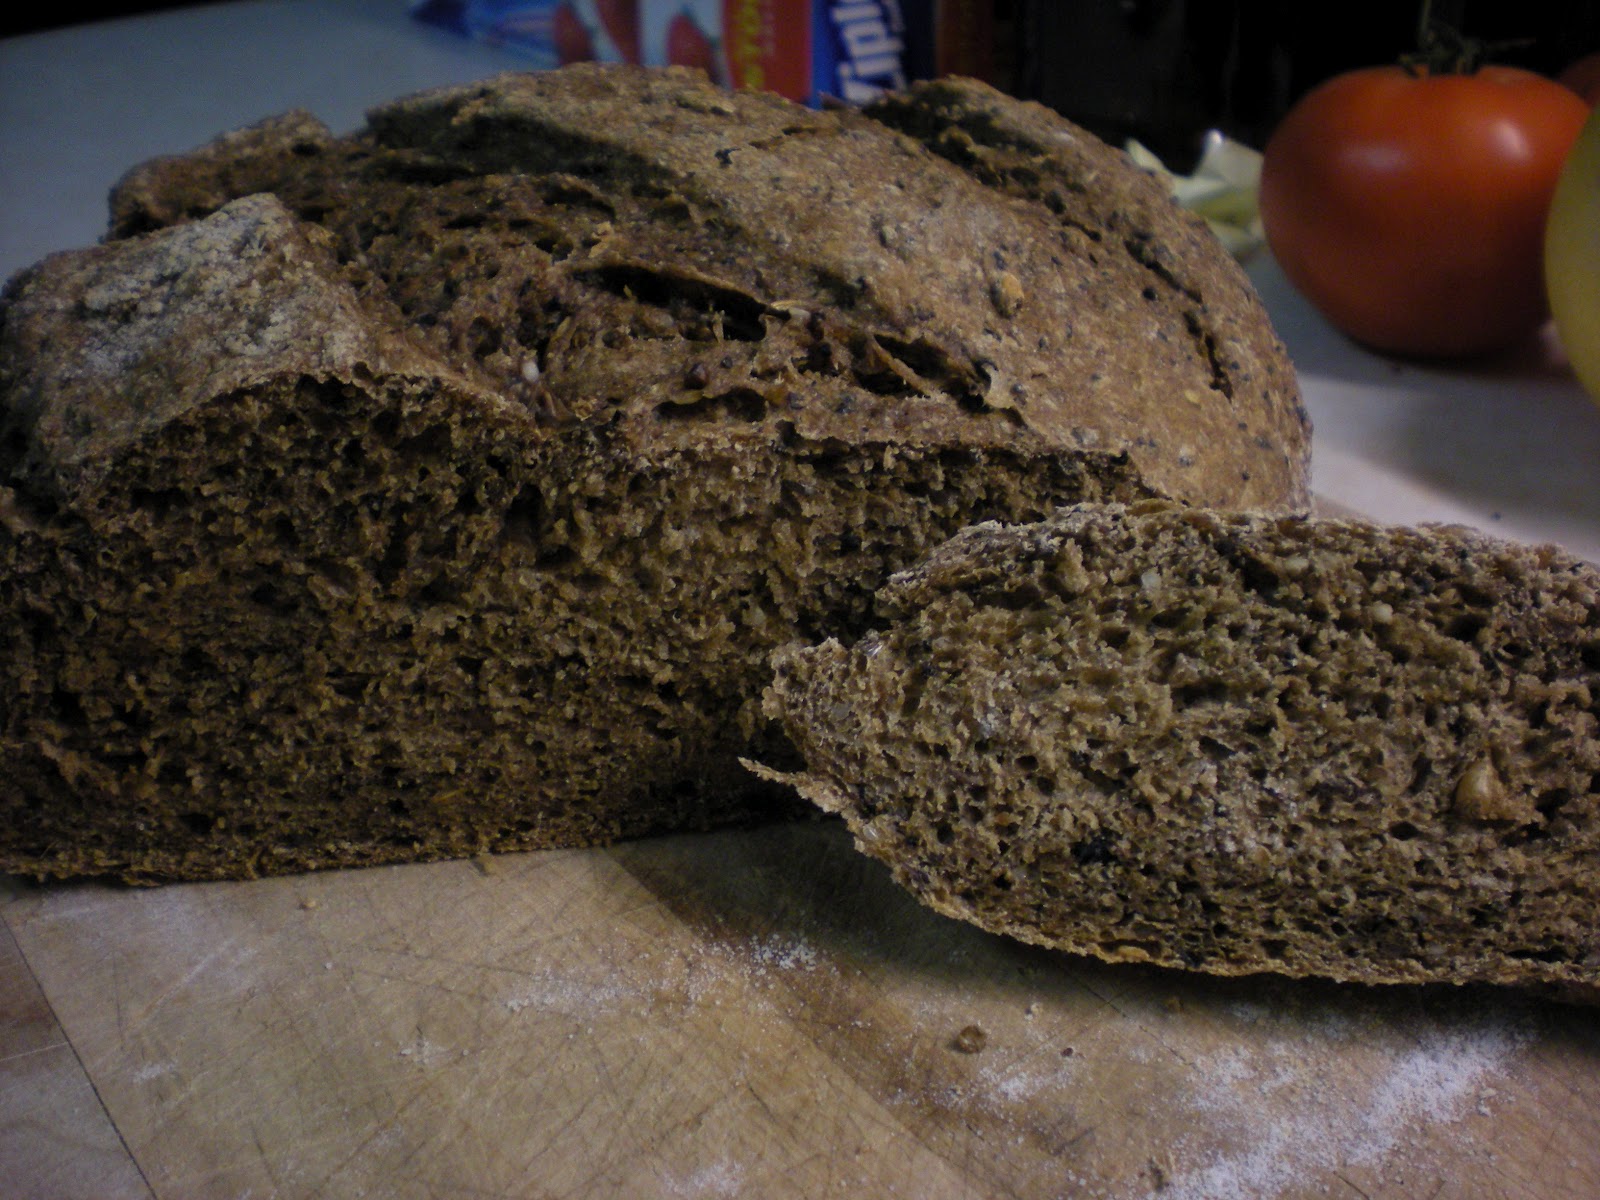
The first time I prepared bread for communion, I brought a sourdough.  Not only was it tough, the sourdough starter taste in miniature made it tasted stale.  

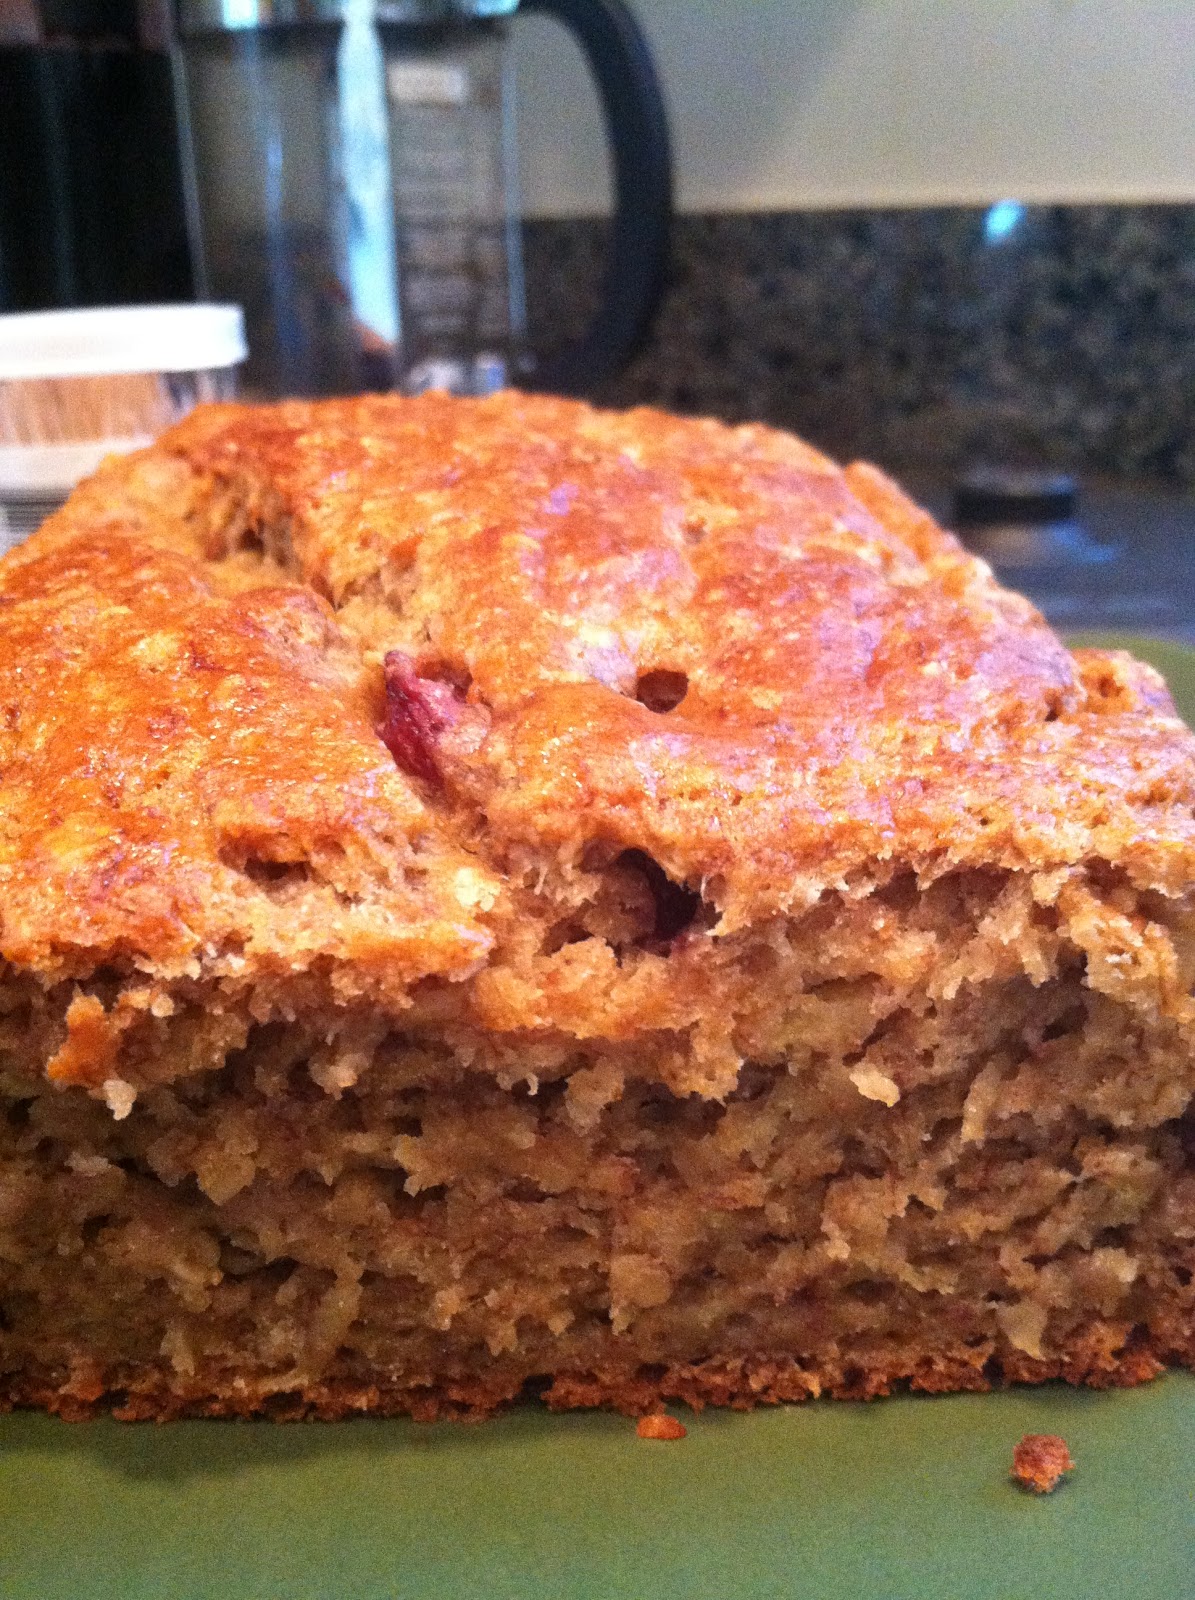
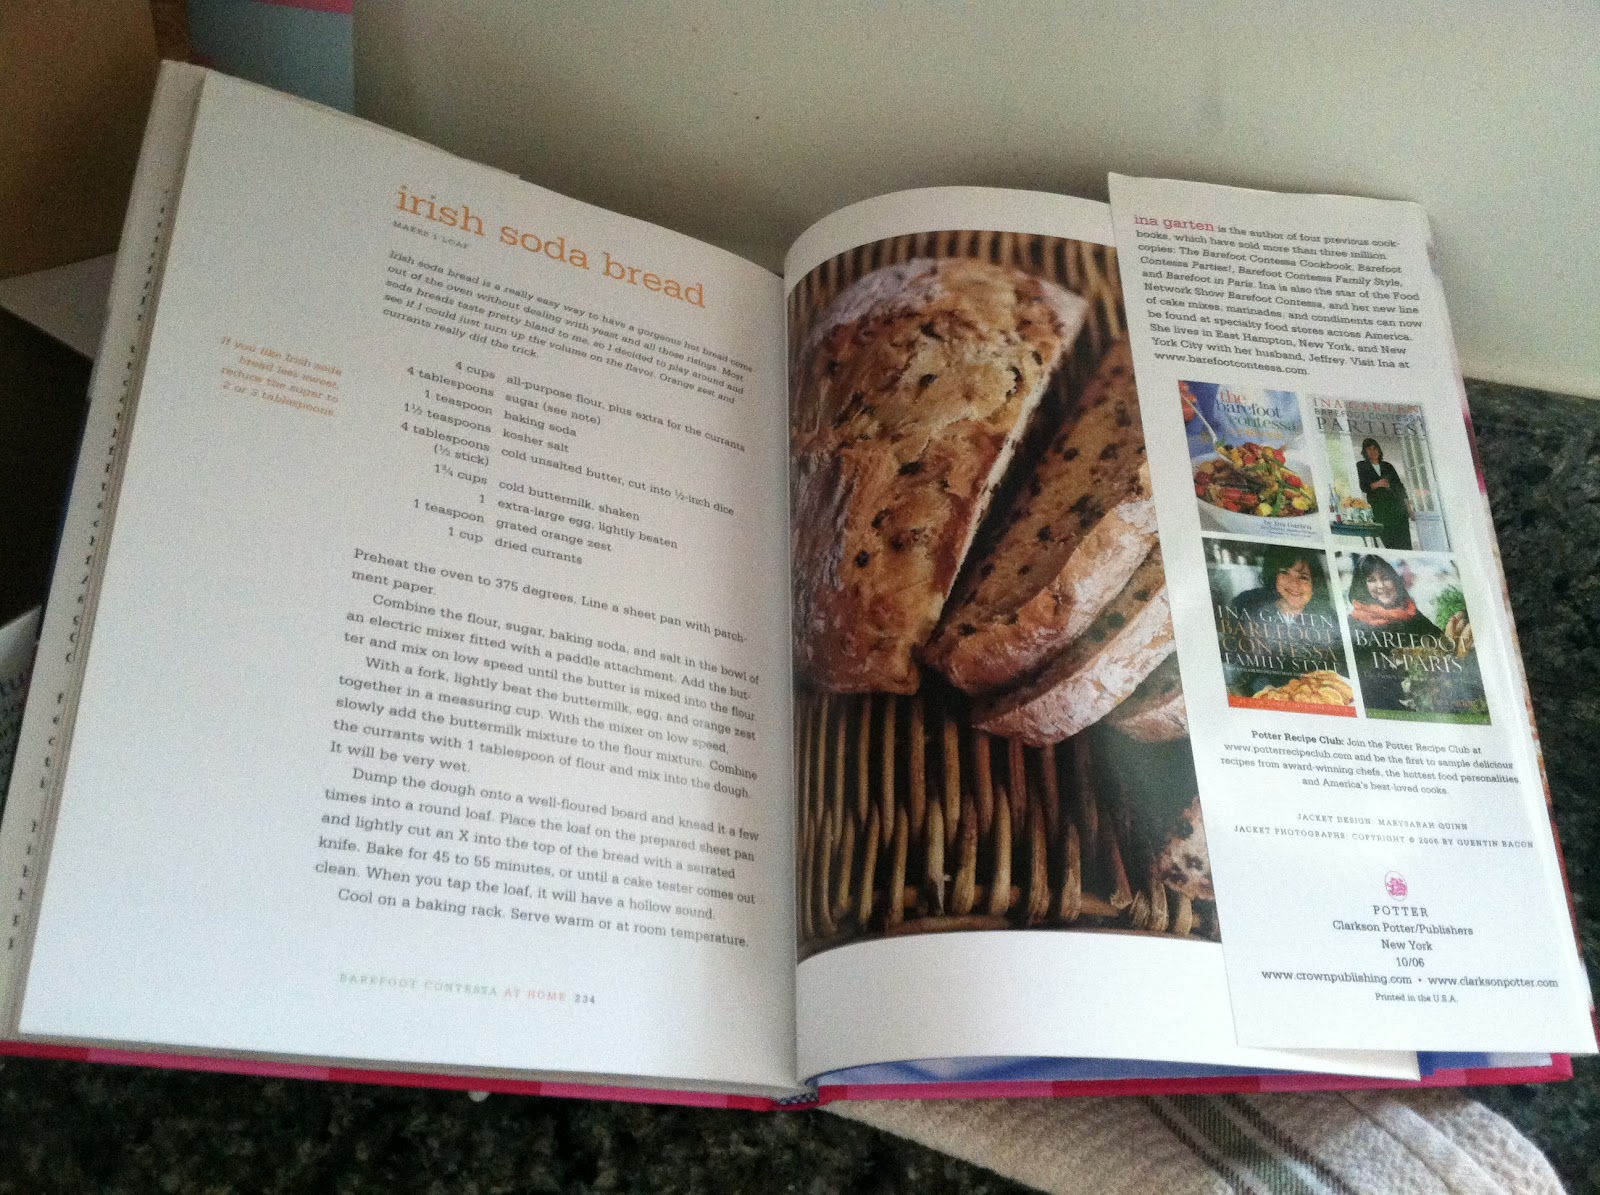
So the second time, I made Ina Garten’s Honey White Bread from her book, Barefoot Contessa at Home.  I got this book as a Christmas present and even got it signed by the domestic goddess herself!  I love this bread and make it a lot because it is delicious and easy.

I doubled the recipe because I knew my family would be clamoring for some too.  

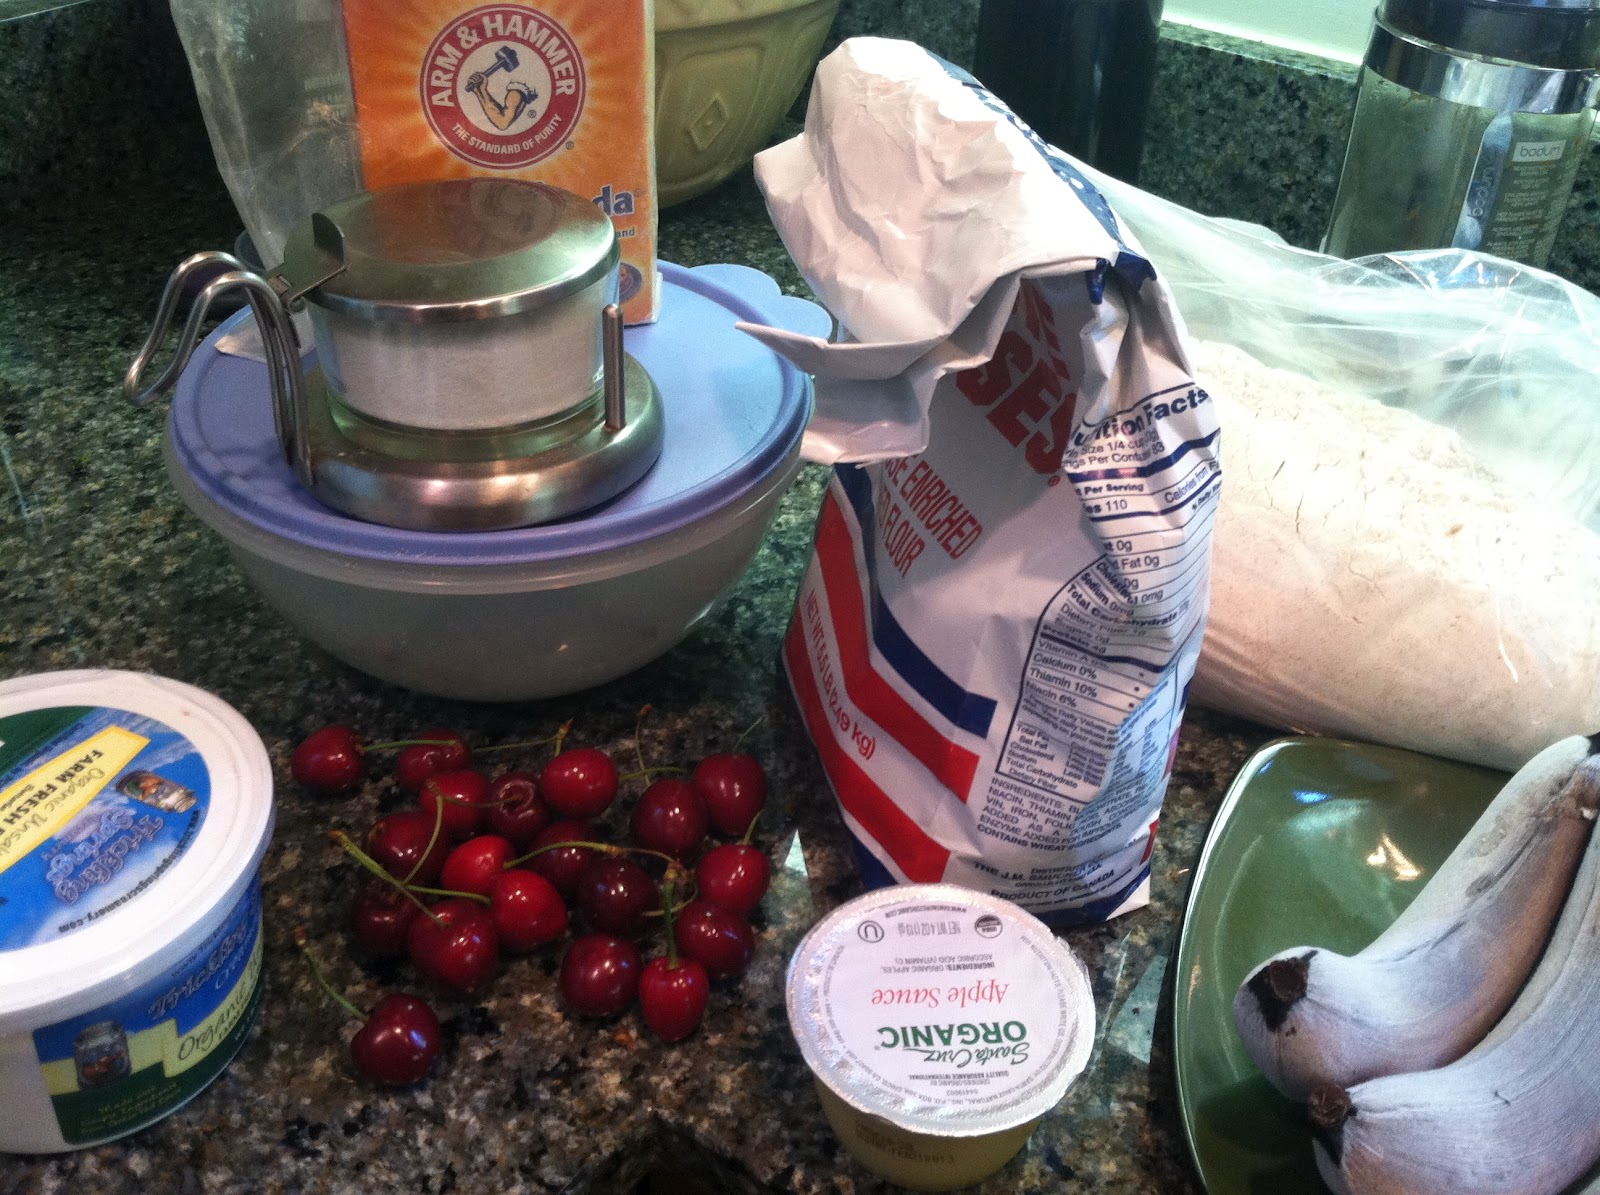
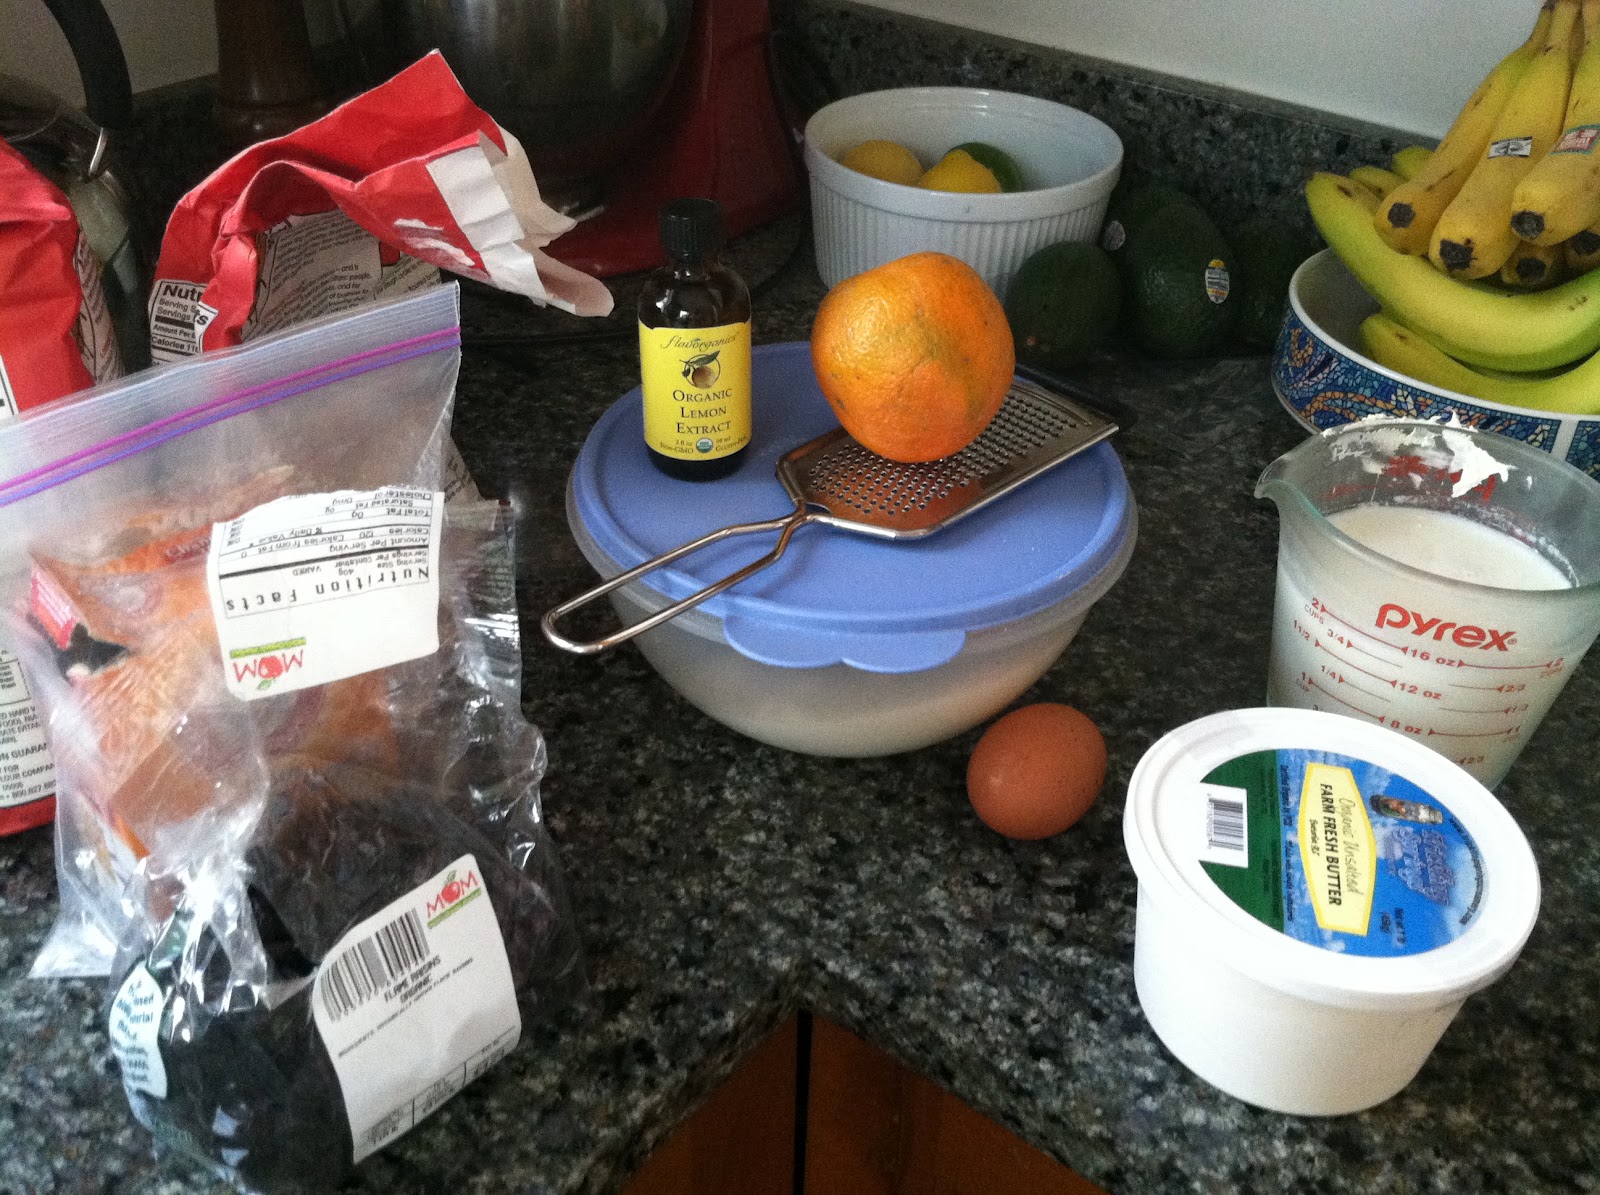
For two loaves, you will need:


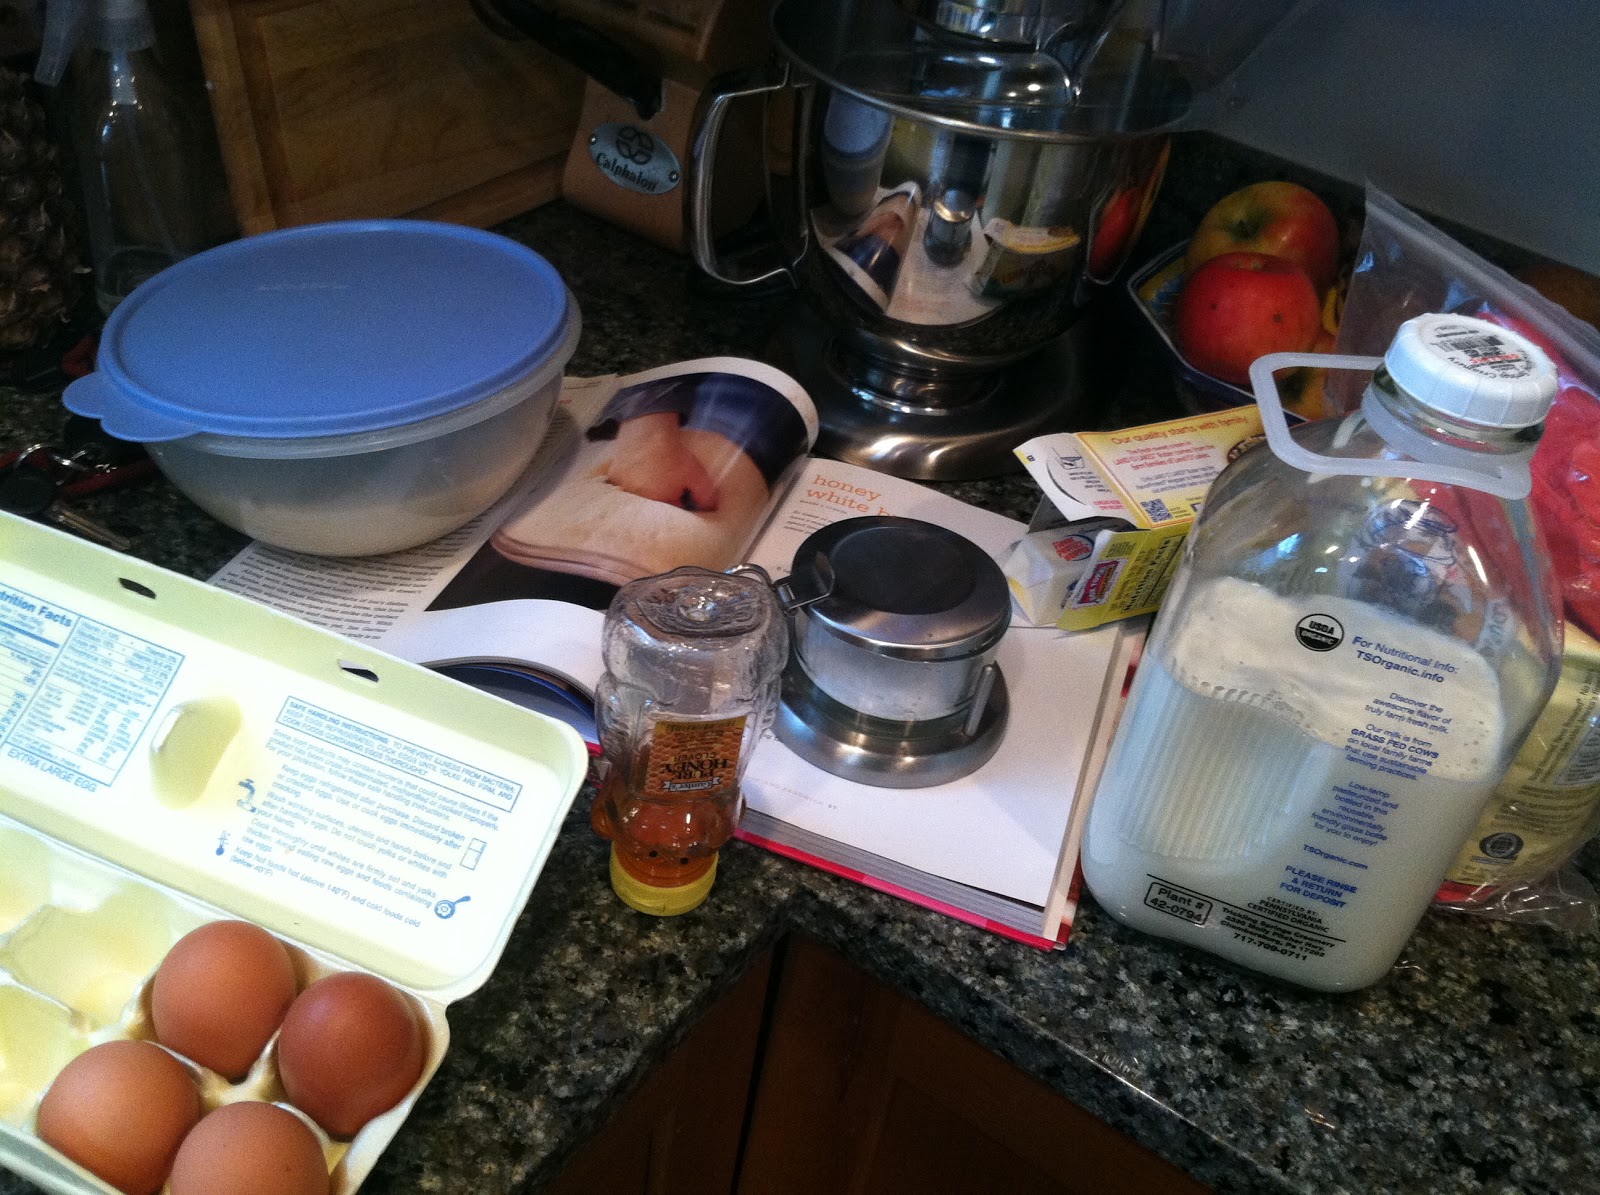
  • 1/2 cup warm water (110 degrees)
  • 1 package dry yeast (Ina calls for two packages but that seems like WAY too much)
  • 1 teaspoon sugar
  • 1 1/2 cups warm whole milk (110 degrees)
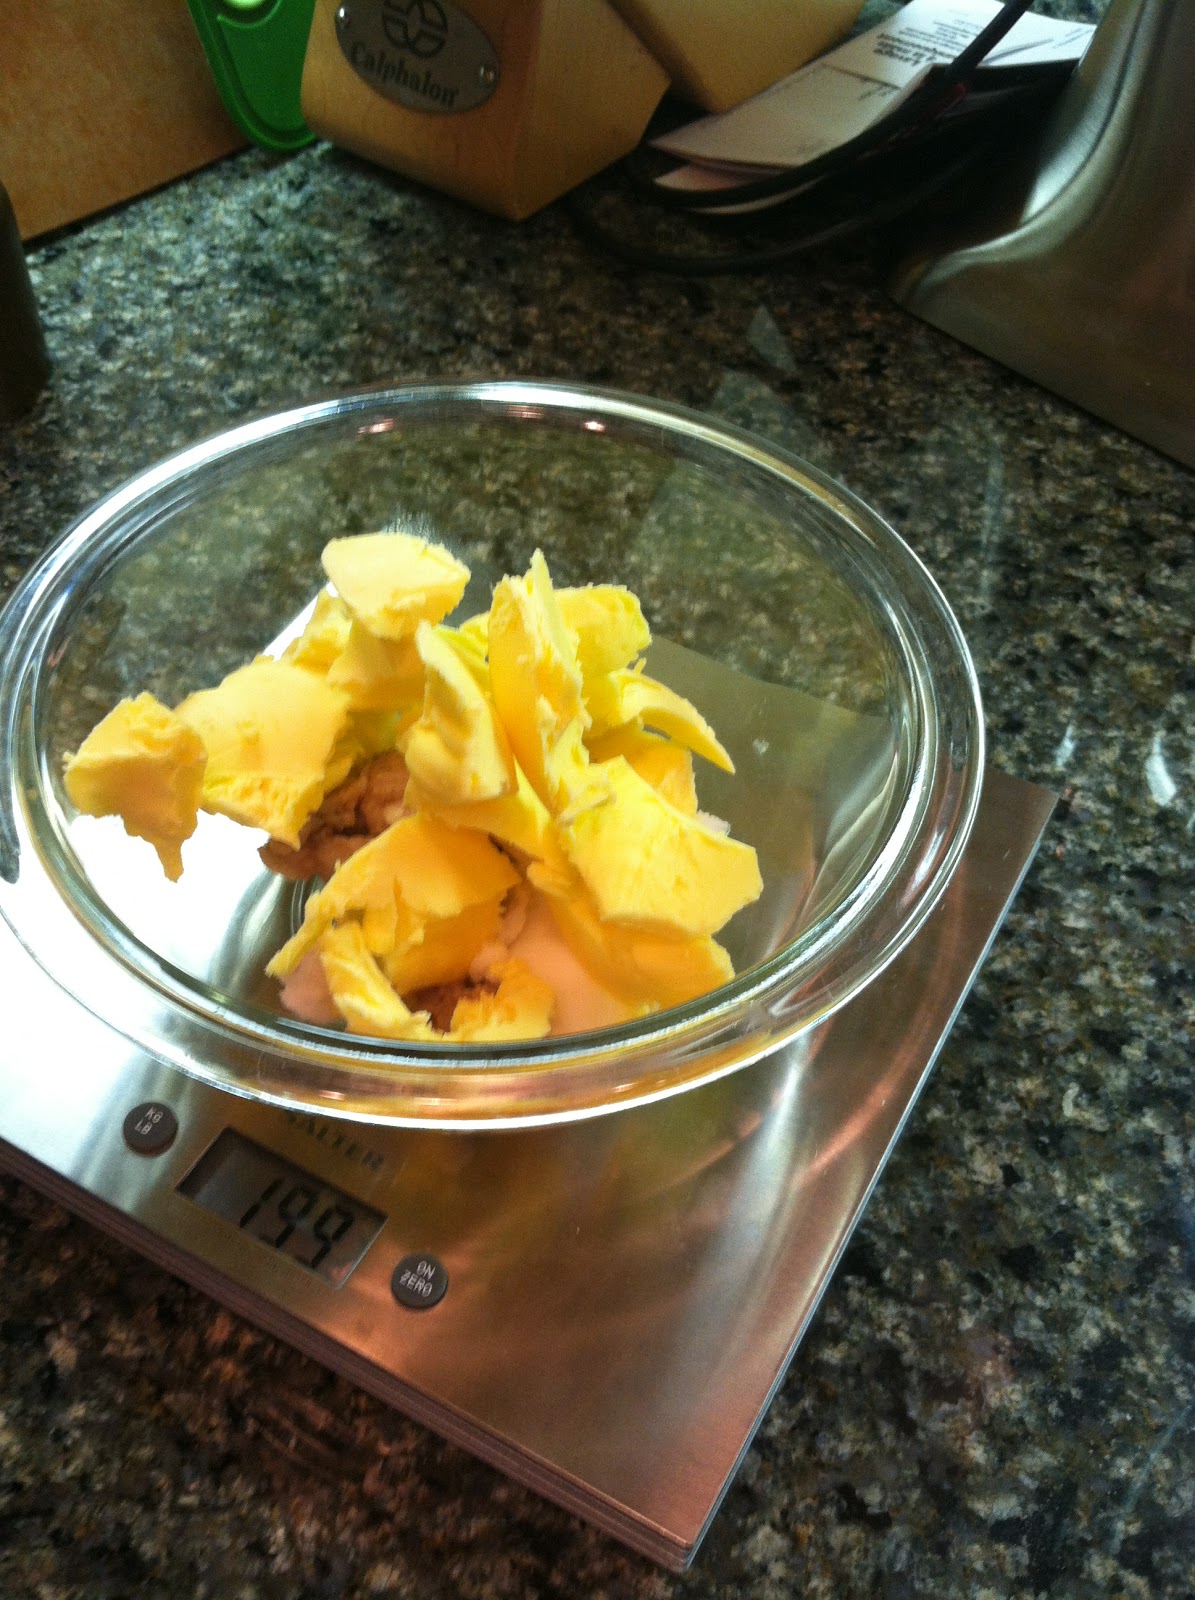
  • 6 tablespoons (3/4 stick, or 86g) unsalted butter, melted and cooled
  • 1 1/2 tablespoons honey (I usually just eyeball this)
  • 2 extra-large egg yolks (save one egg white to brush on top of each loaf before scoring and baking)
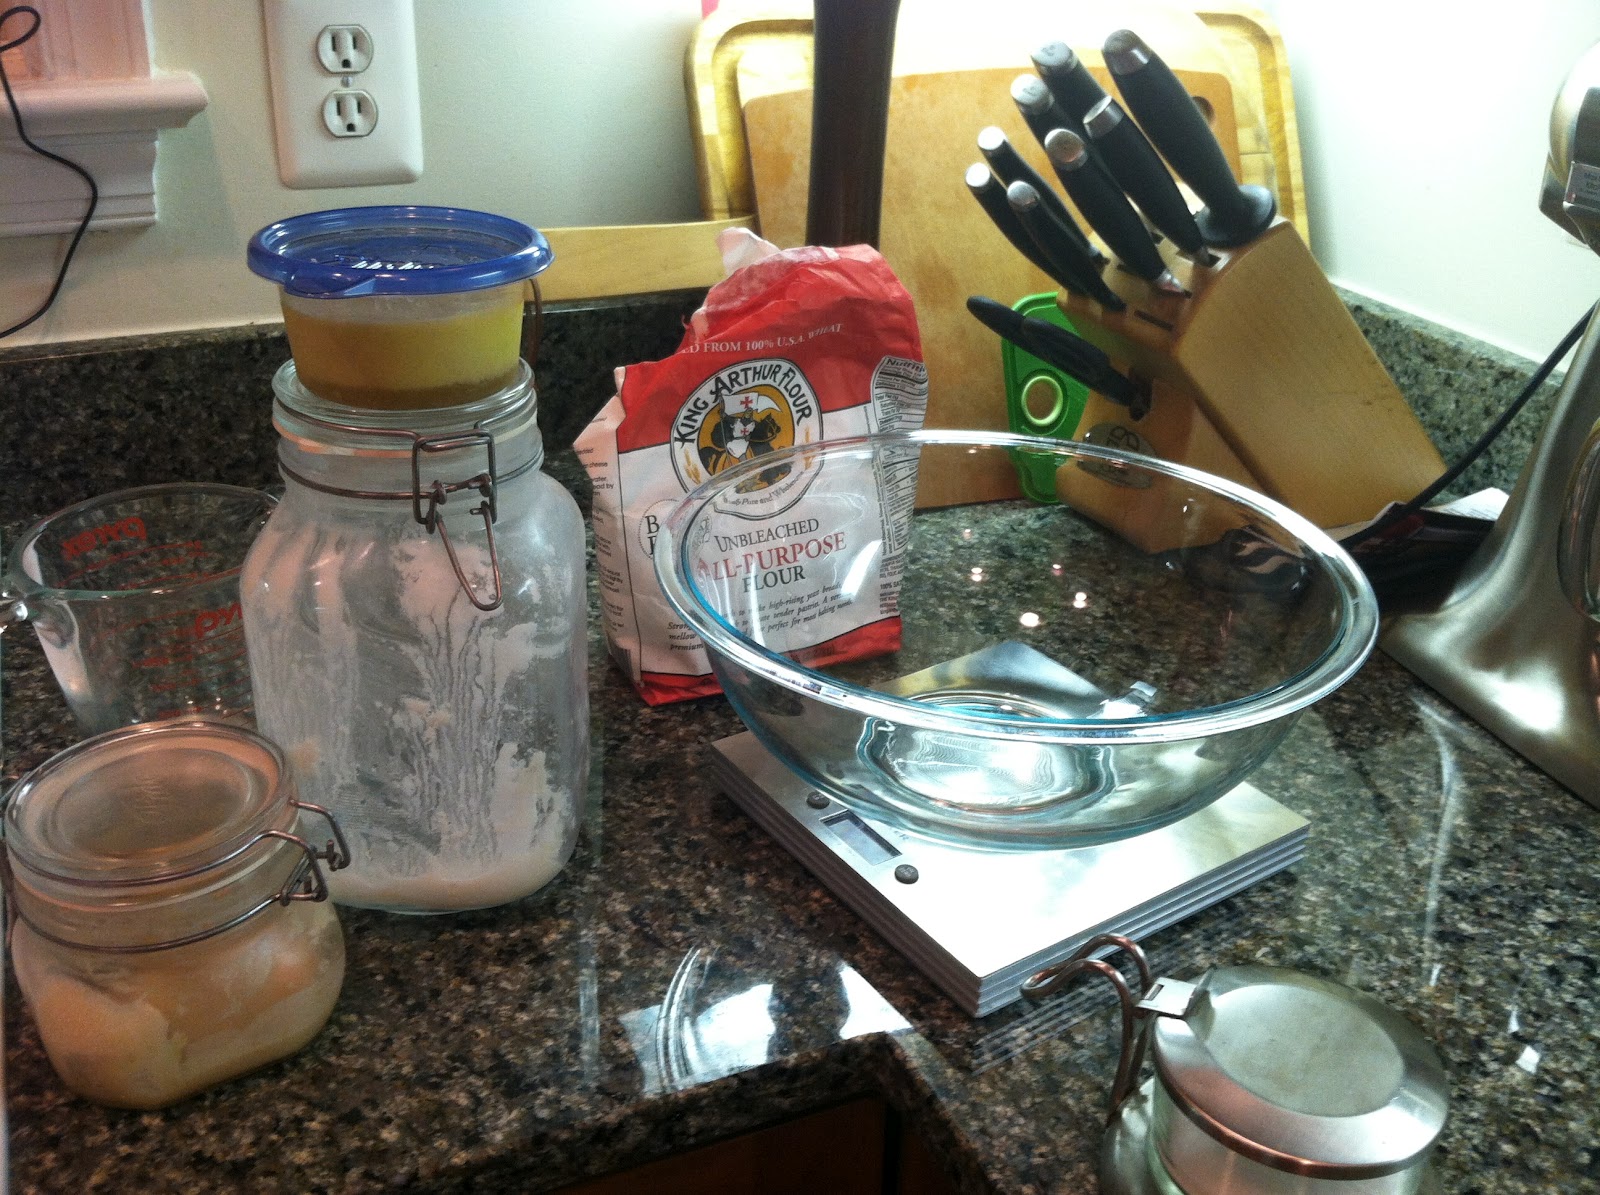
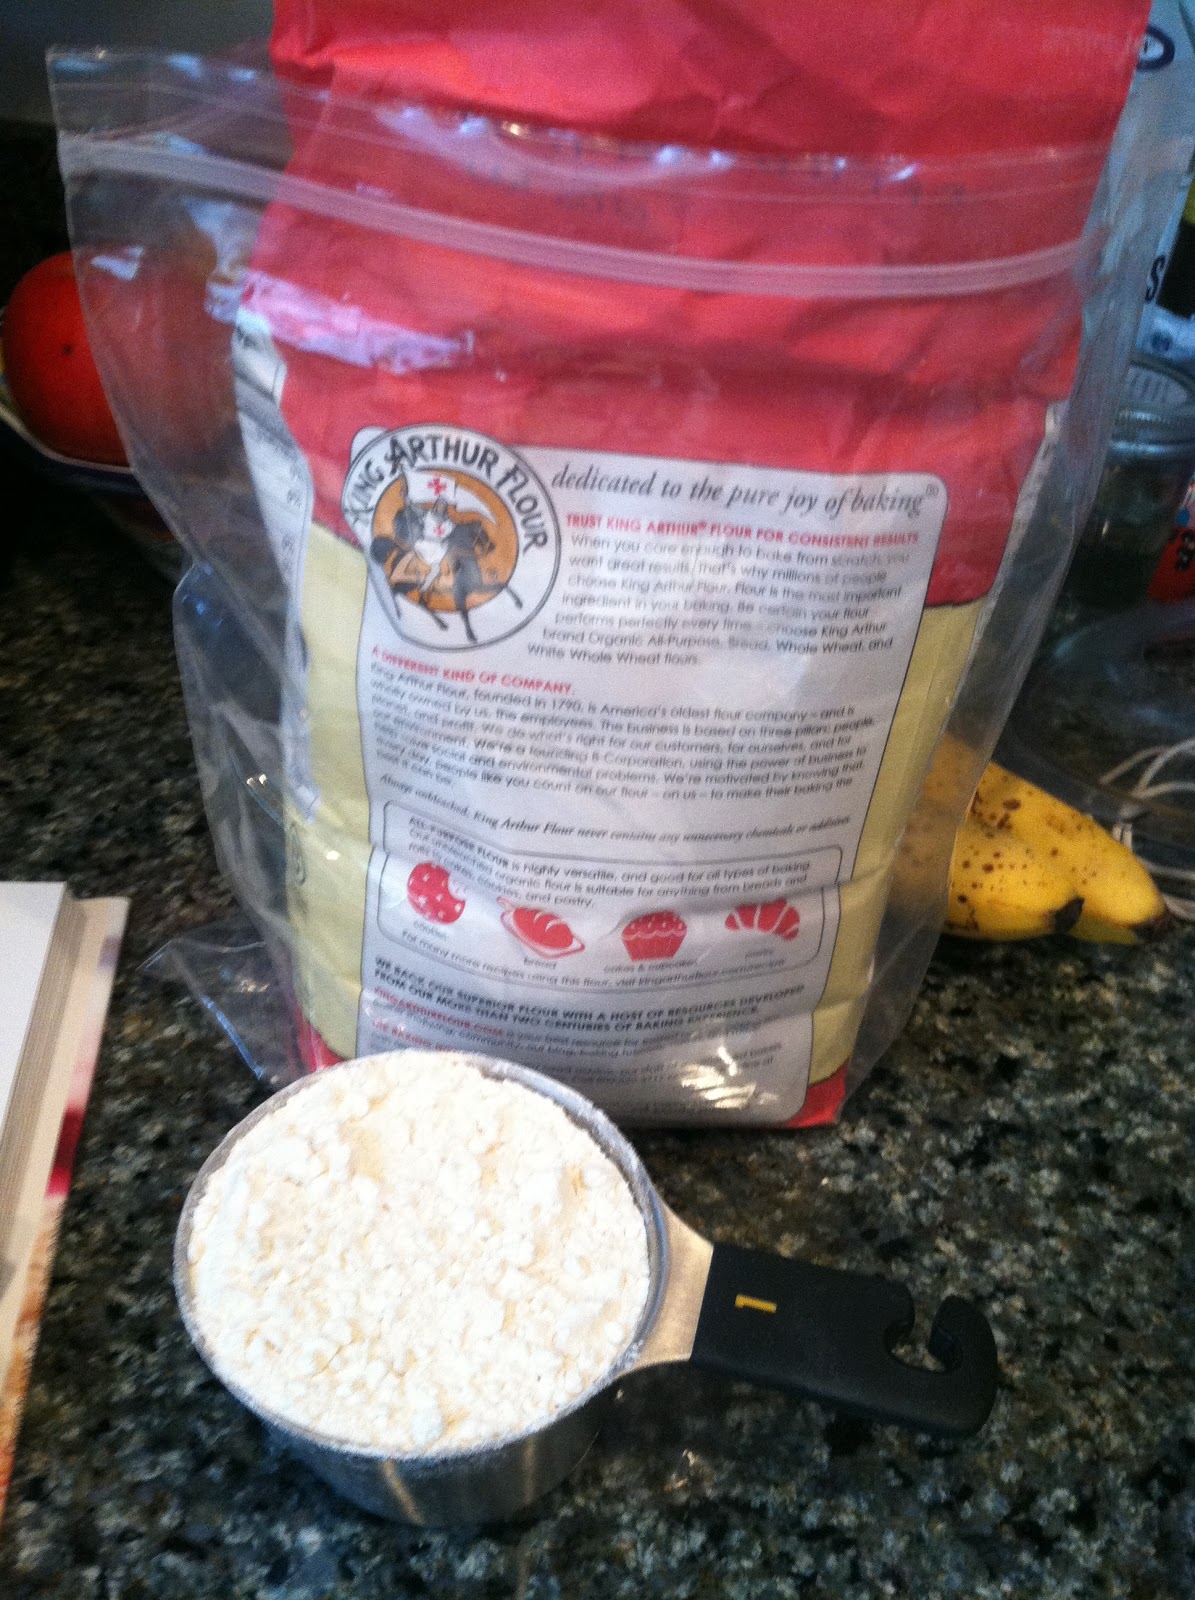
  • 5 to 6 cups all-purpose flour
  • 1 tablespoon kosher salt

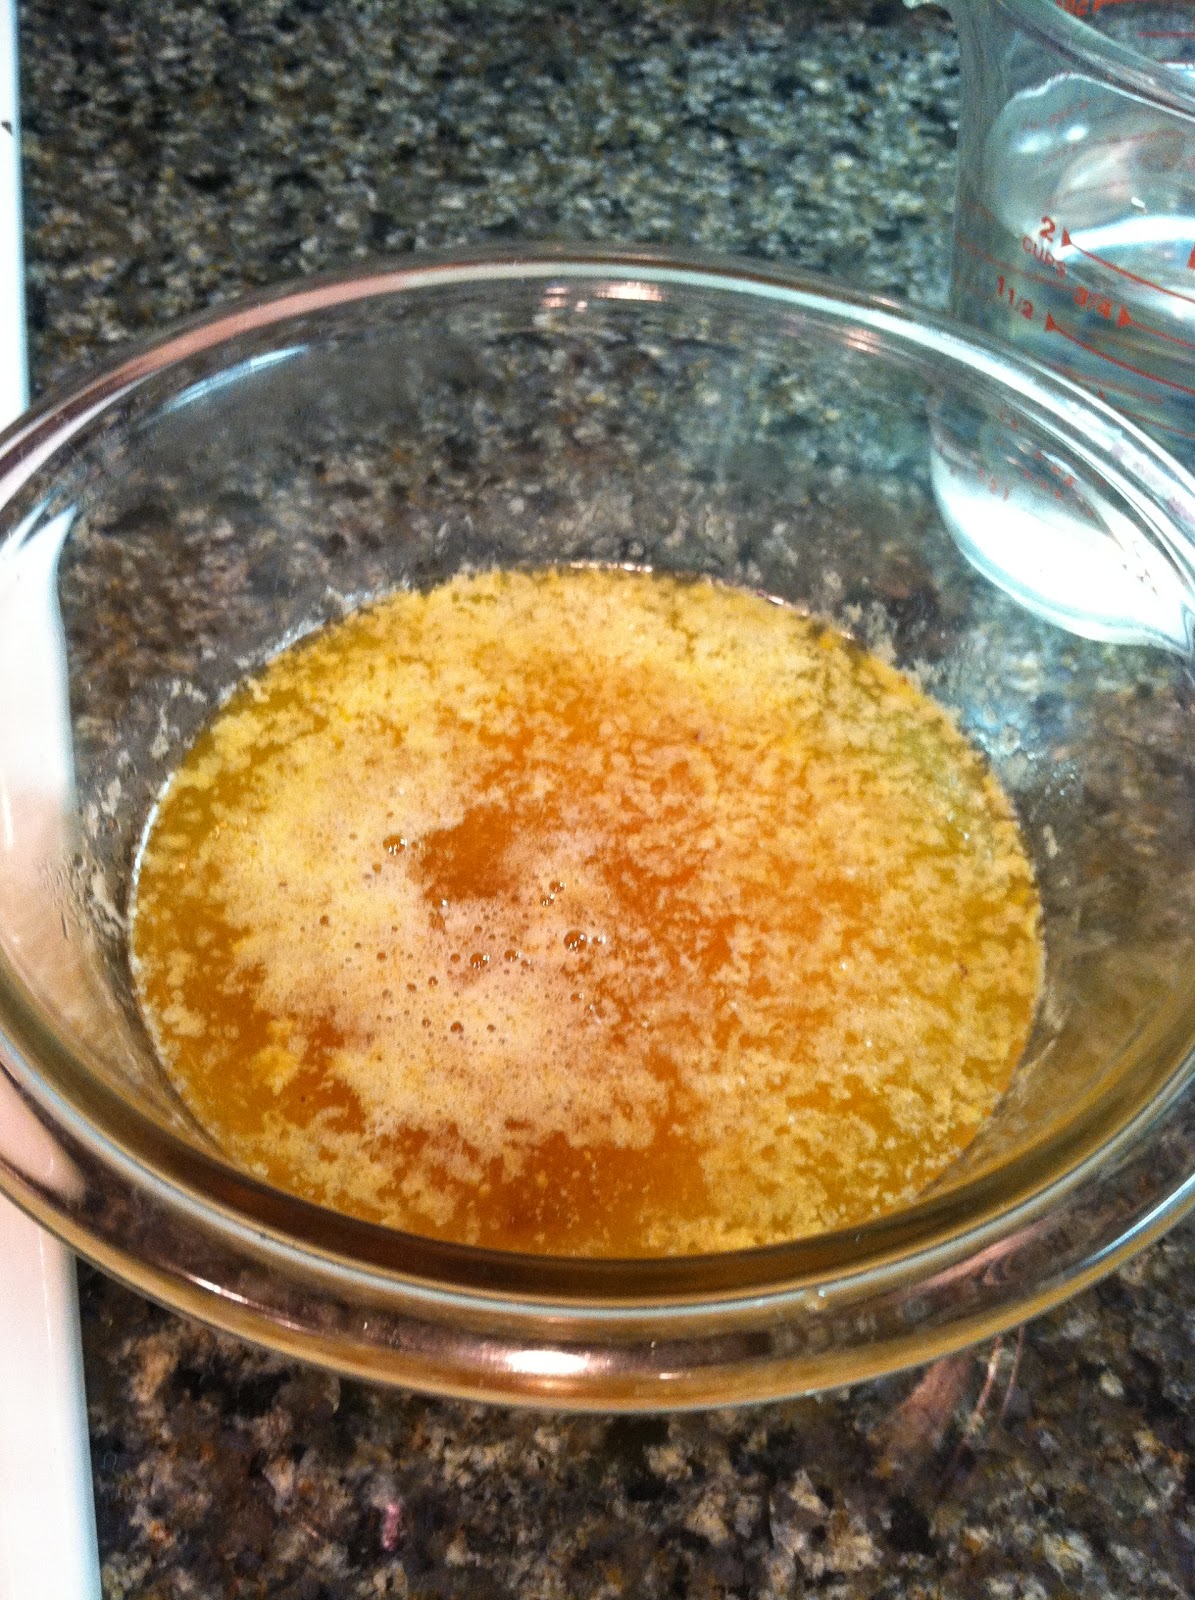
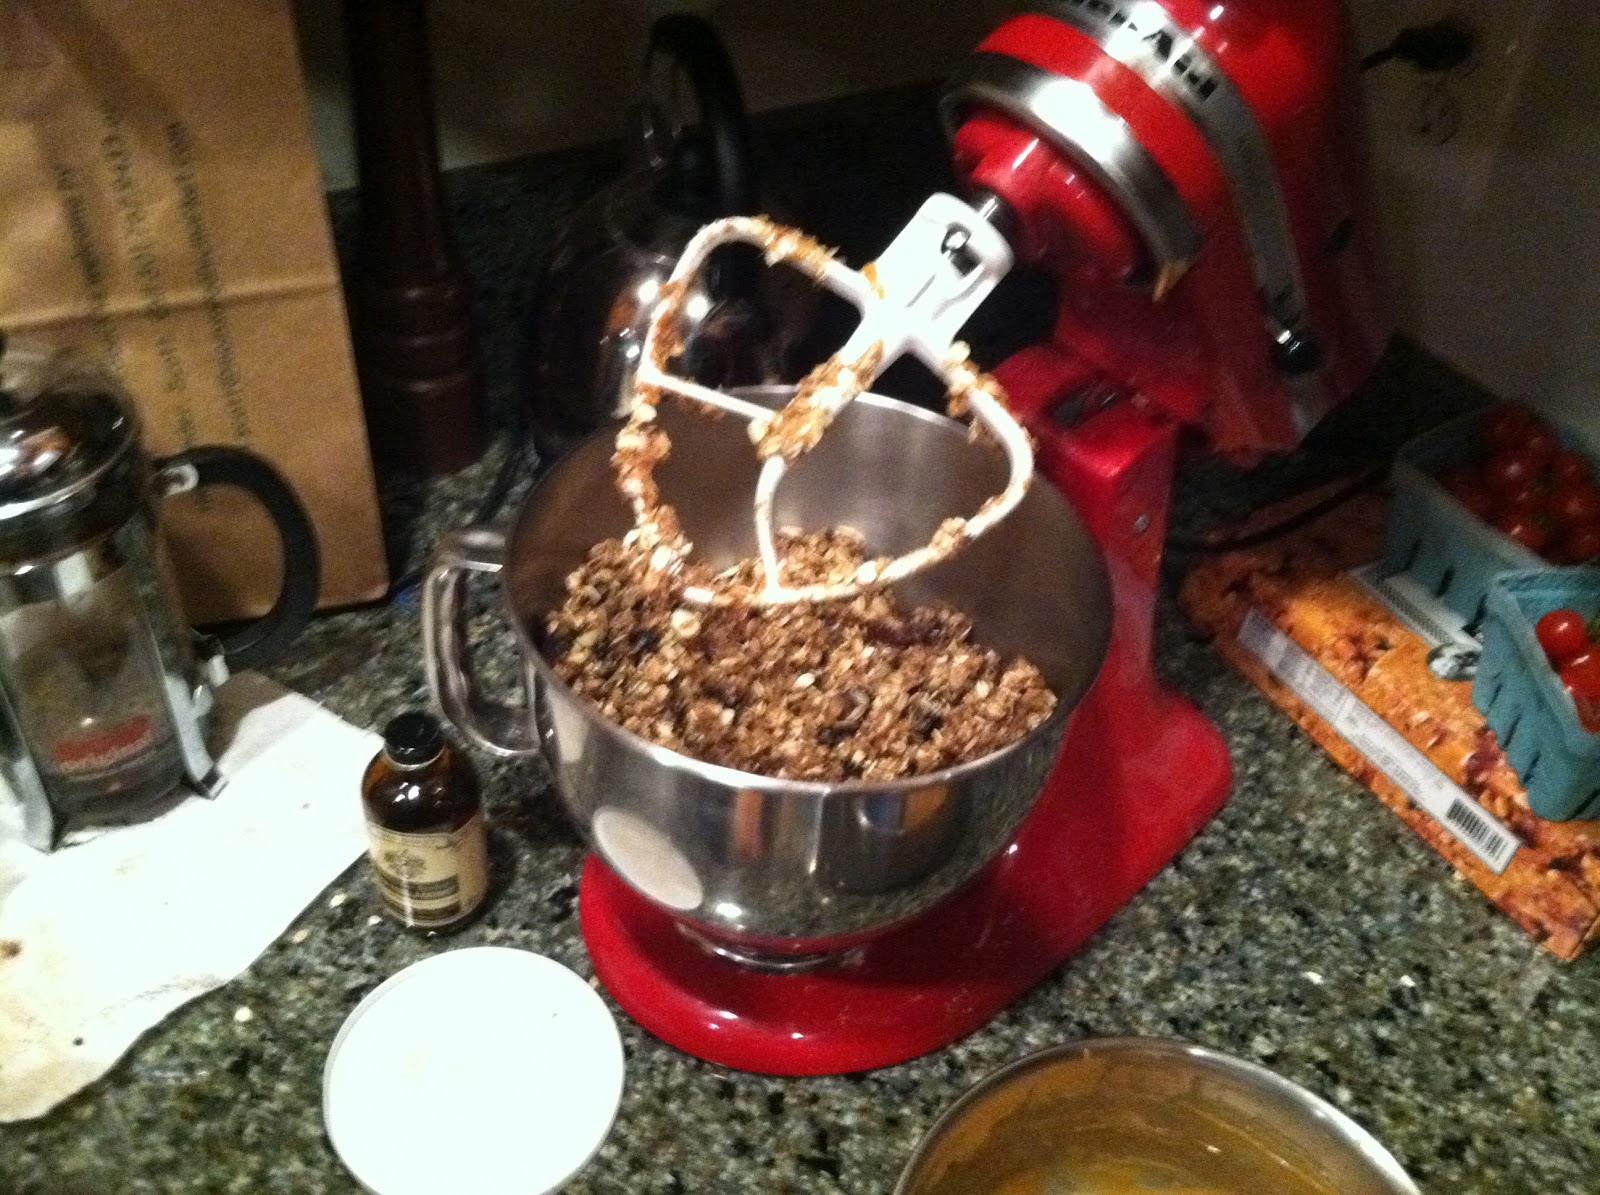
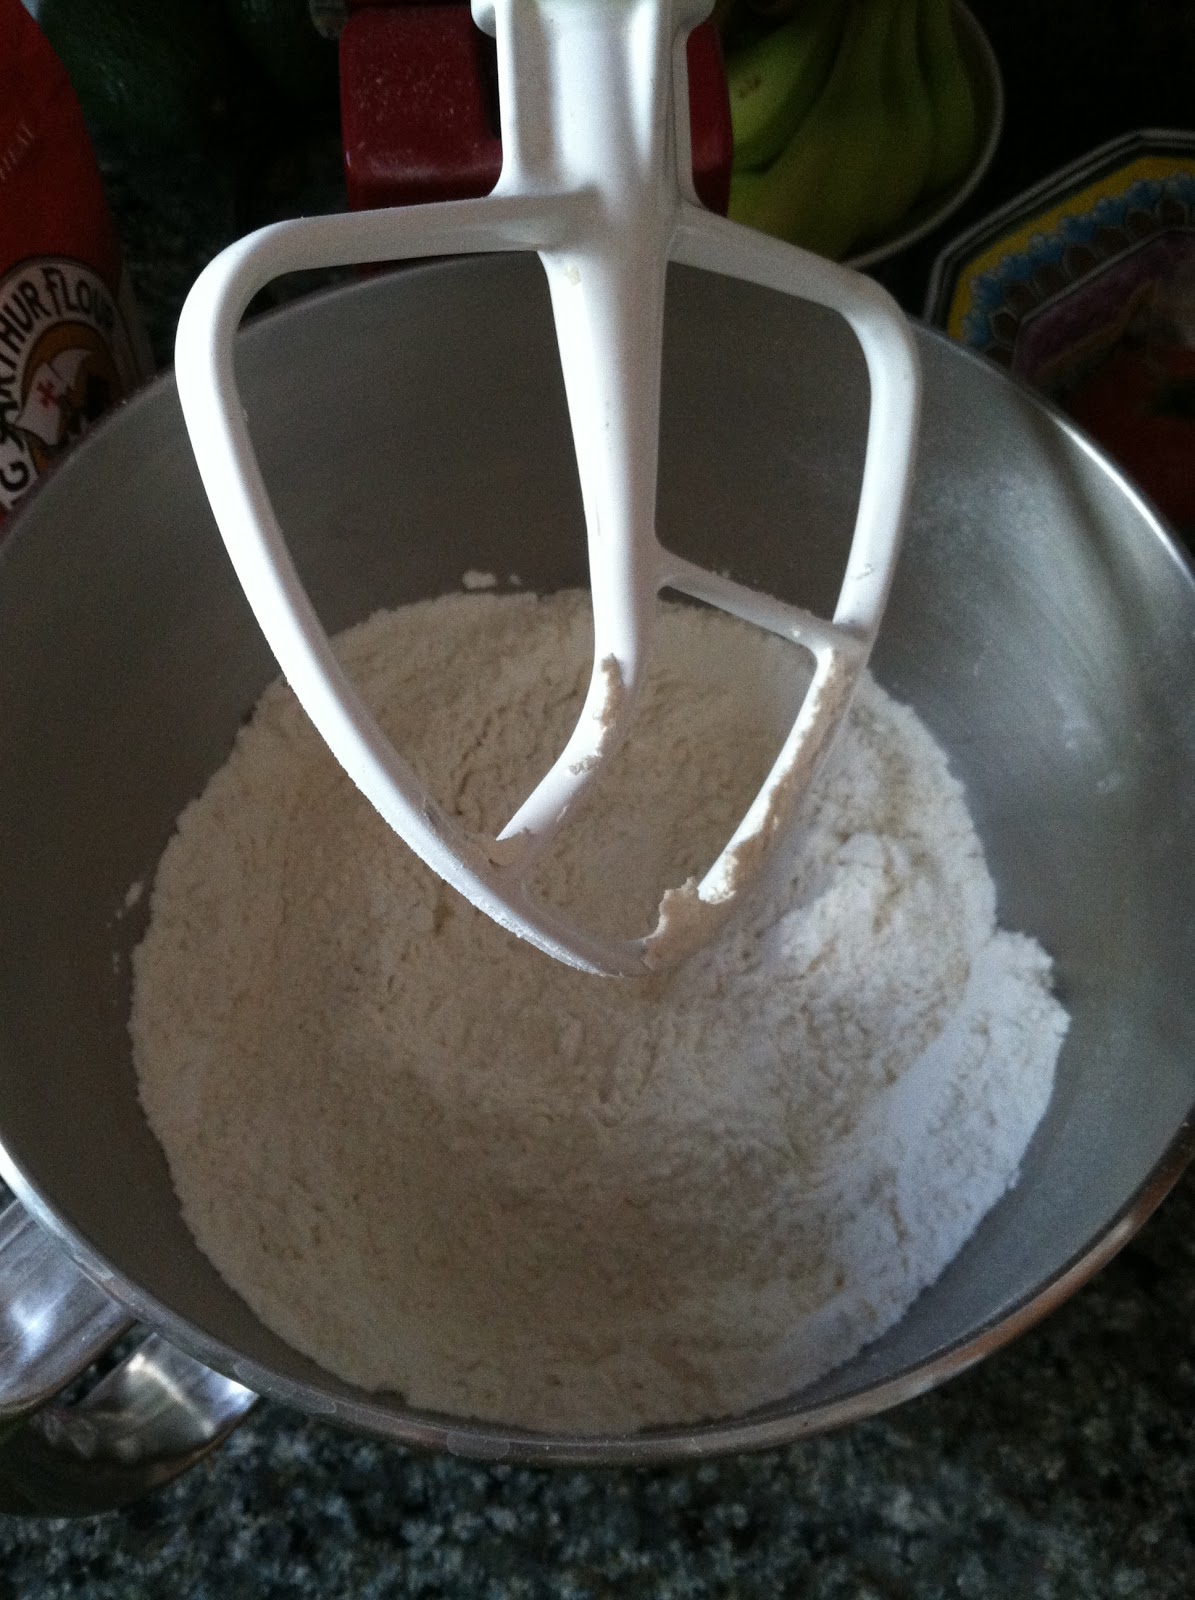
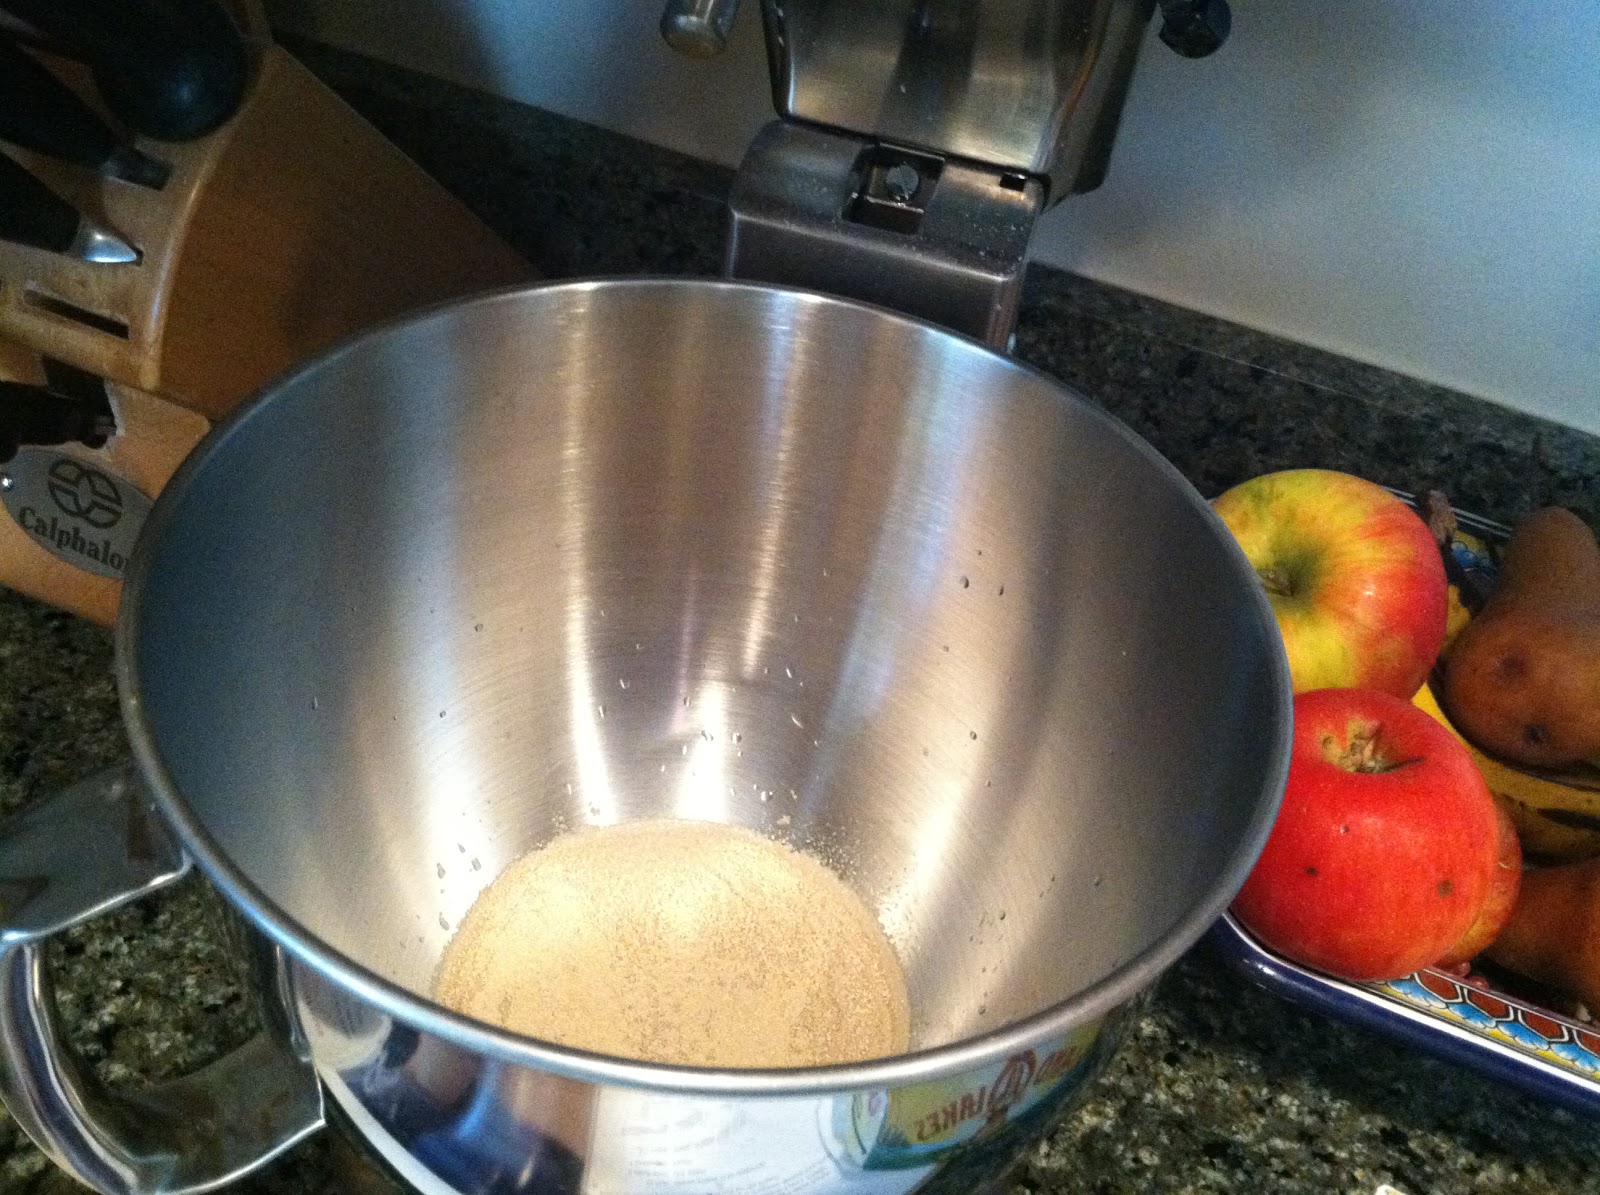
1. In the bowl of a stand mixer, pour in the warm water and sprinkle the yeast and sugar on top.  Let sit for about five minutes until it is beginning to bloom and smells yeasty.

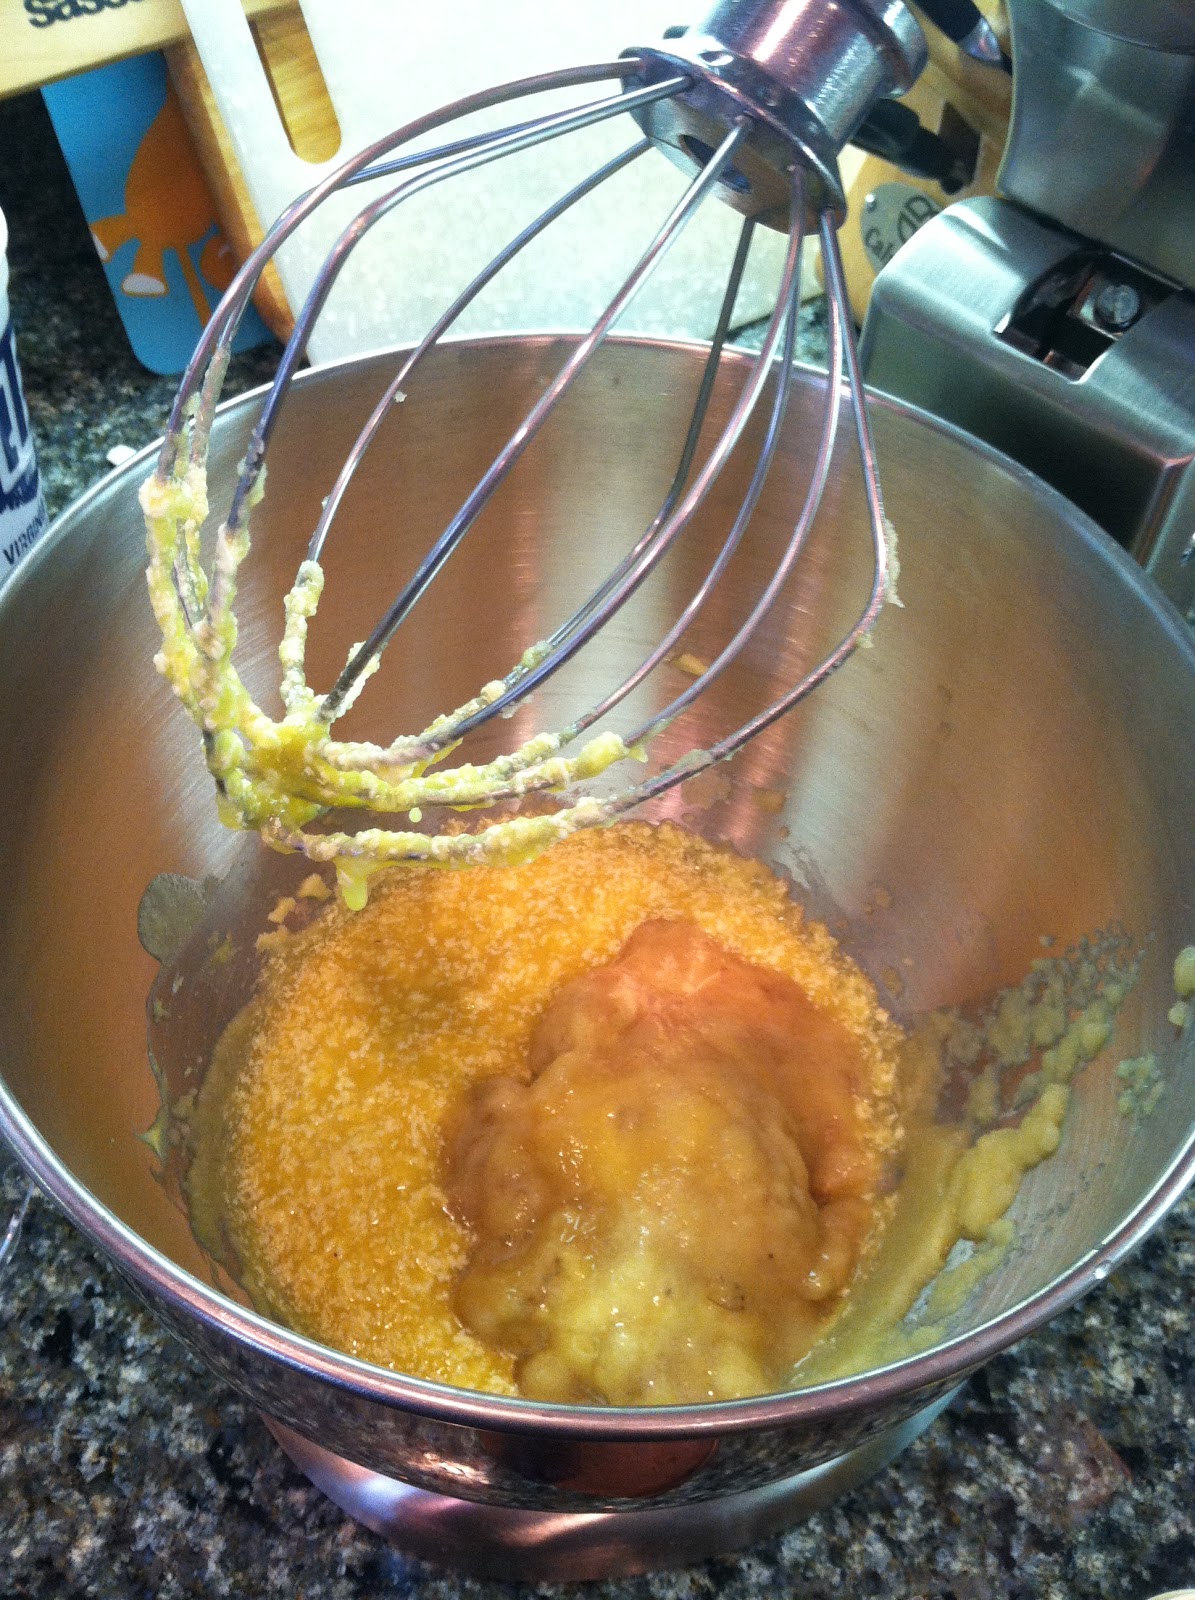
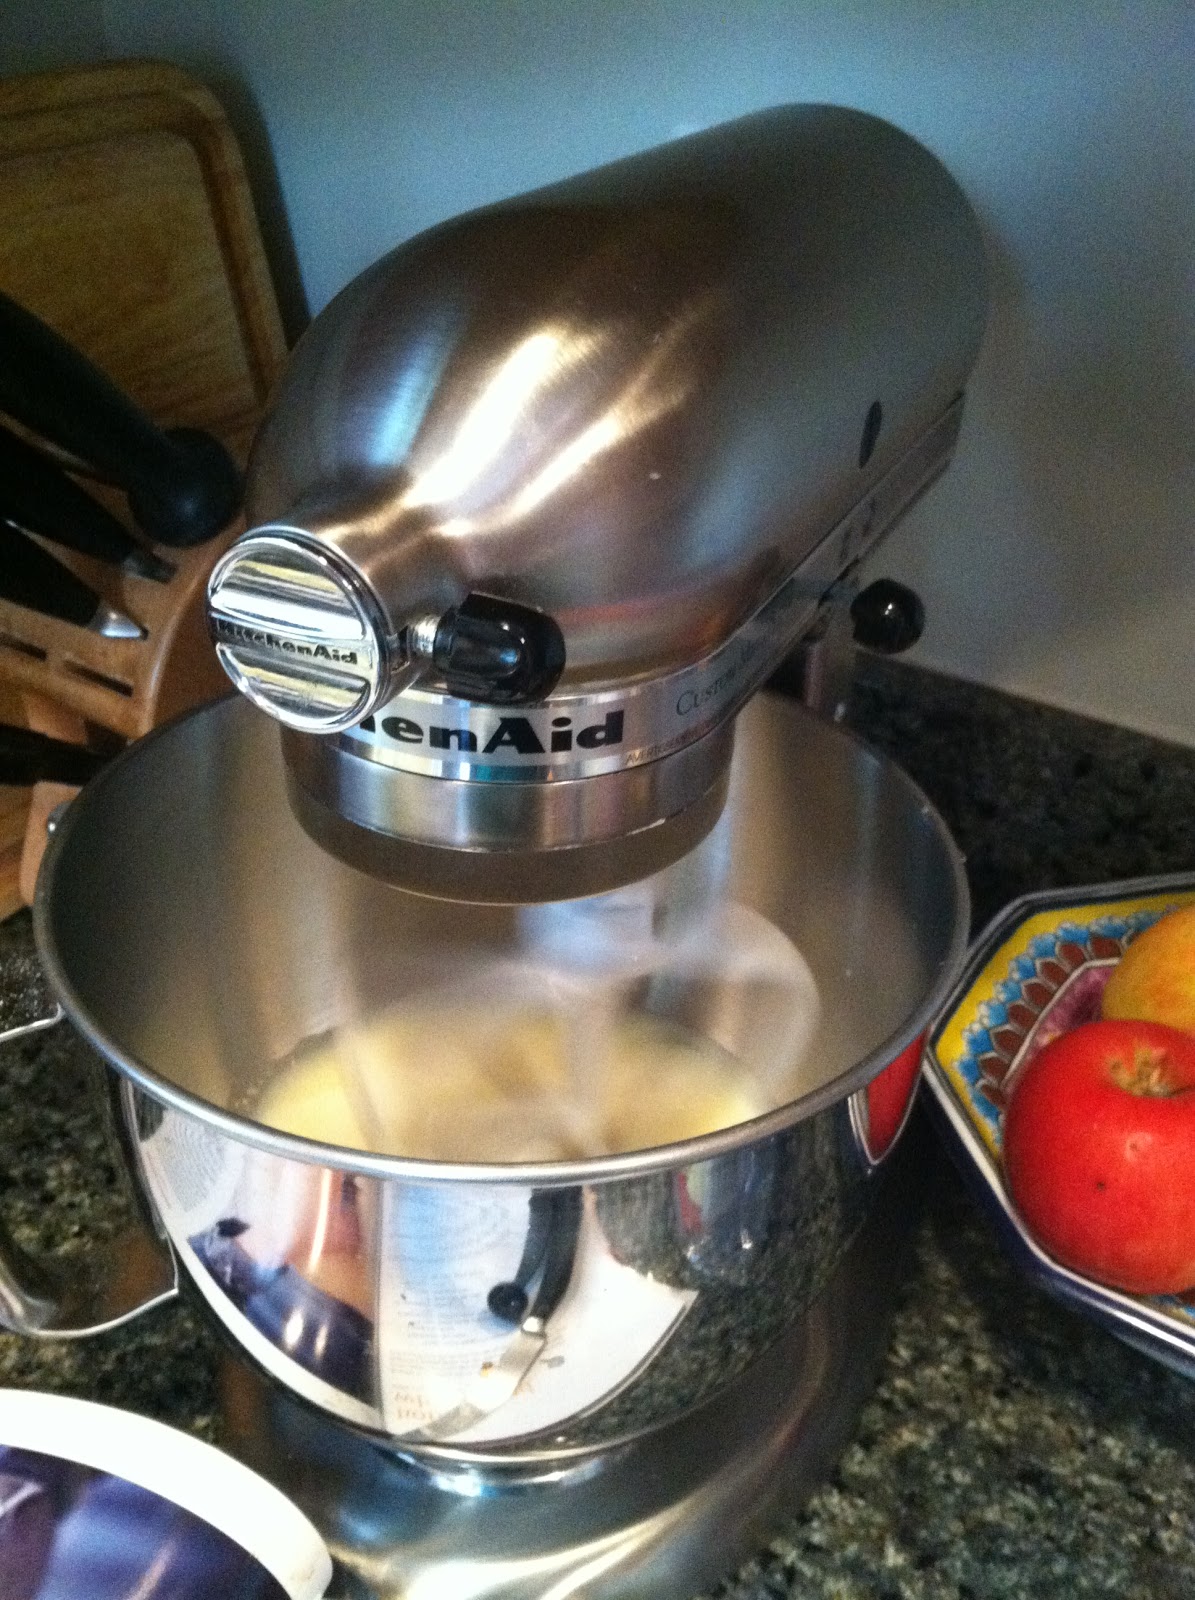
2. Add the milk, butter and honey and stir with the paddle attachment until blended.

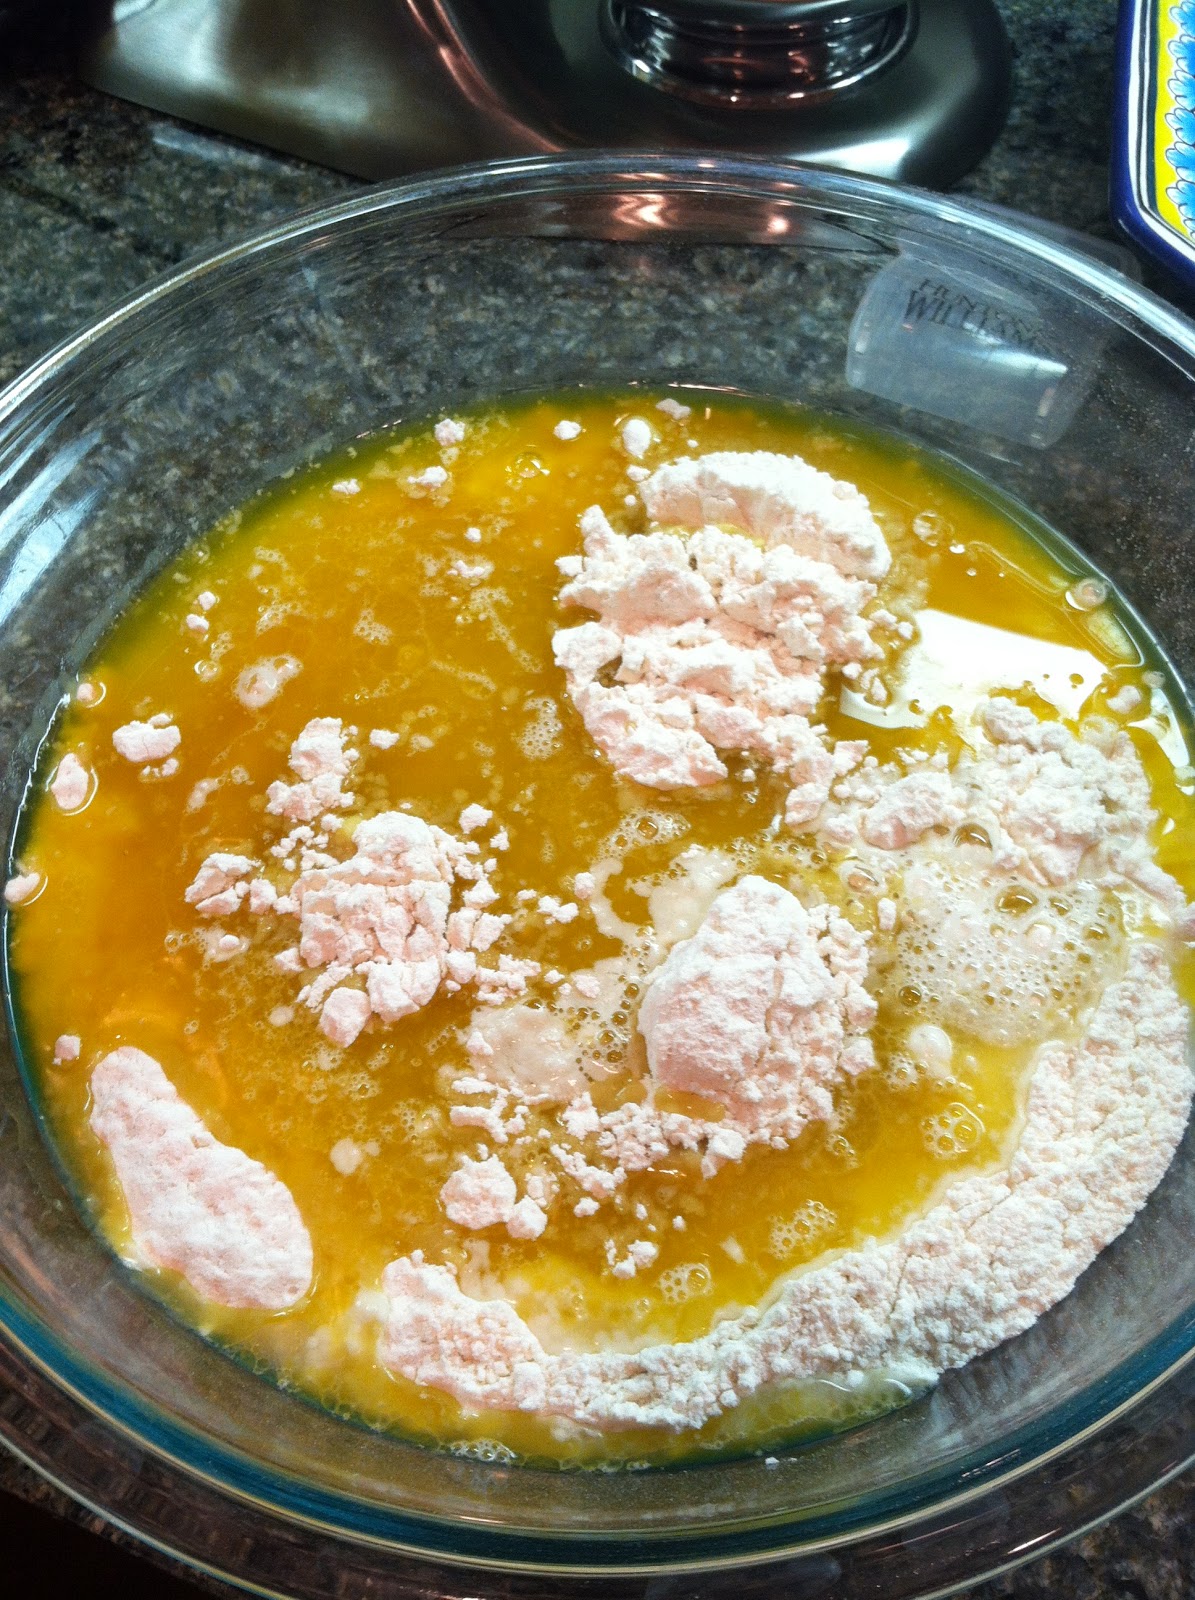
 3. Add the eggs, three cups of the flour (one at a time), and the salt.

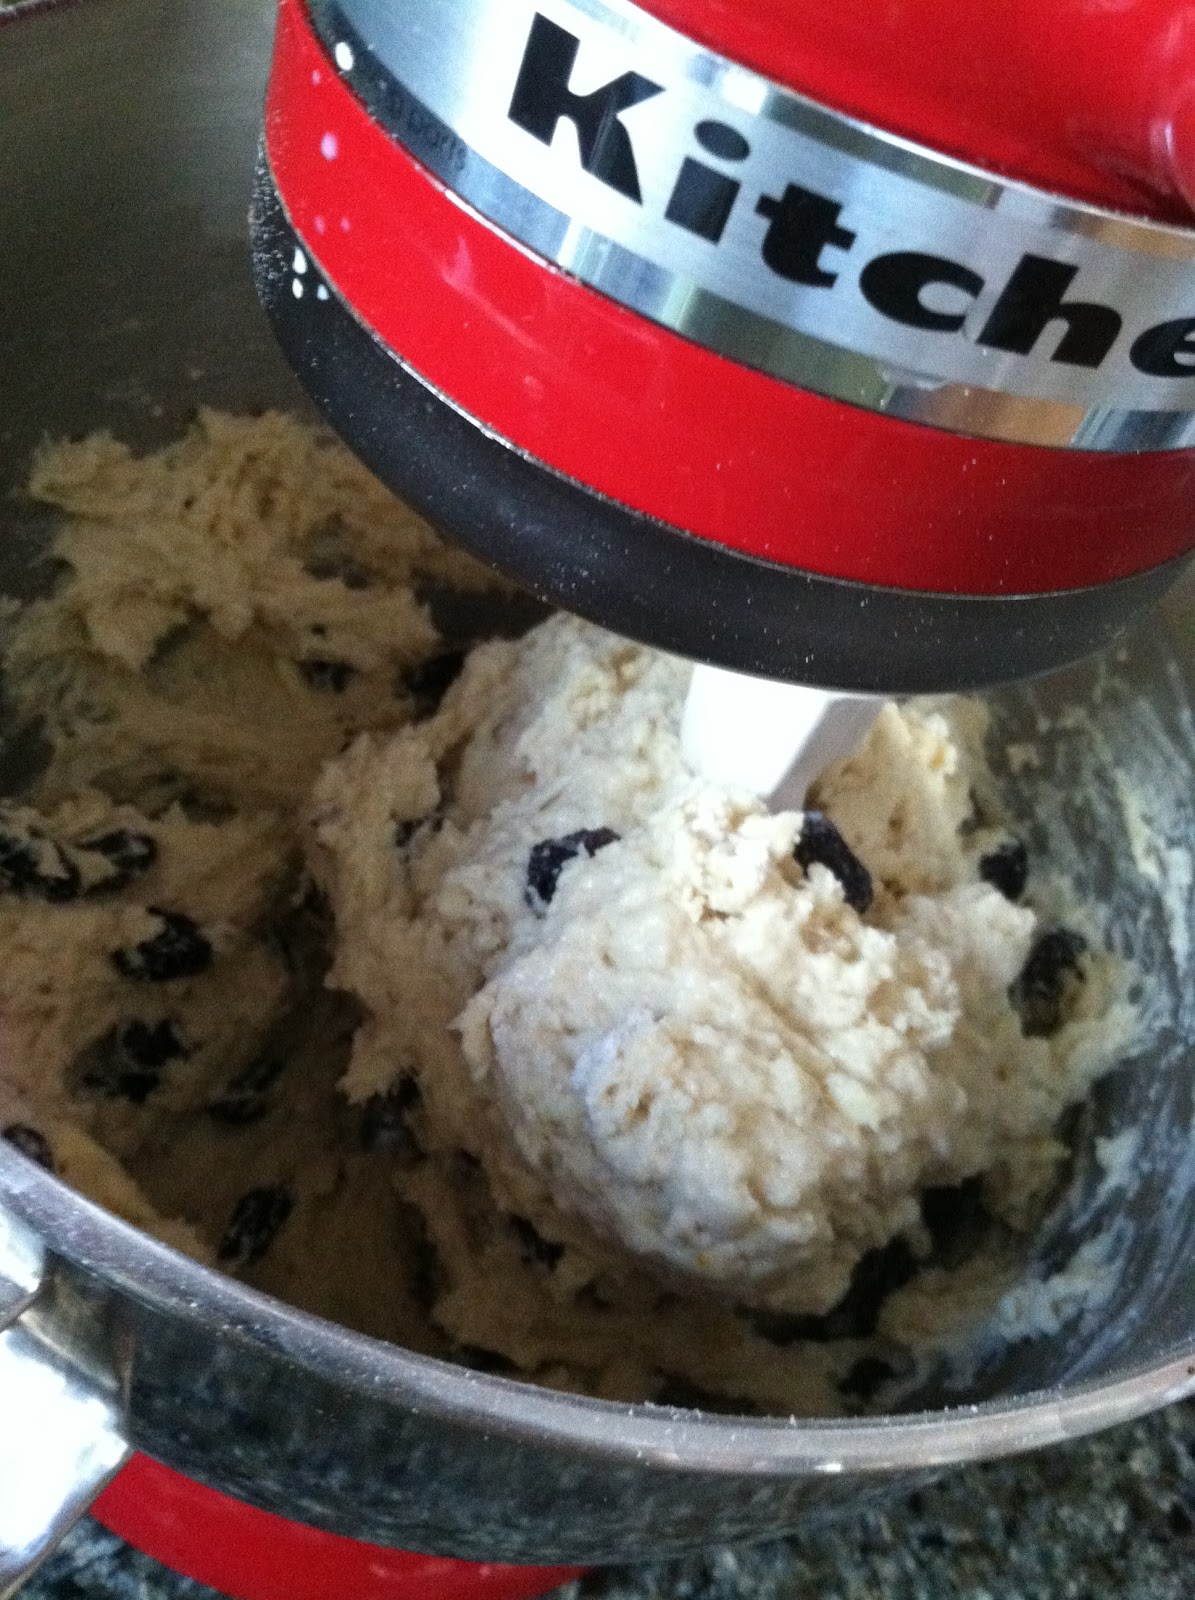
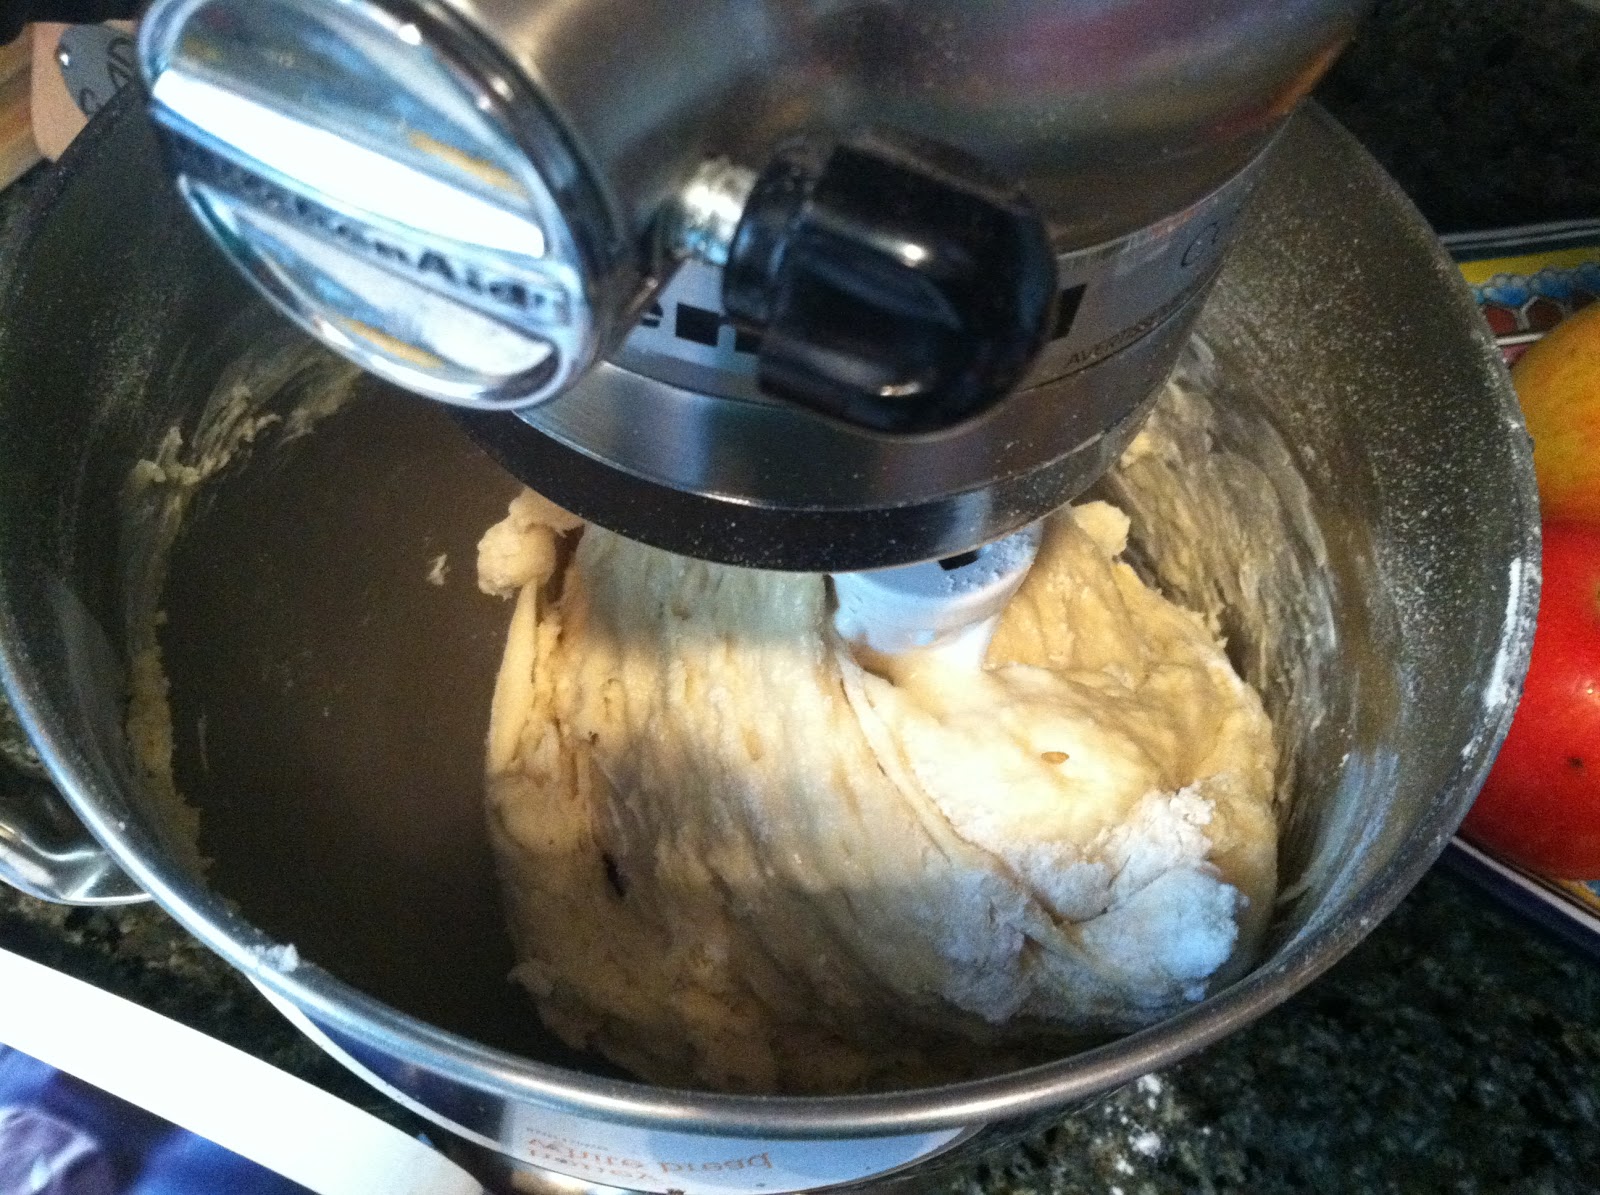
4. Once the three cups of flour are blended in, switch to a dough hook and add the next two cups of flour gradually.  You are looking for the dough to start pulling off the sides of the bowl.  This means the gluten is beginning to form and the dough wants to cling together.

5. Depending on the weather, you might need just five, or more than six cups of flour!  Be patient.

6.  Bingo.  Now let the mixer knead the dough for about eight minutes.  During this time you will want to pull out a large bowl and pour two tablespoons of olive oil.  Set aside.  Do some dishes or something.

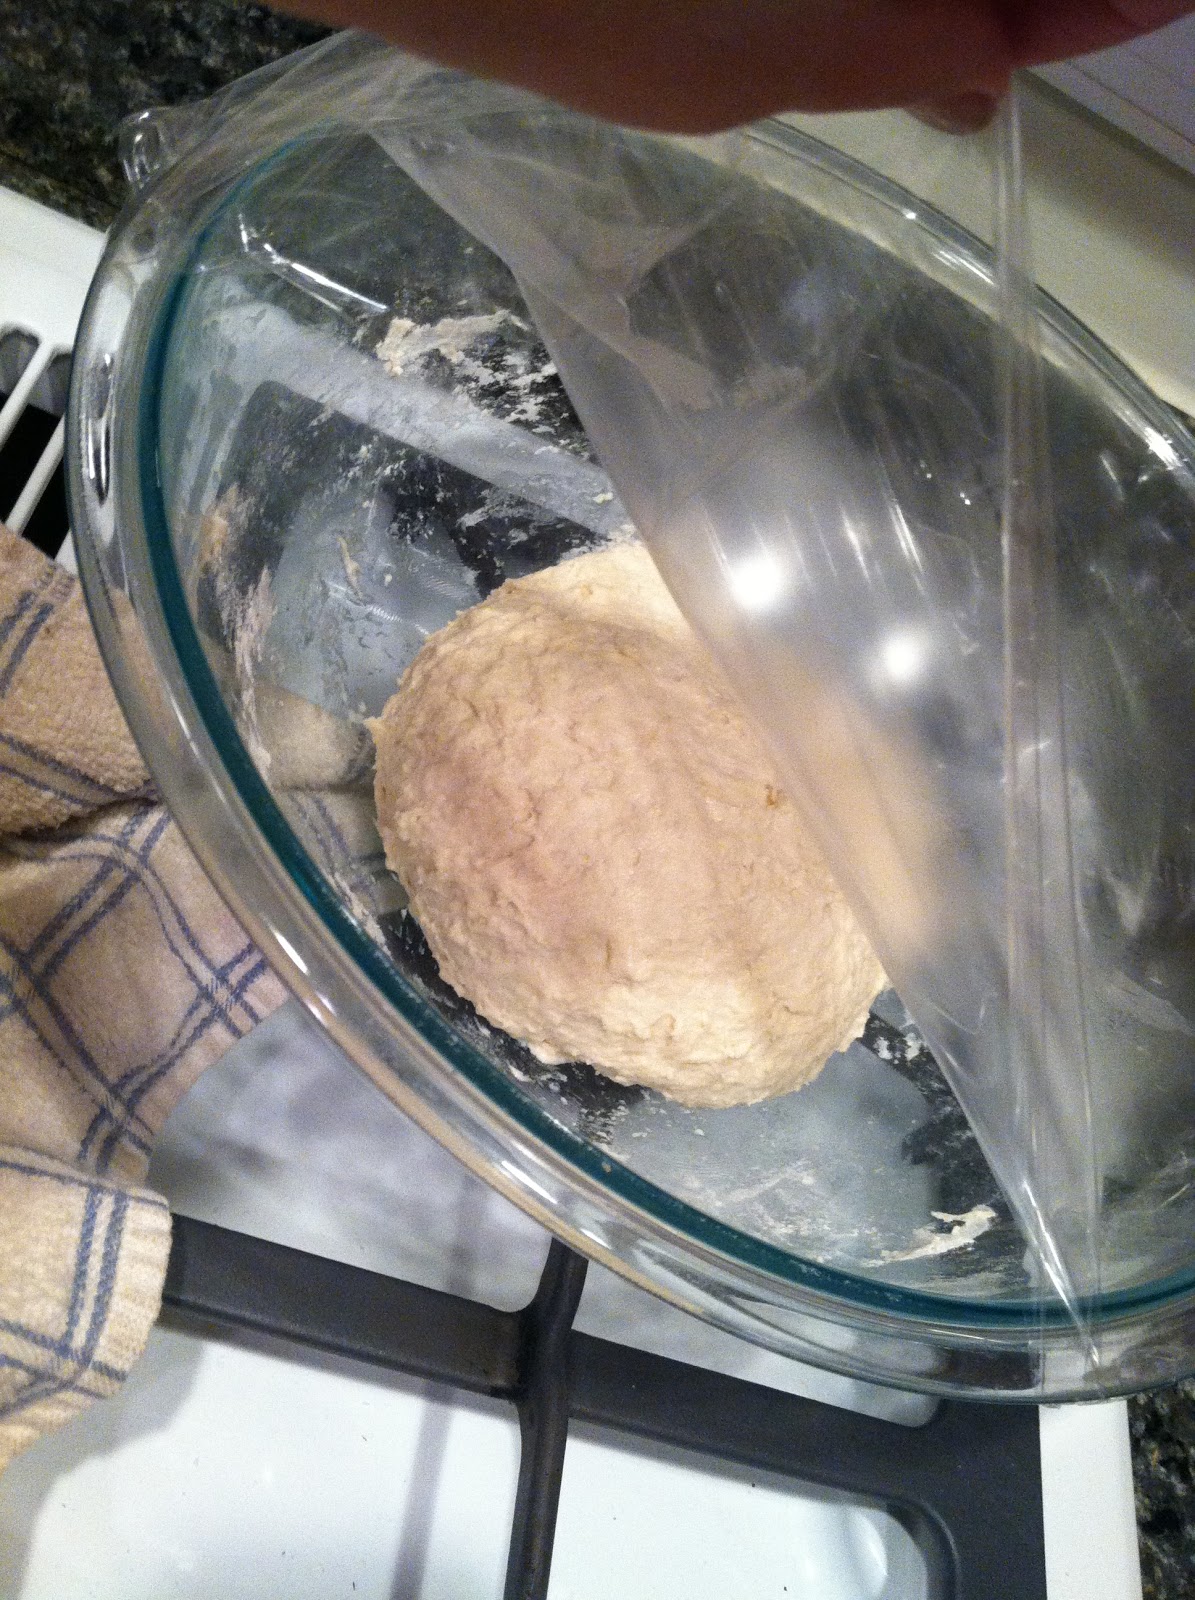
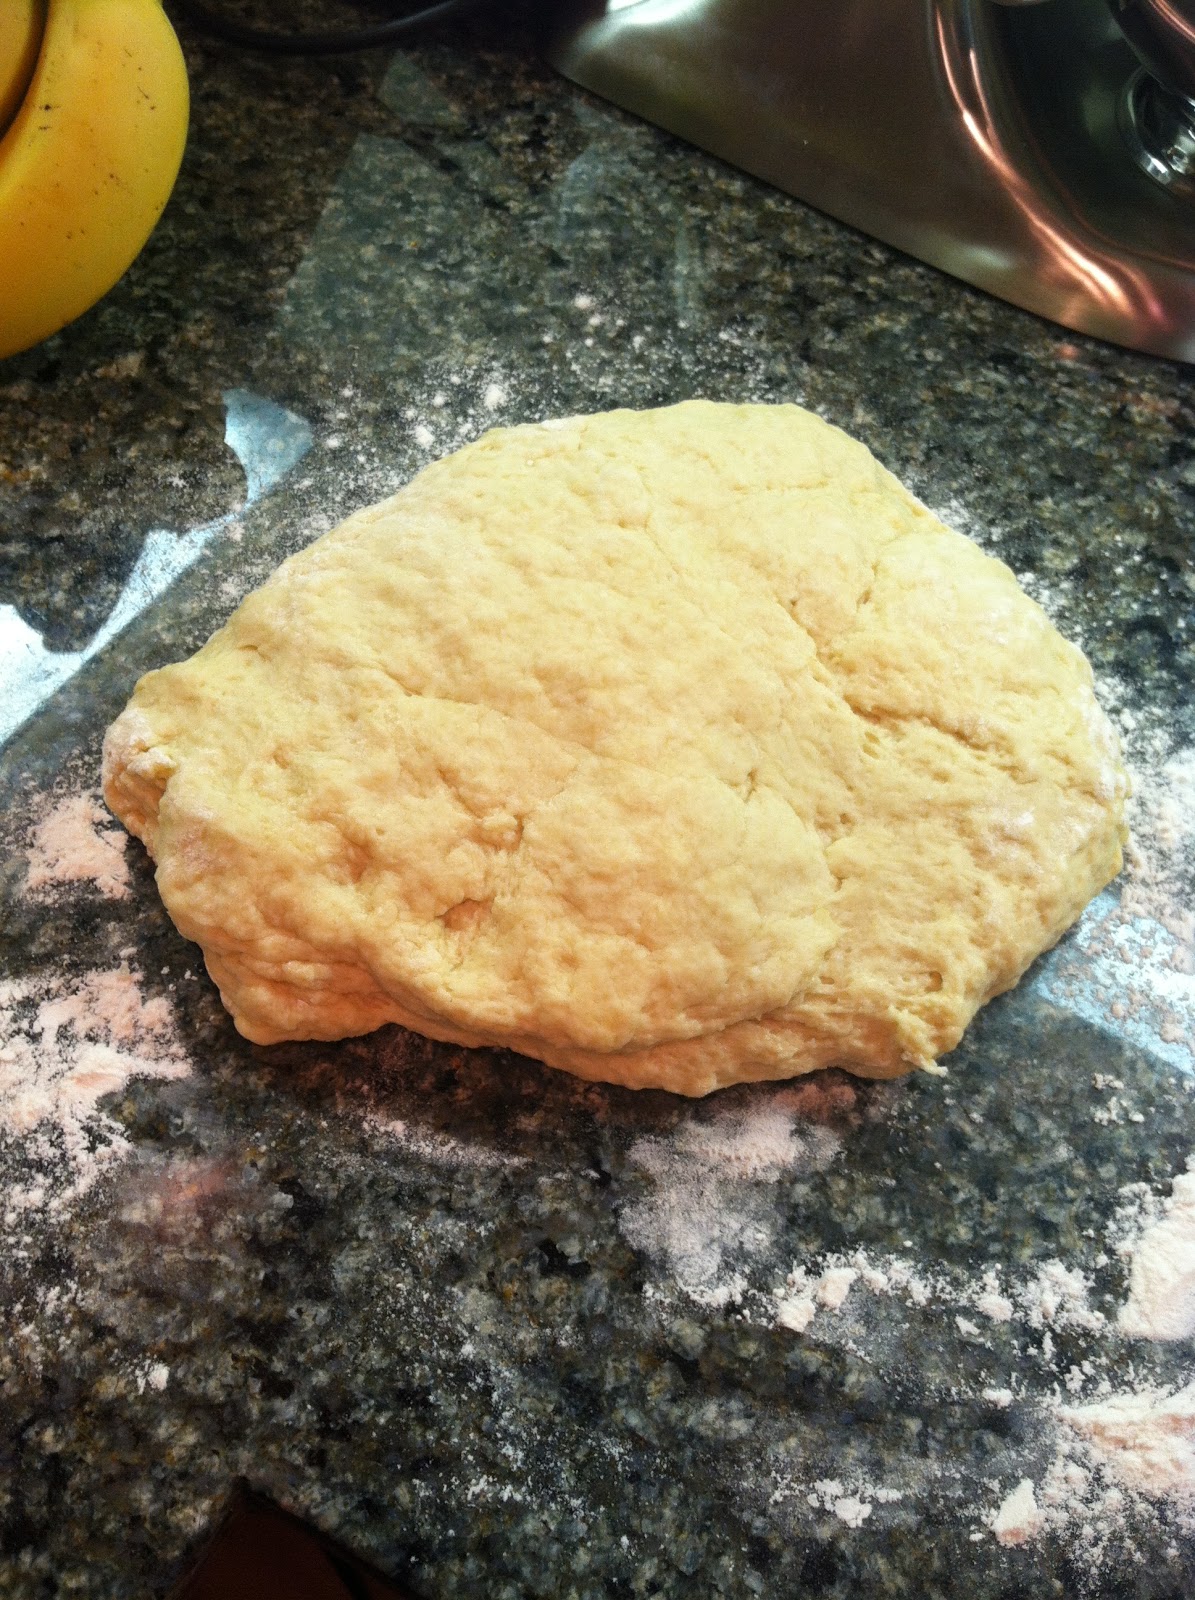
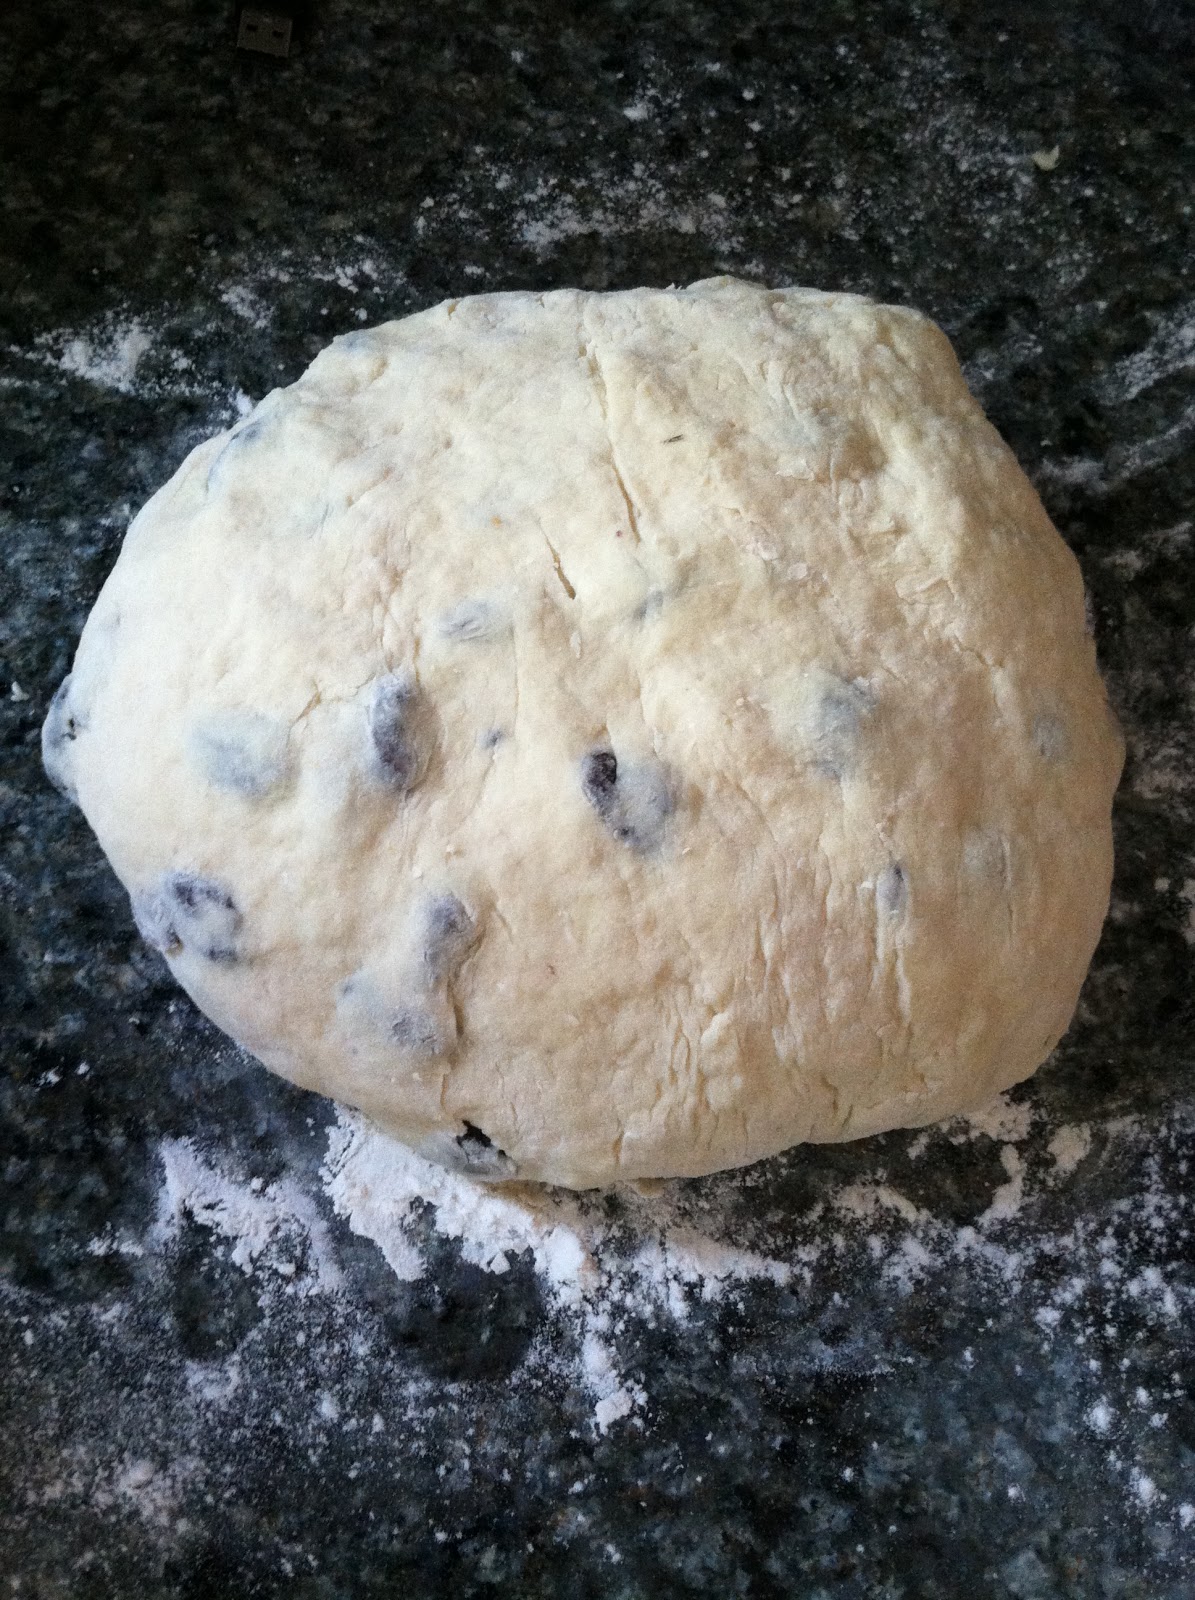
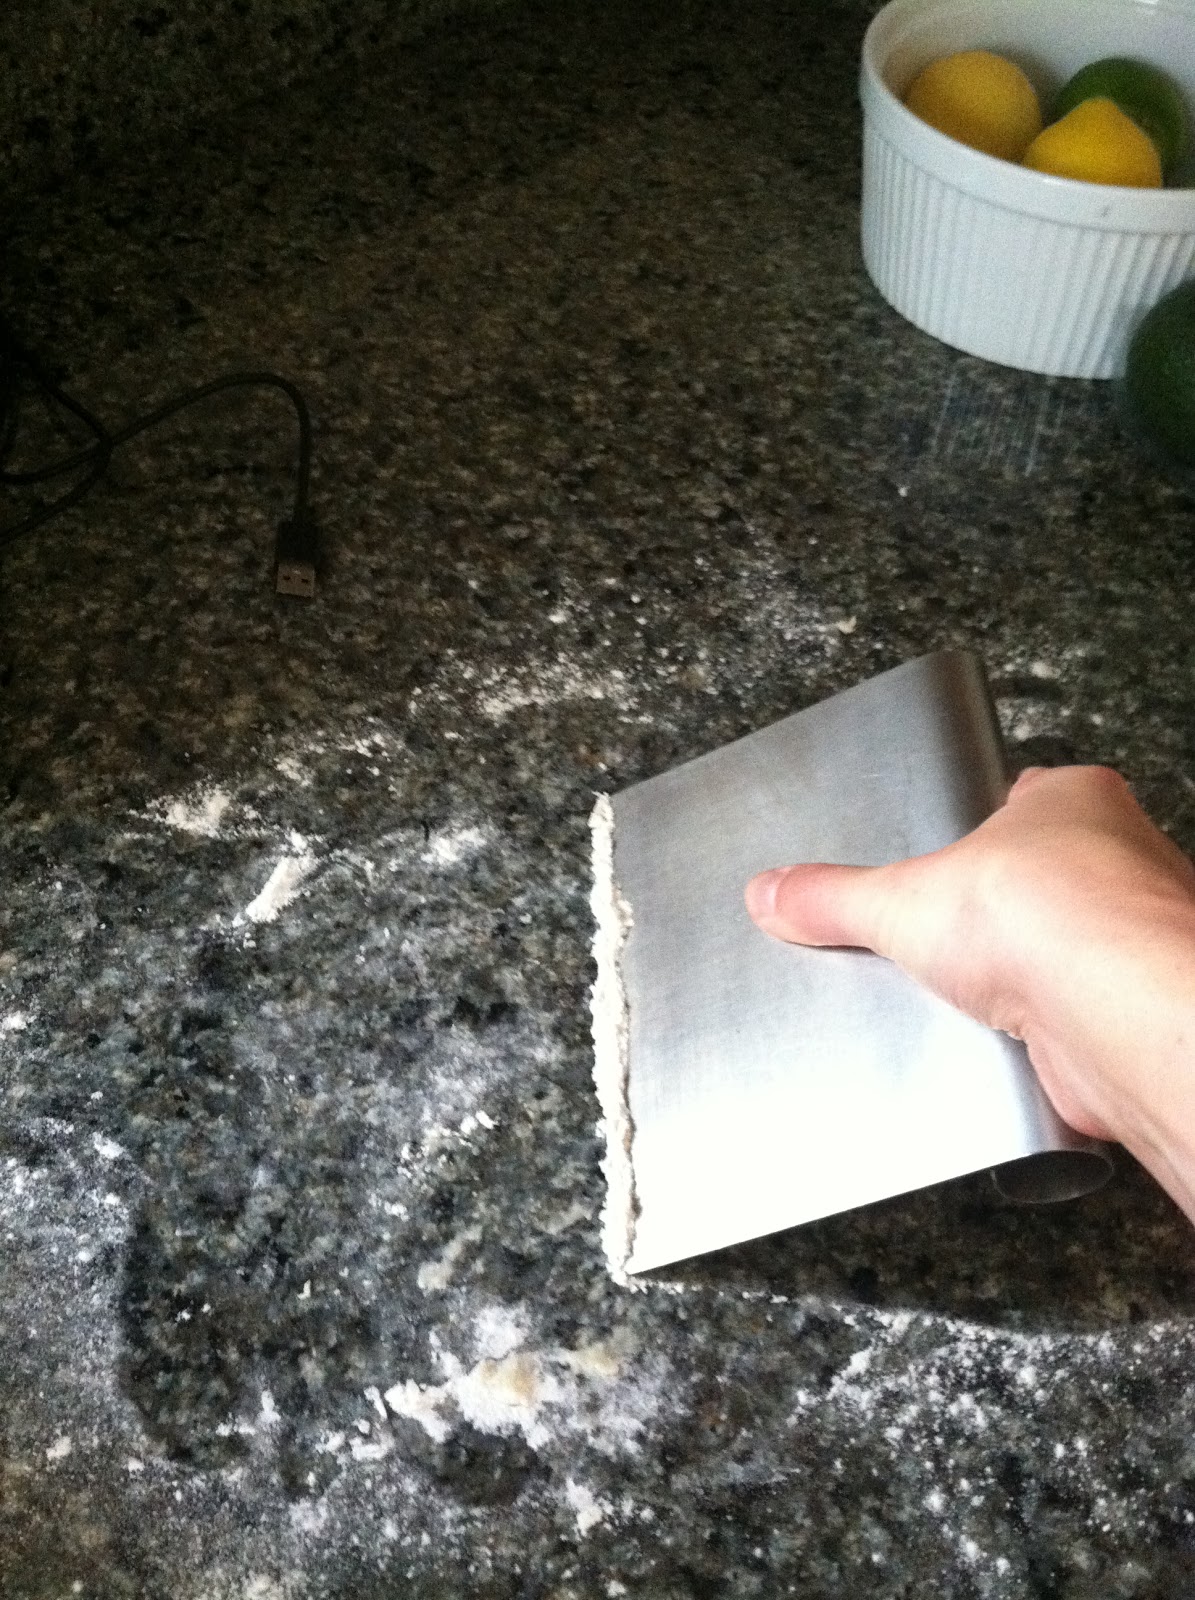
7. Once your eight minutes are up, remove the dough from the stand mixer bowl and form a ball with your hands, wrapping the ends of the dough under so the top is  a smooth surface.

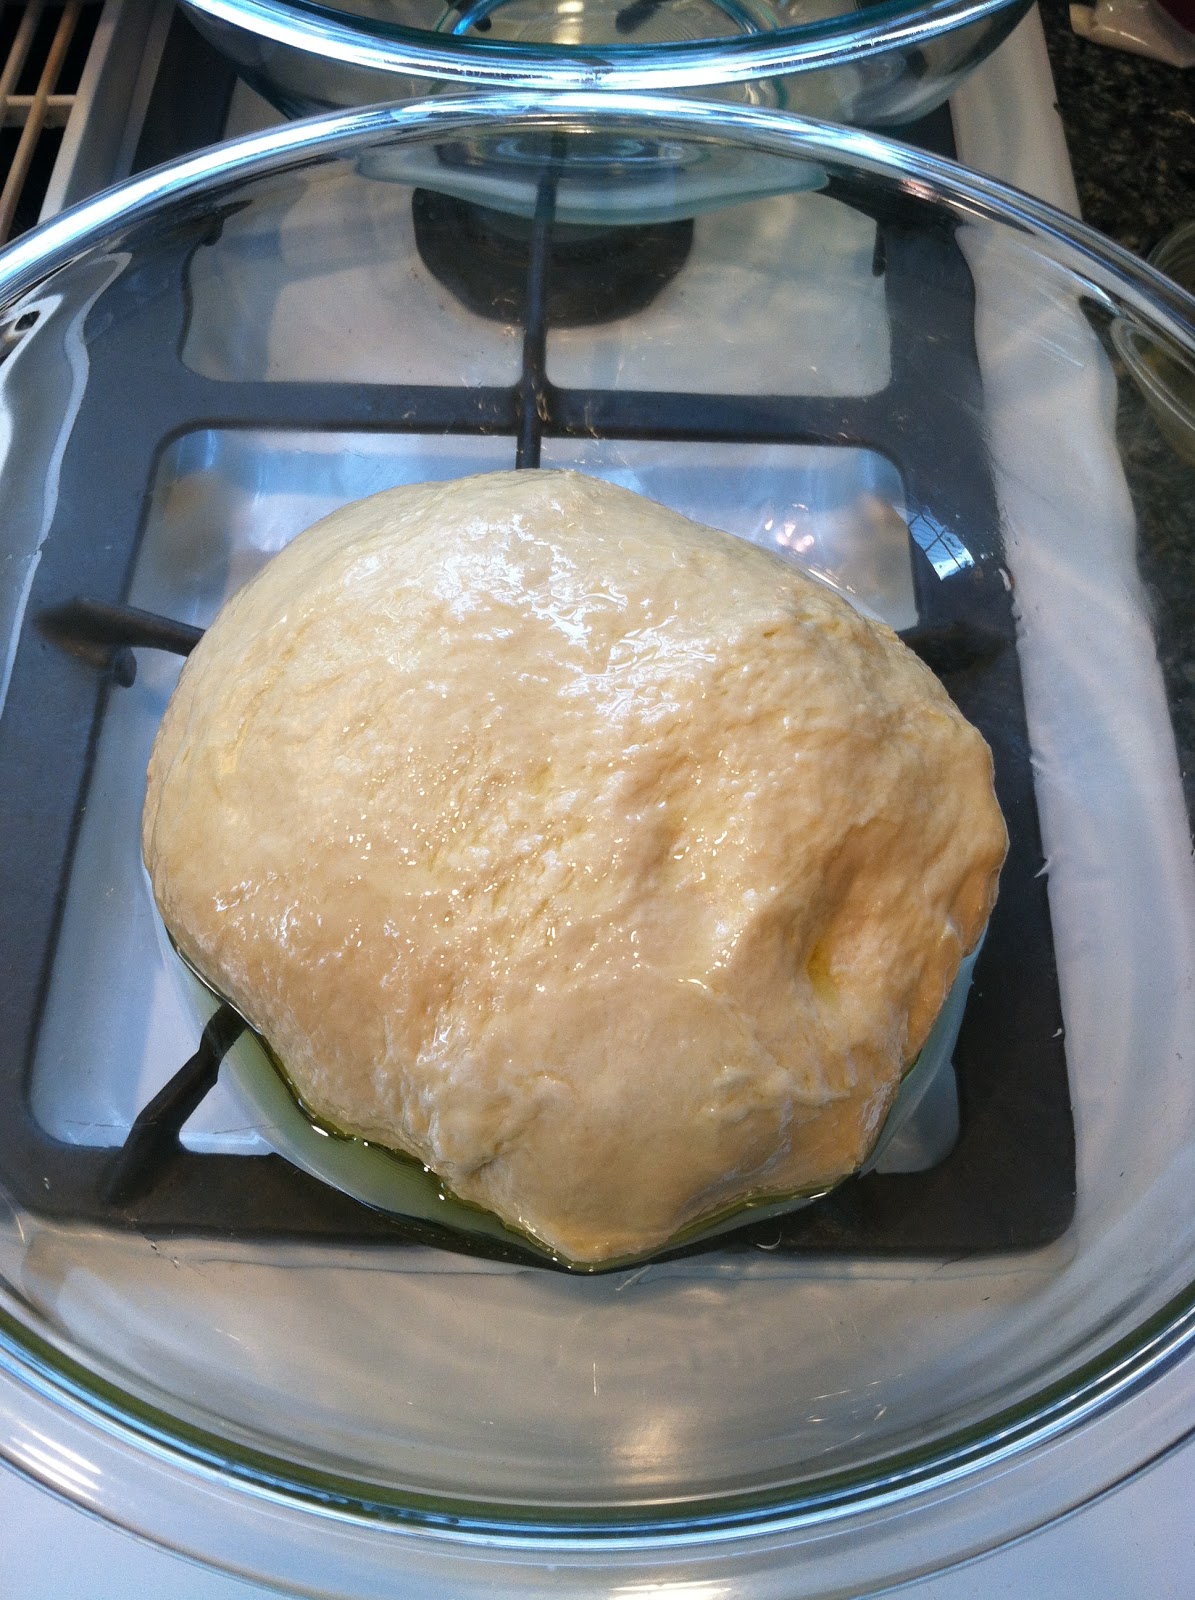
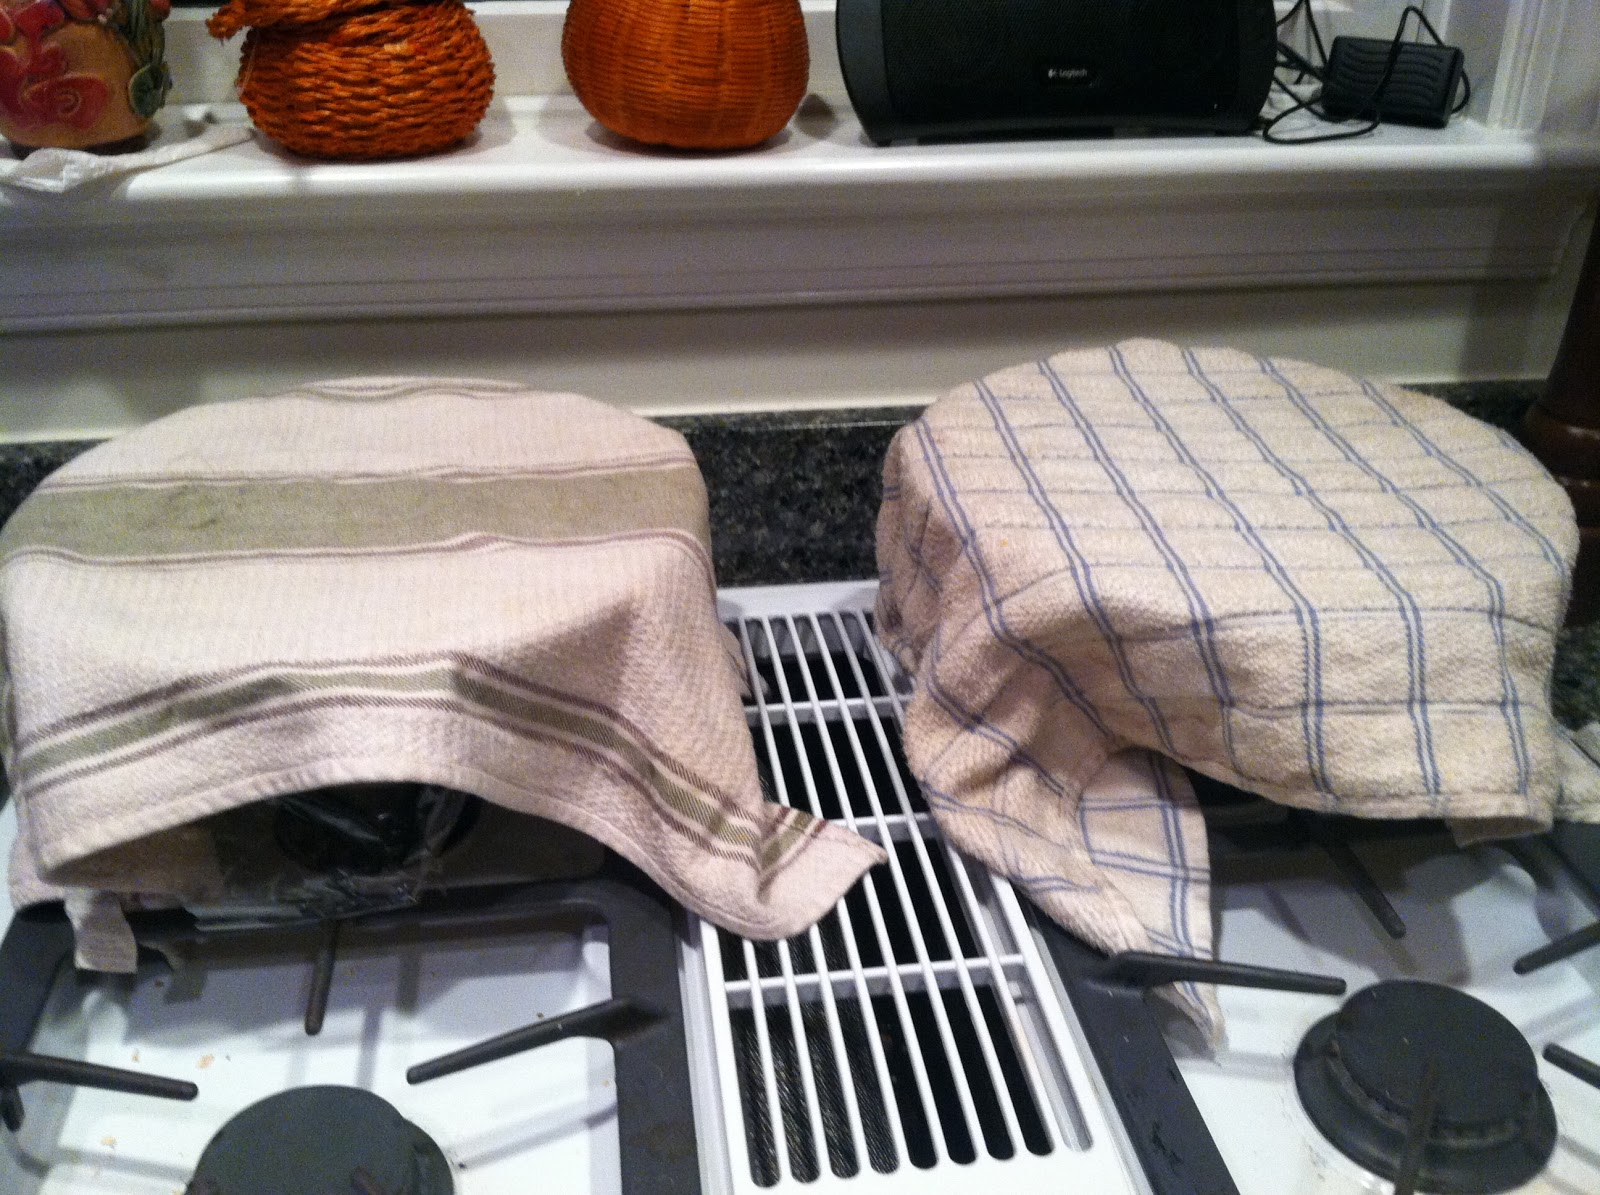
8.  Place in a large bowl with two tablespoons of olive oil and flip to coat the whole surface of the dough.  Cover with plastic wrap and a towel and put in a warm place to rise for an hour.


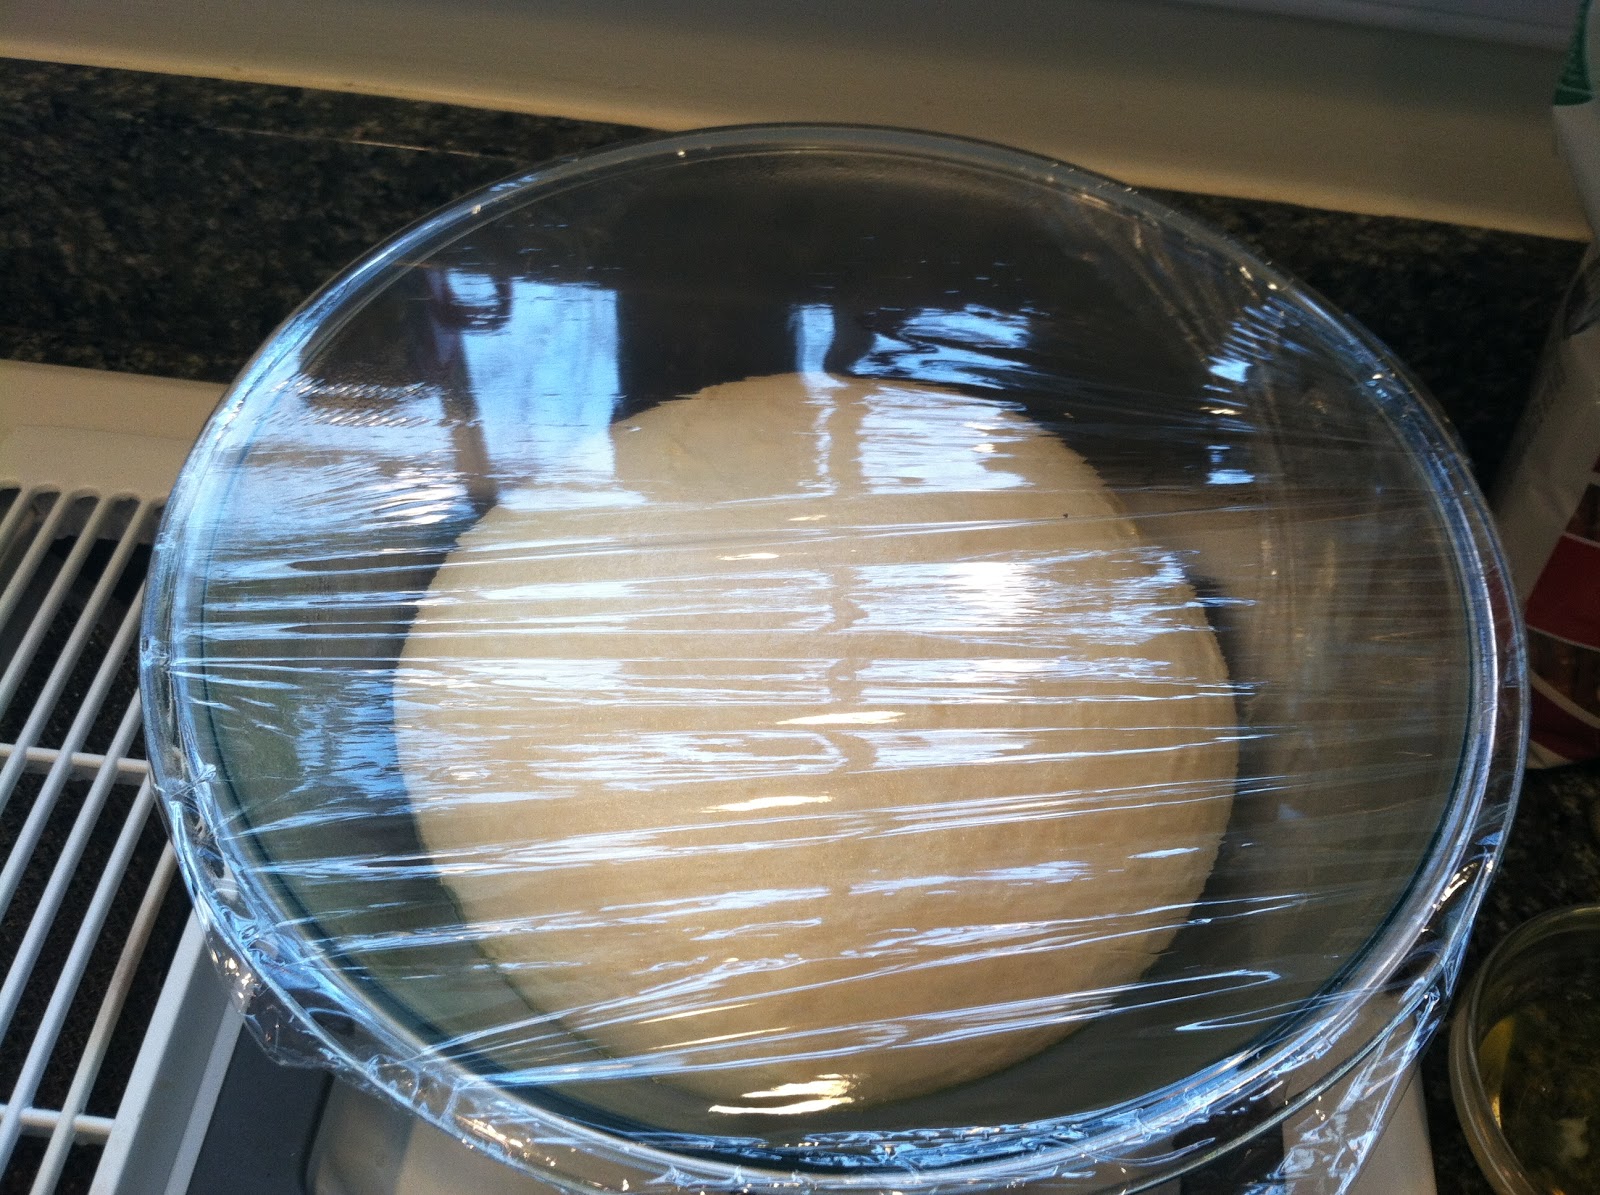
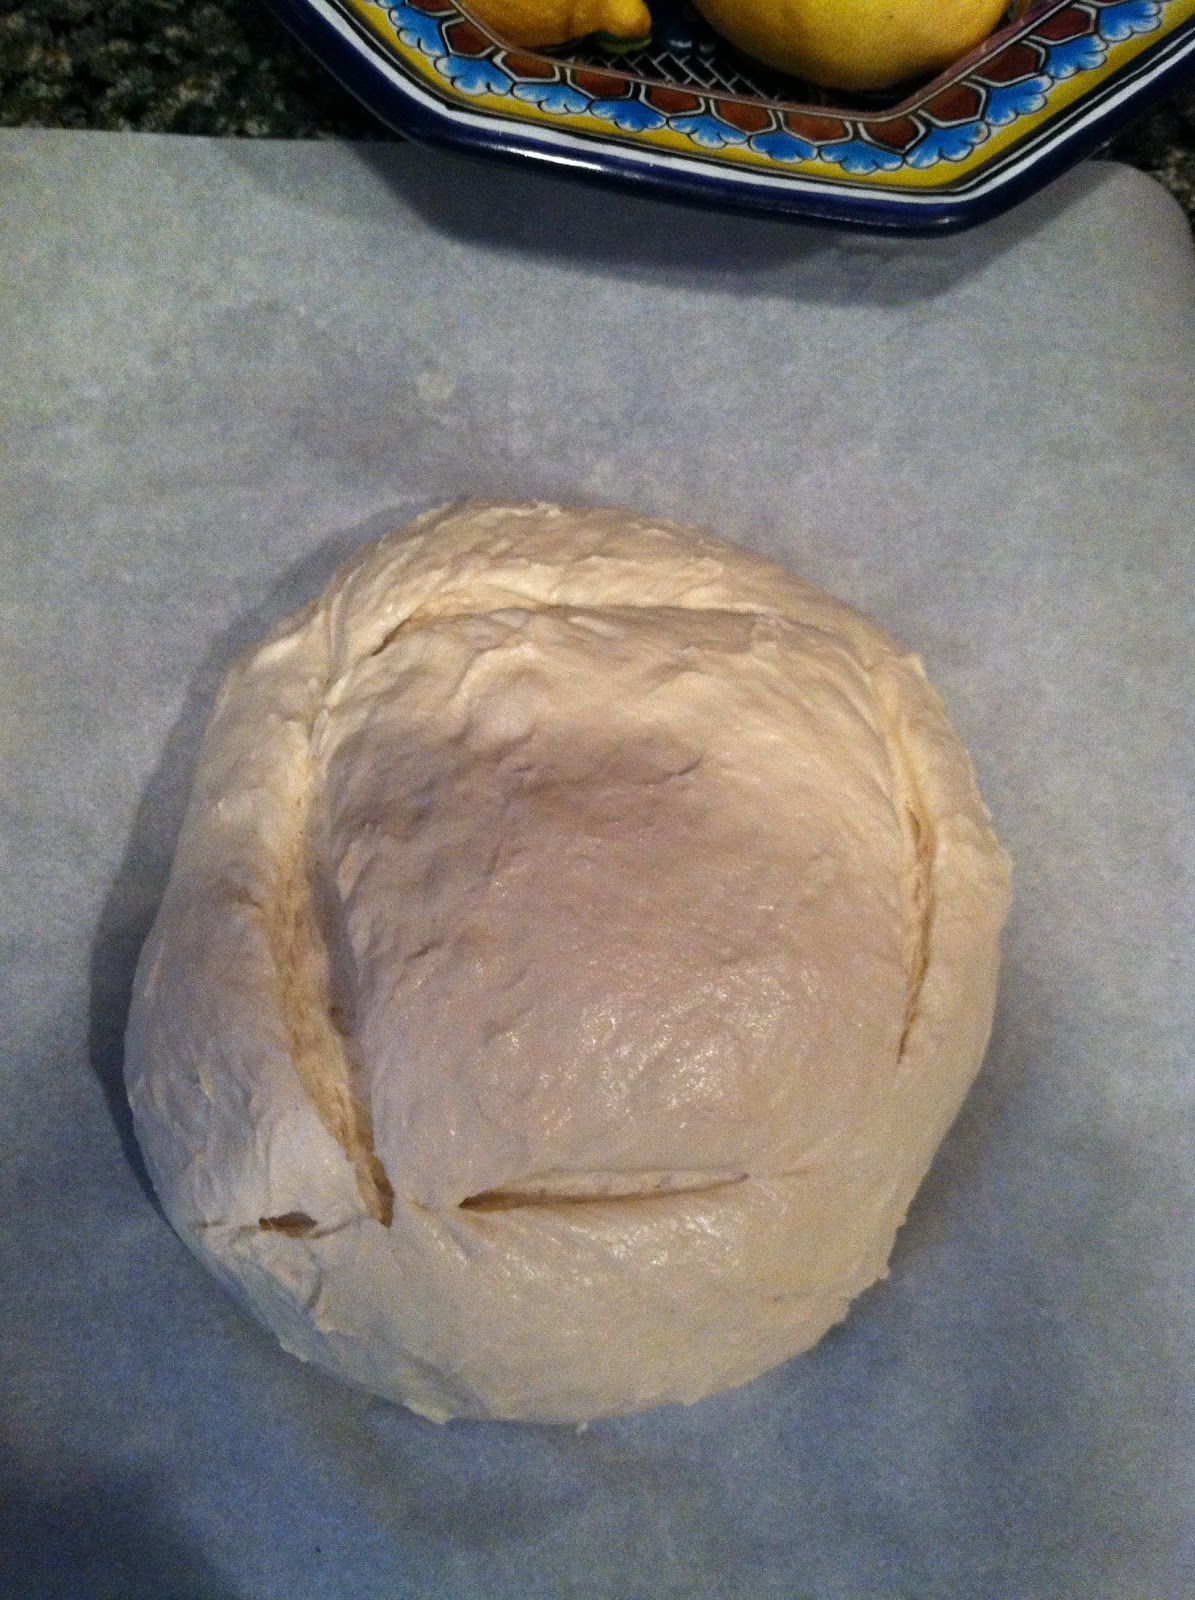
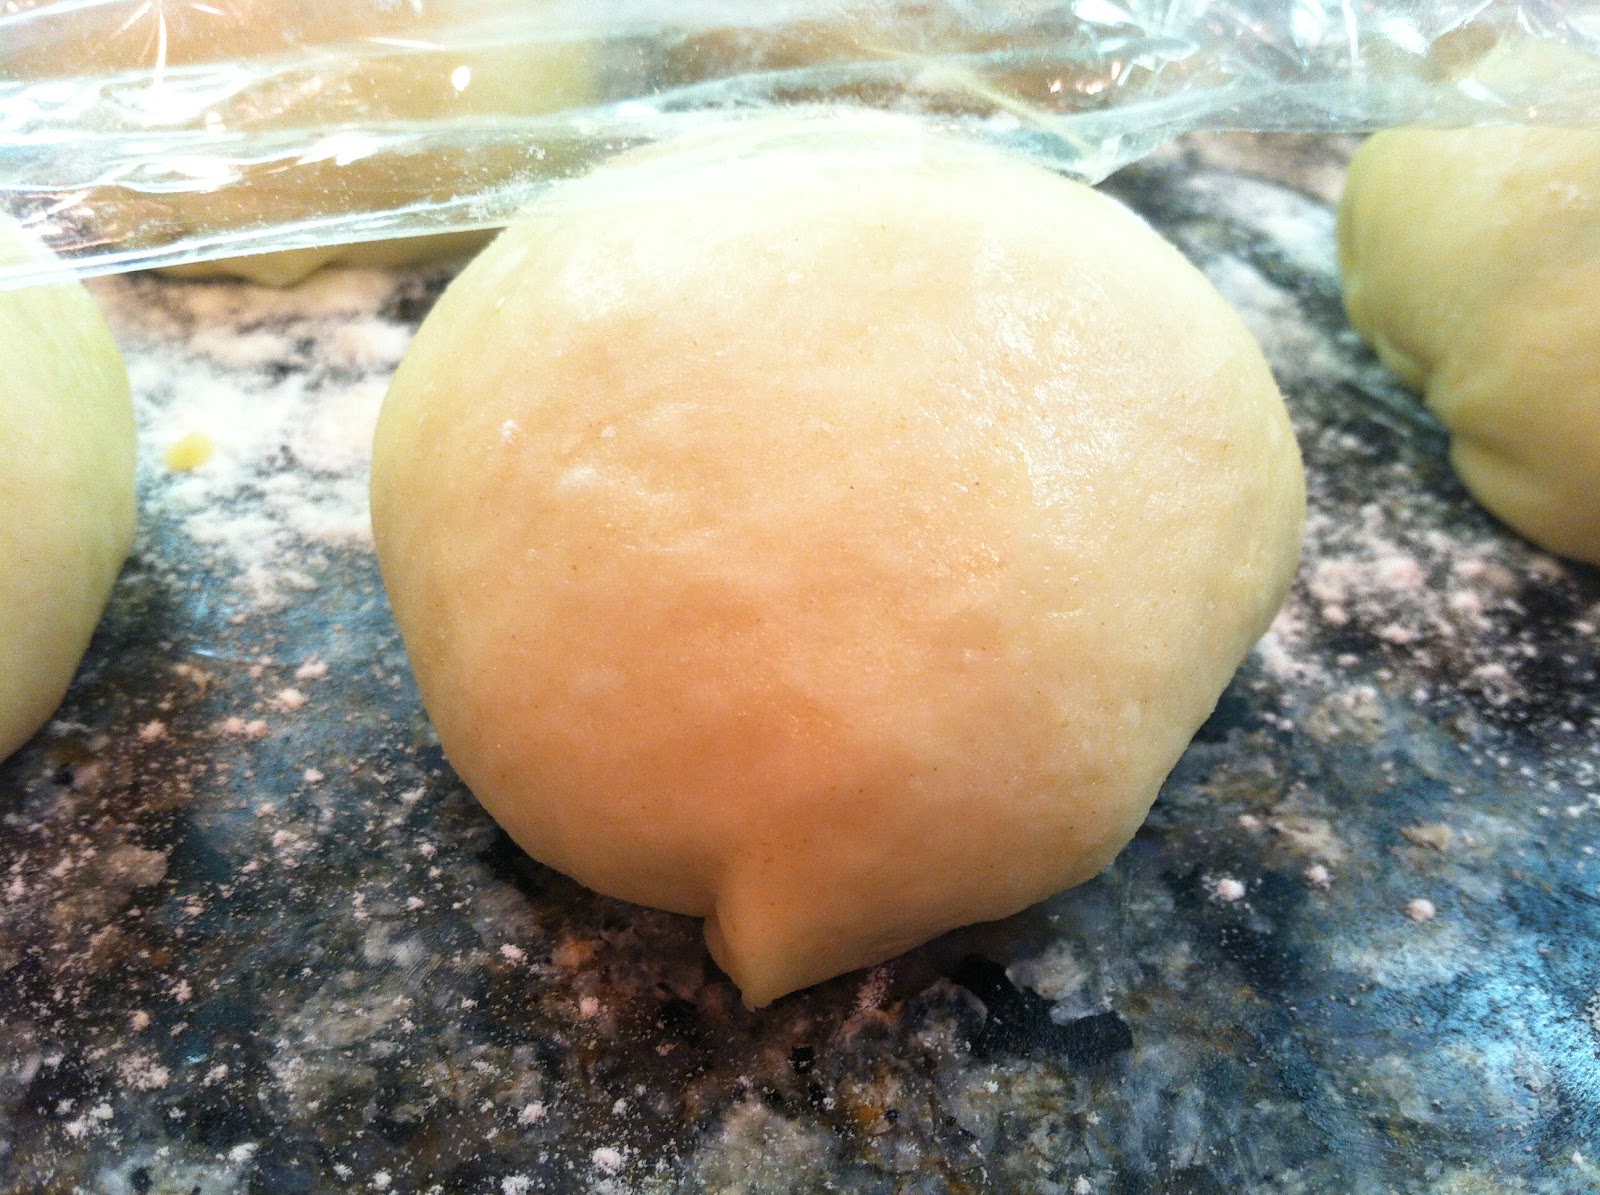
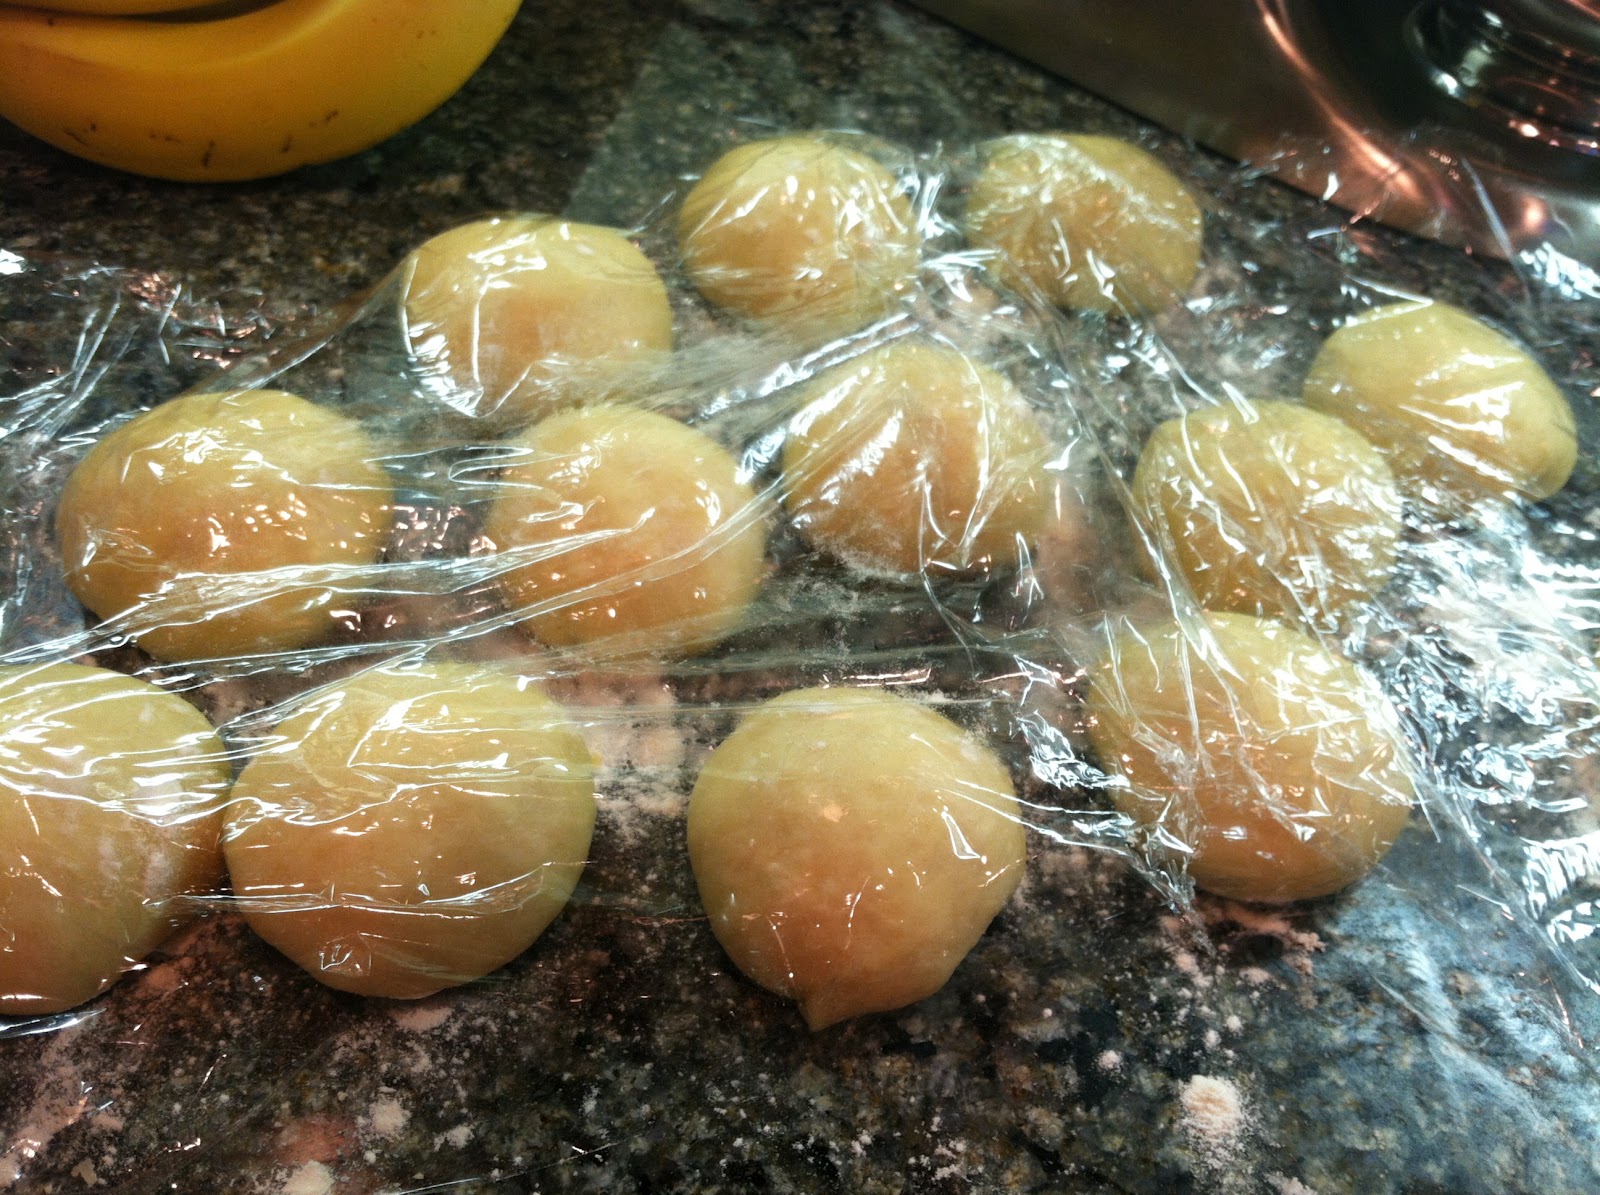
9.  When dough has doubled in size, weigh it and cut the loaf in half.  You don’t have to necessarily use a kitchen scale, but it insures the loaves bake evenly because they are exactly the same size.


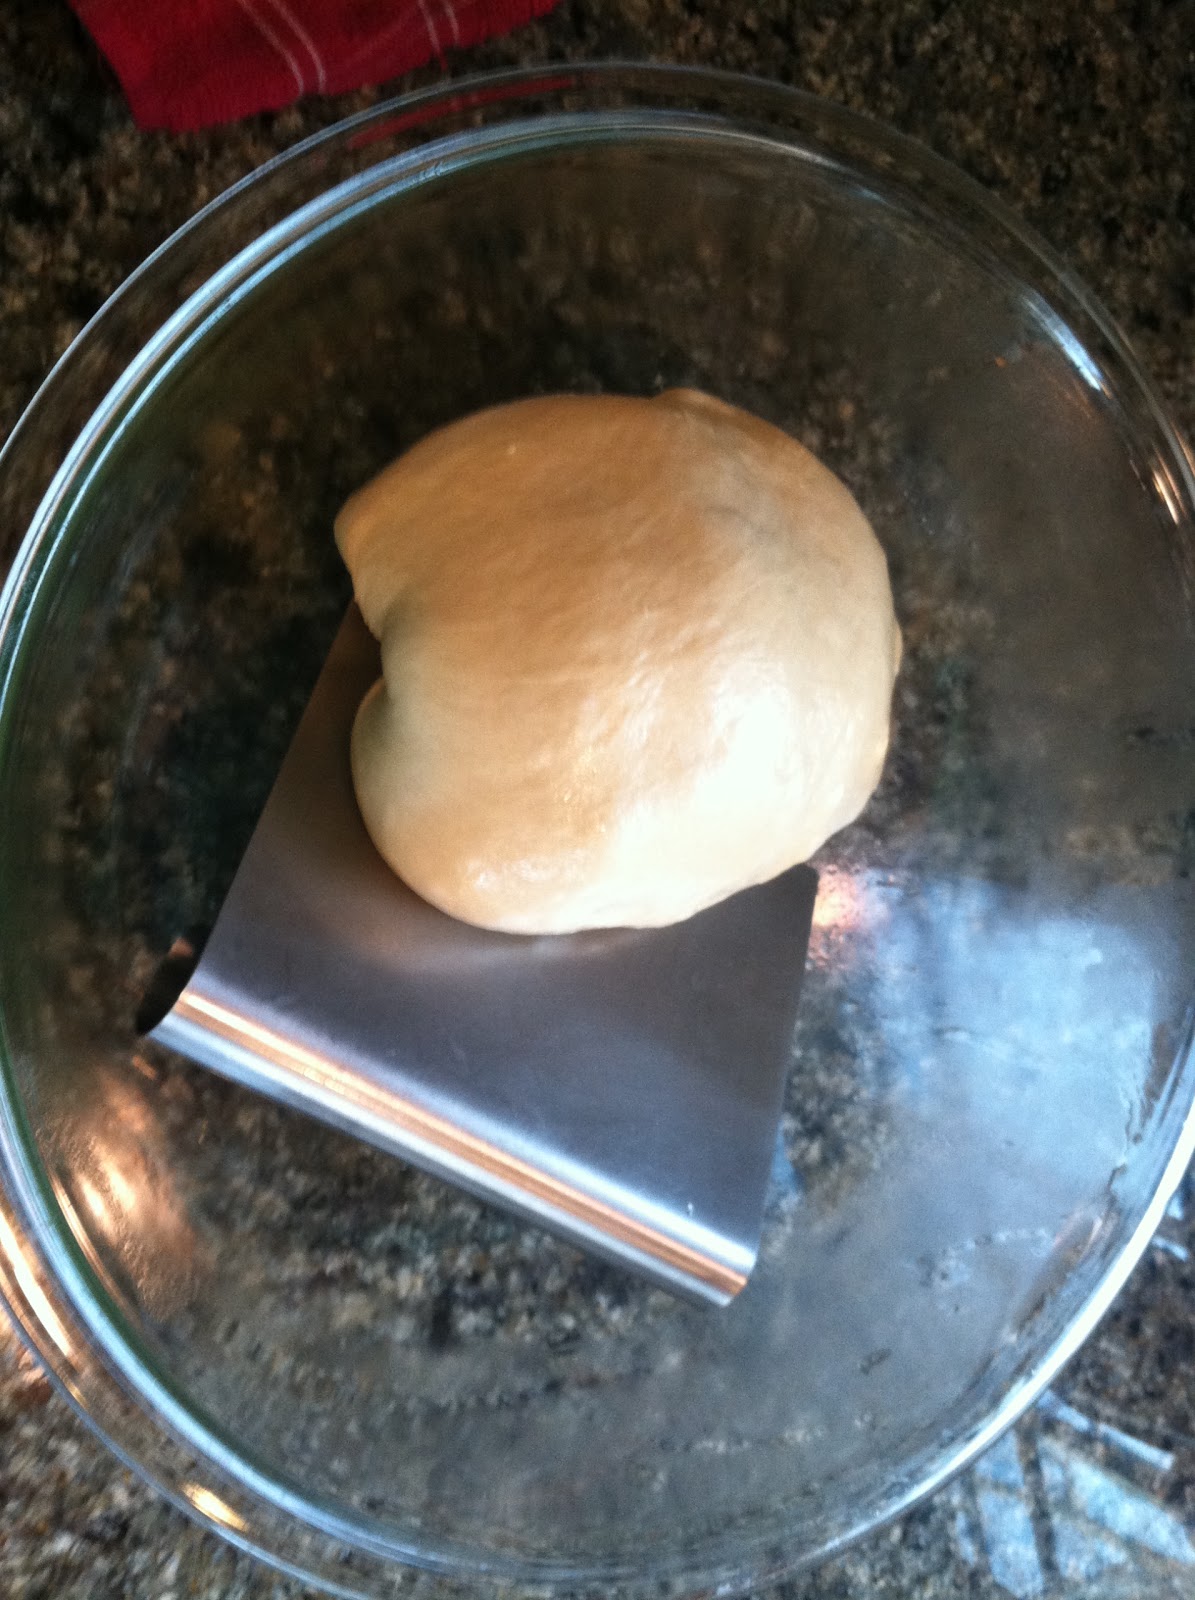
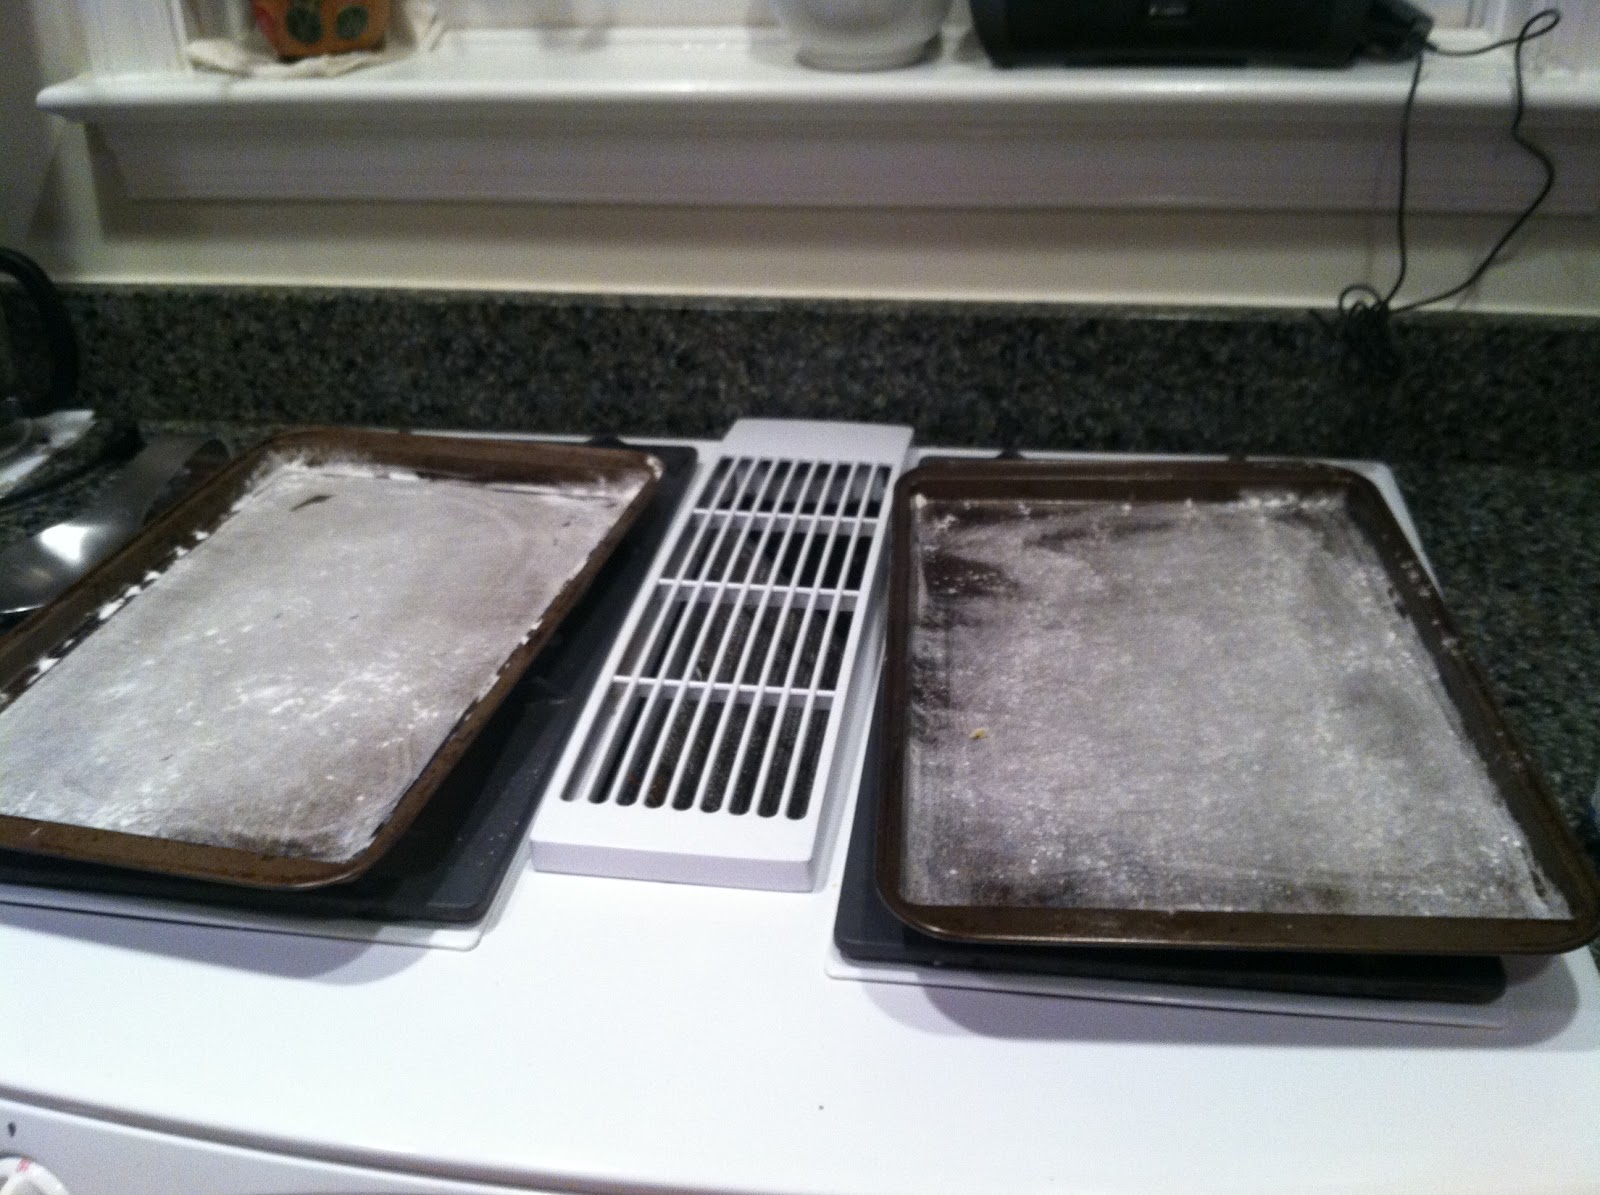
10. Let the dough rest for a few minutes while you butter two bread tins. 


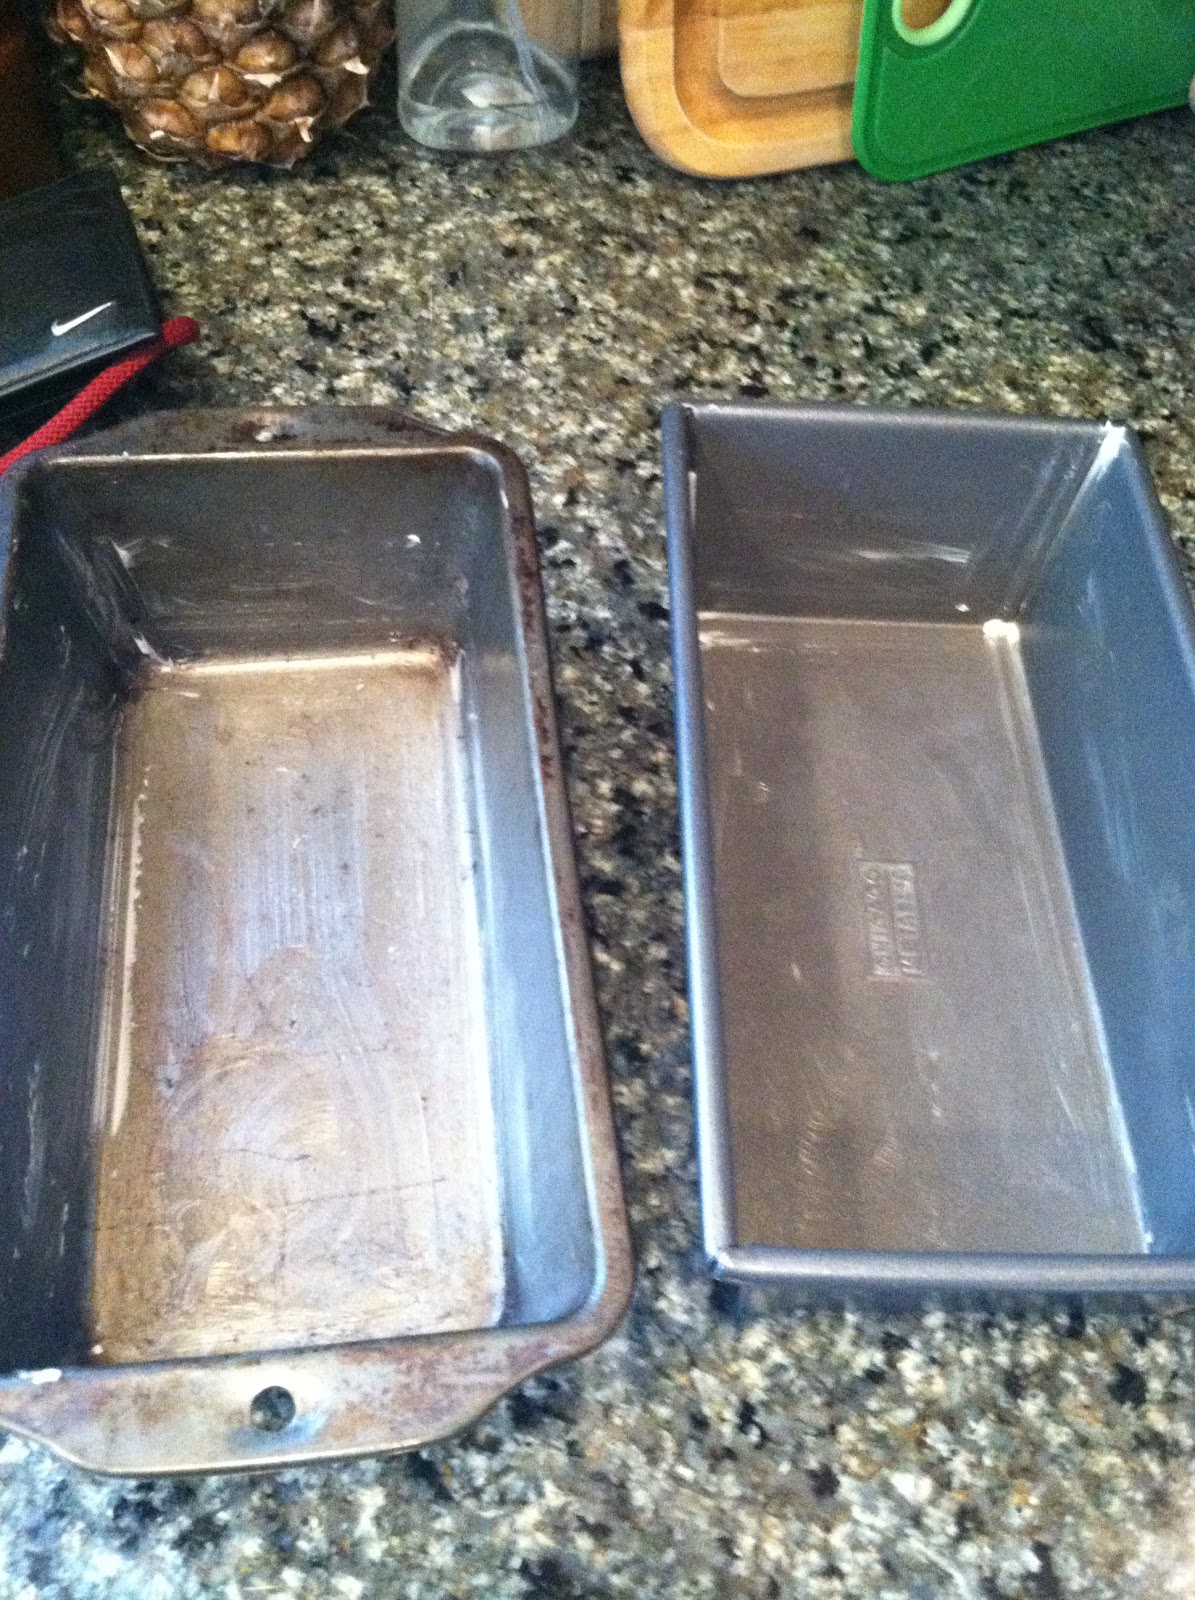
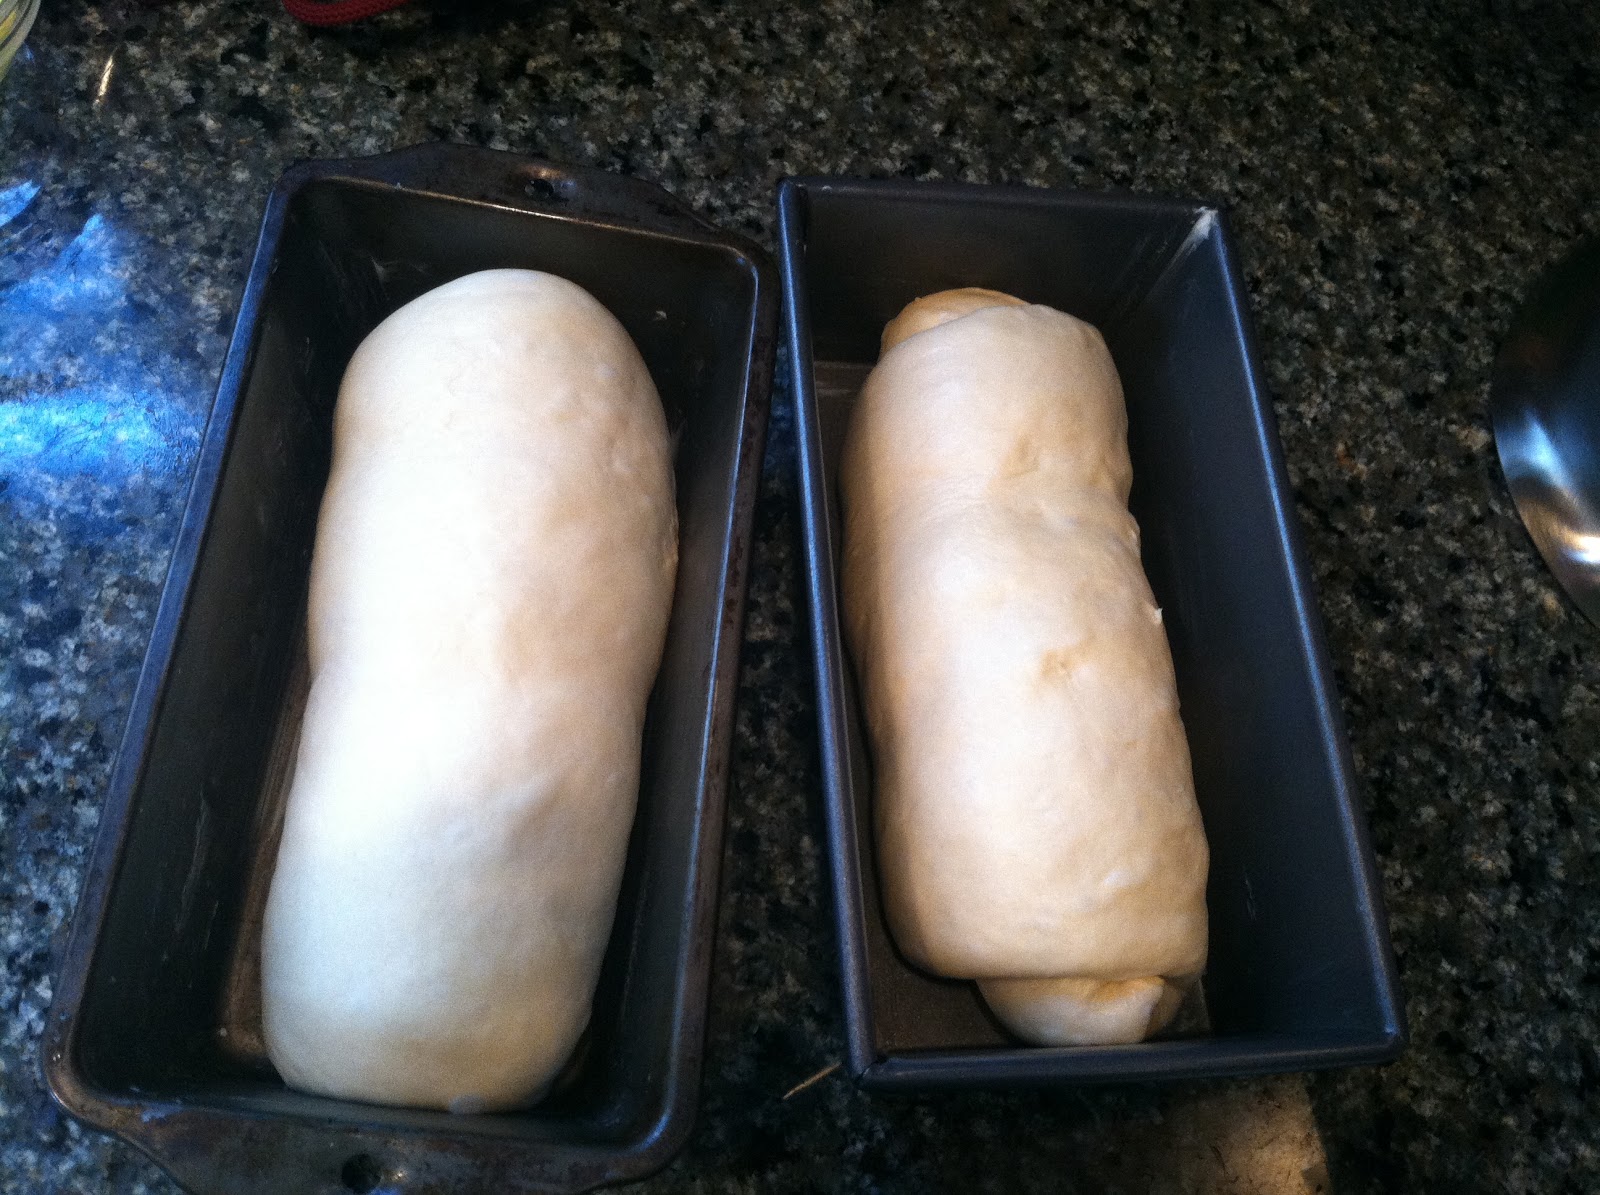
 11.  Roll up the two dough halves like jelly rolls, pinch the ends closed, and place in the pans seam side down.  Cover with plastic wrap and let rise another 45 minutes.

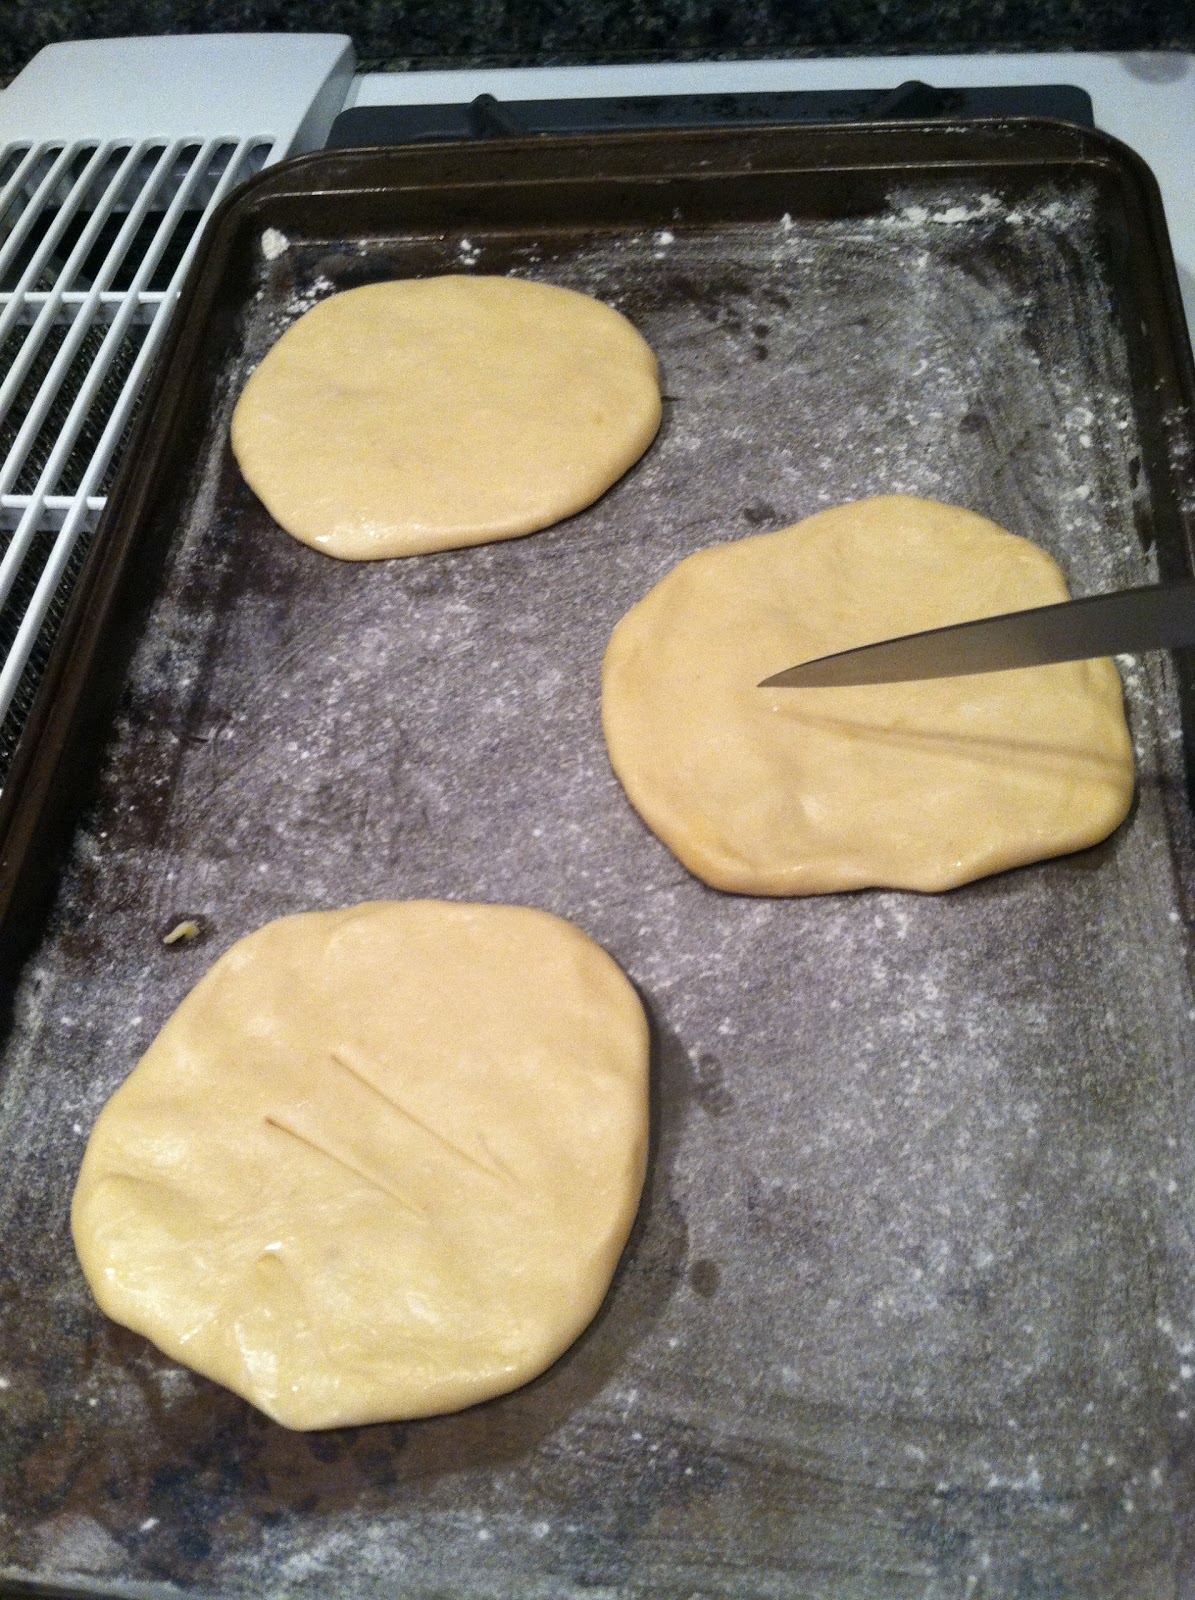
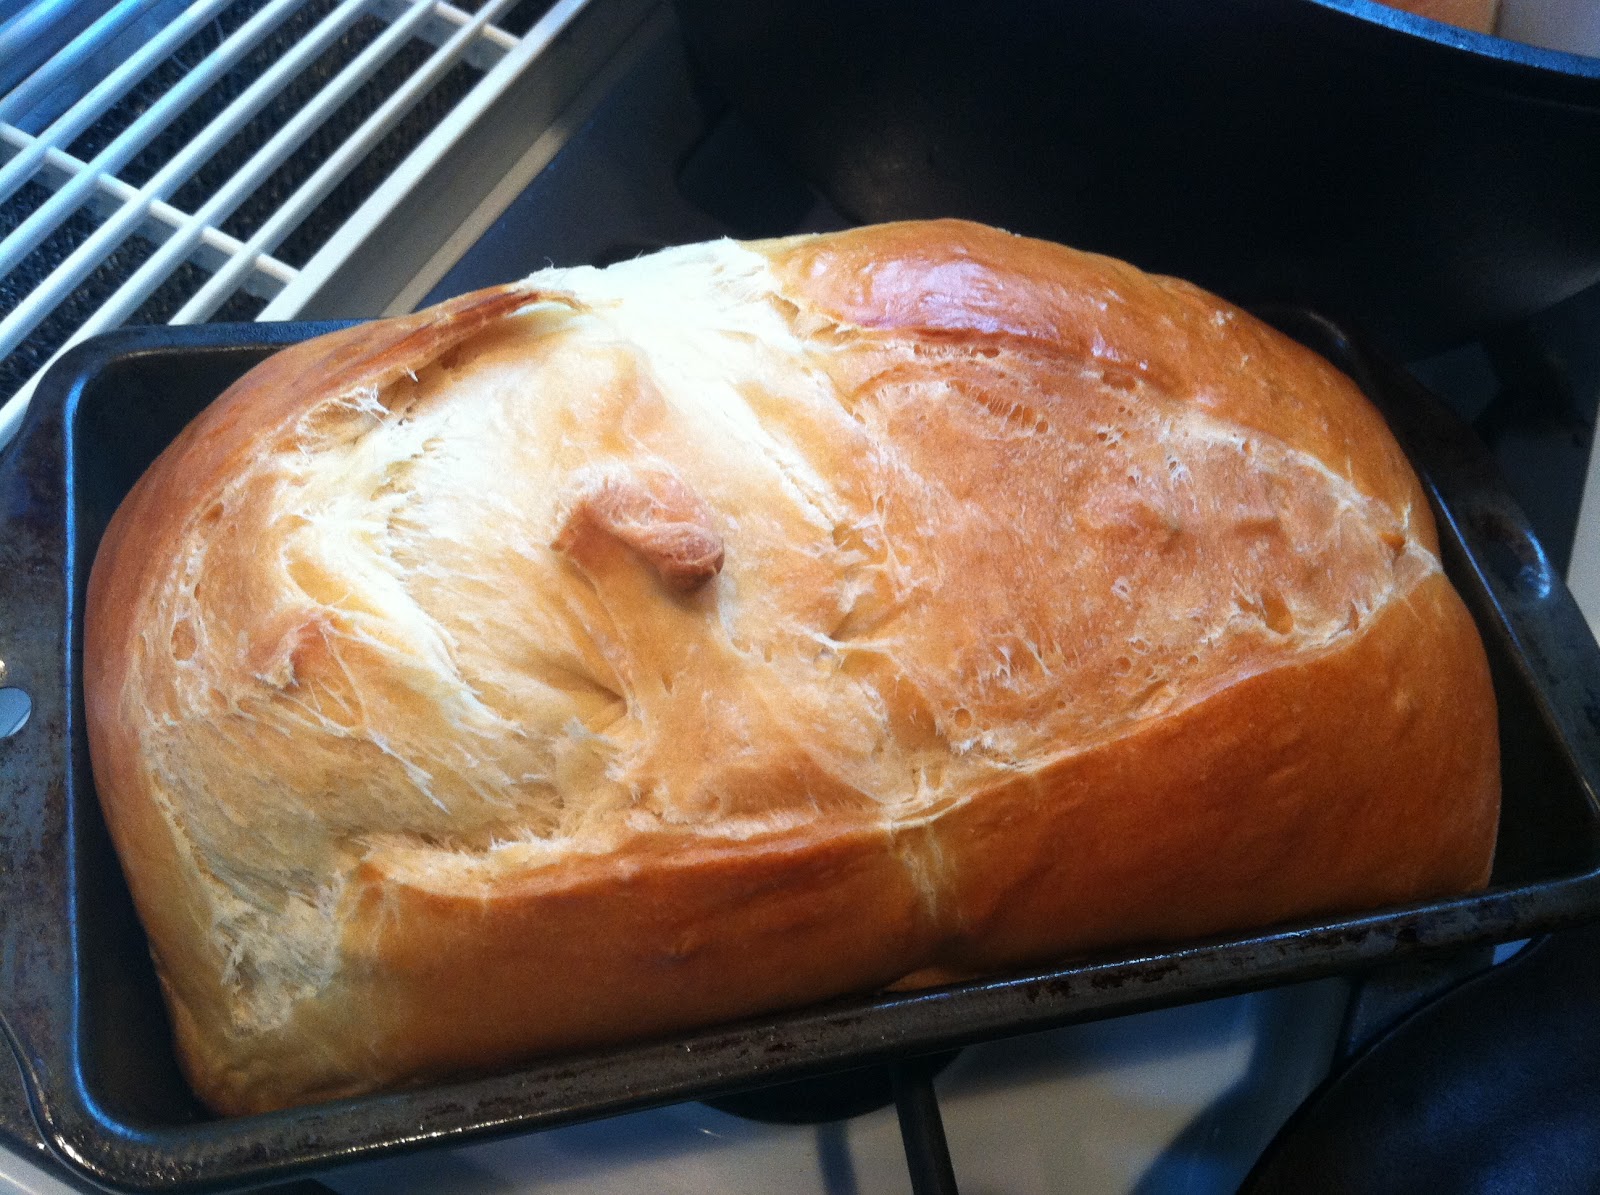
 12. At some point during the second rise, you will want to preheat the oven to 350 degrees F.  When the dough and the oven are ready, brush the egg white over the top of each loaf, then score it across the top with a sharp knife.  Place in the oven and bake for 40-45 minutes.

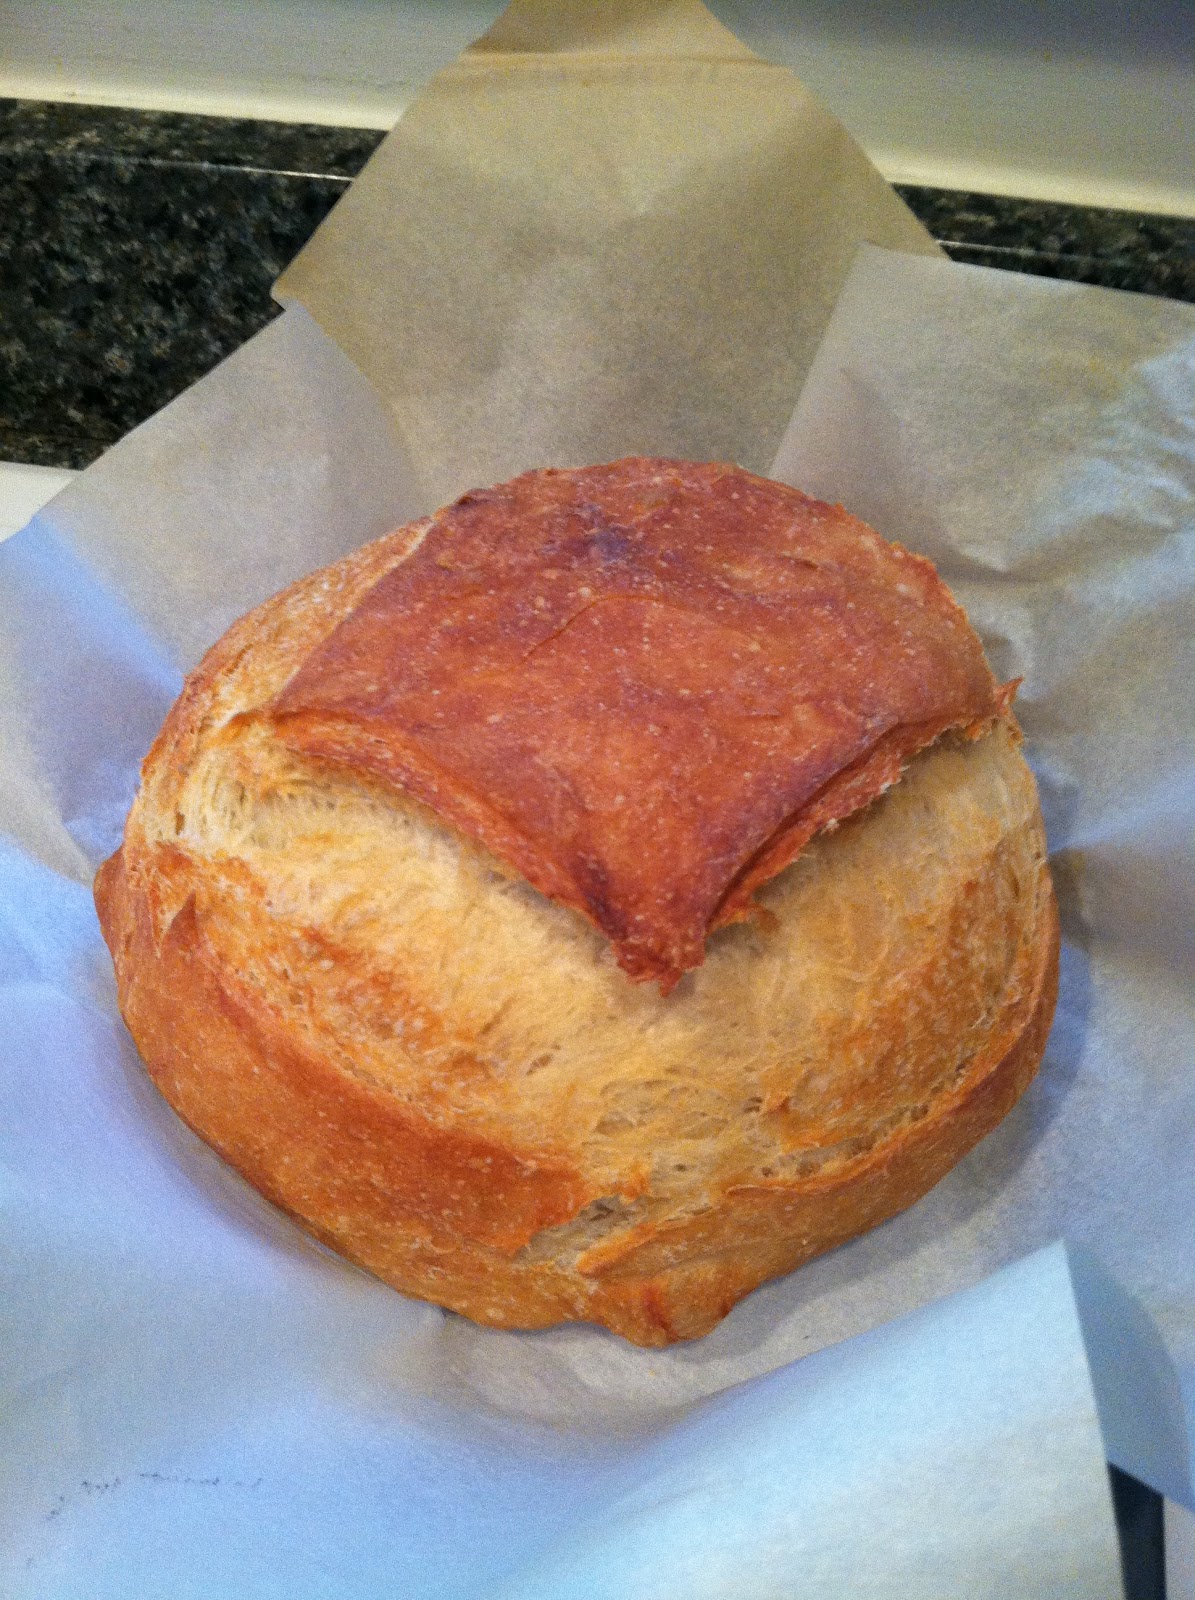
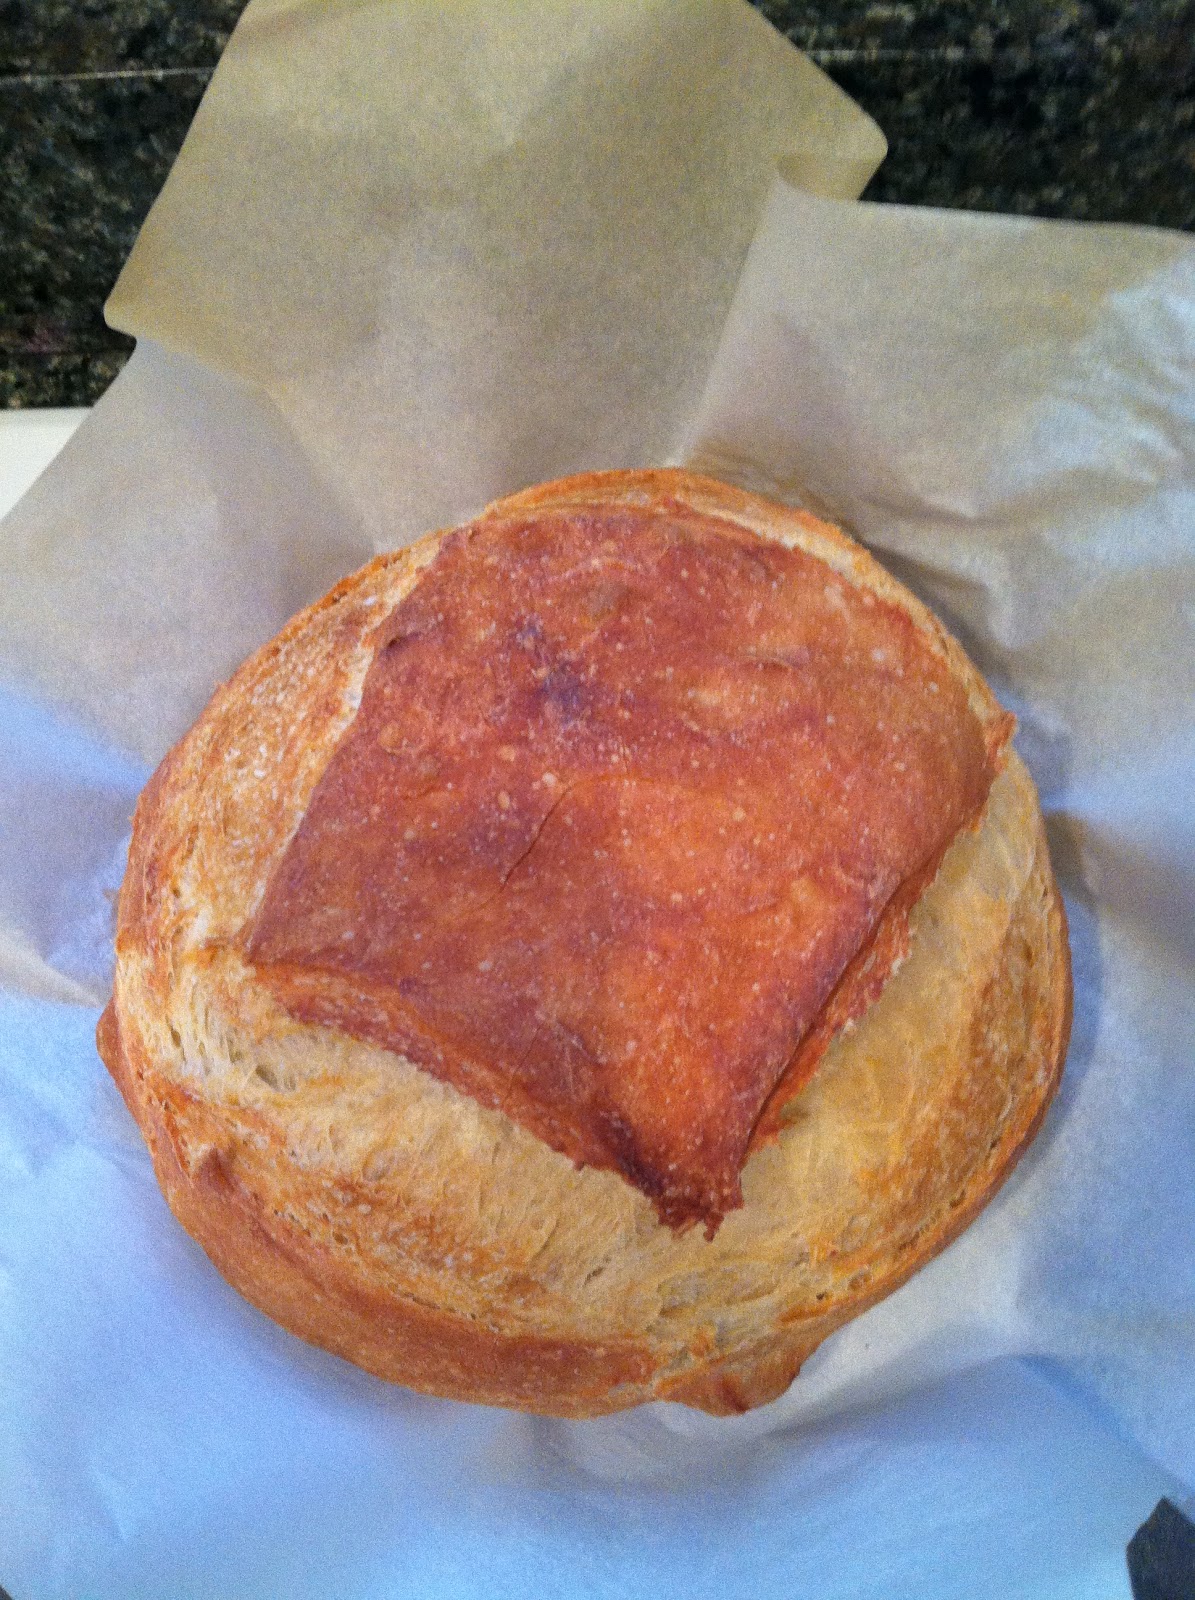
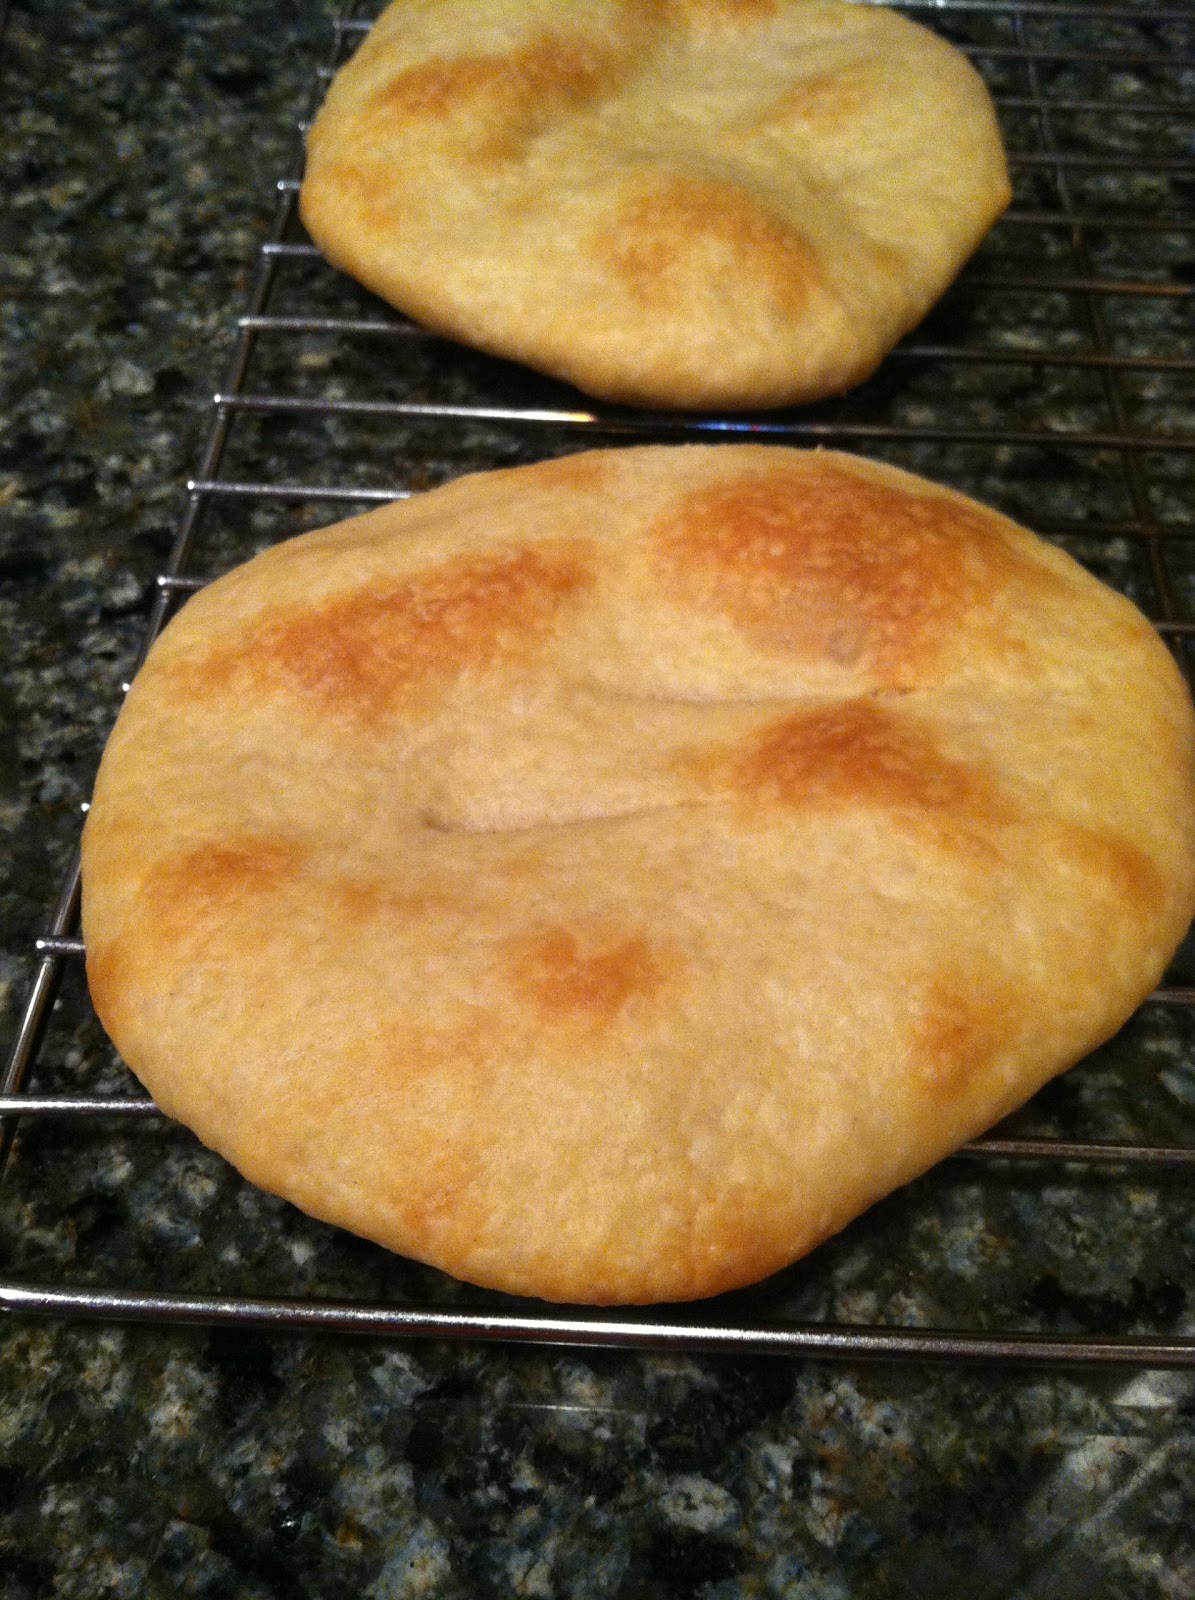
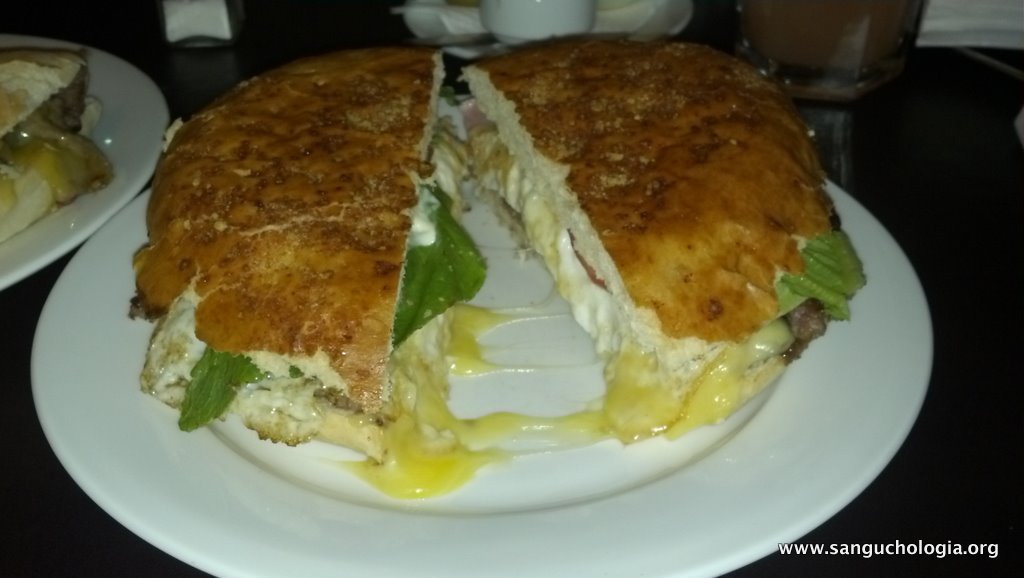
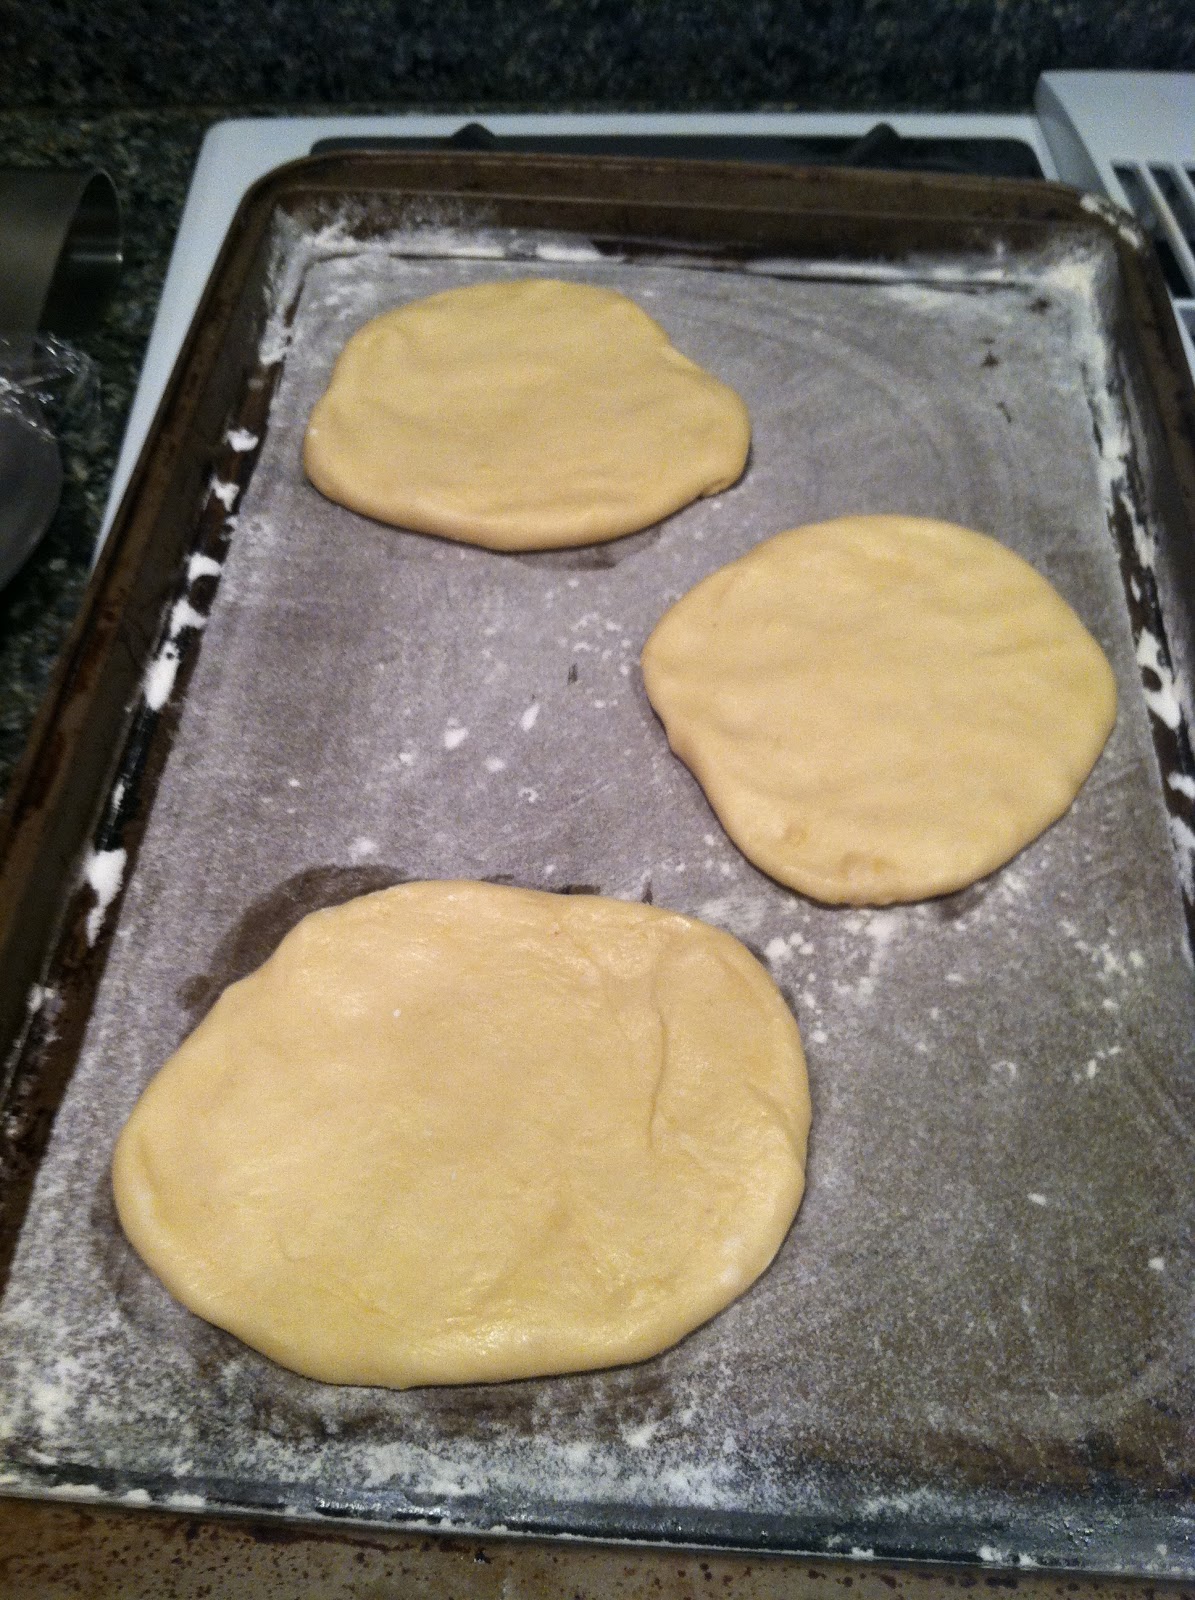
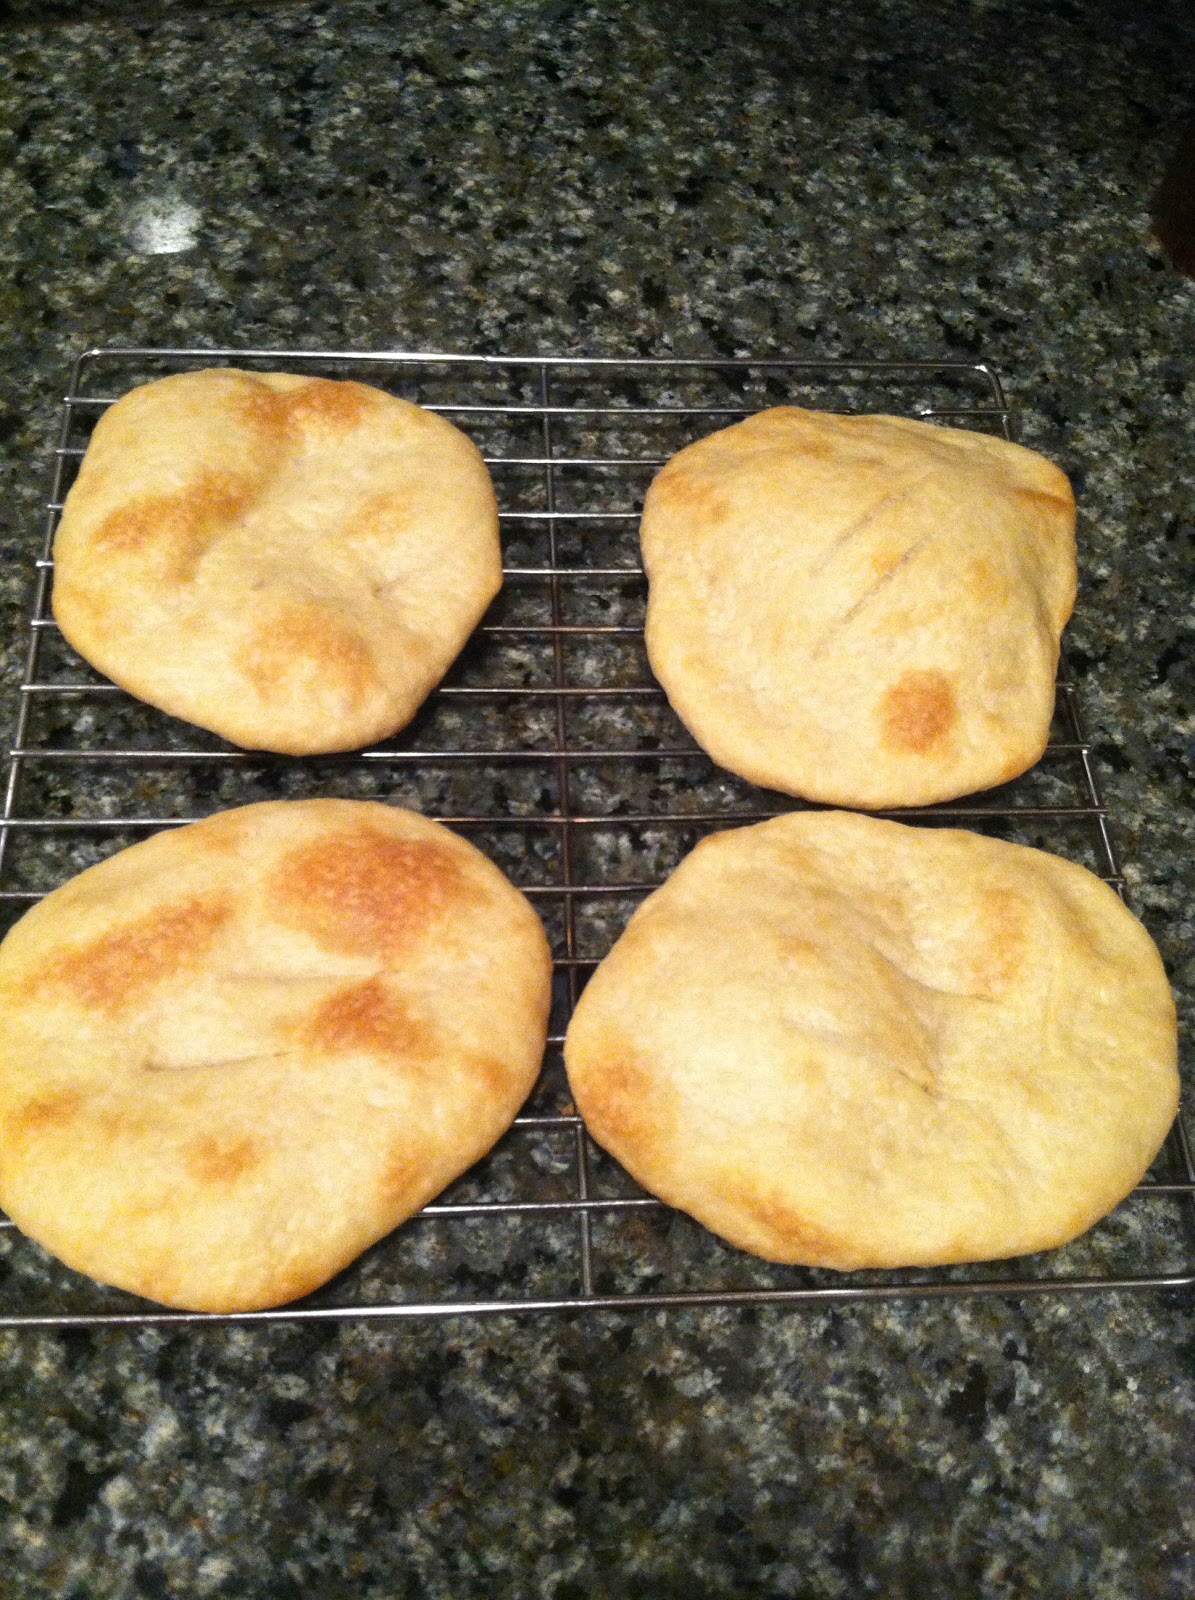
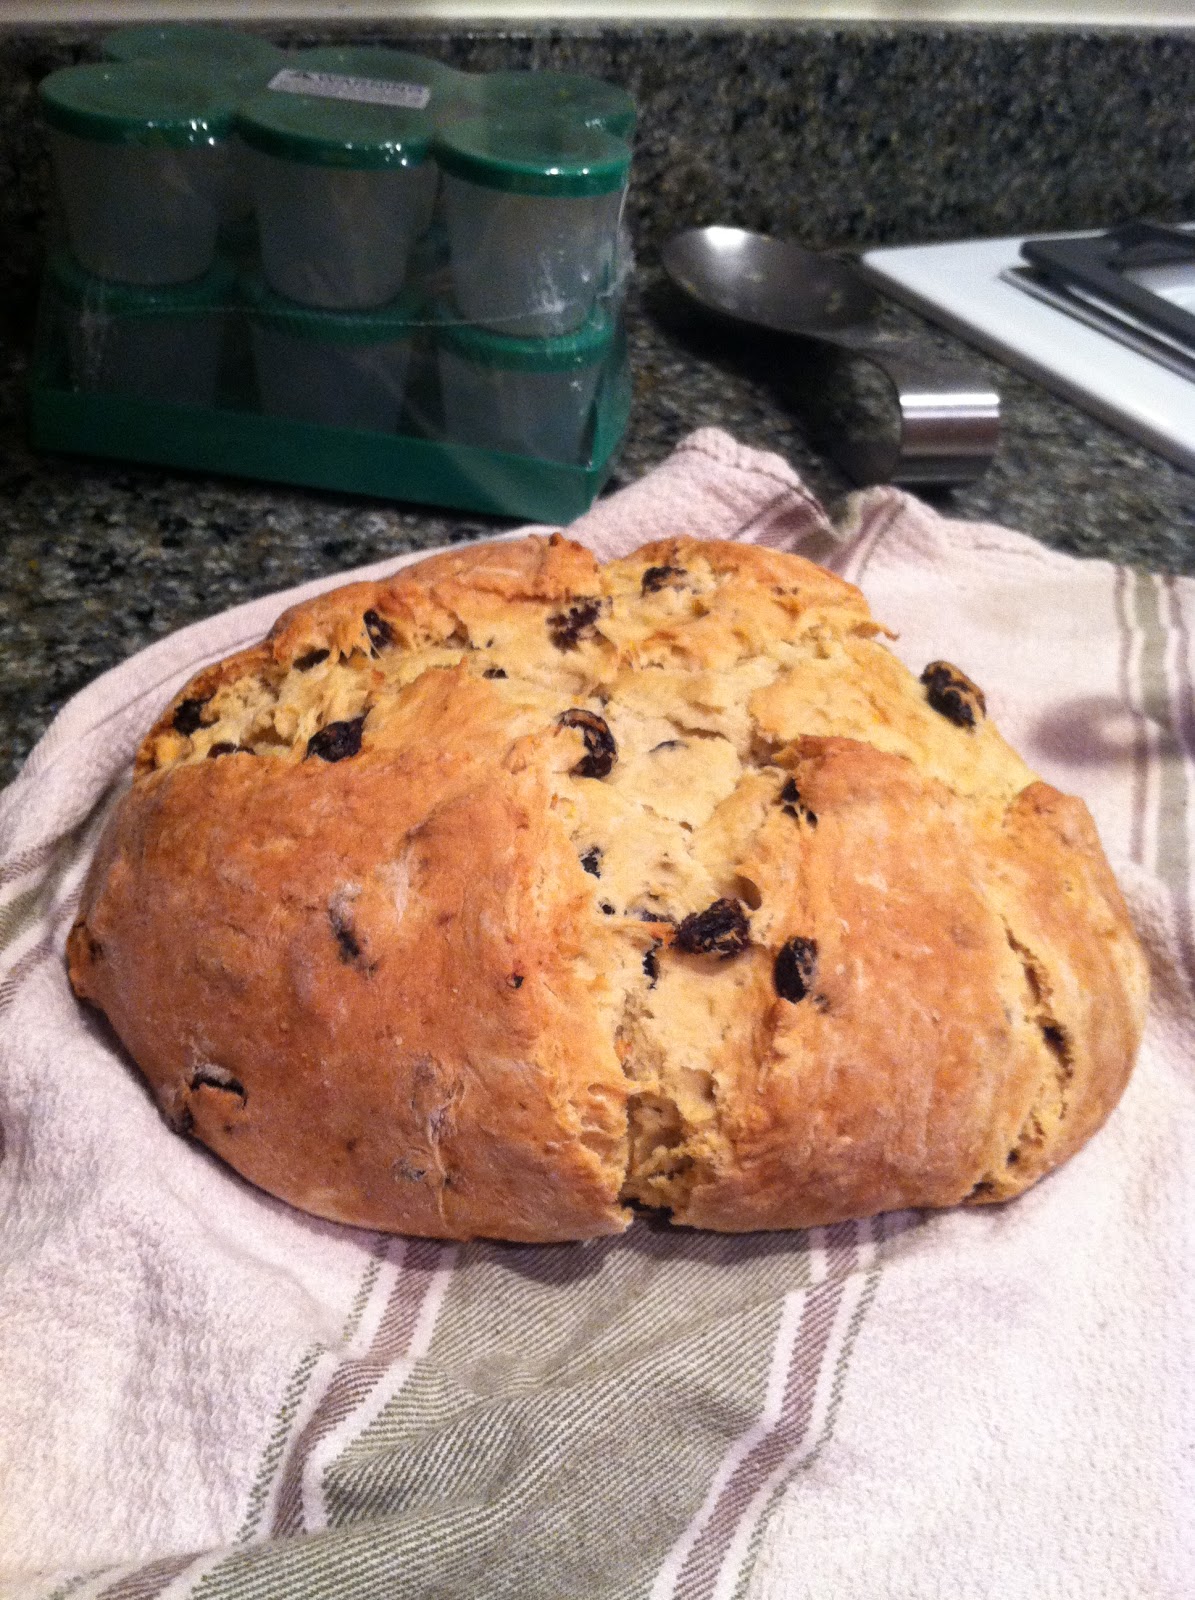
The circle loaves are for the pastor to hold up during the service, so I wanted them to be pretty.  The loaves baked in the bread pans will be either eaten by my family or the congregation.


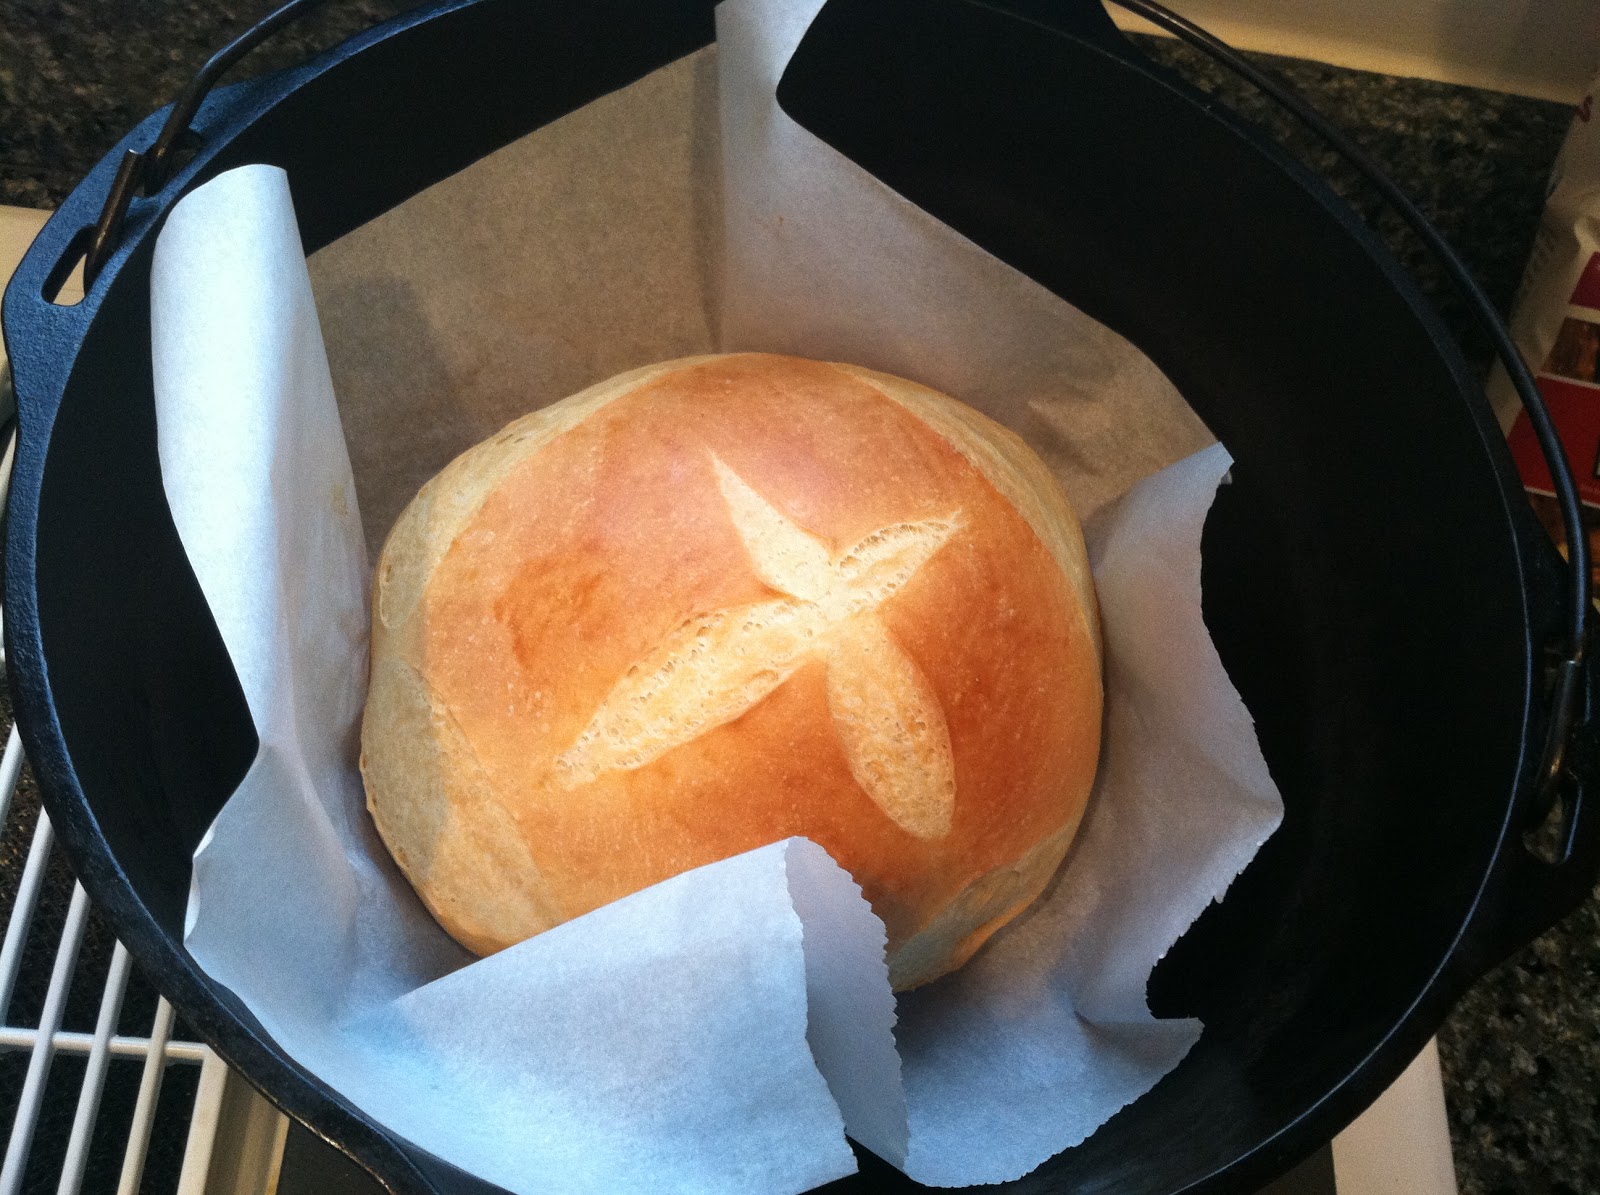
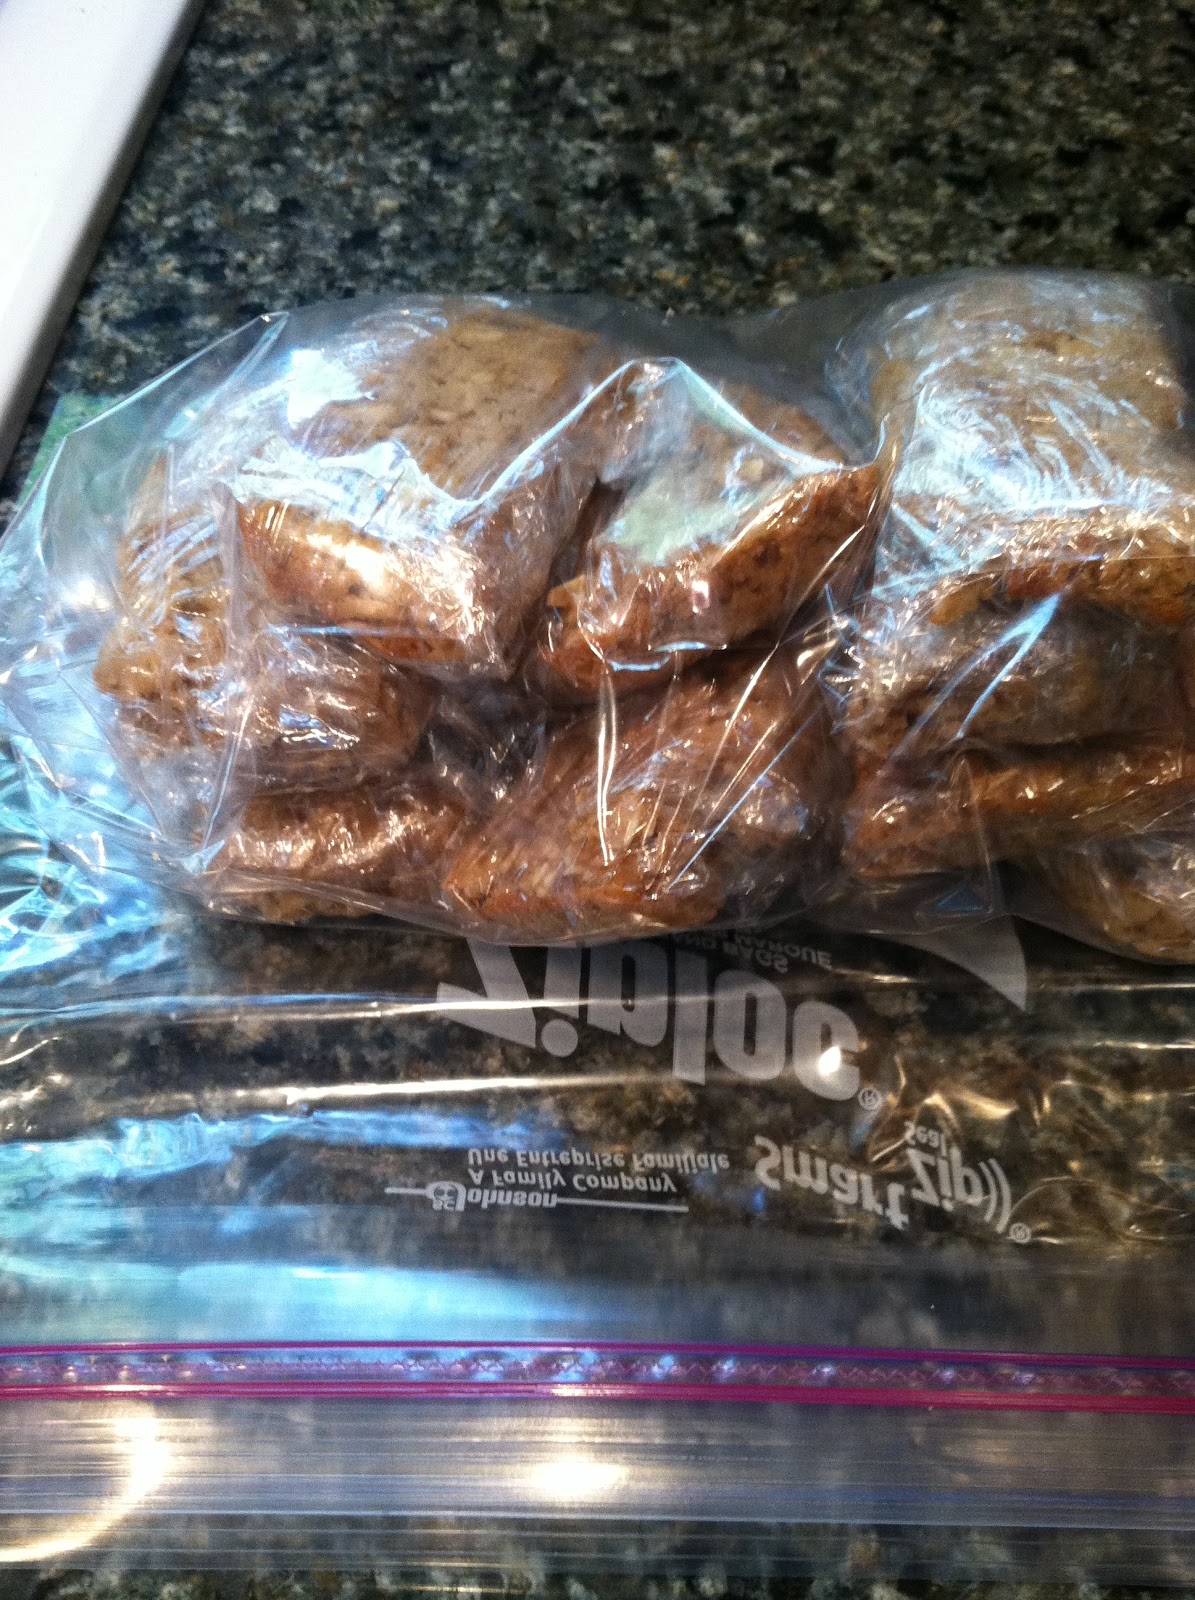
The scoring pattern looks especially pretty because the bread is baked at a low temperature.  It doesn’t explode open like a bread baked at, say, 450 degrees F.  This is going to look great on January 6.  Until then I will freeze it in a ziploc bag.

Thanks for looking and happy baking!

Baking with a purpose

 Most of the time, I bake bread for selfish reasons.  I bake for my family and friends primarily.

But not today.  I mean, ok, it is for friends, but it’s more than that.

I’m baking communion bread for my church, Commonwealth Baptist Church.

Now, don’t worry, this isn’t going to be a super religious post.  I’m not really that religious anyway.  If you want to skip the next few paragraphs, scroll down past the line to get to the recipe.

But it is about gifts, spiritual and otherwise.

Right now at my church, I give a financial offering, I pick up and drop off one of the teens in our Sunday School program, and I help teach Sunday School.  These are things I do for the church, but I don’t think of them as things I am naturally called to do.

The bible talks about gifts provided by the Holy Spirit.  In our church we believe that these spiritual gifts translate into natural abilities or interests, and that they can help guide church members to give back to the church in their own way.

I am not gifted financially (ha!).  I definitely don’t feel like I have the gift of teaching.  I feel super awkward around kids, I don’t know all the tricks to make kids listen to me, and often my lessons and activities fall flat.

And I’m not the best baker ever.  But I love it.  And this love has inspired me to keep baking through all the failures, to the point where I may not have “natural” ability, but I do have ability.  Baking calms me down, it makes me feel accomplished, and it’s something that I can share with others.  When I couldn’t bake, I really missed it. 

I inquired two years ago about baking bread for communion but was told that there was another church member who included among her many contributions providing communion bread and had done so for many years.  A few weeks ago, I got word that this member was getting tired of doing it, and had delegated to the other leaders in the church to alternate bringing bread each month.  I saw my chance and asked the pastors if I could take on this responsibility.

So for my first attempt, I decided to make a basic sourdough.

———————————————————————

This recipe is loosely based on the 1-2-3 sourdough method, although I didn’t want to make it super sour.  I used commercial yeast and sourdough starter.

SOURDOUGH FOR COMMUNION BREAD

You will need:

375g of all-purpose and bread flour (about half and half of each)
250g of water, cold or lukewarm
1 tablespoon sourdough starter (optional)
1 teaspoon of commercial yeast
7g of salt

You will also need:
1 large bowl
a kitchen scale
a dutch oven with a lid
parchment paper

1. Mix everything together in a large bowl just until the flour and water are completely incorporated.  Let it sit for about 10 minutes, then gently form into a ball. 

2. Cover with plastic wrap and a towel and let sit overnight.

3. The next morning, you will find this:

4. Re-form into a ball by tucking the loose dough underneath so the top becomes a smooth surface.  You will notice that gluten has formed overnight, even though you didn’t do any kneading whatsoever.

5. Cut one large square of parchment paper and set your loaf on top.  Cover with plastic wrap and a towel and let rise a second time, for about 45 minutes to an hour.

6. Preheat your oven to 450 F and put your dutch oven in the oven to warm up.

7. When the oven is ready, remove the plastic wrap from the dough and, using a sharp knife, score the top of the loaf.  Place the loaf and the parchment paper in the dutch oven, replace the lid, and bake in the oven for 25 minutes.

8.  After 25 minutes, remove the lid and bump the temperature down to 400.  Bake another 15 minutes or so, until the bread is hard and unyielding when you tap it with your fingernail.  Remove the bread from the dutch oven using the parchment paper and let it cool.

 9. Slice into tiny pieces and stick in a plastic zip-top bag.  Deliver to church on Sunday morning.

I will let you know how this goes!  I may try different breads like challah or honey wheat to mix it up.

Thanks for reading!

Banana Bread with Fresh Cherries

The farmers market in Del Ray has been wonderful for the past few weeks.  Tons of berries, gorgeous tomatoes, and beans!  I haven’t been able to resist buying a few pepper plants, and gerber daisies to put in the garden as well. 

Cucumbers… from a long ago garden!

Little Bread Toddler helps me by picking the heads off the flowers and pulling up everything I’ve just planted.  But that’s just the reality of life with a toddler.  That said, I can’t help but melt when he runs over to the sugar snap pea plants and excitedly asks “peas? peas?” until I pick one off and give it to him.

Anyway, last Saturday I bought a ton of fresh cherries.  I had been thinking about what to do with some past-their-prime bananas, and I had the idea of making banana bread, and throwing in some cherries just to spruce it up a little. 

Did you know you can throw bananas in the freezer and they will keep? It’s true.

I got this recipe from this website: http://www.ahastylife.com/2011/03/banana-bread-yes-it-is-low-calorie.html. 

However, I made a few changes, one of which was the addition of cherries.  I also used brown sugar instead of regular white sugar, and threw in a handful of rolled oats.

You will need:

1/4 cup sugar (white or brown)
2 Tbsp butter, melted
1 large egg, beaten
1/4 cup unsweetened applesauce (a generous 1/4 cup)
1 cup ripe bananas, mashed (3 small)
3/4 cup all-purpose flour
1/2 cup whole wheat flour
1/2 tsp baking soda
1/4 tsp salt
1/2 cup cherries
3 tbls rolled oats

1. Preheat oven to 350°.
2. In a large mixing bowl, combine melted butter, sugar, egg, and applesauce.

  3. Fold in the bananas.

4. Lightly spoon the all-purpose flour and whole wheat flour into dry measuring cups, and level with a knife. Combine the two flours, baking soda, and salt in a separate large bowl.

5. Add the flour mixture to the banana mixture, 1/2 cup at a time, mixing after each addition until moistened.  Add the oats and cherries right about now as well. 

6. Coat one loaf pan with cooking spray. Pour the batter into the loaf pan.

7. Bake at 350° for 50 minutes to 1 hour, or until a wooden pick inserted in center of the bread comes out clean.

8. Allow the bread to cool in the pan for 5 minutes. Remove the bread and cool completely on a wire rack.

 So, obviously this bread is not the prettiest thing out there.  If you did manage to swing by A Hasty Life, her results were much prettier.  But it IS tasty!

Little Bread Toddler approves.  I’ve been microwaving it and spreading butter on it for breakfast, but it’s also great on its own.  A solid recipe!

Argentine Sopaipillas

 As part of her Global Burger series, my dear friend and food writer Joanna O’Leary asked me to help her come up with an Argentina-style burger.

Of course I jumped at the opportunity.

While it may be confusing, this does not mean a burger in the style Argentines typically eat, which looks like this:

Argentina hamburgers are typically served with a thin beef patty, soft bun, tomato, lettuce, cheese and a fried egg on top.  It is quite tasty.

But that’s not what the assignment was.  The assignment was to create a hamburger that would represent more of the essence of Argentina’s gastronomic culture. 

While you’ll have to read Joanna’s article to see the final product, I decided to devote a blog entry to the bread we chose as the bun:

The Argentine sopaipilla.

It was difficult for me to track down the origins of the sopaipilla because there are so many different varieties.  According to Wikipedia, the sopaipilla has a long etymological history but that it came with the Spanish to the Americas and quickly spread and diversified.

 Chilean sopaipillas

The Mexican version is sweet and crunchy, the Chilean version uses pumpkin puree, and even within Argentina it goes by several names: torta frita,  kreppel, etc.  The book I bought on Argentine cooking in 2000 calls them Fat Crackers.  It can be baked, pan-fried, or deep-fried.  In Mendoza it is the custom to make and eat sopaipillas when it rains, although I’m not sure why.

Well, as long as it’s raining and we have sopaipillas, might as well pass around the yerba mate:

The town where I was an exchange student hosts an annual Festival de la Sopaipilla where they crown a queen of the festival, everyone stuffs themselves full of the pastries, and they dance all night long to traditional folklore music.

Here is a picture of me, probably AT the Festival de la Sopaipilla, with three friends who perform traditional folklore music. 

This is where I got my first taste of sopaipillas, and this taste guided me towards the recipe I wanted to use for the hamburger buns.  I didn’t want just any sopaipillas, I wanted the ones I ate in Mendoza.

So after lots of research, wherein I found this cool blog, this cool blog, and this cute old lady (SLYT), I found this recipe for baked sopaipillas.  Don’t worry, I’ll translate the recipe for you.  But you really should be using weight measurements if you aren’t already.

You will need:

700 grams all-purpose flour plus more for kneading
200 g. lard (preferably beef, but whatever works)
20 g. salt
400 ml water

I cobbled together a combination of duck fat, lard, and butter.  It worked out fine.

1.  Melt the lard and let it cool.

2. Whisk together the flour and salt in a big bowl.

3. Add the lard and the water to the flour and salt and knead for about ten minutes, until the dough is smooth.  This is super easy.

4. Once the dough is smooth, transfer it to a floured surface. 

5. Using a pastry cutter, cut into equal-sized balls (I measured the entire dough, divided that weight into 12, and made the balls each the same weight)

6. Cover the balls with plastic wrap and let sit for an hour.

7.  Take out a few baking sheets and either cover them with parchment paper or coat them in butter then dust them with flour.  I tried it both ways, and I found using parchment paper was just fine and less of a mess, but it’s your call.


8.  With your fingers, stretch each ball of dough into a flat circle.  Place them on the parchment or floured baking sheets. Cover them with plastic wrap and let them rest while you preheat the oven to 425 degrees F.

9.  Remove the plastic and with a sharp knife, cut two little slits into each piece of dough. 

10.  Pop them in the oven and let them bake for 15-20 minutes until they are just golden brown.  When they are done, take them out and let them rest on a cooling rack before either coating them with sugar or leaving them plain.
These are super yummy and exactly what I was looking for in terms of taste.  We’ll see how they work as buns; most Argentines eat them as sweet pastries and serve them with jam or dulce de leche.  But they aren’t sweet themselves, so I think they will work well.  
Since making these, I’ve been eating them for breakfast this week.  The fat in them makes them very satisfying.  And I do put jam on them and accompany them with a nice cafe con leche, in case you were wondering 🙂

Peanut butter oatmeal bars a la Pinterest

The moment I saw this recipe on Pinterest, I knew I had to try it.  Slam dunk, right?

This recipe has it all: oatmeal, peanut butter, bananas, eggs, milk.  Super healthy and perfect for a quick breakfast.

You will need:

1.5 cups of quick-cooking oats
1/4 cup brown sugar
1 tsp baking powder (not actually sure why this is in the original recipe since it didn’t rise at all, but whatever)
1/2 tsp salt
1 tsp cinnamon
1 egg
1 tsp vanilla extract
1 ripe banana
1/2 cup milk
1/4 cup peanut butter
butter (for greasing baking dish)

1. Preheat the oven to 350 degrees F.  Grease an 8×8 baking dish and set aside.  I used glass; apparently in the original recipe it calls for metal.  I don’t know which works better. 

 2. Mix together the oats, brown sugar, cinnamon, salt, and baking powder in a medium-sized bowl.

3. Gently whisk the egg then add to the dry ingredients with the vanilla.

 Or, you know, just add the egg in without whisking.

4. Mash up the banana then add it to the ingredients. 

 If you were me, at this stage you would look around and realize Little Bread Toddler was hard at work throwing his socks and your baking supplies into the garbage.

5. Stir in the milk and peanut butter.

6.  Pour the mixture into your greased baking dish and bake in the oven for about 20-25 minutes, until the top is pretty firm. 

BEFORE:

AFTER:

7.  Let it cool, then cut into squares or whatever shape you like and eat, or wrap individually in plastic wrap to store in the fridge or freezer.

So how were they? 


 Bland.

I’m sorry!

I know that’s not what you wanted to hear, and it wasn’t what I was expecting.  I mean, the recipe had everything going for it.  I don’t know what happened.  Not enough cinnamon?  I know I didn’t grate a whole teaspoon’s worth, but the recipe also had a bunch of brown sugar, and it didn’t really taste sweet at all.  Or peanut buttery at all. 

I don’t get it.  I think if I make them again, I’ll add more spice and more peanut butter.  I’m also thinking if you added raisins, chocolate chips, nuts or shredded coconut that might liven them up a little.  Or maybe I just think that because that would make these bars taste more like my easy granola bars.

I was a little disappointed because Pinterest is supposed to be a way to share things you really like… and this recipe was a bit of a dud. 

Have you ever been disappointed by a recipe posted and re-posted all over Pinterest?

Easy Granola Bars

 Our first year in Austin, we were awakened one early Saturday morning to “Eye of the Tiger” blaring outside.  After about ten minutes when it didn’t stop, we got dressed and went outside to find the source.  Much to our surprise, the music was accompanying the annual Austin marathon, and our house was just steps from mile 21!

That morning, Mr. Bread Maiden made the commitment to run the Austin marathon before we graduated.  And two years later, he did.

In the pocket of his running shorts, he packed the following granola bars.

Yes, this recipe really is that simple.  It’s quick too.

YOU WILL NEED:

1/2 cup honey
1/4 cup brown sugar
1/2 cup peanut butter
1 tsp vanilla extract
2 cups of any kind of flaked oats or grains (I like oats and maybe barley flakes)
1 cup dried fruit (raisins, figs, dates, currants, prunes, apricots, etc.)
2 cups nuts and seeds (pumpkin seeds, sesame seeds, sunflower seeds, peanuts, almonds, flax seeds)
1/4 cup semisweet or bittersweet chocolate chips (optional)
1/4 cup shredded coconut (also optional)

1. Preheat your oven to 325 degrees F and place a rack in the middle of the oven.  Butter a large glass baking dish.  Set aside.

2. Combine the honey, brown sugar, peanut butter, and vanilla extract in a small saucepan.  Heat over low heat until the brown sugar melts and it all mixes together.  Turn off the heat.

3. In the bowl of a stand mixer, combine the oats, dried fruit, seeds and nuts, and chocolate and mix together with the paddle attachment.

4. With the stand mixer stirring the granola, pour in the honey-brown sugar mixture.  The mixer should encounter some resistance.

5. When everything is mixed up, use a spatula to thunk it onto the baking dish, then smooth it out so it’s an even layer.  Take care to push it into the corners of the dish as well.

6.  Pop the dish into the oven and bake maybe 15-20 minutes until it’s a light golden brown.  Remove from the oven and let it cool, then cut into squares, wrap in plastic wrap, and freeze until you want to eat them.

The thing I like about this recipe is that it doesn’t call for corn syrup.  Yes, the corn syrup gives granola bars that nice, chewy consistency.  But I’d rather use natural, not-really-processed ingredients, wouldn’t you?  In any case, when we looked at the fancy goos and energy drinks touted to boost running performance, we were kinda grossed out.  These are much healthier, and you know every ingredient that went into these.  Because you made them yourself! 

Irish Soda Bread for St. Patrick’s Day

 What else could I possibly make today? 

Some of you might criticize my “inauthentic” choice to include orange zest, lemon extract, and even raisins in this bread.  To those people I say this: I’m German. 

We like our breads hearty, rich, and full of fruit, nuts, and other additions.  See: struan, aachen brot, mitsch brot, rye, kugelhopf, etc. etc. etc. 


Feel free to leave out any ingredients you deem extraneous.

Moving on.

My recipe comes from Ina Garten’s book, “Barefoot Contessa at Home.”  The original recipe is here.  I’ve made minor adjustments to the ingredients and the order of the directions.

YOU WILL NEED:

4 cups all-purpose flour, plus one tablespoon for the raisins and a bit more
2-4 tablespoons sugar
1 tsp baking soda
1 and 1/2 tsp salt
4 tablespoons (57 g) cold butter, cut into small pieces
1 3/4 cup cold buttermilk (or whole milk with 2 tbls white vinegar thrown in, then refrigerated for an hour)
1 large egg
1 tsp grated orange zest
1 splash lemon extract
1 cup dried currants or raisins

1. Preheat the oven to 375.  Measure the butter and put it into the freezer, if it isn’t there already.  Put the raisins in a bowl and pour the tablespoon of flour over them.  Stir or bounce to coat the raisins.

2. Combine the flour, sugar, baking soda and salt in the bowl of a stand mixer with a paddle attachment.

3. Drop the butter into the flour mixture and stir until well-combined.

4. Pour the buttermilk (or milk and vinegar) into a measuring cup and add the egg, grated orange zest, and lemon extract.  Whisk.

 5. Add the buttermilk (or milk and vinegar) and stir on low until it just comes together.  Add the raisins.

6. Once it pulls together, sprinkle flour on your work surface, remove the dough from the bowl, and coat it with the flour.  Gently mold into a loaf.  You don’t want to knead at all, because you don’t want it to be tough.  You aren’t looking for gluten formation.

7. Using a sharp knife, cut an X into the top of the loaf.  Then move the loaf to a parchment-lined baking sheet and put in the oven. 

You’ve got about 45-55 minutes for it to bake, so why don’t you clean up the work space a little?

This is the worst.  That awful flour and dough mix left on the counter that only becomes worse when you try to clean it up with a wet sponge.

The solution?

Take your metal scraper and scrape all the little dough pieces first.

 
Then you can wipe off the counter with vinegar and a paper towel or sponge.  Done!

Now you have 43-53 minutes to admire your husband putting in the spring garden.  Hey sweetie!

8.  Once your soda bread is nicely browned and makes a thunk when you tap it, it’s done.  Take it out and let it cool.

Serve as you see fit.  By itself, with butter, or my favorite condiment: honey.  Finish with a big, frosty glass of green beer.  Just kidding.

Happy St. Patrick’s Day!

Crema chocolate cake

 I could’ve called this post “how to use up leftover sour cream, crema, yogurt, buttermilk, whipping cream, or milk.” 

Because that’s what I did.  But it could also be called “the best chocolate cake ever.”  Because it’s true.

I made this cake because a few months ago, two of my friends happened to have their birthdays on the same day. 

They also happen to be father and daughter. 

They also happened to be coming over to visit the Bread Maiden household that VERY DAY!  Of course I just had to make a cake, right?

Stop reading right here if you love overly-sweet cakes where the sugar literally hurts your teeth, or where the cake itself is merely a vehicle for the frosting.  This is not that cake.  This is a CHOCOLATE cake, with lots of real chocolate.   Because it’s not crazy-sweet, it pairs nicely with any frosting you like.

And thus, being forewarned, we proceed forth to make Alton Brown’s Devil’s Food Cake.  The original recipe is here.

YOU WILL NEED:

 1 cup boiling water
4 ounces (by weight) Dutch-process cocoa
10 1/2 ounces dark brown sugar
5 1/2 ounces all-purpose flour
4 ounces cake flour or other low-gluten flour, like pastry flour
1 teaspoon baking soda
1/2 teaspoon kosher salt
1 cup vegetable oil
4 1/2 ounces sour cream, at room temperature
2 large whole eggs, at room temperature
2 large egg yolks, at room temperature

Oh, you say you don’t have sour cream?  I also didn’t, but had some crema, which is a condiment popular in some Latin American countries that I had bought to use in tacos.  According to wikipedia, crema is cream that has been “soured” with bacteria.  I figured it was close enough to the sour cream indicated in the recipe, since it has the same texture, nearly the same fat content, and similar acidity and “zip” as sour cream.  In it went.  If you want to use regular (whole fat) milk or cream instead, make sure to throw in a tablespoon of white vinegar and wait an hour for it to thicken it up.

1.  Preheat the oven to 325 degrees F. Spray a 9′ round pan with olive oil or nonstick spray.  Now is the fun part.  Tear off a piece of parchment and place the pan on top of the parchment.  Trace around the pan and cut it out.  Now you have a perfect circle of parchment to line the bottom of your cake pan.  Now grease up the parchment paper as well.  Set aside. 

2.  Whisk the boiling water and cocoa powder together in a small bowl and set aside.

 3. Combine the sugar, flours, baking soda and salt in the bowl of a stand mixer fitted with the paddle attachment.

4. Whisk the oil, sour cream (or what have you), eggs and egg yolks together in a pourable vessel, like a measuring cup.

5.  Add the oil mixture to the cocoa and water mixture and slowly whisk to combine.


SHINY!

6.  With the mixer on low speed, add the liquid mixture to the dry mixture over 30 seconds. Continue to beat on low speed for another 30 seconds. Stop and scrape down the sides of the bowl. Continue to beat on low speed until the batter is smooth, 10 to 15 seconds.


7. Pour the batter into the prepared pan and bake until the cake springs back when pressed and reaches an internal temperature of 205 degrees F, 30 to 35 minutes.

8. Cool in the pan on a rack for 30 minutes, and then remove cake from the pan and cool completely before frosting, about 1 hour.

 I don’t have a frosting recipe to recommend because I didn’t make a great frosting this time around.  I didn’t have enough powdered sugar and was too lazy to buy more, so I ground up some regular sugar in the food processor, which resulted in a crunchy frosting.  Not what I was looking for, but my friend (whose husband and daughter were the guests of honor that day) swore up and down it was delicious. 

Which is why I’m lucky to count her as a friend.

Banana Bran Muffins

This is a recipe I used to make a lot five years ago, when we lived in Del Ray after graduating college.  It was our first place where Mr. Bread Maiden and I lived together.  We got engaged and married while we lived in that townhouse on Nelson Avenue.  We also realized we never wanted to live with roommates again!

Sorry, where was I?  Oh, yes.  Banana bran muffins.

These muffins are super easy and healthy.  I don’t like things to be too sweet, so you can add more sugar than the recipe calls for.  Me? I like to slather them with peanut butter for a healthy (and filling) breakfast.

What you need:

1 cup wheat bran flakes
1 cup mashed banana (I learned a neat trick making these this time: you can take underripe bananas, freeze them, then when you thaw them the insides are all mushy.  I found two bananas makes about a cup)
3/4 cup plus 2 tbsp milk
1/2 cup brown sugar
1/4 cup canola or vegetable oil
1 egg
1 1/2 cups whole wheat flour
1 tbsp cinnamon
1/2 tsp salt
raisins (this time I used currants)

I took a picture with the baking soda, then realized there’s no baking soda called for in the recipe.  Sorry.

1. Preheat the oven to 375 degrees F.  You will want to butter a muffin tin right now as well.  In a large bowl, mix the bran, the bananas, and the milk.  Let the mixture sit for five minutes.

2. Add the brown sugar, oil, and egg to the bran mixture.

3. In a medium-sized bowl, mix together the flour, baking powder, cinnamon and salt.
 

Add the dry ingredients to the bran mixture, and mix just enough to combine. 

Throw in as many raisins or currants as makes you happy.

4.  Scoop into the muffin tin, and bake for 30-50 minutes until the muffins are golden brown.

Sorry the time is so variable; the recipe I have calls for 20 minutes of baking, and when I took them out they were nowhere near done.  So I kept setting the timer for 2 and 3 minutes each time until they were finally done.  They will set and be golden brown, just be patient!

Little Bread Toddler loves these muffins too.  Here I am trying to get a close-up of the inside of the muffin.

Verdict: these are really, really easy to make, and healthy to boot!  This is a recipe that I’m going to have to bring back into my baking repertoire. 

My Favorite Quiche Crust Recipe

This is my favorite recipe for quiche crust.  It’s just a pie crust, and you use a food processor so it couldn’t be easier.

You will need:

2/3 cup plus 6 tablespoons all purpose flour (157 g)
6 tablespoons butter (82 g)
2 tablespoons lard or shortening (28 g)
pinch of salt
a few tablespoons of ice water
parsley (optional)

1. Measure out your butter and lard into a bowl and put in the freezer to get it cold.

2. Take your food processor.

3. Pour in the flour and salt and pulse to combine.  Take your cold butter and lard and add it to the flour.  At this point you can also mince up some fresh parsley and add it too.  Pulse until it forms small crumbs.

4. Add the ice water, a spoonful at a time, pulsing between each addition. The dough will slowly come together.  First it will look like this, but keep adding more water.

5. You want it to look like this.

6. If you can take your fingers and squeeze it into a dough between your fingers, it’s ready.  Pour the dough out onto your countertop and form into a ball.  Cover tightly with plastic wrap and refrigerate for about 30 minutes.

7.  Take your dough out of the refrigerator and remove the plastic wrap.  Using a rolling pin, gently roll the dough out.  You don’t need to roll it thin; you will use your fingers to spread the dough into the pie pan.

8.  Gently move the dough to a greased glass pie pan.  Using your fingers, push the dough out and up the sides of the pan.  Cut off any overhanging pieces.  Cover with plastic wrap and refrigerate while you preheat the oven to 435 degrees F.

9. Take the dough out of the fridge and remove the plastic wrap.  Poke the dough a few times with a fork.  Place a piece of parchment paper over the dough and fill with uncooked beans or rice.

10. Bake the crust for about 7 minutes, then turn the oven off, remove the parchment and beans, and let the crust sit in the oven to dry out until you are ready to fill it.

11.  Meanwhile, mix up your filling.  We used kale and bacon, but you can use anything with this all-purpose crust.  We like Julia Child’s basic quiche recipe, shown here.  Bake for about 30-40 minutes, depending on your oven.

12. Nom nom.  Delicious!  This crust is so basic that you can use any filling, and you can spice it up with spices, herbs, or other seasonings.