
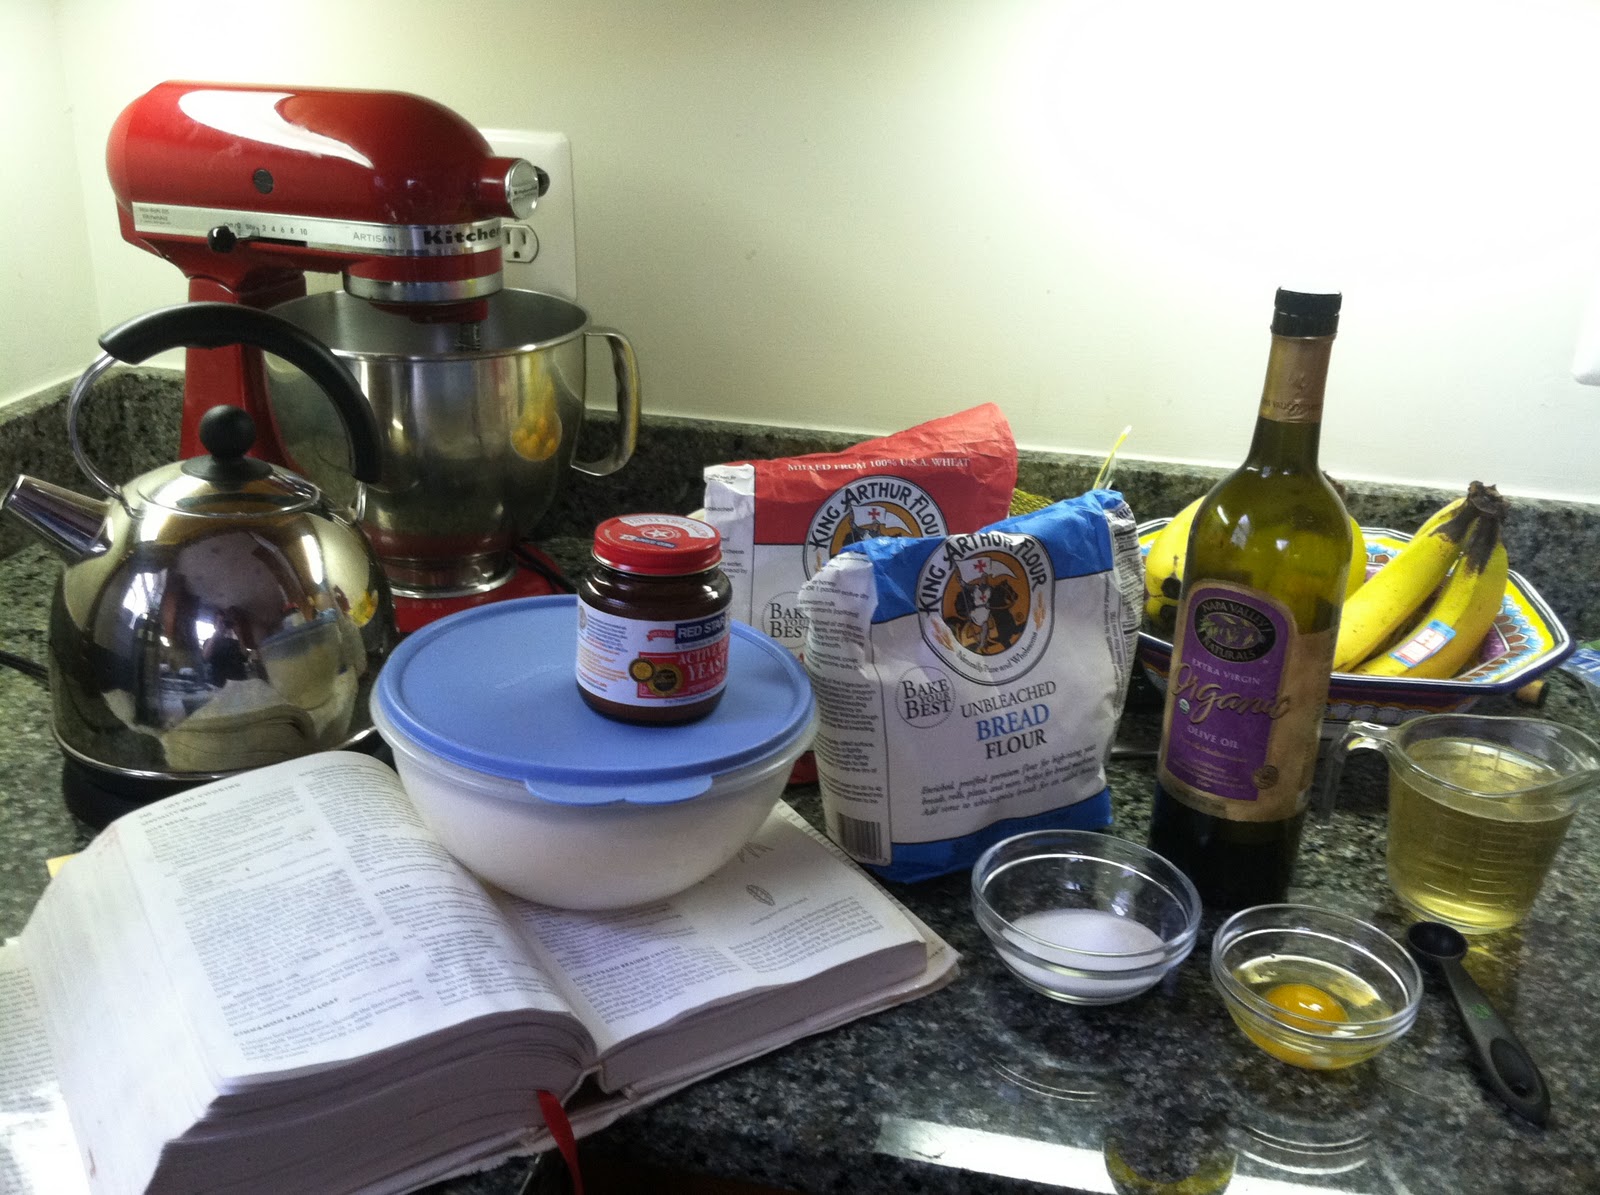
The Joy of Cooking is one of my favorite cookbooks. I learned to cook from this book. The Bread Maiden Clan’s favorite roast chicken, pancake, and chili recipes can all be found in this book.
Not to mention, the following hamburger bun recipe. Over the years I have made this recipe a bunch of different ways, substituting wheat flour for white, vegetable oil for butter, and so on. I find myself using this recipe for all kinds of things.
It’s technically the “milk bread” recipe, but I’ve made one big alteration here. Instead of using milk, which results in a dense, chewy bun, I use chicken or vegetable stock, which makes them lighter and fluffier. If you need a chicken stock recipe, here’s mine (scroll down to CHICKEN STOCK).
YOU WILL NEED:
2 1/4 tsp yeast (one packet)
3 tablespoons warm water
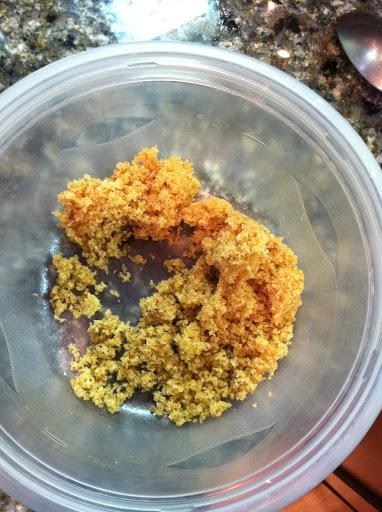
3 tablespoons sugar
1 tsp salt
one large egg
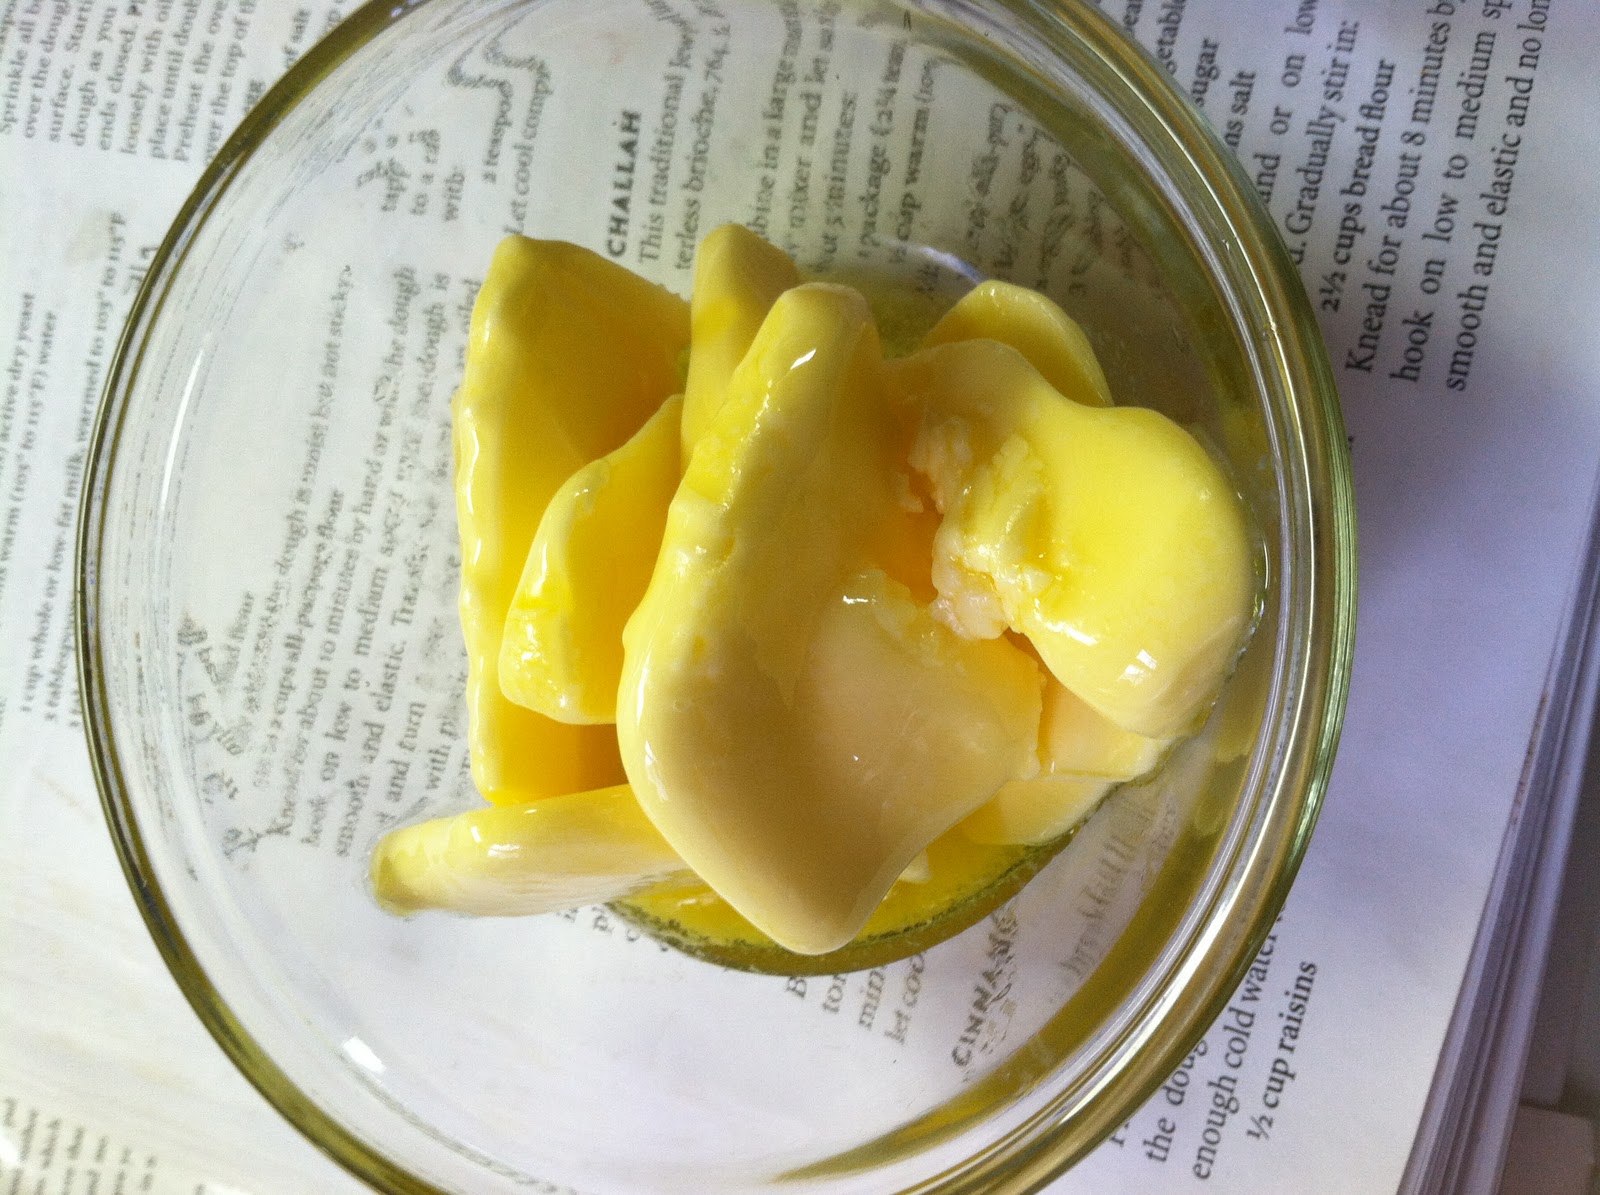
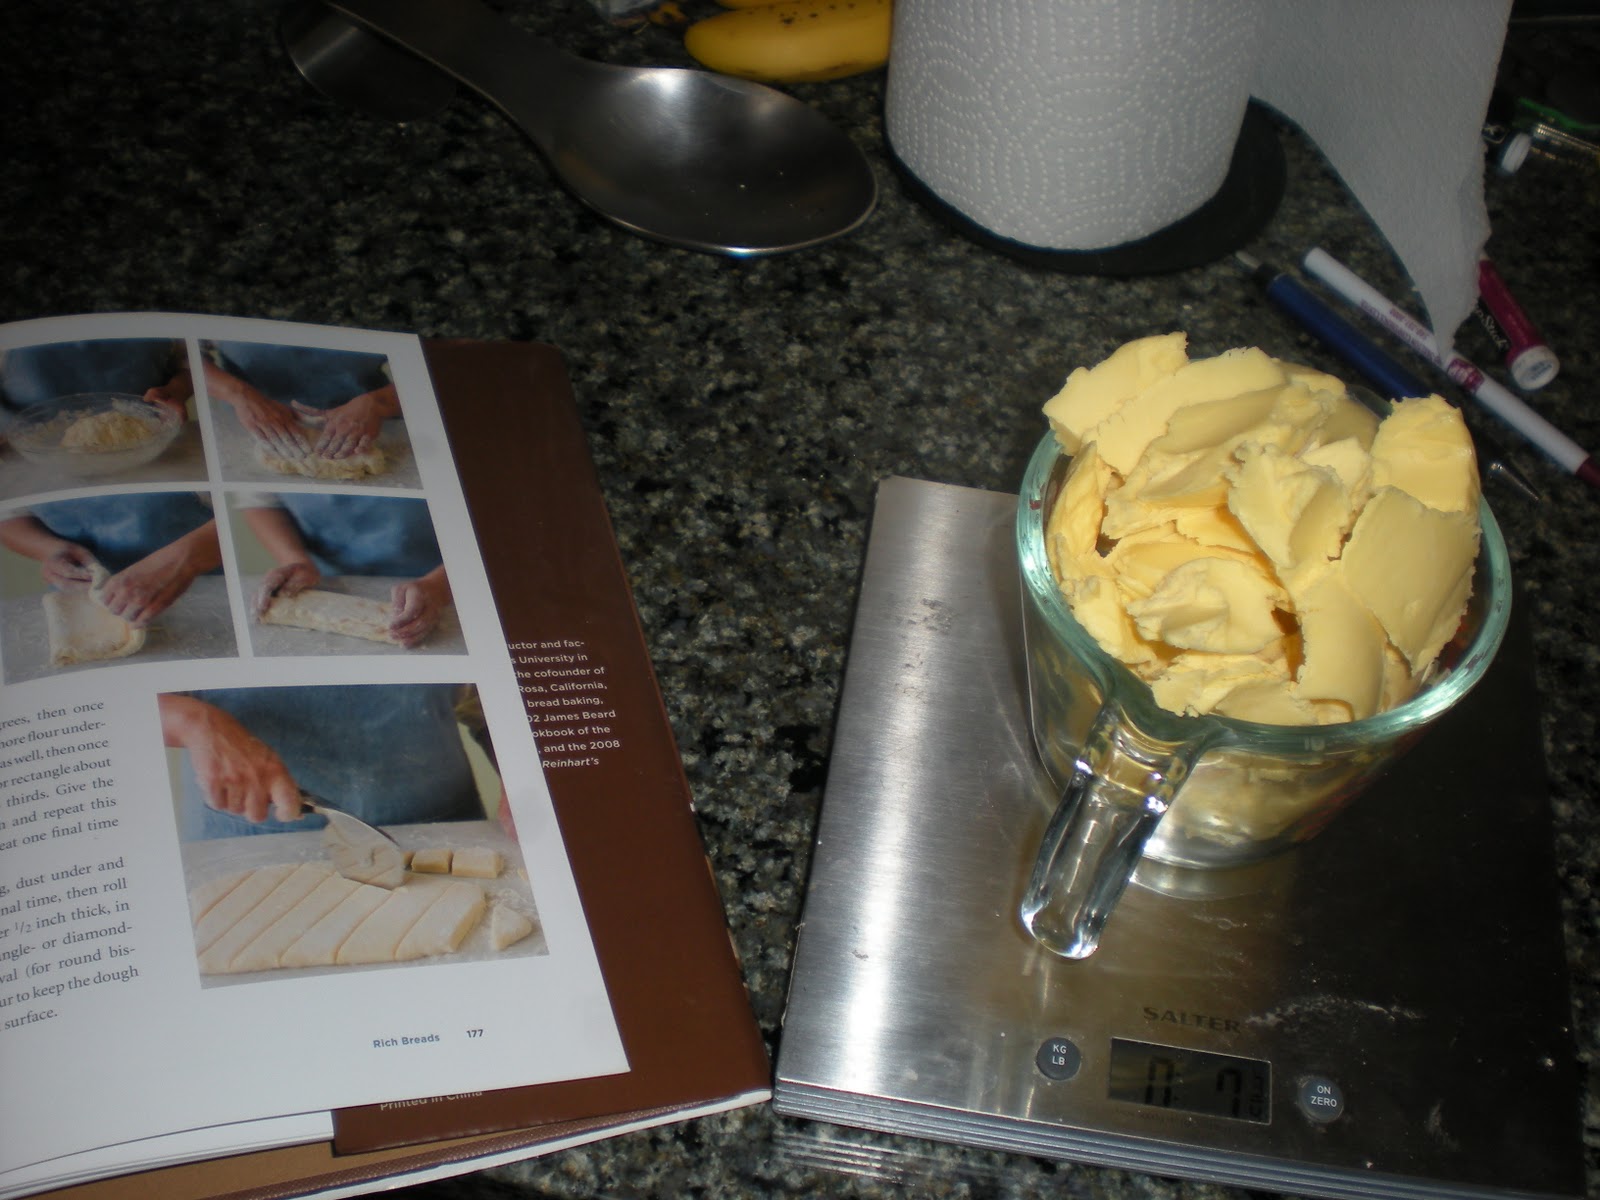
5 tablespoons (or 71g) softened butter
1 cup chicken or vegetable broth, or milk
2 cups bread flour
1-2 cups all-purpose flour
dash of olive oil
one large egg (for egg wash)
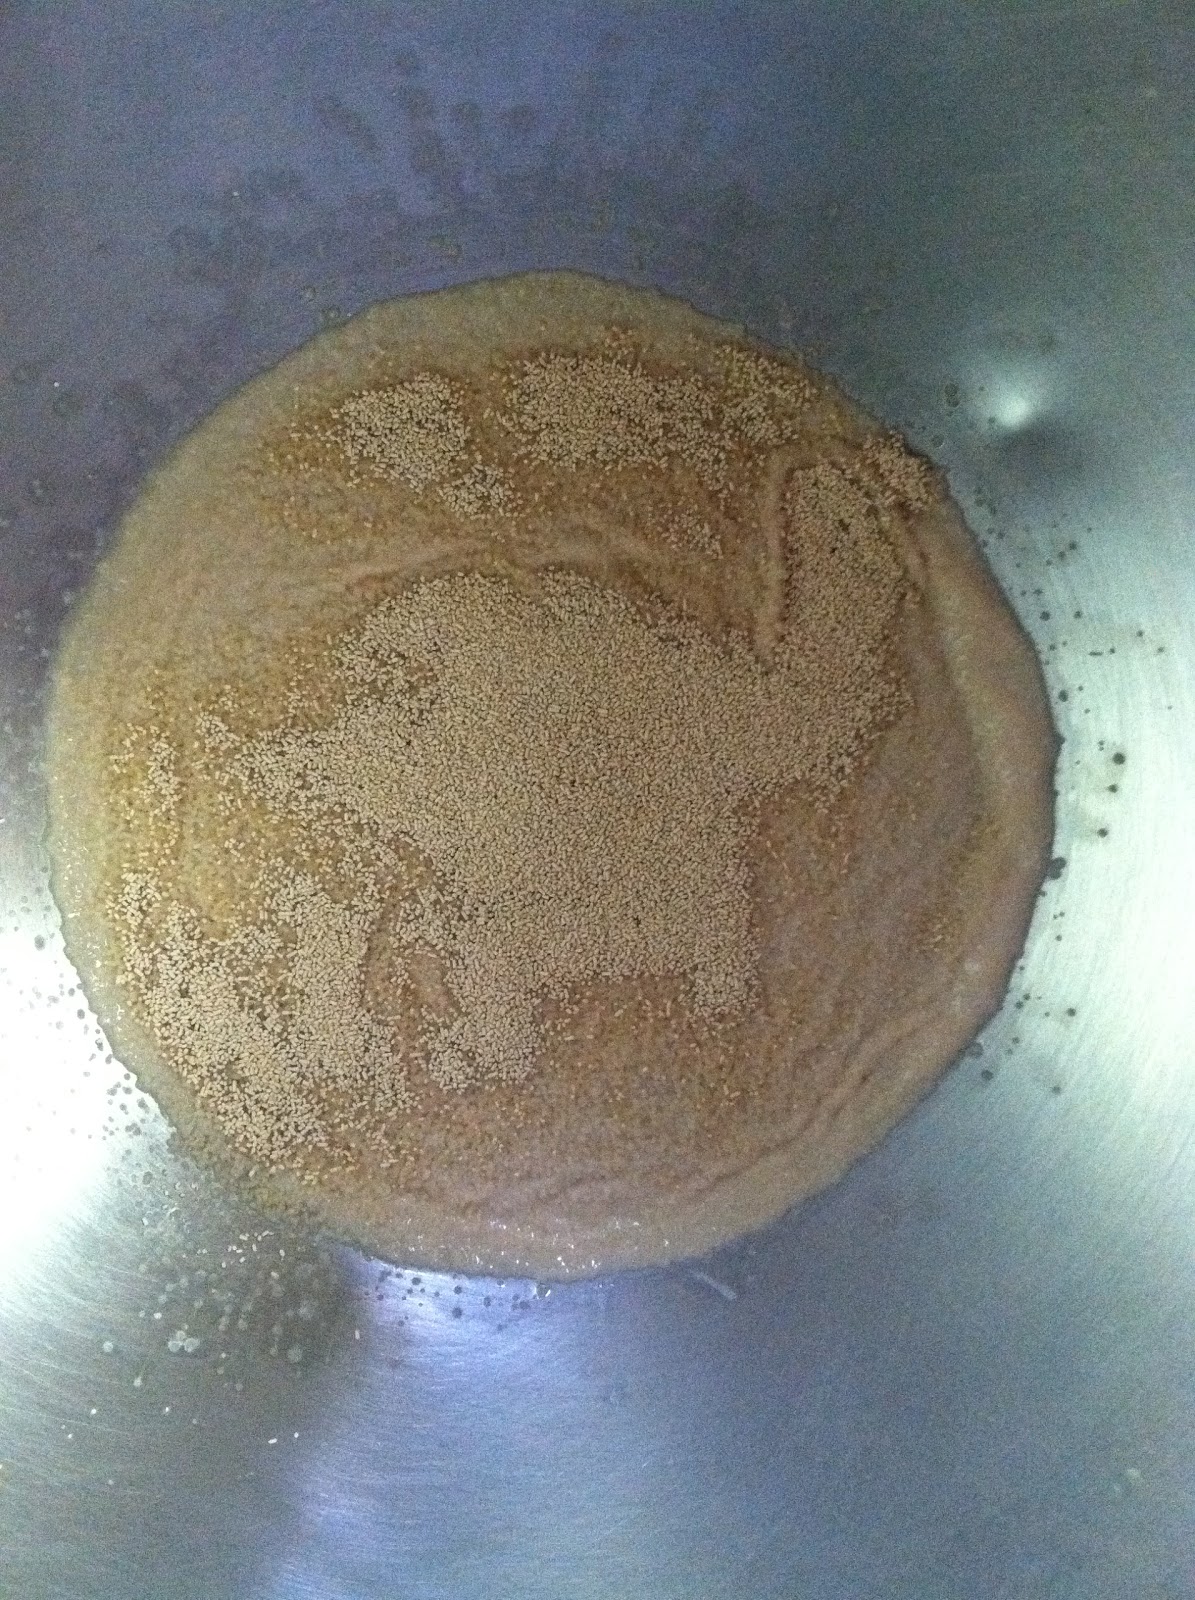
1. Proof the yeast by putting the water in the bottom of a bowl (or the bowl of your stand mixer) and sprinkling the yeast on top. Let it sit for about five minutes.
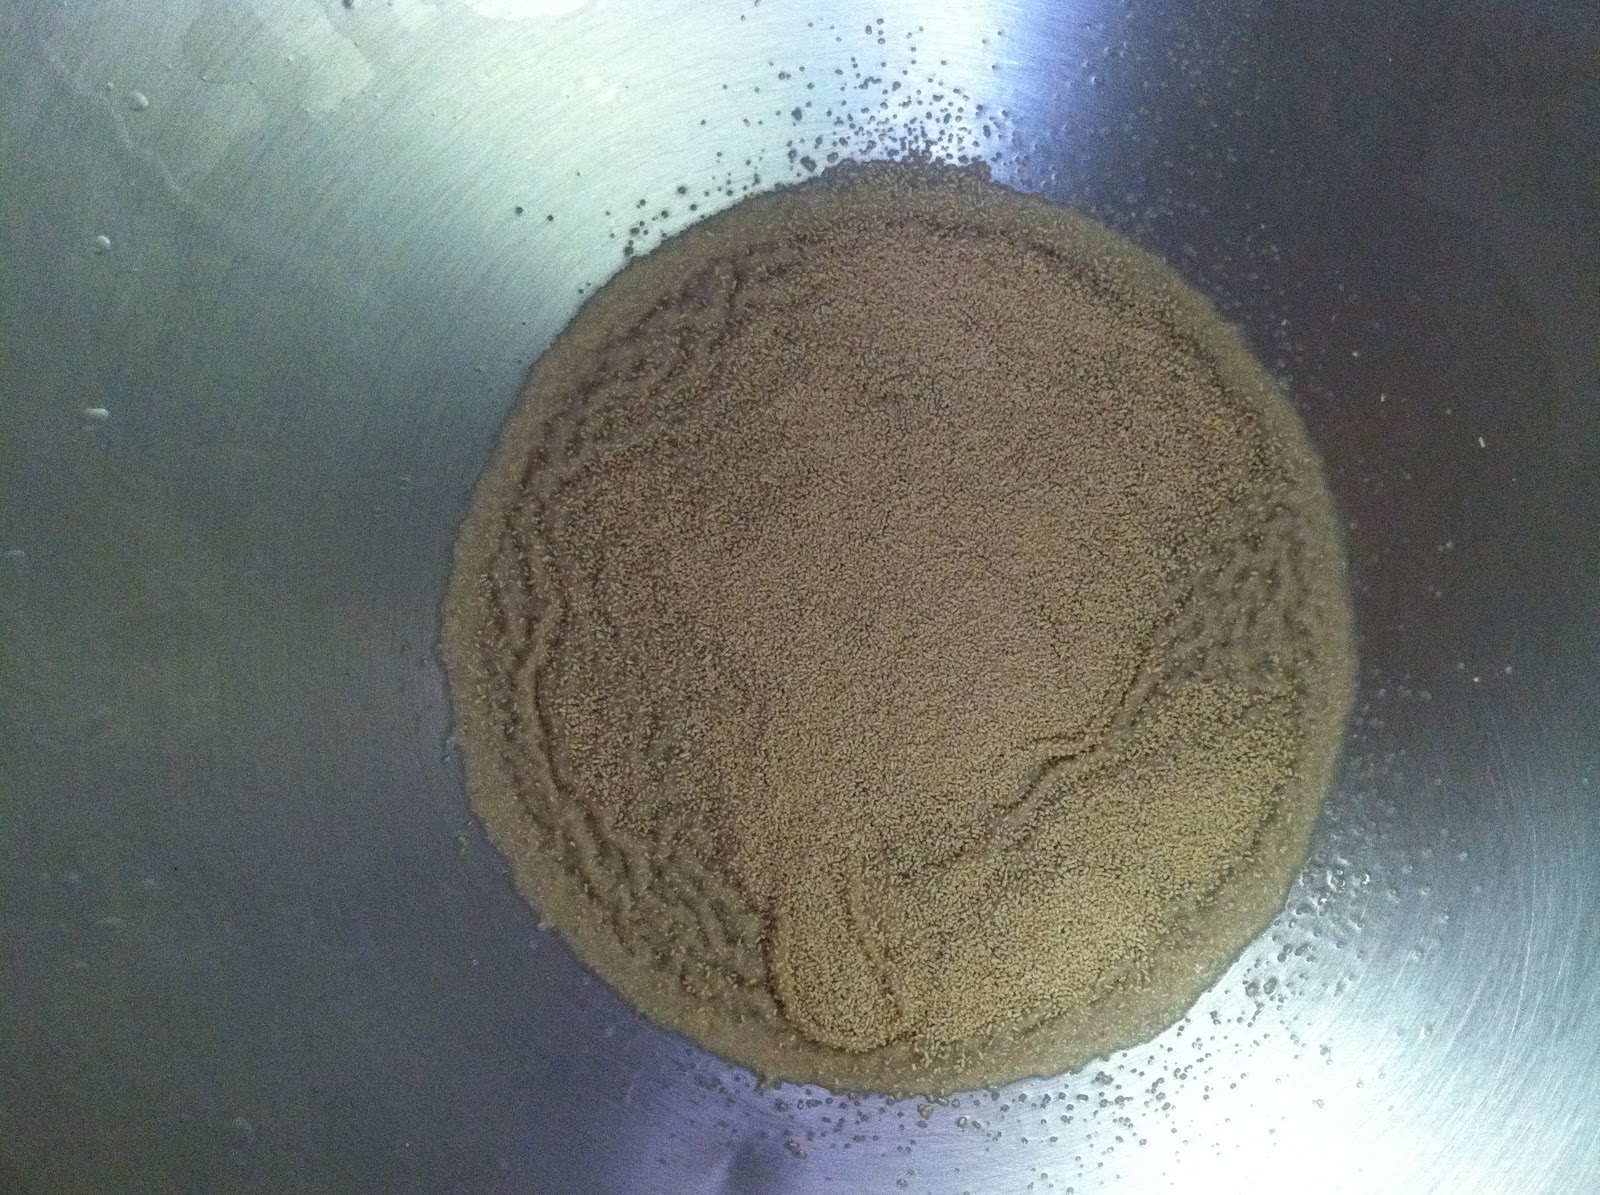
After five minutes, it should be puffed up slightly and have a yeasty smell.
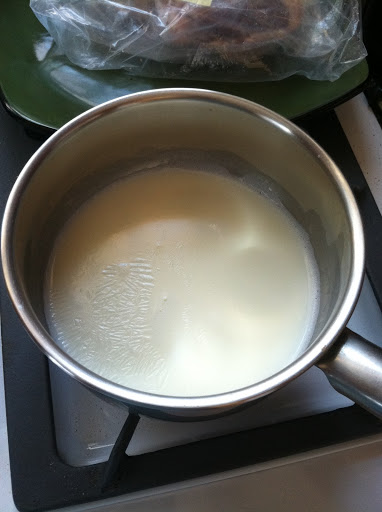
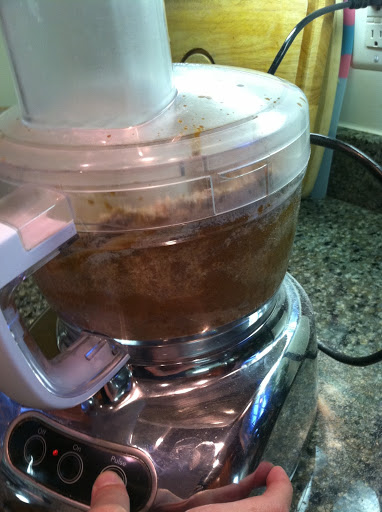
2. To the bowl, add the milk or broth, softened butter, sugar, salt, and egg.
3. Using the paddle attachment on your stand mixer or a spoon, mix thoroughly.
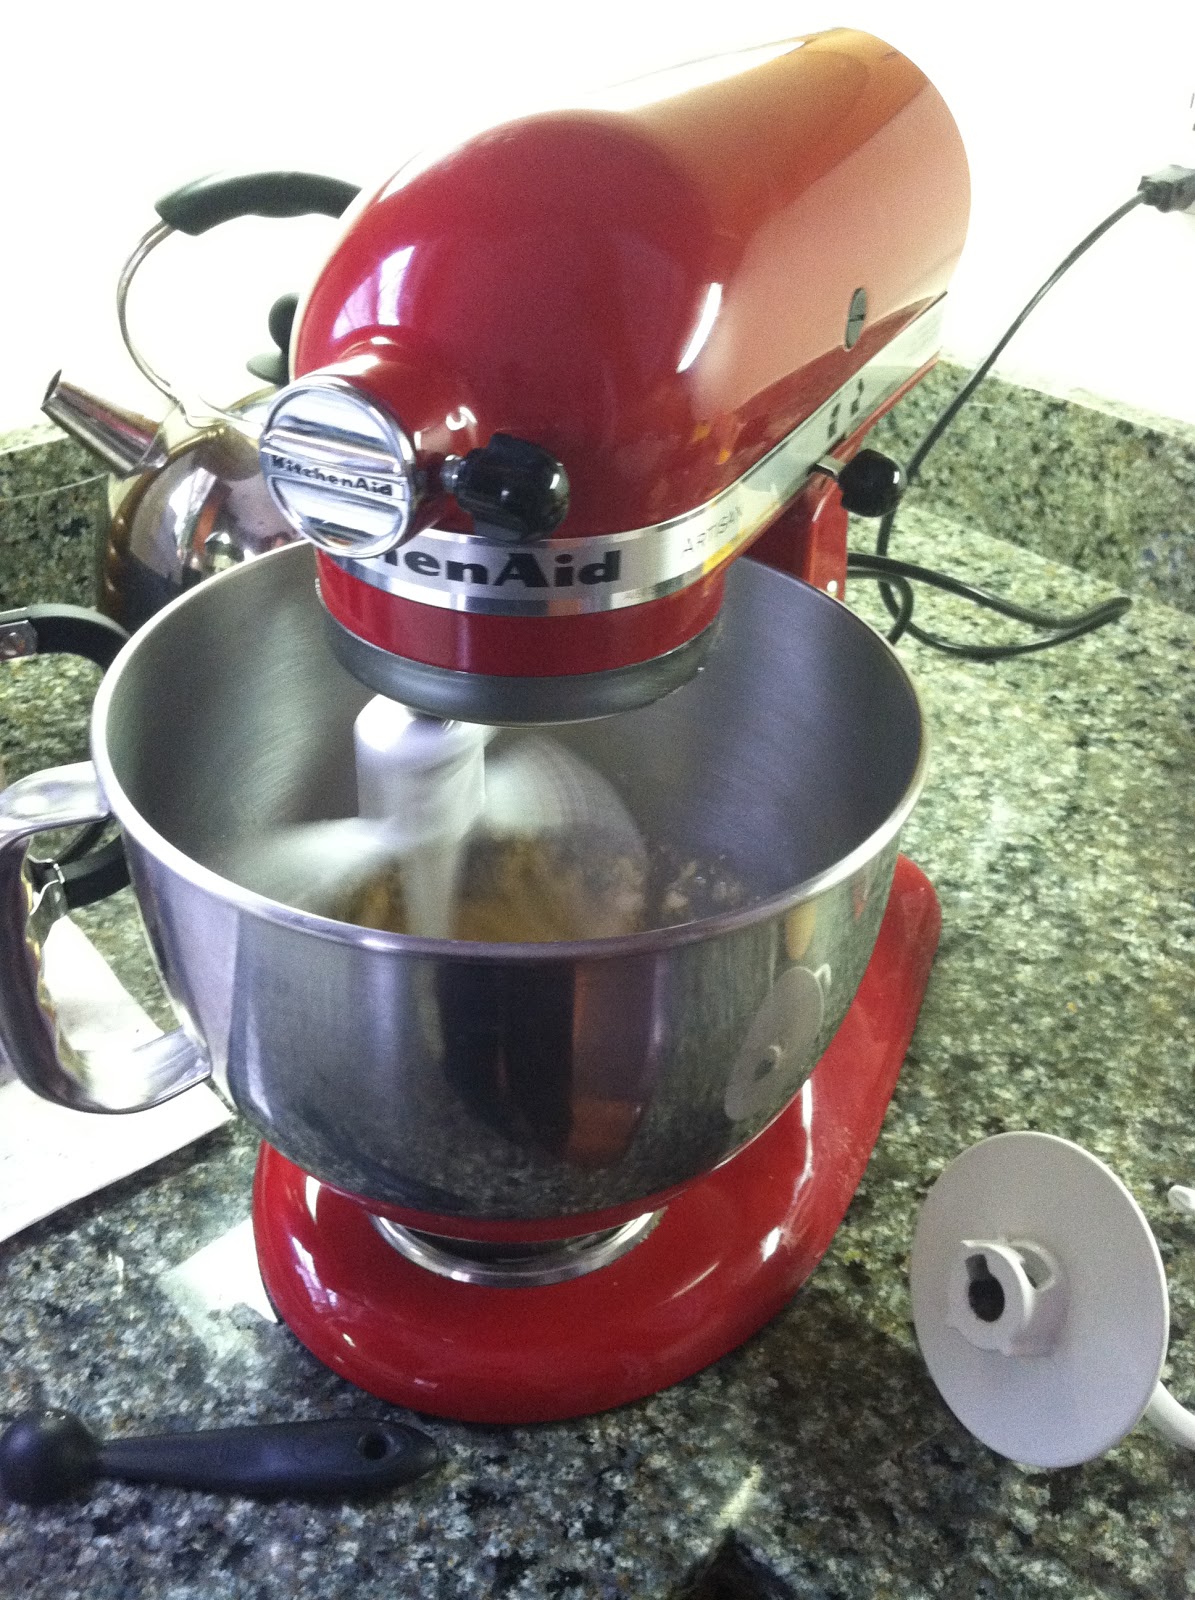
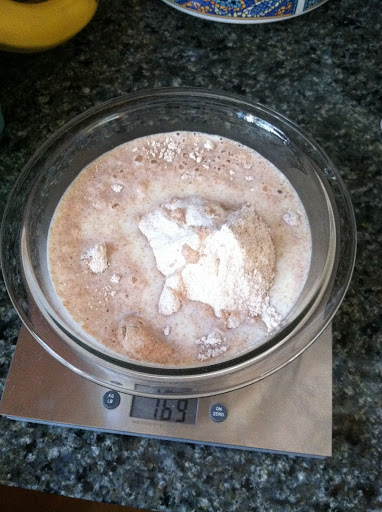
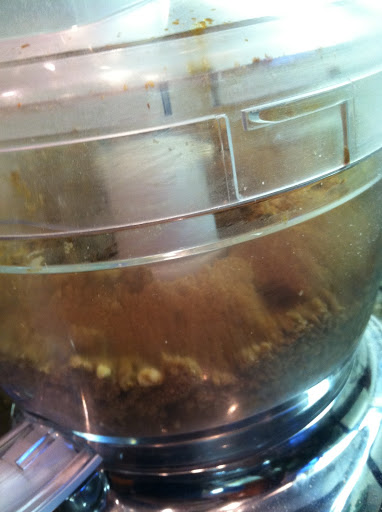
4. Slowly add the 2 cups of bread flour with the stand mixer on low speed. Mix until the dough is moist but not sticky, about a minute or two.

Before we get to step 5, let’s talk about baking for a second.
Most people who don’t like baking say, “I don’t like baking because it’s too technical and you have to measure things exactly or else it won’t work.”
These people think as long as you measure out the ingredients exactly as indicated in the recipe, it will come out perfect, but if you stray too far from the recipe, all is lost.
Not so, my friends.
Baking actually calls for a great deal of flexibility, depending on the weather, the strength of the other ingredients, how they work together, and even how adventurous you’re feeling that particular day.
I’m not saying you can just throw in or omit ingredients willy-nilly.
But the way to bake is by following the dough and how it feels and looks. It takes time to figure out. It takes making a recipe more than once. But once you get comfortable seeing the signs for how something should look and feel, I guarantee you will always have success baking.
Now back to these dinner rolls.
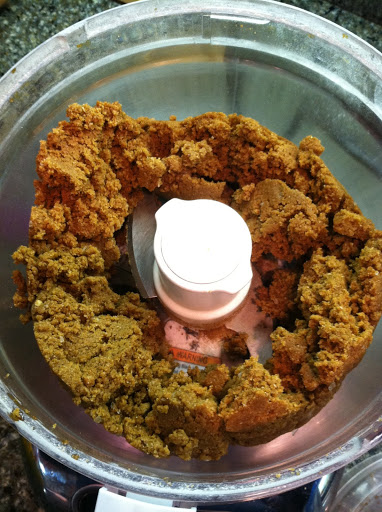
5. With your stand mixer still on the low setting, slowly add the remaining two cups of all-purpose flour.
BUT WAIT!
This is important. Add the all-purpose flour about a half cup at a time. WATCH the dough.
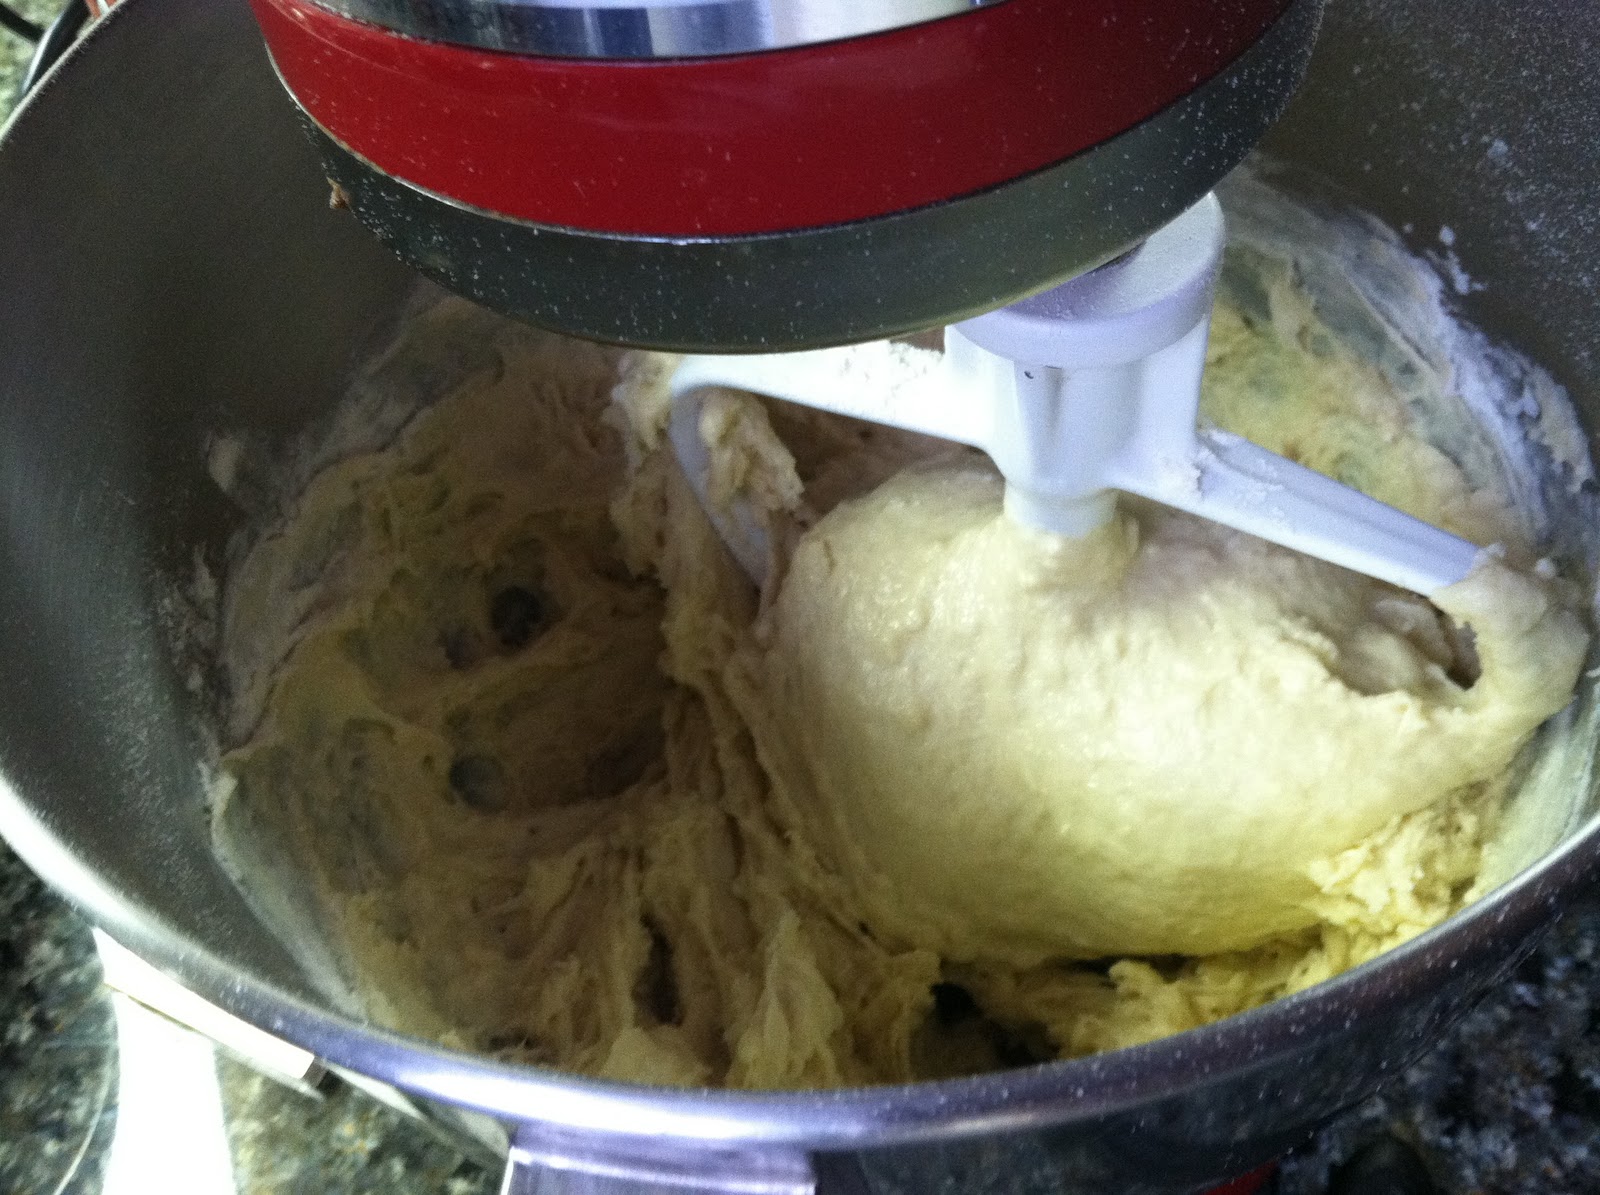
Around the 1 1/2 cup mark, it should start gently pulling away from the sides of the bowl, forming a ball on the paddle.
If it isn’t doing this, add the final 1/2 cup of flour.
Once it is slightly pulling away from the bowl, turn off the stand mixer and remove the paddle, replacing it with the bread hook.
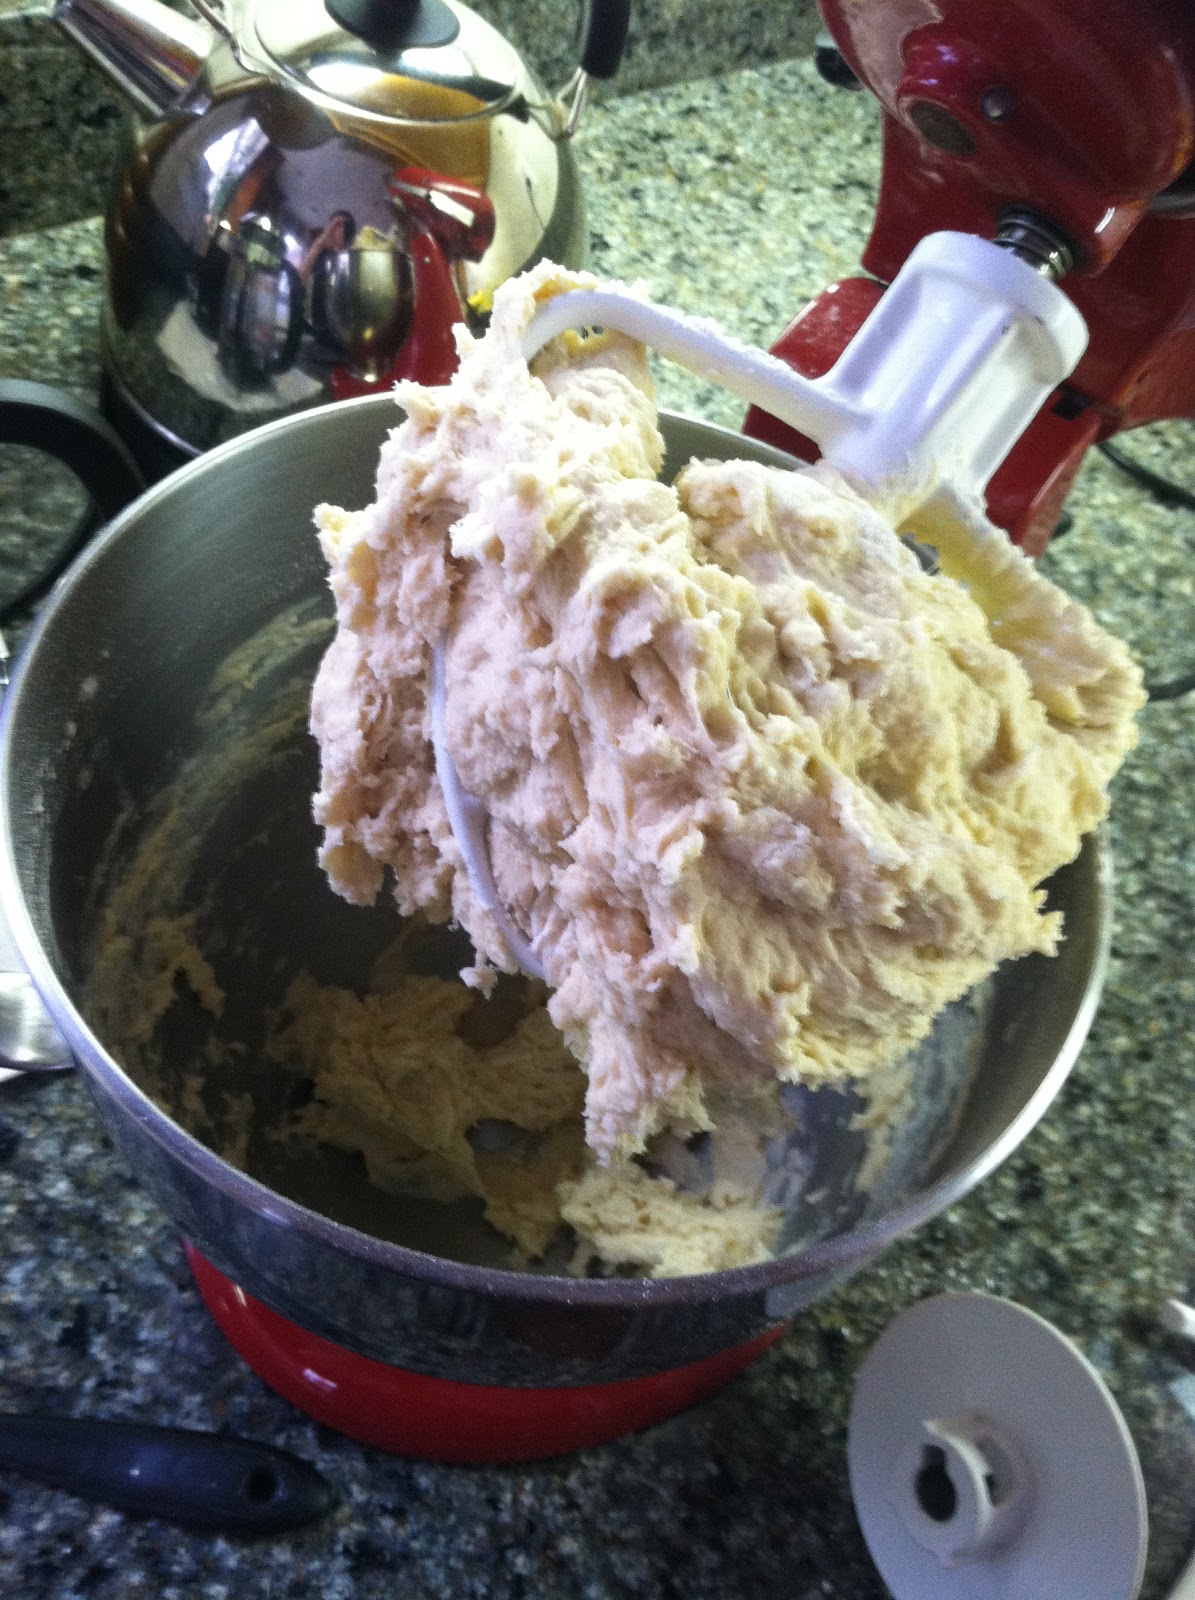
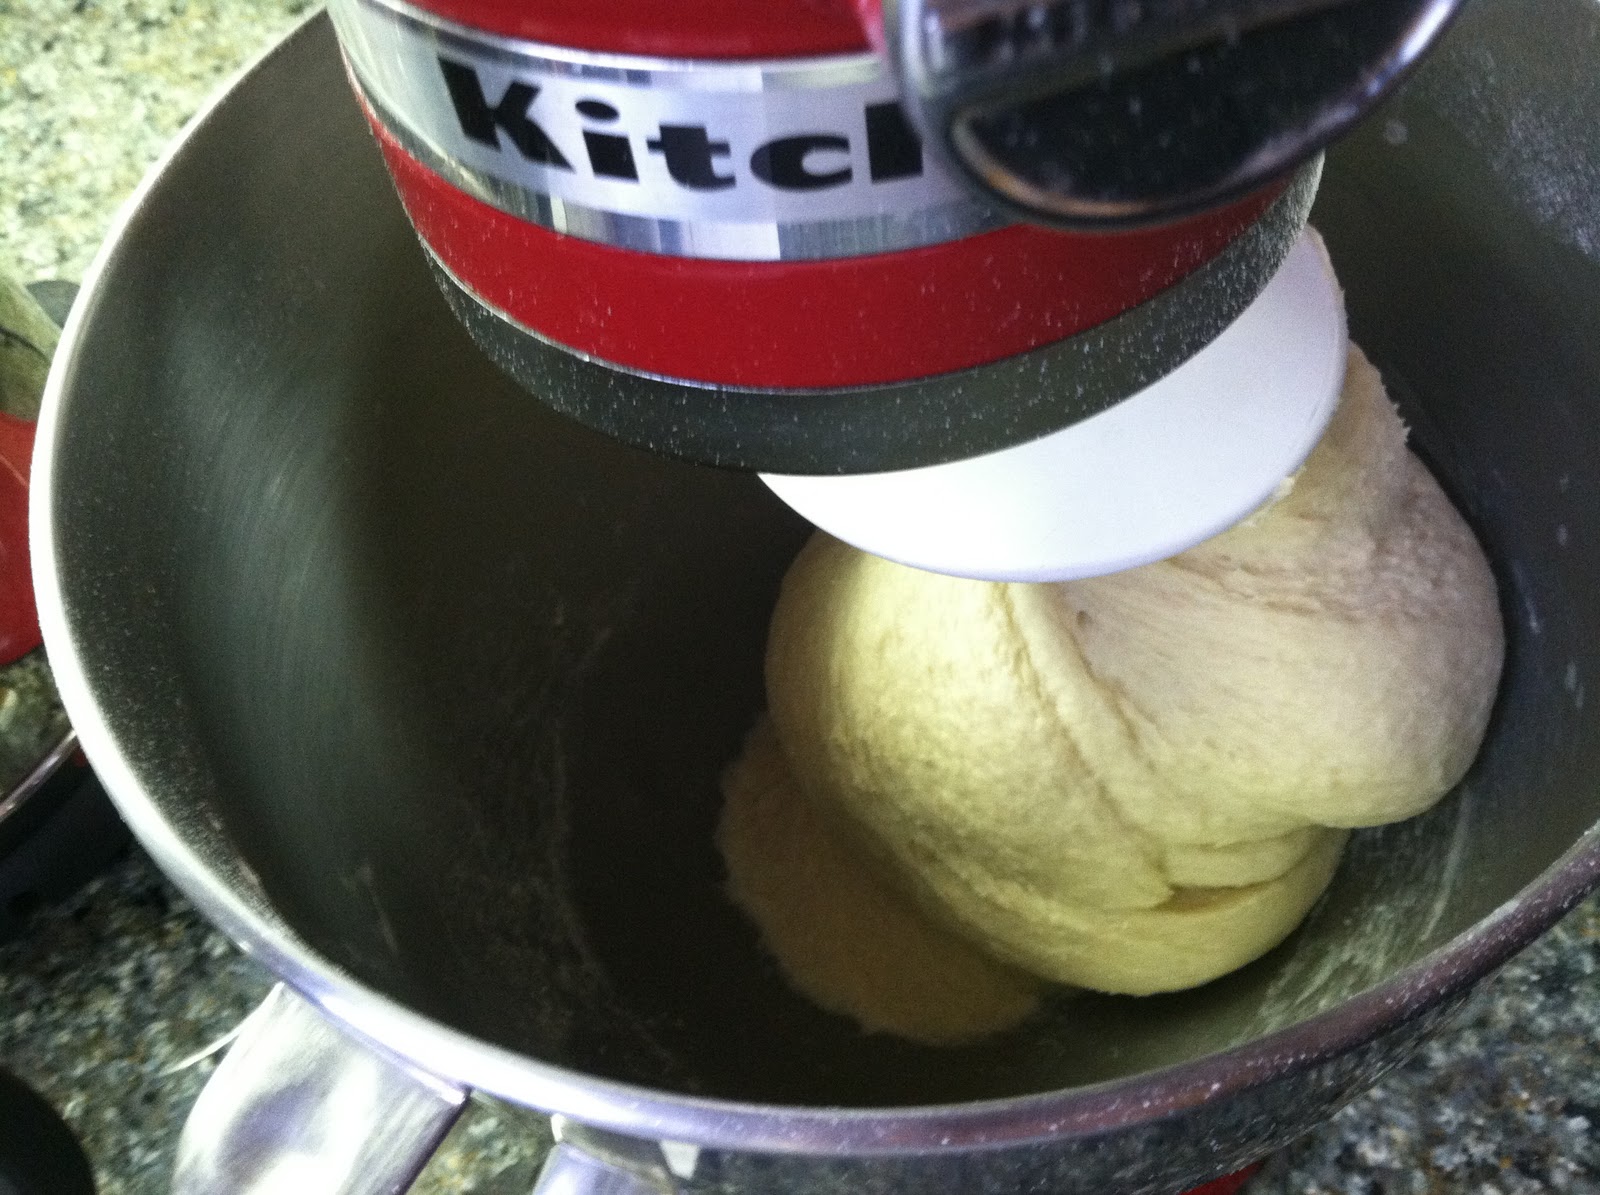
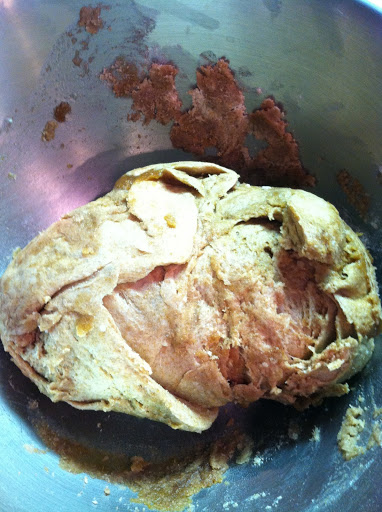
6. Once the bread hook is on, turn the mixer onto medium-low speed and mix the dough for about 10 minutes.
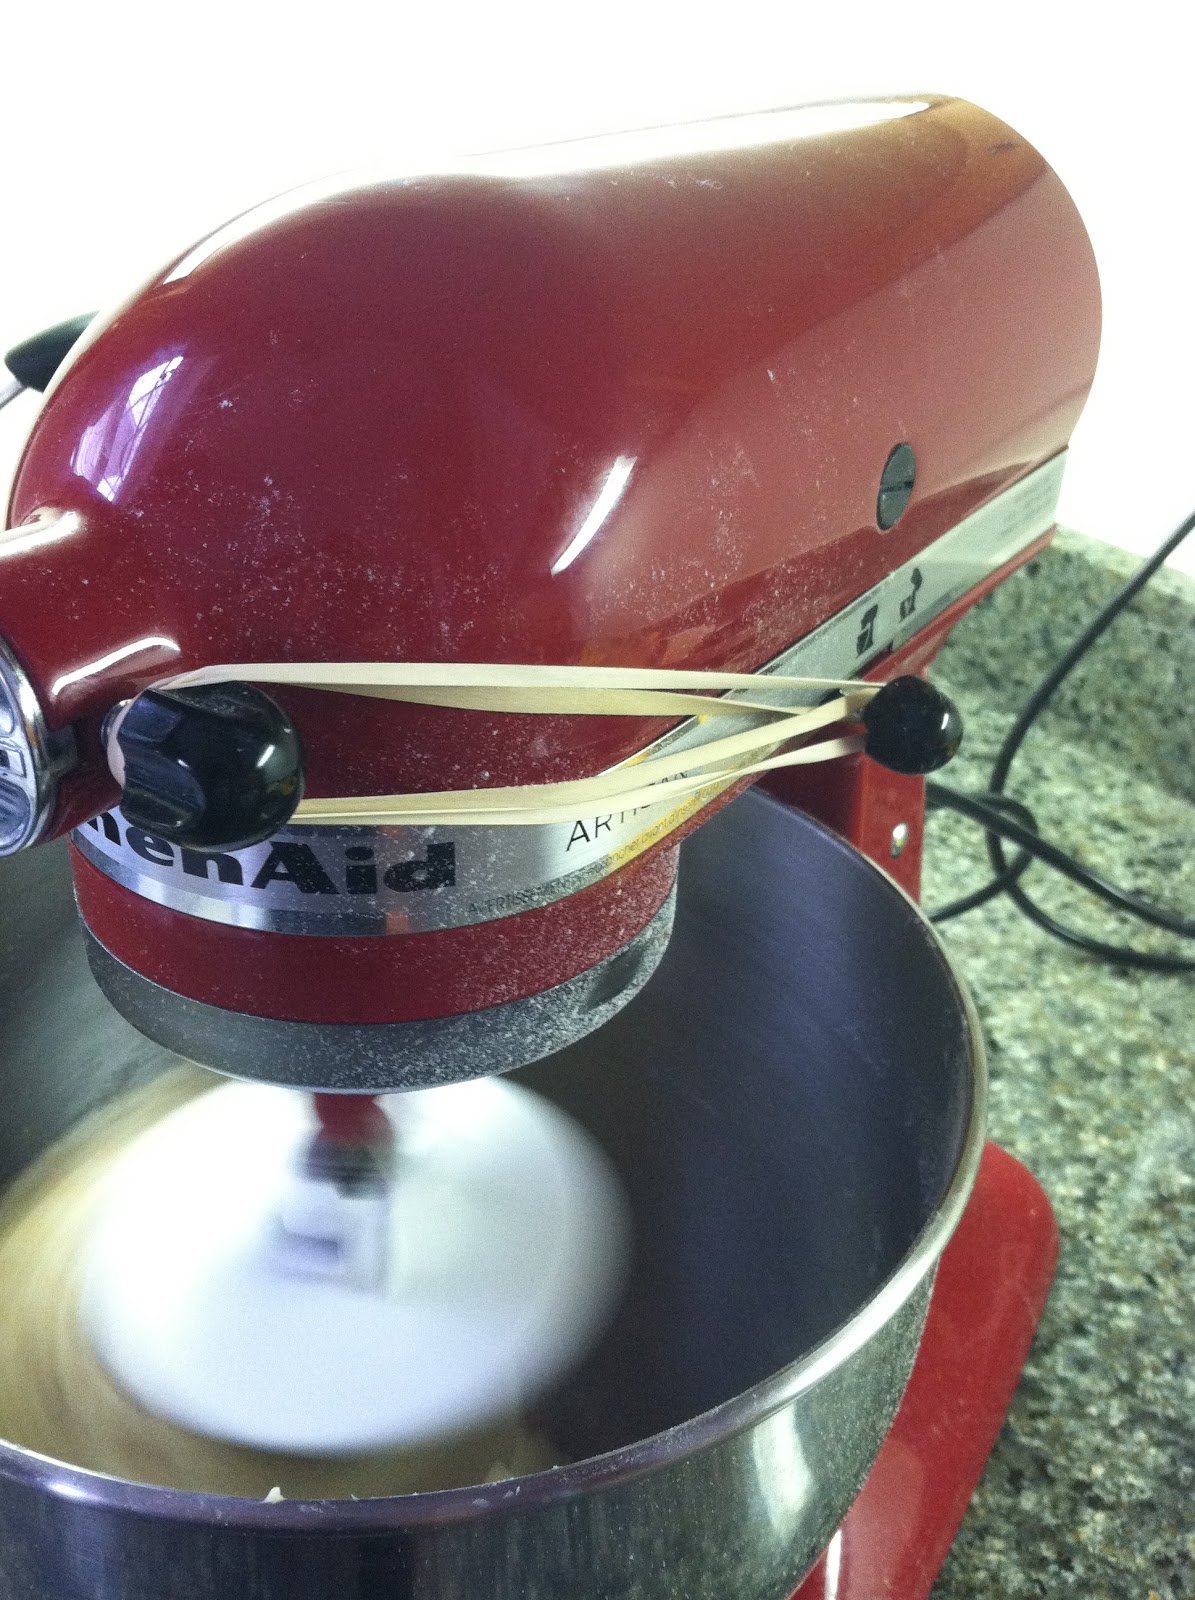
After five years, my mixer needs a little assistance.
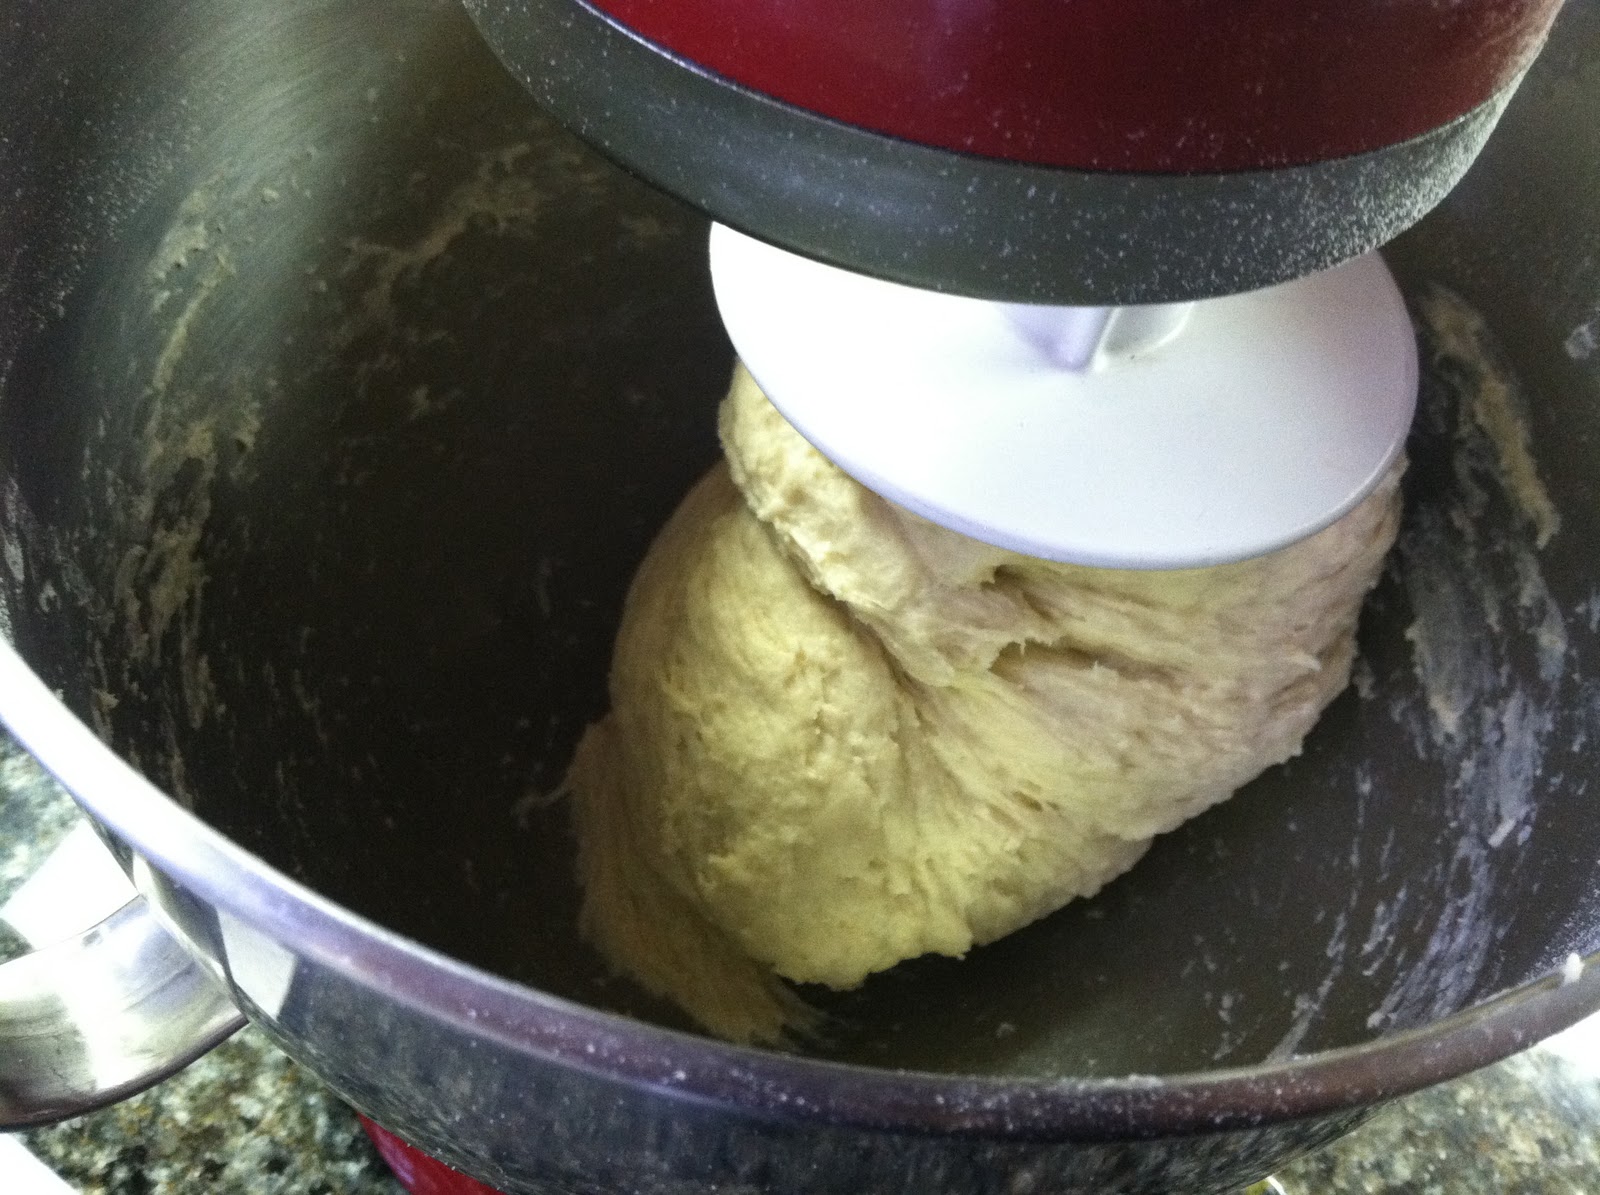
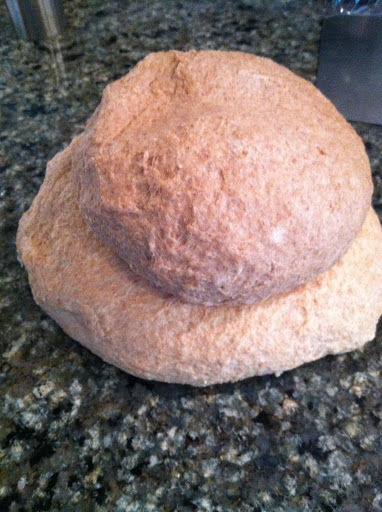
The dough should really pull from the sides of the bowl and form a ball on the bread hook.
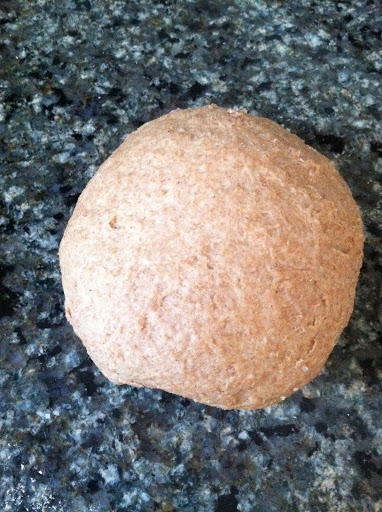
After ten minutes, the dough should be elastic and smooth.
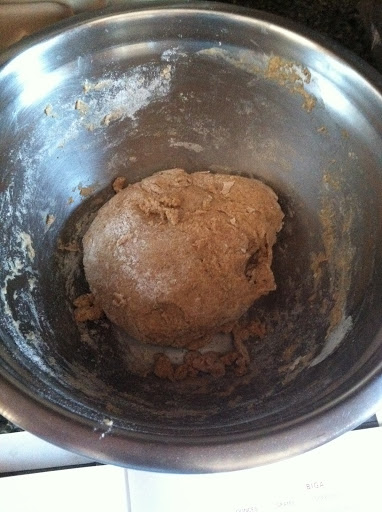
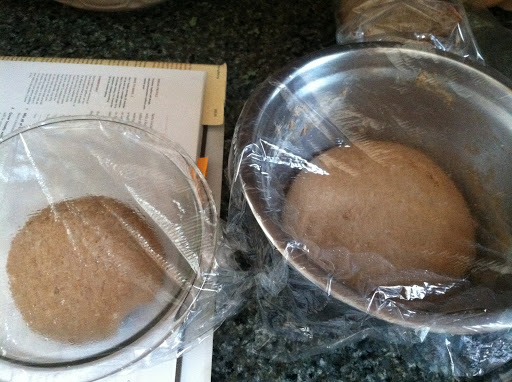
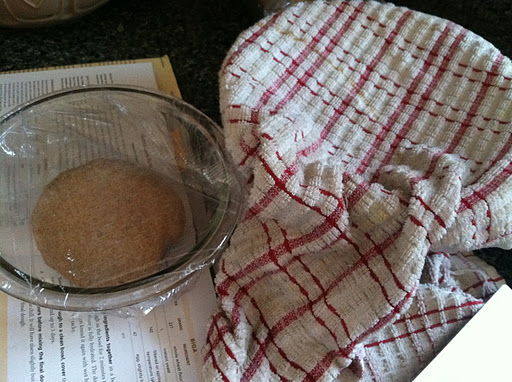
7. Pour a dash of olive oil into a large bowl. Take the ball of dough out of the mixer and spread it in the bowl to coat it in oil. Cover with plastic wrap and a kitchen towel and let it rise for about 90 minutes to 2 hours.
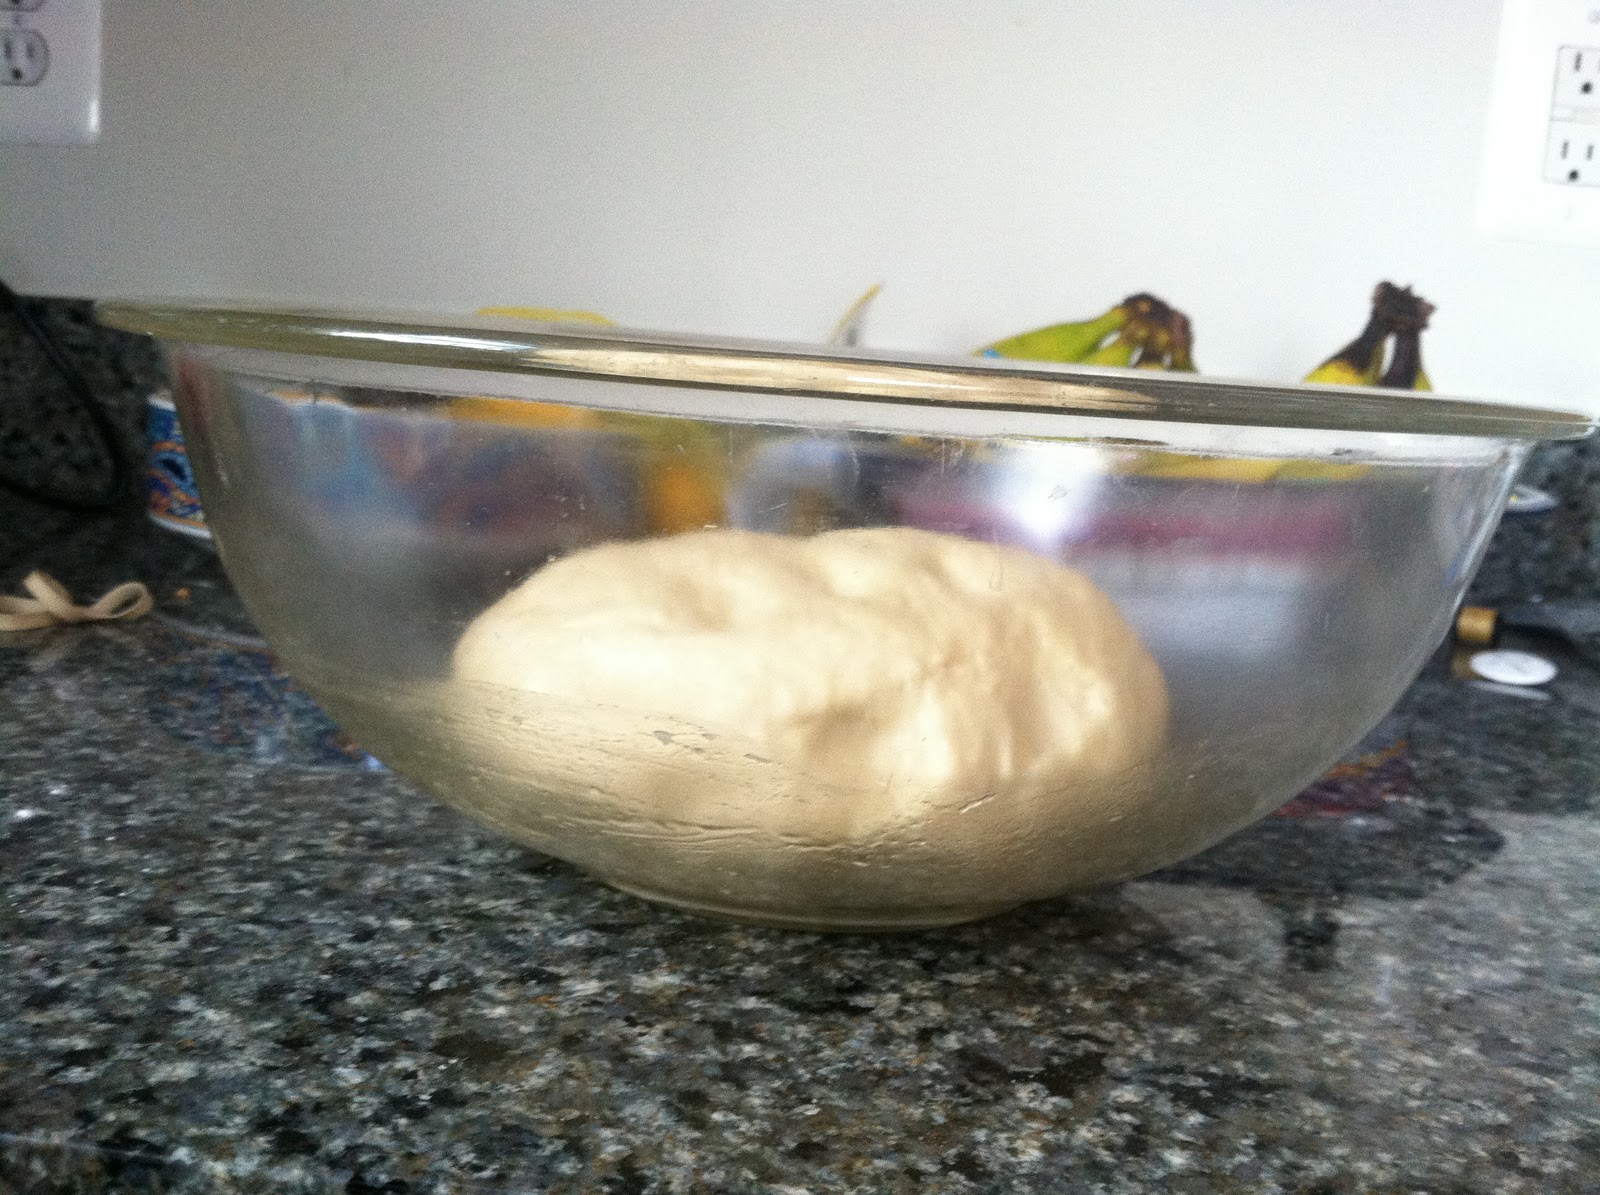
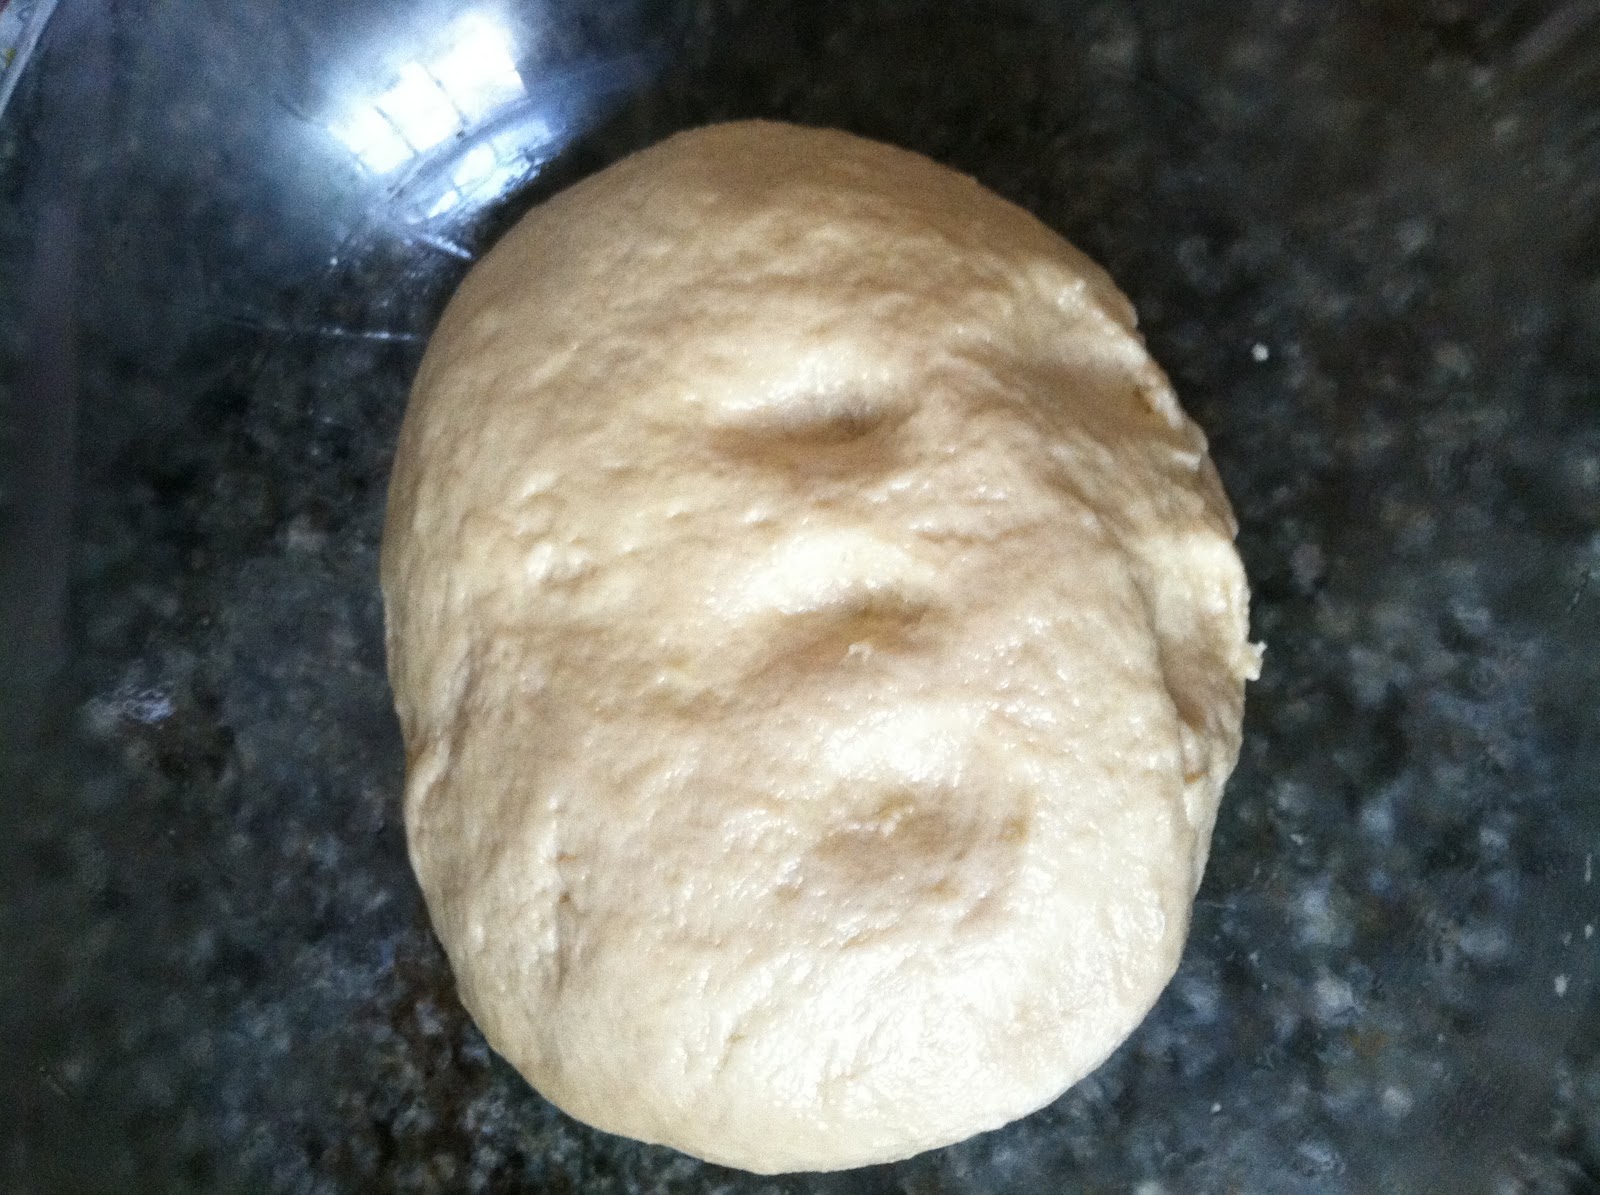
After two hours:
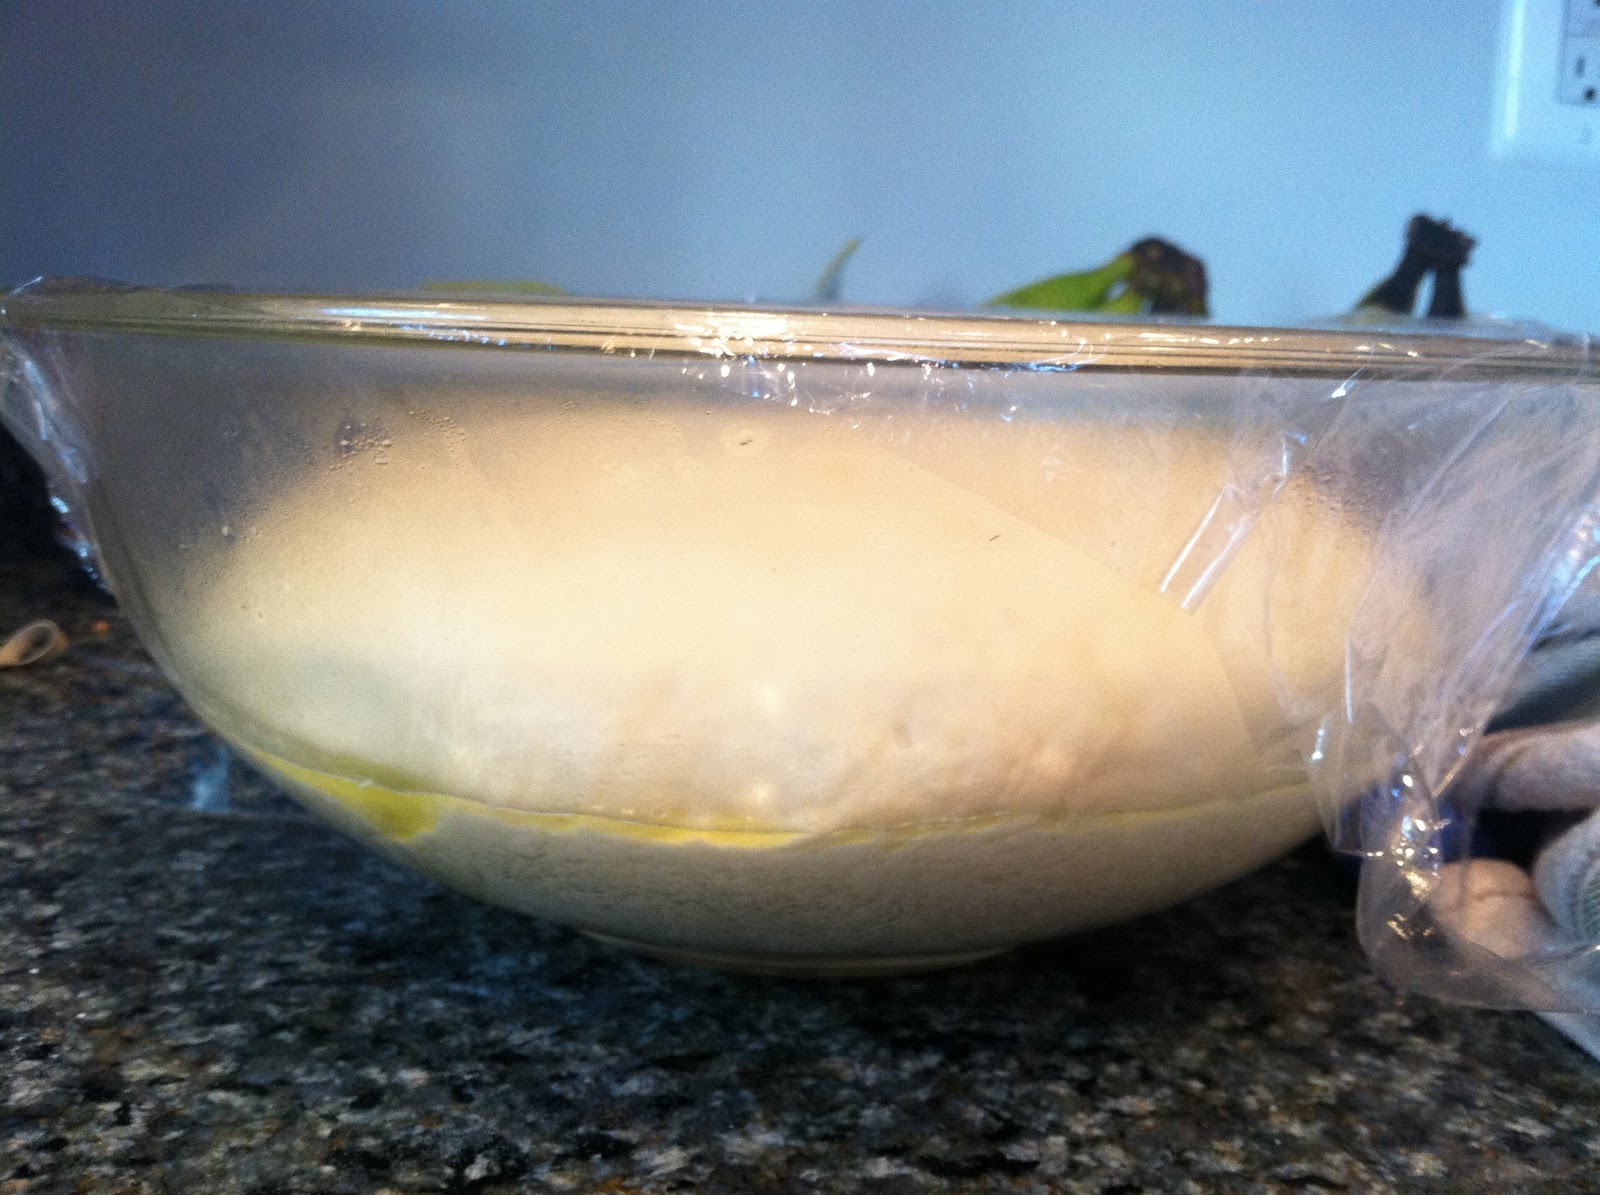
Perfect!
8. Once it has risen to twice its original size, gently punch the dough down, take it out and knead it in your hands a little bit, then return it to the bowl, recover with plastic, and refrigerate for 30 minutes. You’ll probably want to preheat your oven at this point to 425 degrees F.
9. Take the dough out of the refrigerator and move to a flat surface. You will need a pastry cutter and a kitchen scale for this part, if you want perfectly evenly-cooked buns.
Take the plastic wrap off the bowl and use to cover your kitchen scale, so it doesn’t get all greasy from the dough.
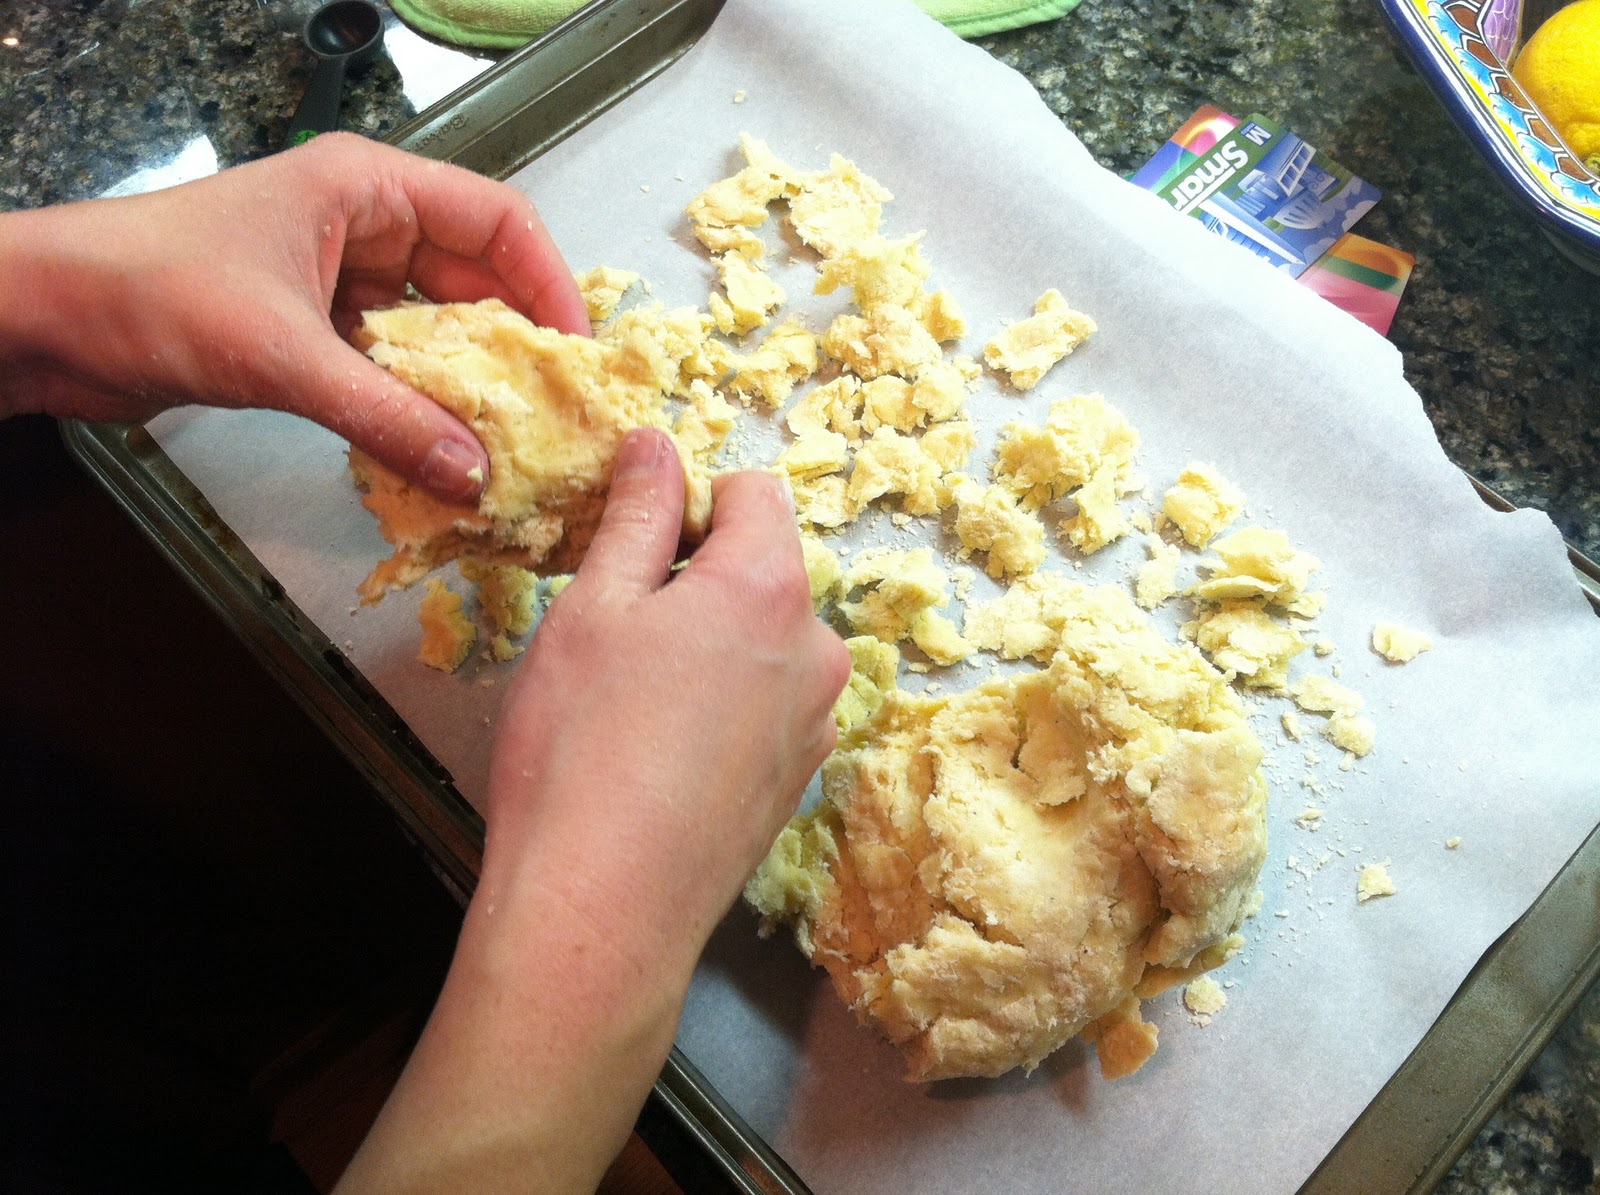
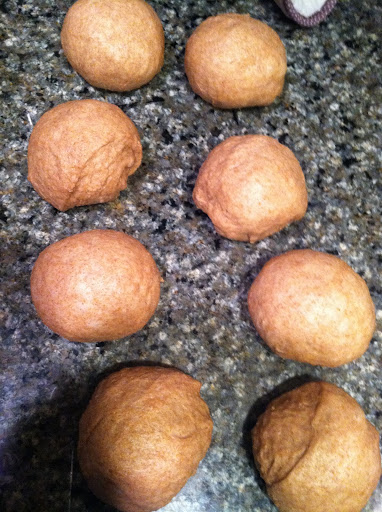
Using the pastry cutter, divide your dough into quarters or so.
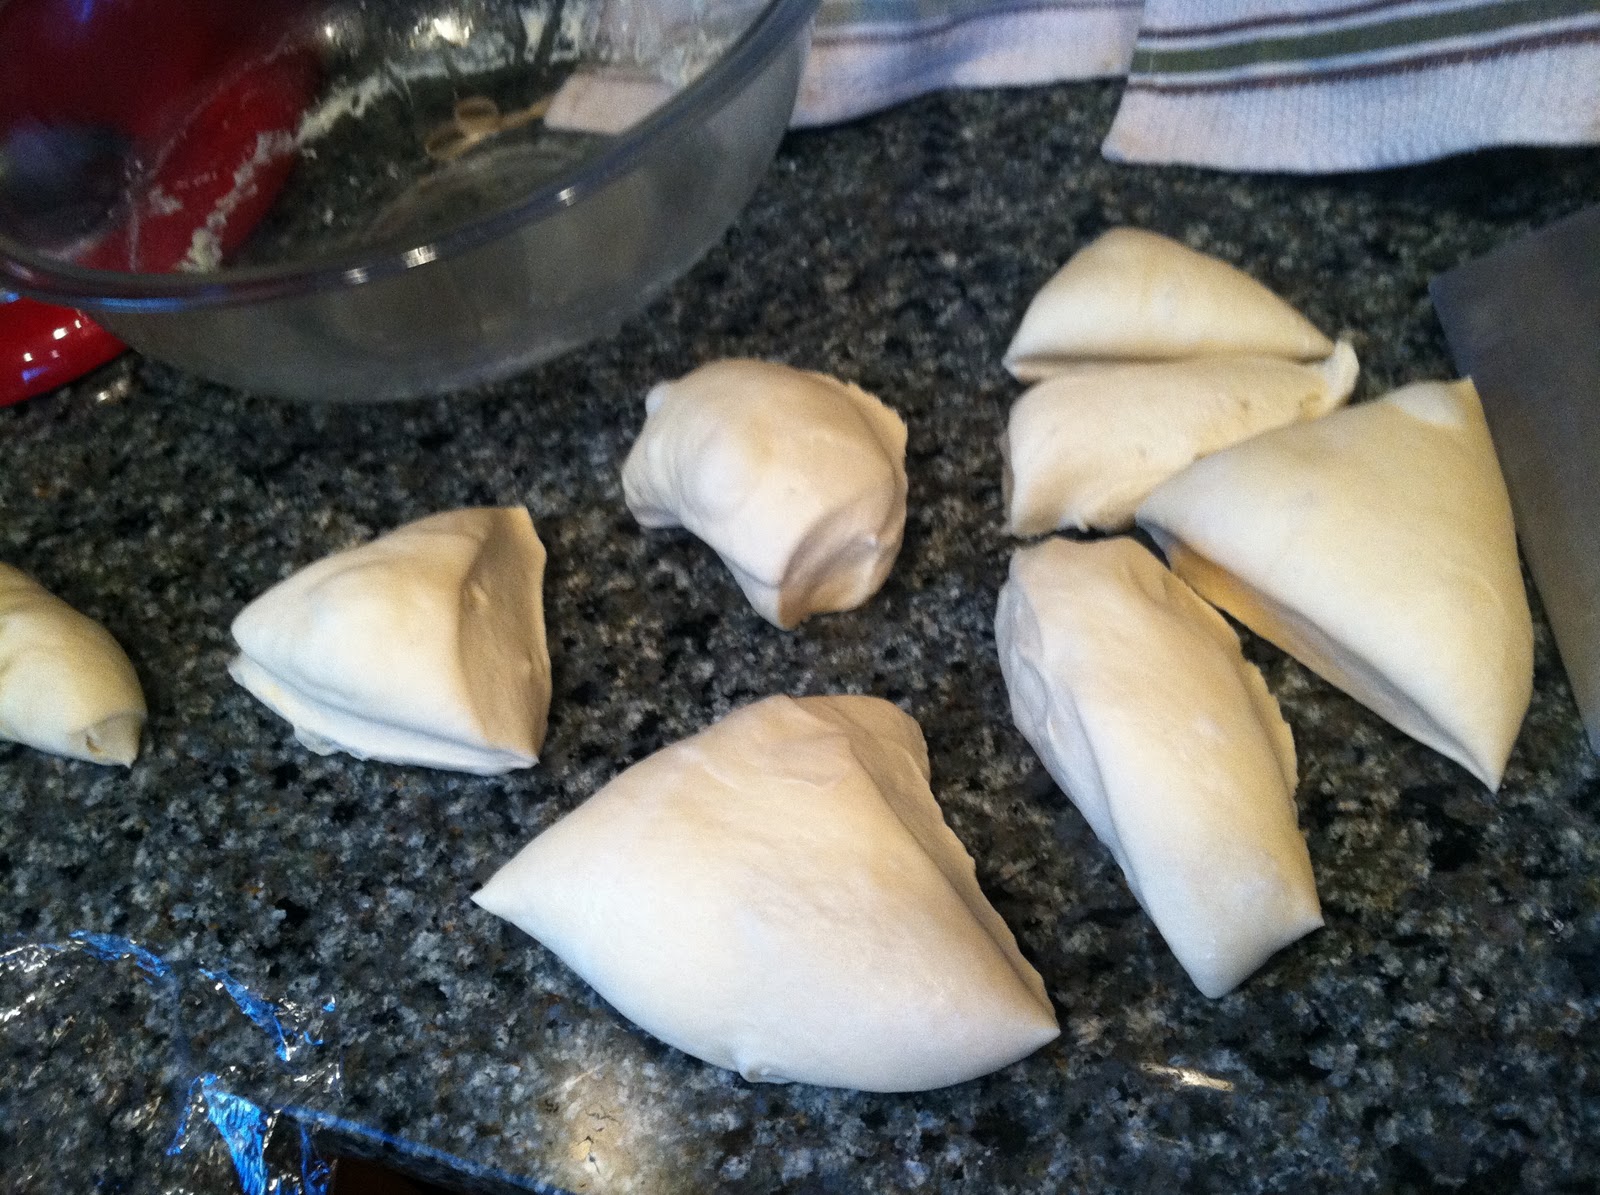
Now, decide how big you want the buns to be. For small dinner rolls, you’ll want them to be about 75 grams each. For hamburger buns, you’ll want them closer to 95 or 100g.
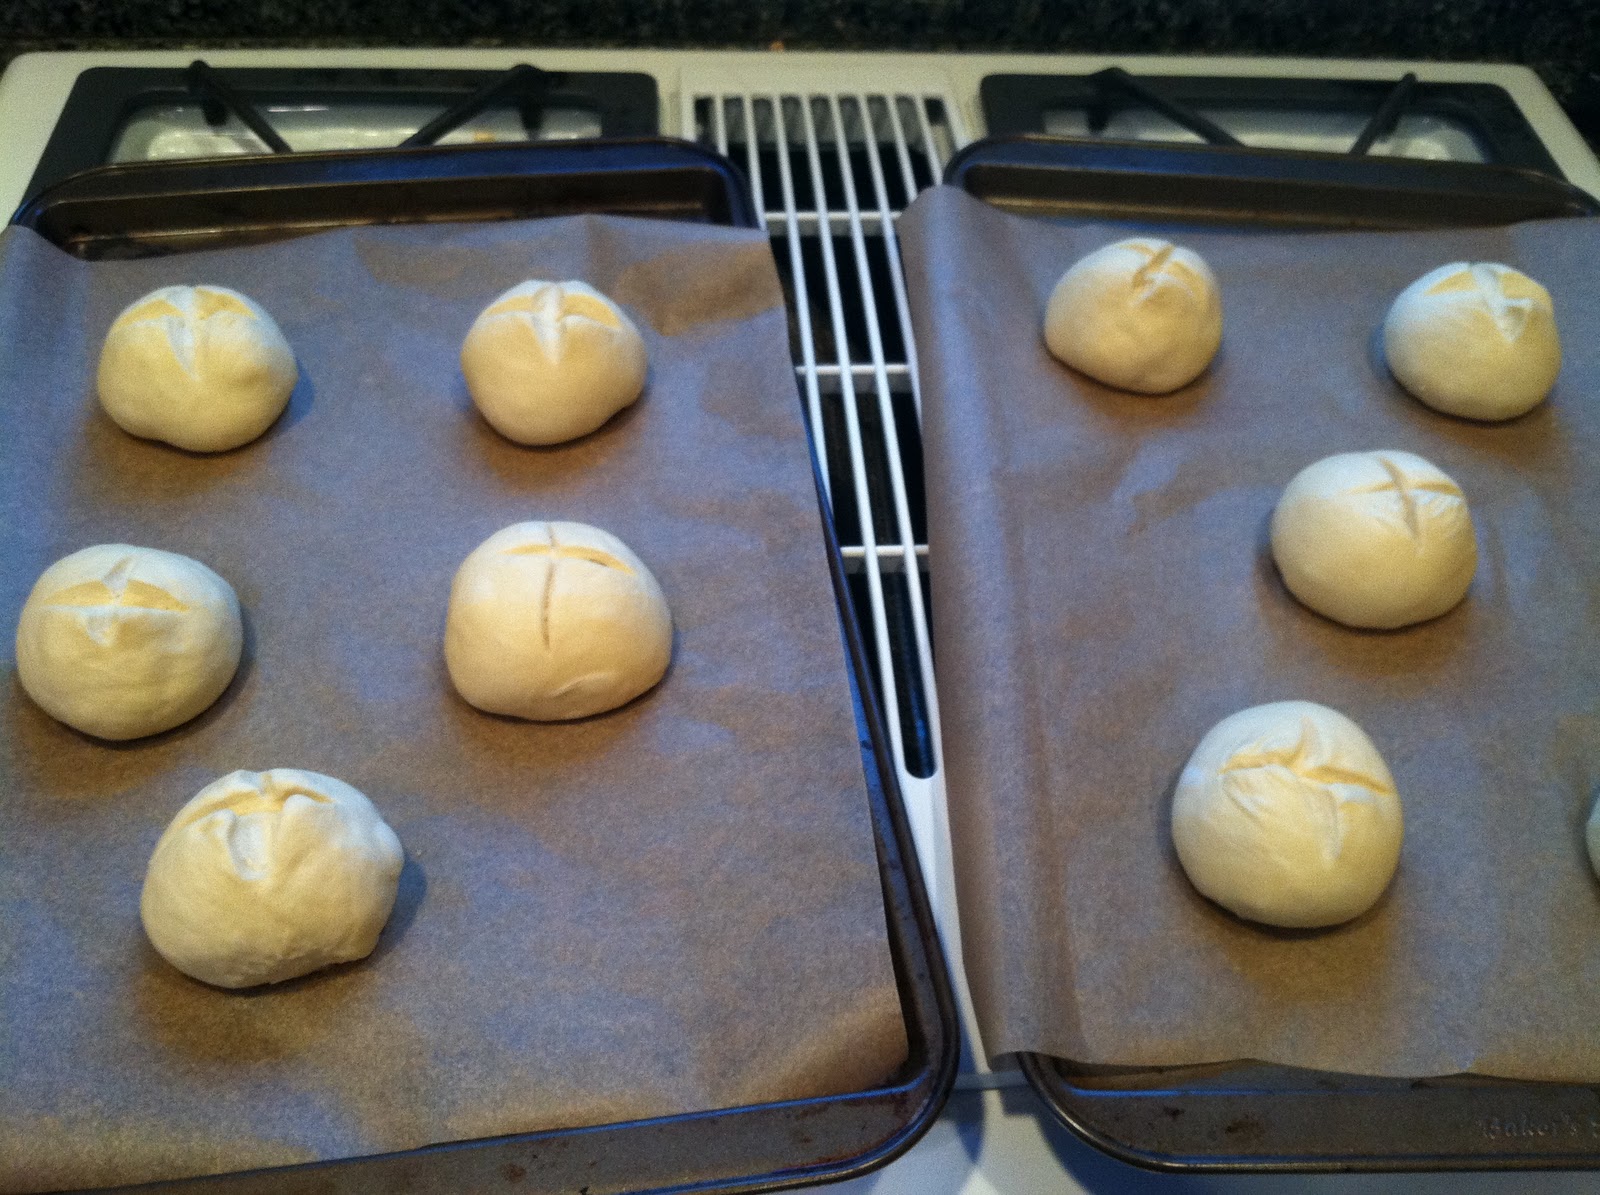
Weigh each piece of dough and adjust accordingly until each piece is uniform in weight. Roll into balls and put on your…
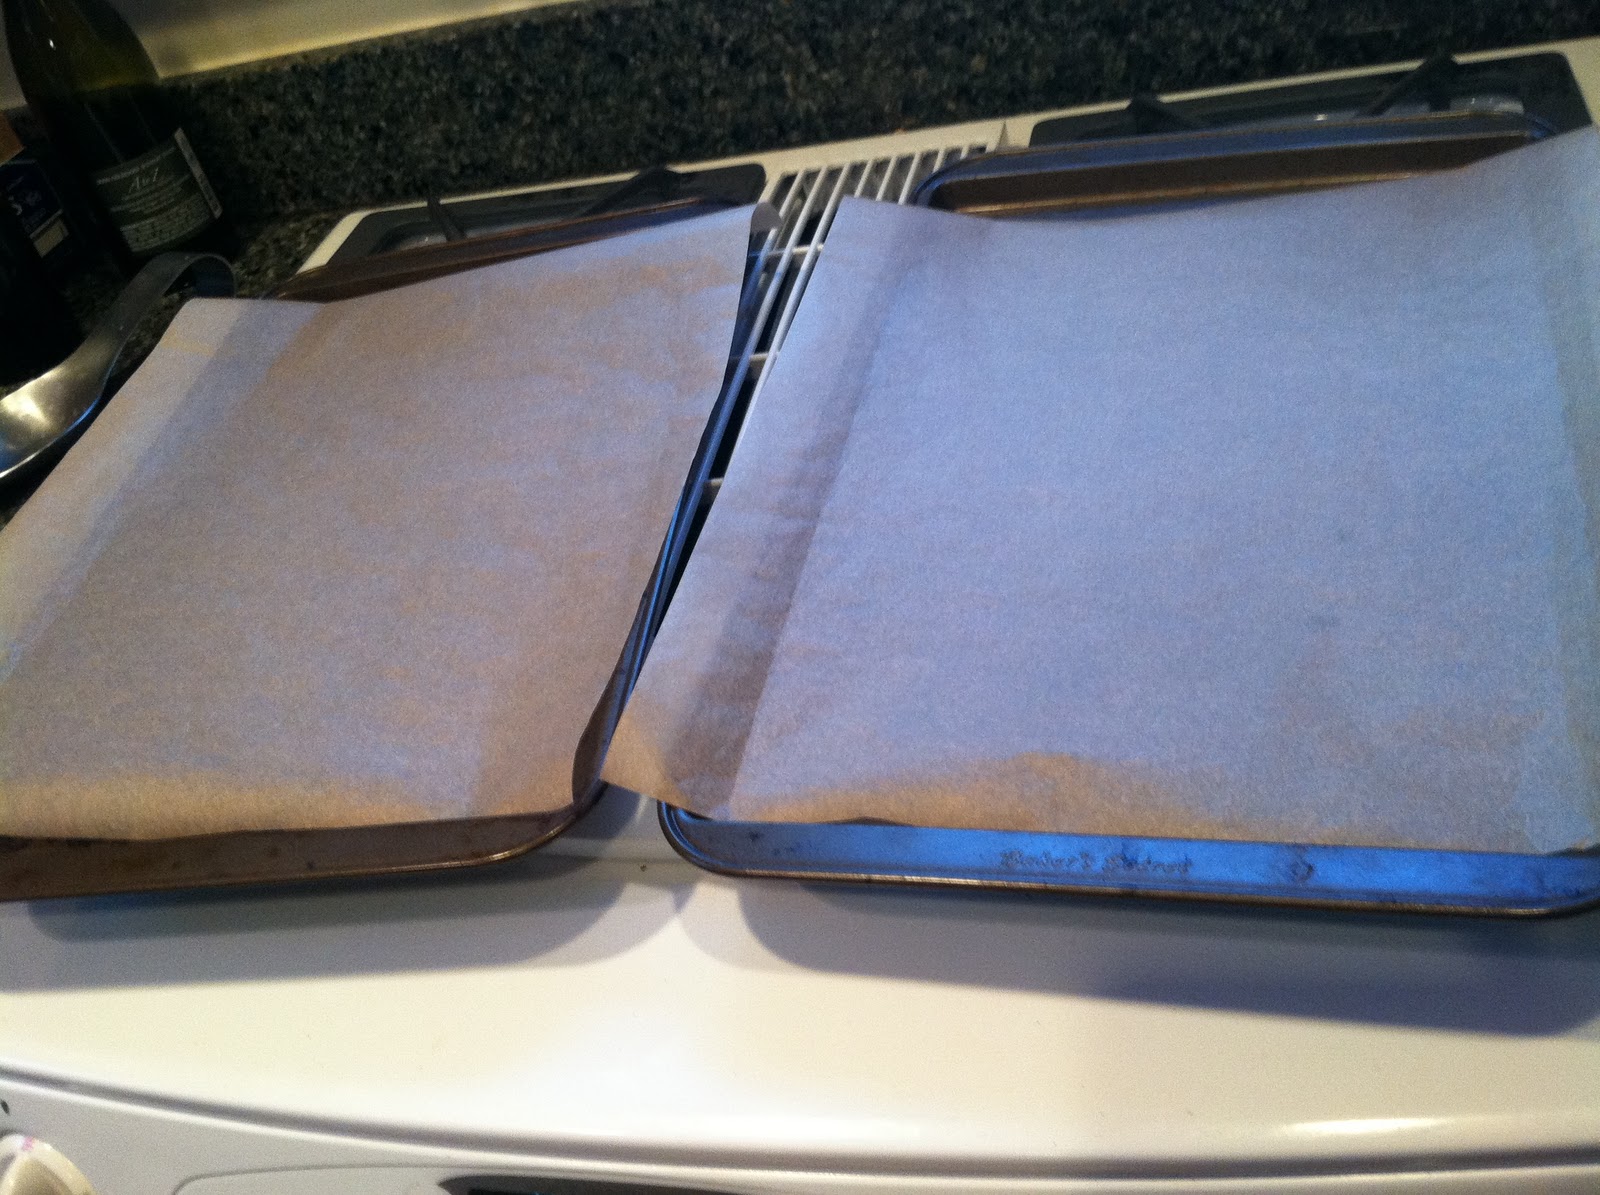
…parchment-lined baking sheet.

Once you have your buns on the baking sheets, score them using a sharp knife. Just draw a little cross on the top.
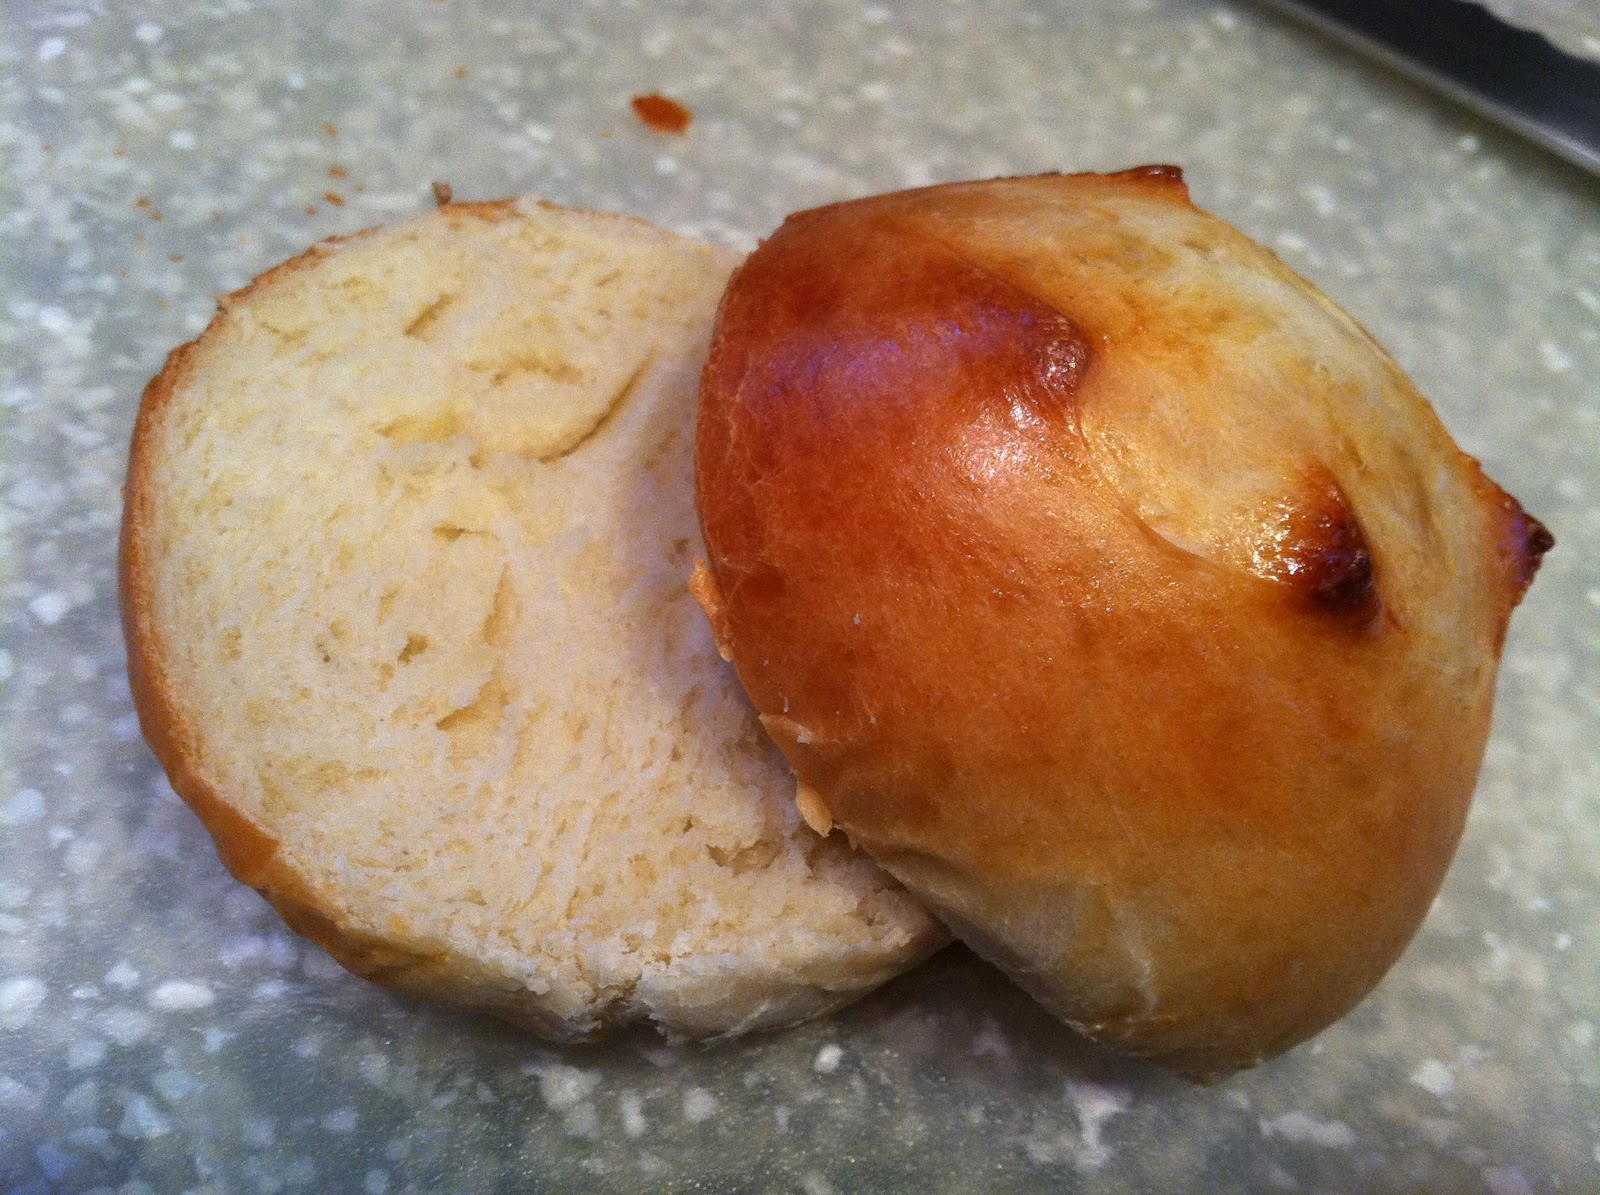
Take your second egg and crack it into a small bowl. Whisk with a fork, then use a pastry brush or piece of paper towel to apply the egg wash to the top of each bun. This will make the buns nice and brown and give them a shiny coating.
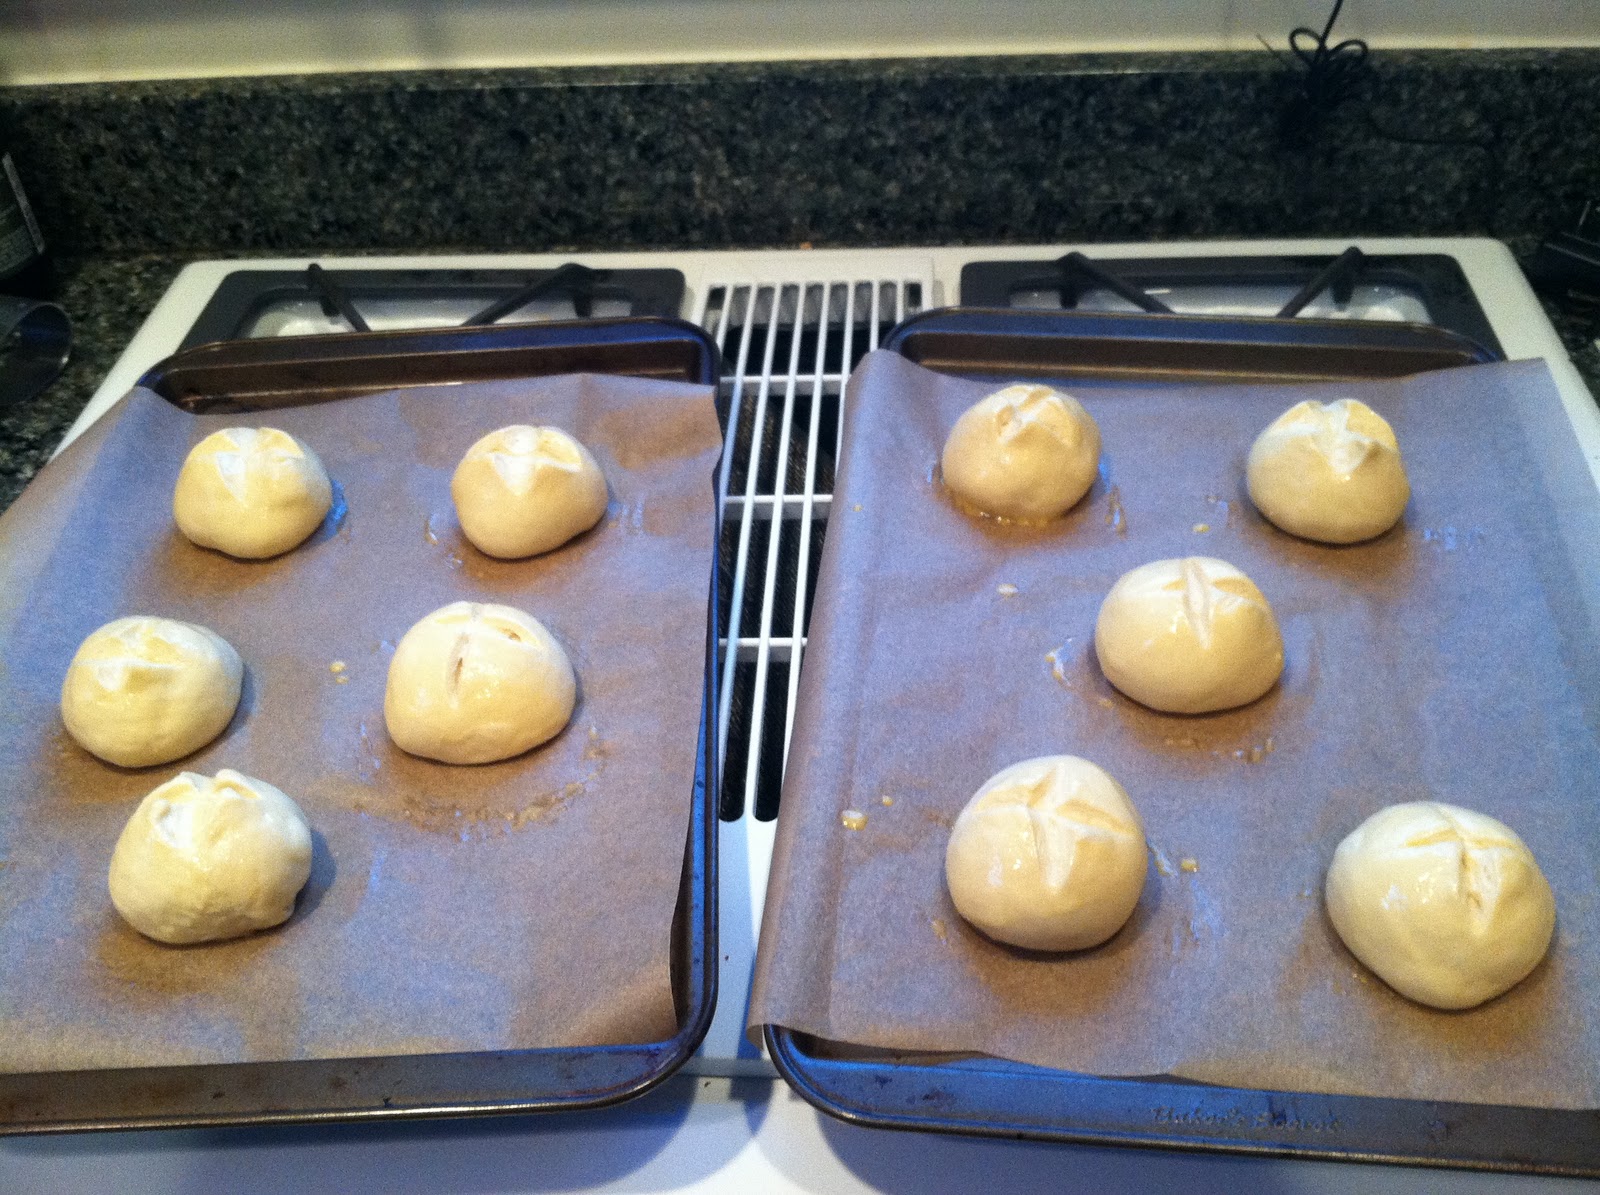
Stick these in the oven for about 15 minutes, rotating the baking sheets once they’ve done all the rising they’re going to do, at about 12 minutes. Once again, you want to rely on sight, not just what the recipe says, to determine when to take the buns out of the oven. Because these hamburger buns are pretty big, I’m going to bake them for longer than the allotted time, about 17 minutes instead.

These buns look great! And they’re so easy to make. I hope this puts you in the mood to have hamburgers this week, to go with your homemade hamburger buns!


