Torta di Riso Salata

 It’s been said that necessity is the mother of invention.  I think it’s true.  Although many of our inventions make me wonder if I really *NEEDED* them in my life.

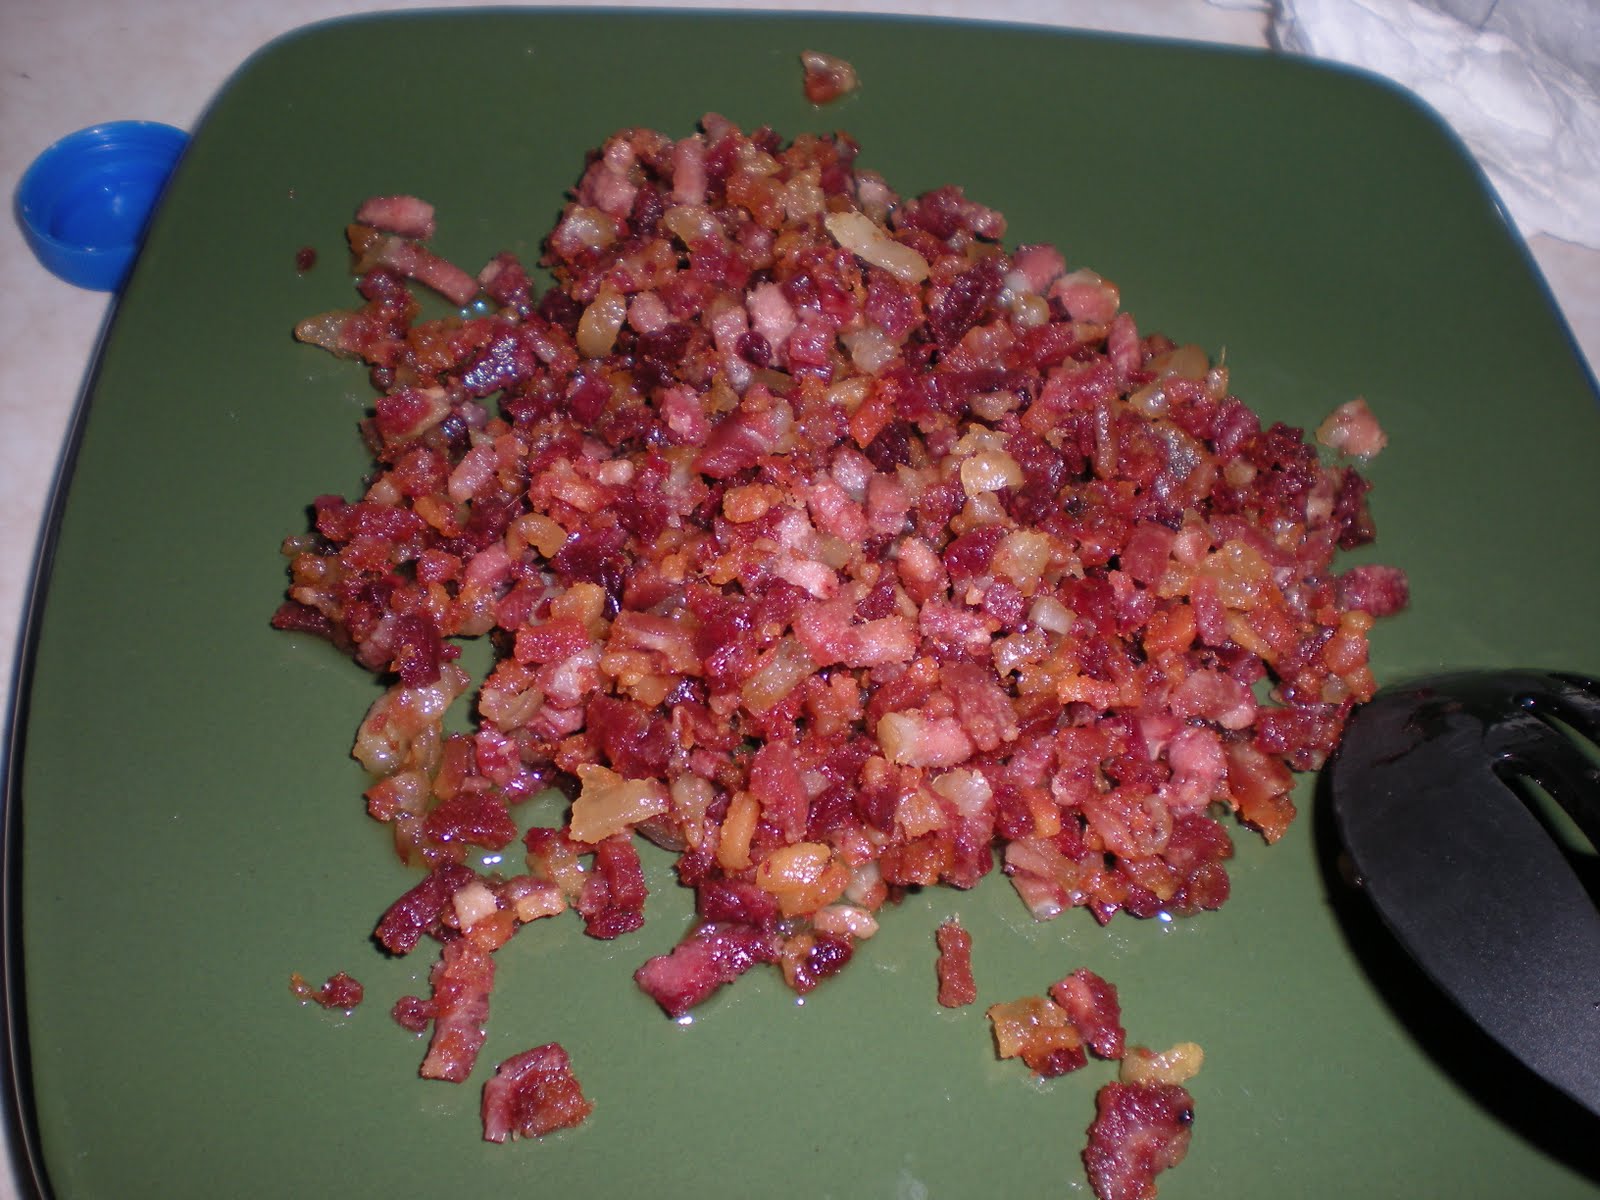
For example, we went through a period cooking-wise when the finishing touch to a dish always involved wrapping it somehow in bacon.  Delicious, but we certainly did not NEED the extra bacon-y goodness.

However, this is a different story.

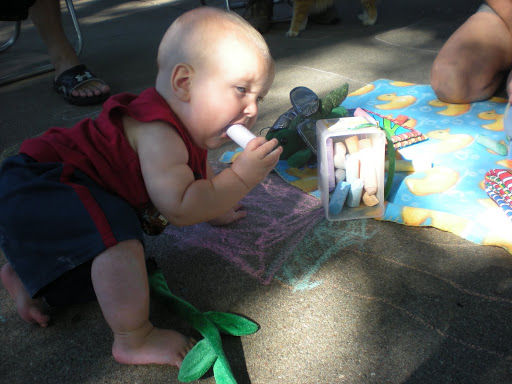
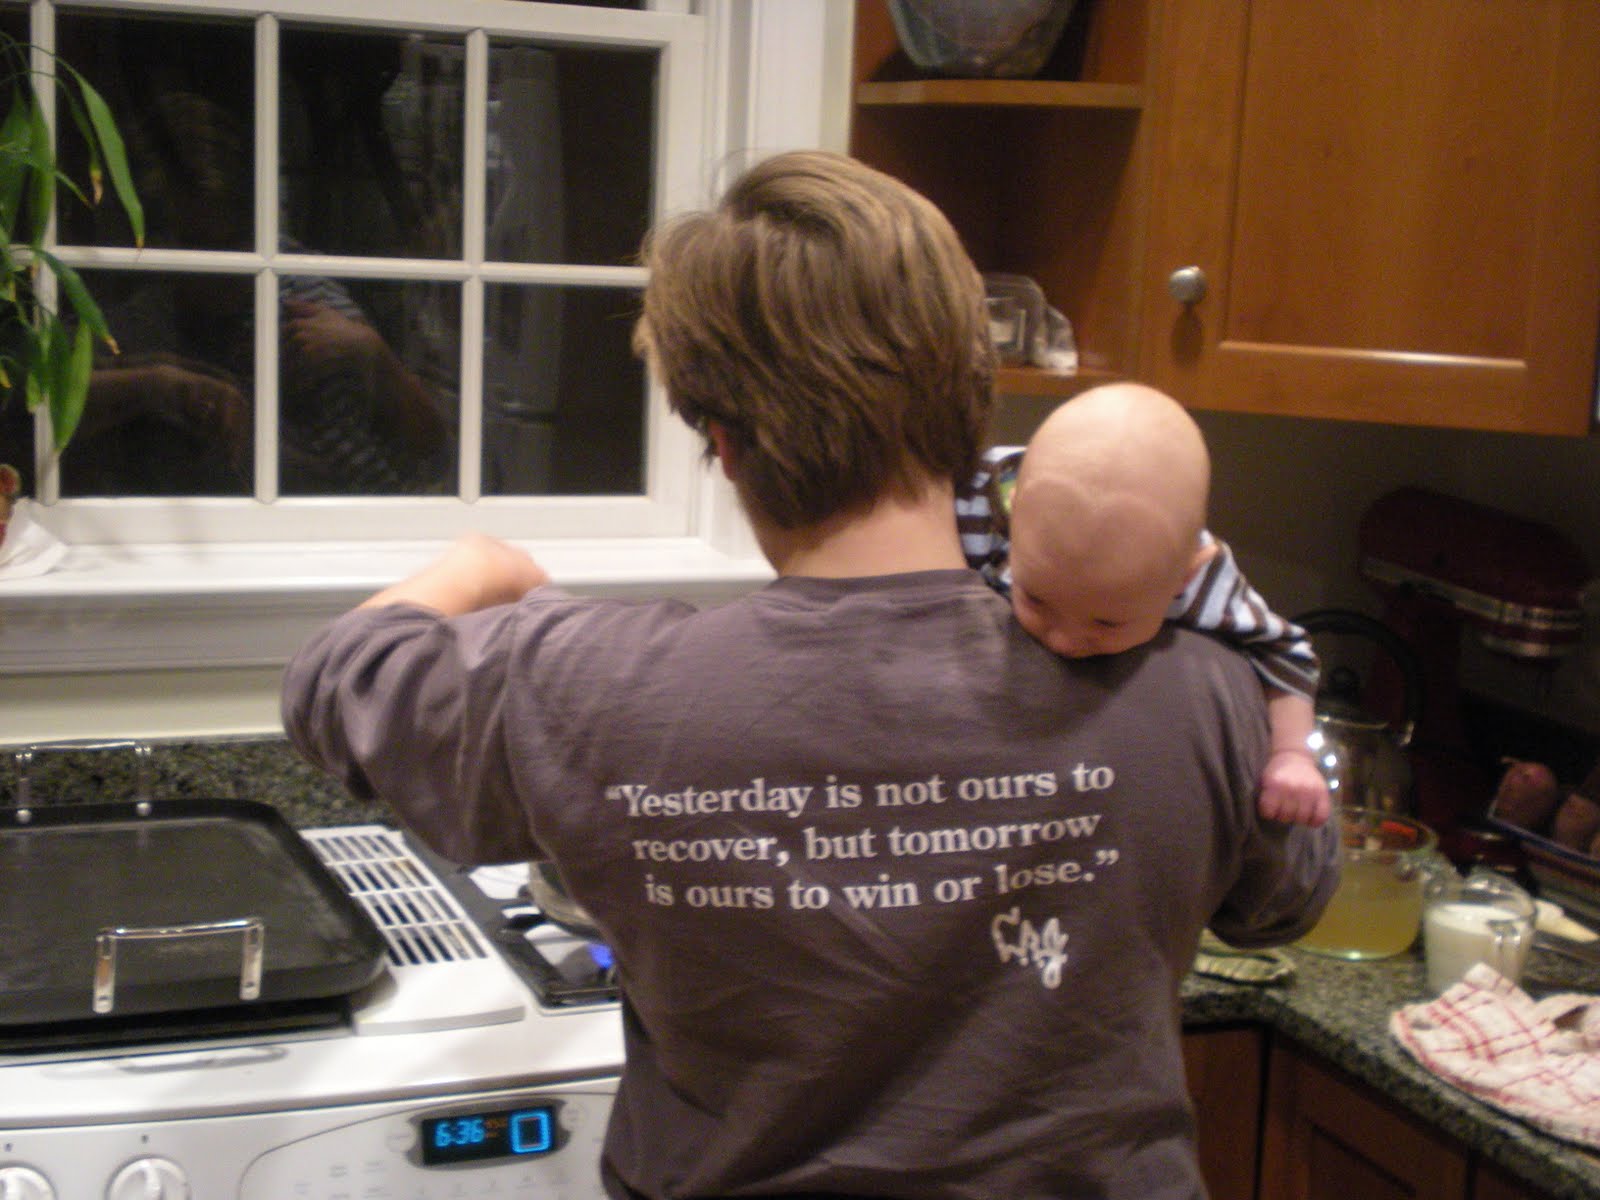
I need to find a way to get Little Bread Baby (soon to be Little Bread Toddler) to eat a whole ton of rice.  Mr. Bread Maiden decided that LBB was not getting enough carbs in his diet, so he made a big vat of brown rice and then left town for four days.

 LBB was not impressed with the rice.  What to do?

Go to the internets.

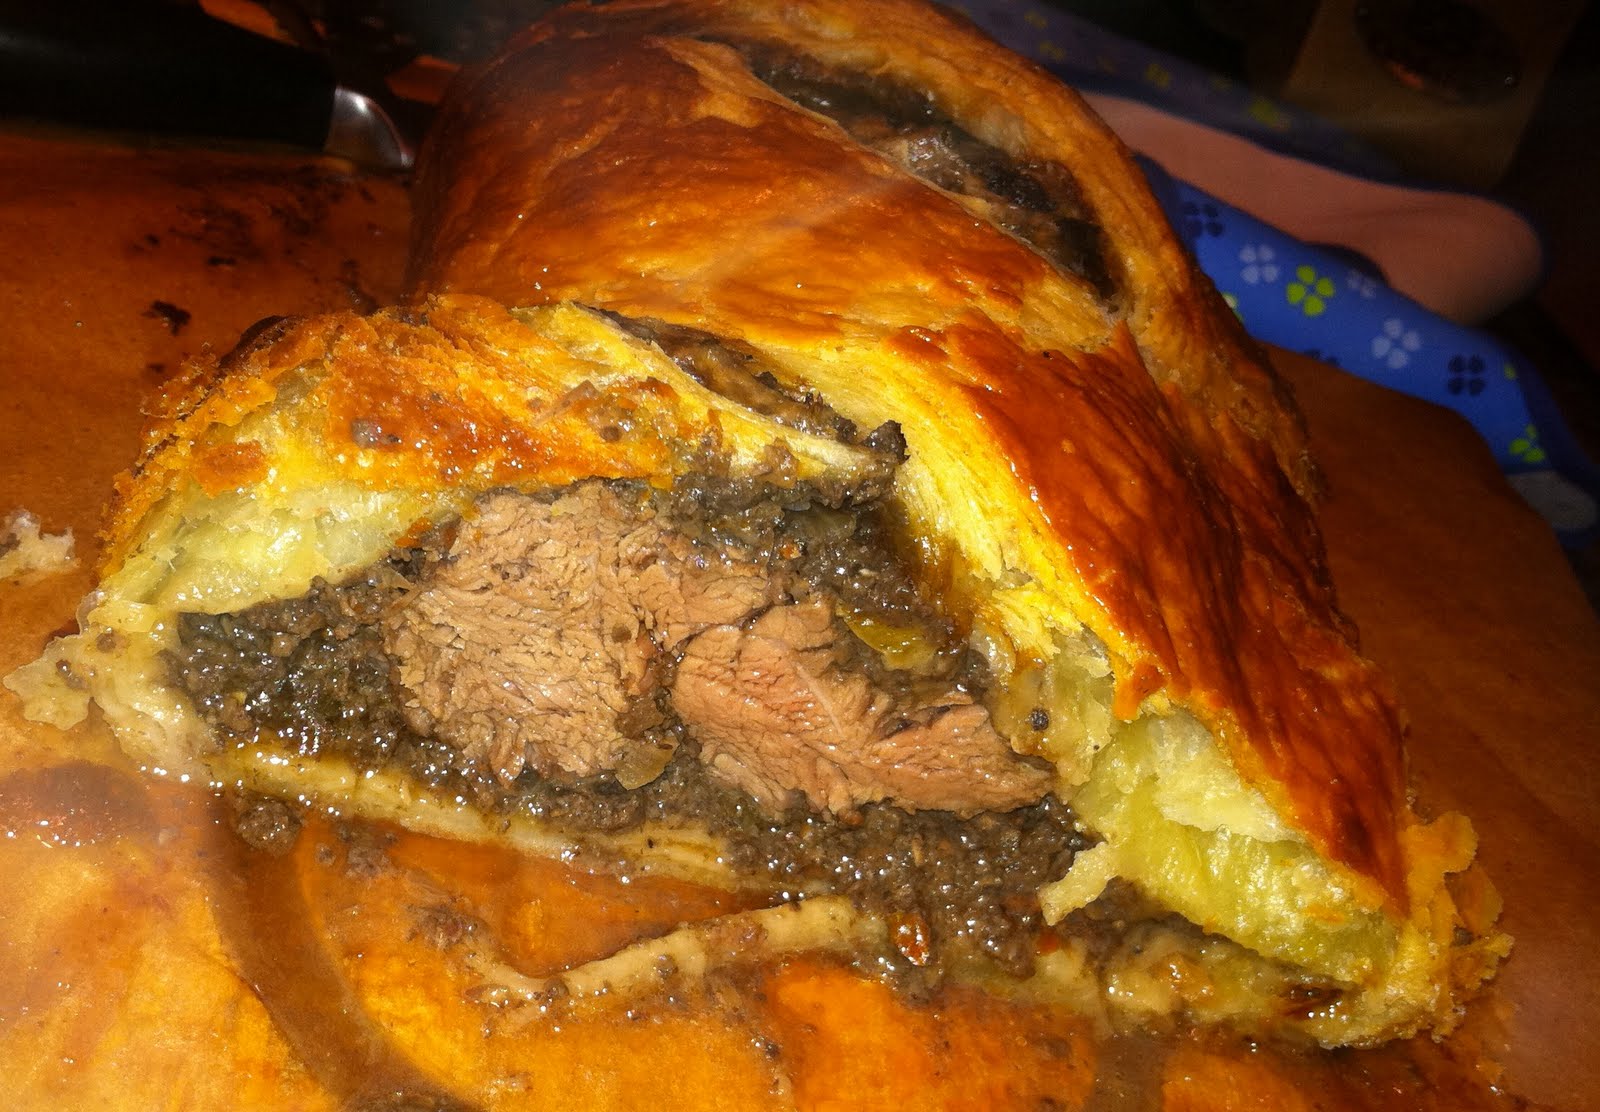
I had a shady recollection of having once in my life eaten something like a “rice pie.” 

With Mr. Bread Maiden out of town, I didn’t have a ton of ingredients or motivation to acquire ingredients.  I had a bunch of eggs and a bunch of rice.

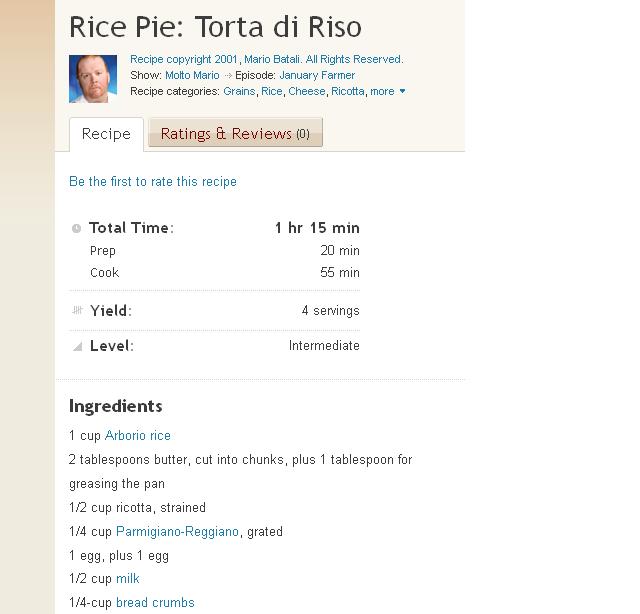
Ok, that’s getting there.  I don’t have the bread crumbs or ricotta though.  But now I have a name for what I’m looking for.  Torta di Riso.

Unfortunately, using Torta di Riso as my search term means everything comes up looking like this:

 I guess that’s ok.  My knowledge of other romance languages can help me figure out most of it.

However, now I’ve come to another problem.  All of these Tortas di riso are sweet.

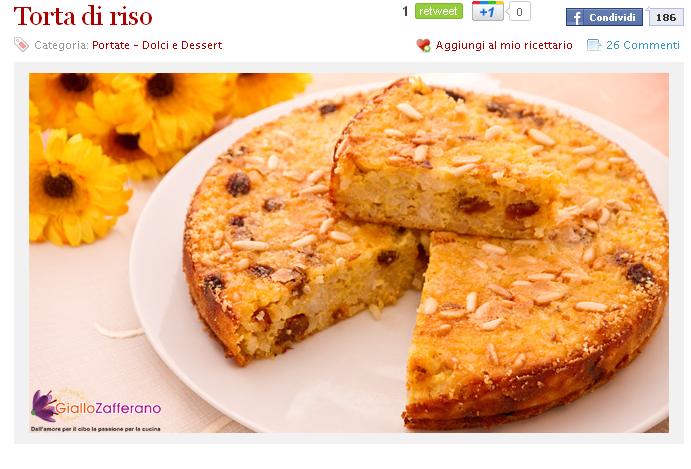
 This is a perfectly lovely torta di riso with raisins, but not really what I’m looking for.

Not to worry.  Since I want something savory, I added “salata” at the end and tried again.

Boom.  Here we go.

This is easy enough to figure out.  Formaggio looks like “fromage,” I know the word “latte,” and “uova” sounds just like “huevo.” 

The recipe itself is where things get tricky. My Italian is simply not good enough to parse this one out.

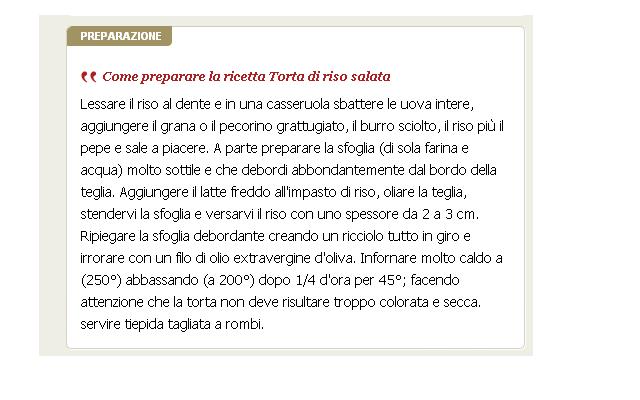
So I employed the help of Google Translate.

“The cake should not be too colorful.”  Ha.
Using this translation as a guide, here is the final recipe I used.  This recipe calls for a pie crust but I didn’t use one.
7 eggs
500 gr. cooked rice
200 gr. Grated cheese (I used mild cheddar)
100 gr. Melted butter
500 ml. milk (I messed up and added 500 grams of milk, but it turned out fine)
pepper

Salt
11. Preheat oven to 475 degrees F.

P2. Put rice in a mixing bowl.

33. Beat the whole eggs, then add them along with the grated cheese, melted butter, pepper and salt to the rice.
44. Add the cold milk to the rice mixture, then pour into a greased pie pan.  
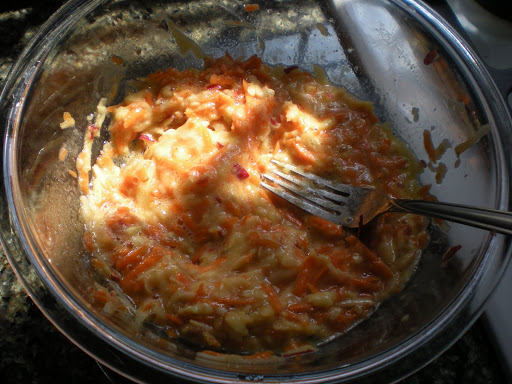
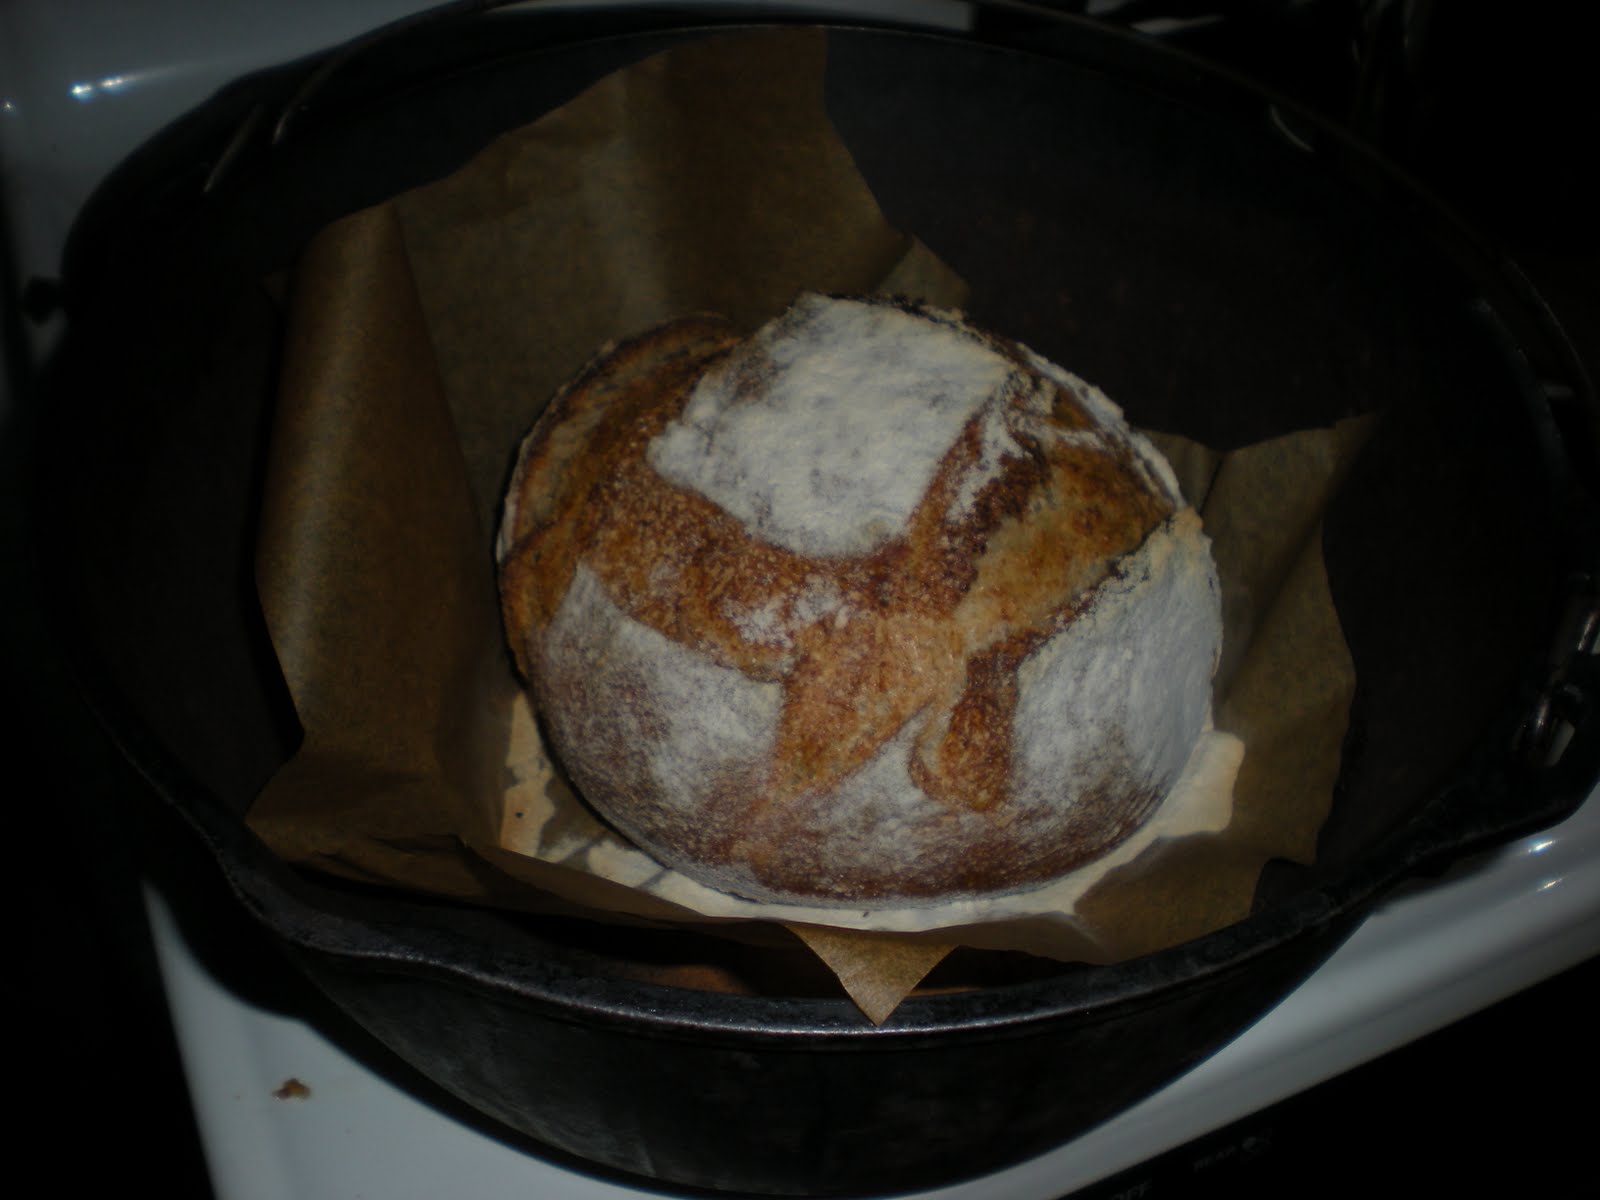
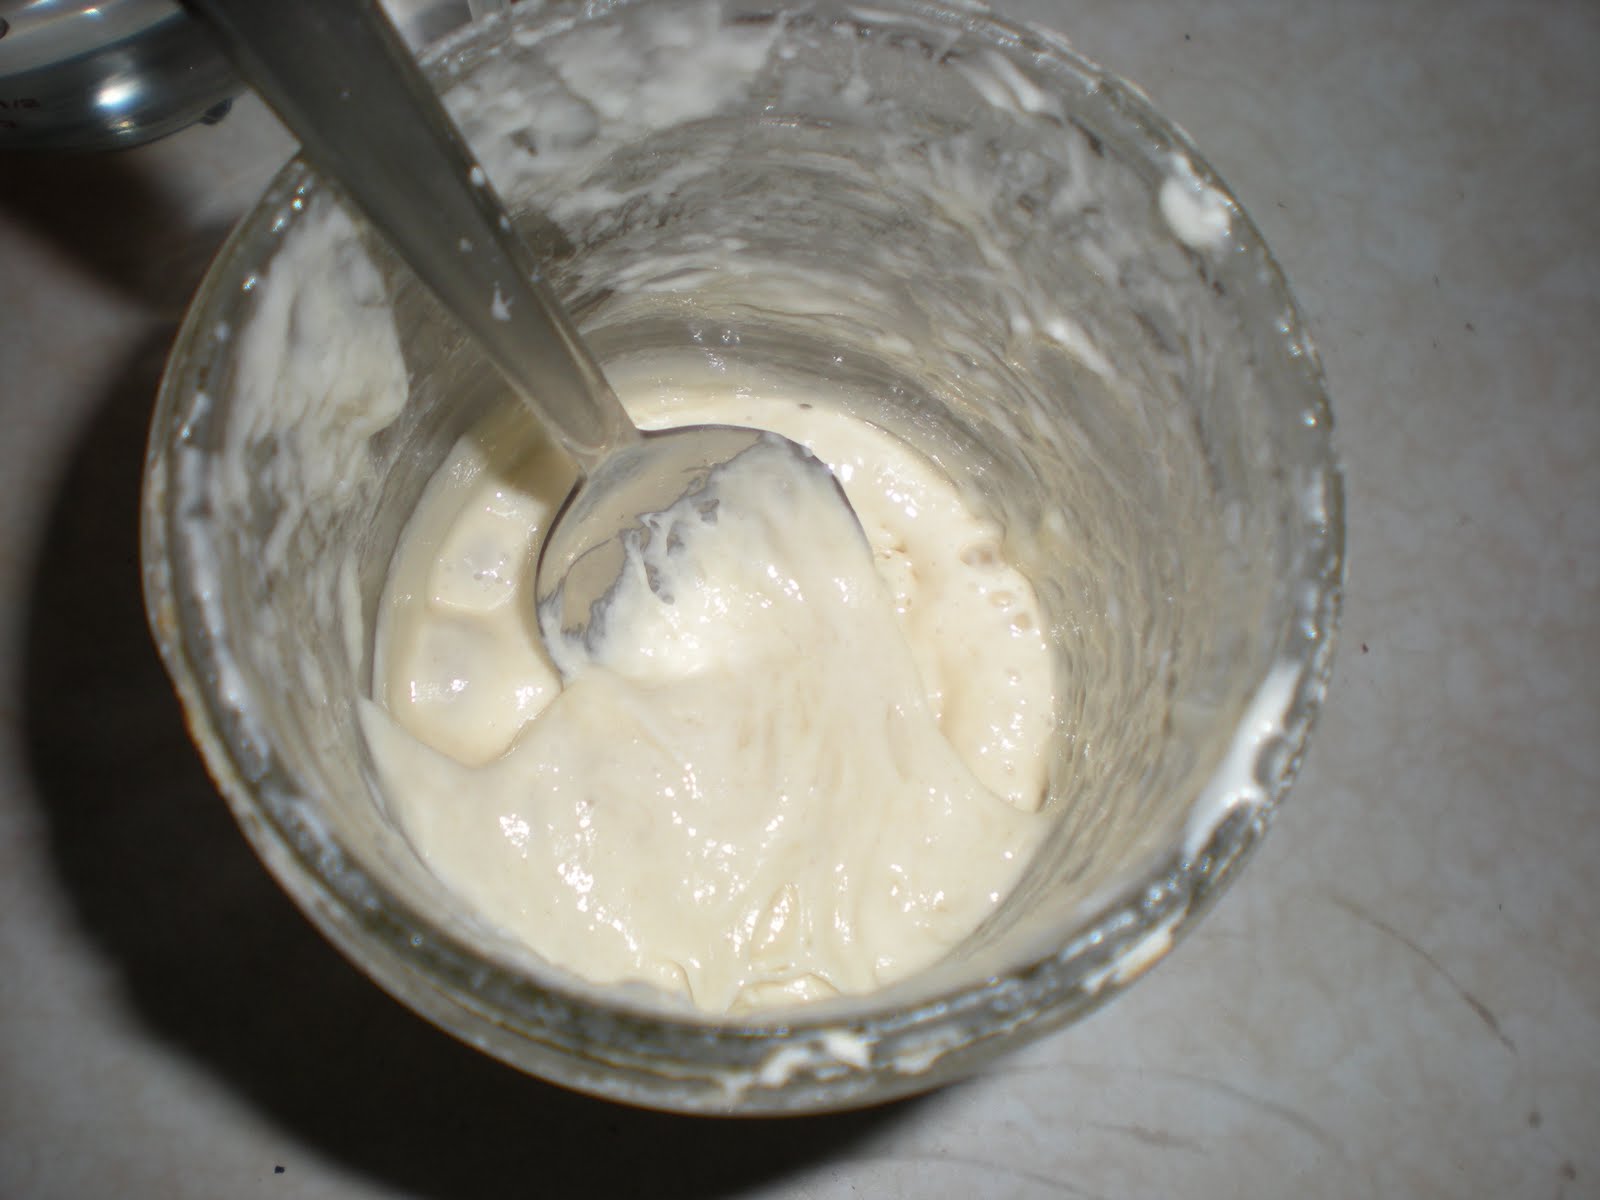
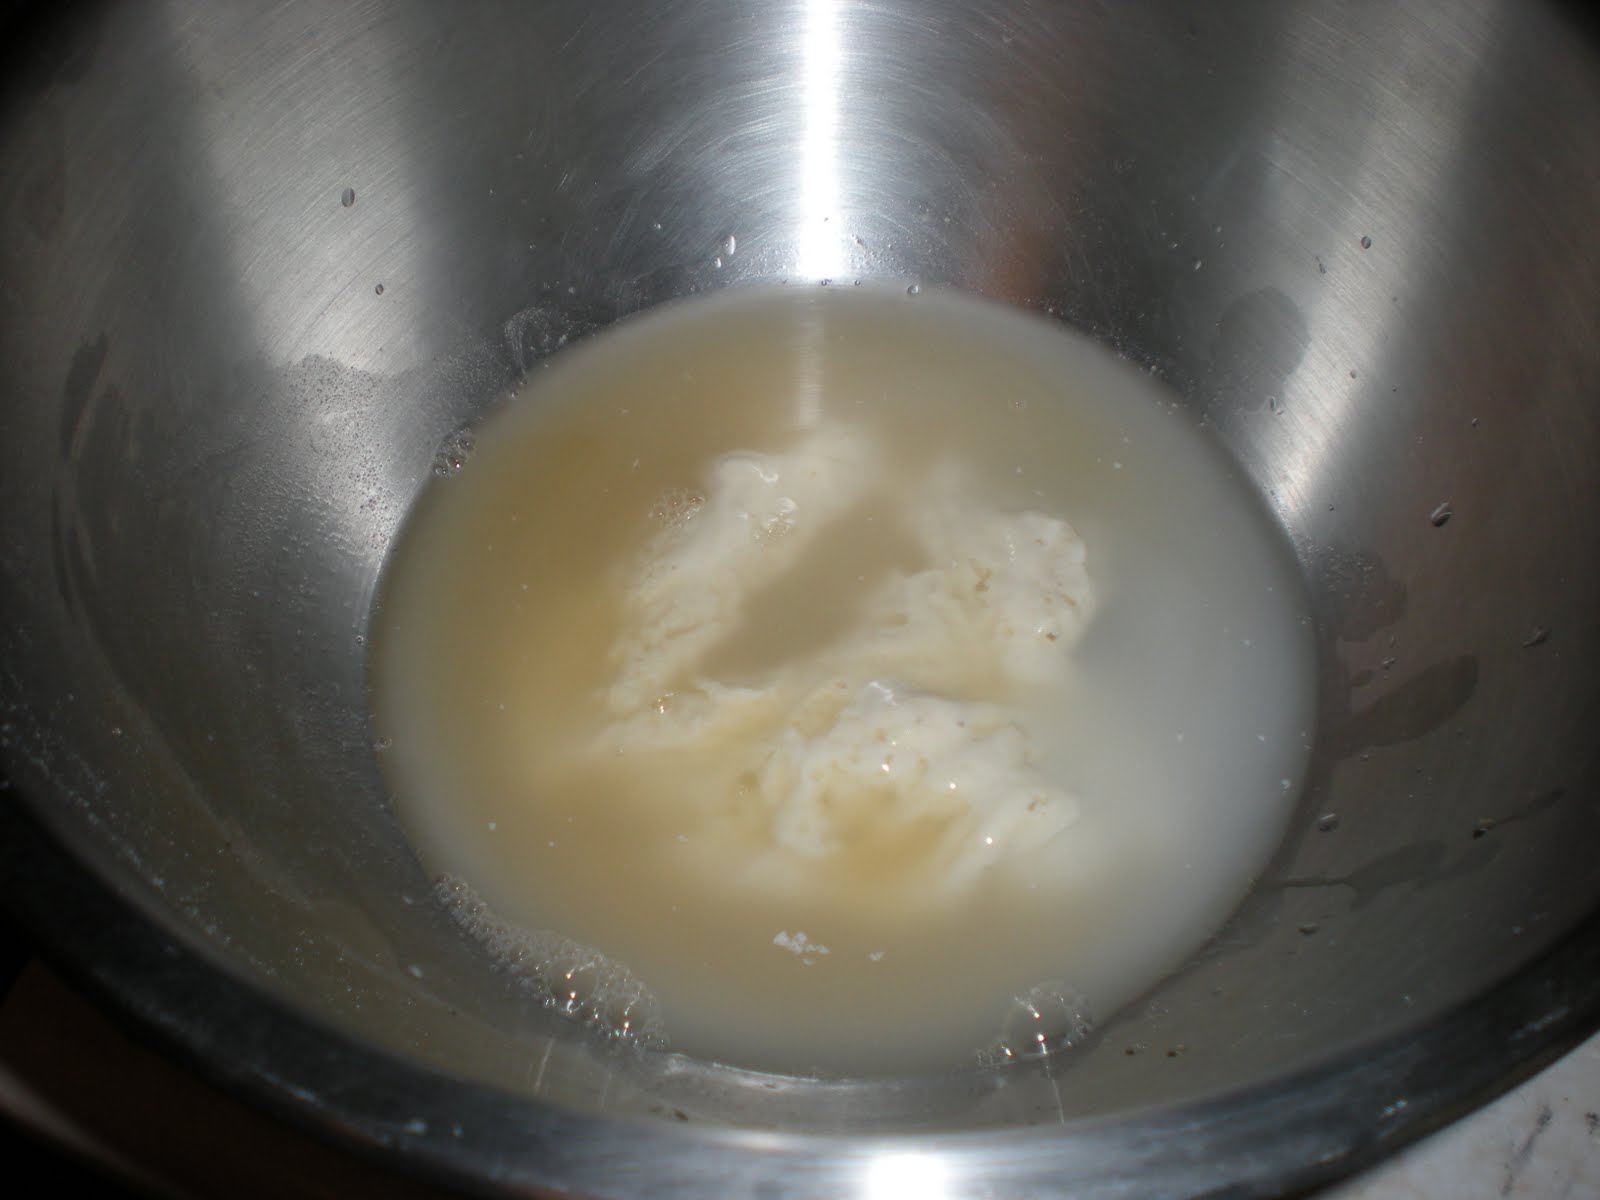
At this point I was a little nervous that it was going to be too runny and not set properly.
5.5. Place the pan in the oven, then turn the temperature down to 375 after 15 minutes.  Continue baking for another 45 minutes or until brown and crunchy on top.  Serve warm.

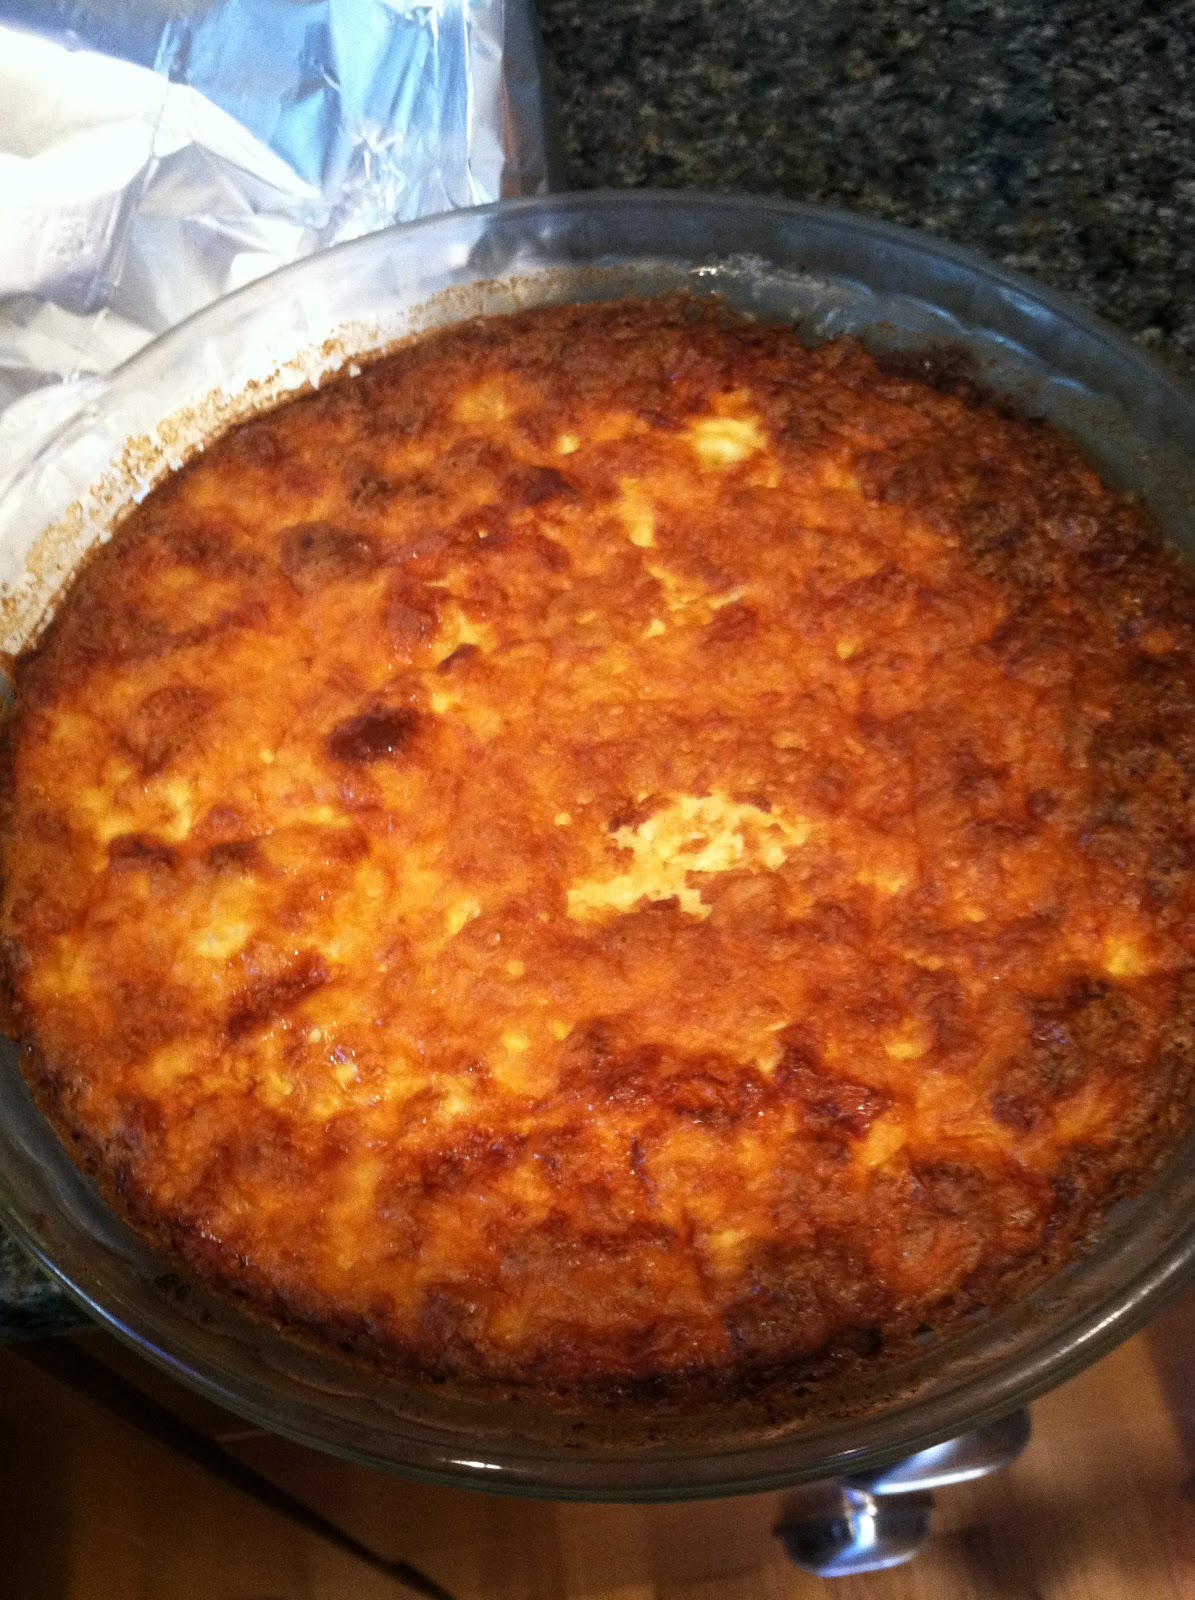
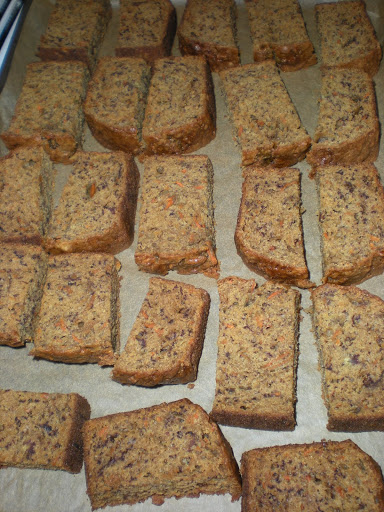
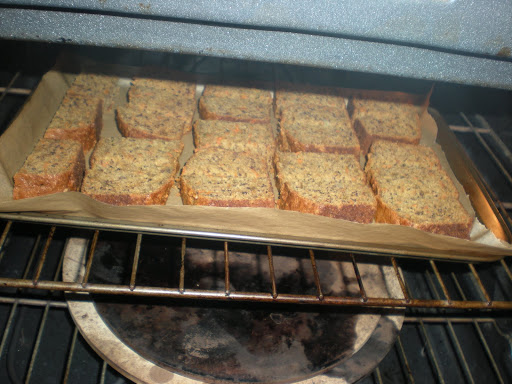
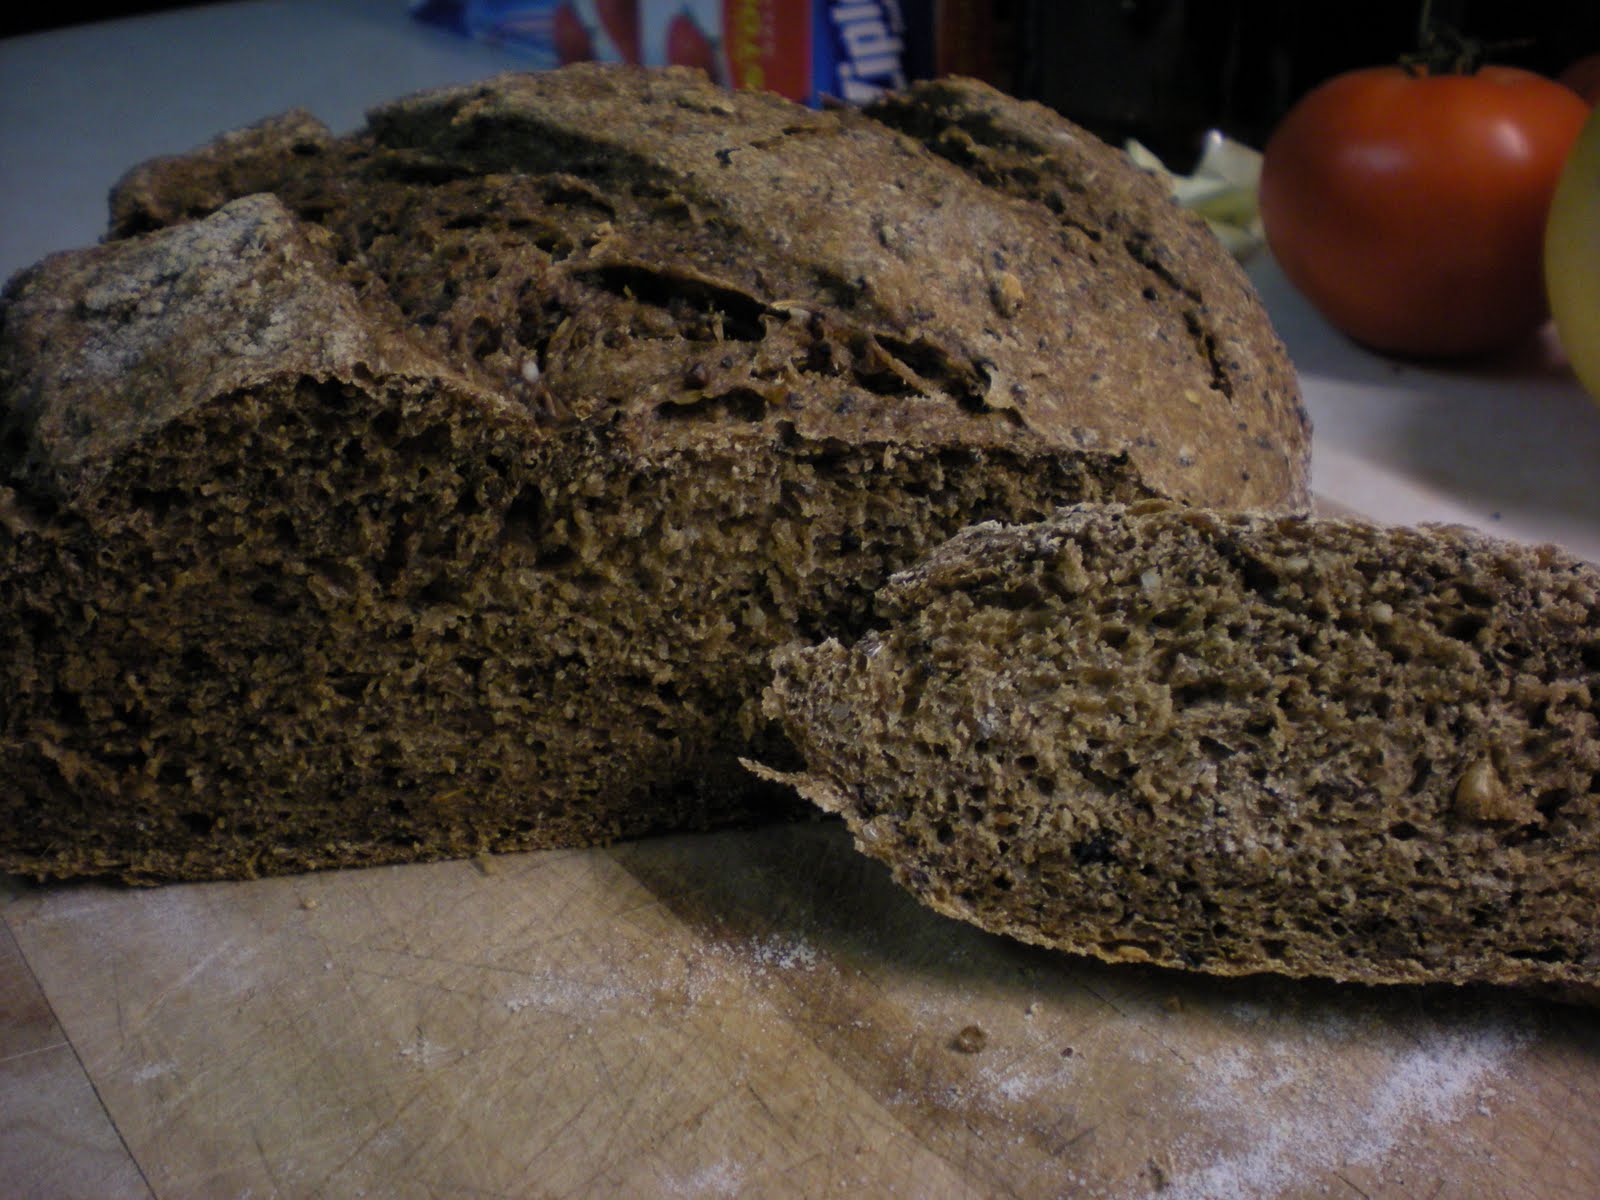
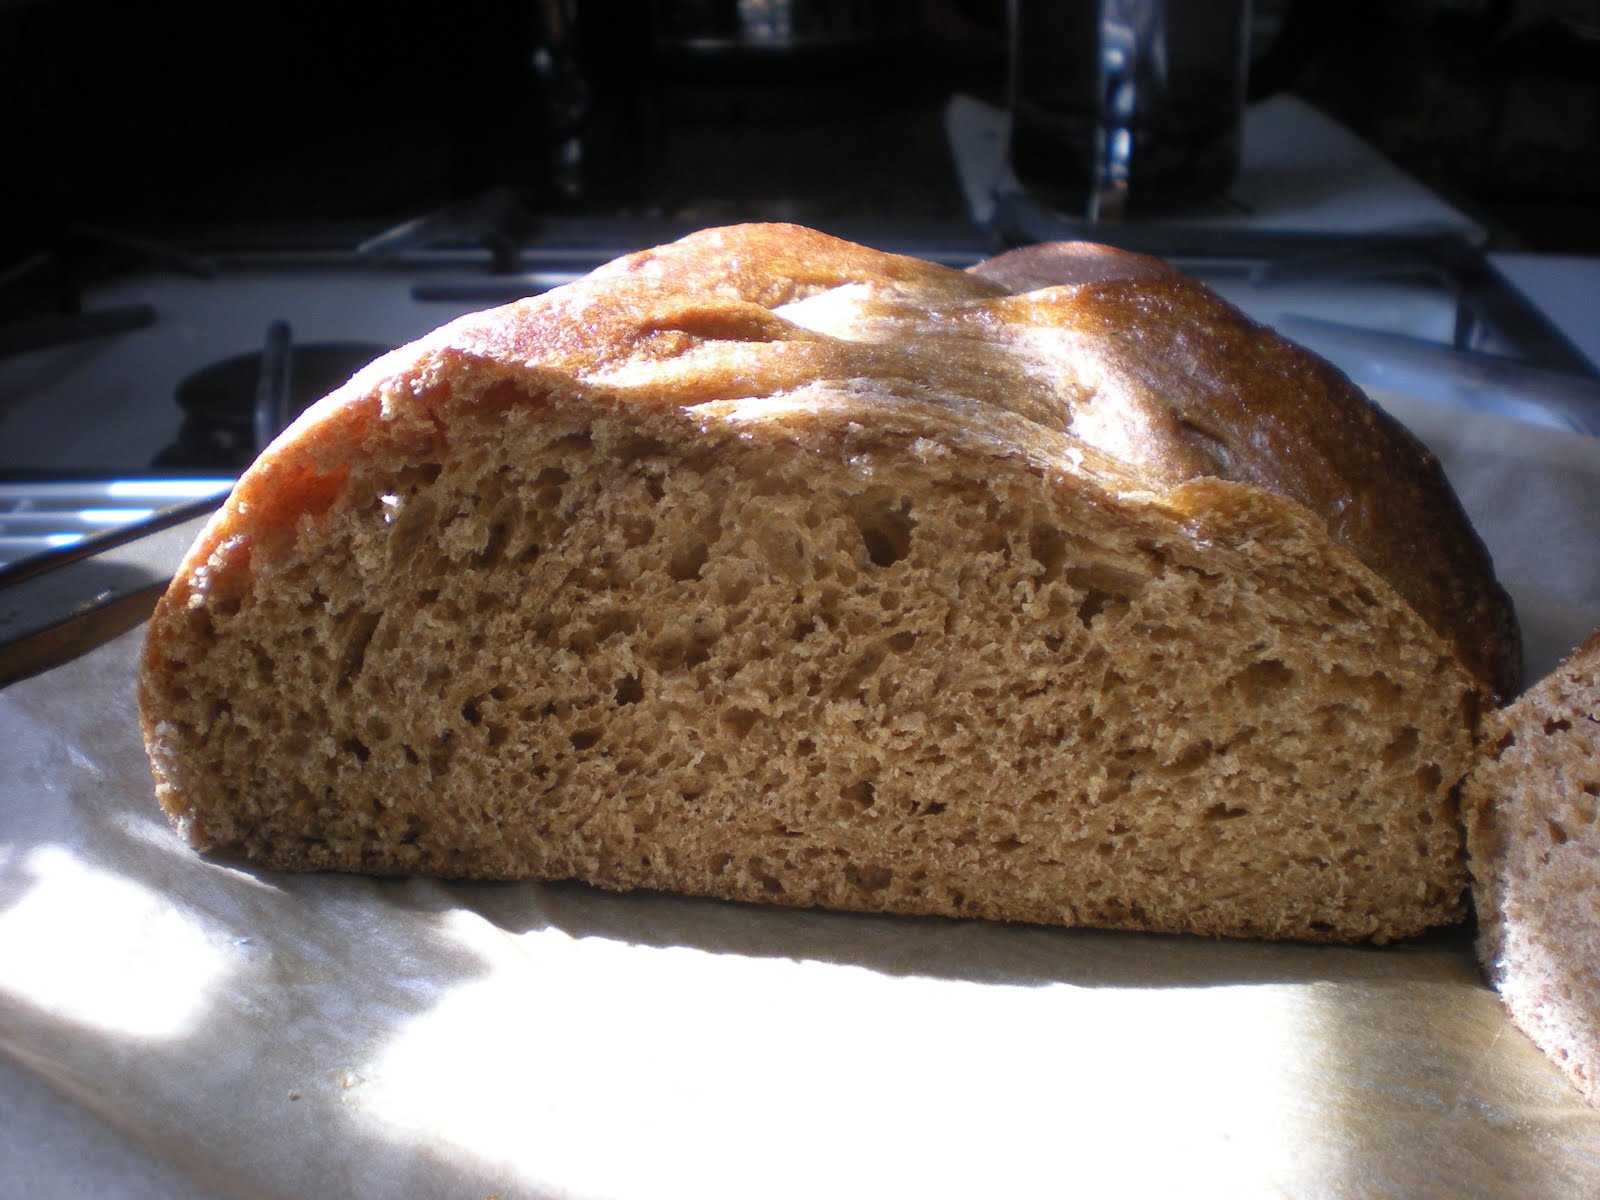
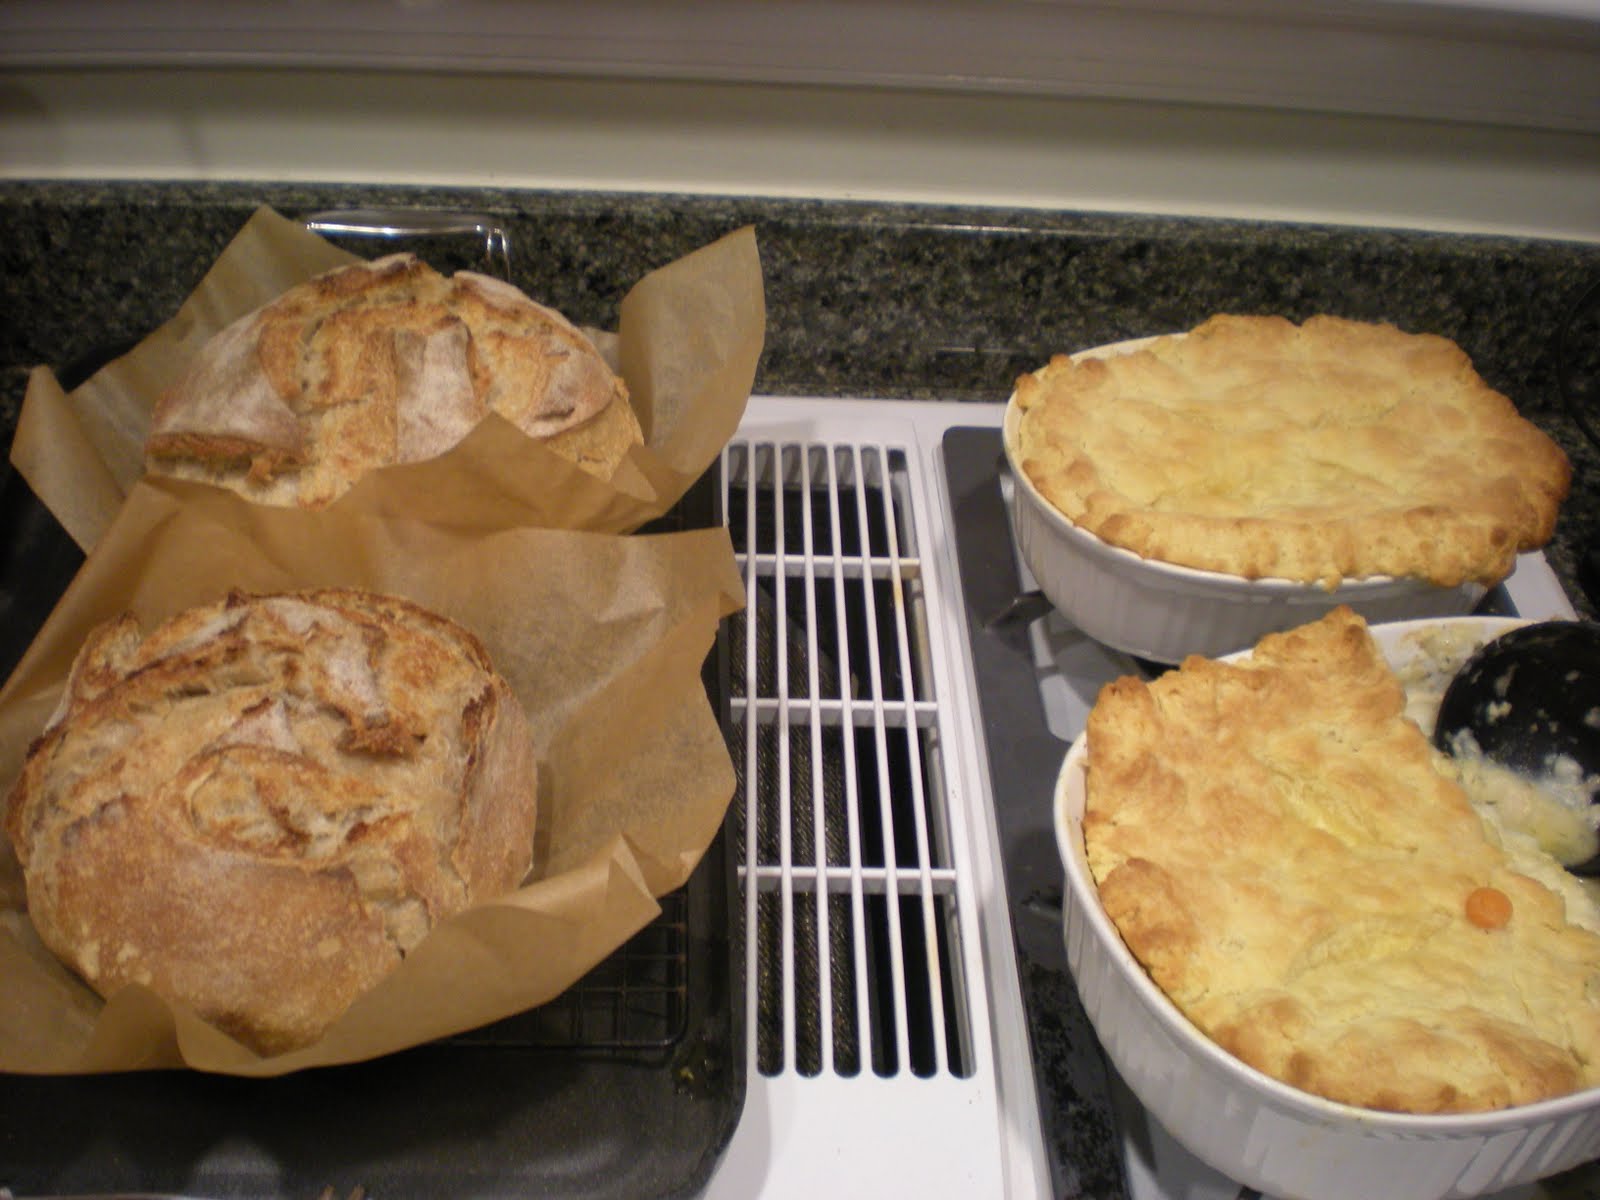
I didn’t have anything to worry about.  The rice pie ended up delicious.

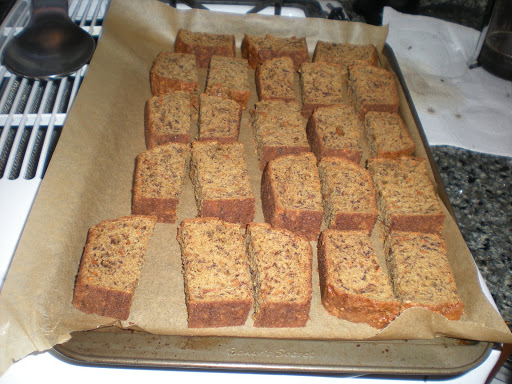
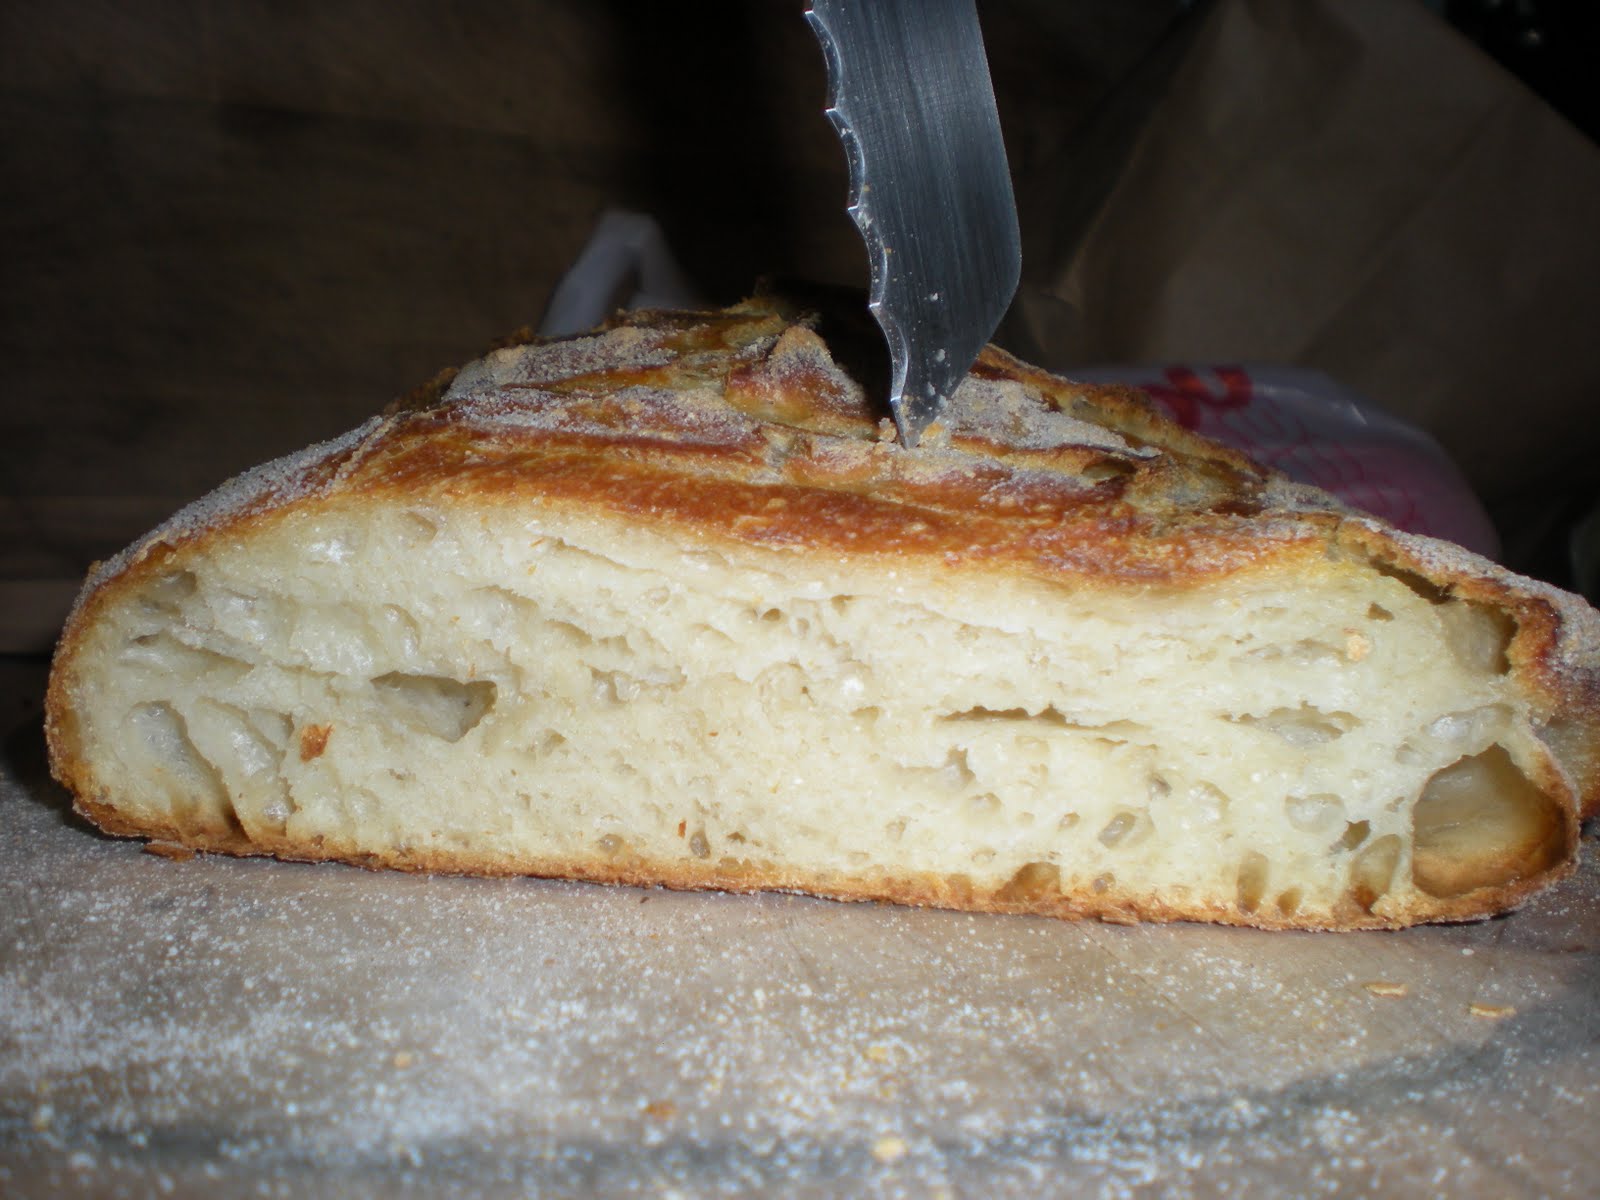
Once it cooled, it became very easy to slice.

Most importantly, LBB LOVED it.

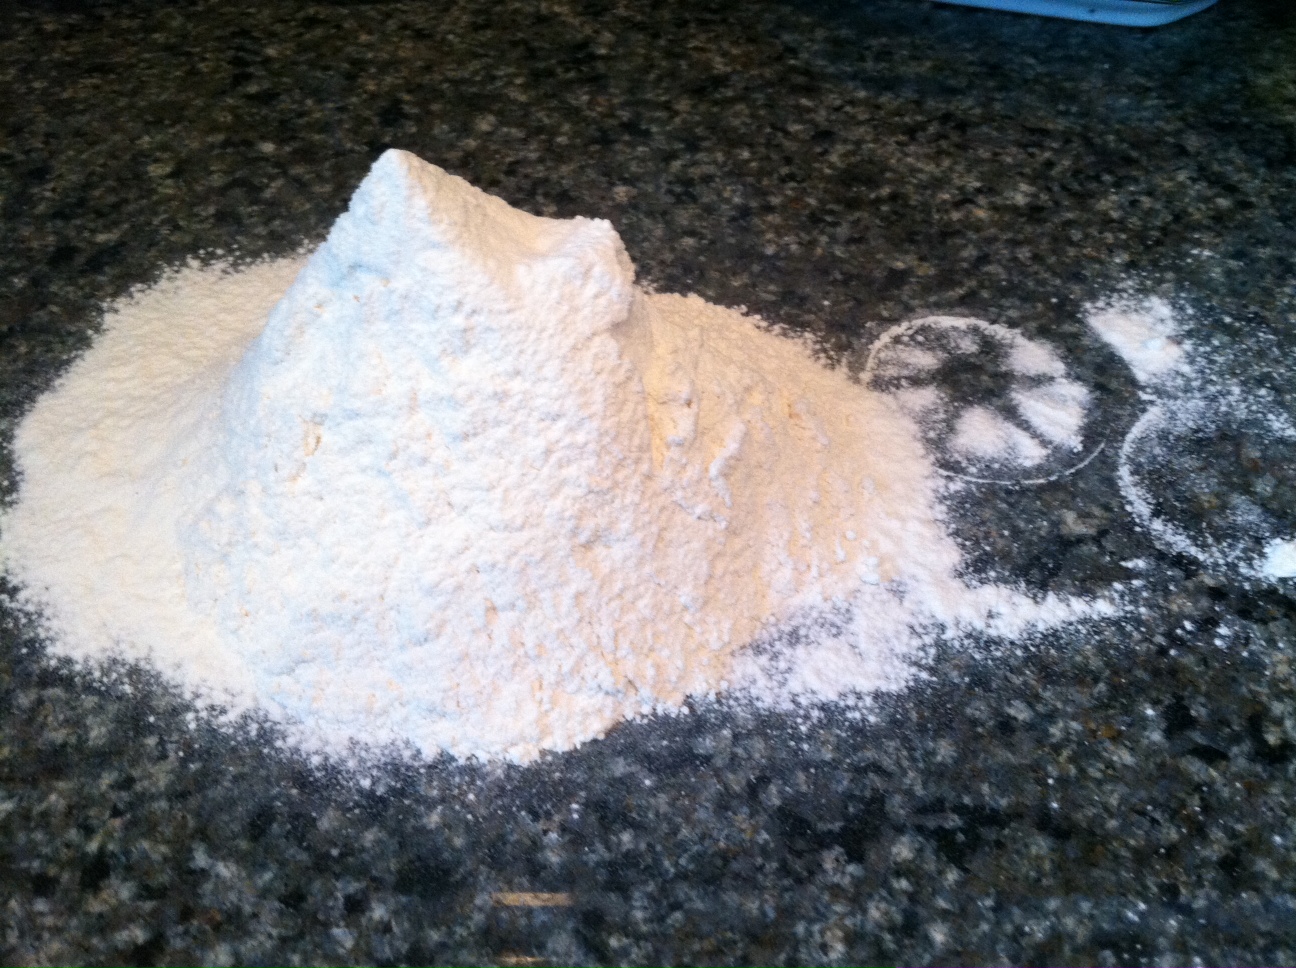
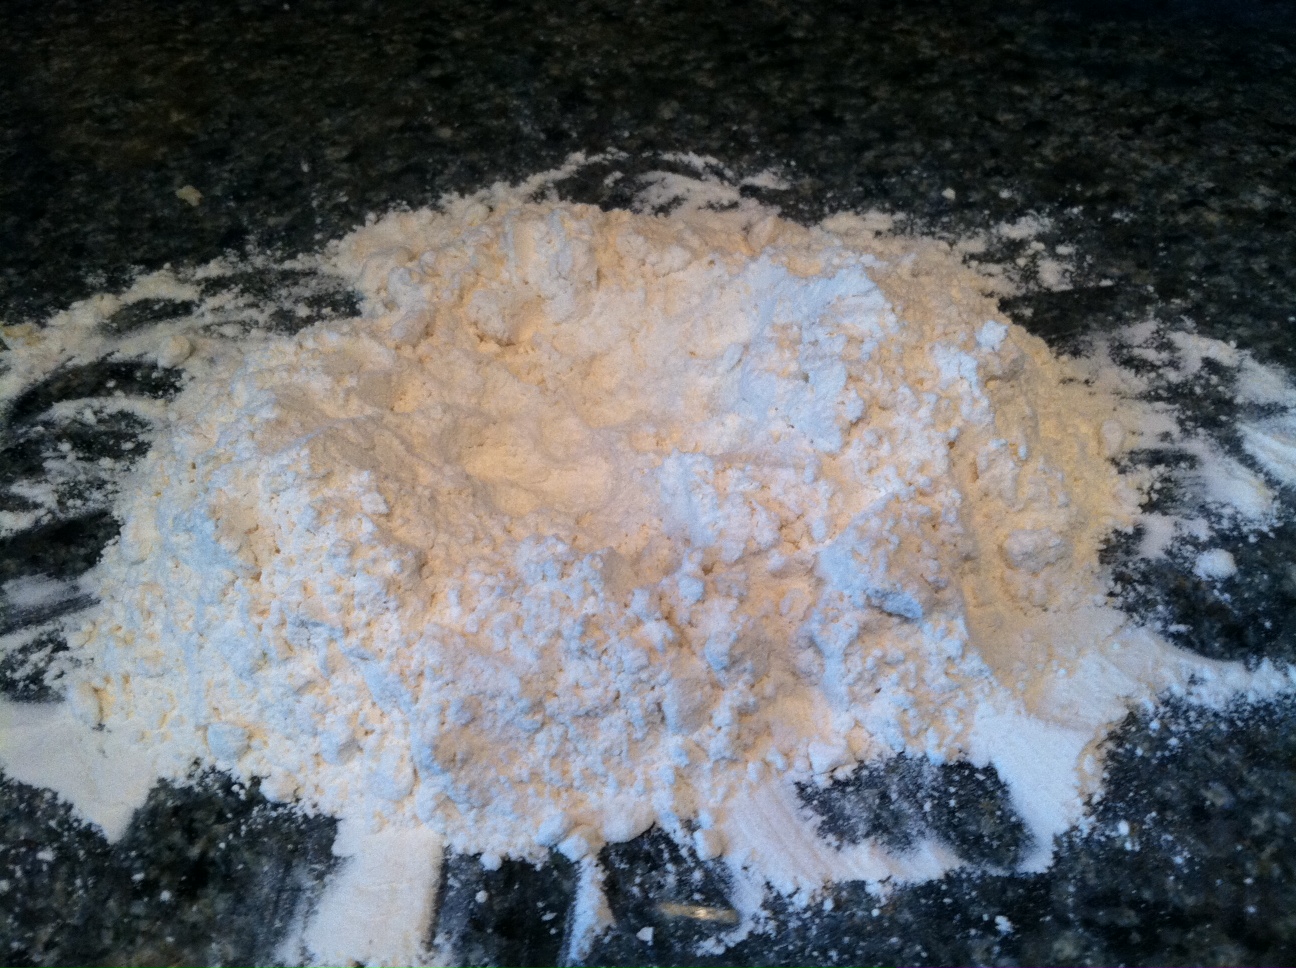
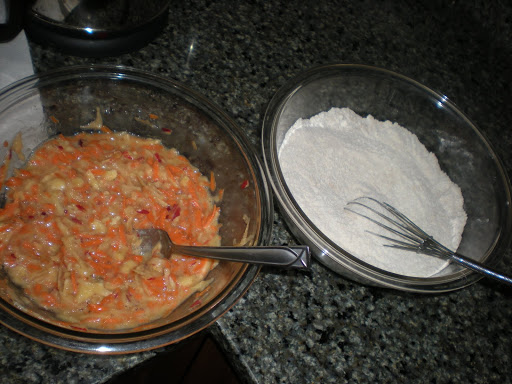
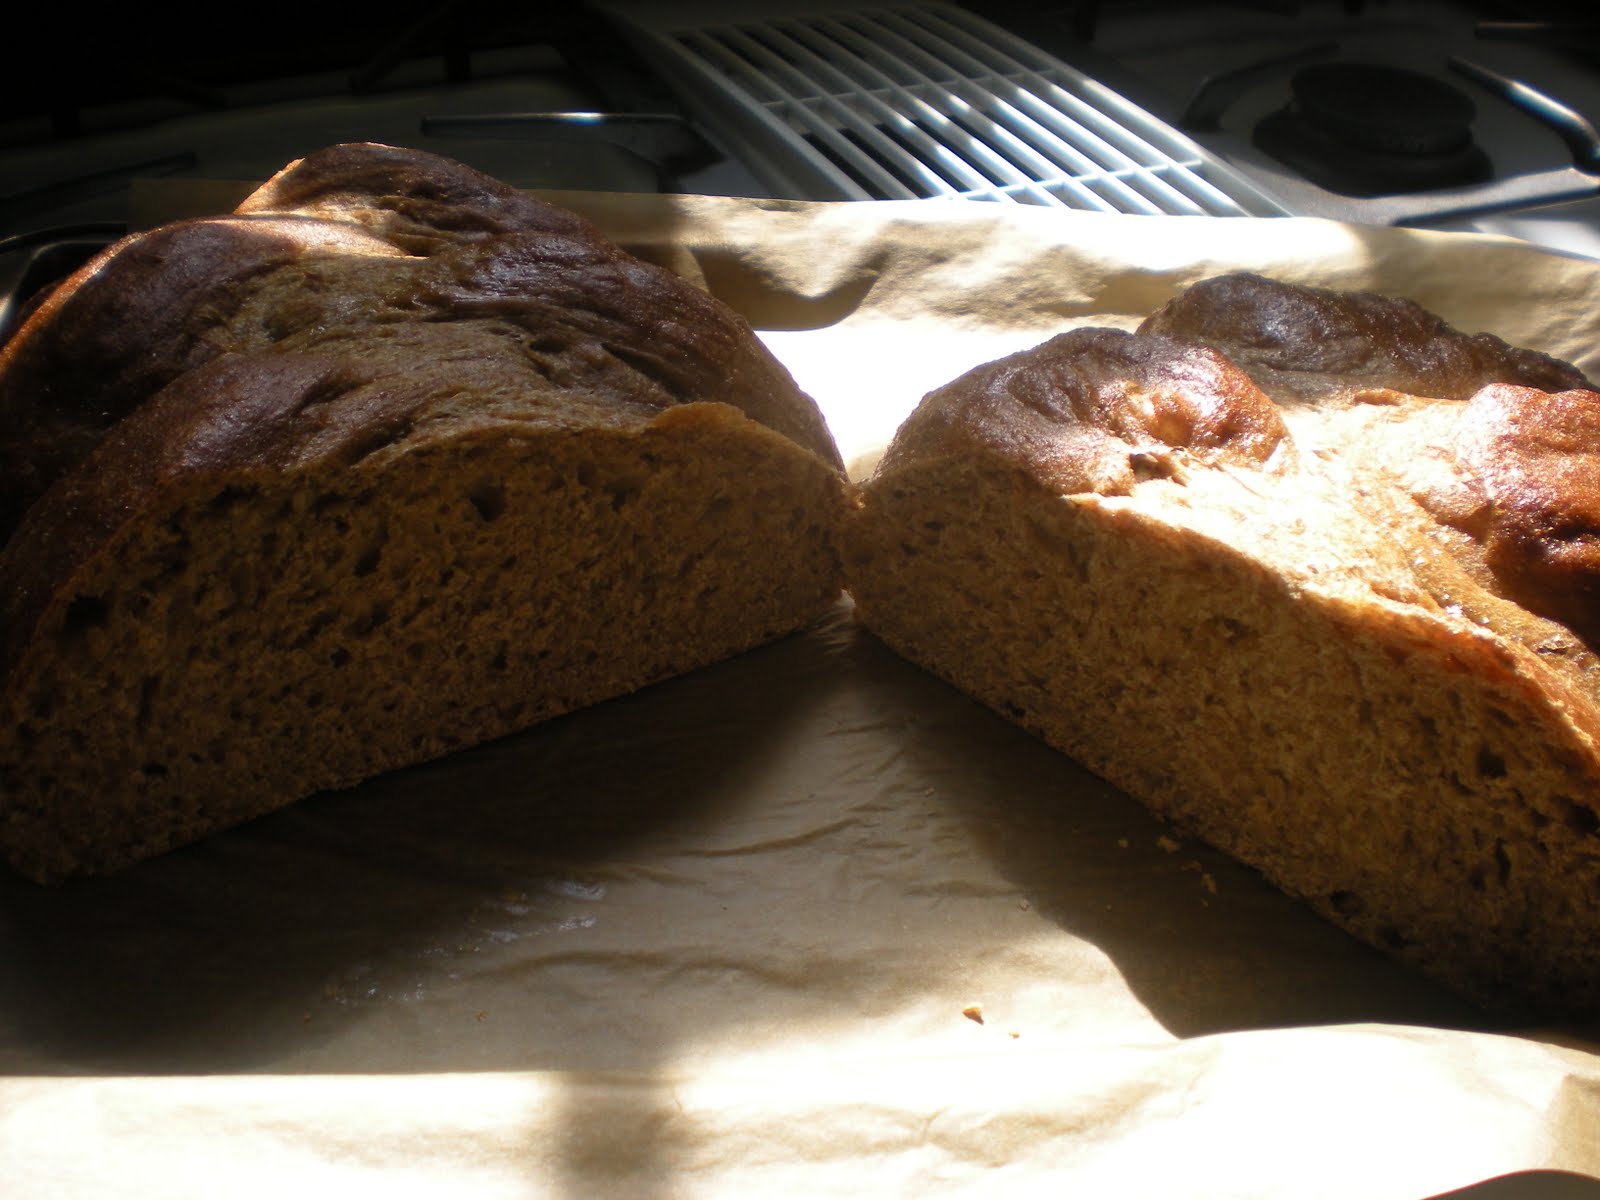
Look at all that rice I used.  The recipe called for ALL of the rice (I’m guessing I had about 4-5 cups of cooked rice) to make two pies.

I think next time, if I want to make the recipe for grown-ups, I will add more seasoning or vegetables.  It’s a little bland.

So, in conclusion, creative use of the internets can result in a nutritious meal with a few staple ingredients.  I don’t think I would make this if I didn’t already have a TON of cooked rice lying around, but since I did, it was easy to whip up.

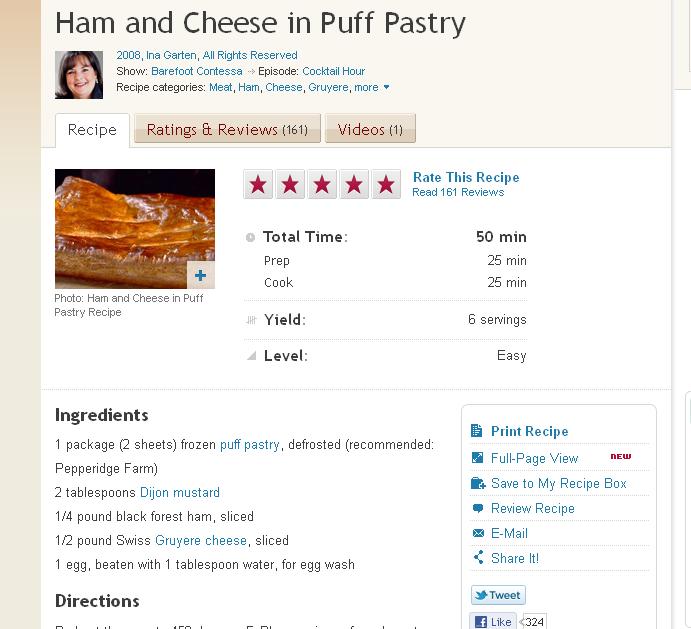
Before I go, I’ve been asked to provide links to screenshots I publish here.

Mario Batali’s recipe for torta di riso is here: http://www.foodnetwork.com/recipes/mario-batali/rice-pie-torta-di-riso-recipe/index.html

Here is the recipe for torta di riso with raisins: http://ricette.giallozafferano.it/Torta-di-riso.html

And here is the recipe I ended up using (minus the crust): http://www.ricettepercucinare.com/ricetta_toscana-torta_di_riso_salata.htm

Puff Pastry II


Now that we’ve made our puff pastry (if you haven’t, check out my recipe here).

We have lots of options.

This is a lot of puff pastry.


Since we have a ton of beef in the freezer that we need to get rid of, we decided to make Beef Wellington.


Our recipe is from one of our favorite cookbooks, MEAT by James Peterson. This is one of those recipes that you might want a partner to help you with, just so you can get dinner on the table before 10pm. Most of the parts can be done simultaneously, like making the duxelles, rolling the dough, and seasoning the meat.

What you need:
A defrosted puff pastry, about the pliability of pie dough.
1.5 lbs of cremini mushrooms
About 5 tablespoons of butter
A shallot or two
A beef tenderloin
Salt
Pepper
One egg (for an egg wash)
Flour (for dusting)

TENDERLOIN
1. Take the beef tenderloin and rub in some salt and pepper. Set aside. Preheat the oven to 425 degrees F.


DUXELLES
2. Put the mushrooms in a food processor and pulse until they are all minced up. Or mince them with a knife. Your choice.
3. Heat up a frying pan to medium heat. Melt about two tablespoons in the pan, then add a handful of the mushroom mash. Keep stirring it around. The mushrooms will absorb the butter, then start to release it. When they start releasing liquid, add another handful of mushroom mash and some butter. Repeat until all the mushrooms are cooked.
4. Once they are cooked, put them into a bowl and put in the refrigerator to cool down.


DOUGH
5. Either dust your countertop liberally with flour, or lay down some wax paper and dust THAT with flour. Take your puff pastry, lay it on the counter or wax paper, and dust the top with flour. If you are using wax paper, now lay another sheet on top of the dough.
6. Start to slowly roll out the dough with a rolling pin. The wax paper is nice for this, but you do have to keep adding flour to keep it from sticking.
7. You want it REALLY thin. Like, 1/4 inch thick.

ASSEMBLING THE BEEF WELLINGTON
8. Take your cooled duxelle mixture and spread it onto the dough.


As you can see, the dough rolled out is about the size of two cookie sheets.


Spread out the duxelles using a spatula.


9. Now take your seasoned tenderloin and lay it on the edge of the duxelle mixture.


10. Carefully fold the dough over the tenderloin.


11. Cut off the overlapping sides of the dough to make a nice little package.


Don’t worry, little scraps of puff pastry. I have something special planned for you.


12. Mix up the egg wash and spread it over the dough. Slash the dough and put in the oven.


13. When you take the pan out of the oven in about 40 minutes (internal temp. between 120-125), it should look something like this:


Mr. Bread Maiden was upset it was a little more done than he would’ve liked, but it was truly delicious.


While you are letting your Beef Wellington rest, let’s get back to those dough scraps. You haven’t just thrown them away, have you?

Because here is what you do with the scraps.

Wait for it.

Mini croissants.

Roll out the scraps and form into small triangles. Roll up the triangles and carefully place on a baking sheet lined with parchment. Pop the sheet into the refrigerator to rest the dough a little bit. For this part you can crowd the croissants a little bit, but make sure to spread them into two or three baking sheets before baking them to giving them room to rise in the oven.


Preheat the oven to 425. Slide in the croissants, then bump the temperature down to 375. Bake until brown and flaky, about 15-20 minutes.

Here are the croissants. I forgot to take pictures of them when they came out of the oven, but here they are a few days later and still looking fabulous.


These are best warm from the oven with jam. You want some sort of sweetener, since puff pastry dough doesn’t have much sugar or salt in it.


I don’t know the next time I’ll make puff pastry. It isn’t difficult but it does take some time. That said, homemade trumps ANYTHING you can buy in the store. But you knew that already 😉

Puff Pastry


I don’t watch a ton of Food Network anymore. It’s not that the shows aren’t entertaining; they are.


But I feel like I’ve outgrown it.


Back when Mr. Bread Maiden and I were dating, I didn’t know how to cook. And I certainly didn’t bake.

He introduced me to Alton Brown, nerdy food-scientist. And from there, a food journey began.


But I’m so bored by the offerings now, and often disappointed at the results. Not to brag, but Mr. Bread Maiden and I often cook and bake food that looks better than what these celebrity chefs make. And I’m left wishing that they would, just a little, EXPAND my kitchen knowledge.

Like they did before.

There are still tons of things I’ve never made before.

Like, most world cuisine. I dunno, casseroles. Profiteroles. Sole. Mole. Lots of things!

One of those things is puff pastry.

Food network appears to not want to touch the stuff with a 10-foot pole.

This is my search for puff pastry on food network.


Hey, Ina Garten has a recipe for puff pastry; that looks promising.


But the recipe calls for frozen puff pastry.

A recipe for real, homemade puff pastry isn’t until page 2.

Friends, this is a shame.

Because, as Mr. Bread Maiden and I learned on Sunday, homemade puff pastry is DAMN TASTY.

I used this recipe, from White on Rice Couple.

You will need:

Butter Block Ingredients
1 lb + 3 1/2 T (510g) cold unsalted Butter
2 t (10ml) Lemon Juice
pinch of Salt
1 c (130g) Bread Flour

Dough Ingredients
3 c (400g) Bread Flour, approximately
3 1/2 T (55g) soft unsalted Butter
2 t Salt
1 c (240ml) cold Water

Make Butter Block

1. In mixer w/ paddle attachment, work butter lemon juice, salt, and flour into a smooth paste.

2. On a sheet of wax paper, roughly form an approx. 6″ square with the butter block mixture. Lay another piece of wax paper on top and smooth out the square & straighten the sides. Peel back each wax paper sheet & re-lay as it wrinkles to keep a smooth, even surface. After block’s thickness & sides are even, refrigerate until firm.


Make the dough

1. Sift flour onto your work surface. Cut the butter into the flour until it looks like course crumbs.

2. Now it’s kind of like making fresh pasta. Shape into a mound, then make a well in the center of the mound. Add the salt & cold water into the well, then with a fork, use a whisking motion to gradually incorporate the well’s sides into the water.


When it starts to form a solid mass, finish incorporating the flour by kneading. Incorporate just until it is still sticky and has a rough texture. Adjust the water & flour as needed. Try to knead as little as possible. Puff pastry likes a lazy kneader.


3. Form dough into a ball, remember-knead as little as possible.


Flatten the ball a bit, then cut a cross halfway through the dough. Wrap it up in plastic wrap & let rest in fridge for 30 minutes.


You’ll want the Butter Block to have approximately the same consistency as the Dough, after the dough is rested.


You don’t want the butter rock hard, but not mushy soft, either. A dough that is softer than the butter will stretch while the butter doesn’t. If the butter is softer than the dough, it will be pushed out the sides. Either suck to some degree. You may have to adjust chill/resting times for either dough or butter block so they are about the same. Kitchen temp., how long it took to make the dough, fridge temp., all affect the consistency of the Butter Block & Dough. Figure out adjustments to make so they’ll work together homogeneously. It may take a time or two, but you’ll get the hang of it.

Assembly

1. Pull the corners of the cuts out of the dough ball to make a square shape. Roll the dough out to a square slightly thicker in the center than on the sides, and slightly larger than the butter block.


2. Place the butter block diagonally on the dough square, so that the butter corners are pointed at the middle of the dough sides. Fold the uncovered dough corners over the butter block to completely envelop the butter. Pinch the seams tightly together to seal in the butter.


3. Dust your work surface with flour, and roll the dough into a rectangle about 1/2″ thick. Remember to keep dusting with flour whenever needed to keep the dough from sticking & tearing the layers.

4. Size up your rectangle visually into 3. Fold one third over the middle, then fold the opposite third over. Just like a tri-fold brochure. Try to have everything as even as possible. All the edges should match fairly closely. Put on a plate, cover, and refrigerate for about 30 minutes.


5. Roll out to 1/2″ thick and repeat the fold. Don’t forget to flour as you roll. Plate, cover, and refrigerate for 30 minutes. Repeat this for a total five roll & folds.


6. After the last fold, roll the rectangle out to about 3/4″. If it is difficult, put dough in the fridge for a bit to relax the gluten. If using immediately, cover, rest in fridge for about 30 minutes, then use as needed. If it’s for later, cut into sections big enough but that still fit easily in your freezer (usually just in half), layer with wax paper between sections, freezer bag it, & store until needed.

7. If you’re going to bake it now, roll out the dough pretty flat and cut into triangles.


8. Roll up the triangles and smear with egg wash.


9. Throw them in an oven preheated to 425, for about 10-15 minutes until golden brown.


Lordy lord.


These are amazing. SOOO tender and flaky. They almost fall apart they are so flaky. Butter oozes out of these and they were incredible warm from the oven. Mr. Bread Maiden, who initially wanted to use the puff pastry for a Beef Wellington, immediately changed his mind in favor of more croissants. While it was definitely time-consuming, I think I would make puff pastry again. Maybe next time I will double the recipe so I can freeze one and use one. I can already see uses for this dough: pies, croissants (of course), strudels, pot pies. Stay tuned.

Carrot-Apple Sauce-Banana Bread


The description of this loaf on grouprecipes.com says it all:

“This moist bread combines banana and carrots for a different take on a lowfat banana bread.”

We make banana bread. We make carrot bread. The ingredients for each are basically the same. Why not combine the two?

I heartily agree.

I’ve been experimenting with healthy bread recipes that Mr. Bread Maiden and I can enjoy, but can also double as teething biscuits for Little Bread Baby.

My first recipe was the Crunchy Teething Biscuit Recipe.

I must not have baked it for long enough, because by the time it had fully cooled, it had sunken in the middle and was still quite wet and mushy.

Even so, with the second baking, they firmed up and LBB loved them. I even made little french toast sticks with them.

So this time around, I picked just a regular bread recipe. This One.

I had carrots and bananas on hand, and made quick work grating an apple for the applesauce.


Then I added the two eggs to comprise the wet ingredients.


Mix up the wet ingredients.


Now on to the dry ingredients.


Oops! What is that baking powder doing in the picture? I never used baking powder.


There, that’s better.

Mix up two cups flour and one cup of sugar. I did one cup each of Whole Wheat and AP flour. Next time I think I’ll cut way down on the sugar.


For some fun, I threw in some freshly-grated nutmeg.


Whisk the flour, sugar and nutmeg together with the salt and baking soda.


Now bring the wet ingredients and the dry ingredients side by side.


And mix the dry into the wet, a little at a time, with a spoon. Don’t stir too much!


Now pour into a greased bread pan and pop in a 350 degree oven for about an hour.


Pull it out and let it cool.


Yummy.

But you aren’t done yet!

Once the loaf is completely cool, slice it into 1-inch-thick slices.


Then divide each slice into thirds.


Place the pieces onto a baking sheet lined with parchment paper.


Bake until they are a little dry and crispy, about 20-30 minutes.

Once they are cool, enjoy! These taste really good (probably because of all the sugar). LBB ate one already and loved it.

You can really do this with any bread. Just slice it already-baked bread and bake at 350 until it has the consistency of biscotti.


What, you didn’t know biscotti just means “twice-baked?”

Maybe if I call these “biscotti” instead of “teething biscuits” my baby will become a little foodie.


Or not.

Arlington County Fair


The Arlington County Fair is an annual summer tradition for Mr. Bread Maiden’s family. Every year I have known them, they’ve gone for the great fair food and a little light-hearted competition.


Mr. Bread Maiden’s mother, my mother-in-law, aka Slow Learner, has for the past few years submitted various homemade confections like bread and jam, as well as home-grown vegetables to be judged. However, until this year I’ve been in Williamsburg, or Texas, or Argentina, or just busy, or suffering from terrible morning sickness, all of which prevented me from entering my bread in the competition.

That all changed this year, when I finally decided enough was enough. I was going to get off the sidelines and participate.

I had to strategize.

Over the course of this blog, I’ve documented many different types of bread. But what was attractive and tasty enough to submit?

I decided that I would submit my tried-and-true breads: my sourdough,


honey whole wheat,


and kugelhopf au lard (bacon bread).


I had the plan of making four loaves of each type of bread, and picking the prettiest loaf to submit. But in hindsight that was just too much work for my first competition.


The way it works is that each class (such as yeast bread, whole wheat bread, specialty bread, etc.) has a first and second prize winner, then the top winner of each category is in the running for a category-level prize, such as reserve champion and champion. Those champions are in the running for a department-level prize, the grand champion and grand reserve champion.

Here’s how I did.


I won two first place class ribbons and one second place class ribbon. And the breads that won each ribbon:


I was please at the results. And that second place ribbon? I was happy to relinquish first place to my mother-in-law, Slow Learner! I can attest that her whole wheat was lovely and delicious.

What I really liked about the judging was that they left comments. I will definitely keep those in mind when I enter bread next year.


If you can’t read them, from left to right they say:

Sourdough: Nice presentation and texture, light, slightly undercooked?

Kugelhopf au Lard: Interesting Loaf. Done well- creative.

Honey Whole Wheat: Good appearance, aroma, flavor, liked honey-wheat flavor, good texture. Perhaps a little under-cooked (little doughy).

Wait a second.

Hold the phone.

Close-up on the sourdough.


Now, close-up on the comments section.


I was almost reserve champion??

Ah well. Maybe next year.

Whole Wheat Challah


Friends, I’m really excited about this one.

For the past few months, I’ve been making loaf upon loaf of 1-2-3 sourdough.


It’s tasty and extremely convenient. All you do is get the starter going, mix the starter with flour, water and salt, stretch and fold once, shape, and bake. Super easy.

But sometimes you want a bread with more substance. Sometimes you need that nutty whole wheat goodness.


Which (not to sound like an ad) is when I reach for Peter Reinhart’s Whole Grain Breads book.


I was interested to learn this week that a bunch of bloggers are going to be working through Peter Reinhart’s Whole Grain Breads, baking and posting about each recipe.


In that spirit, I flipped past the multigrain struan, basic whole wheat, transitional wheat, and honey wheat that are favorites in our house. I wanted to try something different.


So when I stumbled upon the whole wheat challah, I figured I would try it out.

I mixed up the biga and soaker the night before.


What makes this bread a challah is the use of one egg and four egg yolks in the soaker!

The next morning I placed the soaker on top of the biga and used my pastry cutter to cut it into small pieces.


then I added the other ingredients.


The great thing about Whole Grain Breads is that it’s a book about a single technique. All the recipes follow from that technique. So once you get it, then the recipes get a sort of rhythm.


As I was making this dough, I could anticipate the next step and knew what it was supposed to look like in each stage of the process.


This time, I chopped the dough into three sections after the first rise in anticipation of making a challah braid. It could just as easily be shaped into a boule or baked in a loaf pan.


After the second rise I brushed the loaf with egg wash and put in the oven.


I can’t believe I didn’t take a picture of the finished product!


But the amazing thing wasn’t how it looked.

It sliced like an absolute dream. So soft. And for taste buds that had been getting AP flour loaves with just a touch of whole wheat flour thrown in, the flavor of the whole wheat challah was gloriously dense and satisfying.


I will definitely be making this recipe again. And I think I’ll try some of the other recipes in Whole Grain Breads too.

Mother


It is funny that a starter is also called a ‘Mother,’ isn’t it?


Why do you think that is?


Let’s try and figure it out, shall we?


Ok, how about this:

Mothers are like starters because they “rise to the occasion!” Blech, moving on.


Mothers are like starters because they provide the building block of the staff of life!


Mothers are like starters because they both materialize from bacteria in the air falling into a culture of flour and water!

Um, seriously?


Mothers are like starters because when you add flour, water, and salt to a Mother and then bake it on high heat it turns into a Baby!


This is starting to get really demented.


Mothers are like starters because when you cut them, they look pretty!


Wow.


Mothers are like starters because you can keep them in the refrigerator indefinitely, then when you need them all you have to do is take them out, feed them, and they’re good to go!


I think we’re done here.


Let’s just say Mothers are like starters because they add a little something special to everything they do.

Happy Mother’s Day, everyone!

Adjusting to the new normal


Even though this is ostensibly a food blog, Bread Maiden will try to spare her readers any overworked bread-baby, baby-as-bread or bread-as-baby metaphors.

As some of you are aware, Bread Maiden and Mr. Bread Maiden welcomed a perfect little boy into our lives on December 25, 2010. The past two months have been hectic and life-changing, to say the least.

I don’t want to say that it’s been the hardest for me, since Mr. Bread Maiden has been amazing. But I don’t think I’m exaggerating when I say that the first few weeks were, in one word, traumatic.

Before I give my reasons why it was traumatic, I do want to back up and list the reasons it was NOT traumatic.

First, I was fortunate to have a wonderful birth experience; it was everything I could possibly want and more. I still marvel on it.

It was definitely hard work, and painful, and all those things you already know.

But it was so much more, too- peaceful, and loving, and my husband and I bonded and worked together as a team in ways that I will remember for the rest of my life.

Second, I was fortunate to have a wonderful support system in place- my family, my husband’s family, extended family, and dear friends, who fed us, rocked the baby to sleep, changed diapers, cleaned the house, forced us to get some fresh air, and in general made the recovery possible.


That said, the adjustment to being parents is no small thing.

The morning we brought Little Bread Baby home with us, we put him between us on our bed and just stared at him, not fully believing he was real.


Even with the perfect birth experience and amazing support, you give birth and suddenly have this little person in your arms and he’s crying and you don’t know what he could possibly need.

Then it dawns on you.

He needs YOU.

And he will need YOU for the rest of your life. And when he looks at you, he sees MOMMY.

Which is totally different from how you see yourself when you look in the mirror.

And that translates, at least initially, into round-the-clock feedings that follow no discernible schedule, suddenly having to remember when the last diaper was changed, and being tied to the chair or bed while he’s eating, unable to grab yourself something to eat or a glass of water.


Well, you could, but that would involve moving out of the comfortable position you are in now, and risking waking the baby up, and frankly it’s just too much work.

When you try to take a minute-long shower, he screams. When you want to get dressed, he screams. When he’s calm and you decide to take a walk with him and get the moby wrap all wrapped and get his jacket and hat on and your shoes and jacket on, then he decides he’s hungry and screams and you have to take it all back off again. What happened to those supposedly 16 hours a day he’s supposed to sleep?


His dependence on you makes you dependent on others. Suddenly you can’t bathe or eat or drink without someone else taking over baby duties or getting it for you. And while you’re feeding him, you’re looking around and making a mental list of everything that needs to be done- sweep the floor, do the dishes, run errands— that you can’t do.


Because you have a baby and that baby is ALWAYS hungry.

And everyone always says to sleep when the baby sleeps but how can you do that when there are dishes to do and you haven’t checked e-mail in three days and you desperately need a shower?

But the weeks pass. And one day you are able to take a shower. And a few weeks later you learn how to nurse him on a pillow on your lap so you can check e-mail.

Then, one glorious day, he takes a nap in his swing for one. whole. hour. And so you do the only thing you can do— bake.


And so you pull out Peter Reinhart’s amazing biscuit recipe.


And you throw together your flour, water, salt and active starter from your MIL and get two loaves of sourdough rising on the table.


The feeling of digging your hands into the dough, letting it set and then molding it into a boule, is so familiar, even though it’s been so long. It’s like returning to a past life, an echo of the way things were before.


And you get some dishes done.

And you write some thank-you notes.

And you check in on the baby and notice his little dimples as he’s smiling in his sleep, and his little nose reminds you of your nose and his mouth looks like your husband’s, and you are full of love for this little baby, love that has slowly grown since his birth as you’ve gotten to know him, and seen him grow bigger and stronger and more alert.


You realize he’s woken up, so you put the half-finished biscuit dough in the freezer, and pick him up out of the swing. Rocking him in your arms, it’s not long before you’ve soothed him back to sleep.

And you know everything will be ok. You aren’t done adjusting to the new normal, but you’re able to accept it for what it is.


And it is wonderful.

Lager Yeast Bread

The Bread Maiden is confident enough to admit when things go wrong.

Lovely.

This is one of those times. But don’t worry; this story has a happy ending.

To begin with, some background:

Lately Mr. Bread Maiden has been experimenting with different alcoholic libations, supplying Bread Maiden with different kinds of yeast leading to different flavors in her bread.


The carboy on the left is mead, a type of beer made from fermented honey. Mr. Bread Maiden used something called “lager yeast,” or “champagne yeast.”


According to Wikipedia, lagers are made with Saccharomyces pastorianus yeast, a close relative of Saccharomyces cerevisiae. It is a slow-acting yeast.


Once the mead was decanted into beer bottles, I took some of the drudges on the bottom and mixed them with flour and water to form a starter.


Then I waited.


And waited.


Nothing happened.

I twice attempted to revive the starter, dumping half and feeding it once a day. It made no difference. The slow-acting lager yeast was even slower than Bread Maiden had anticipated.

Unlike the monks who first brewed lagers, Bread Maiden is able to rely on modern conveniences to speed the process.


Commercial yeast (horrors!) was finally added on day three and the starter was combined with AP flour and water in a 1-2-3 ratio to form a nice loaf.


So it turns out lager yeast doesn’t work well in bread. At least, not as well as ale yeast, and not as a stand-alone rising agent. Still, I could detect a slight honey flavor, and the coloring was lovely.

Also, if you missed it, scroll back up to the last picture. I was busy and let Mr. Bread Maiden score the loaf for me. He added his own flourish to the top.

While not a total failure, my experience with lager yeast demonstrates the need in bread-making for flexibility and willingness to experiment to see what works.

Cider Bread & Big Changes *UPDATE

Bread Maiden apologizes for her long hiatus from blogging. So much has happened in the past six months and she hopes that as the dust settles she will post a little more often.


Bread around the Bread Maiden household has been pretty routine- I’ve gotten into the habit of making my standard 1-2-3 sourdough, sometimes mixing it up with a wheat or multigrain loaf. But while those are great breakfast breads, they aren’t very exciting.

However, the bread I am telling you about now IS kind of exciting.

But I need to provide some background first.


Since moving back to the DC area from Austin (big change #1), Mr. Bread Maiden has been canning, preserving, and fermenting like crazy.


This is Mr. Bread Maiden fermenting mead. What is mead? This is mead.


Crazy, huh?

Here is a picture of mead on the left, and hard cider on the right.


Cider is where I come in.

As you may remember from previous posts, yeast is used in many things, and can come in many forms.


And yeast that has been used in beer or other fermented drinks can be used in bread as well, after some prep work. Once the fermentation process is complete, the yeast settles on the bottom of the vessel. After the beer has been transferred from the carboy to bottles, the leftover yeast can be collected and stored, as it is here in the top tupperware.


Here is a picture of a pure beer yeast starter (on the right) and a starter that has been fed and discarded a few times (on the left).


This week Mr. Bread Maiden bottled his cider and had cider yeast left over. I checked online to see if anyone had heard of using cider yeast in bread. I found this but nothing else.

So I decided to give it a try.


I threw a few tablespoons of the cider yeast into a glass jar and mixed in 100g of all-purpose flour and 75g of water. Then I left it to rise overnight, discarded most of it, fed it again, and waited another night.

By this time it was quite lively.

I threw it into my 1-2-3 bread.


That is where it sits now. Given the bubbliness of the starter, I’m confident that it will rise, at the very least.

I guess I should probably update when I actually bake this thing.

Meanwhile, I have the pleasure to report our Big Change #2:


We are expecting a Baby Bread Maiden in early 2011!

**UPDATE**

Ok, and we’re back with the results of the cider bread.

This is a picture of the bread rising after a few hours and one stretch-and-fold.


You can see more of the rise here:


The bread was divided into two loaves for the final rise.


I threw my dutch oven into the oven and preheated it at 450 degrees. Then I baked the loaves one at a time after scoring them in my usual pattern. I baked them for 30 minutes with the dutch oven lid on, then 15 minutes with the lid off.

Here is what came out of the oven:


This is one damn beautiful loaf.

But how does it compare to a normal 1-2-3 sourdough loaf in terms of color, oven spring, holey interior, and taste?

COLOR


Comparing the cider starter loaf on the left and normal sourdough on the right, the color was about identical.

OVEN SPRING


Once again, the cider loaf and the normal loaf were about the same size and shape.

HOLEY INTERIOR


No real difference here. The holes in the loaves are about the same in size and frequency.

TASTE


No, this isn’t a picture of the cider loaf. But you can’t go too long on a blog entry without a picture.

The taste was really the only difference Mr. Bread Maiden and I could identify. While the cider loaf came out of the oven with a distinctive “sharp” smell, it had a milder taste than my normal sourdough.


Bread Maiden’s parents, who tend to not like very sour sourdough, really liked the cider loaf.

This taste difference might not be directly a consequence of using cider vs. regular wild yeast starter. It could have more to do with the fact that the cider starter was much younger than my normal starter, and that I started the loaf in the morning and baked it the same night, instead of letting it go for longer fermenting time in the fridge.

So, what’s the verdict? I’m not sure if I’m going to keep the cider starter after my grand cider bread experiment. It’s enough just to keep one starter going, much less two. And the cider starter may get more intense over time, which makes the taste difference less of an issue.

If you like the idea of experimenting with other types of yeast in your bread but don’t have cider yeast, don’t despair. There are TONS of other yeasts, including yeast from fruit! Check out this very helpful website.