If there’s one thing I try to get across at Bread Camp, my ad-hoc bread class, it’s this essential fact: In bread, so much of its success lies in getting the right balance between ingredients.
Flour and water. Too much flour and the dough is too dry and crumbly to knead. Too much water and it’s a gloppy mess, unable to hold a loaf shape. Glutenin and gliadin proteins in the flour are activated by water to form long protein chains called gluten, essential for the bread’s ability to rise.
Gluten formation and yeast activity. Too much gluten formation and the bread is tough, dense, and rubbery. Too little gluten formation and the bread is a sticky, gummy mess unable to trap air released by the yeast. Too much yeast and the bread rises too quickly, before good flavor can be developed. Too little yeast and the dough takes forever to rise, or doesn’t produce any holes in the interior of the bread.

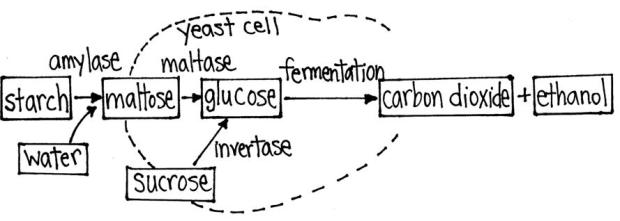
Sugars and Yeast. Yeast need sugars as their energy source to reproduce and release carbon dioxide and ethyl alcohol. If the yeast is left to rise too long, it eats up all the sugars and then starts on proteins – gluten.
There is another major ingredient balance, and I’ve hesitated to write about it or even teach about it in my bread camp because I still don’t feel like I understand it fully. However, it is possibly the most important set of processes, the one that makes bread possible. Seriously.
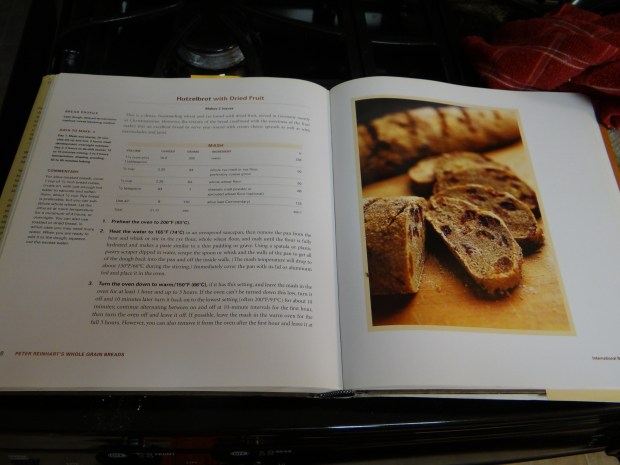
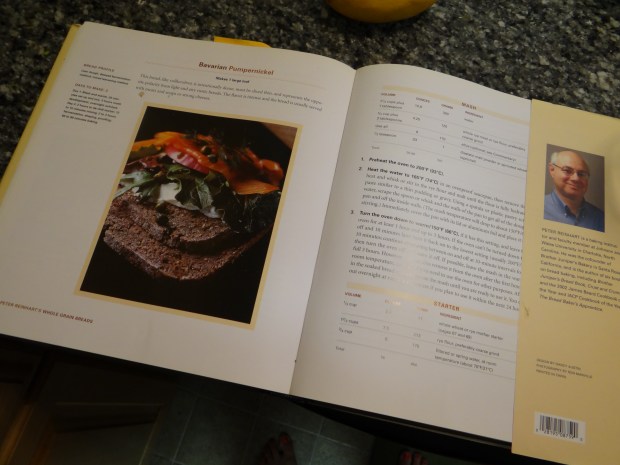
Peter Reinhart has a section about enzyme activity in his book, Whole Grain Breads. I usually skip over this section because my eyes start to glaze over with all the science. I mean, I’ve gotten this far without having to know anything about enzymes. Why start now?

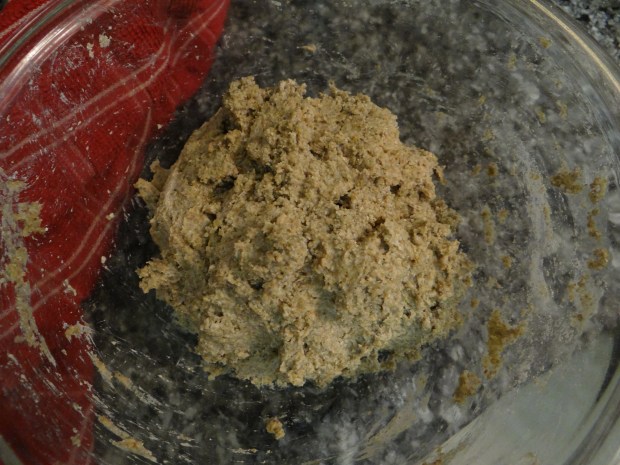
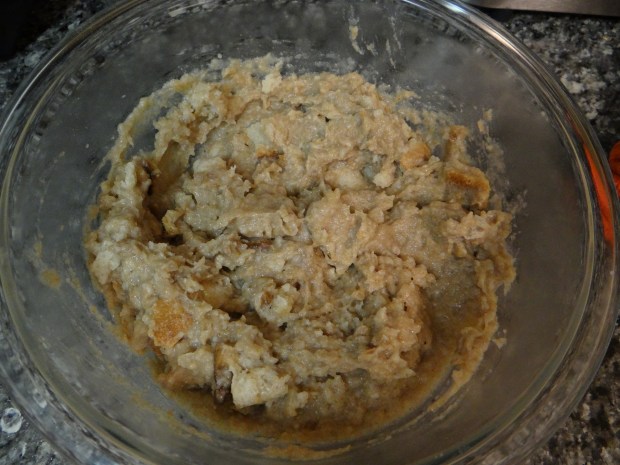
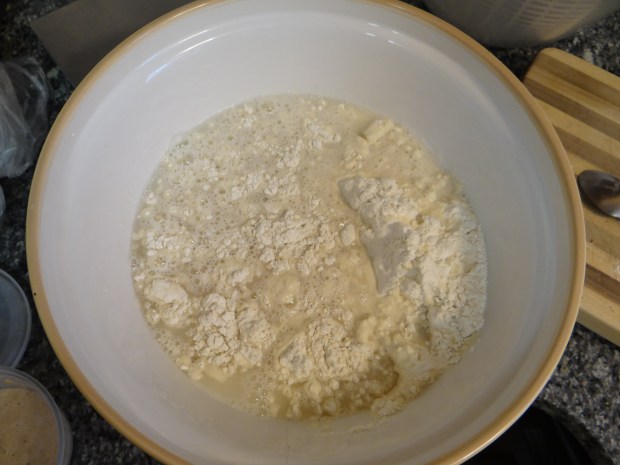
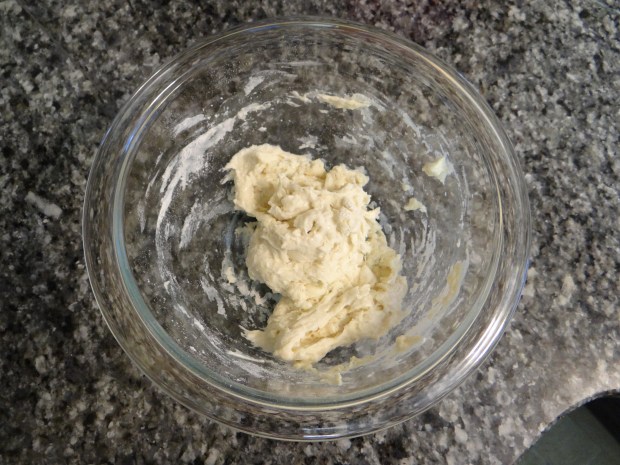
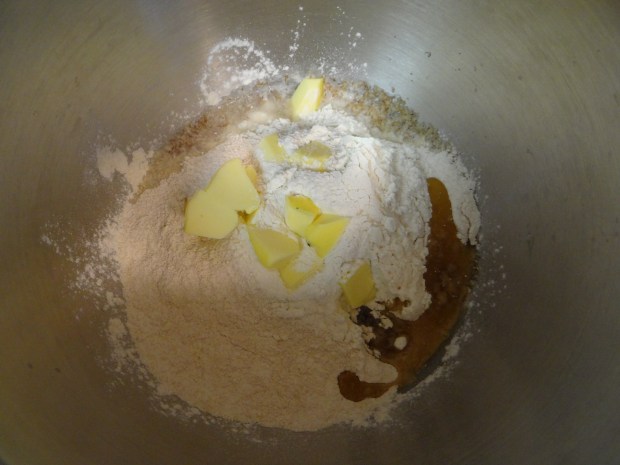
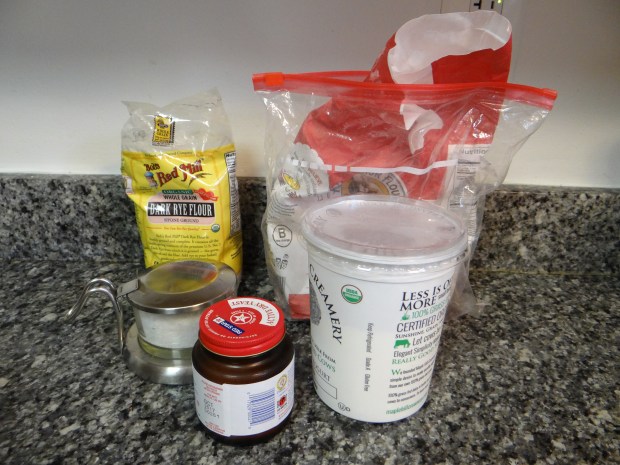
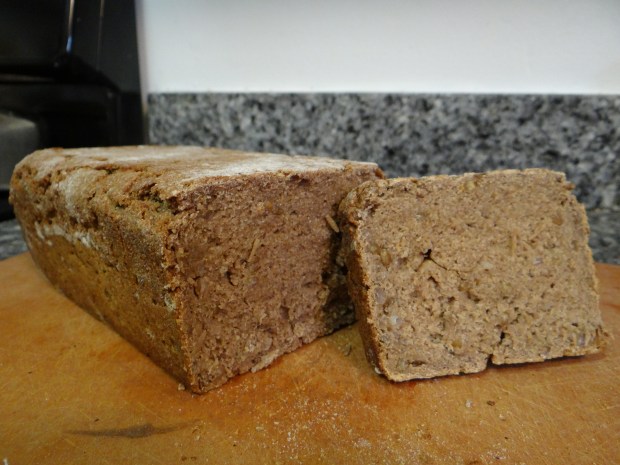
That all changed the other day when I decided to make some rye bread. I added some rye flour, some all-purpose flour, and some water to the bowl and mixed it up.
Then I heard a small voice whisper to me.
Add some yogurt.
What?
Add some yogurt. It needs yogurt to break down the bitter flavors in the rye.
Peter Reinhart, is that you?

Shhhh, don’t speak. I have to get back to Johnson & Wales before they realize I’m gone.
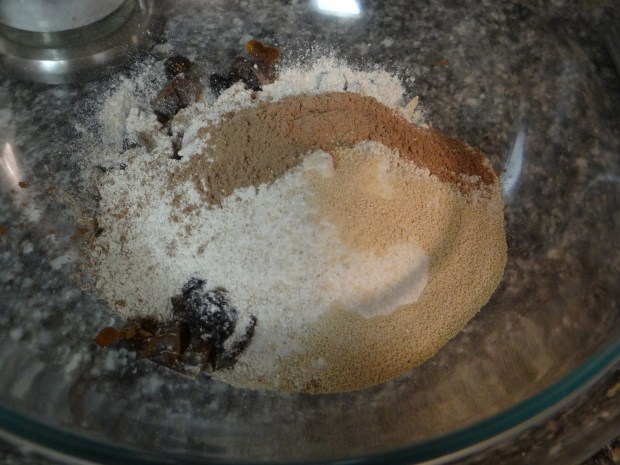
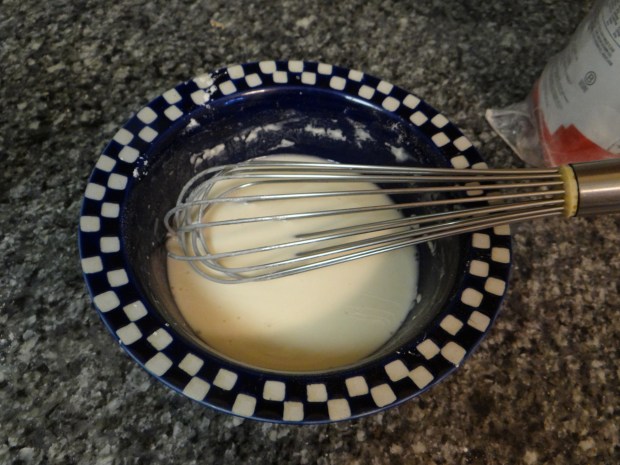
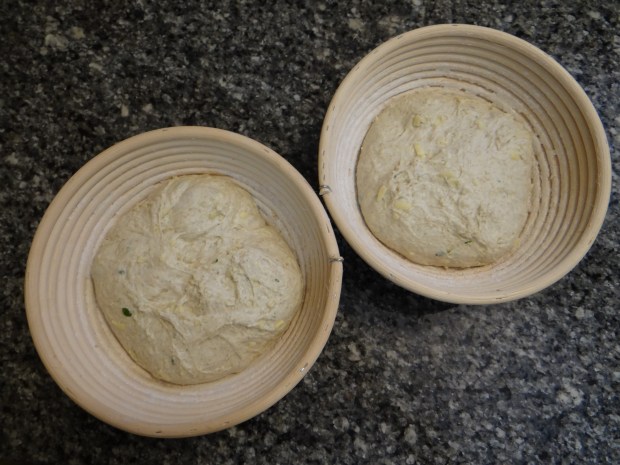
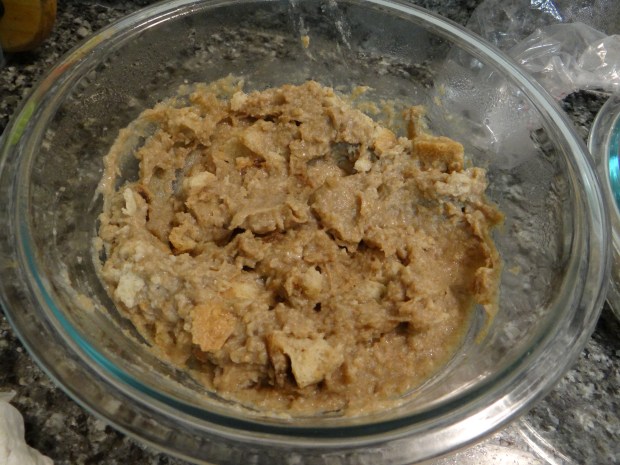
And with that, I was alone again in my kitchen. I added 100g of plain yogurt to my dough along with the yeast and salt, and prepared it for the first rise.
It got me thinking- what does the yogurt actually do? While Peter Reinhart may not have actually been in my kitchen, I had made enough of his whole grain breads to be familiar with his use of yogurt or buttermilk in most of them, as the soaker part of his epoxy method for extracting flavor from bitter whole wheat and rye flours.
This, for me, was my Matrix-style red pill or blue pill moment.
Would I just accept that yogurt and rye go together, or would I discover The Science Behind???
I began researching, and quickly realized that I would have to devote much more space to the larger topic of enzymes. In a longer post hopefully coming soon, I hope to answer the following questions:
- What are enzymes and what do they have to do with baking bread?
- What are amylases and proteases?
- How can I use my new knowledge of enzymes to improve my baking?
But for this post, I’m going to focus primarily on the enzyme activity of rye bread, hoping it will serve as a quick introduction to the world of enzymes.
I started by investigating rye flour and what made it different from wheat flour. From what I could tell, rye flour is different from wheat flour in three major ways:
- Rye flour is less able to form gluten strands. This is because rye flour has less glutenin. Glutenin is responsible for maintaining the strong bonds between the gluten strands. Because it doesn’t have much glutenin, what small amount of gluten it can form breaks very easily when you try to knead a rye dough. This is important, because without much gluten, rye flour needs other ingredients to compensate and provide structure. Those ingredients, as we will learn, are pentosans and starch.
- Rye flour has high levels of carbohydrates known as pentosans. Pentosans absorb tons of water. Rye flours can absorb as much as eight times their weight in water compared to wheat flour. This is important, because pentosans compete with the starch that also wants to absorb tons of water in order to gelatinize.
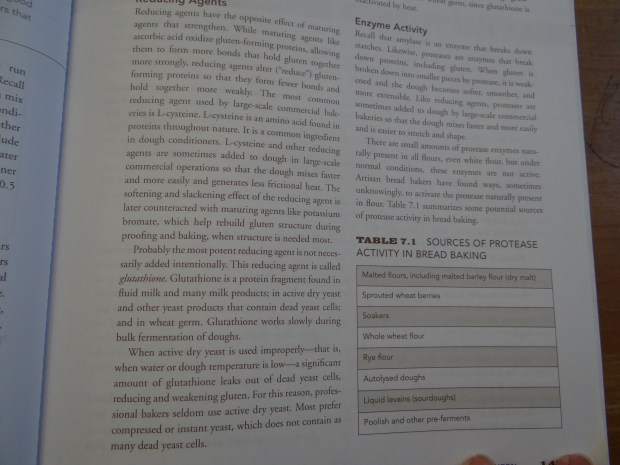
- Rye flour has higher amounts of amylase enzymes. Amylases are responsible for breaking down starches into sugars for yeast to be able to eat.
Ok, did you get all that? It’s not easy reading for sure.
In a nutshell: rye has less gluten, so it needs to rely on pentosans and starches for structure. Pentosans want to absorb lots of water, so they compete with starches for the available water in the dough. Rye flour also has high levels of the enzyme that breaks down starches.

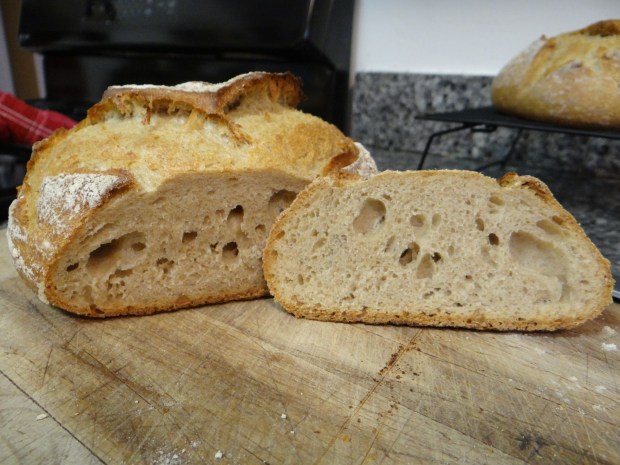
Does anyone else see a problem here? If the pentosans aren’t given enough water to absorb, they won’t leave enough water for the starches to gelatinize, and meanwhile amylase is breaking the remaining starches down for sugar, that will have a negative effect on the final loaf. Not only will it be unable to brown properly, but it also won’t have enough structure if it’s relying only on the pentosans.
There is very little we can do as home bakers to limit the pentosans’ water absorption. The presence of pentosan carbohydrates is just a necessary fact of rye. Instead, in order to create a successful loaf of bread, we have to get the amylase enzyme to slow down its conversion of starches to sugars.
This is where our understanding of the science of enzymes comes into play.
Noel Haegens writes on his helpful blog, “Bread and the technology of bread production” writes that, “Because they are proteins, they are heat sensitive and all enzymes have an optimum temperature and pH for activity. Within that range, activity increases with temperature until the denaturation point is reached. At that point the enzyme will lose its functionality. Apart from temperature and pH, enzymes are also dependent upon the availability of water, amount of enzyme used, the availability of the substrate and the time allowed for the reaction.”
Basically, every enzyme has optimal conditions to turn on and will turn off in sub-optimal conditions. By playing around with temperature and PH, we can turn enzymes on or off to suit our needs.
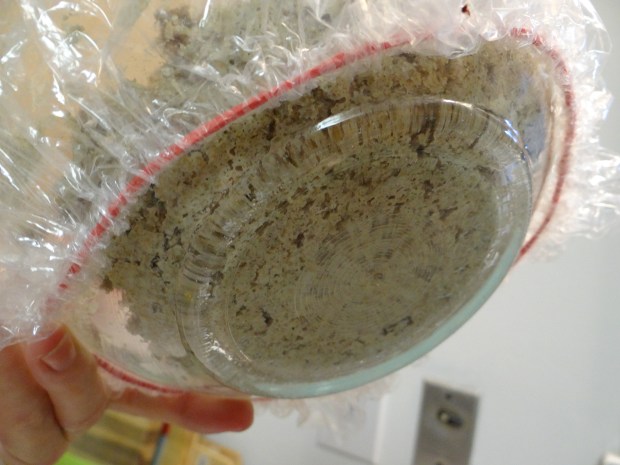
We could put the dough in the refrigerator, which would lower the temperature. And, in fact, Peter Reinhart does exactly this during the first stage of his dough- allowing the grains and flour to soak in yogurt overnight in the refrigerator.

However, we can’t keep it in the fridge forever. After all, yeast does not like cold environments.
So let’s turn to PH.
Amylase, it turns out, does not like lower PHs – acidic environments.
Thinking back to my encounter with Peter Reinhart while making rye bread, I had this revelation: yogurt has lactobacillus acidophilus.

What is lactobacillus acidophilus? An acid-loving bacteria (thanks latin!).
An acidic bacteria that slows down enzymatic breakdown of sugars.
By adding some yogurt to the dough, I made it slightly acidic, which slowed down the enzymatic activity of the amylase.
However, we don’t want the dough to be too acidic. After all, if we shut down production of amylase completely, then there would be no available sugars for the yeast to consume, meaning the dough would not rise at all. So we just want to add some yogurt, not substitute all the water with it. In my recipe, the yogurt only makes up 12% of the overall total weight of the dough.

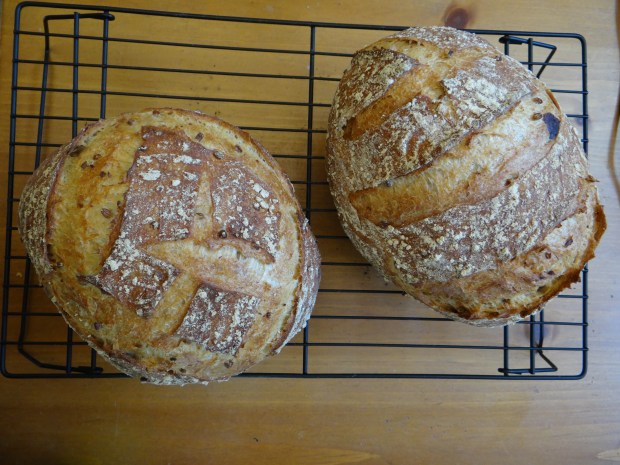
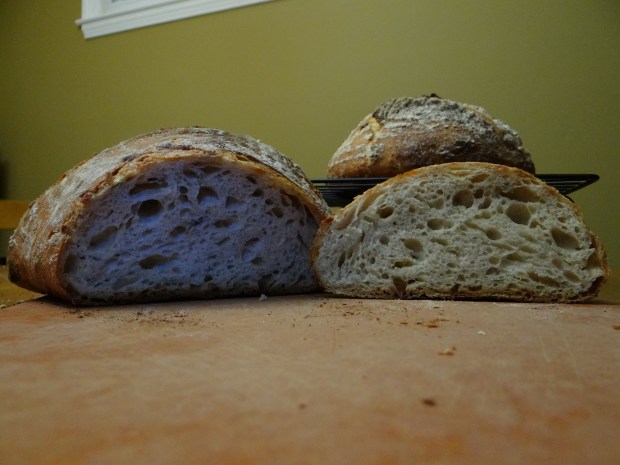
So in summary: rye breads like yogurt (or sourdough starter) because they lower the PH of the dough, creating a slightly acidic environment that slows down the conversion of starches to sugars. By slowing down this starch to sugar conversion, the dough structure is improved and optimal browning is achieved.
Thanks for sticking with me to the end! I know this is not an easy topic to wrap your head around. I’ll be writing a bit more on enzymes and ryes in the future, so stay tuned! As always, feel free to leave a comment if there’s something that isn’t clear.
I had a lot of help writing this article from these websites:
http://www.classofoods.com/page1_7.HTML
http://blogs.scientificamerican.com/guest-blog/enzymes-the-little-molecules-that-bake-bread/


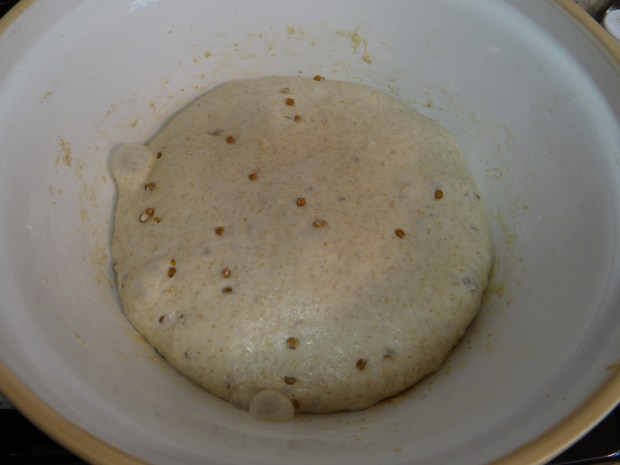


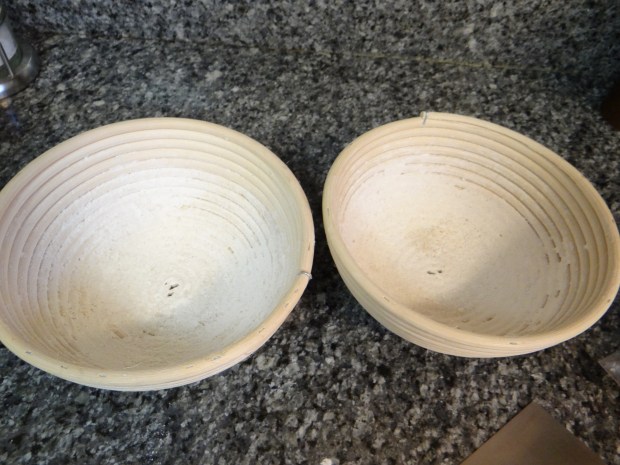
 Cover and let rise, 4-6 hours.


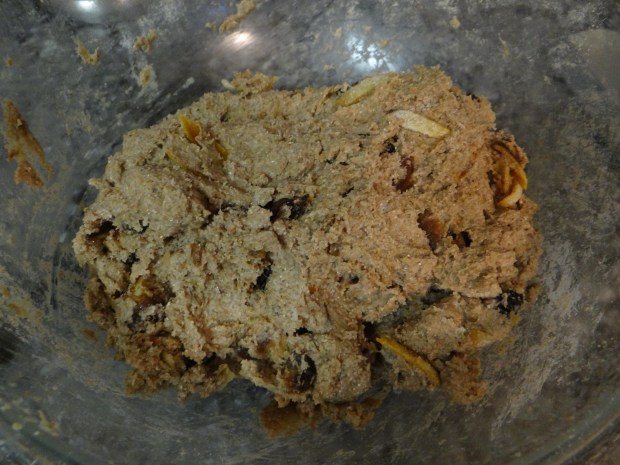
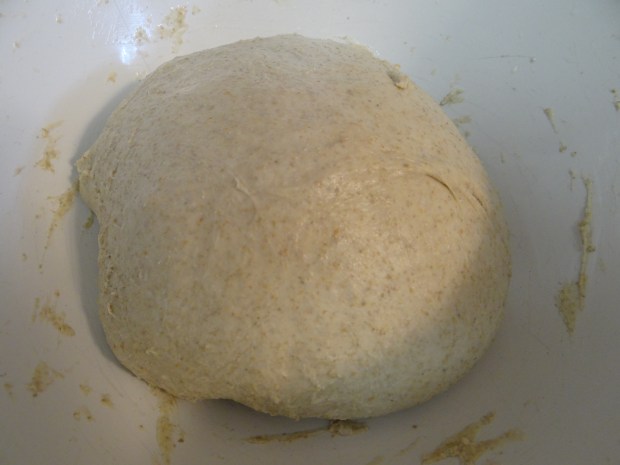
 Let sit for five minutes, then knead again for about a minute until smooth and fully incorporated.
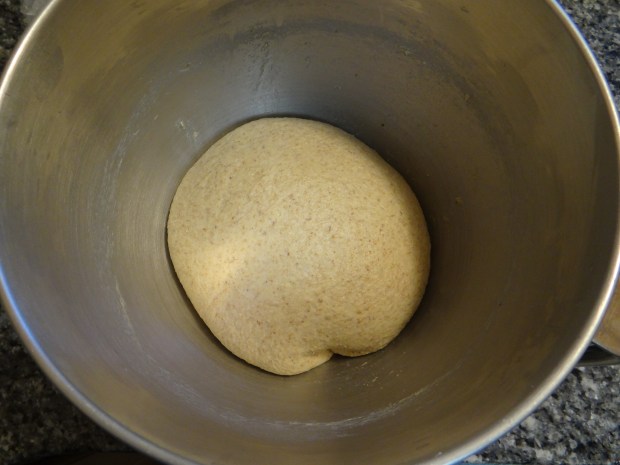
  Oil a bowl and roll the dough ball to coat in the oil. Let it rest for about 20 minutes while you preheat the oven to 400 degrees F.
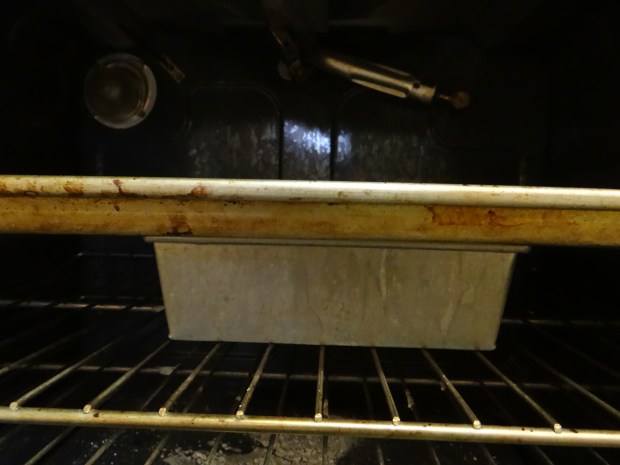
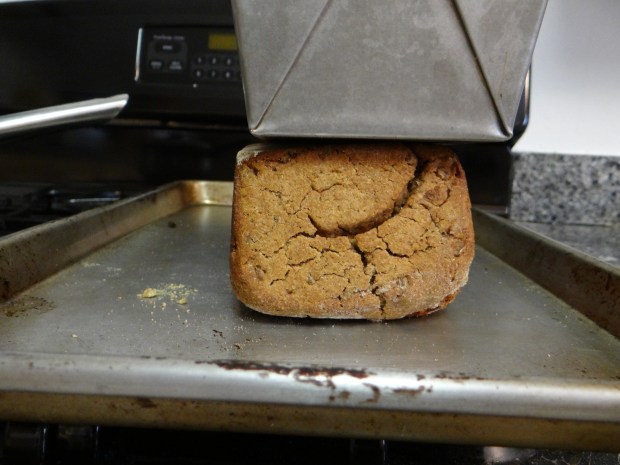
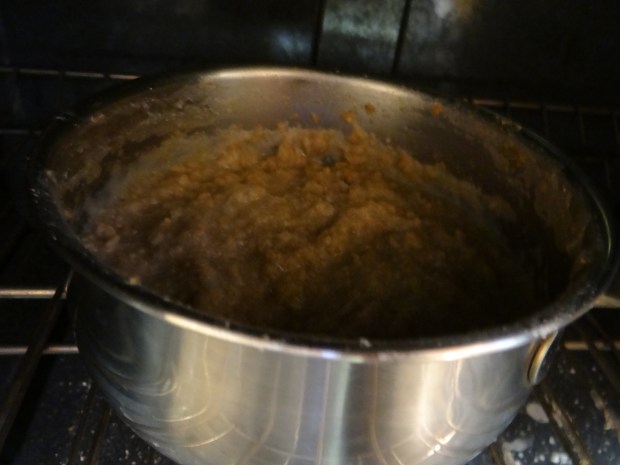
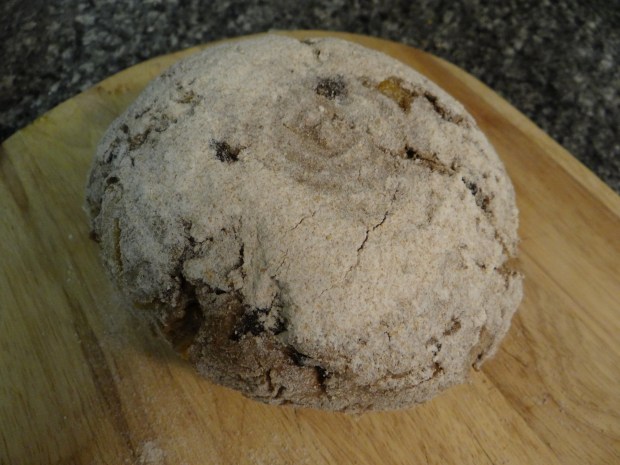
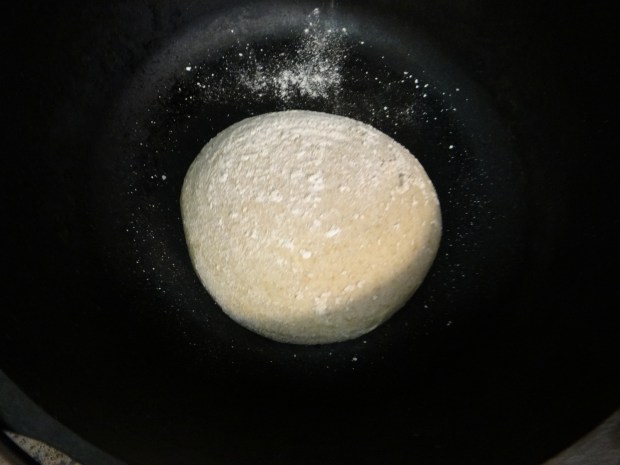
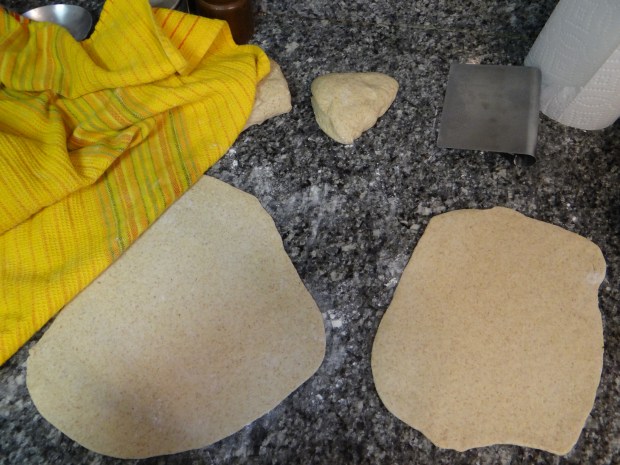
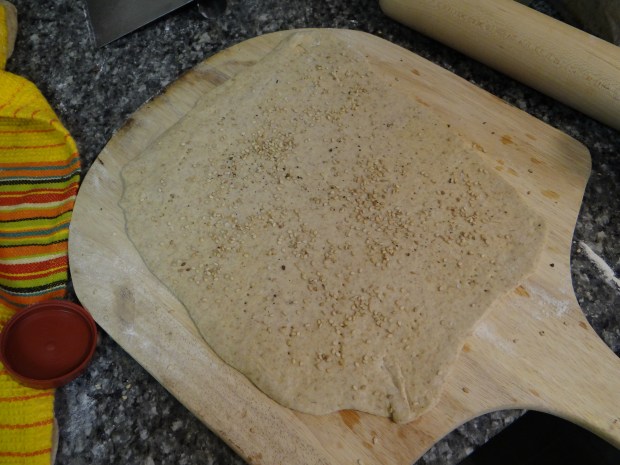
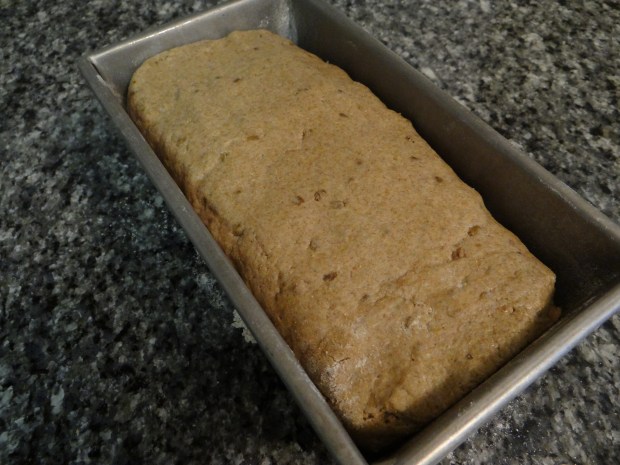 Pat it down so the top is flat, then sprinkle flour on the top. Bake immediately with a heavy baking sheet on top.