2-3 Bread with oats and correcting a mistake

I’m reading Preston Yancey’s book, “Out of the House of Bread.”  In the foreword by Shauna Niequist (whose blueberry yogurt morning cake I make often) she says,

 “I take pride in the things I make – guacamole or berry crisp or green-chili strata, but the pride I feel about bread baking is something else entirely.  Maybe that pride comes from the transformation, or maybe it comes from the trickiness.  I’ve ruined a lot of things in the kitchen but none so often as bread” (emphasis mine).

Ohh yes.  I know what you mean, Shauna.  Even as I get better and the mistakes are less frequent (and I mostly know how to course-correct when something goes wrong), they still happen.

A few days ago, I tried using three different whole grains in the same quantities in the same basic dough recipe (and blogged about it here).  For two of the variations, I used 1/2 cup of whole grains and 1/2 cup of hot water to autolyse.

For whatever reason, I decided to add 1 whole cup of hot water to 1/2 cup of quick-cooking oats, drastically increasing the hydration level of the dough.

I figured, since you add 1 cup of water to 1/2 cup of oats to make oatmeal, the oats would absorb all the water when I baked my loaf.  Despite my best efforts at stretching and folding, my loaf came out looking like this:

Totally flat.  I was heartened to see that at least the inside was nice and airy:

It’s tasty, but clearly I miscalculated how the oats and water would interact.  I decided to make the loaf again, this time with 1/2 cup of water and 1/2 cup of oats.  I owe it to my readers and to the oats to show that they are a good and easy way to add whole grains.

For this recipe, you will need:

1/2 cup (about 115g) hot water
1/2 cup (45g) quick cooking oats
375g all-purpose or bread flour
250g warm water
1 teaspoon yeast
1 teaspoon salt

1. Mix together the 1/2 cup water and 1/2 cup oats and let sit until cool.

2. Add the rest of the ingredients, mixing with your fingers until all the water in the dough is completely incorporated.  Cover and let rest for 15 minutes.

3. Do a few stretch and folds to strengthen the gluten.  Notice how much smoother it is.  Cover and let rise 1-2 hours.

4. Do a few more stretch and folds.  Let rise another 1-2 hours.

5. Shape your dough into a tight ball and place on a sheet of parchment paper.  Flip your mixing bowl over to create a dome.  Let rise about 30-45 minutes.  Preheat your oven to 500 degrees F with your dutch oven inside.

6. When the oven is preheated, use a sharp knife or razor blade to score the top of your dough.  Put in the dutch oven and cover with the lid.  Bake about 25 minutes.

7.  After 25 minutes, take the lid off, bump the heat down to 400 degrees F, and bake another 5-10 minutes.

It turned out perfectly!  I have redeemed the lowly oat.

This loaf could not be more perfect.  The oven spring is perfect and the loaf came out of the oven singing.  I can’t wait to try it.

So, to you my readers, I say don’t give up hope, and don’t give up trying for that perfect loaf.  You’ll get there.  Sometimes the bumps in the road help point you in the right direction.

A new series: A Bread Library

Hey everyone,

I’m starting a new series: A Bread Library.  I’m hoping to showcase some of the books that have helped and instructed my breadbaking journey.

I haven’t received any compensation to review these books and bought them all or received them from friends and family.  I believe wholeheartedly in these books and will provide links to where you can purchase them yourself, but they aren’t affiliate links so I won’t receive any kickbacks from you buying them either.

Check back soon for the first A Bread Library post, which I’ll be collecting here as well.

Btw, I really wanted to call it A Bread Biblioteca for the alliteration but I figured it might confuse people.  What do you think?

2-3 Bread with three whole-grain variations

Hey everyone,

In the interest of science, I thought I would show the same recipe three different ways, the only difference being the type of whole grain I added to it.

I used my basic 2-3 White Bread recipe, adding 1/2 cup of each type of grain along with an extra 1/2 cup of water.  This bumps the hydration of the bread up from 66% to about 84% hydration, but uncooked whole grains and whole grain flours suck up more water than bread or all-purpose flour.

For the experiment, I used buckwheat flour, rolled oats, and wheat bran.  I was originally going to also use some cooked wild rice, but it all got eaten the night before.

I was going to also use the pearl barley, but I was too lazy to cook it.

For one loaf of bread, you will need:

1/2 cup (65g) cooked grain, quick-cooking grain, or whole grain flour
1/2 cup (115g) hot or boiling water
375g all-purpose or bread flour
250g of warm (not hot) water
7g salt
7g of yeast

1. In a large bowl, mix together your whole grain of choice with hot water.  This will release the sugars in the whole grain and makes the resulting loaf tastier.  This process is called autolyse, and some bakers swear by it.

I did 1/2 a cup of wheat bran, buckwheat flour, and rolled oats.  I used 1/2 cup of hot water for the buckwheat and wheat bran, but for some reason I decided to put a whole cup of water in the rolled oats.  This messed everything up for my loaf using rolled oats.  More on that later.

2. Let the whole grain and water mixture cool completely.  Then add the 375g of flour, 250g of water, and the salt and yeast.  Mix well.

buckwheat flour dough
wheat bran dough
rolled oats dough

3. Let the dough rise, stretching and folding every hour or so until the dough is smooth and the gluten is well-formed.  Like magic, the dough forms a more cohesive ball each time.  The dough in the top left corner is the rolled oats, the top right corner is the buckwheat flour, and the bottom center is the wheat bran.

stretch and fold #1
stretch and fold #2
stretch and fold #3

Of the three, the dough that did the best in terms of rising and gluten formation was the buckwheat flour.

buckwheat flour dough

4A. If your dough is very cohesive, meaning it easily forms a smooth ball and stays that way, punch it down gently, shape it into a ball and place on parchment paper.  Preheat your oven to 450 degrees F with a cast iron dutch oven inside.

buckwheat flour dough
wheat bran dough

When your oven is ready, score the top of your loaf with a serrated knife or a razor blade.

buckwheat flour dough
wheat bran dough

Bake in the oven for 25 minutes with the lid of the dutch oven on.  After 25 minutes, remove the lid and bake for another 10-15 minutes.

4B. If your dough is very wet, like my rolled oats dough ended up being, you are not going to be able to score it.  Instead, bump the temperature up to 500 degrees F, scoop the dough into your dutch oven as best you can, and accept the jagged rips along the surface as artistic.

rolled oats dough

When the bread passes the thump test, meaning that it is very hard and sounds hollow when thumped smartly with a fingernail, remove from the oven and let it cool completely before cutting into it.  Or at least an hour if you can stand it.  The bread should crackle as it cools.

buckwheat flour dough
buckwheat flour crumb
wheat bran loaf in front
wheat bran crumb
the rolled oats dough was a bit of a flop.  Hydration too high, oven temperature too low to get good oven spring.
despite the rolled oats bread coming out flat, the crumb was still nice and airy due to the highest hydration, over 100%

The flavor of the whole grains isn’t very pronounced, but that is because the autolyse in the beginning took away some of the bitterness that whole grains can sometimes impart.

I hope this tutorial gives you the confidence to experiment with whole grains.  They are tasty and easy to use.

As always, let me know in the comments if there’s a particular grain you like to use in your baking.

Thanks for reading!

The Science Behind… baking with whole grains

Hi everyone,

This is going to be a quick “The Science Behind…” post.  Grains are an easy way to add flavor and nutrient value to your bread.  It’s also a good way of using up that handful of cooked rice or oatmeal sitting in your refrigerator.

So, for this post I will discuss:

1. What kinds of grains should I use?
2. What grains shouldn’t I use?
3. How should I store whole grains?
4. Should they be cooked or raw?
5. How do I modify a recipe to include grains? 

wheat berries

 1. What kind of grains should I use?  There are tons of different grains out there.  Wheat is a grain, and it’s probably the most popular grain we use to make bread due to its high gluten content.  It’s not the only one though- it’s thought that before wheat became domesticated, millet was the chosen grain for bread.

Other grains you might see available at your local grocery store include:
Oats
Corn
Rice
Barley
Sorghum
Rye

I learned while researching this post that some things we think of as grains are in reality seeds, also called “pseudo-cereals” because we use them like grains.  These are things like:
Flax seeds
Amaranth
Buckwheat
Quinoa

2. What grains shouldn’t I use?  I really think the answer depends on what you are comfortable with.  Some things to consider:

  • How weird would it be to taste this grain in this particular bread?  For example, whole cooked corn kernels would be welcome in cornbread, but might be weird in regular white bread.  But there’s a kind of bread the pilgrims ate, Anadama bread, which includes both wheat flour and cornmeal.  Most pastas are made with semolina flour (a kind of hard wheat).  I’ve used semolina flour which works well in bread, but shaped pasta or large Israeli couscous might be weird.  
  • What the grain tastes like.  You should also probably consider the taste of the grains.  For a while, Mr. Bread Maiden was brewing beer and I would sometimes throw some of the grains leftover from the brewing process into my dough.  I couldn’t use very much though, because they were very, very bitter.  

spent grains
spent grains added to a regular white dough
spent grains incorporated into a white dough.  They really changed the coloring.

Other than those two factors, I would say most grains can be added to bread without a problem.  Where you do have to be careful is matching how the grain is processed (cooked, milled, raw, intact) to the baking method and type of bread you want to make.  More on that later.
3. How should I store whole grains?  Let’s say you go out and buy some flax seeds, buckwheat flour, and whole rolled oats.  How do you store them to make sure they stay fresh?  As with so many things, it depends.  To understand what makes the difference, we need to understand what a whole grain is.

The above picture is a whole grain.  A whole grain contains the protective bran coating, the germ which is full of healthy fats, and the endosperm which is primarily starch and protein.  Bread and all-purpose flours have had most of the bran and germ removed.  You can store them practically forever and they won’t go bad.

You should take care when storing whole grains, particularly whole grain flours, because they spoil more quickly than flour which has had most or all of the bran and germ removed.  The fat in the germ goes rancid more quickly than the starch and protein.  Whole grain flours spoil more rapidly than intact whole grains because flours have their protective bran coating crushed and broken up, so oxygen is able to access all areas of the grain.

So, from longest to shortest storage time, you have:

all-purpose and bread flour ——> intact whole grains ——> whole grain flour

Whole, intact grains (or pseudo-cereals) like the flax seeds can stay fresh longer than flour or other milled grains.  Intact grains should be stored in an airtight container in a cool pantry for 6 months or up to a year in the freezer.  Grain flours and meals should also be kept in an airtight container, but they only last about 1-3 months in the pantry or 2-6 months in the freezer according to the Whole Grains Council.

What does that mean?  It means that the rolled oats and flax seeds will probably be fine in your pantry.  You might want to store the buckwheat flour in your freezer though.

4. Should the intact grains be cooked or raw when I add them to my recipe?  This is where you need to match the grain you have to the method you want to use.  

  • How long does a particular grain take to cook?  This will determine whether you need to adjust the recipe or cook the grain beforehand.  If a recipe requires boiling water or a long cooking time, they will not cook thoroughly in a dough.  You can add quick-cooking grains like oats to your dough raw.  However, in order to make sure they get cooked thoroughly, you can let them soak in hot water before adding the other ingredients.  Other grains like rice, barley, and quinoa need to be cooked completely and then cooled before added to your dough.
  • How much time do you have?  If you plan to bake in 18 hours or more, you can soak your intact grains.  Some of your grains, such as whole wheat berries, might even sprout during this time.  Here is a link to a recipe for sprouted grains.

In general, I believe that cooked grains have greater success than raw grains, since they have absorbed all the water they are likely to, and thus will not affect the overall hydration of your dough.

5. How should I modify a recipe to include whole grains?  If you have grains that you have already cooked, you can add them to your dough without any adjustments to the recipe.  I would add about 1/4 to 1/2 cup of cooked grains per loaf.

If you are using a whole grain flour or raw intact whole grains, you CAN just add them directly, but I have a whole grains ninja tactic that will bring out more flavor and better quality in your bread.

It’s called: the autolyse.

I learned about the autolyse from Peter Reinhart’s Whole Grain Breads, although I can’t remember if he called it that.  

Basically, you just mix your flour (or quick-cooking whole grains) and water together before adding the yeast and salt.  You let the flour absorb the water and the whole grains soften a bit before starting the hard work of fermentation and leavening.

Here is what Maurizio at The Perfect Loaf has to say about the science behind the autolyse:

“How can soaking flour during autolyse help sweeten your end loaves?  During autolyse, where the wheat and water are mixed (remember, no levain or salt added during this step), sugars are released into the dough to be made available for consumption by your yeast later.”

Jeffrey Hamelman in his book Bread puts it this way:

“When making breads containing lots of whole-wheat flour, during the autolyse the bran has an opportunity to absorb more dough water.  This also has a favorable impact on loaf volume, because during the final mixing of the dough there is less of a cutting action of the bran on the gluten strands.”

For your autolyse, mix about 1/2 cup oats or whole grain flour and 1/2 cup hot or warm water in your large mixing bowl.  Let it sit until your mixture is completely cool.  Do not rush this!  It must be completely cool because if you add yeast to a mixture that is still hot, the hot water will kill off the yeast.  Because the autolyse doesn’t include any yeast, you can leave it for a few hours or even overnight.  Remember, you are trying to draw out the sweet flavors of the whole grains.  Your patience will be rewarded.

Once your water and grain mixture is cool, you can add the rest of your ingredients.  I like to add grains to my 2-3 white bread recipe.  I just add 375g of flour, 250g of water, 7g of salt and 7g of yeast to the autolyzed mixture and prepare it as usual.

If you are using a whole grain flour, you can add up to 1/4 of the total flour weight without having to really change anything about the recipe.  Because of the bran, whole grains tend to require more water than all-purpose flour, but only by a splash or so.  Any more whole grain flour and you might have problems getting enough gluten formation to happen.

Besides the autolyse, another thing you might want to do to make sure you get enough gluten formation is extra stretch and folds during the leavening process.  I did a few stretch and folds every hour for four hours until I felt the doughs were ready to bake (not sure why they only took four hours, but that’s how long they took).  If you don’t know what a stretch and fold is, check out my tutorial here.

Here’s another reason to make sure you use the autolyse trick: if you do decide to use raw intact grains in your dough, they may absorb more water during the baking process.  In contrast, during the autolyse the grains absorb water so you don’t mess up your dough’s hydration later on, when there’s nothing you can do about it.

I hope you enjoyed this post on baking with whole grains.  I plan to provide the recipes for 66% hydration loaves with buckwheat flour, quick-cooking oats, and wheat bran in a few days.

My sources for this post:
Whole Grains Council website
The Perfect Loaf website

Why I loved my bread machine… and why I finally ditched it

All pictures on this post were from google searches.  None are my own because I already gave away my bread machine when I started this blog.  I have tried to give credit for them in the caption.

Often, when I tell people I bake bread, someone will mention sheepishly that they own a bread machine.  They think it’s something to be embarrassed about, or that I’ll look down on them somehow.

They are usually surprised to learn that when I was first starting out baking, I had a bread machine.

source: http://cdn-image.myrecipes.com/sites/default/files/styles/300×300/public/image/recipes/ck/01/01/asiago-bread-ck-222170-x.jpg?itok=yJ8Upk_N

It’s true!

Mr. Bread Maiden and I received it as a wedding present.  I found it invaluable during my first year of baking.  Our first Thanksgiving after we got married, I made stuffing using bread machine bread.  I was so proud of myself.

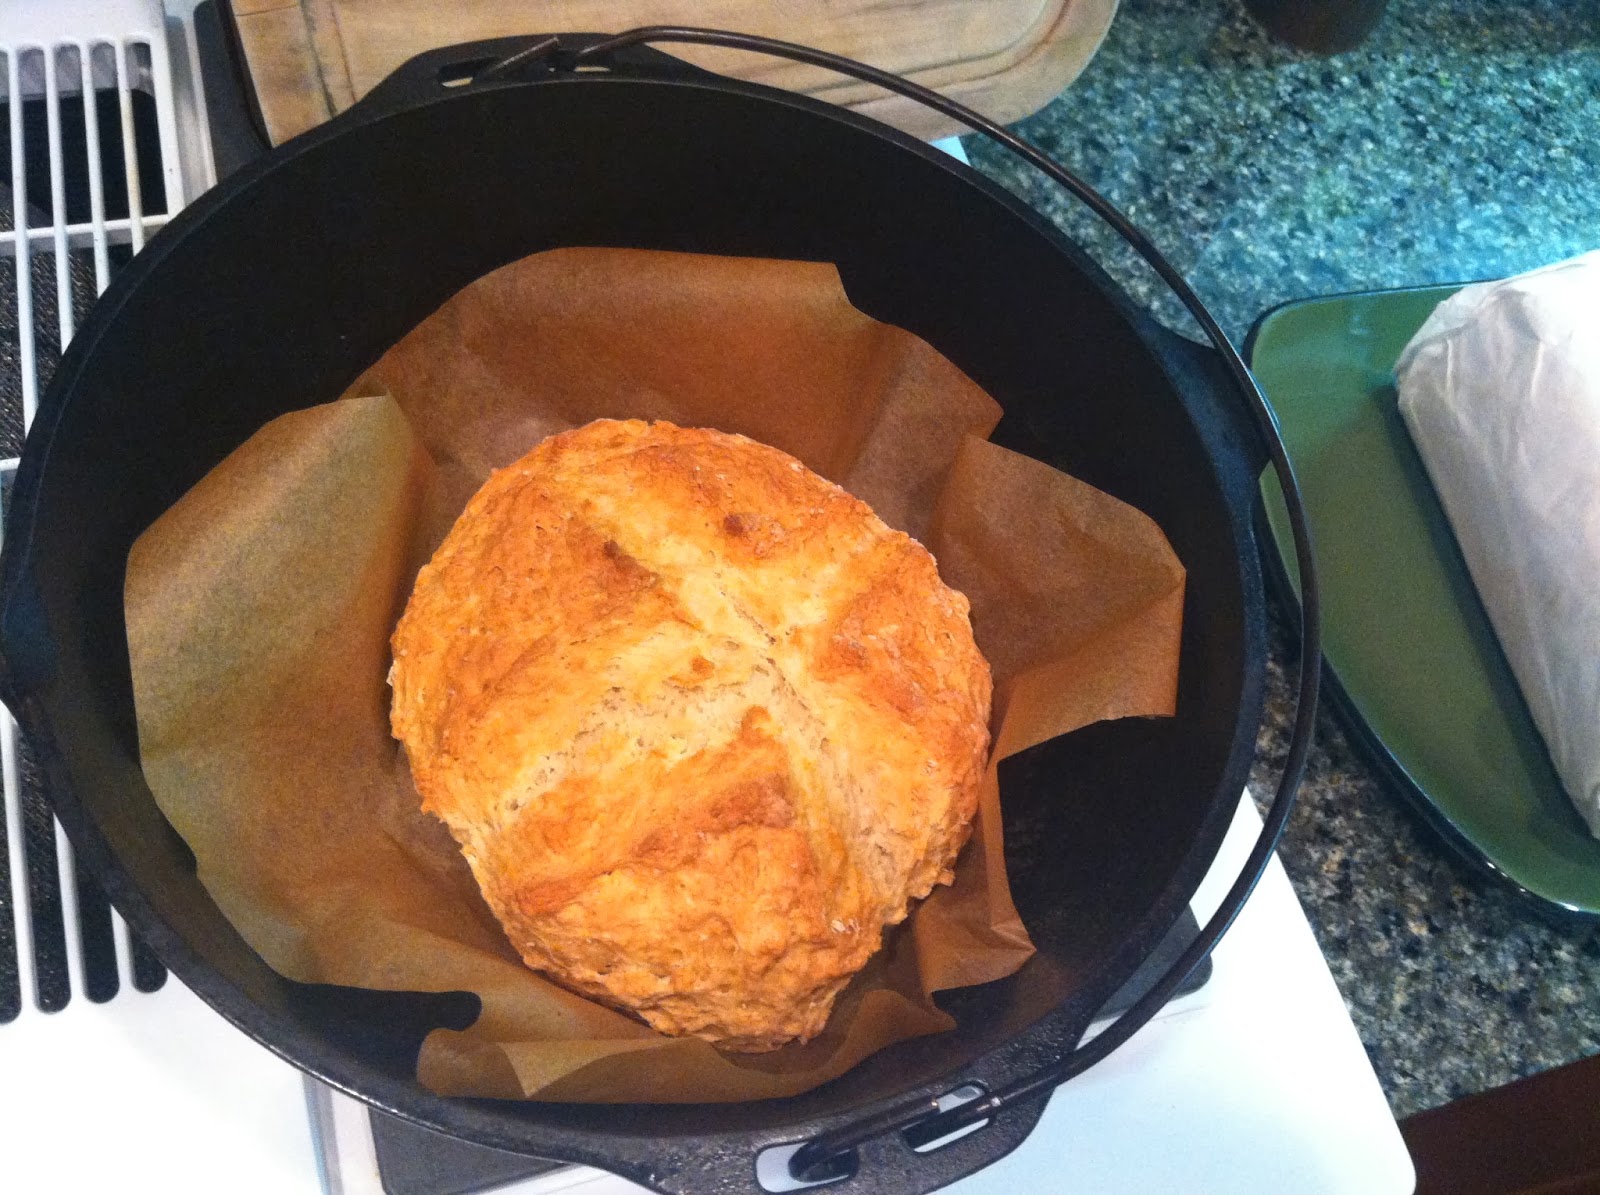
Most bread machines these days are under $100, so it’s an economical first step if you want one (it’s about the same price as a cast iron dutch oven).

Why did I like it?  Here are just a few reasons:

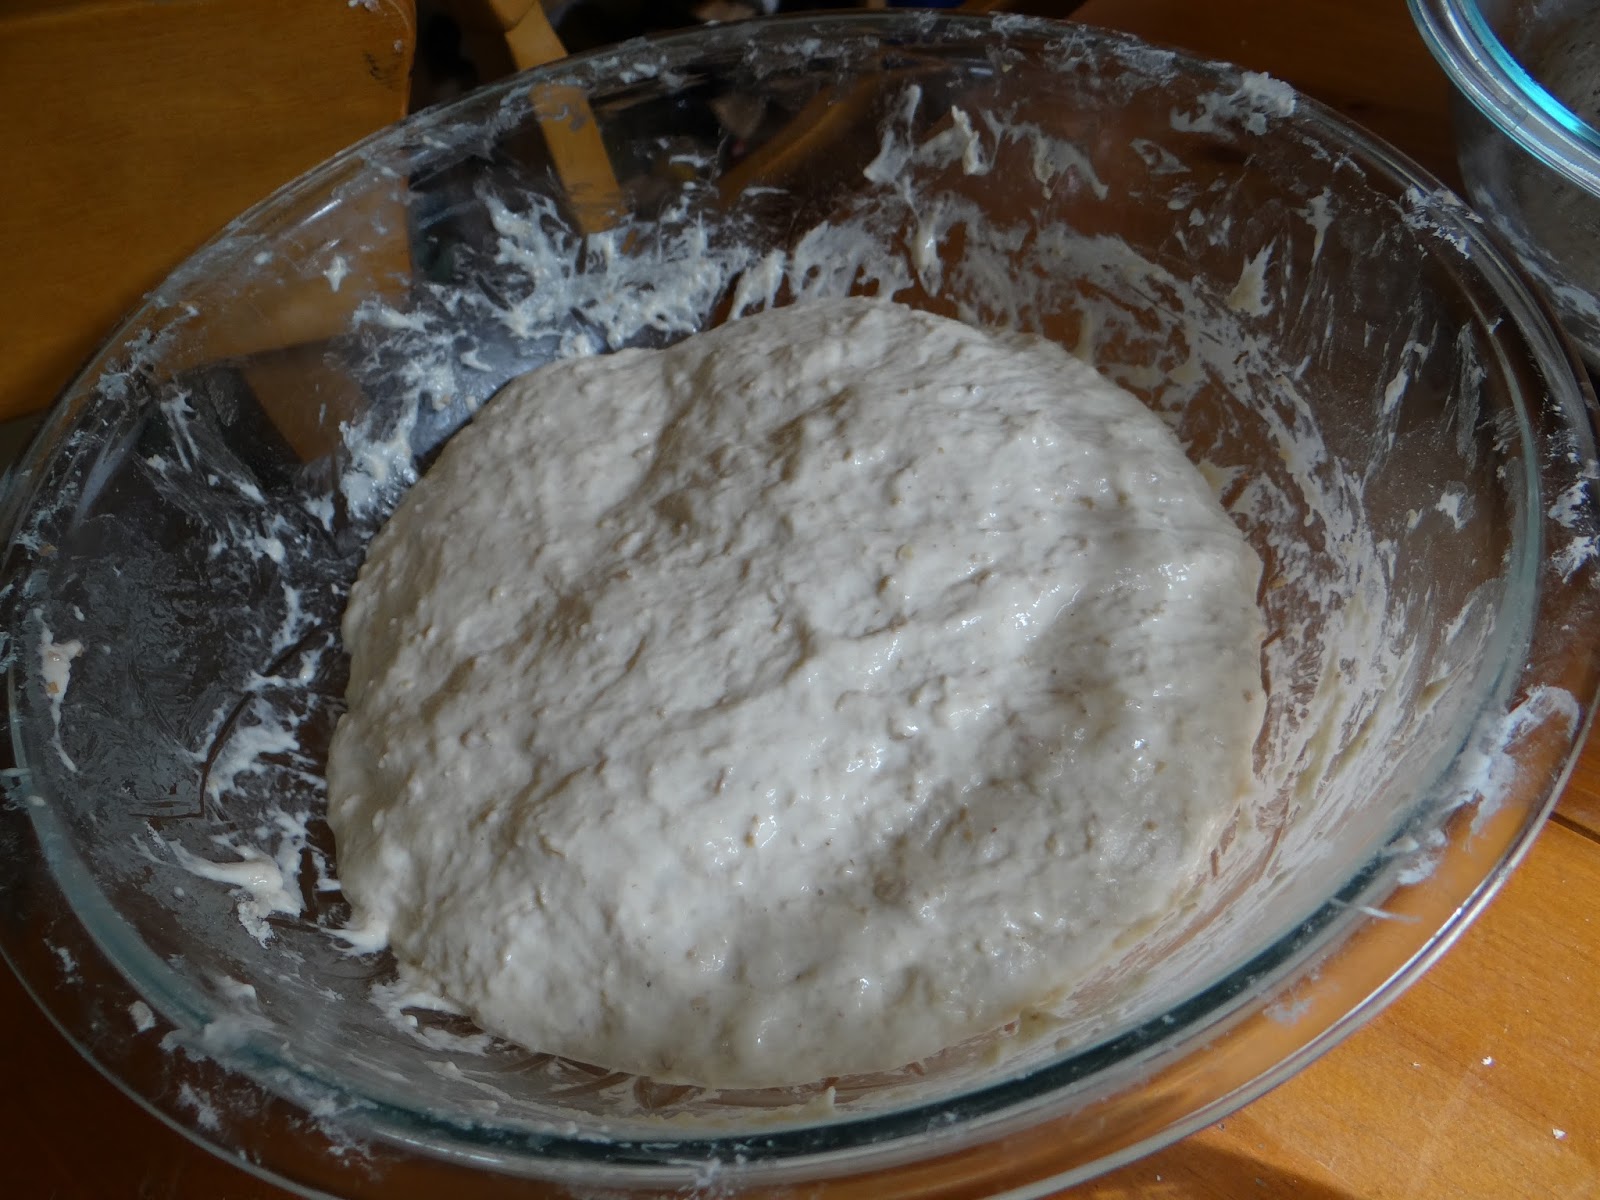
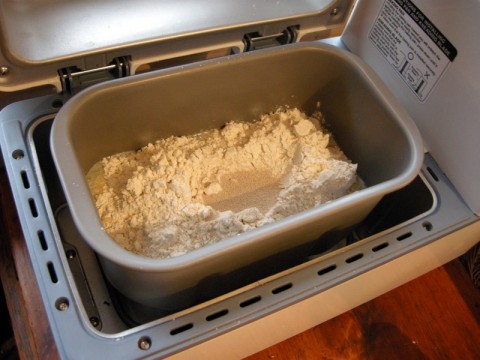
1. High chance of bread success.  I’ll admit sometimes it still frustrates me that I can follow a recipe perfectly and then the bread doesn’t turn out because I let it over-proof, or the yeast died because the milk I used for proofing was too hot, or there wasn’t sufficient gluten formation, or the kitchen was too cold, or I scored the dough too deeply/too shallowly or any number of other confounding factors.  There are just so many variables to consider.  It definitely gets better the more familiar you become with baking, but a bread machine removes some of those variables.  First of all, it mixes and kneads the ingredients together for you, and uses either all-purpose or bread flour, or some wheat flour.  It provides the perfect temperature for the bread to rise.  And it bakes the bread so it’s nice and soft.

By taking out most of the variables, you are free to experiment with your recipe.  What happens if you add more or less yeast?  What happens if you add powdered milk?  More or less salt?  All-purpose or bread flour?  Basically, a bread machine is foolproof: unless you do something very, very wrong, you will always end up with a loaf of (probably) edible bread.  Or at least a doorstop in a bread loaf shape.

source: https://www.pinterest.com/mountainsgrace/bread-machine-recipes/

2. The bread will ALWAYS rise unless you forget the yeast.  This point is related to the first one.  When I talk to other bakers who specialize in chemically leavened baked goods such as cookies, cakes and quick breads, they often tell me that yeast scares them.

What they mean is: with most baked goods, the baker is in control.  With yeast, the yeast is in control.  How long will it take to rise a loaf of bread?  You can sorta judge it by the amount of yeast you use, but it’s not an exact science the way baking powder and baking soda are. 

Yeast can take more or less time to rise based on: the amount of sugar in the dough, the temperature of the room where it’s rising, the humidity, the amount of yeast, how much gluten formation has occurred, etc.

A bread machine creates a hot, humid environment that is perfect for yeast to rise.  If you add the right amount of yeast that the bread machine recipe calls for, your dough will always rise.

source: http://www.amazon.com/Bread-Machines-Small-Appliances-Kitchen/b?ie=UTF8&node=289917

3. Can set it and forget it.  Some bread machines allow you to set a timer so you wake up to fresh-baked bread.  Most bread machine recipes only call for non-perishables like flour, water and dried milk, so there’s no risk of spoiling or becoming tainted at room temperature.  Also, starting from the moment you add the ingredients until the bread is finished baking, you don’t have to do ANYTHING.  How amazing is that?  I imagine it would be great for people like firemen or midwives who might get called away in the middle of baking for a job and not being able to come back to tend to the dough for hours.  With a bread machine, they know the bread won’t overproof or get burned in the oven, because most bread machines have an automatic shut-off feature as well. 
 

source: http://www.glutenfreeportland.org/2010/01/04/product-review-bobs-red-mill-gluten-free-bread-mix/

4. Always have bread on hand and save money.  If owning a bread machine means you can stop buying bread or at least lessen the amount of store-made bread you buy, it will be a success.  If you buy a $35 bread machine, it’ll pay for itself after only a few loaves.

5. Build confidence.   This is so key.  One of the issues with baking is that you get better the more you do it.  Most people don’t have the resources or time to throw out tons of mistakes.  With a bread machine, you can start making tasty bread on day one.  It certainly gave me the confidence to move away from using it after a year.

source: http://moneysavingmom.com/2014/02/qa-kind-bread-machine.html

6. Economical way to bake.  For someone without access to an oven, it’s a cheap way to have fresh-baked bread.

7. Leaves the oven free for other things.  A few days ago, my bread didn’t brown properly because I let Mr. Bread Maiden warm up a plate in the rack above it. 

There are some days (this always happens on Thanksgiving) where we have to juggle oven use because a dish cooks at one temperature and the bread bakes at another.  A bread machine circumvents that. 

So if I liked it so much, why did I end up selling it after a year?  Several reasons.

1. Huge contraption that does only one thing.  No matter which bread machine you buy, it’s going to take up a ton of space, both on your counter and in your cupboard.   And, as Alton Brown might say, it’s a uni-tasker.  Most people just don’t have the space in their kitchen for something that can’t be used lots of different ways.

2. It makes good bread up to a certain point.  If you are used to eating commercial sliced bread, bread machine bread will be a revelation.  But after eating many loaves, it gets… boring.  I’ll go into more detail about what I mean below.  It makes good bread, which is a selling feature.  But you will never make GREAT bread with a bread machine.

3. Have to use bread machine-specific recipes. As I briefly mentioned above, a great feature of a bread machine is that you can follow a recipe exactly and have faith that it will turn out exactly as you want it to.  But you have to use recipes tailor-made for a bread machine.  That means recipes with lots of yeast (because the rise time is short), flour that has high protein content (because, once again, short time for gluten to form), and low hydration (about 66%) because the temperature that the bread machine bakes at is pretty low.  As long as you use these bread machine recipes, you will get the expected results.  But after a year, I was excited to try something new. 

4. Can’t rise longer than the allotted time.  As you may know, tasty lean breads like sourdough benefit from a long rise time.  This is because yeast, as it eats the sugars in the flour, releases carbon dioxide and ethyl alcohol.  Ethyl alcohol lightly ferments the dough, giving it more flavor.  Bread machine bread only rises for about 1.5 hours, so any flavor must come from additions like milk, dried fruit, or spices.  Because of the short rise time, all recipes will require more yeast.  That means that any lean bread you make will taste primarily like yeast since you haven’t added anything else to cover the flavor.  That’s not the worst thing ever, but again, after a year I was ready for new flavors.

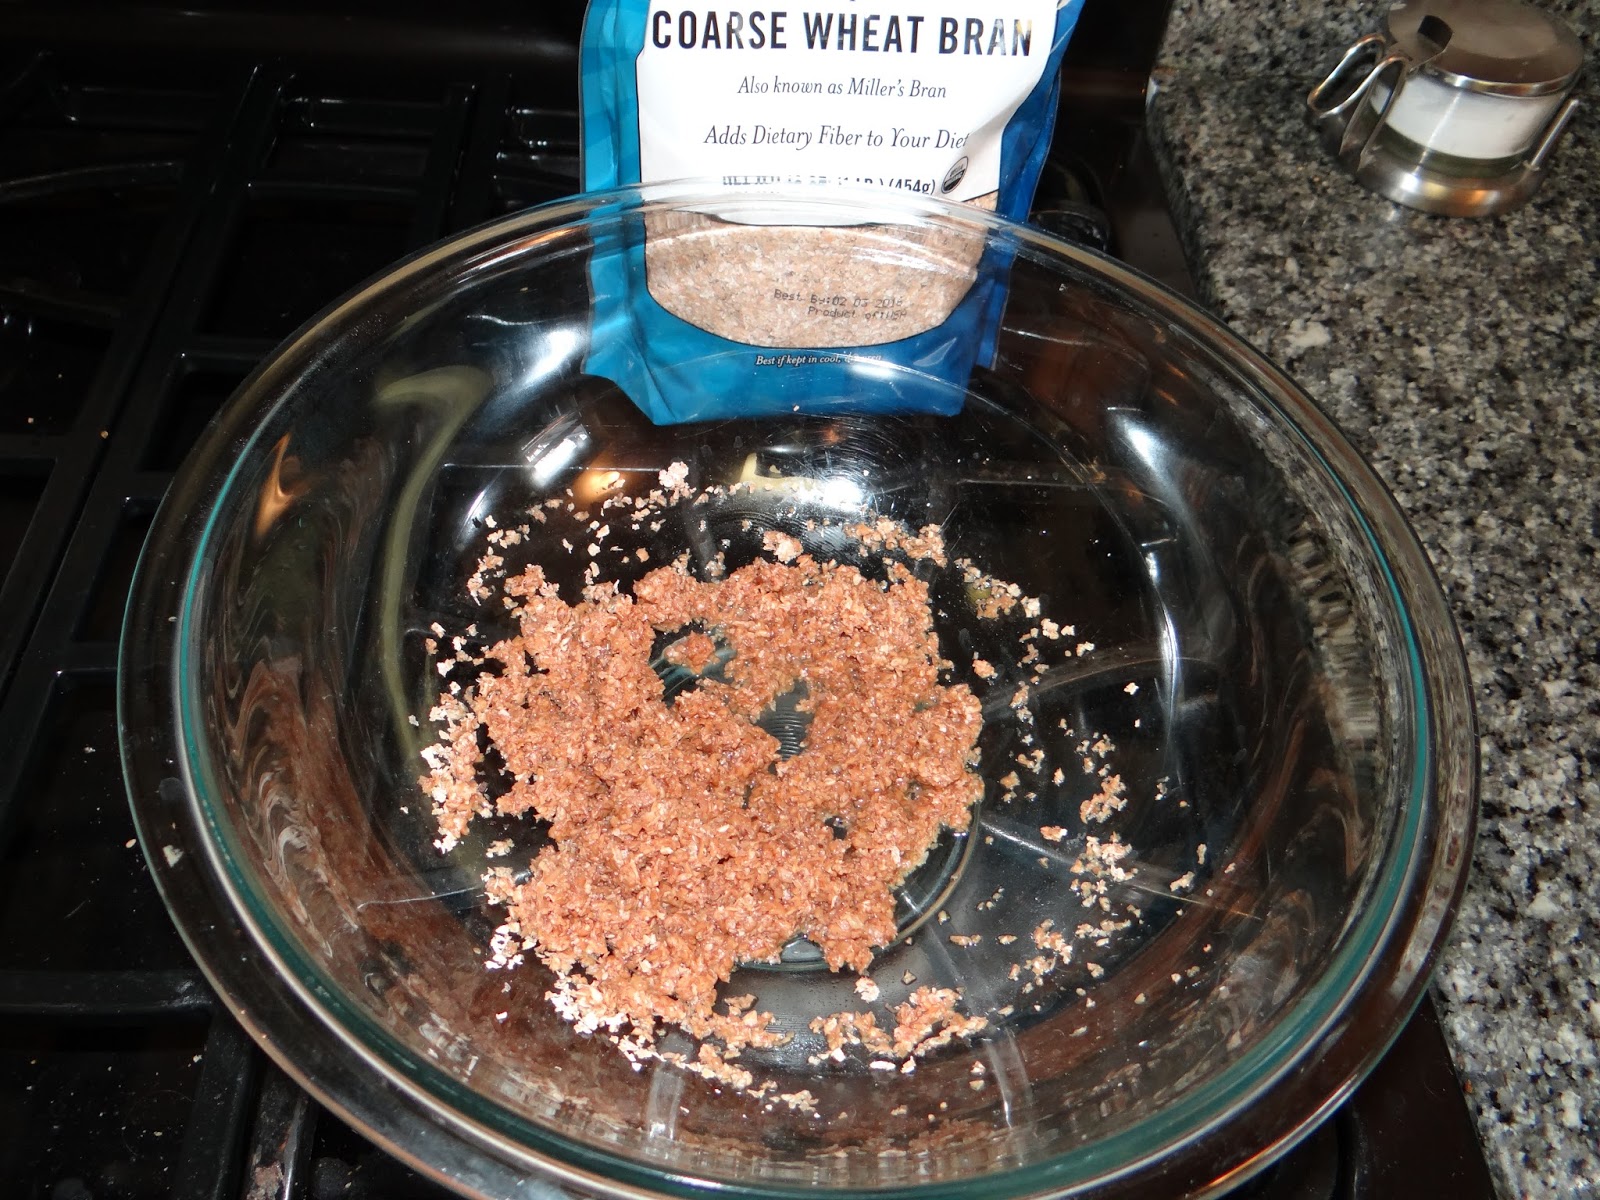
5. Limited recipes.  Can’t make sourdough.  Can’t make 100% whole wheat or 100% rye without adding vital wheat gluten. Can’t add eggs, butter or liquid milk.  

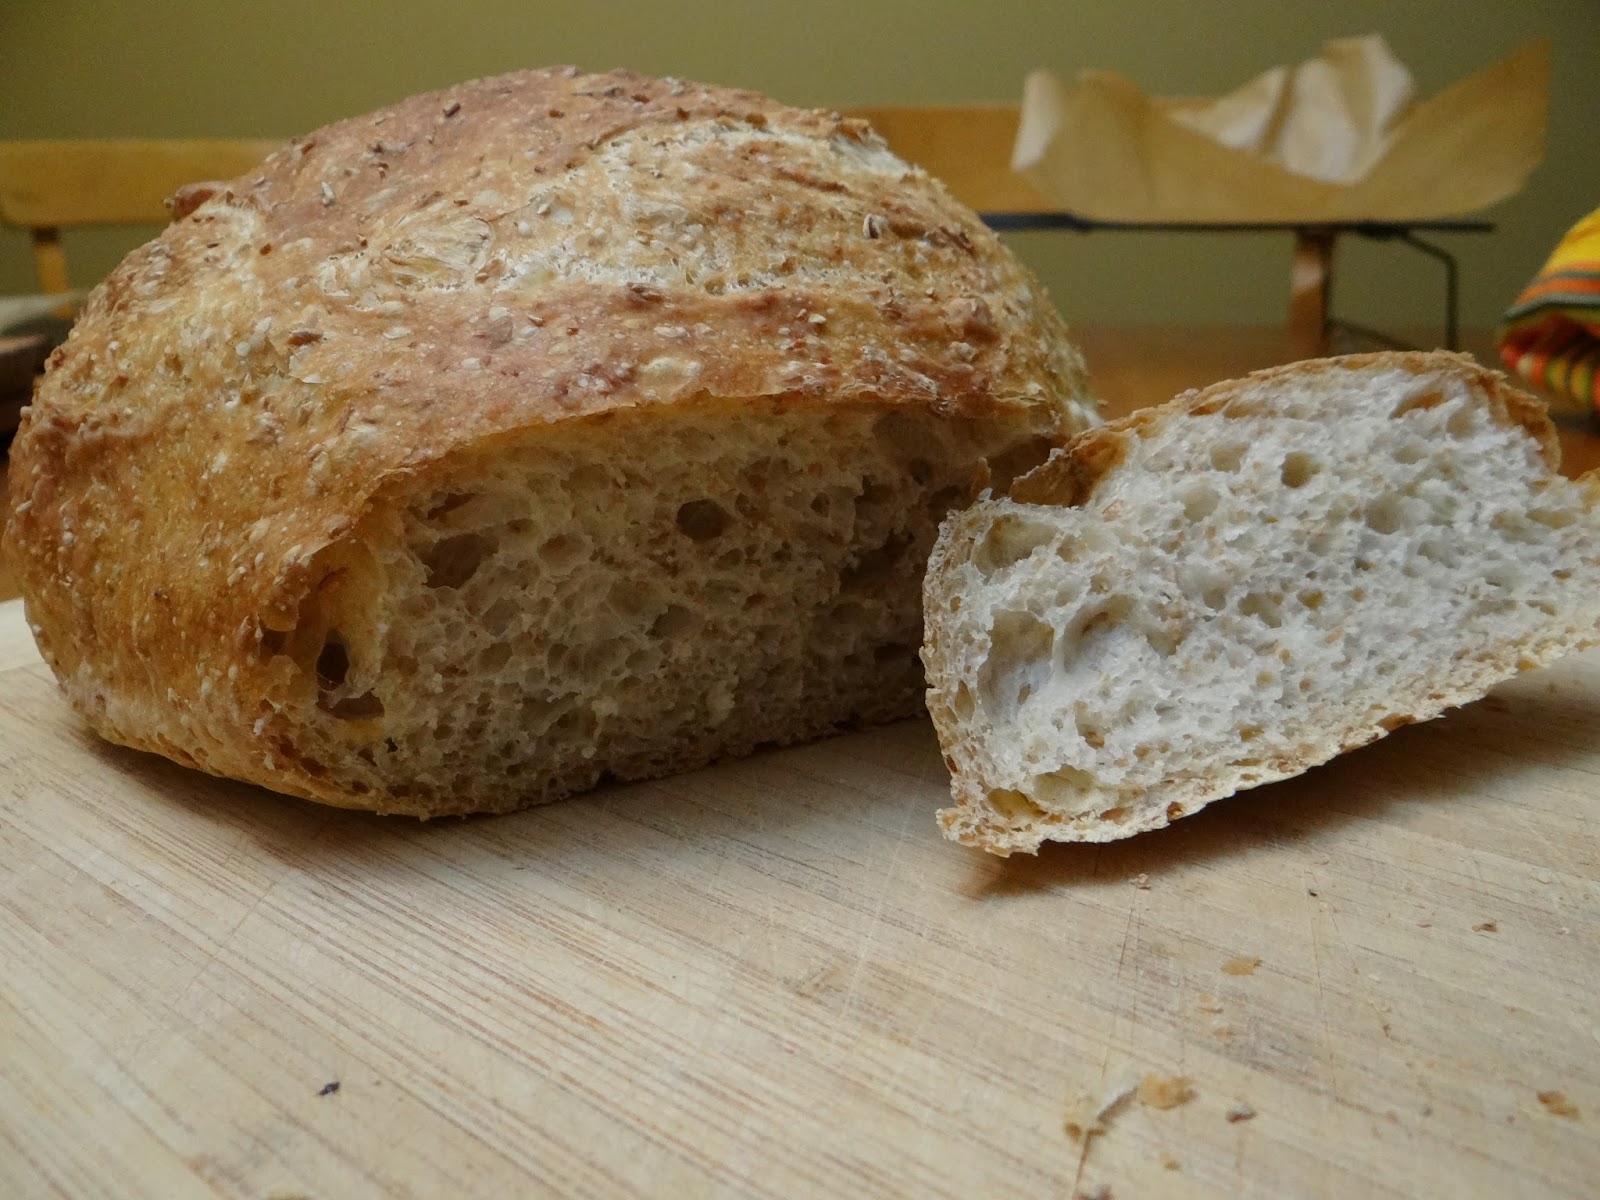
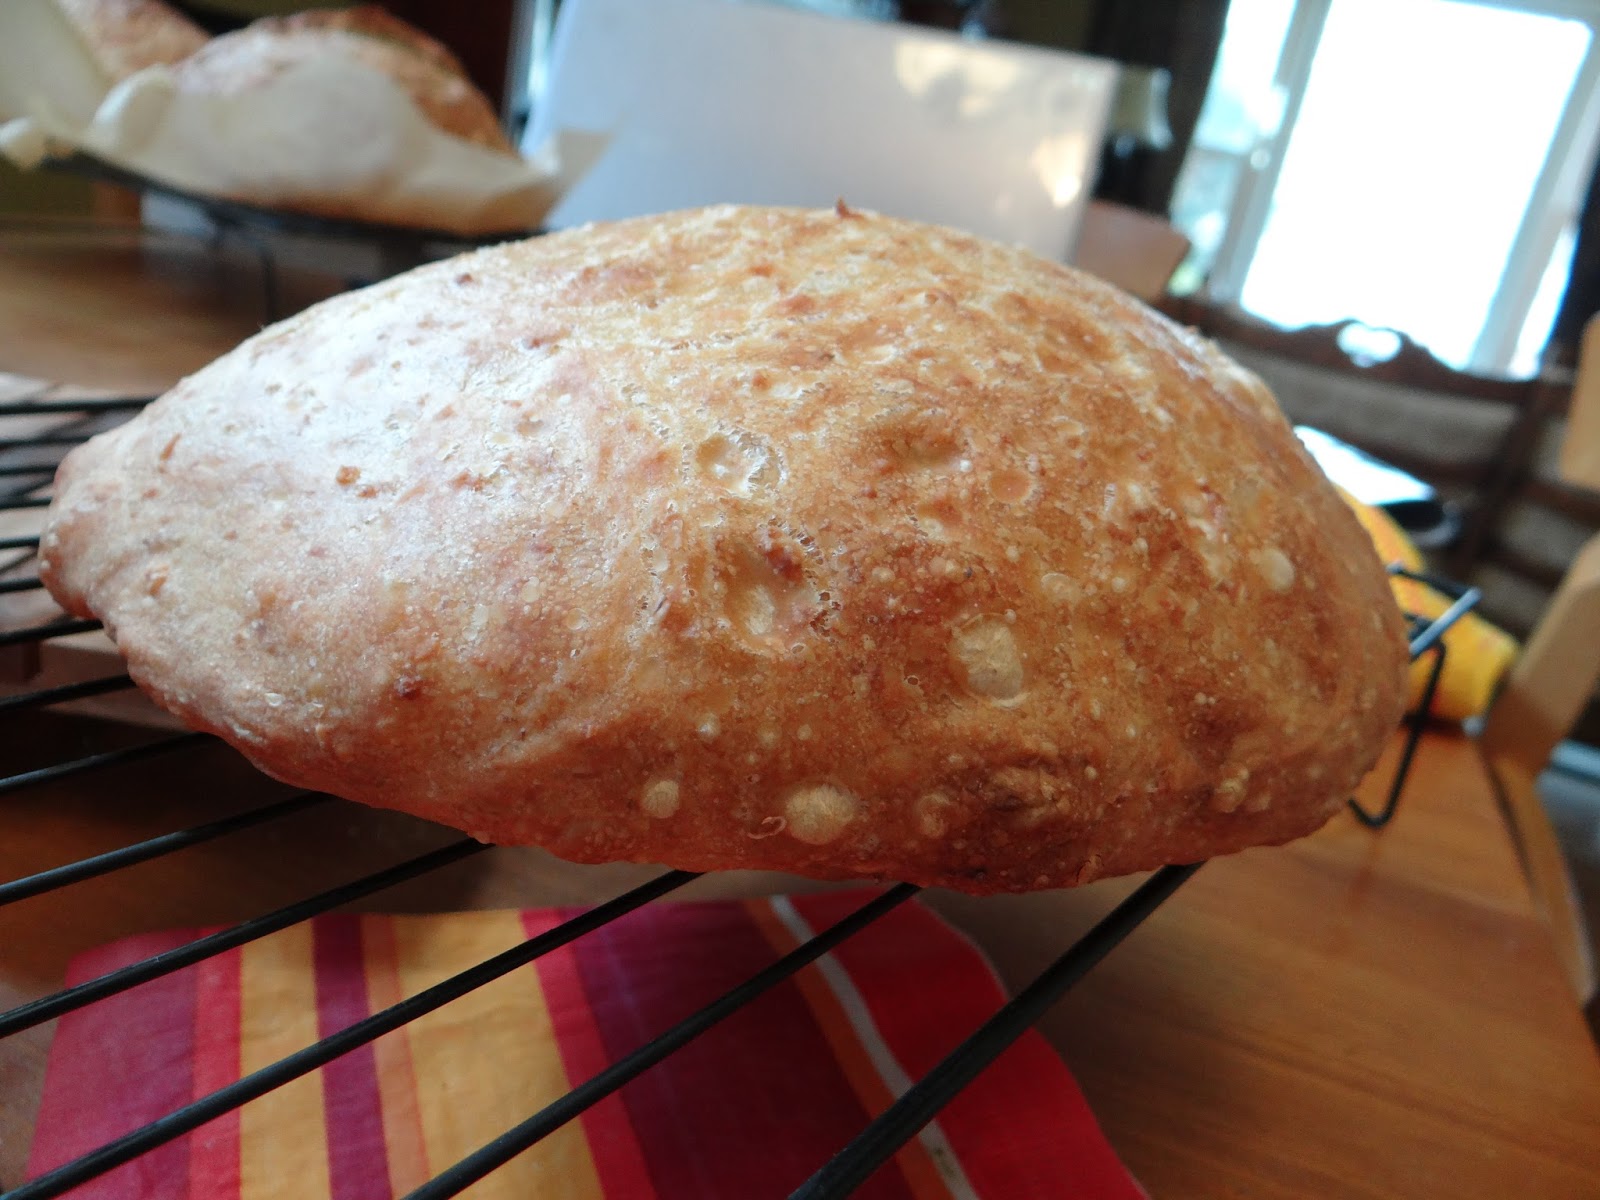
6. No crispy crust or big holes in the crumb.  This is because the bread machine bakes bread at (estimated) 350 degrees F.  Good for soft crust, bad for crispy crust.  Also bad for big holes in the interior of the bread (called the crumb).  So don’t expect baguette-like creations from your bread machine.

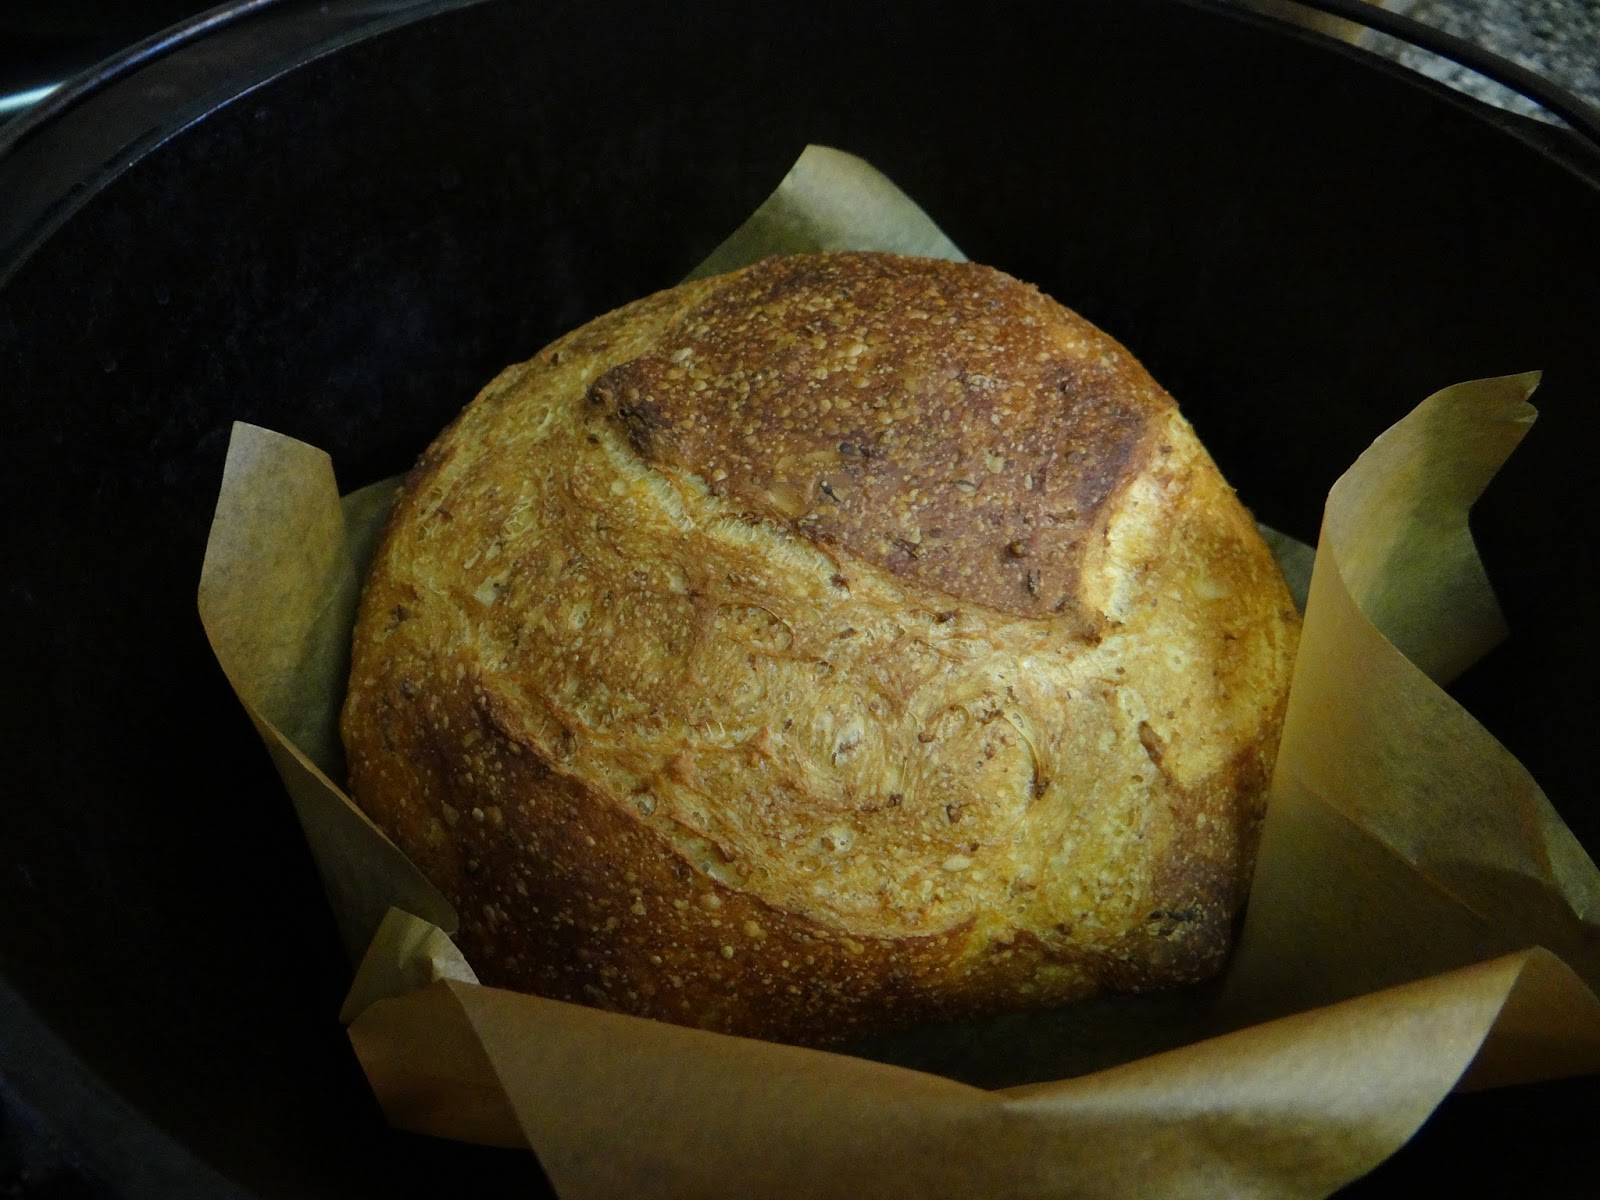
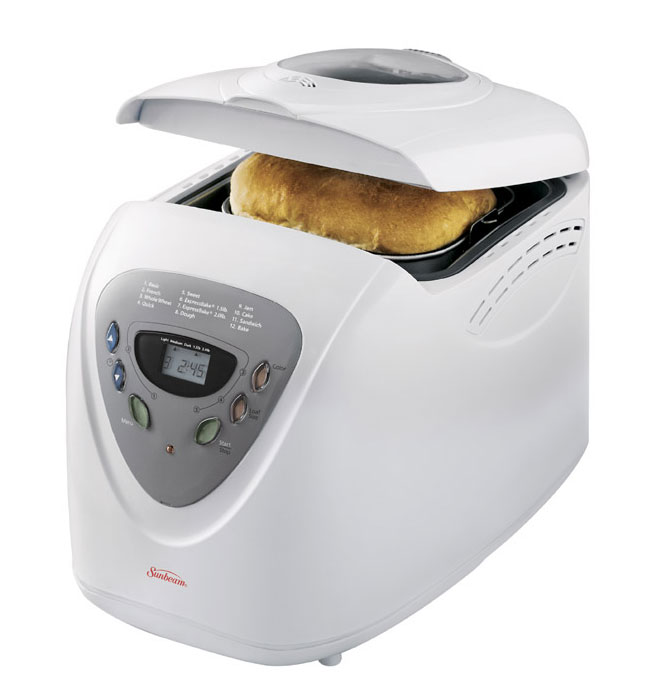
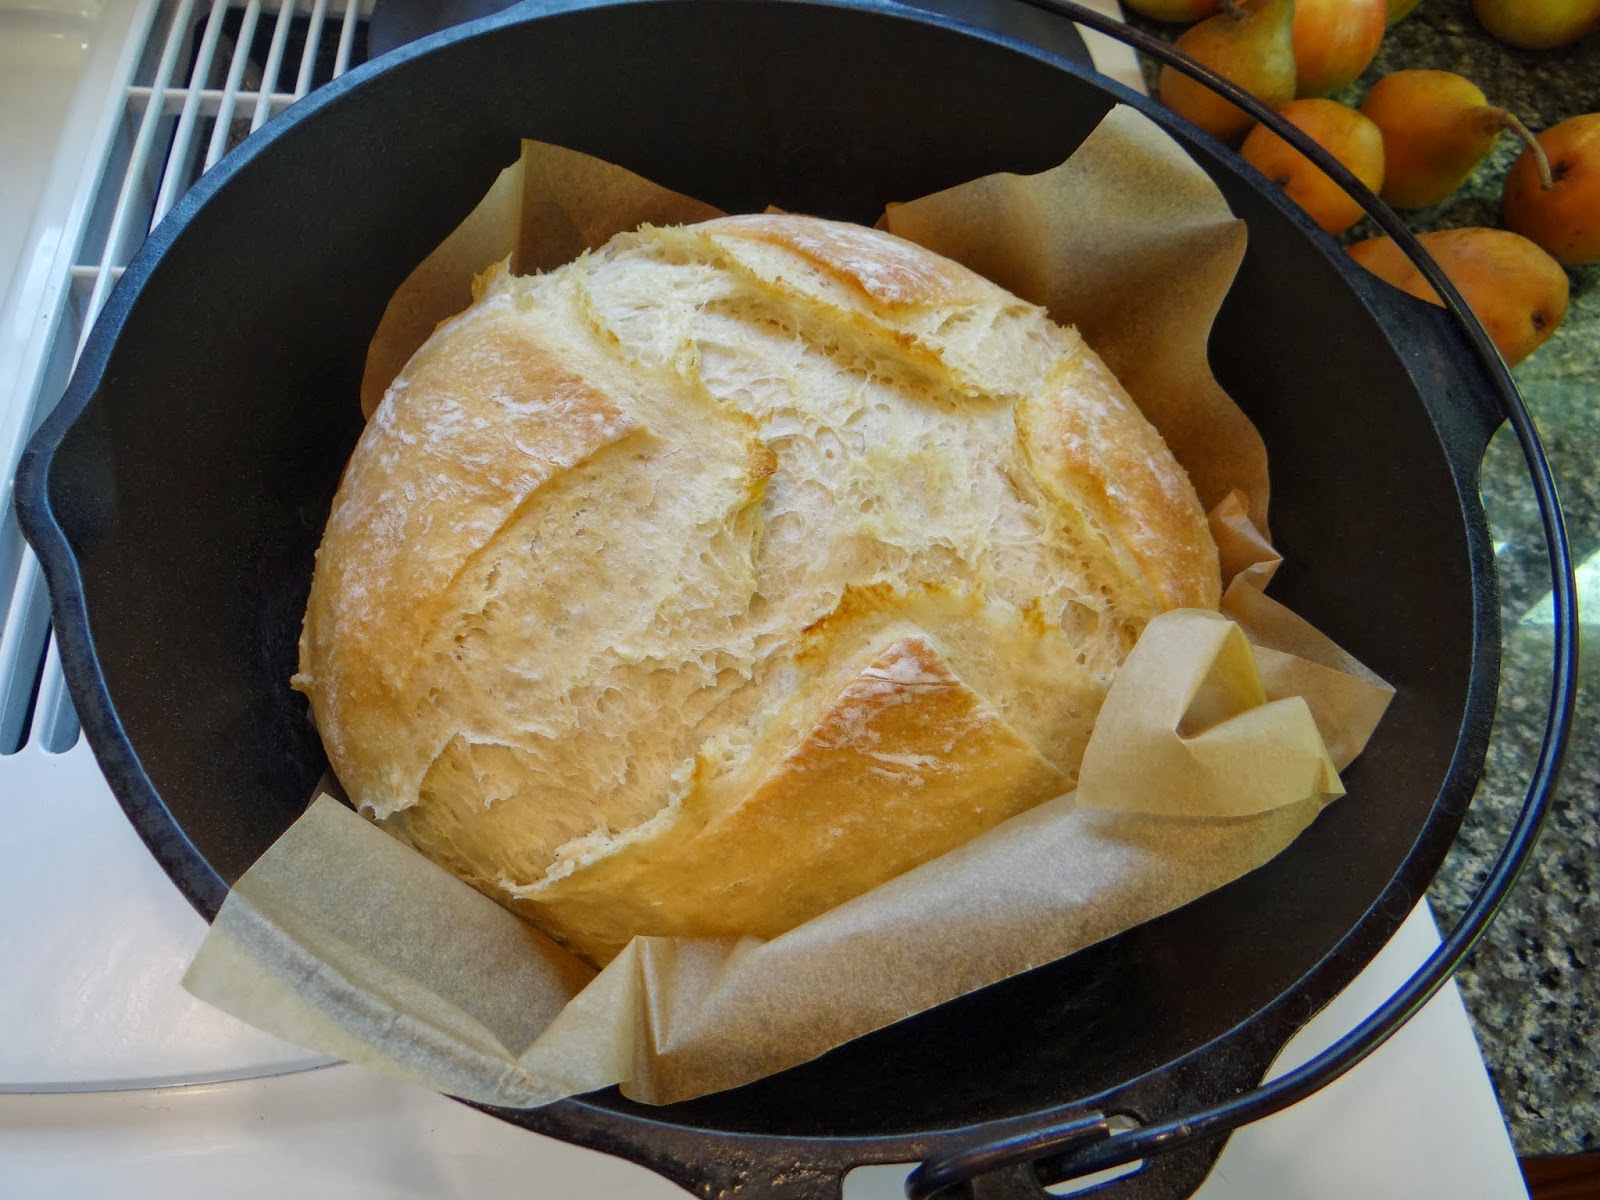
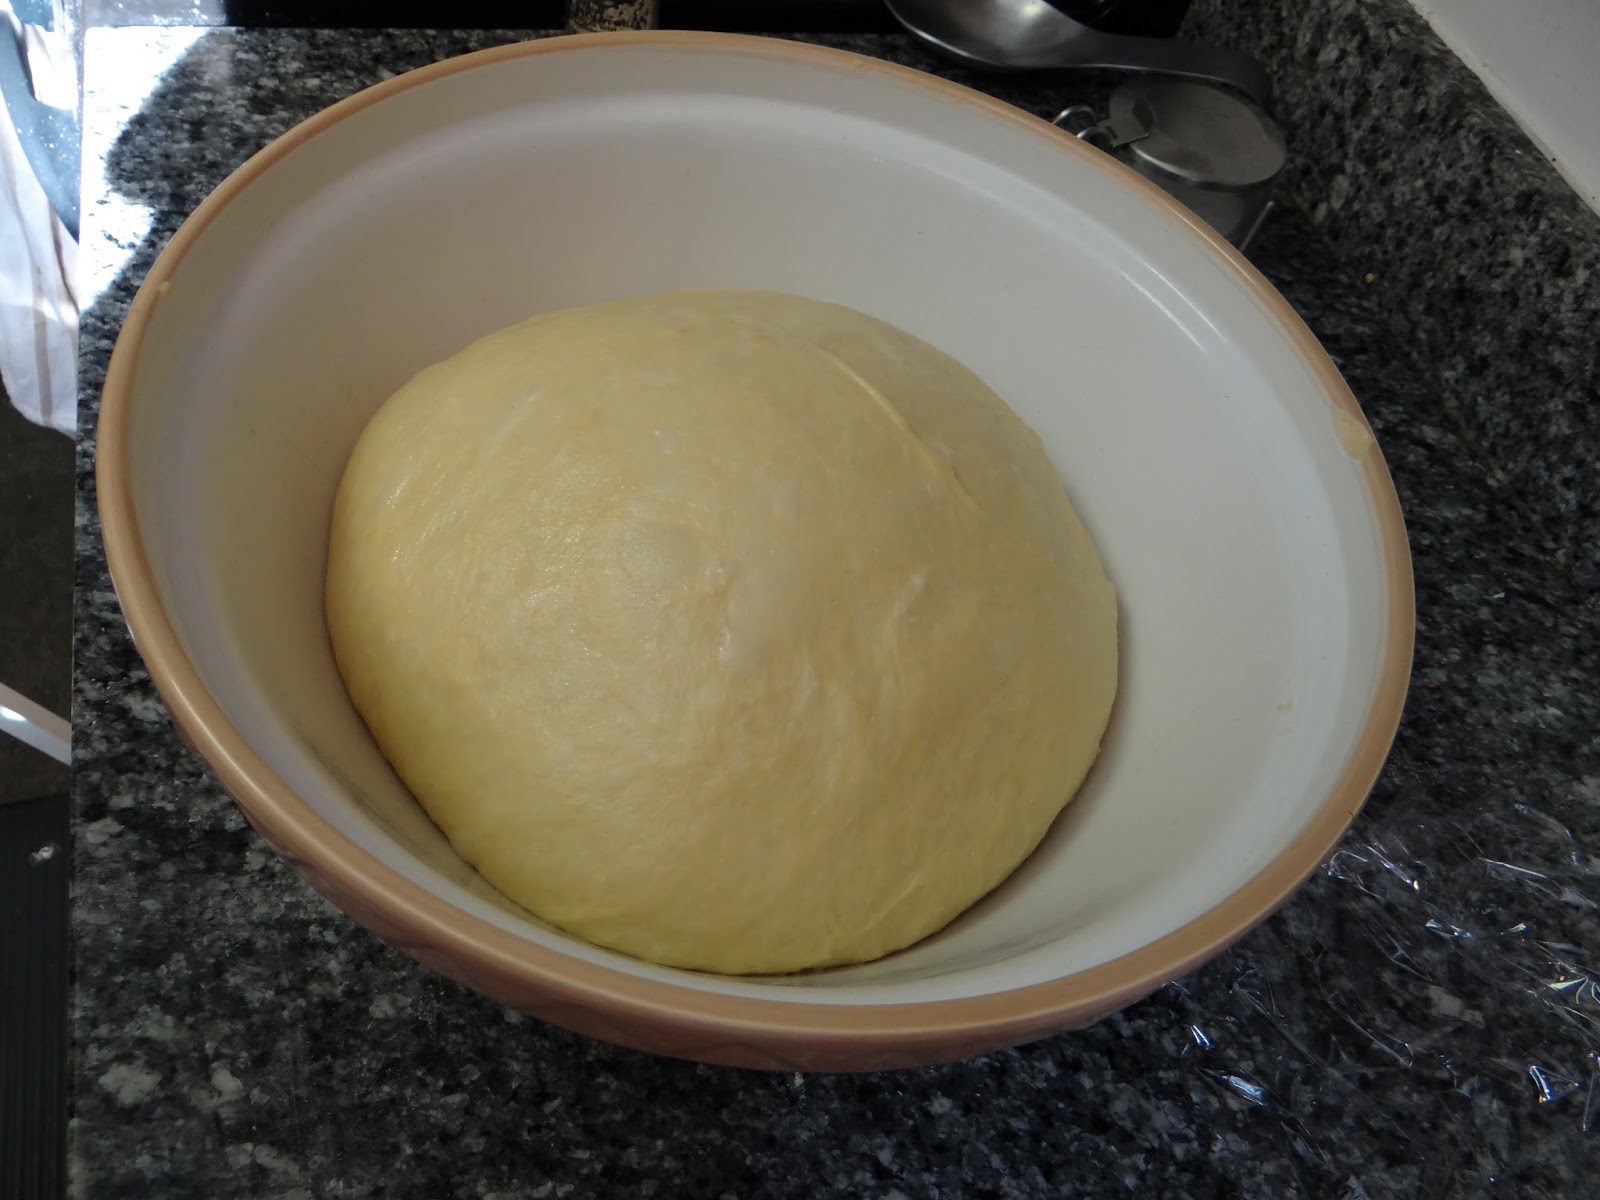
7. Weird shape with paddle hole in the bottom.  If you couldn’t already tell from the pictures in this post (particularly the one at the top of the post), most bread machines produce a loaf that is tall and rectangular.  It looks a little funny.  Plus, the kneading blade at the bottom of the loaf pan doesn’t have anywhere to go, so it gets baked in and trapped in the bottom of your loaf.  Not a deal breaker, but it’s a little weird.

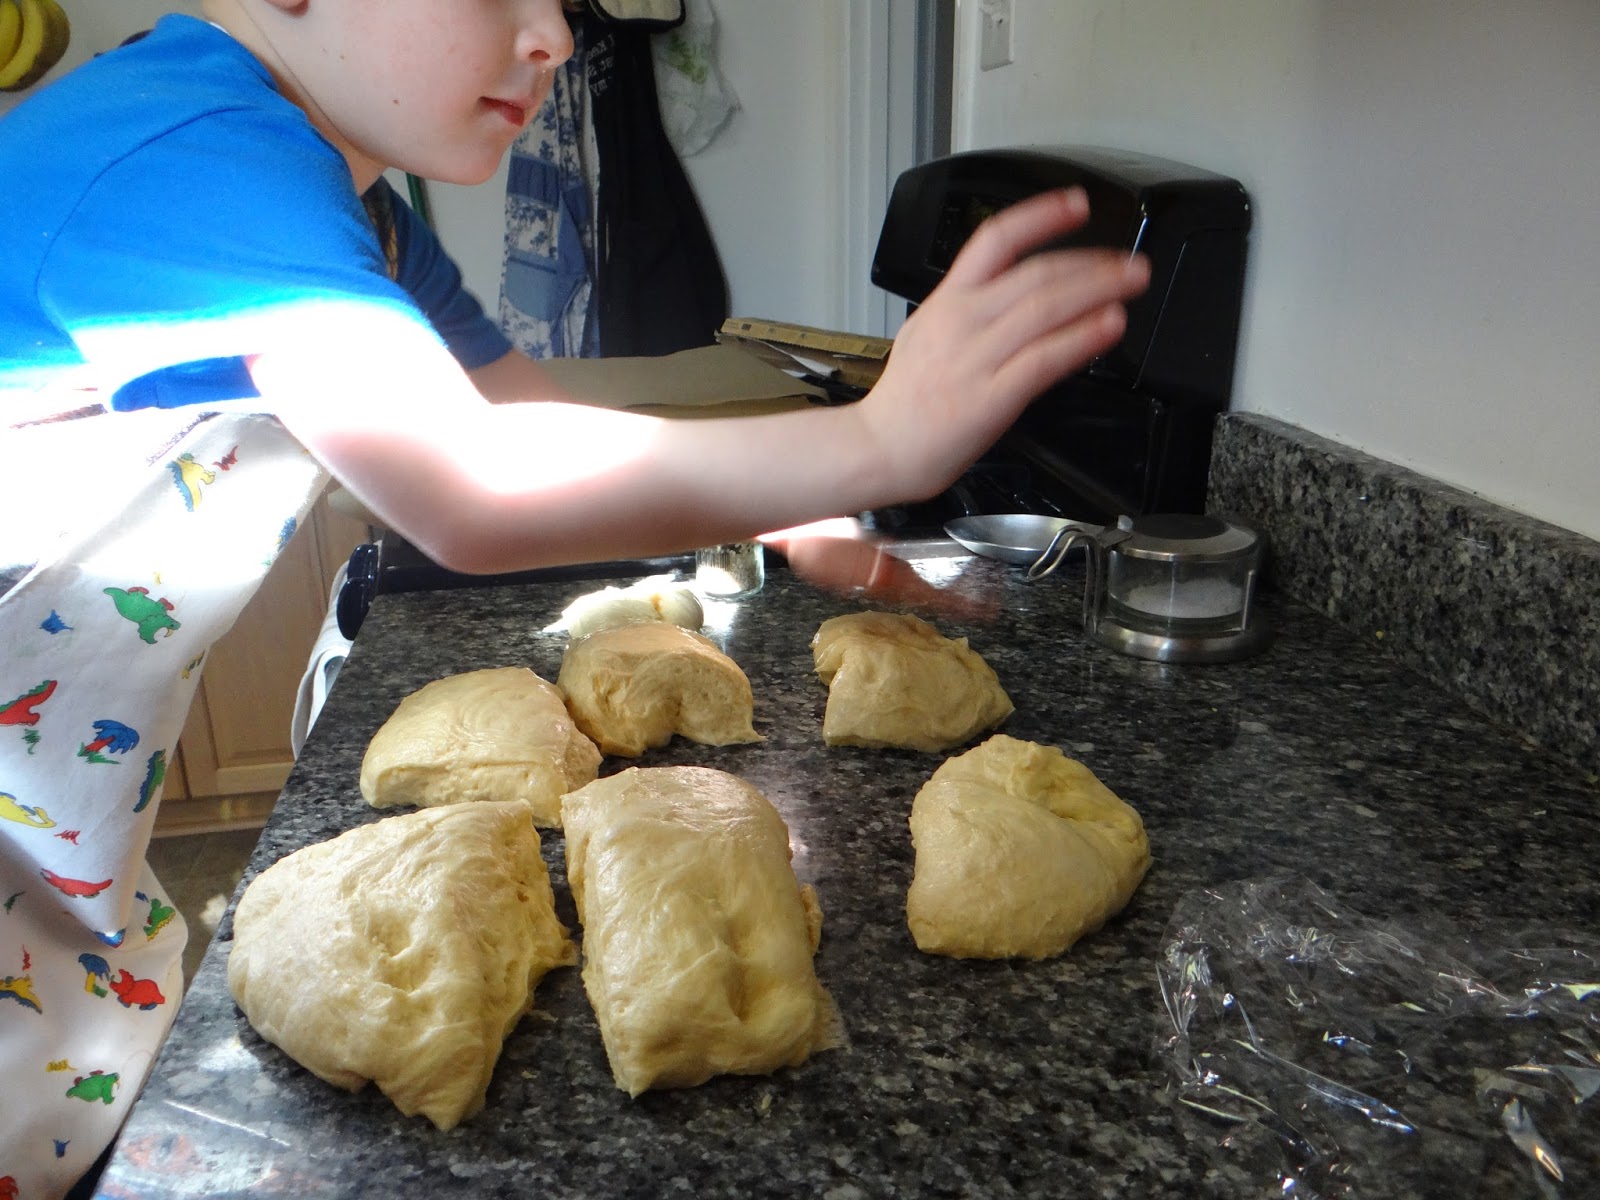
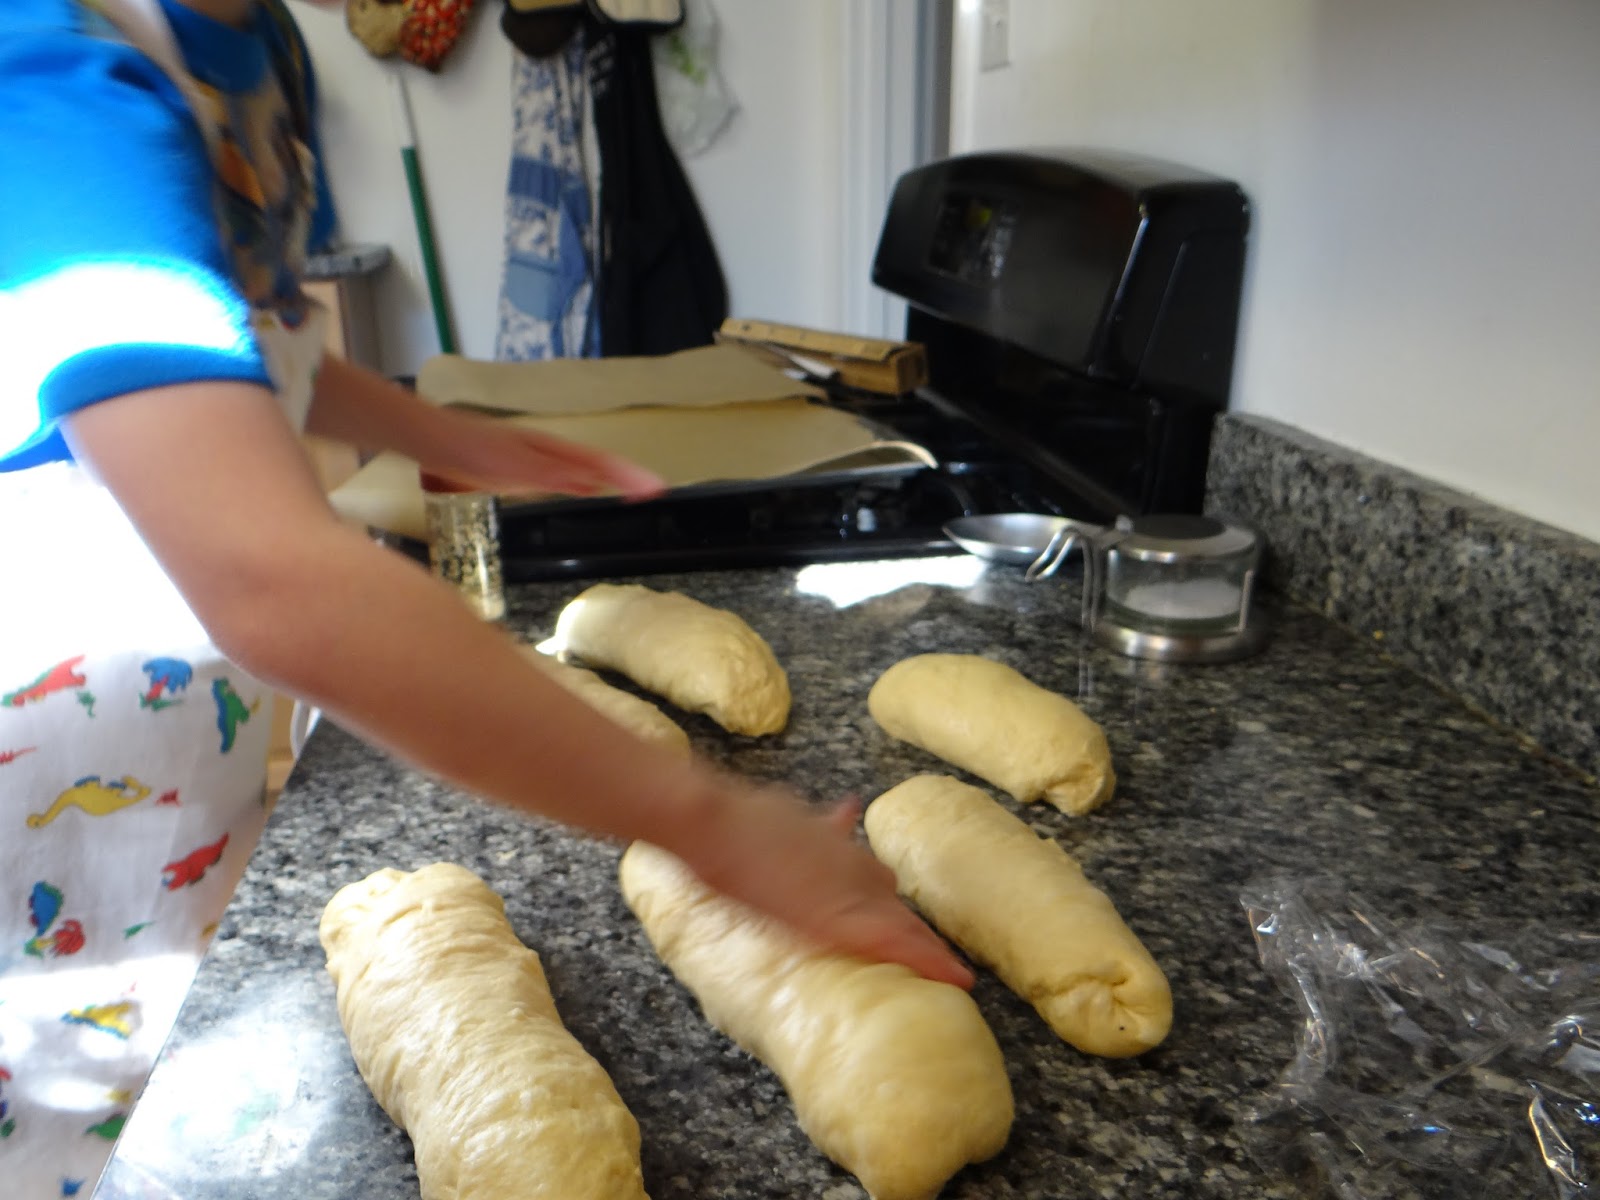
8. Can’t make other shapes besides this one. 

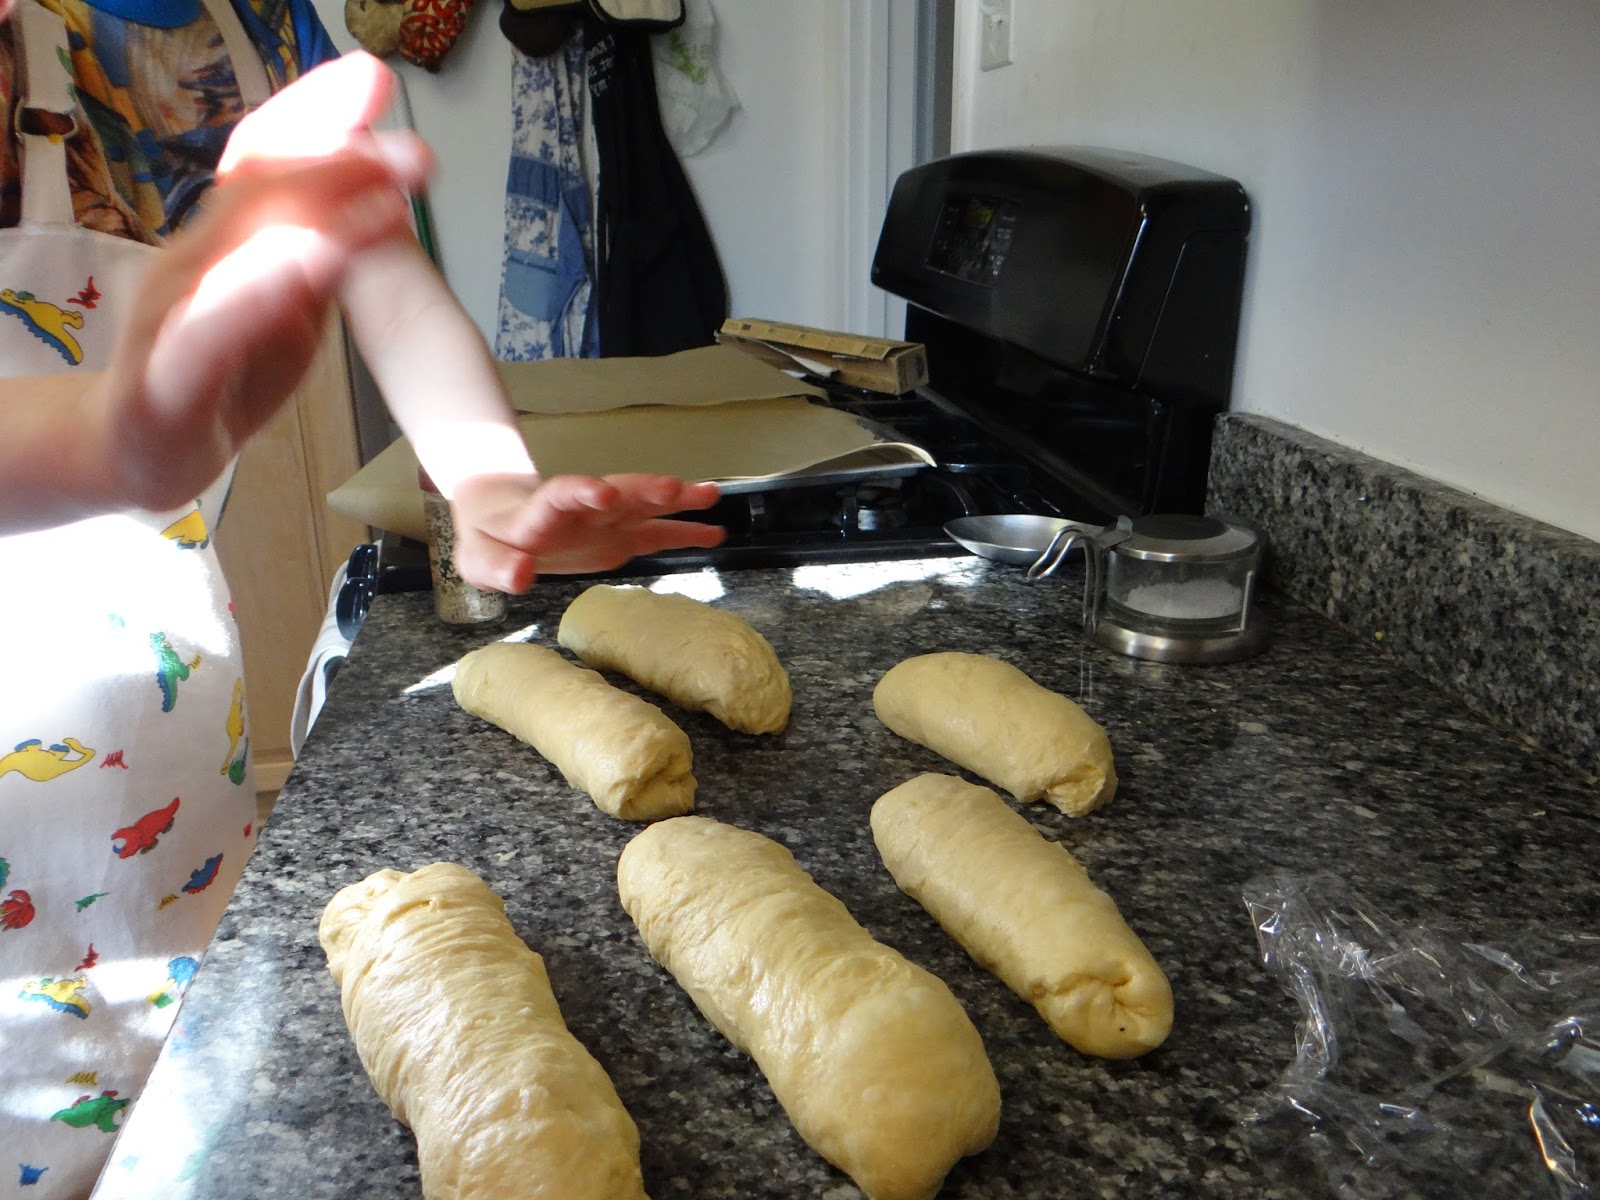
This was a little bit of a deal breaker for me.  Once I could make loaves of bread, I wanted to branch out to other things- rolls, for example.  Or baguettes.  Or basically anything else besides a taller-than-normal sandwich loaf.

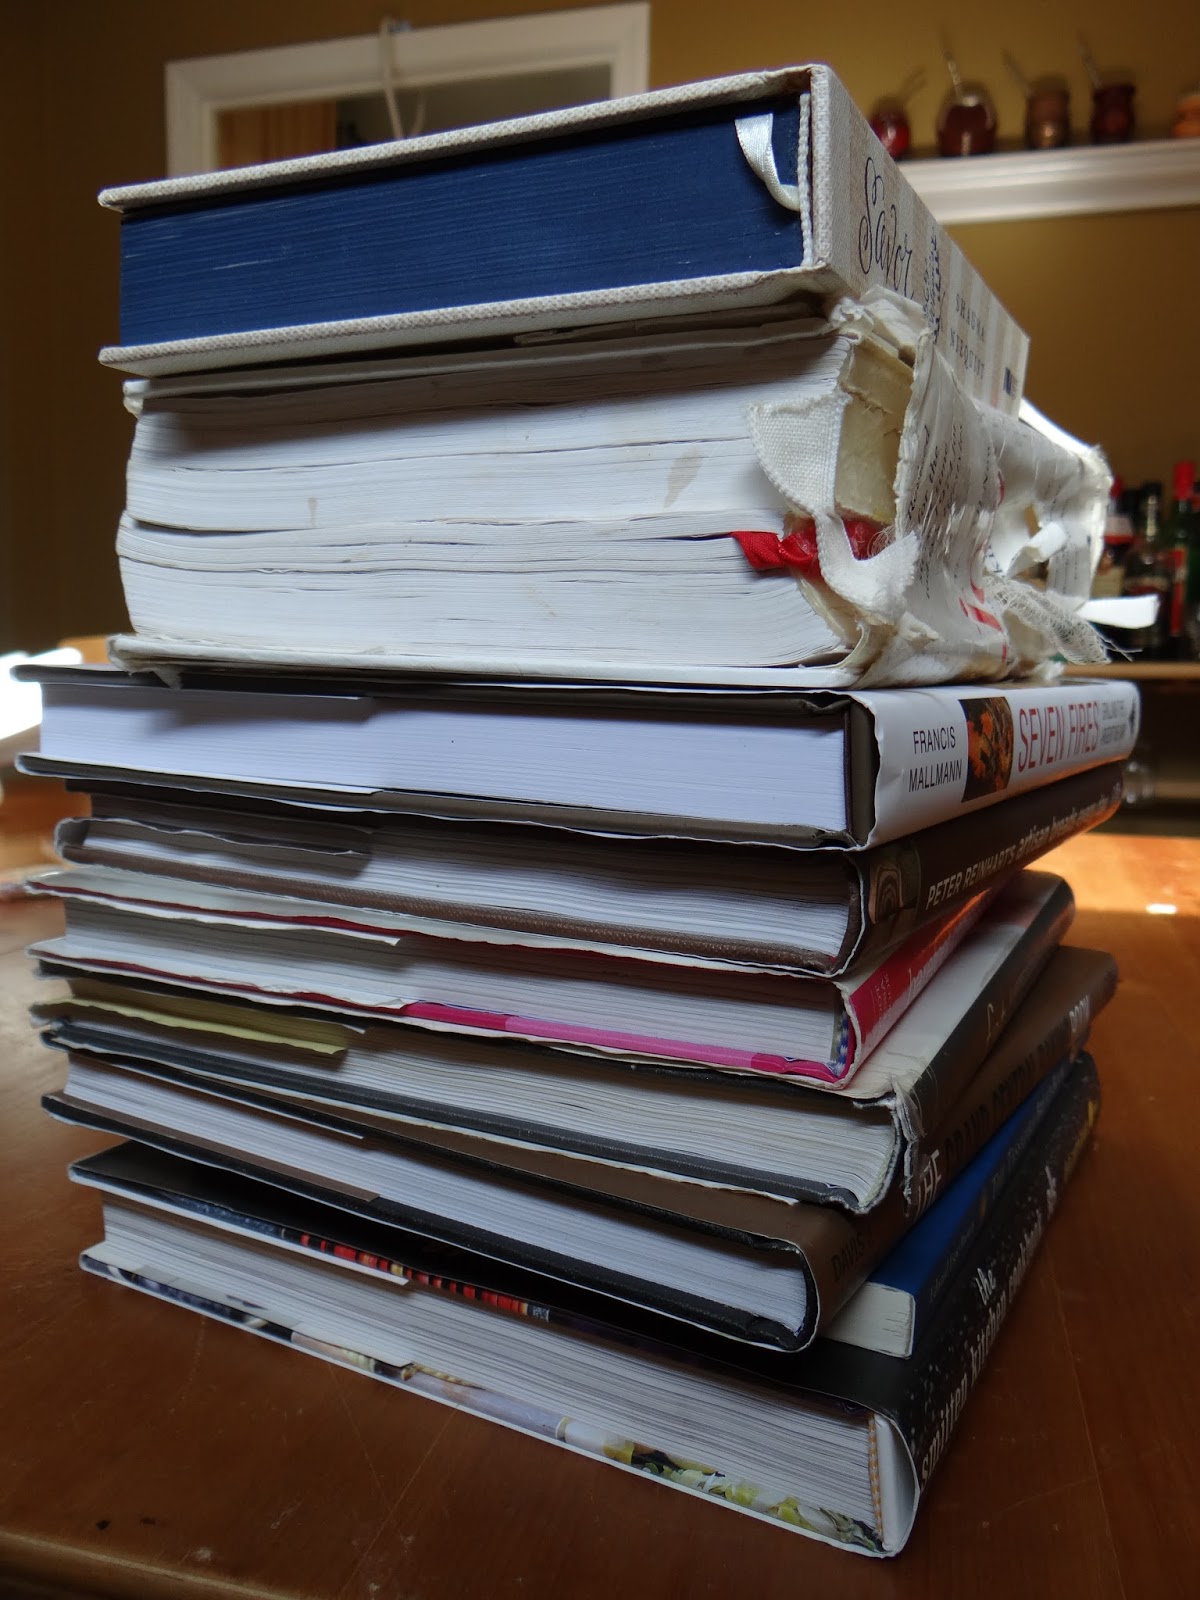
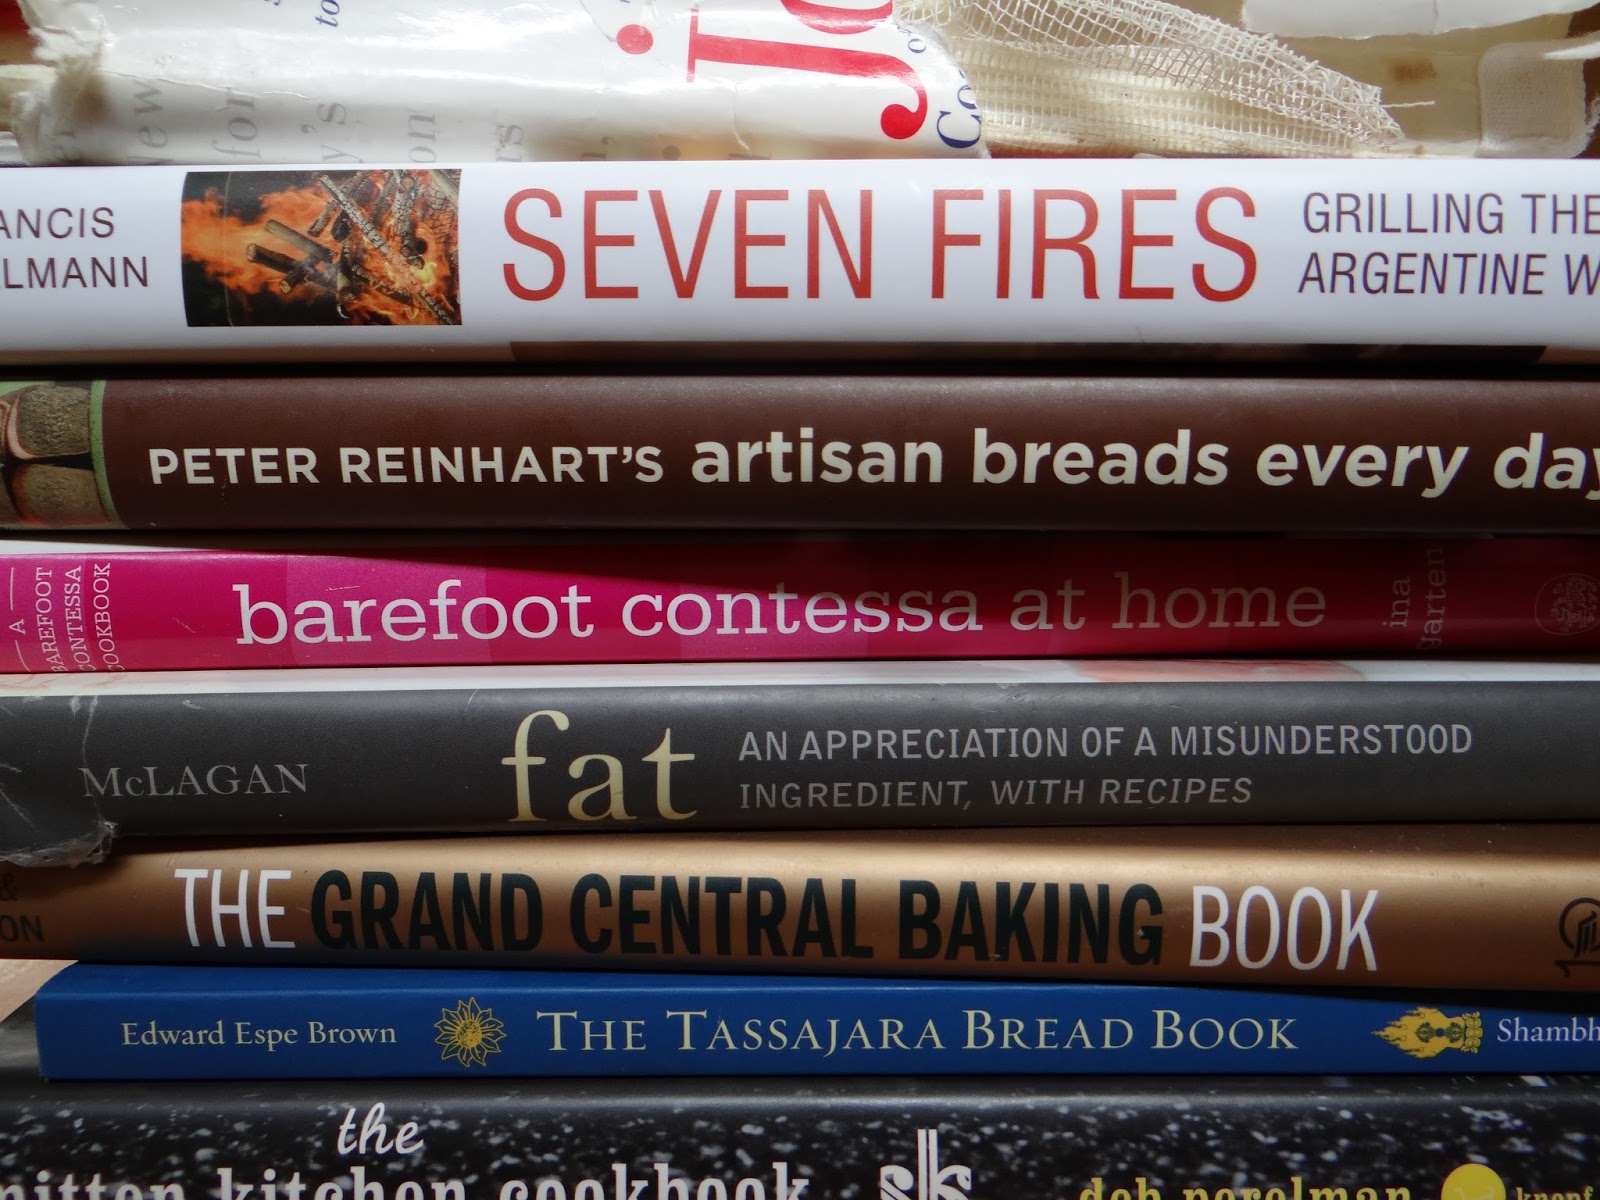
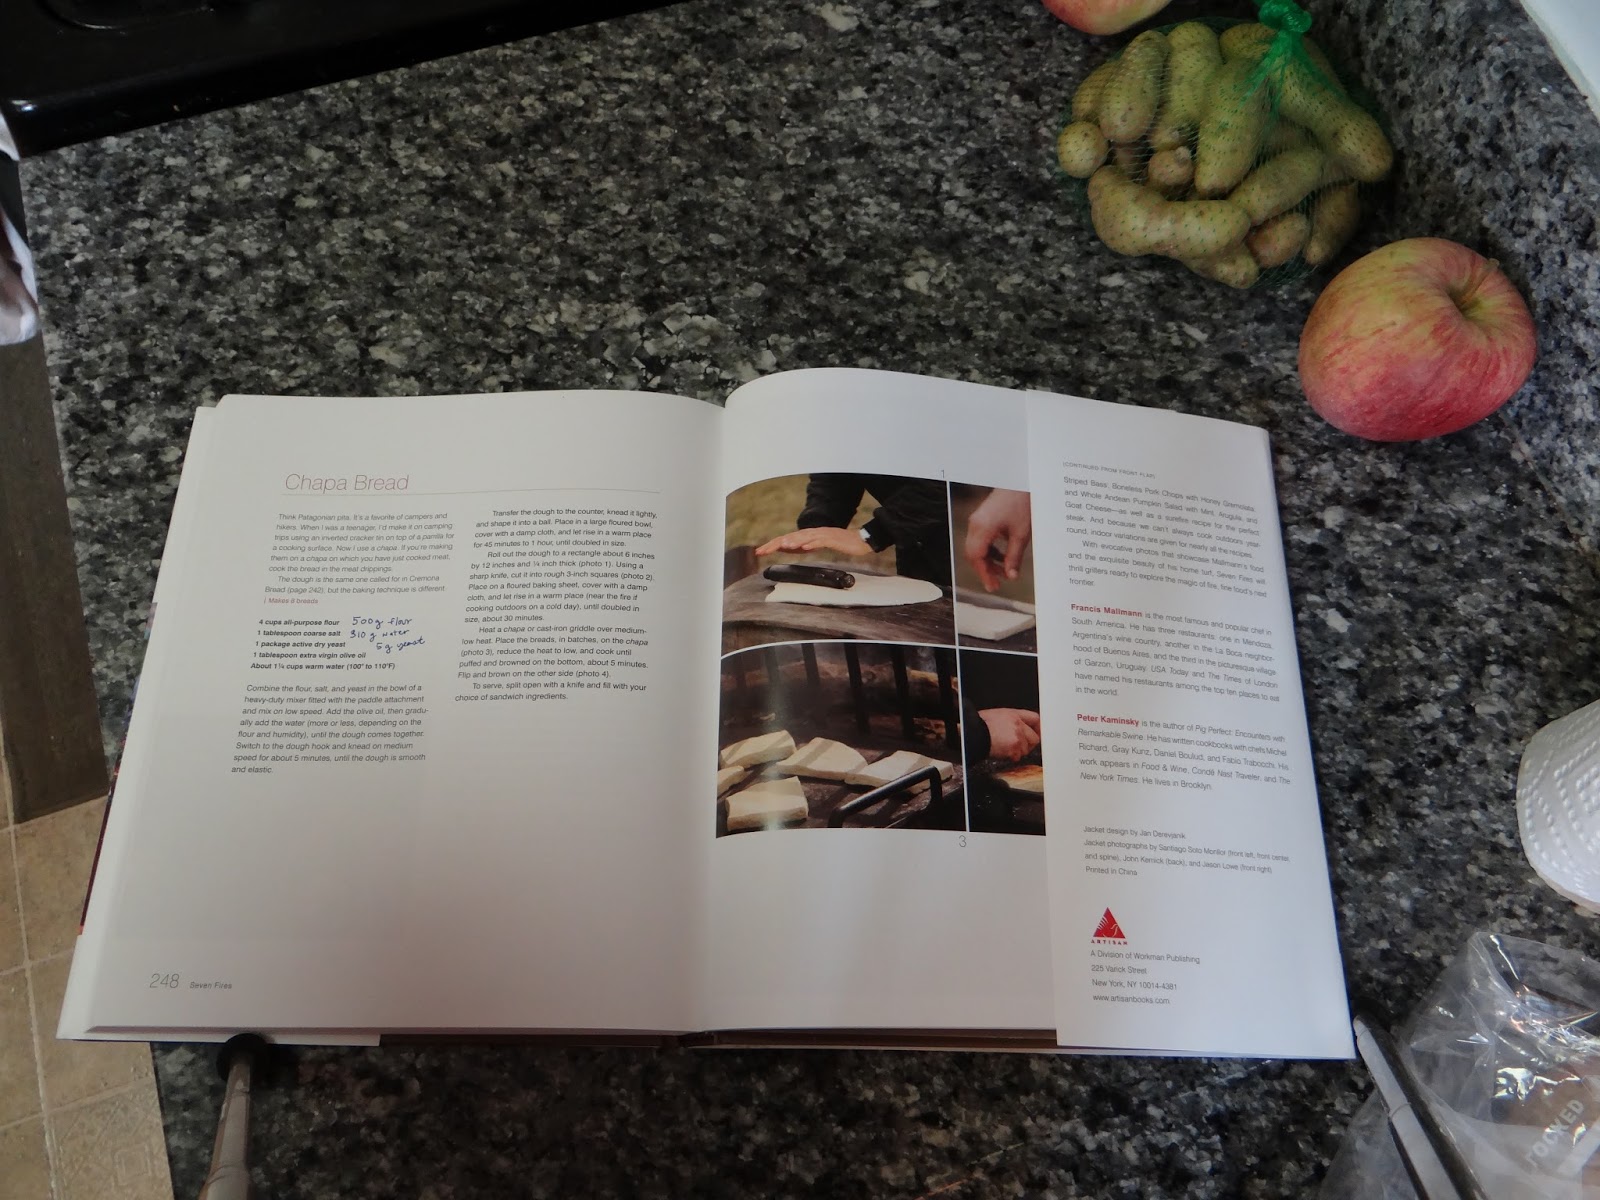
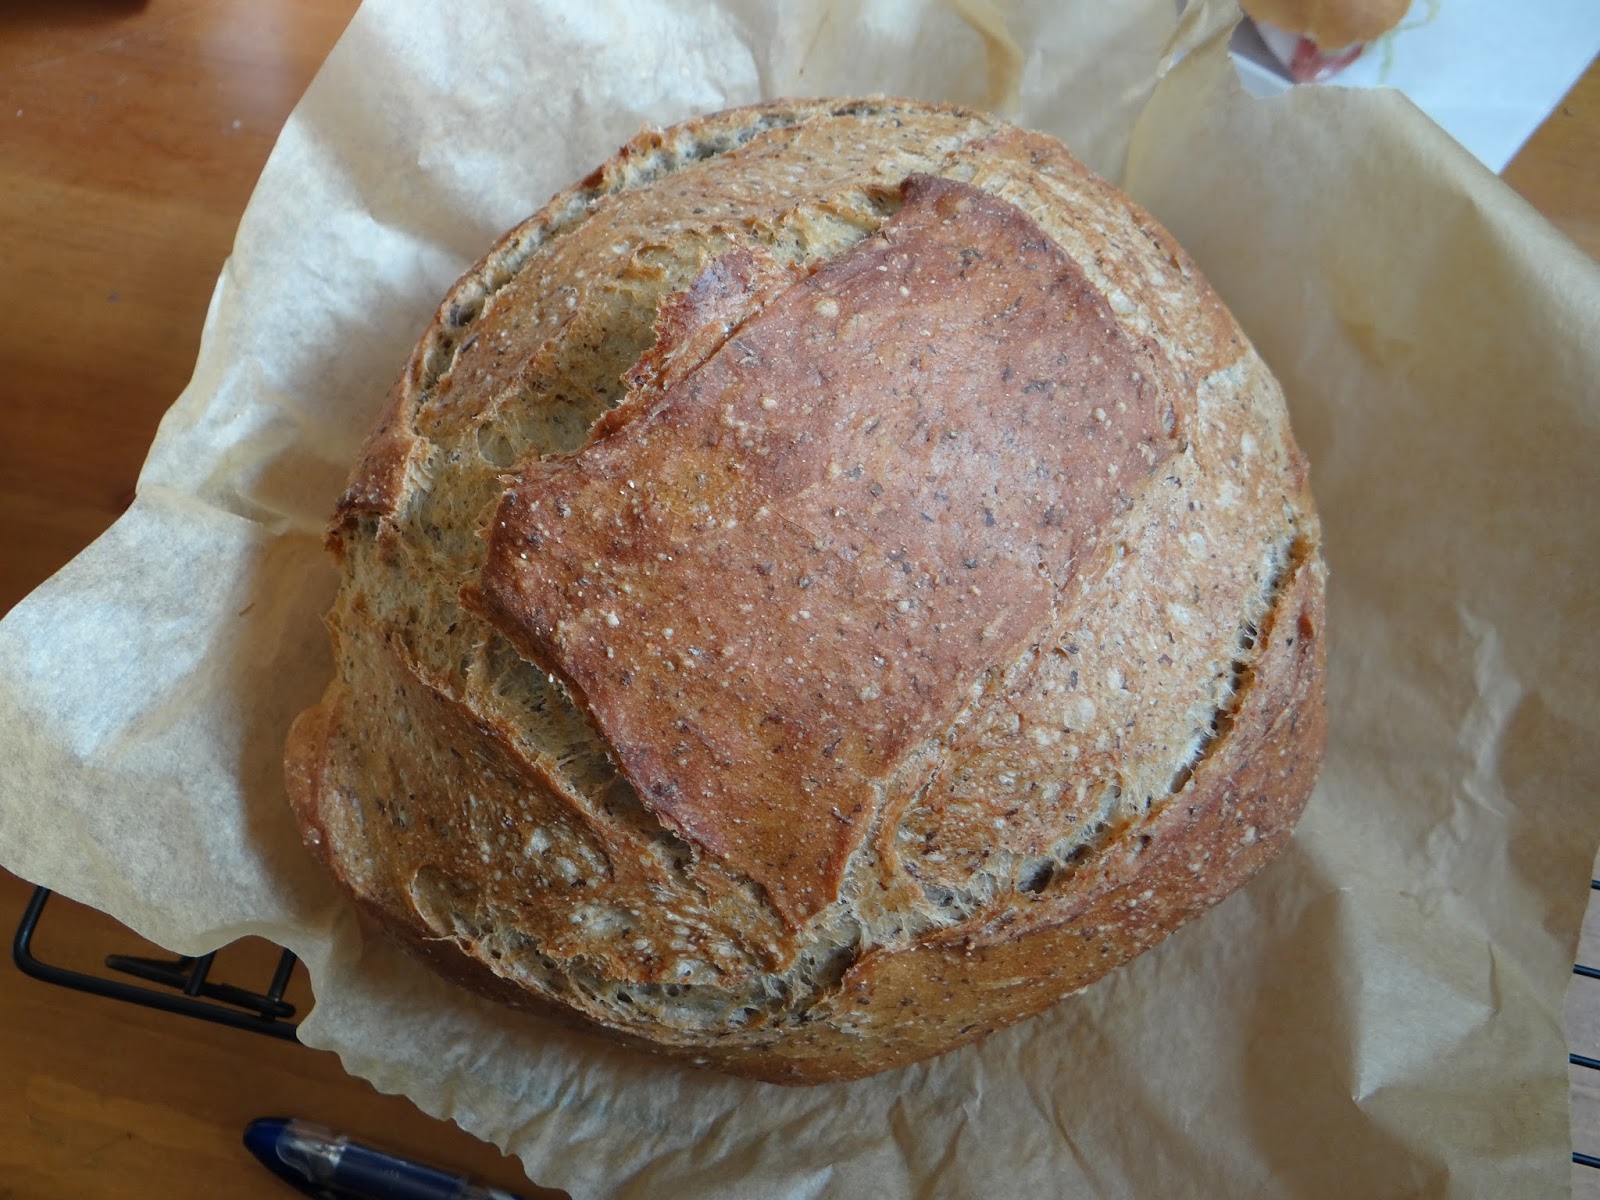
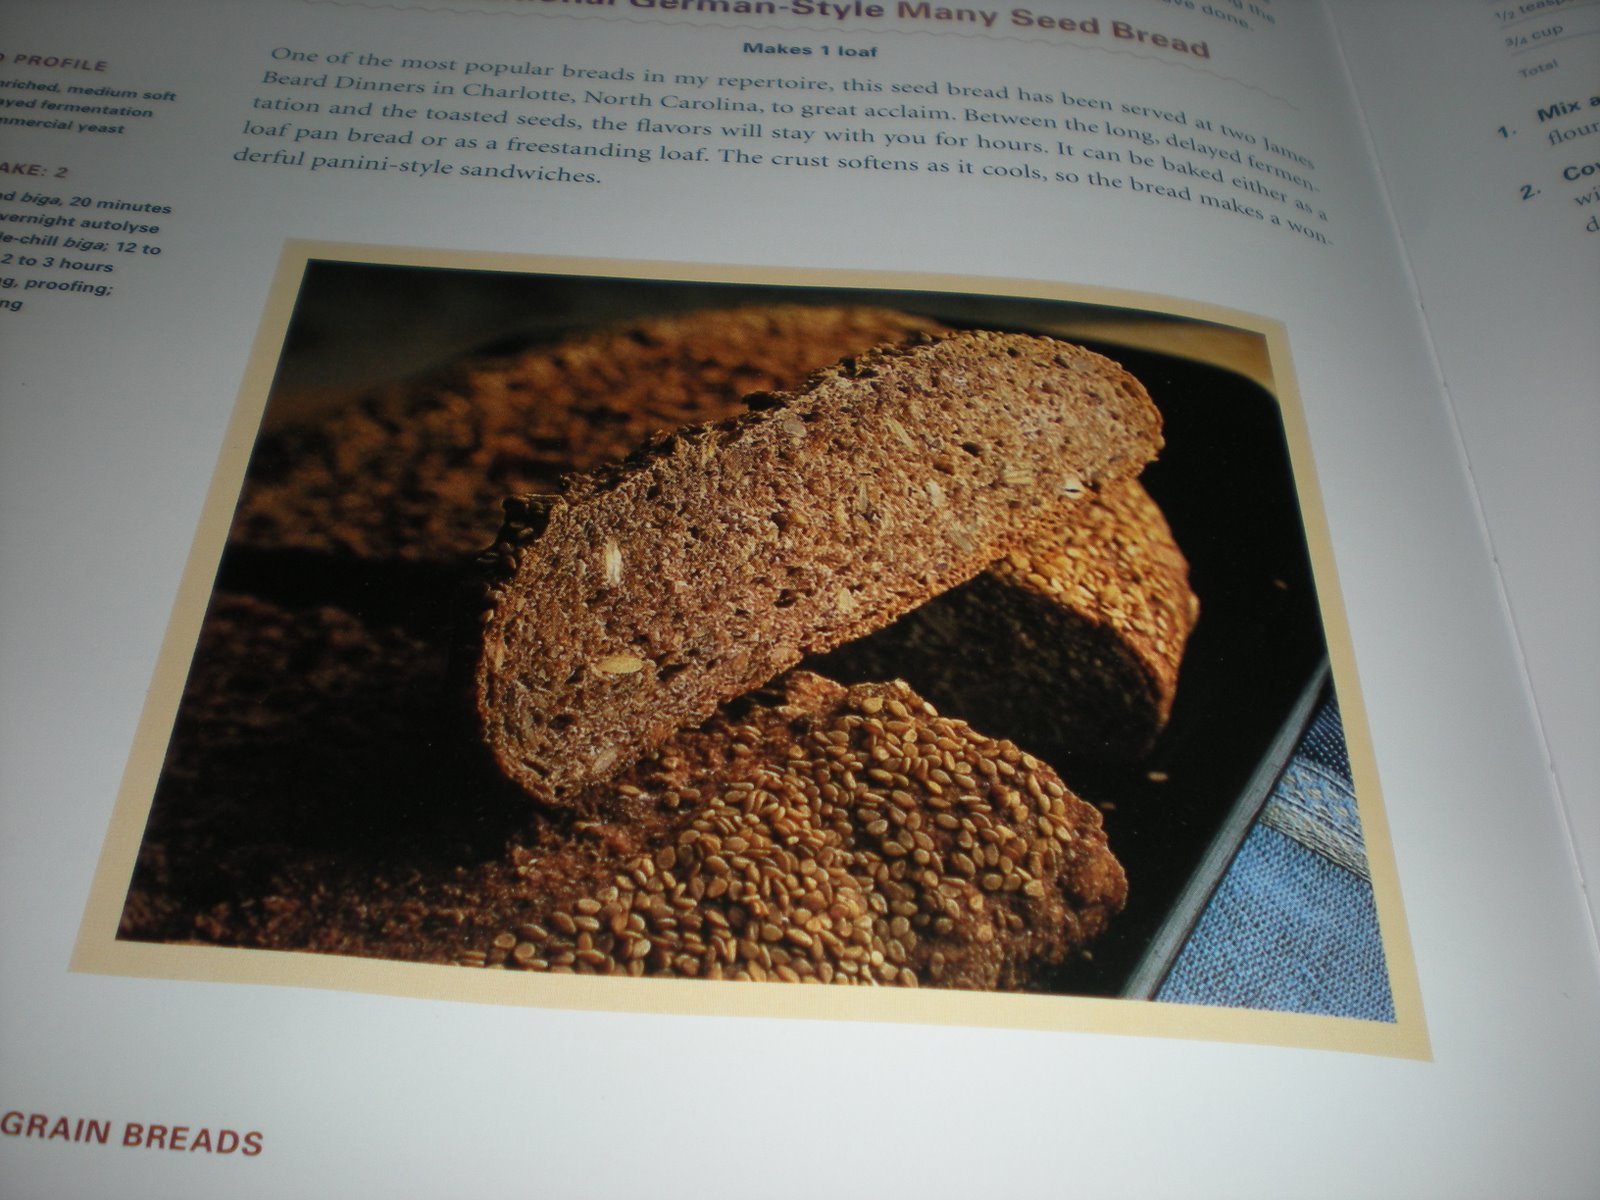
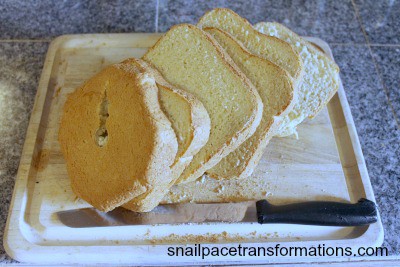
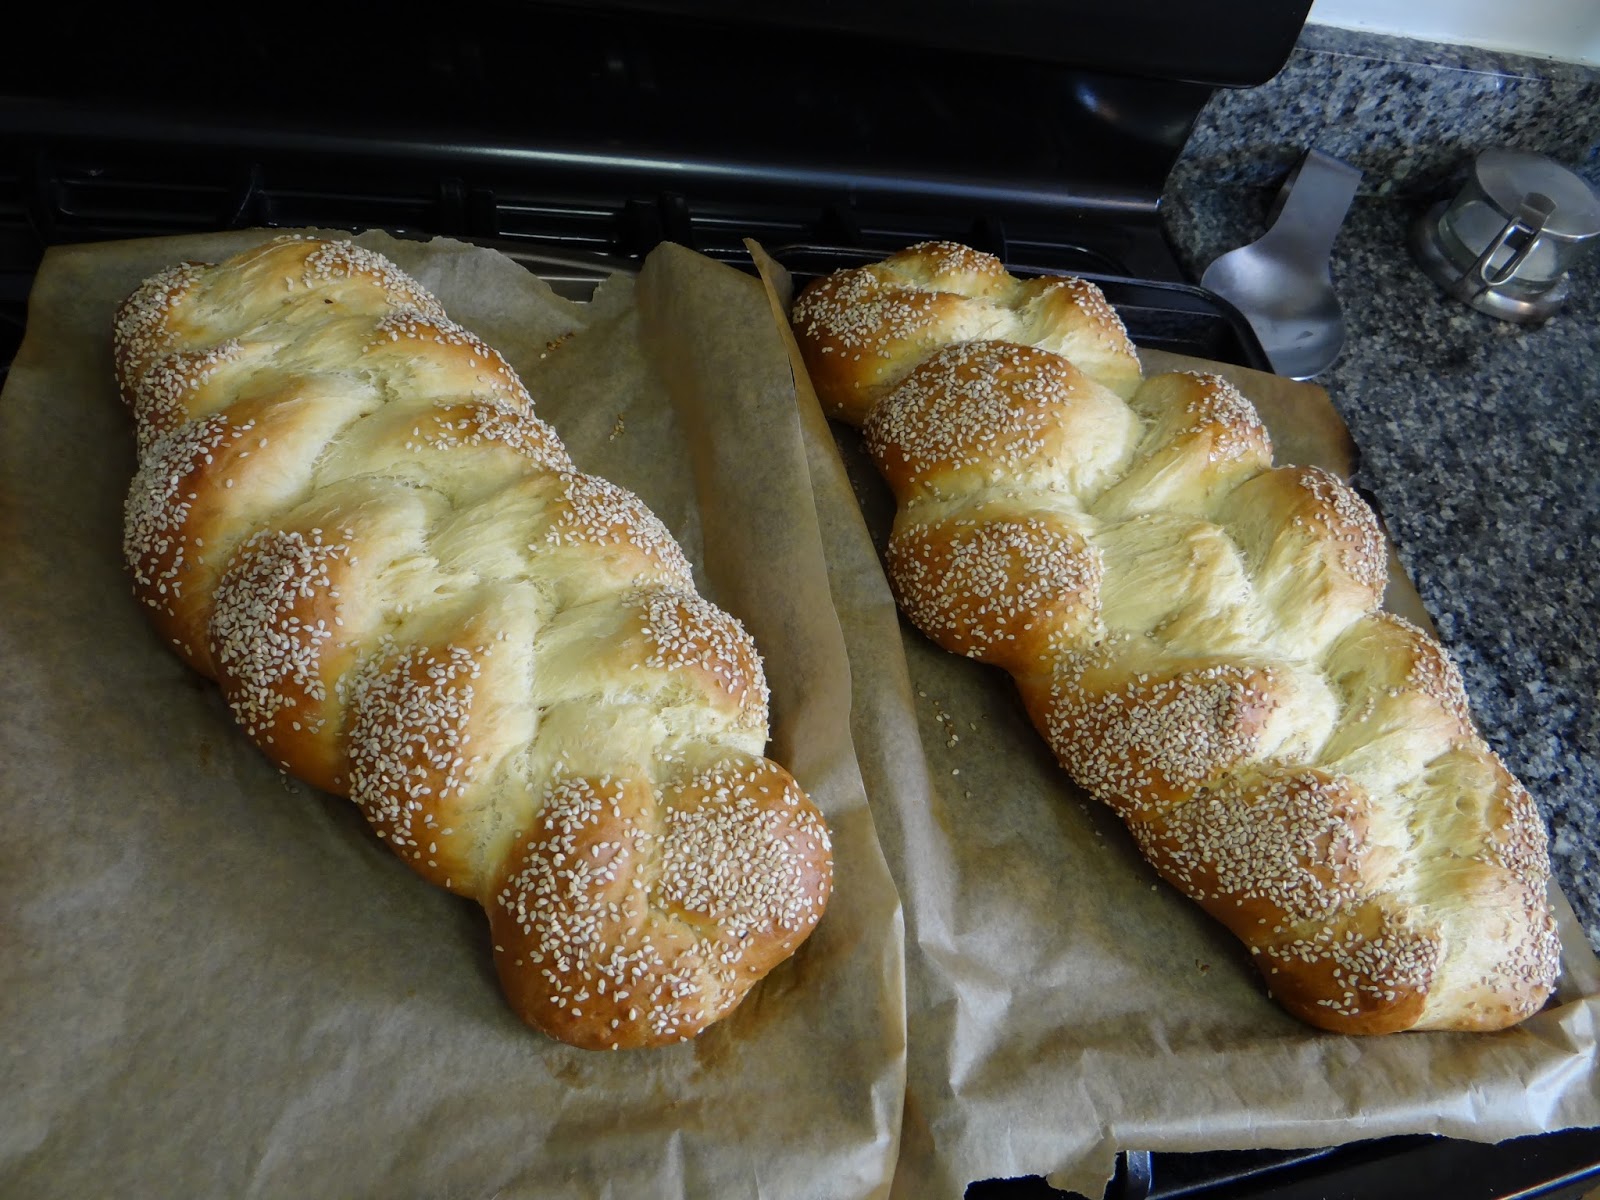
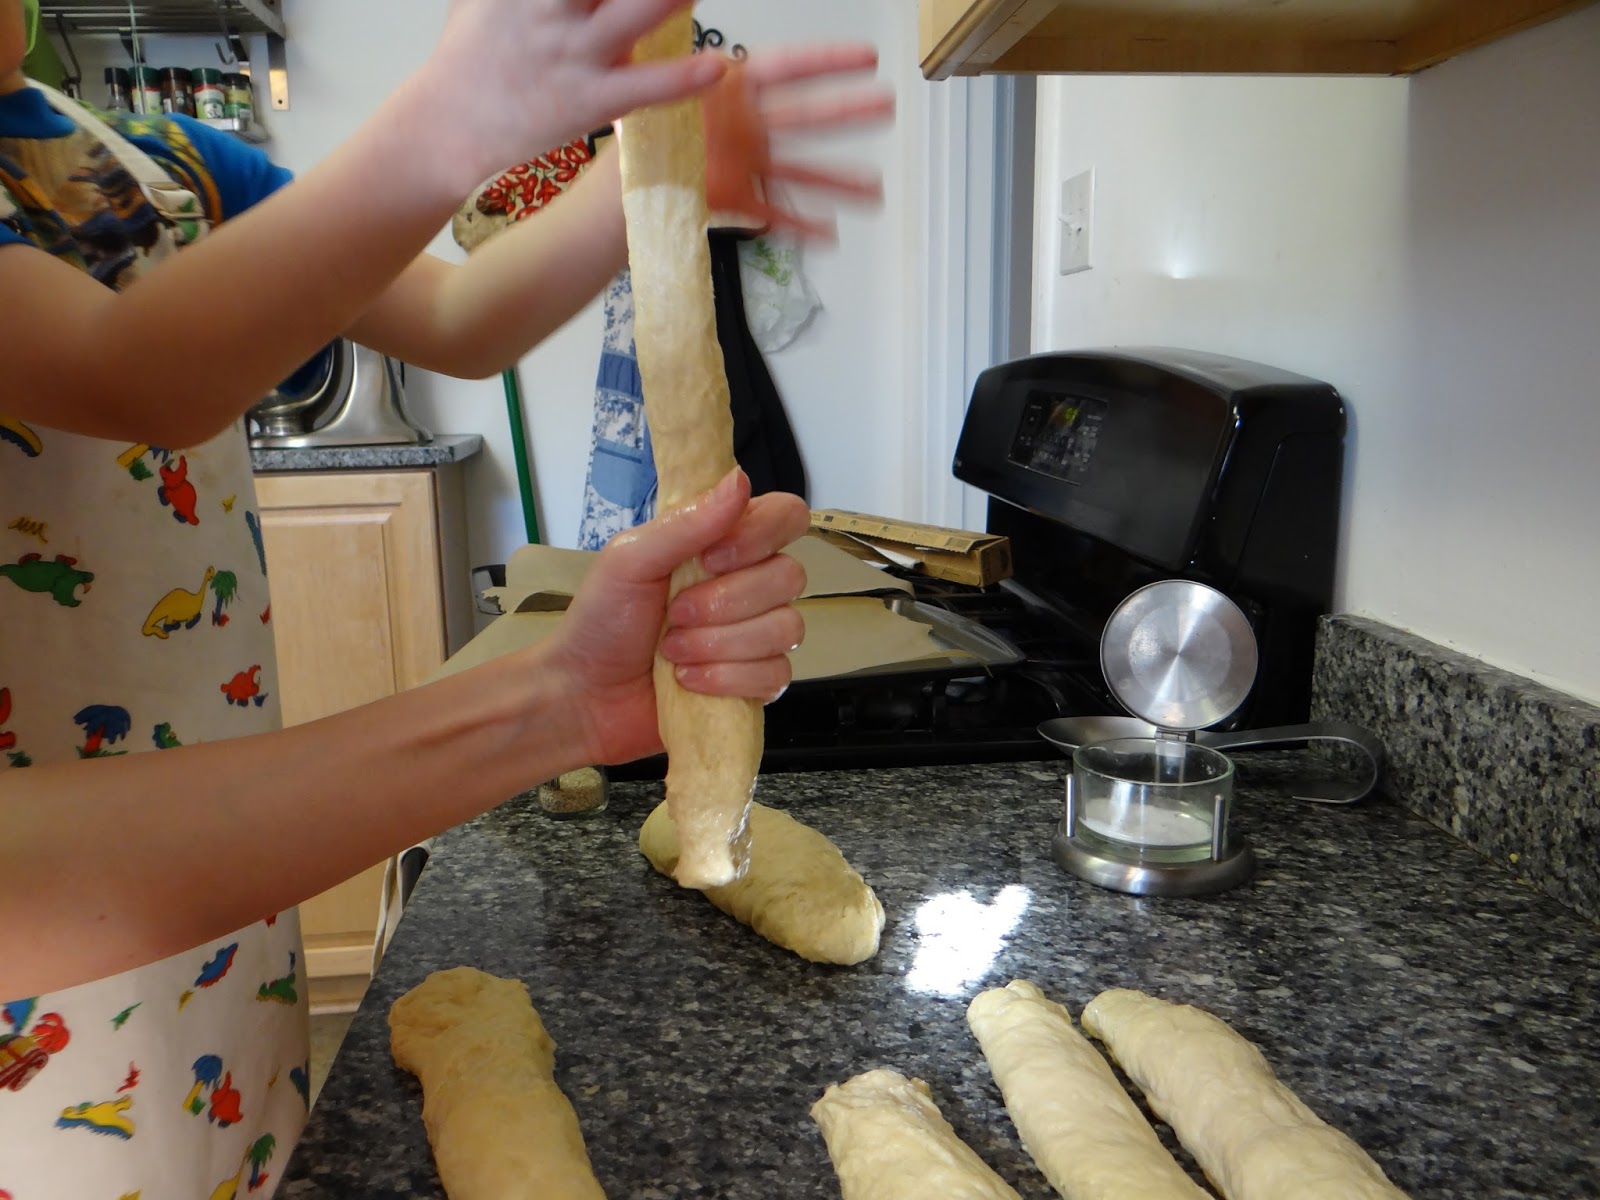
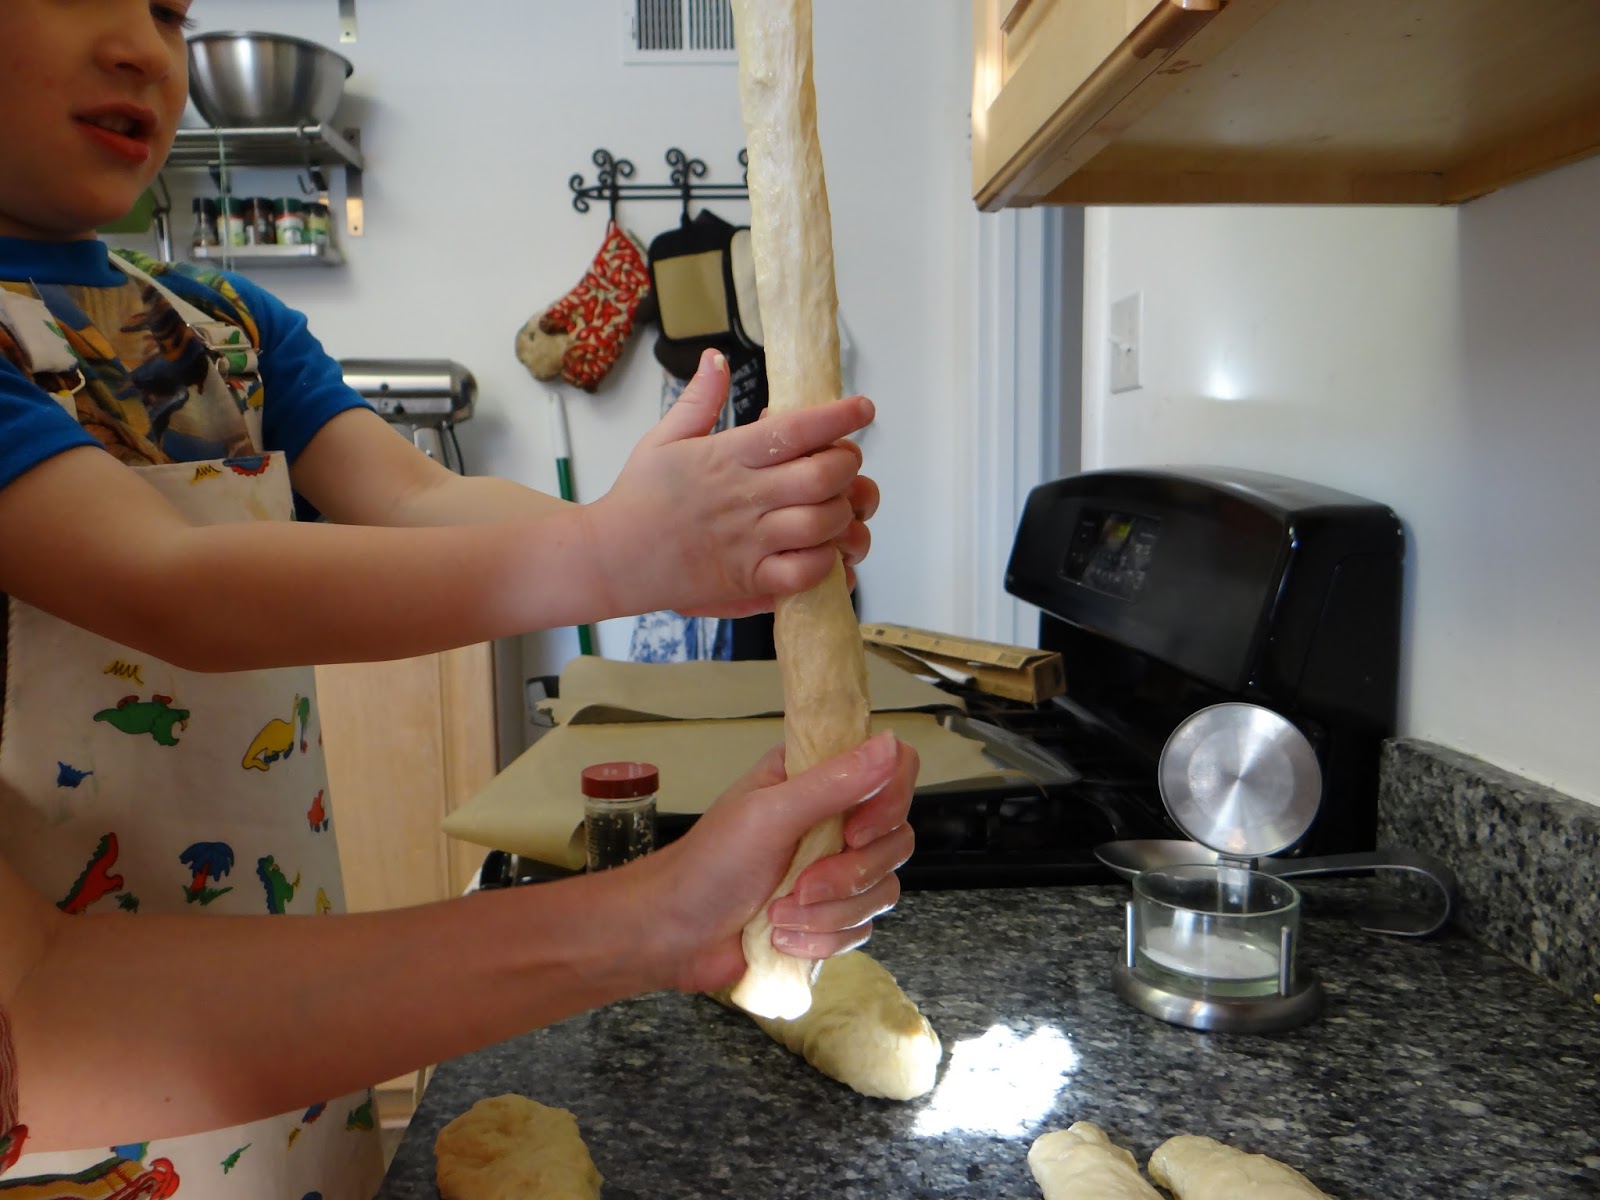
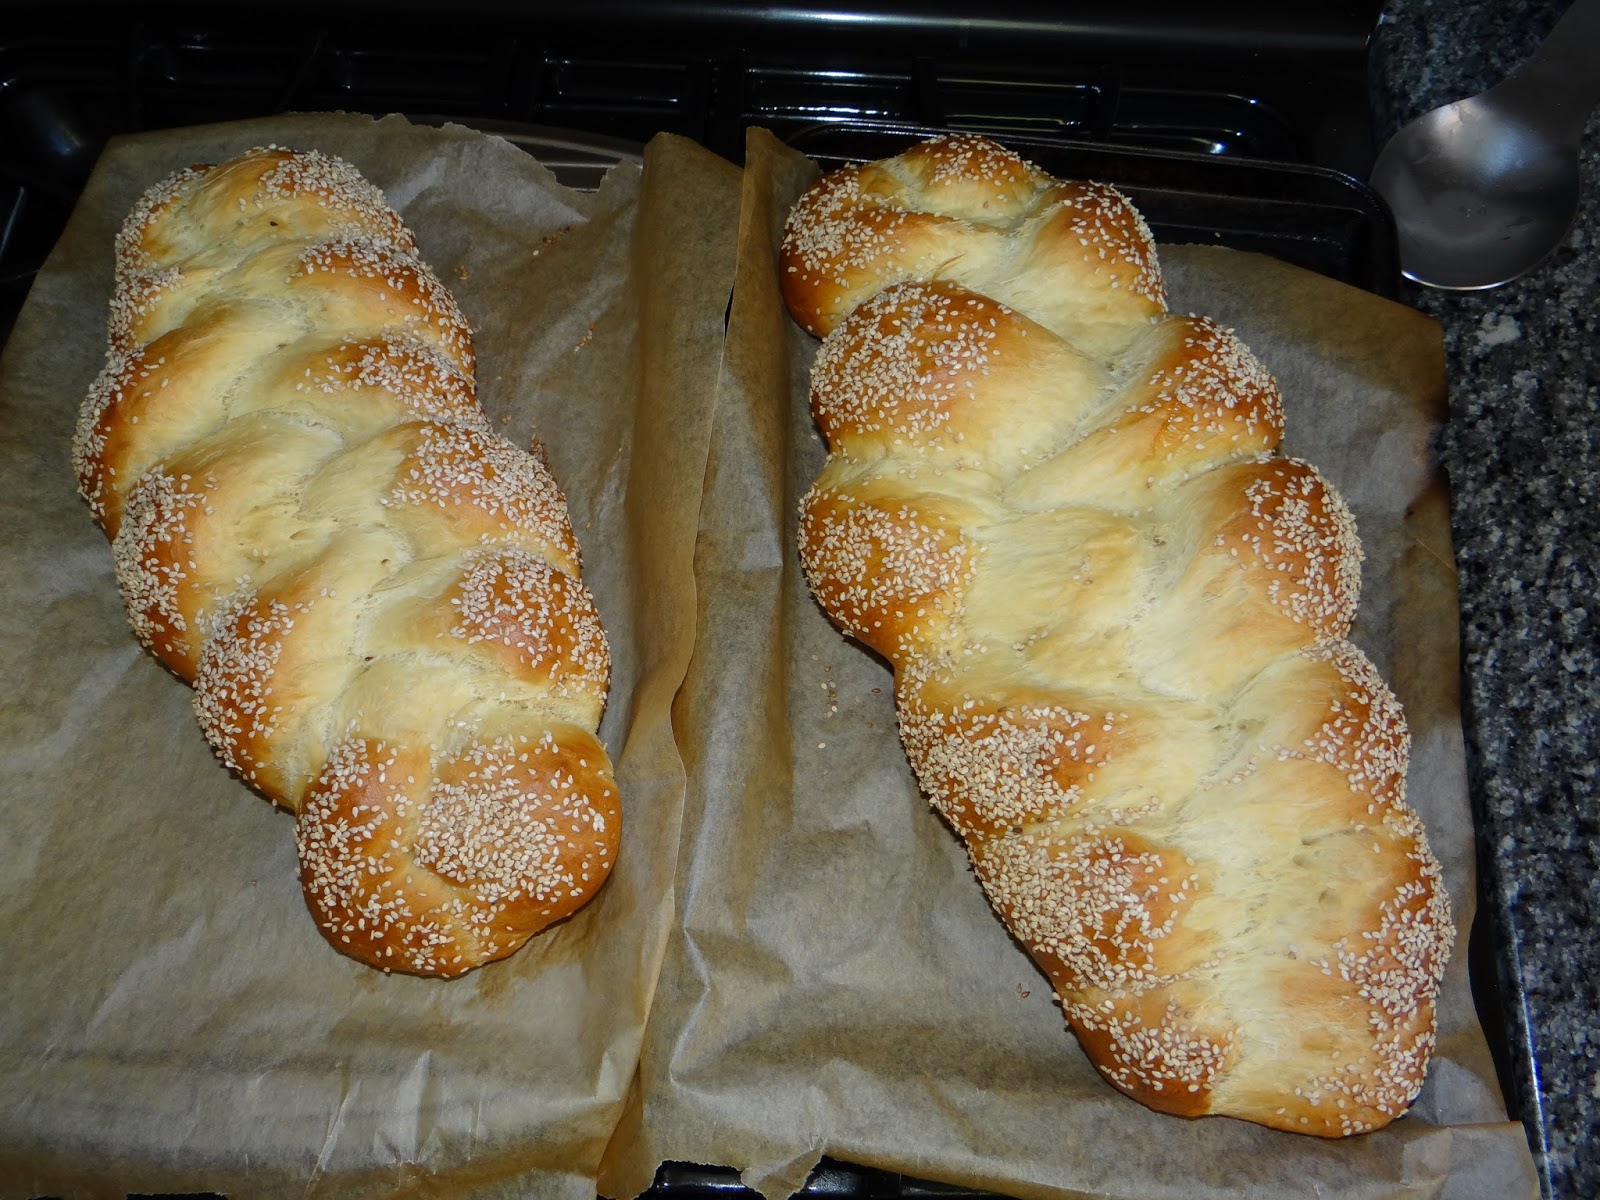
Does anyone really think you can bake any of the breads seen in the foreground in a bread machine?

In the end, the bread machine served its purpose.  After using it to bake for a year, I had the confidence to branch out to regular baked bread, getting my fingers into the dough to knead it, and experimenting with different hydrations and long rise periods.

If, after reading this post, you think you’d like to buy a bread machine, I’d recommend getting a used one on Craig’s List. Most are hardly used, and even mine which underwent heavy use during the year looked nearly brand new when I sold it.

If you love using it, that’s great.  If it gives you the confidence to give it away in the end, that’s all to the good.  As the Bread Maiden, I think any time you make fresh-baked homemade bread it will be 100x tastier and healthier than what you buy in the store.

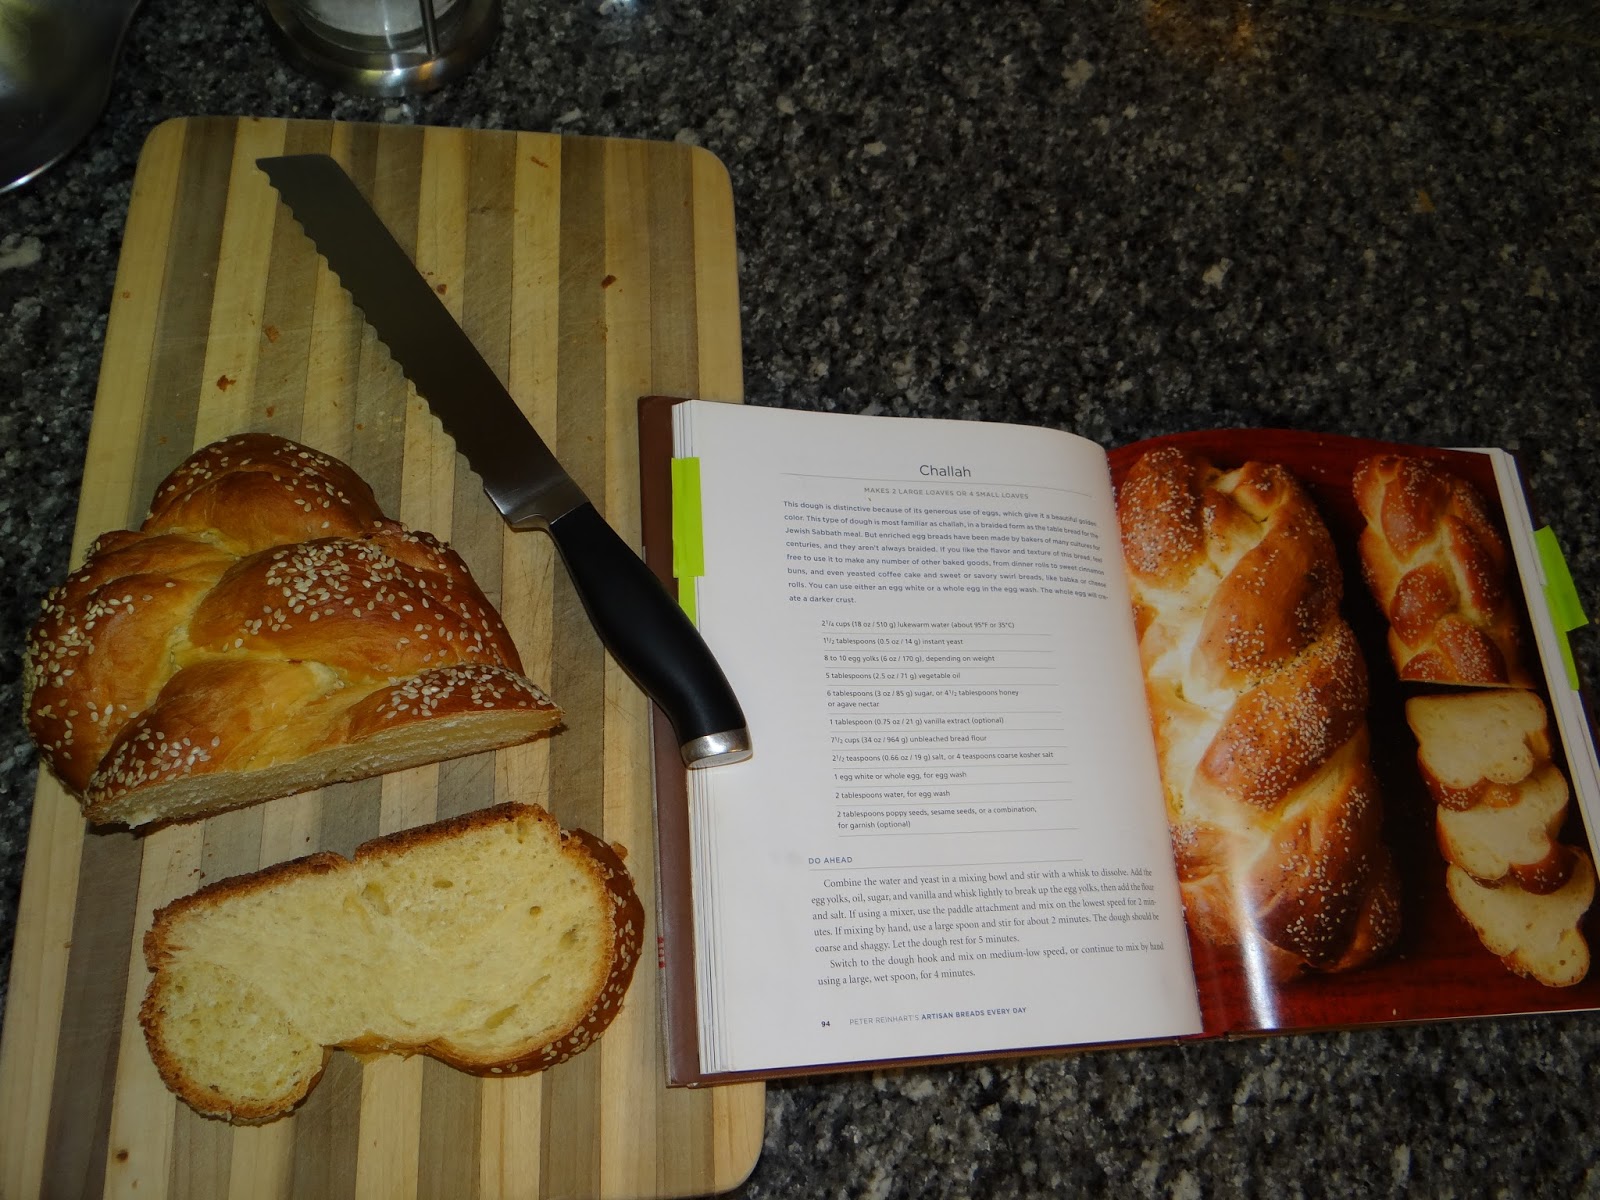
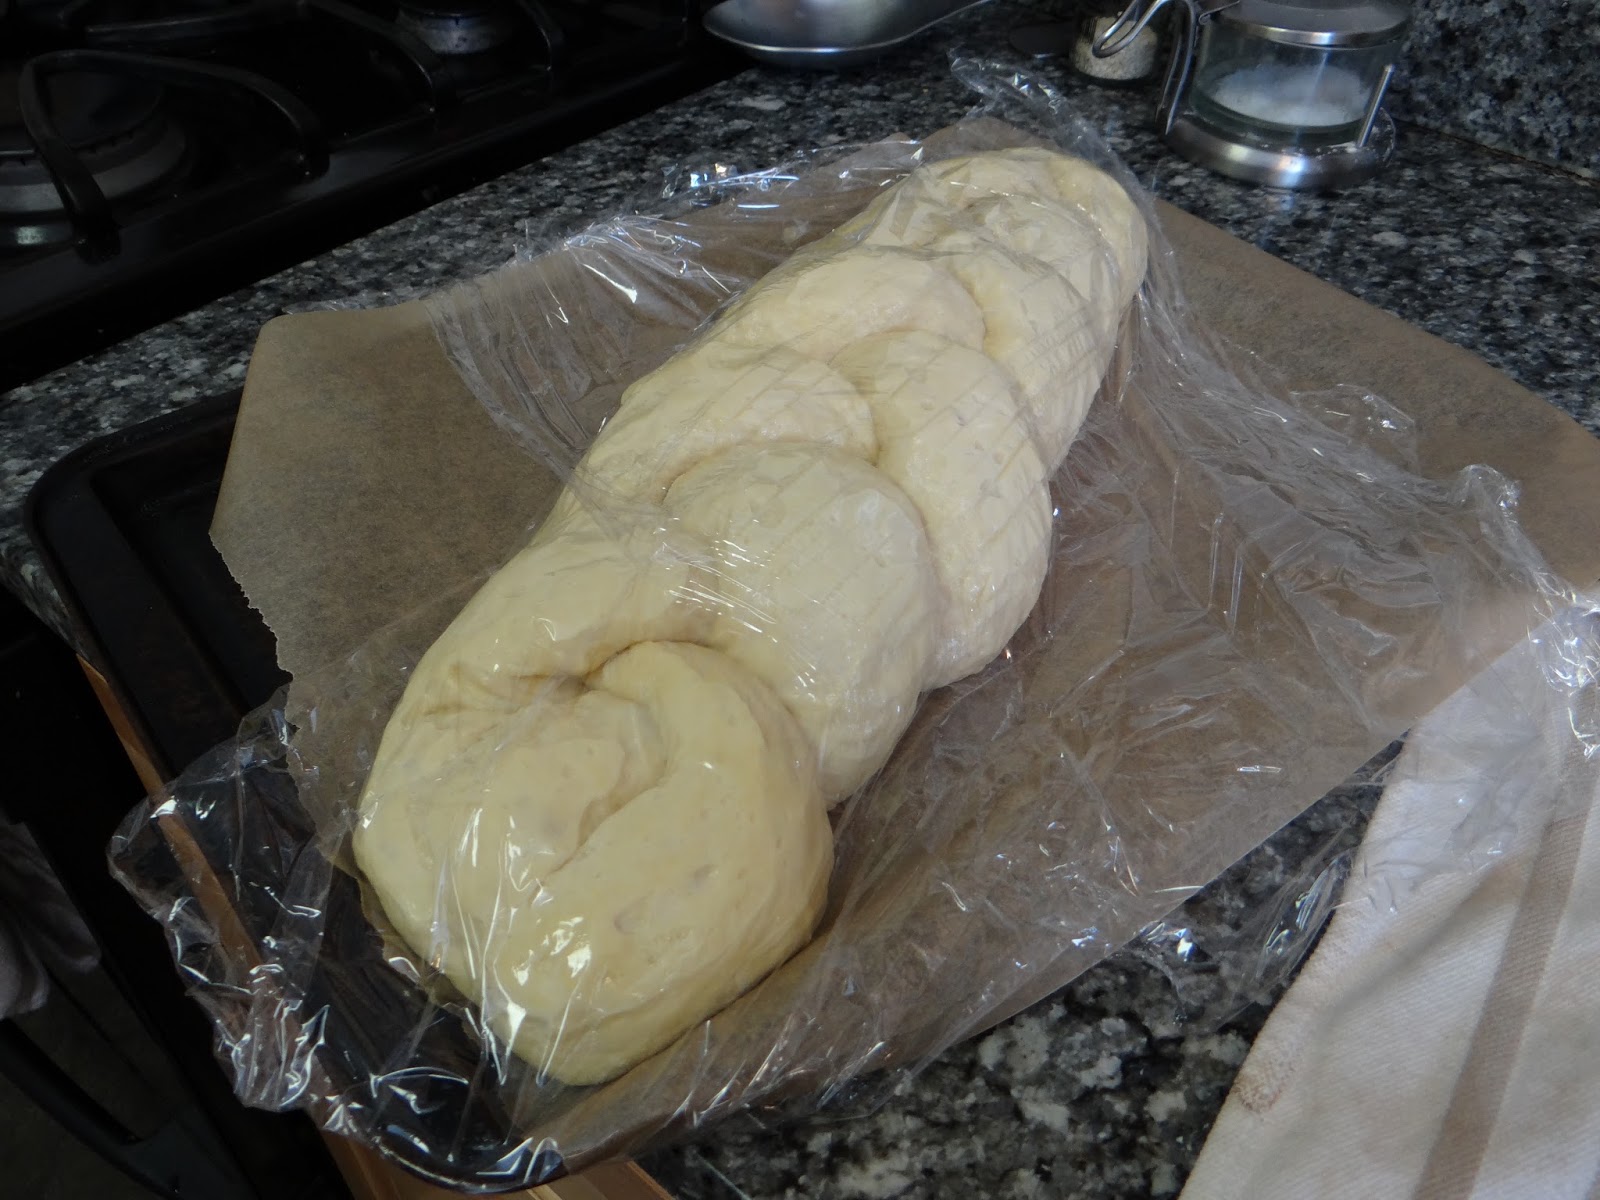
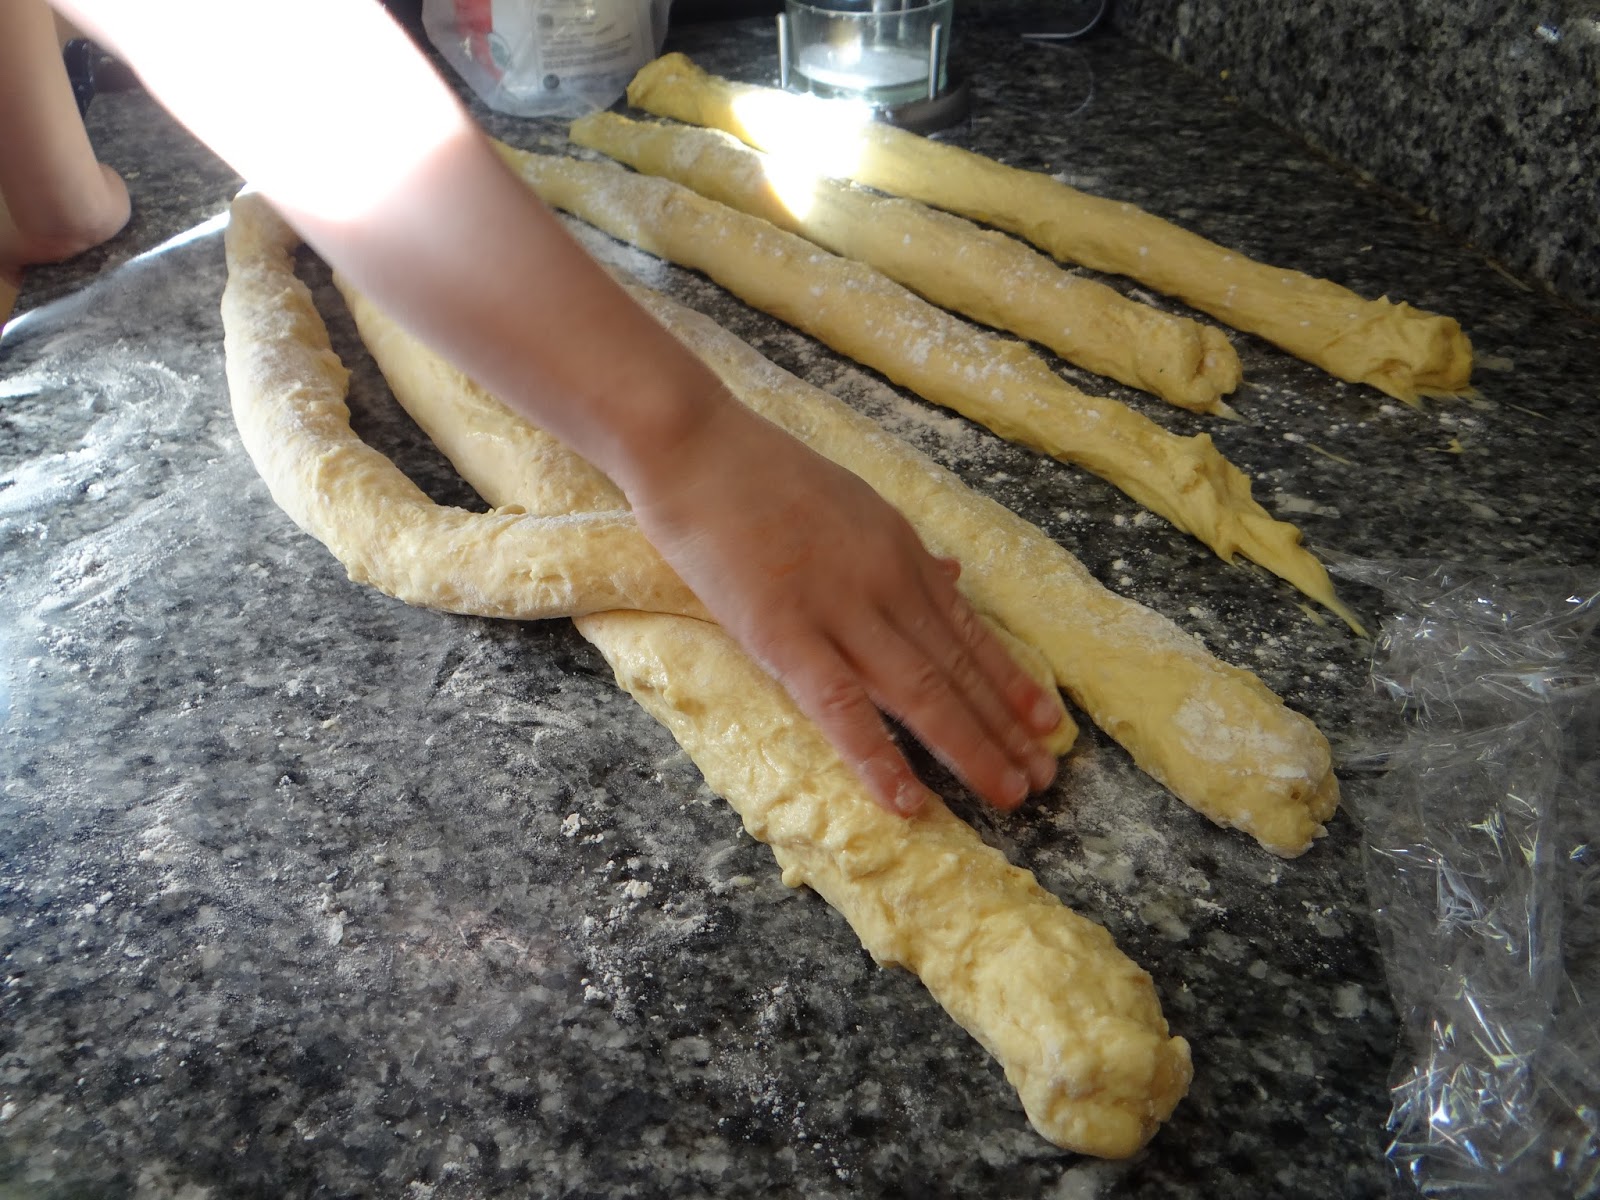
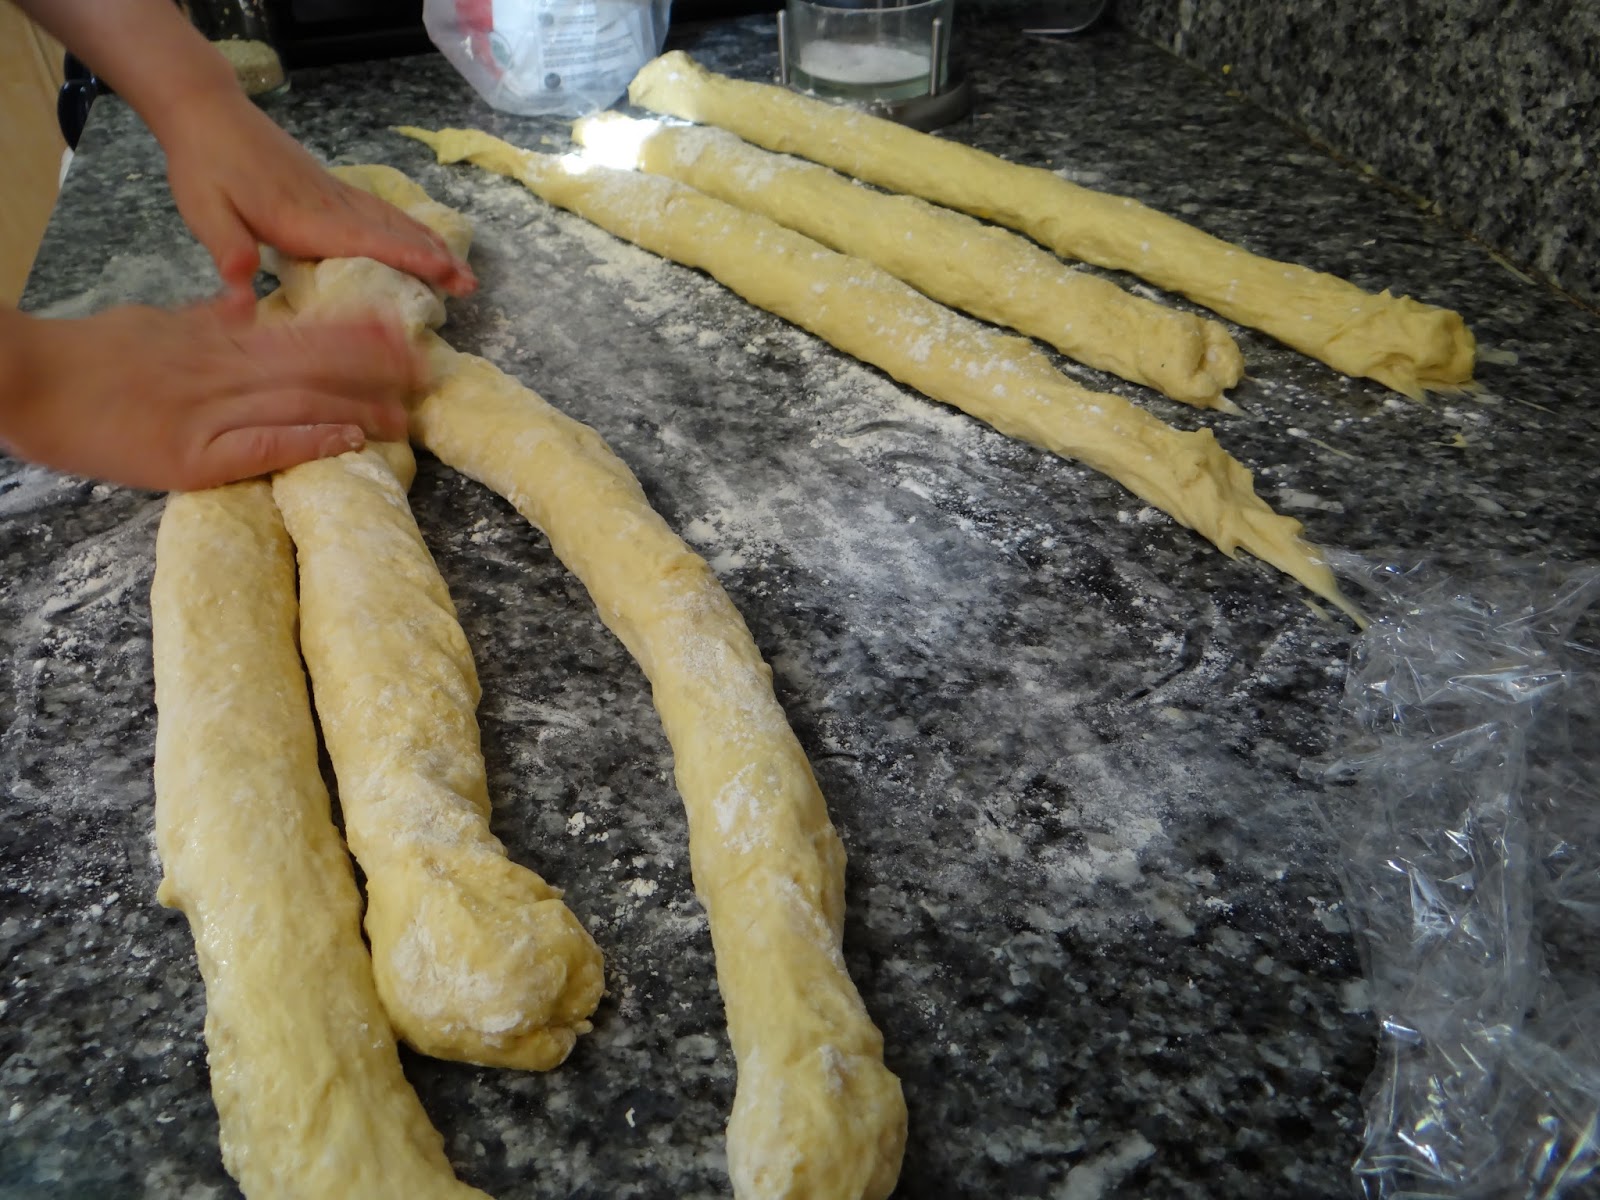
Hate to break it to you but… you cannot make a swirled loaf in a bread machine.

So there you are… why I loved my bread machine and why I ditched it.  Did/do you own a bread machine?  What do you like or dislike about it?  Please feel free to leave me a comment below!

Baking ninja tactics, Part II: technique and tool ninja tactics

Hi everyone,

Welcome to the second installment of my baking ninja tactics series.  I came up with these ninja tactics that save time, effort and money.  To see my ingredient ninja tactics, go here.  Some of these are what you might call these hacks, as they take tools you already have and put them to another, unexpected use to save money.  Others are techniques that save you time and effort.

5. Using the mixing bowl as a dome during the second rise.  Most recipes, after the first rise, call for a shorter second rise once you’ve shaped your dough.  You want to make sure the surface of your dough doesn’t dry out during this second rise, because a dry surface will impede oven spring.

I used to use plastic wrap to cover the dough during the second rise, but it would often stick to the top of the dough.  I tried covering the dough with wheat flour but it would get absorbed into the dough.  I tried rice flour, which doesn’t get absorbed but doesn’t give a very good taste to the finished loaf.  I also disliked using up plastic wrap and wanted a less wasteful solution.

Here it is: using the bowl that you’ve just used for the first rise, flip it over to cover your shaped loaf.  This works best for round boules.  You get to reuse your dirty bowl, and you don’t waste plastic wrap.

6. Bench rest.  As attendees of Bread Camp know, I prioritize laziness in my baking.  What I mean is, if there’s a step I can leave out, or where the bread will do the work for me, I’m all for it.  The bench rest is one of those things.  Essentially what this means is leaving your dough alone for 5-15 minutes, to “rest.”  However, the bread is hardly resting!  There are two stages when a bench rest is most useful: immediately after mixing the ingredients together, and immediately after cutting a dough into smaller pieces after the first rise.

Bench rest #1: After you mix the ingredients, typically you are faced with a dough that is very shaggy and sticky.  Leave it alone for about 10 minutes, and you will come back to one that is smooth and pliable.  Here’s why: when you mix together flour and water, the glutenin and gliadin in the flour combine with water to form long protein chains, called gluten.  Most people think they need to knead their dough to cause gluten formation.  Not so!  Water and protein WANT to create gluten if given the chance.  By leaving the dough alone, the gluten forms naturally without requiring you to lift a finger.

after mixing ingredients together; before bench rest
after bench rest

Bench rest #2: If you’re planning on cutting your dough into smaller pieces after the first rise, they can benefit from a rest here too.  When you divide your dough, you are cutting the long gluten strands that form the “net” structure of your dough.  By letting them relax, the gluten on the cut side will recombine with other strands to reform the net where it was cut.

this is the point where you do the #2 bench rest
a bench rest allows the gluten to relax so you can easily roll the dough into balls

P.S. it’s called a ‘bench’ rest because you are allowing your dough to rest on your work bench.

7. Long fermentation period.  This ninja tactic is another two-fer.  By adding only a little bit of yeast to your dough and letting it rise over a long time, typically 12-24 hours, you not only get great flavor but you can also time your baking to YOUR schedule, not the other way around.

my dough chilling in the fridge overnight

You probably know that yeast are responsible for the big bubbles in your bread.  That is because the yeast eat sugars in your dough and release carbon dioxide.  But they don’t just release carbon dioxide – they also release small amounts of ethyl alcohol.  If given enough time, the ethyl alcohol lightly ferments the dough, giving it a depth of flavor that you wouldn’t otherwise get from a quick-rising dough.

Yeast is notoriously fickle – depending on the temperature in your home, the amount of yeast you use, and whether or not you have somewhere you need to be at a certain time, your bread will rise more or less quickly.  I don’t know about you, but I don’t typically have six hours a day to wait around for bread to rise and then bake it.  I’ve learned that if I whip up a batch of dough at night, then cover and leave it in the refrigerator overnight, I can take it out the next morning, let it get to room temperature and rise, then bake it when I get home from work.  And in exchange for my laziness, I’m rewarded with more flavorful bread!  Win-win!

8. Stretch and fold.  Most people would tell you that bread dough MUST be kneaded so gluten can form.  But it turns out it isn’t true!  The stretch-and-fold method of gently manipulating dough took the baking world by storm nearly ten years ago, when the New York Times posted an article and video of baker Jim Lahey’s technique for no-knead bread.   Because his dough is very wet, meaning the ratio of water to flour is low, the dough is slack and difficult to work with.  Home bakers began experimenting with high hydration doughs, and the stretch and fold technique emerged as the optimal method for developing structure in these doughs.

Some recipes do require kneading.  In those instances, I just use my stand mixer.  Never knead by hand if you don’t have to.

As you can probably guess, the stretch and fold involves… stretch and folding the dough.  There are different ways to do it, but basically what I do is pull one side of the dough out and then fold it over the top of the dough.  Then I do the same thing on the other side, flatten the dough a little with the palm of my hand, and continue folding until the dough starts to resemble a cohesive ball of dough rather than a wet batter.

You can see how Peter Reinhart does it here:

The stretch-and-fold technique made working with wet doughs much easier, which in turn led to more people making better-tasting and better-looking breads.

9. Using a dutch oven to get the perfect crispy crust.  During baking, bread must do two things: 1) the yeast give off one last blast of carbon dioxide, puffing up the dough in a process called oven spring, and 2) the surface of the dough bakes into a crispy crust.

In order to generate maximum oven spring, the oven needs to be super hot.  The downside of a super hot oven is that it dries out the crust before the oven spring is complete, resulting in a dough that is less fluffy than it could be.  The best way to prevent the crust from drying out prematurely is to make sure the baking environment is steamy.

Commercial ovens have steam injectors built in, but home bakers can find lots of tricks online for injecting steam manually.  From throwing ice cubes into the oven to pouring water on a hot baking sheet, I’ve tried and never liked any of these.

The best way I’ve found to keep steam in the oven is to create a smaller oven that traps the steam escaping from the surface of the bread- I bake the bread in a covered dutch oven.

To do it, you need to preheat the dutch oven while the oven is preheating.  When the oven is ready, transfer the dough to the dutch oven and cover it with the lid for the first half of the time you have allotted to bake, so the first 20-30 minutes. Then remove the lid and bake uncovered until the dough has a crispy crust.

It’s easy and the results are beautiful.  Win-win.

On that note, I think I’ll end this post on ninja tactics.  I hope you enjoyed it and it gives you some tips on making your baking faster, easier and more economical.

Peter Reinhart’s Challah Bread

I’ve been making bread for my church for a long time, and it’s usually challah bread.  It’s sweet and flaky and tastes good in small pieces.  This week, I decided to try out a new challah recipe, by Peter Reinhart.  It calls for eight (EIGHT!) egg yolks, and while I try to be generous with the communion loaves, that’s a lot of eggs to sacrifice for two loaves of bread.  So this will probably be a special occasion challah.  It’s definitely worth it though!

Also, my lovely assistant is none other than Little Bread Dude!

For two large loaves, you will need:


2 1/4 cups lukewarm water
1 1/2 tablespoons yeast
8 egg yolks (keep one egg white for an egg wash later)
5 tablespoons of vegetable oil
4 tablespoons honey
1 tablespoon vanilla extract
7 1/2 cups (or 964g) all-purpose flour
1 tablespoon salt
2 tablespoons water (for the egg wash)
2 tablespoons poppy seeds or sesame seeds

1. In a large mixing bowl, stir together the water and yeast and let sit for five minutes to proof.

2. While you are waiting, separate your egg yolks if you haven’t done so already.

3. Add your egg yolks, oil, honey and vanilla extract to your yeast mixture.  Whisk to combine.

4. Add the flour and salt to your bowl and mix using your hands.  Let the dough rest for ten minutes.

Checking the scale for when it hits the right number of grams – the only ingredient I measured in weight, not volume

For Little Bread Dude I placed a folded hand towel under the bowl to sturdy it as we mixed and kneaded

5. Transfer the dough to a floured surface and stretch and fold a few times.  Let it rest while you clean out your bowl and oil it.

6. Transfer the dough back to your bowl and rotate it a few times to coat it with oil.  Cover the bowl and let your dough rise for 1-2 hours, until it has doubled in size.

7. Punch the dough down and remove the dough to a floured surface.  Using a knife or bench scraper, divide the dough into six equal pieces.  Usually I weight the pieces but this time I just estimated which resulted in one huge loaf and one small one.

Sometimes you need to drum on the dough pieces

8.  Roll each piece into a ball, then using your fingers, stretch the ball out into a long coil.  Fold three strands together at one end, then braid them together gently.  Fold again at the other end of your braid.  Repeat with the other three strands.

9.  Transfer your braided loaves to baking sheets lined with parchment paper.  Make an egg wash using the egg white and two tablespoons of water by mixing them vigorously with a fork, then brushing the top of each loaf with the egg wash.  Cover the loaves with plastic wrap and let rise again for about 30-45 minutes.

10.  Preheat the oven to 400 degrees F.  Remove the plastic wrap and brush each loaf with the egg wash again.  You can discard the egg wash now.  Sprinkle the loaves with the seeds.

I like a lot of sesame seeds, since so many of them fall off when you slice into the loaves

11.  Put the loaves in the oven and bump the temperature down to 350 degrees F.  Bake 20 minutes, rotate the pans and bake another 15 – 30 minutes until they sound hollow when thumped and/or the inside of the dough registers 190 degrees F using a kitchen thermometer.

These breads don’t look as golden brown as usual, but they measured 190 degrees F and passed the thump test  I think it’s because half-way through baking, my husband placed a ceramic plate above them, reducing the convection heat transfer and limiting their ability to brown.

12.  Take the breads out of the oven and let them cool for an hour before slicing them.

If you want to learn more about my baking adventures with Little Bread Dude, check out my tips on baking with kids post.

As always, thanks for reading!

Tips for baking with kids

Someone wise once said, “kids spell love T-I-M-E.”

Lately, I’ve been combining two loves by baking bread with my little guy.

Little Bread Dude has always clamored to cook with me in the kitchen, and now he’s old enough to really feel like he’s making a contribution.  It’s not always easy, quick or clean to have him “help,” but he gets so much satisfaction out of it, and I’m able to see him getting better and more confident.  Since baking with him, I’ve also gotten more relaxed and am able to enjoy the process.  He helps me see things differently, such as how sometimes your rolls are actually a drum kit:

This is a recipe we made twice this week, since Little Bread Dude has been off school due to Snowzilla.  He decided he wanted to make bread for his friends at Sunday School, picked the recipe and helped with almost every step.  Along the way, I cataloged some tips about baking with kids.

BTW, the recipe I used was Peter Reinhart’s challah, which you can find the recipe for here.

Tip #1:  If your child is small, use a bench or step stool so they feel like part of the action.  Aprons also help.

#2: Pick a recipe with a high yeast content (I’m talking one yeast packet or about 2 teaspoons of yeast per loaf).  That way, the bread rises more quickly and dramatically, both during the fermentation period and in the oven.  Kids like instant gratification.

#3: Pick an enriched dough recipe.  Half the fun of making something is adding lots of ingredients.  A dough with egg, milk, or butter (or all three!) is more fun than a lean dough with just flour, water and salt.

#4: Use volume measurements, not weight measurements.  I usually like to weigh my ingredients because it’s cleaner and more efficient, but that doesn’t always work when you’re baking with kids.  It’s more fun to dump everything into a bowl then to carefully calibrate a scale.  Luckily, this challah recipe only uses cup measurements and tablespoon measurements, so you’re not getting every spoon and cup in the drawer dirty.  Just measure each ingredient into the same dirty spoon; you can wash it later.

#5: Prepare some of the ingredients ahead of time.  Little Bread Dude is five years old, which means he has an attention span of about 15 minutes.  In order to keep things positive and fun, I make sure his contribution only takes about that long.  I get the ingredients out and set them on the counter ahead of time, and if there’s an ingredient I know he doesn’t like preparing, I’ll do it first so all he has to do is dump everything into the bowl.  For example, he doesn’t like breaking eggs (this recipe requires a ton of egg yolks).  So I’ll separate the eggs and put them all in a bowl for him to dump.

#6: Recognize that there will be mess.  Accept it.

He doesn’t like dirty hands.

#7: Remember, for kids the enjoyment is in the process, not the outcome.  Enjoy your child discovering something new.

#8: It won’t always be perfect. It won’t always be the way you do it.

#9: Share your creation with others.  One of the things I want most to impart to my kids is generosity.  I am so proud that his first thought when he wanted to bake something was to share what he made with his friends.

If you have any other tips for baking with kids, be sure to share them in the comments.  Thanks for reading!

Baking ninja tactics, Part I: Ingredient ninja tactics

Hey everyone, I’ve been enjoying writing some posts that synthesize my breadbaking knowledge in a way that is useful.  Here are some “ninja tactics”:  ideas that save time, effort and money.

1. Homemade brown sugar.  Stop me if this has ever happened to you: you’re in the mood to make cookies, but when you go to get the brown sugar, it’s a solid block.  Use this tip, and you’ll never need to buy brown sugar again.

Some people think brown sugar is more natural or raw than white sugar. Not so!  It’s just white sugar that has had molasses added back in.  So as long as you have white sugar and molasses, you can make brown sugar anytime.

For a cup of sugar, I typically add a tablespoon of molasses and then use a fork to mix them together.  It’s not an exact science.

Could the brown color be more uniform?  Yes.  Does it matter? No.

2. Homemade buttermilk.  Before I knew about this trick, I never made buttermilk biscuits because I was too lazy to go out and buy buttermilk.  Unlike brown sugar, no one, and I mean NO ONE, just has buttermilk lying around.  If you keep buttermilk lying around, I don’t want to know.

But here’s two secrets for you: 1) you can make buttermilk by adding a tablespoon of white vinegar to a cup of milk, cream or half and half.

2) Most acidic milk products (sour cream, yogurt, buttermilk) are interchangeable in recipes.  You just need to make sure that it’s the correct consistency.

For example, today I did want to bake buttermilk biscuits.  I had milk and yogurt, so I used half of each.  My favorite pancake recipe is one that originally used milk but I modified to use sour cream.

The key when you are going from non-acidic (milk, cream and half/half) to acidic (buttermilk, sour cream, crema, creme fraiche or yogurt) is making sure your recipe also includes baking soda.  Baking powder and baking soda are both leavening agents that release carbon dioxide in the presence of heat. The main ingredient in baking powder and baking soda is sodium bicarbonate, a base.  It requires an acid to activate.  Baking powder has its own acid added to it (cream of tarter), while baking soda does not.  By adding a little bit of baking powder to your recipe, you’ll take full advantage of the buttermilk’s acid-y goodness, creating a light fluffy biscuit or pancake.

3. Grating the butter instead of cutting it into a dough.  This ninja tactic is SUCH a time saver, I can’t even tell you.  I got this tip from Peter Reinhart’s Artisan Breads Every Day, and now I make biscuits and pie crusts SO much more often as a result.

Here’s the thing.  I hate cutting butter into dough.  Using two forks for half an hour to break butter up into small pieces makes me want to scream.  Even though you can use a food processor, you have to clean the dang thing afterwards.  Instead, I use a box grater and grate the cold butter directly into the flour.  It’s less mess, takes way less time, and creates butter pieces that are the perfect size.

4. Measure big amounts by weight – and small amounts by volume.  I think measuring ingredients by weight is the most accurate way to bake, particularly for ingredients that are hard to pack, like flour and butter.

 Measuring ingredients by weight also cuts down on the number of dirty dishes generated, because you can add everything directly into one bowl.  However, there’s a downside to accurate weighing, and it’s this: when you are hunched over your kitchen scale, sprinkling small amounts of salt or yeast into the bowl to get some minute measurement like 7 grams, and each sprinkle isn’t enough to register on the scale.  That is madness.

or you eyeball it.  Life’s too short to measure out 1/8 teaspoon of anything.

Which is why, if a recipe calls for a small amount of something and I have a choice between weight and volume, I’ll choose volume.  One dirty teaspoon is a small price to pay for sanity.

Because I only ever use my tablespoon and teaspoon, the labels are worn off.  


Once again, I’ve written a post only to realize that it’s way too long.  I’ve divided it into two posts that are more thematic.  To check out my post on technique and tool ninja tactics, go here.

The Science Behind… My #1 baking mistake of all time

This post is the third installment of my series on the biggest baking mistakes I’ve made over the years.  If you want to check out numbers 10 to 6, go here.  If you want to read numbers 5 to 2, go here.

And finally, my #1 mistake…

1. Following the recipe EXACTLY as written without regard for the way the dough feels and looks.  This mistake is related to my #2 baking mistake, giving up on a recipe after one attempt.  Making a recipe more than once allows you to understand the recipe, but also to see the gaps between what the recipe says and what you experience.

I think the better part of my time spent learning about baking has involved training my hands and eyes to feel and see when a dough is doing what it is supposed to do and when it’s not.

After many years of baking, I can tell with my fingers when a dough’s ingredients are well incorporated.  I can see when gluten strands have created a stretchy, smooth surface on the outside of the dough. I can hear when a dough’s crust crackles as it comes out of the oven.  These aren’t intangibles, exactly, but they aren’t really things you can teach either.

not ready
not ready
ready!  
http://thebreadmaiden.blogspot.com/2014/05/sunday-school-baking-brigadeiros-for.html

Not everyone has years to perfect their baking senses.  For those who don’t, there are ways to move away from relying blindly on recipes and towards developing an eye for what works.

  • First, buy yourself a kitchen scale.  Possibly the most frustrating part of cooking with volume measurements – cups and teaspoons and tablespoons, is that they lack precision   Ingredients like flour can vary widely in how much can be packed into a particular volume- have you ever looked at a recipe that called for 3-4 cups of flour?  How do you know which to choose?  How do you know when it looks right?  

The problem with volume, which I’ll talk more about a little later, is that sometimes you won’t know if you added too much flour until 15 MINUTES LATER when you’ve given your dough time to absorb the water and start forming gluten and it’s definitely way too dry.  Because the gluten’s already mostly formed, it can be hard to add more water to your dough at this point.

At this point, you might be thinking, “well, my grandmother was an excellent baker and she used volume measurements just fine!”  Your grandmother probably dealt with volume measurements just fine because she probably baked her own bread and had been doing so for years, so she knew when a dough felt “right”.  Most people these days don’t bake several loaves of bread a week.  A recipe by weight will tell you exactly how many grams or ounces of flour you need (I’m partial to grams, btw).  By measuring ingredients by weight, you remove some of the guesswork to baking.  And baking is like anything else – see enough “right” doughs, and you’ll know when something’s not right.  With measurements by weight, at least you’ll know if you added too much flour

  • Second, start simple.  The easiest doughs to make include just four ingredients- flour, water, salt and yeast.  Start here.  That way, you can get a better sense what each ingredient brings to the table, and if the dough doesn’t work out, it’s not a heartbreak scenario to throw it out.  Today I made a challah bread with eight egg yolks, plus two whites for the egg wash.  If I had made this recipe ten years ago and it hadn’t turned out, I would’ve been seriously PO’d (who are we kidding, I’d still be pretty angry.  But the chances of it not working out were much higher way back when).  

Start with the simplest doughs to get a hang of the techniques and play around with it.  What if you add more flour?  More water?  Less yeast?  Higher oven temperature?  What does it do when I bake it in a dutch oven vs. bread pans?  These will all help you get a sense of what breads do so when you encounter a recipe you won’t have to follow it to the letter.

  • Third, appreciate the gift of time.  Flour and water WANT to create gluten.  They just do.  If you don’t knead your bread, flour and water will naturally create gluten strands.  Don’t believe me?  Throw roughly equal parts water and flour in a bowl, mix them up, and walk away.  In 15 minutes, come back.  They will have already started forming gluten strands, and you didn’t do anything!  Flour needs time to fully absorb the water, and there’s nothing you can do to speed up that process.  

The reason many recipes call for you to knead the dough is that they direct you to add a ton of yeast, and you need a gluten net to form RIGHT AWAY to capture all the carbon dioxide the yeast gives off.  By letting your dough form and rise slowly (with just a little bit of yeast), you not only save your wrists and hands from the strain of kneading, but in addition to carbon dioxide, the yeast also give off ethyl alcohol in a process called fermentation, improving the flavor naturally.

Another benefit of time is that it allows the gluten strands not only to form, but once formed, to relax.  Relaxed gluten strands are easier to handle and shape.  If your dough is anywhere over 66% hydration and you’re having a hard time handling it, cover it and walk away for ten minutes.  When you return, the dough will be smoother and more pliable because you gave the gluten time to relax.

  • Four, use fresh ingredients.  Leavening ingredients like yeast, baking powder and baking soda must be fresh to work properly.  Other ingredients like spices will have stronger flavor the fresher they are.  Eggs have stronger protein strands the fresher they are.  And so on.  By using fresher ingredients, you will create better bread.
  • Finally, reach for good resources.  Baking books or online resources are great places to go for reference.  I’m partial to Peter Reinhart’s Artisan Breads Every Day or Whole Grain Breads.  He’s a baker and a baking professor at Johnson & Wales culinary school.  Simply put, he knows his stuff.  He has great youtube videos.  And his epoxy method for coaxing tons of flavor out of whole grain breads is nothing short of genius.  He also has an interesting backstory for those who are curious.  I would skip the “bread” section in an otherwise regular cookbook- most chefs and cookbook authors don’t have the time or interest to delve into good bread baking in their books.  They might have one all-purpose loaf and that’s it.  
Artisan Breads Everyday
Whole Grain Breads

Another resource I recommend is The Fresh Loaf website and discussion boards.  There, amateur and professional bakers ask and answer questions and basically try to figure it all out.  When I have a question that starts with “what if…”, someone has usually asked it already on the website.

So that’s it!  My #1 top mistake.  That’s not to say I haven’t made many other mistakes over the years beyond these ten.  I’ve been indebted to the people who have aided my progression and who continue to act as guinea pigs for my various creations.

my bread camp notes

I hope you enjoyed this series as much as I enjoyed writing it.  And as always, if there’s anything I can clarify please let me know in the comments.