The Science Behind… top 10 baking mistakes I’ve made over the years, Part II

Welcome back to my series on the worst mistakes I’ve made over the years.  They might be technique mistakes that I’ve corrected, or theories about baking that I’ve had to get over.  In any case, I’m publishing these in the hopes that other bakers can learn from my years of experience and all the bumps along the way.

This post is numbers 5 to 2 of my top 10.  If you want to see numbers 10 to 6, go here.  If you’d rather skip to #1, go here.

So, let’s begin!

Starting with my #5 mistake…

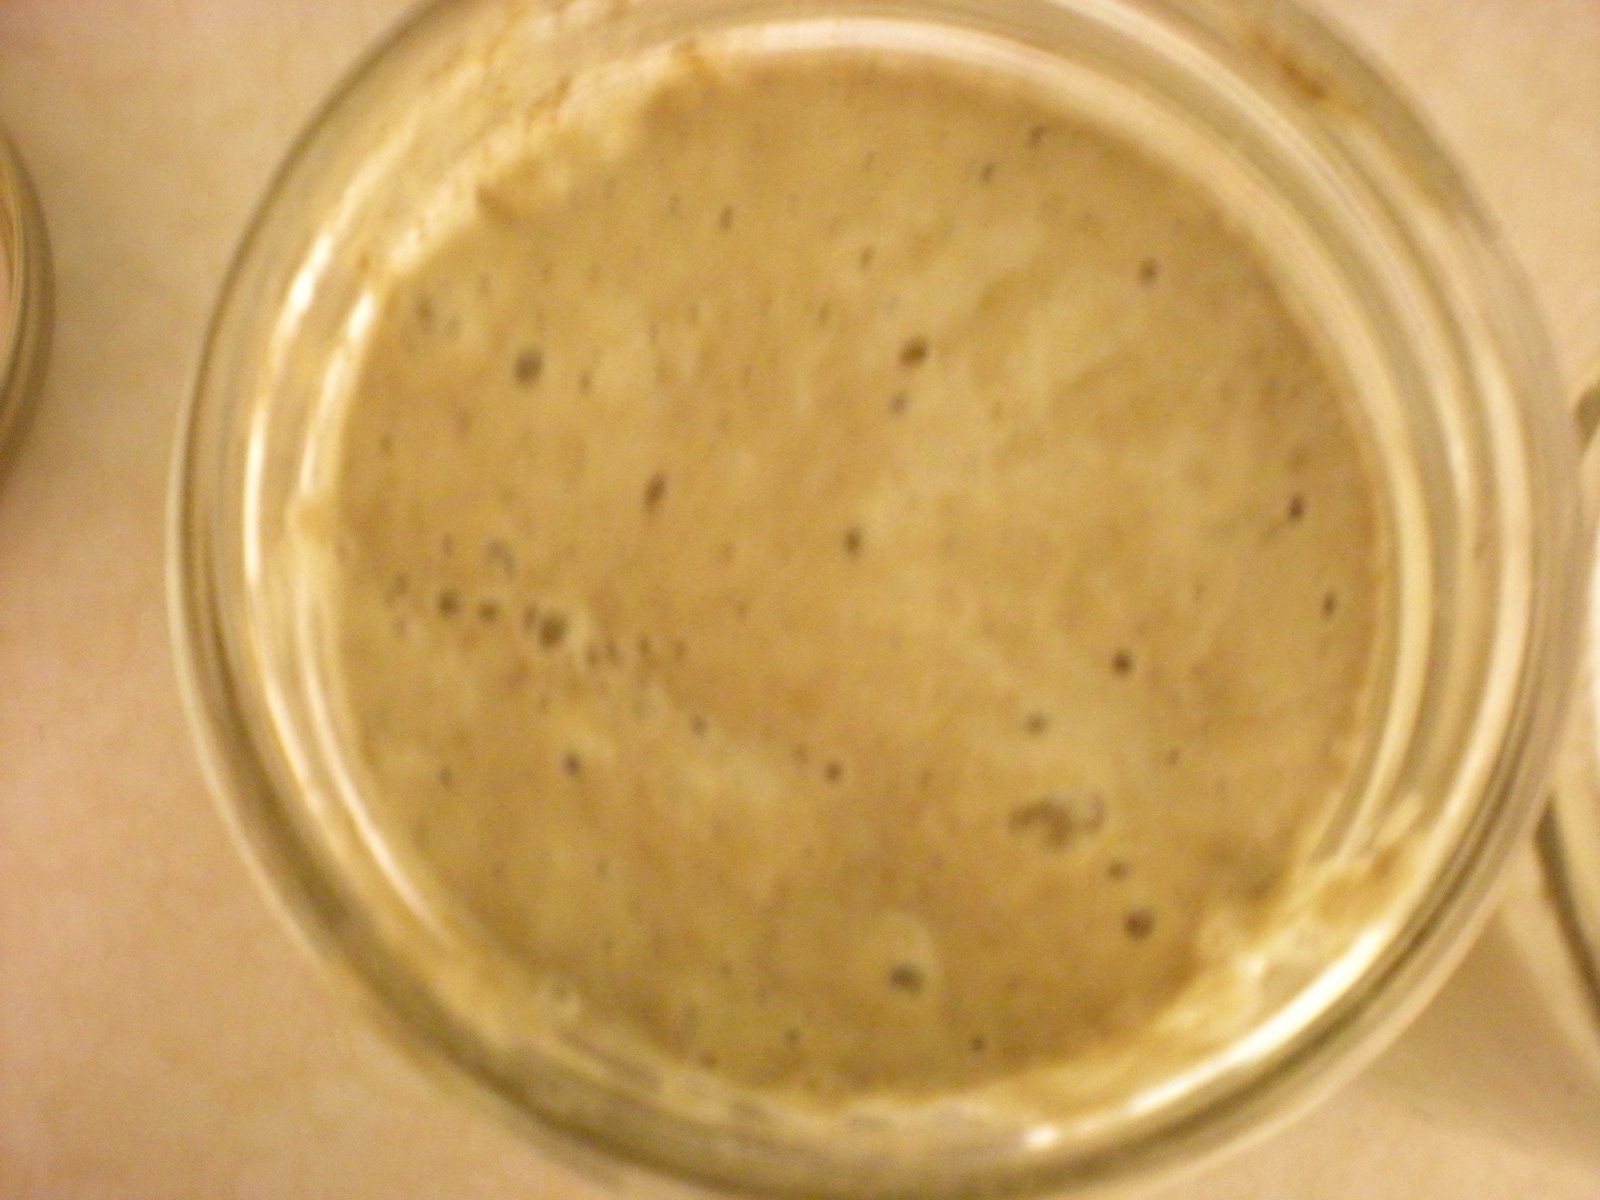
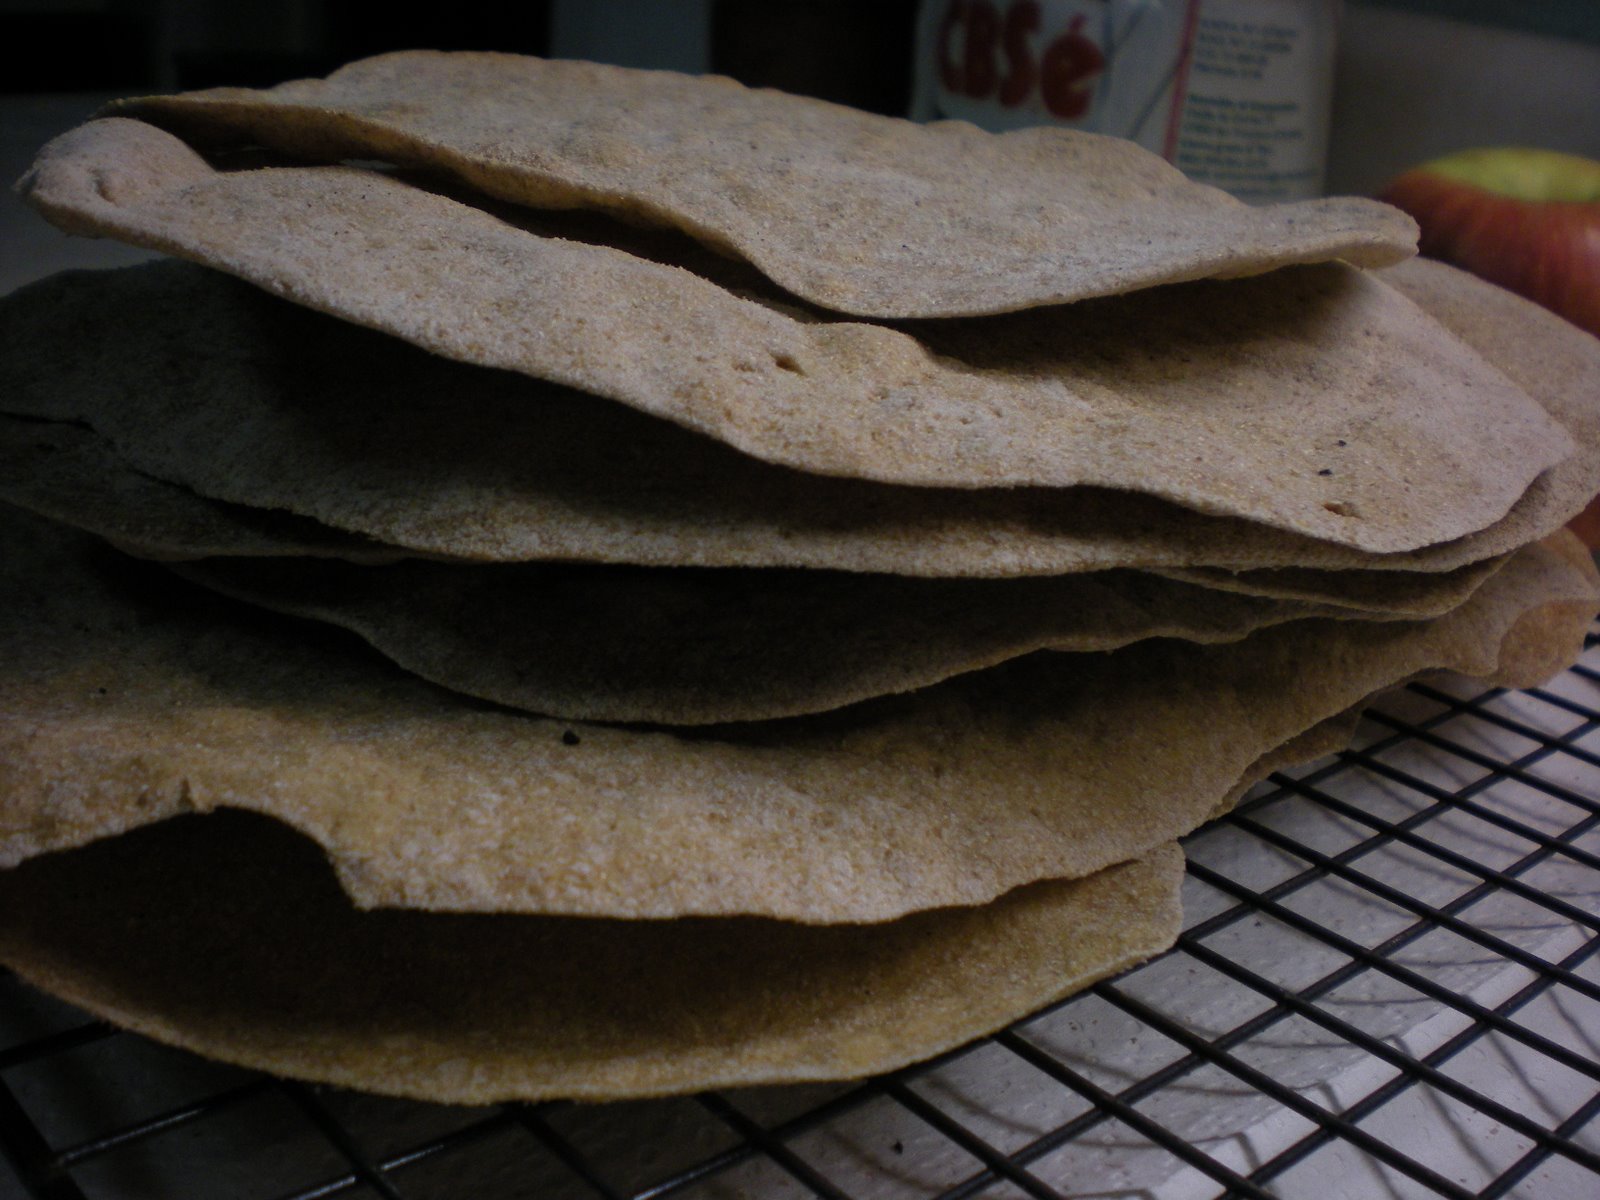
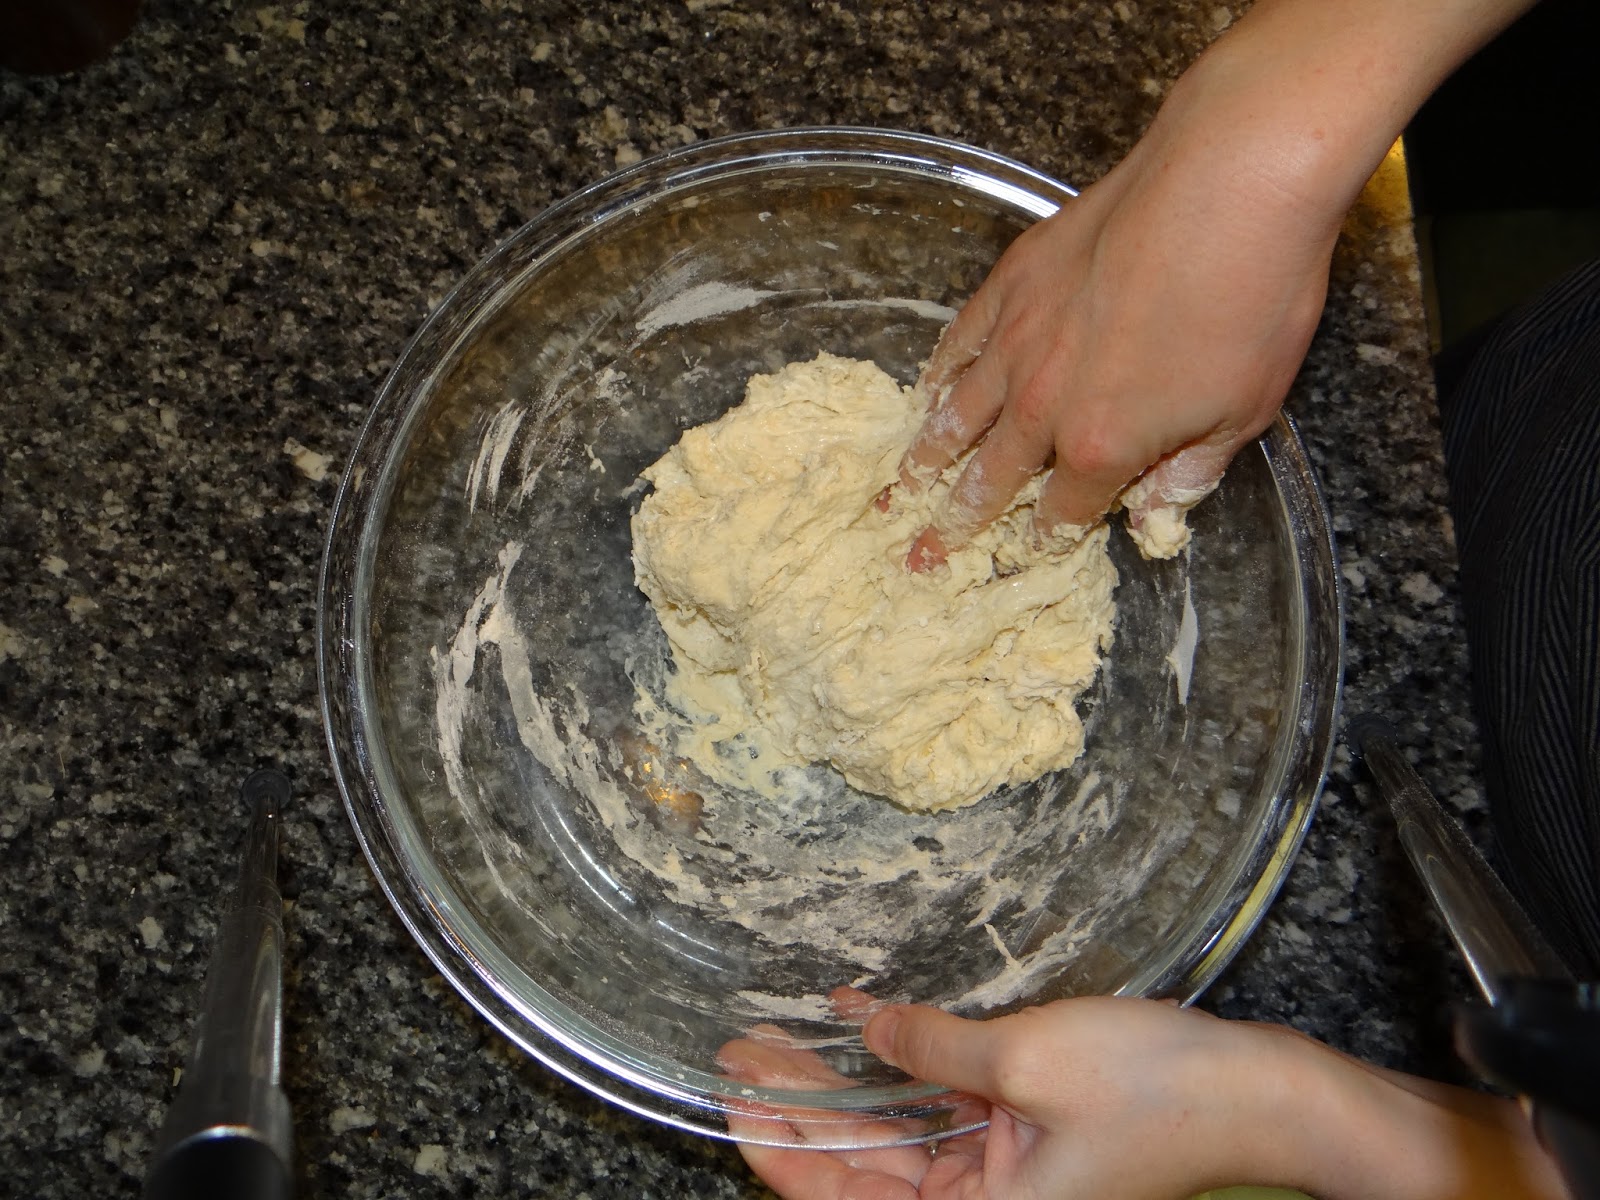
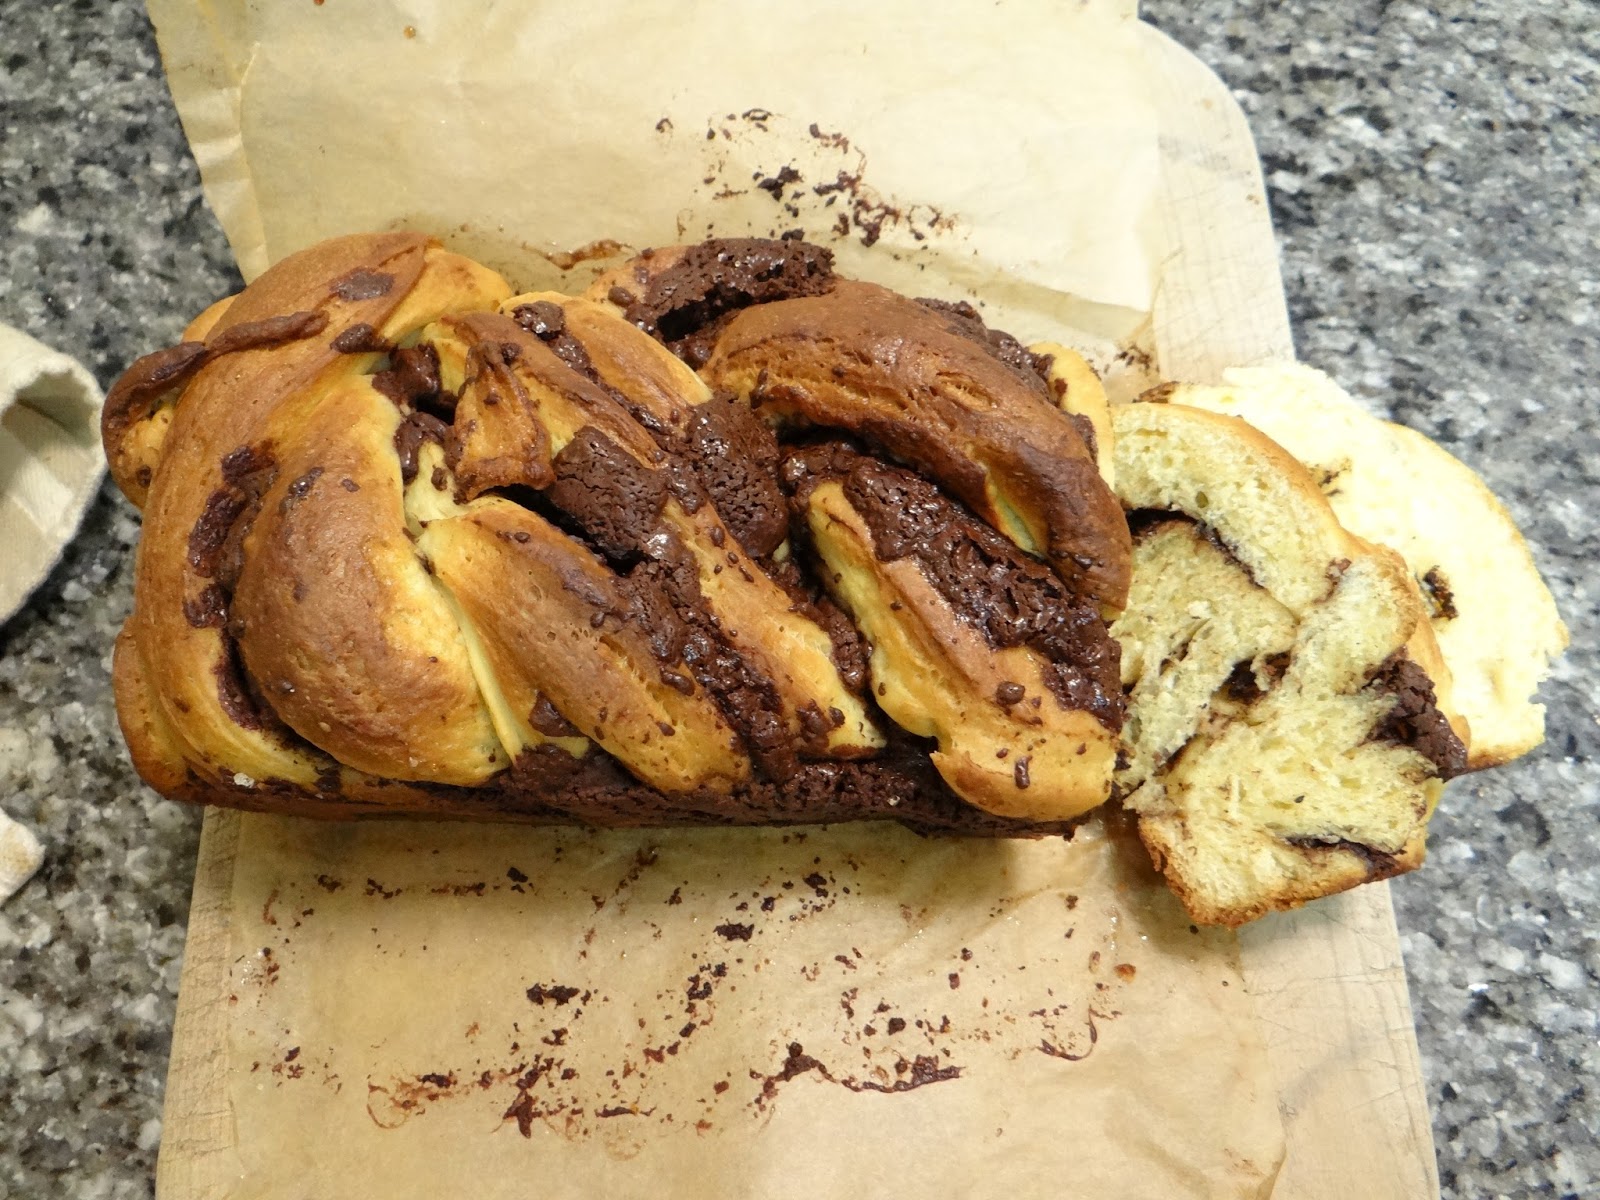
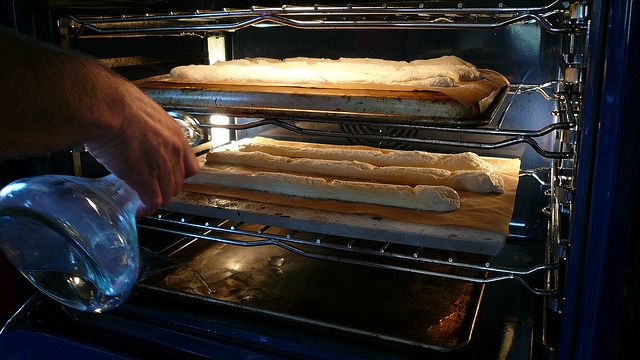
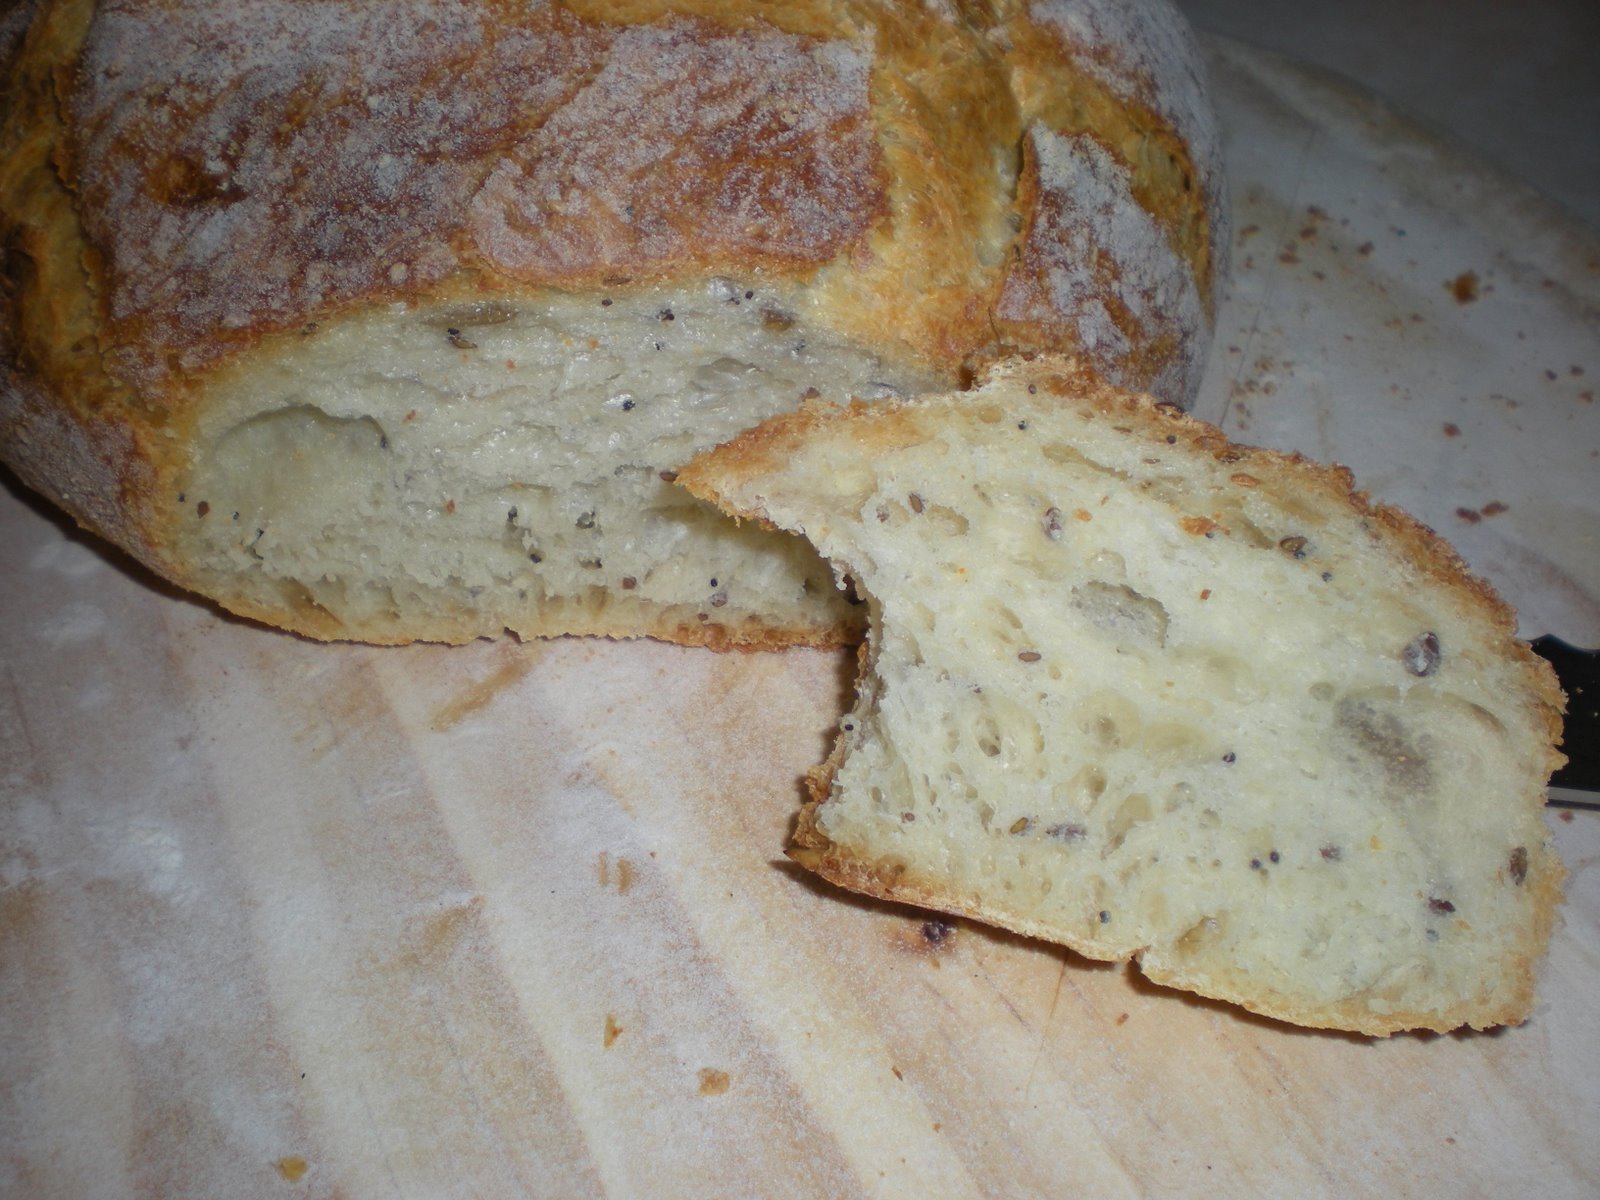
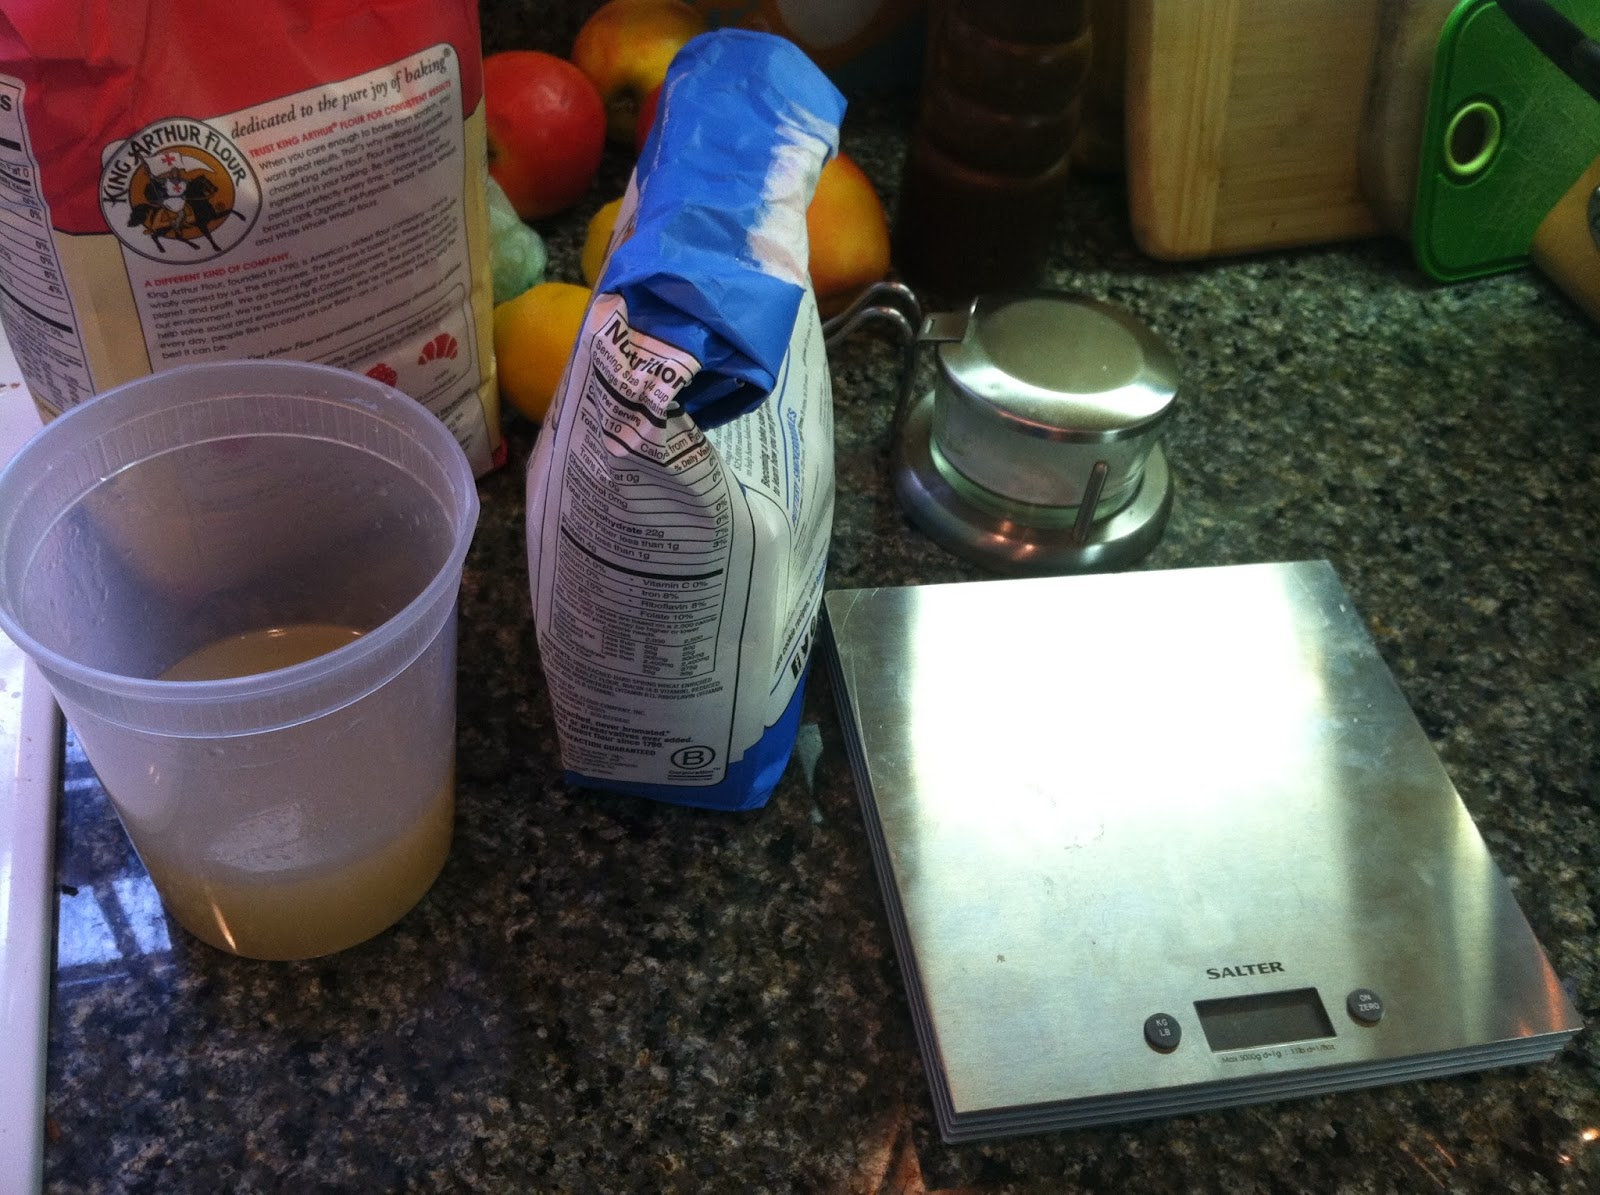
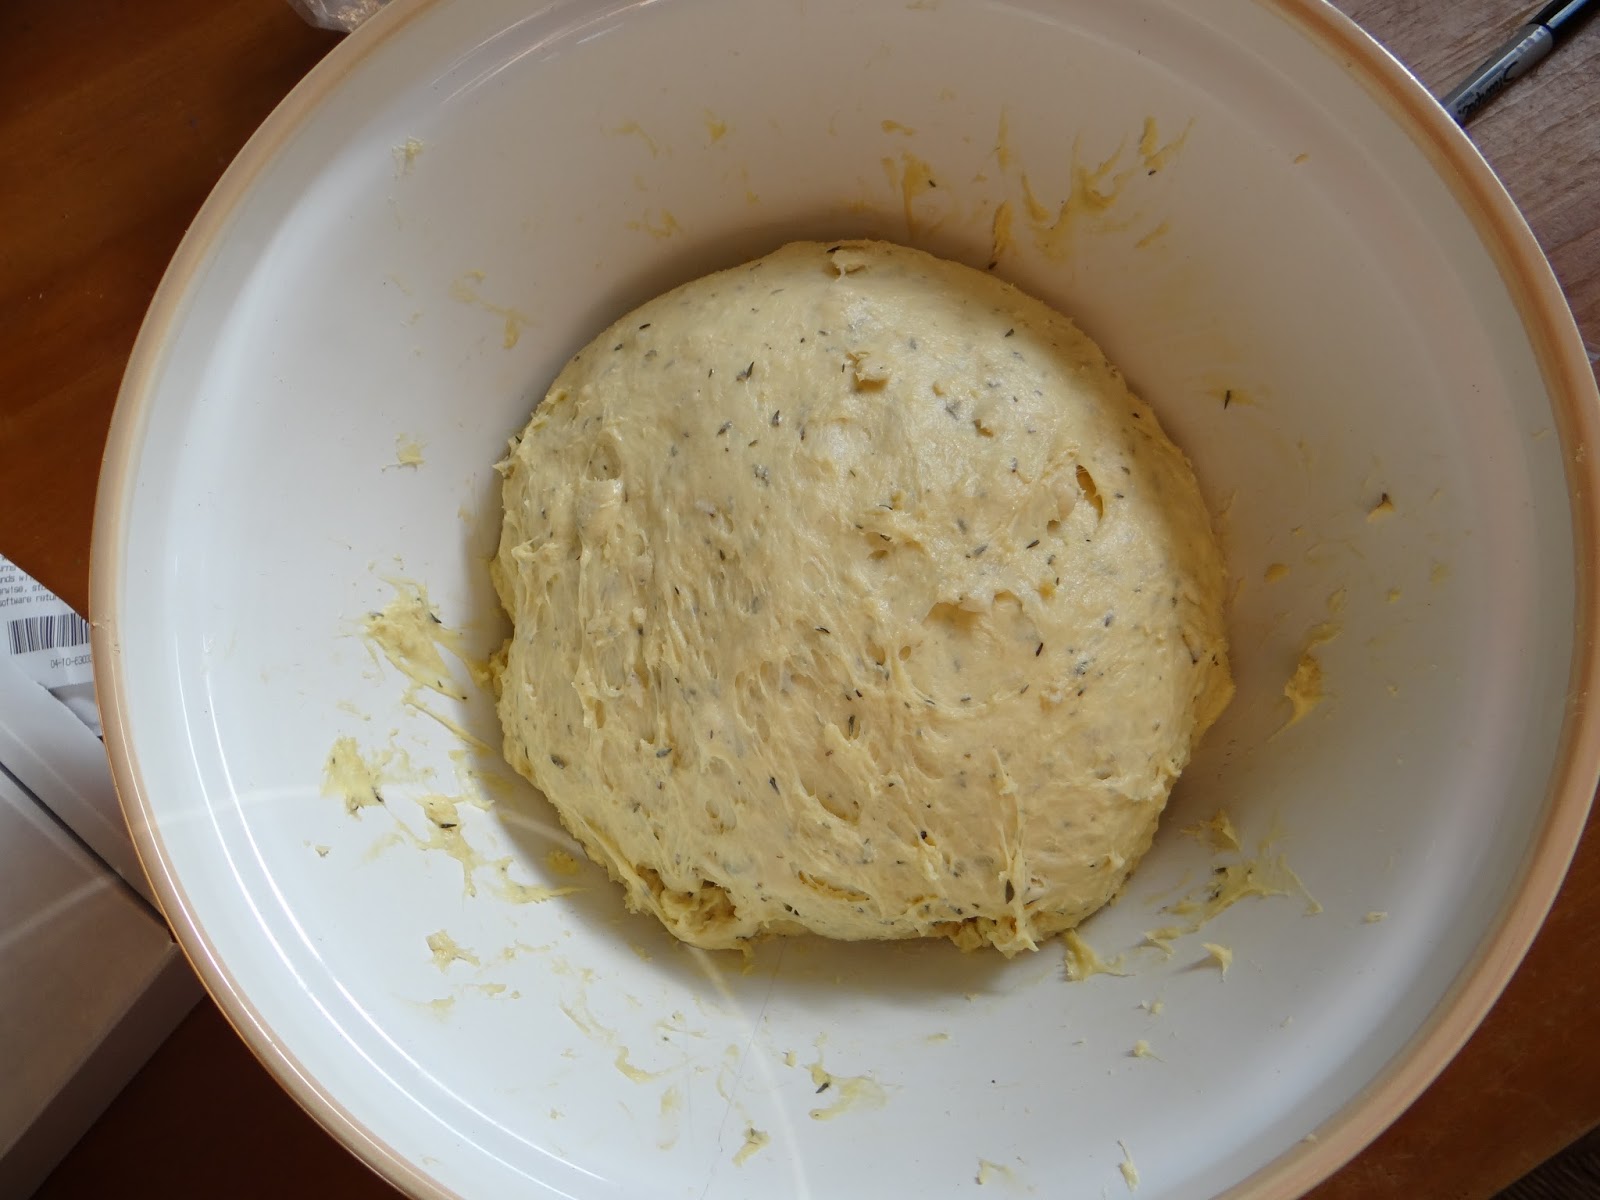
5. Adding tons of flour during the kneading process.  Most recipes call for you to knead your bread on a floured surface, or to keep adding flour until your bread is no longer sticky.  However, by adding tons of flour to your dough, you are throwing off the hydration, which is the ratio of flour to water.  Hydration ranges from 66% water/flour, which is ideal for sandwich bread, to 100% water/flour for doughs with big holes like ciabatta.  By adding more flour, you mess up the hydration, resulting in a drier dough than doesn’t rise well (wetter dough gives gluten more space to stretch out) and not optimal for the bread you are trying to make.

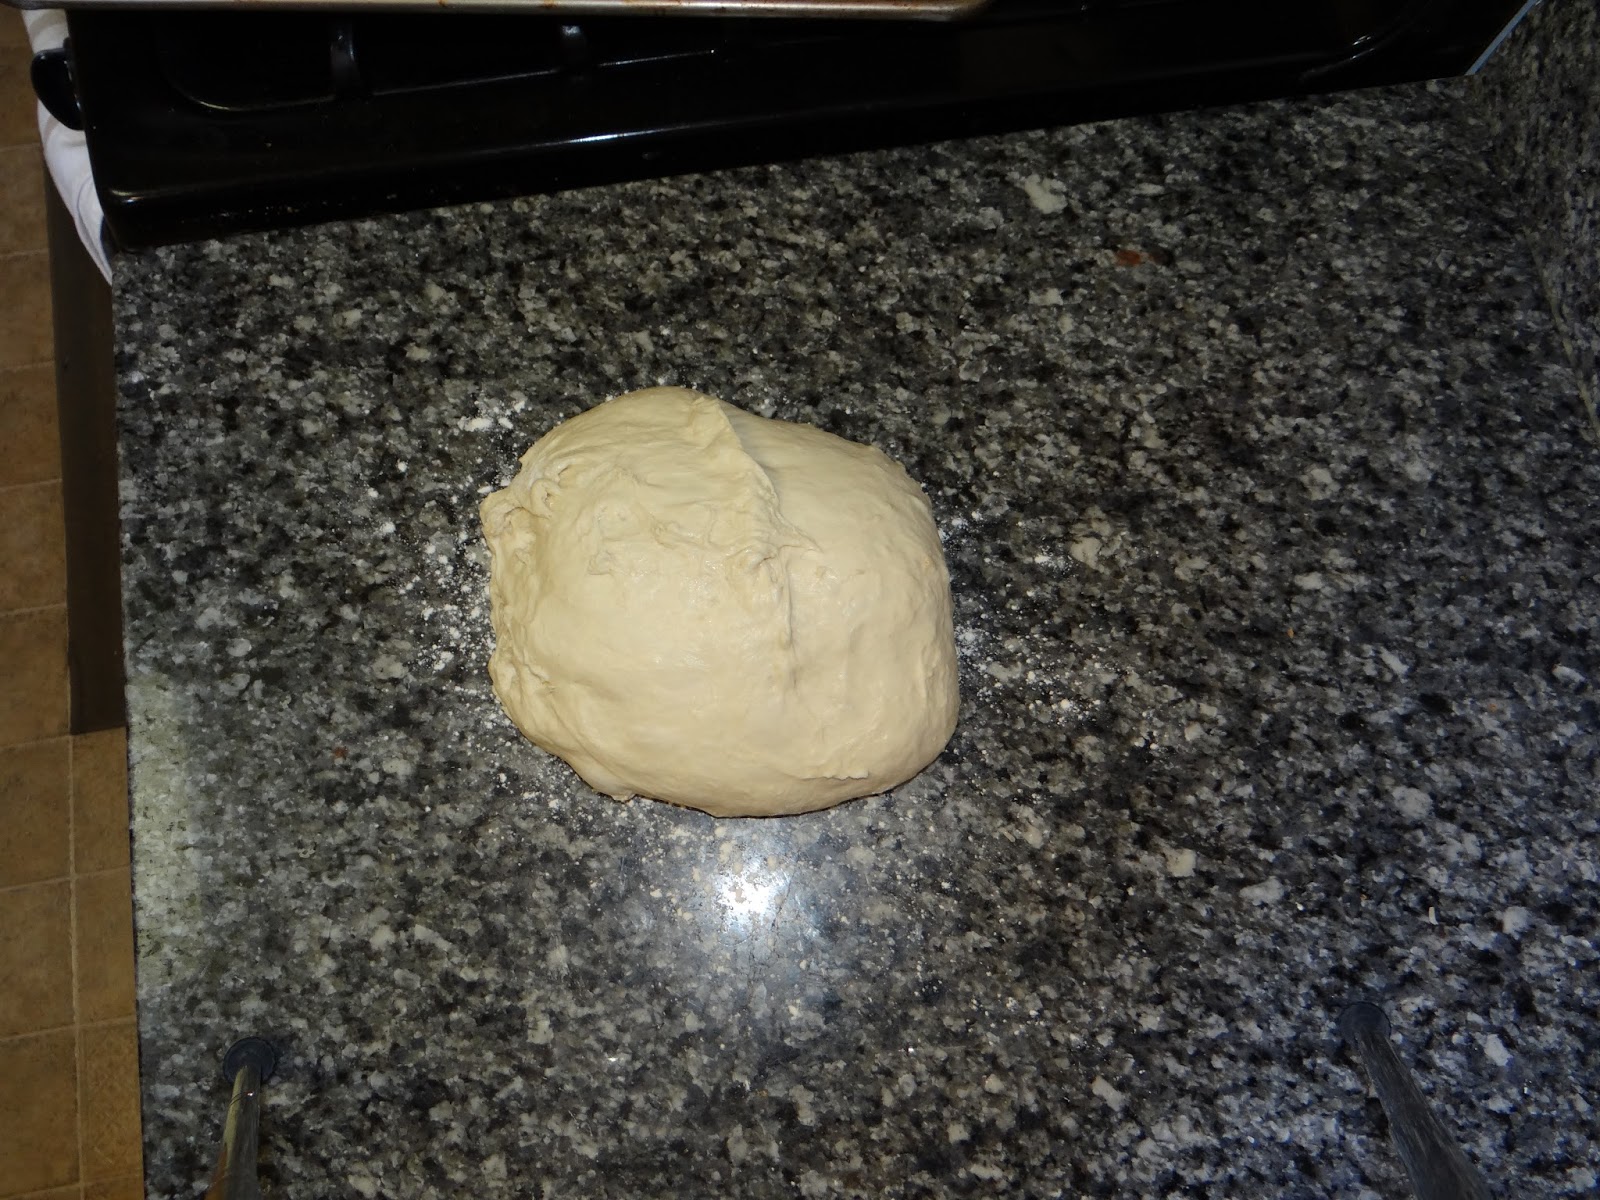
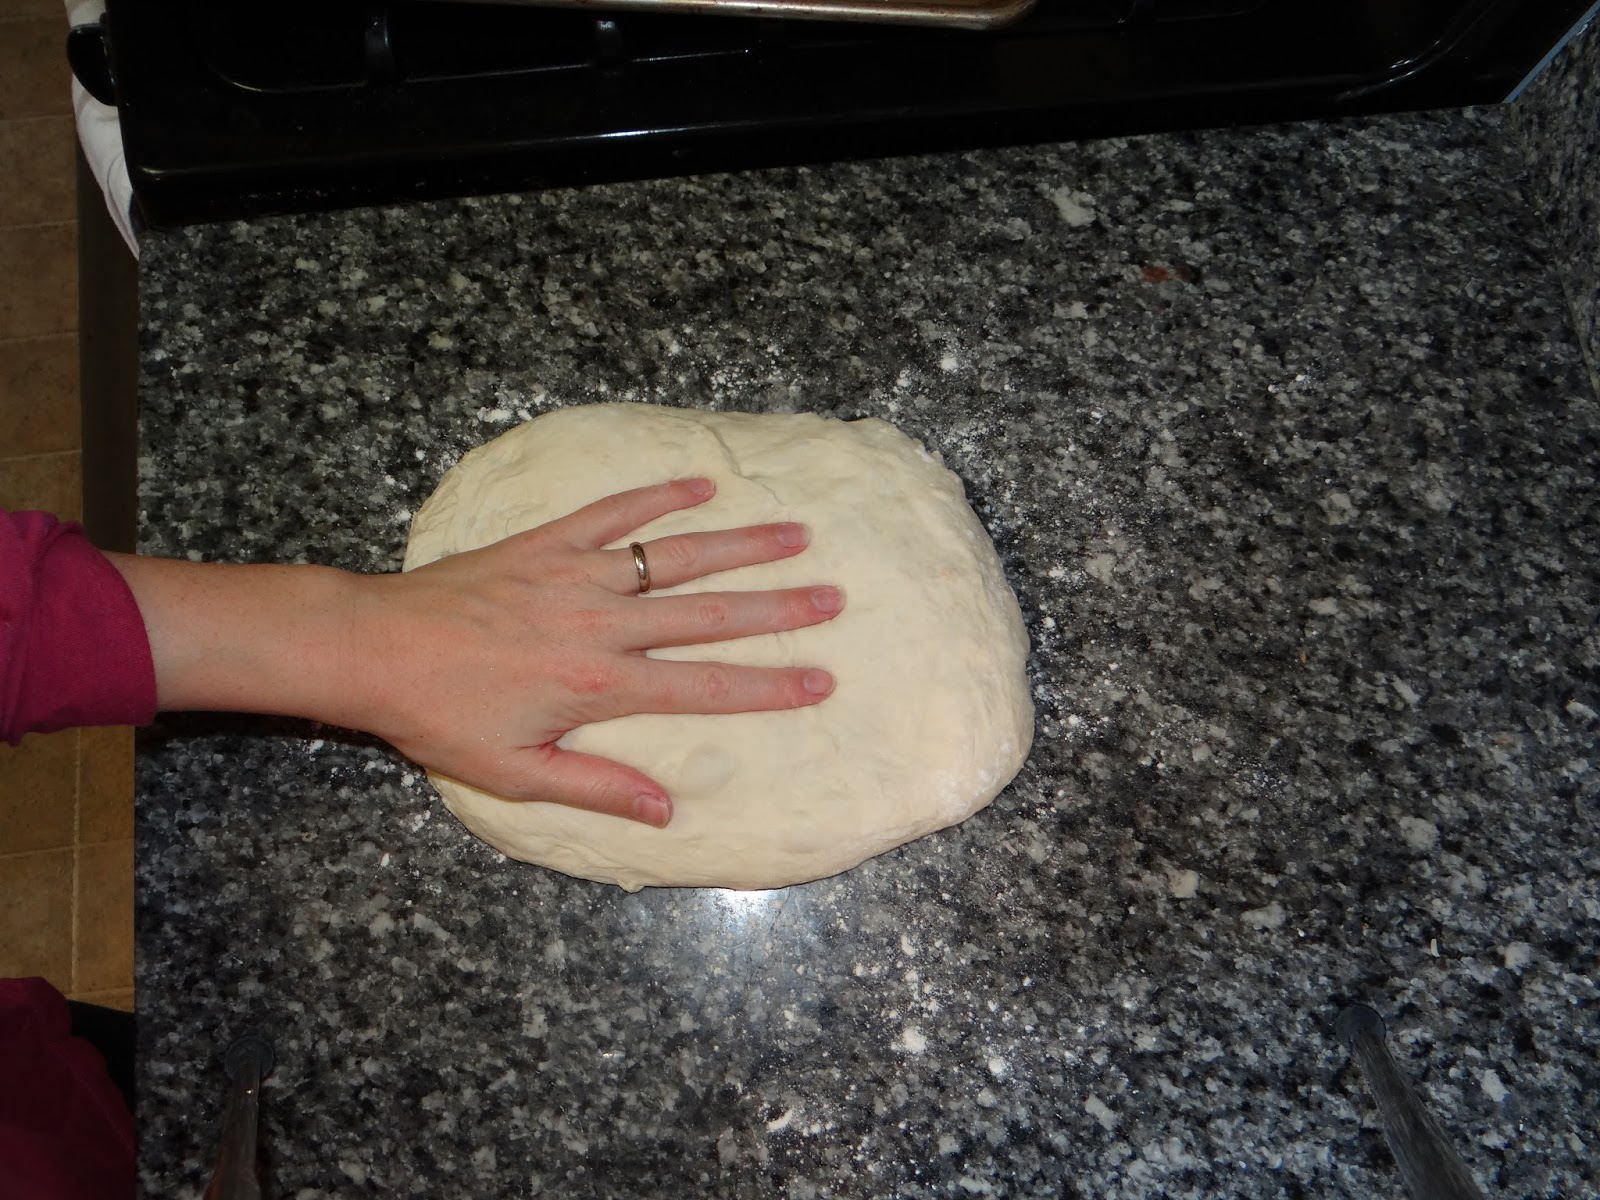
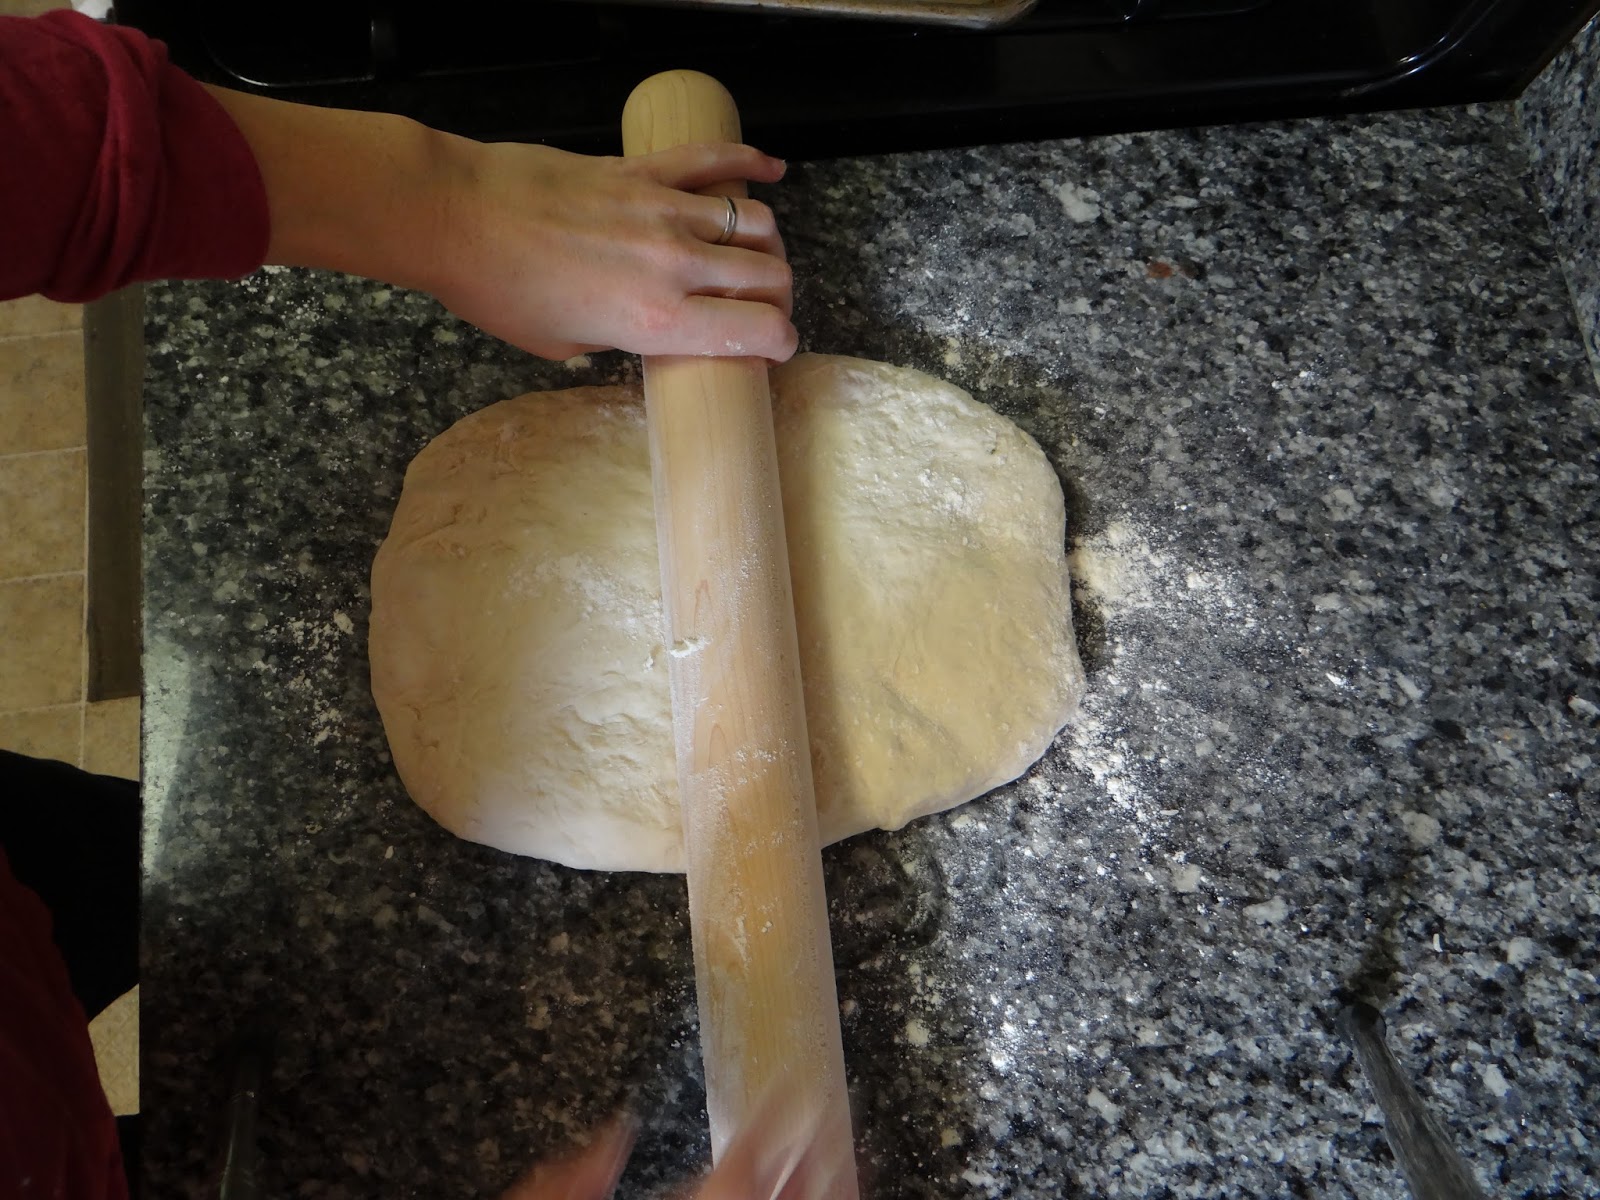
Some people don’t like kneading a dough that is sticky, which is why they keep adding more flour until it isn’t sticky anymore.  I get that – but you need to break the habit of adding flour during the kneading process unless the dough is truly way too wet and you can’t handle the dough (think sliding through your fingers wet). The way to get around the problem of sticky dough is letting the dough rest, and then using a series of stretches and folds instead of kneading dough the old-fashioned way.  By letting the dough rest, you allow the flour to absorb more of the water and kick-start the gluten formation, so your dough isn’t as sticky as if you just mixed together the ingredients and immediately started kneading.

Also, if I do have to knead my dough and there’s no getting around it, I use a clean counter, or as little flour as possible.  I still let the dough rest for 10 minutes before kneading.  Another option if your dough is still sticky after the rest is to coat your hands lightly with oil or water.

If you need a tutorial on stretching and folding, go here.

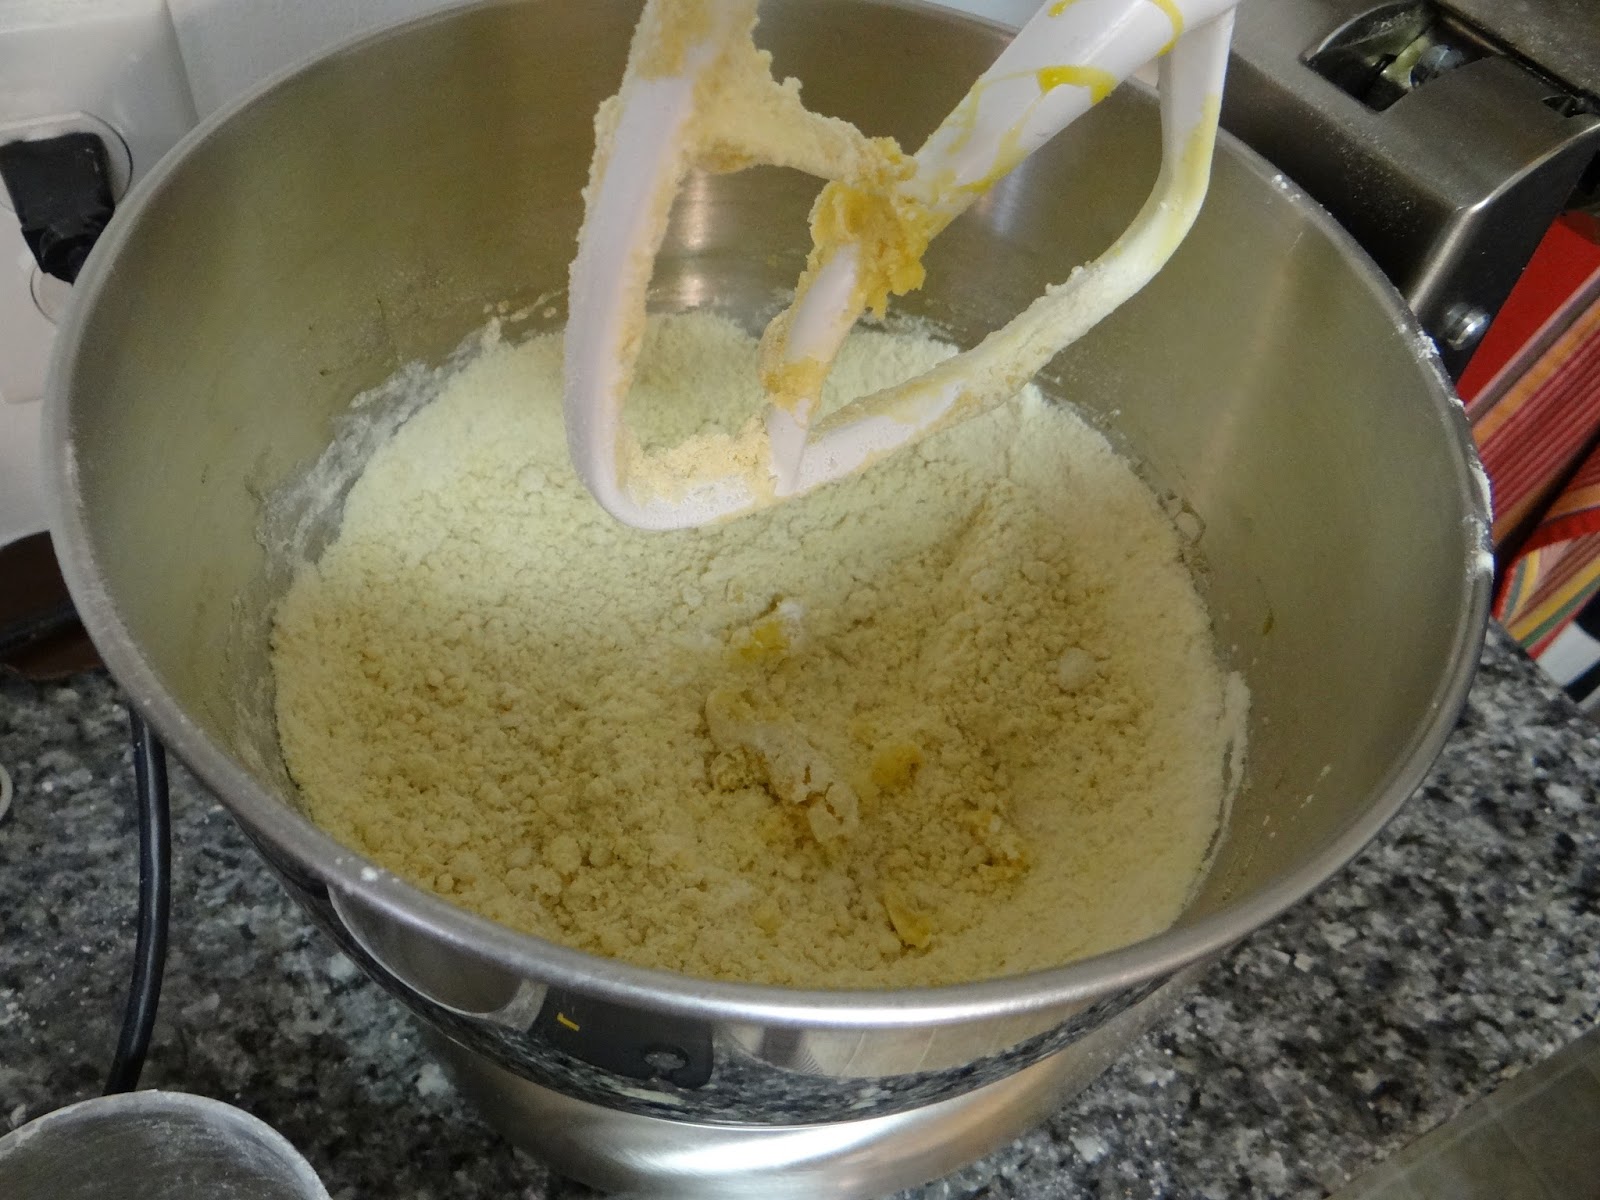
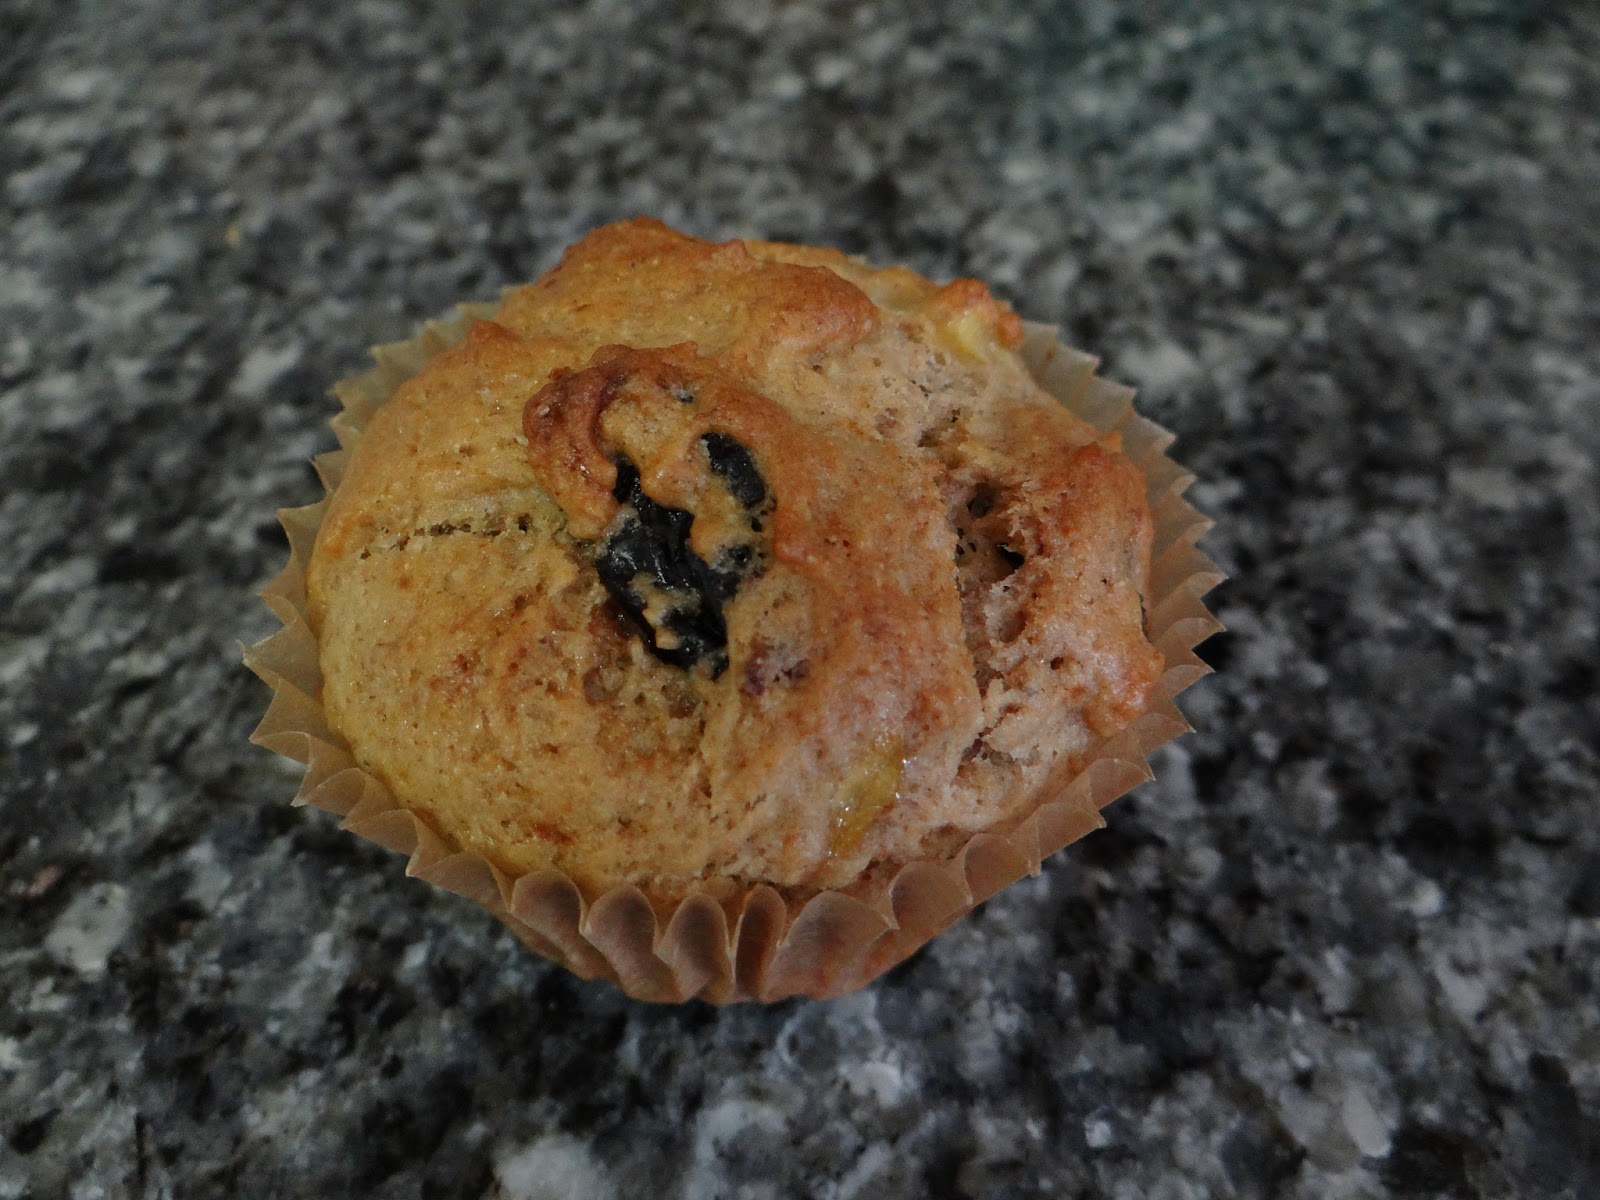
4. Adding more egg to a dry muffin batter instead of more oil.  When it’s been mixed, muffin batter should be about the consistency of oatmeal.  But if it’s too dry, you need to add more liquid.  Which one to add?  At one time, I decided to add another egg.  Big mistake! Because muffins are a quick bread, they don’t rely on gluten for their structure.  They rely on egg proteins – proteins that coagulate when they bake.  They become rubbery and make for chewy muffins.  Instead, keep adding more oil until the batter is the right consistency.  Oil is a fat, and softens your dough rather than adding to the structure.  Don’t worry, muffins don’t need as much structure as bread dough.
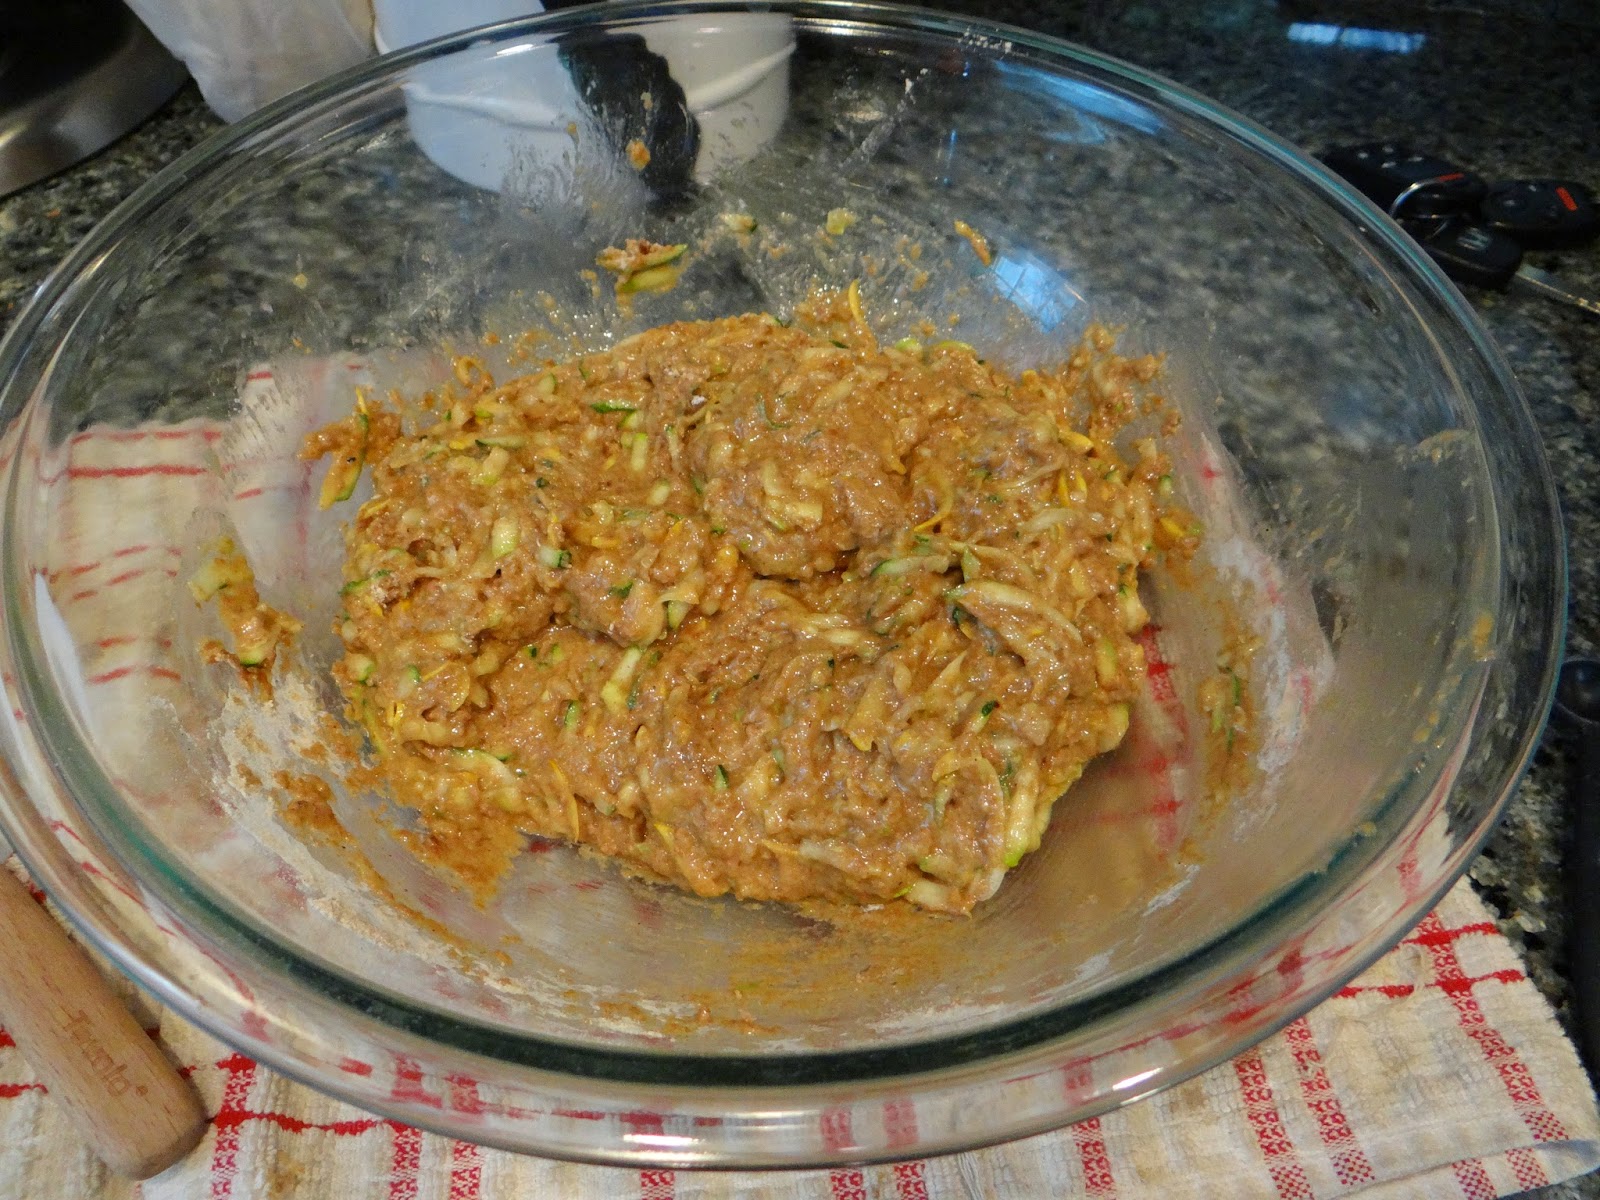
Too dry


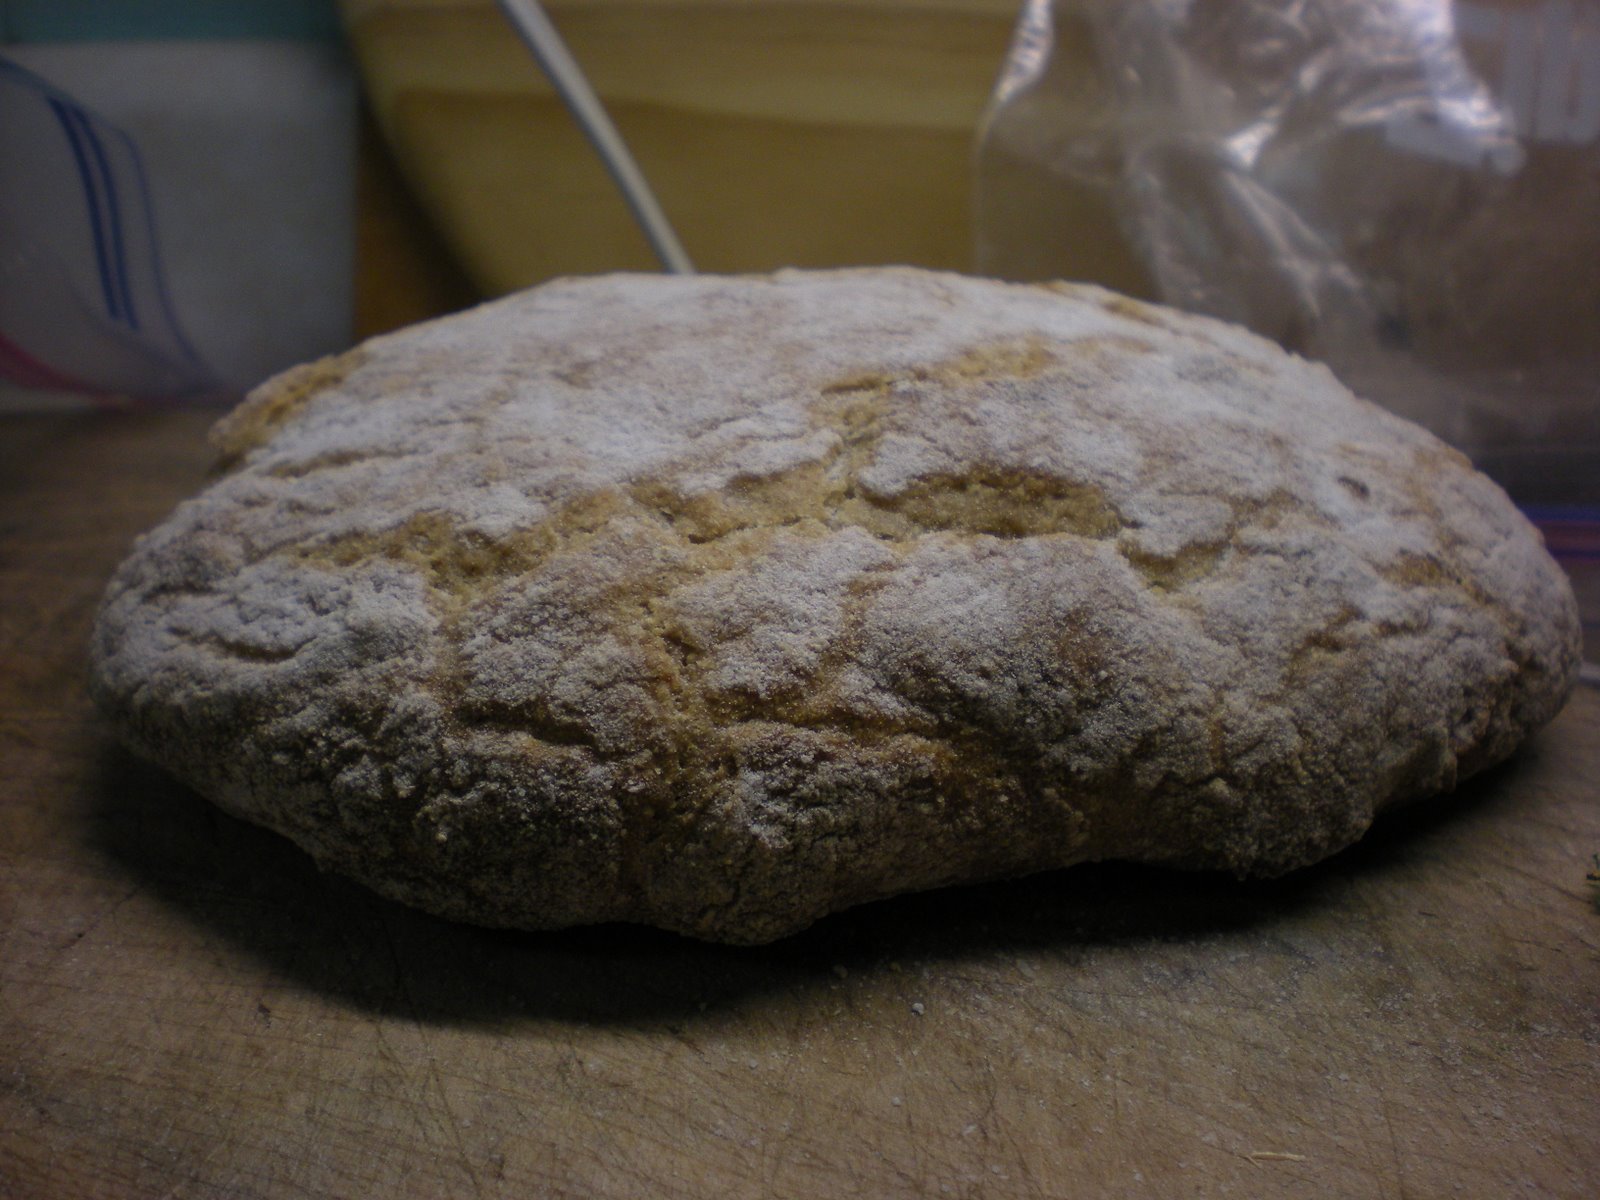
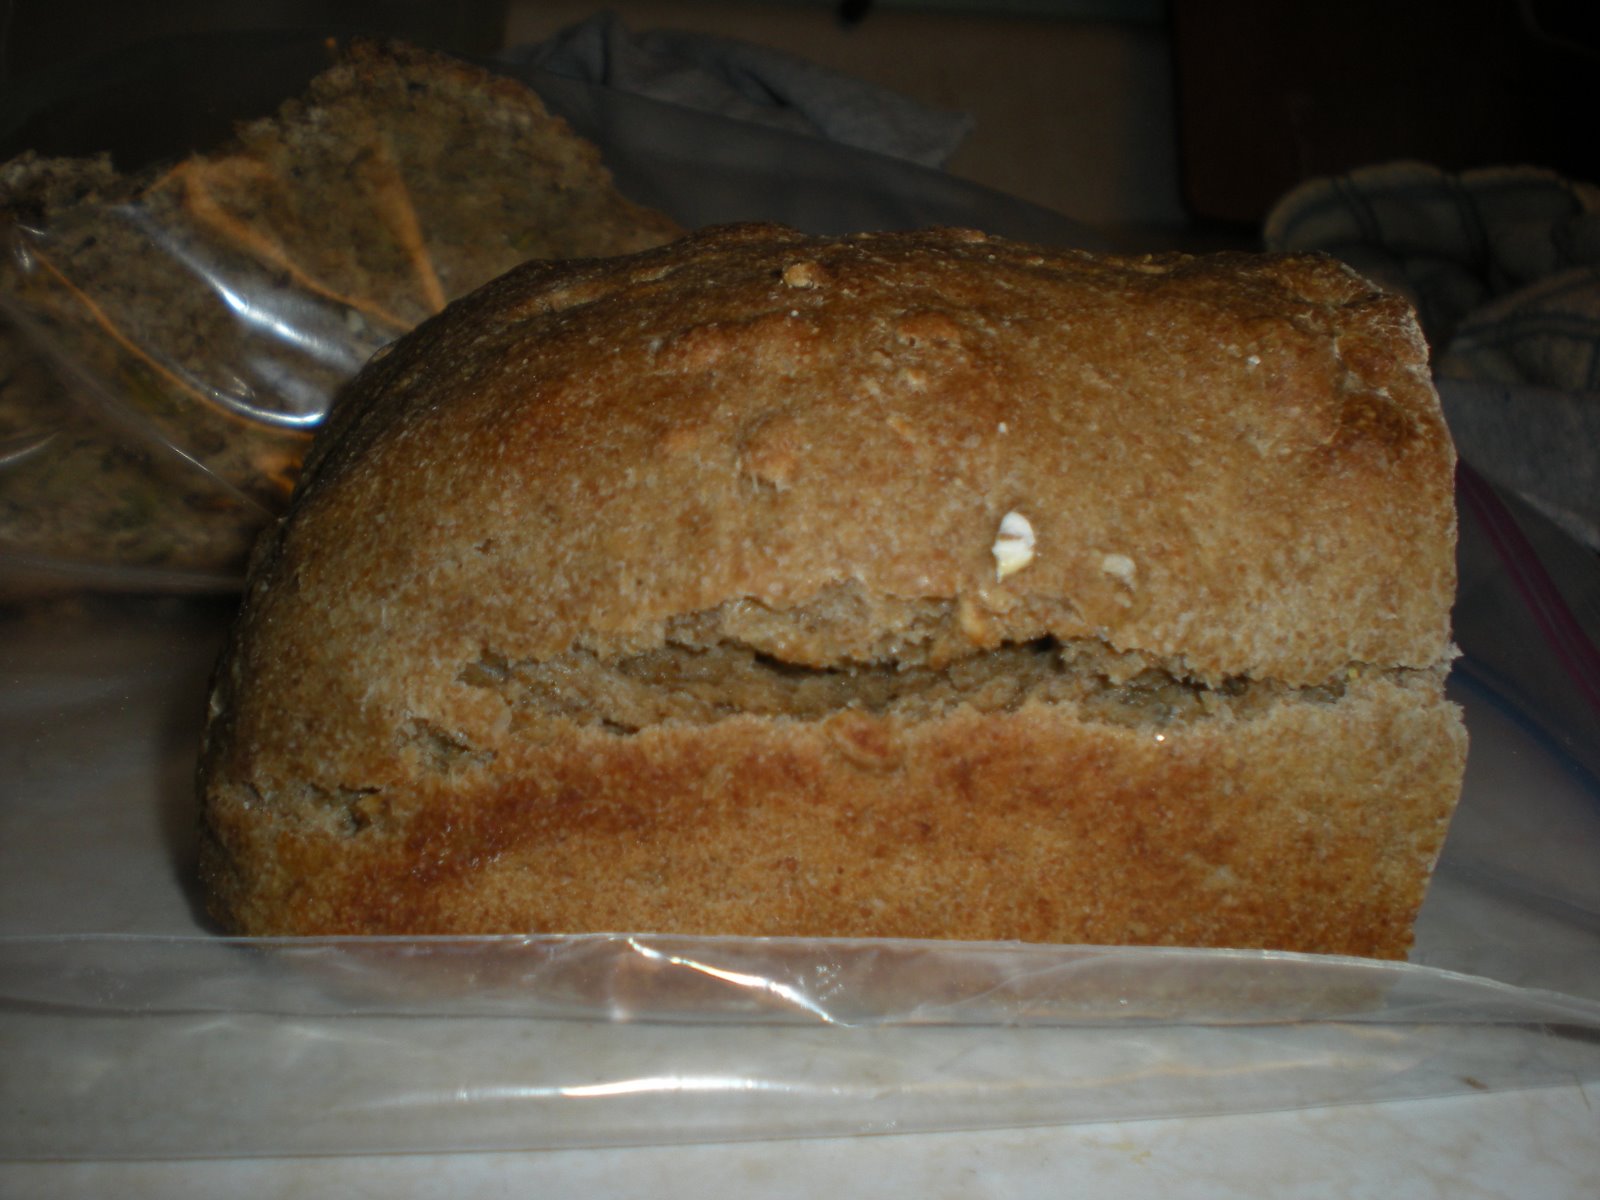
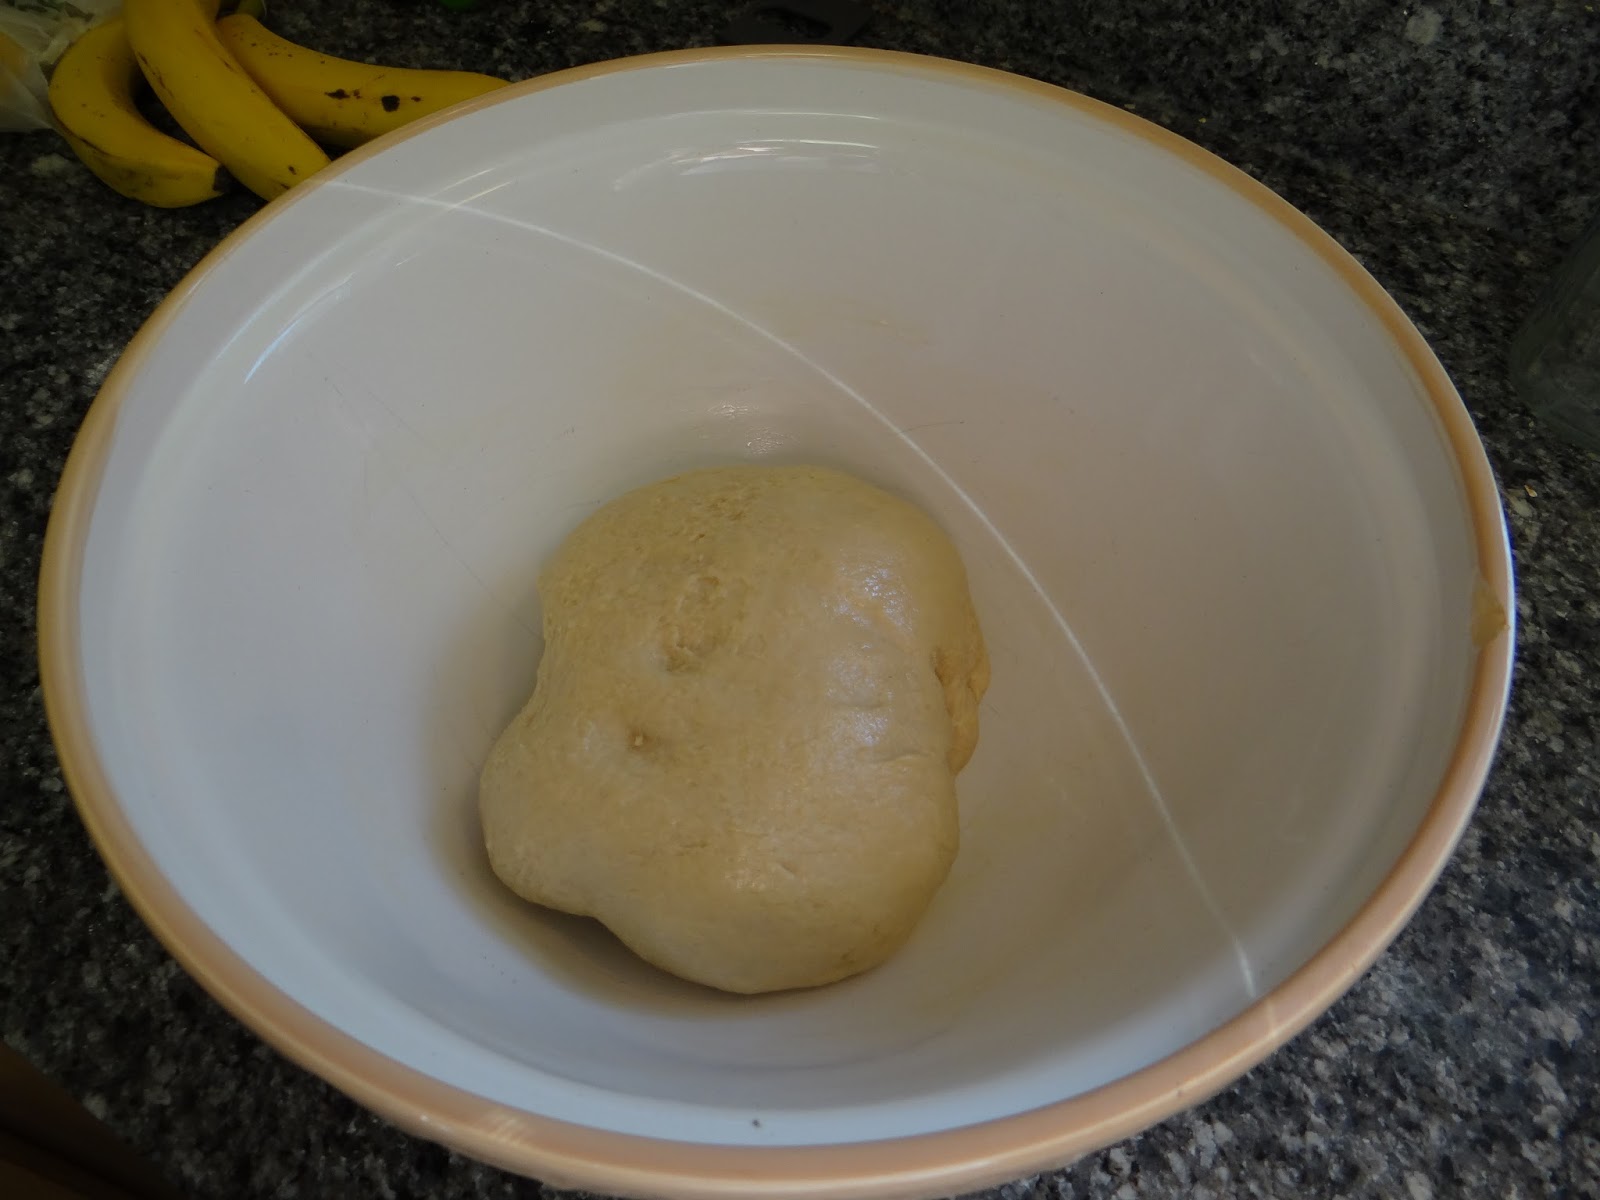
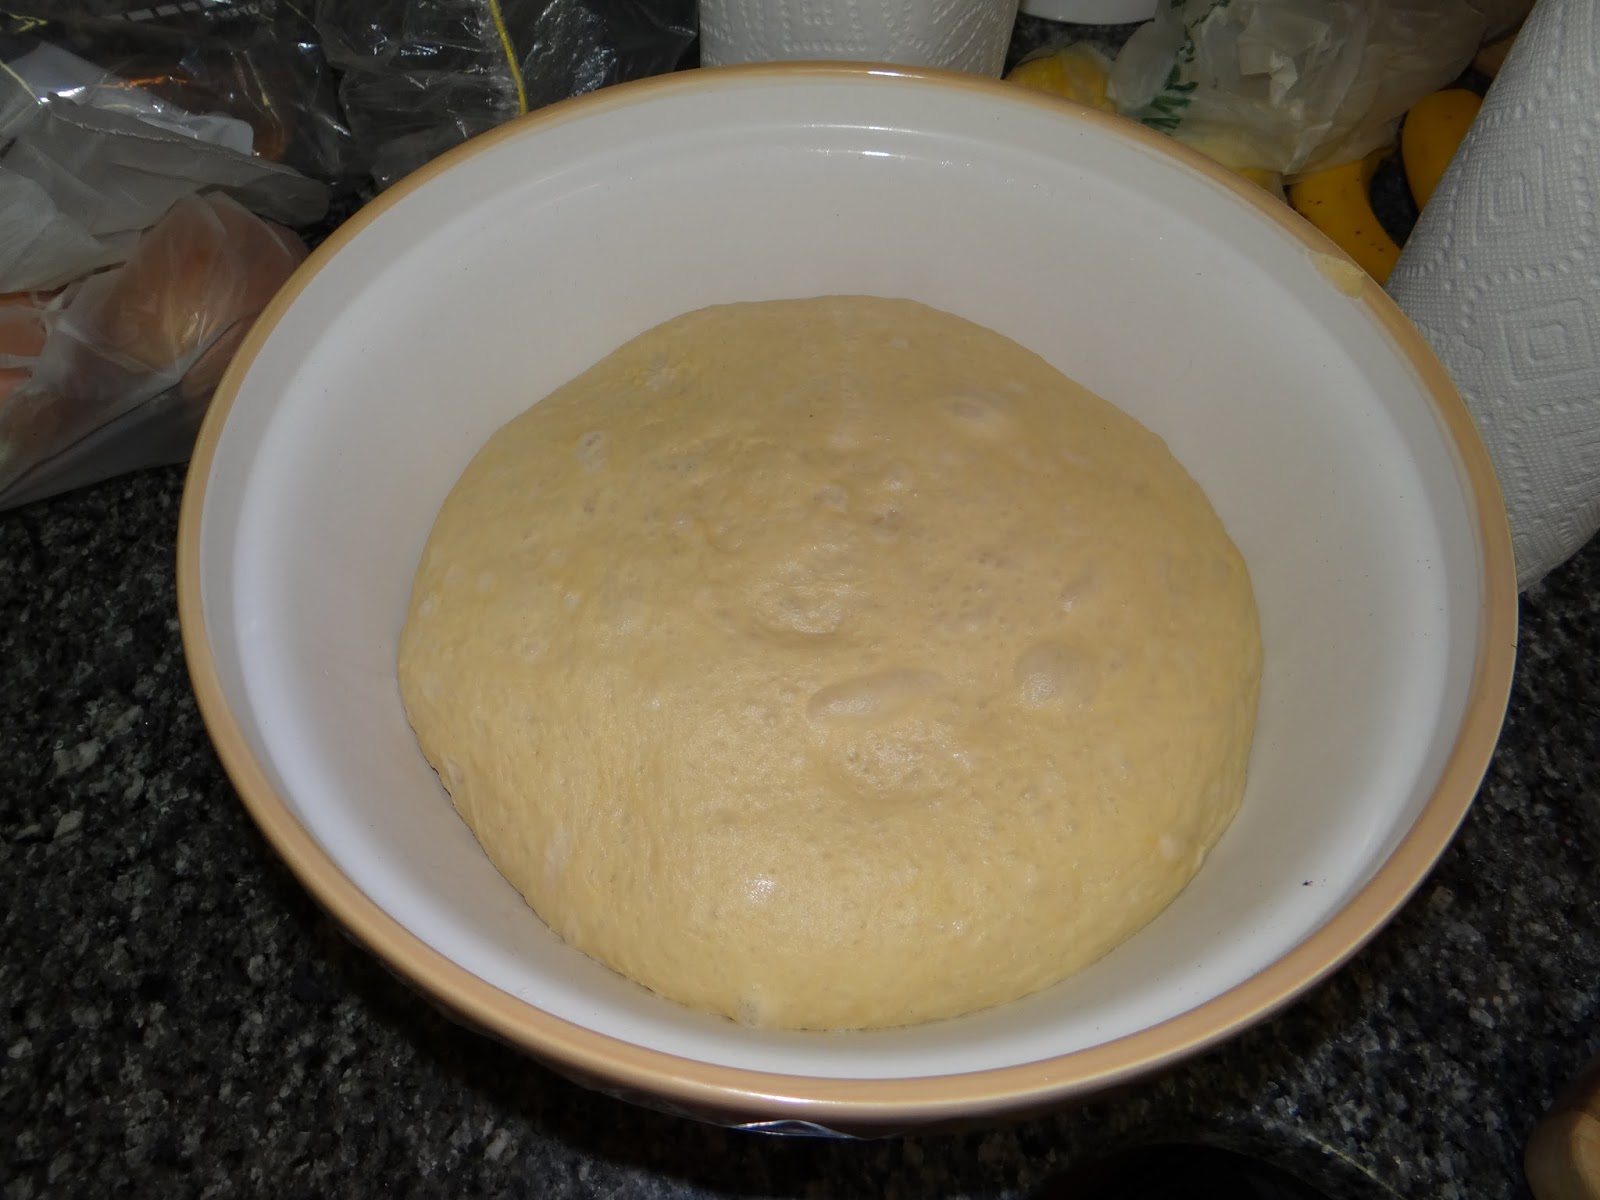
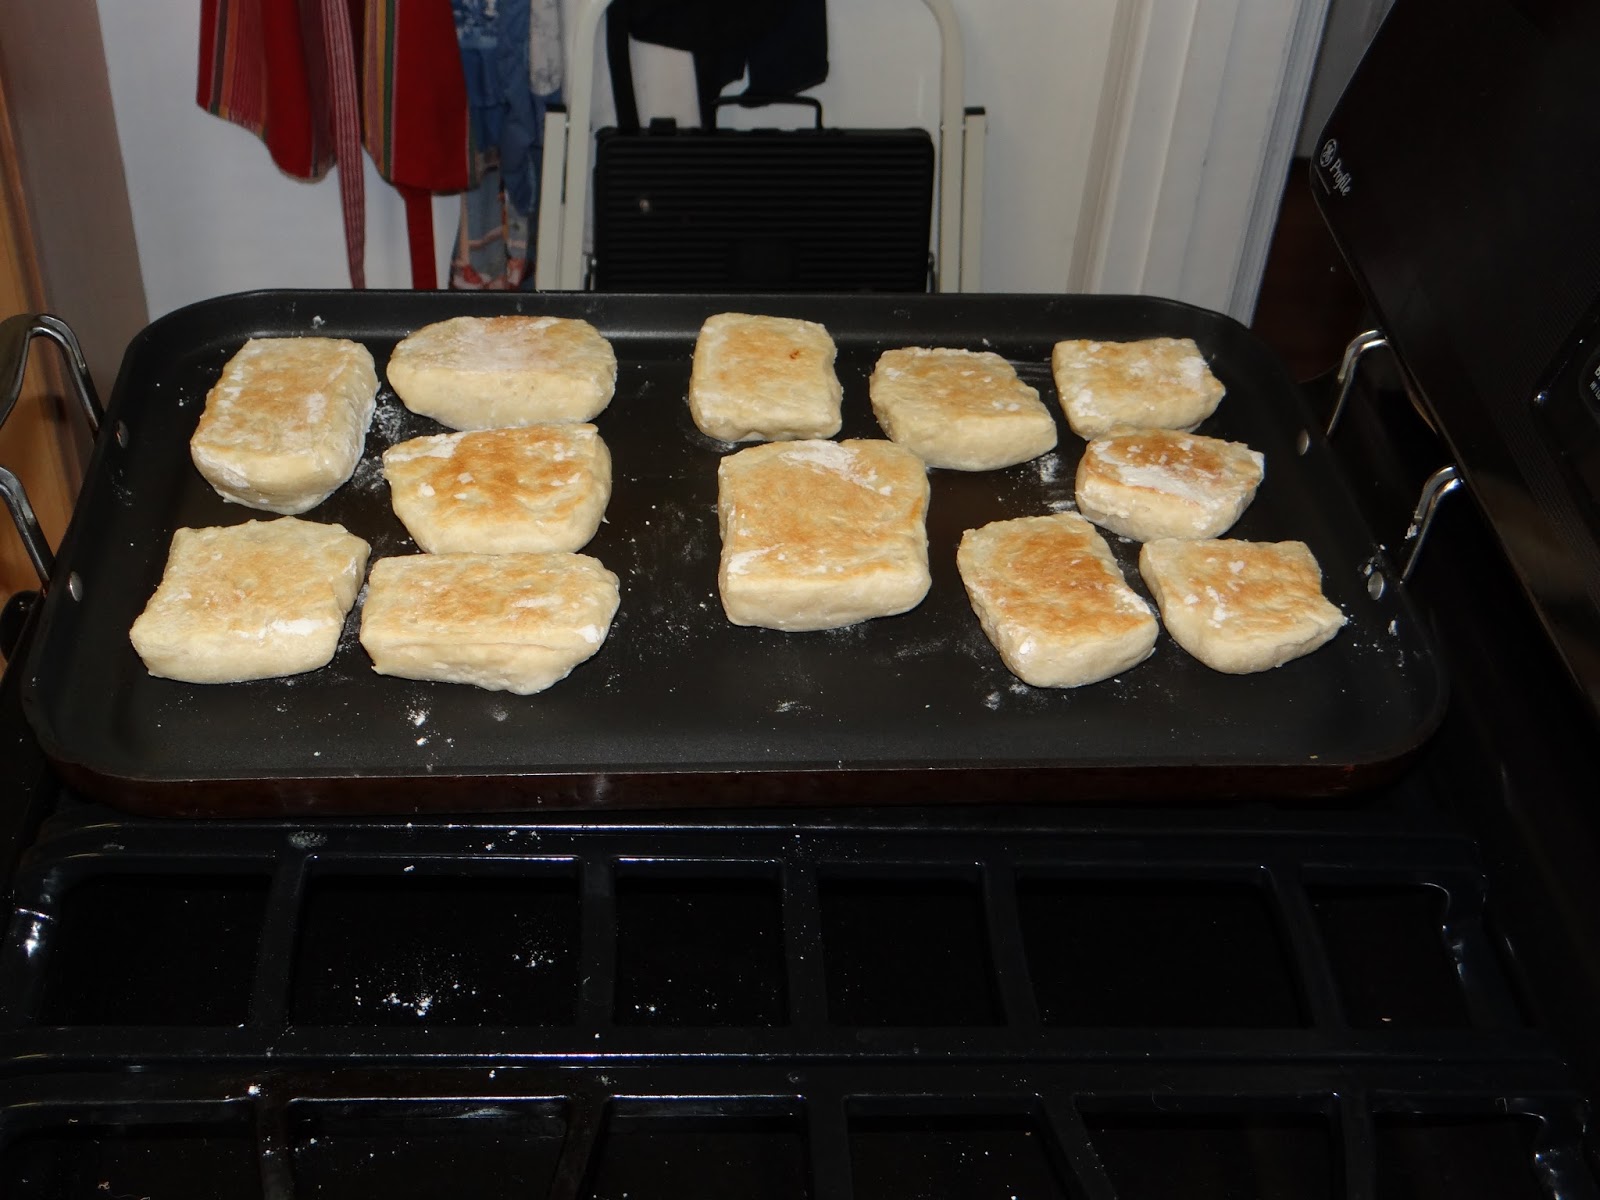
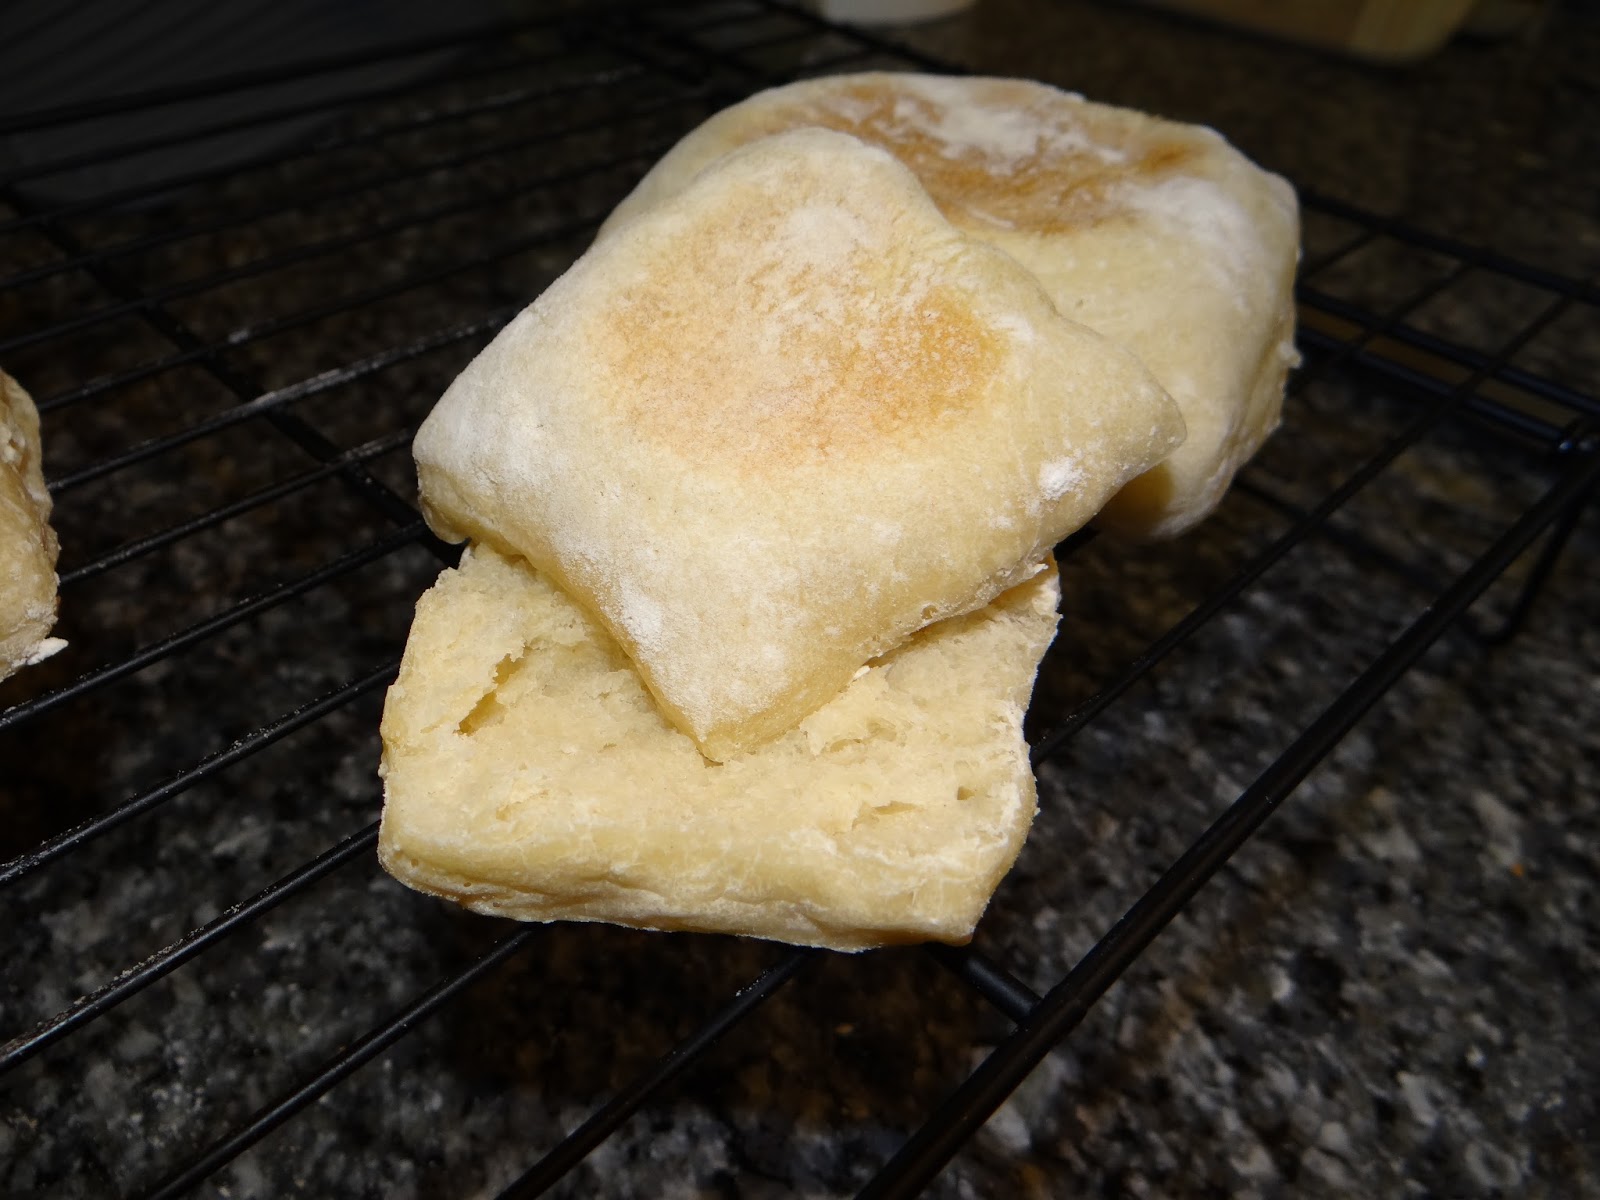
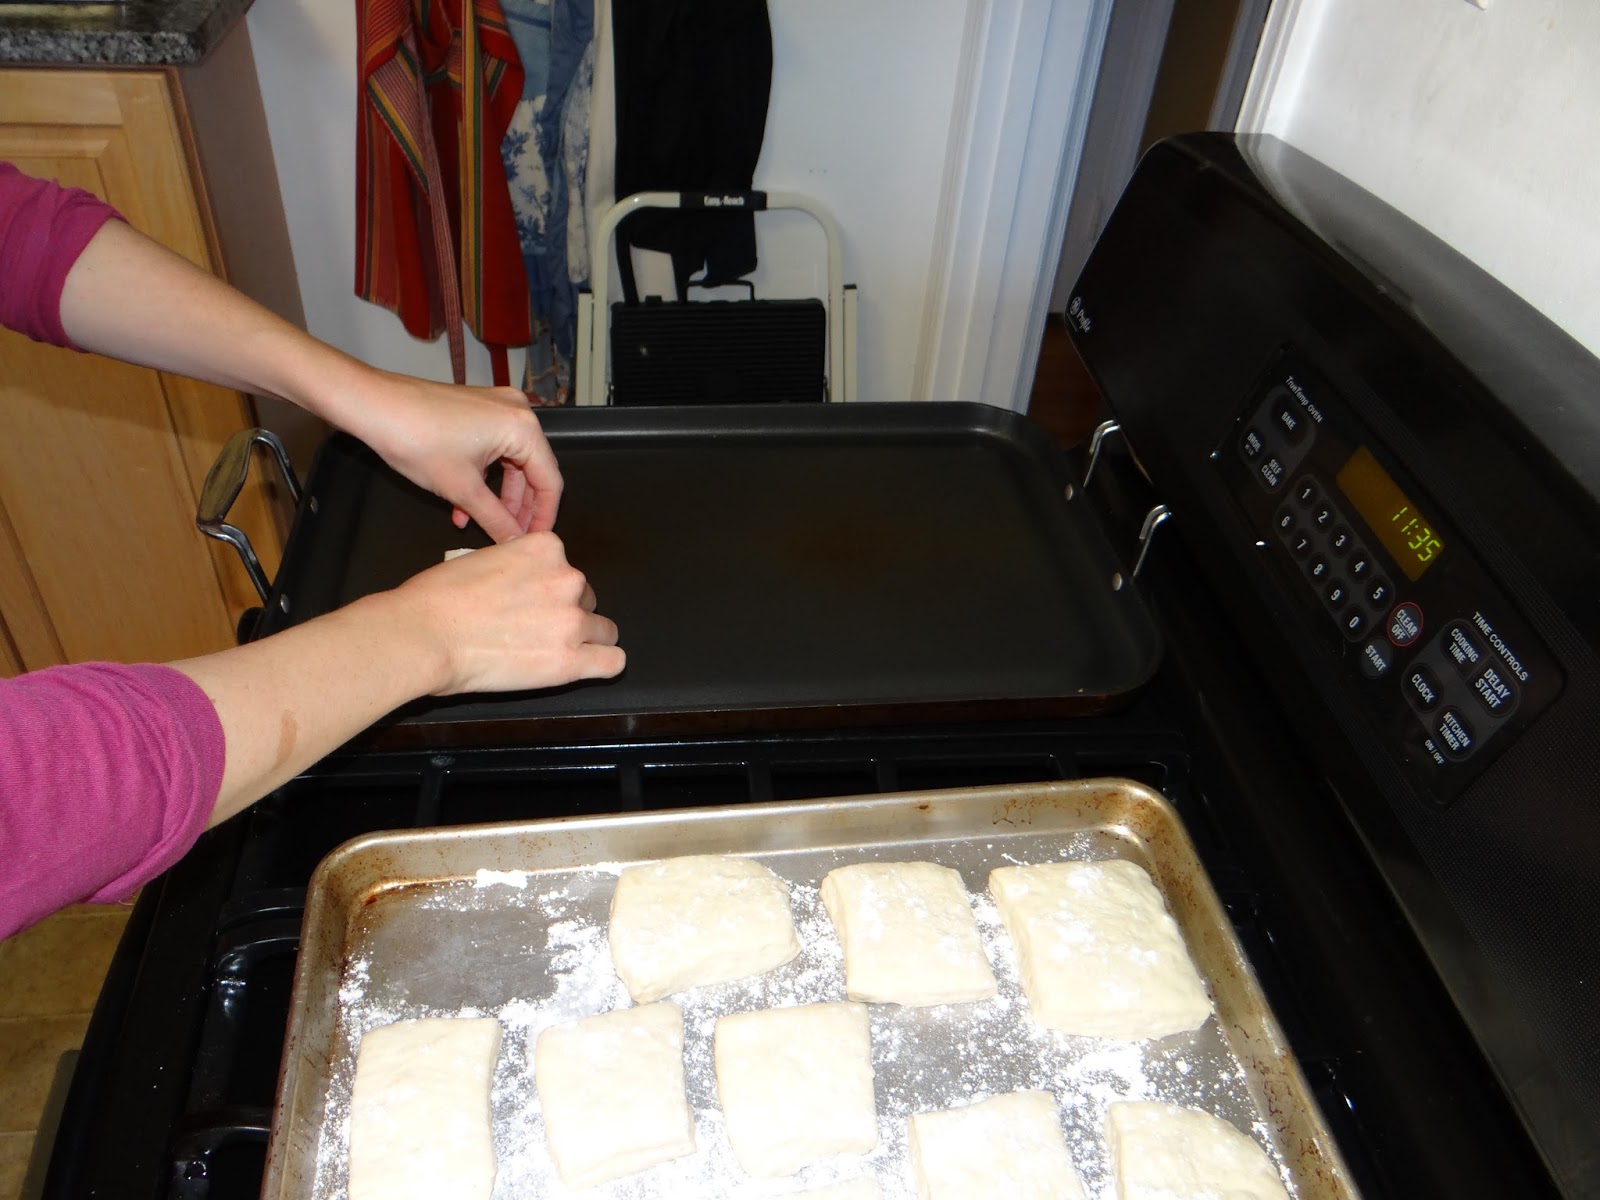
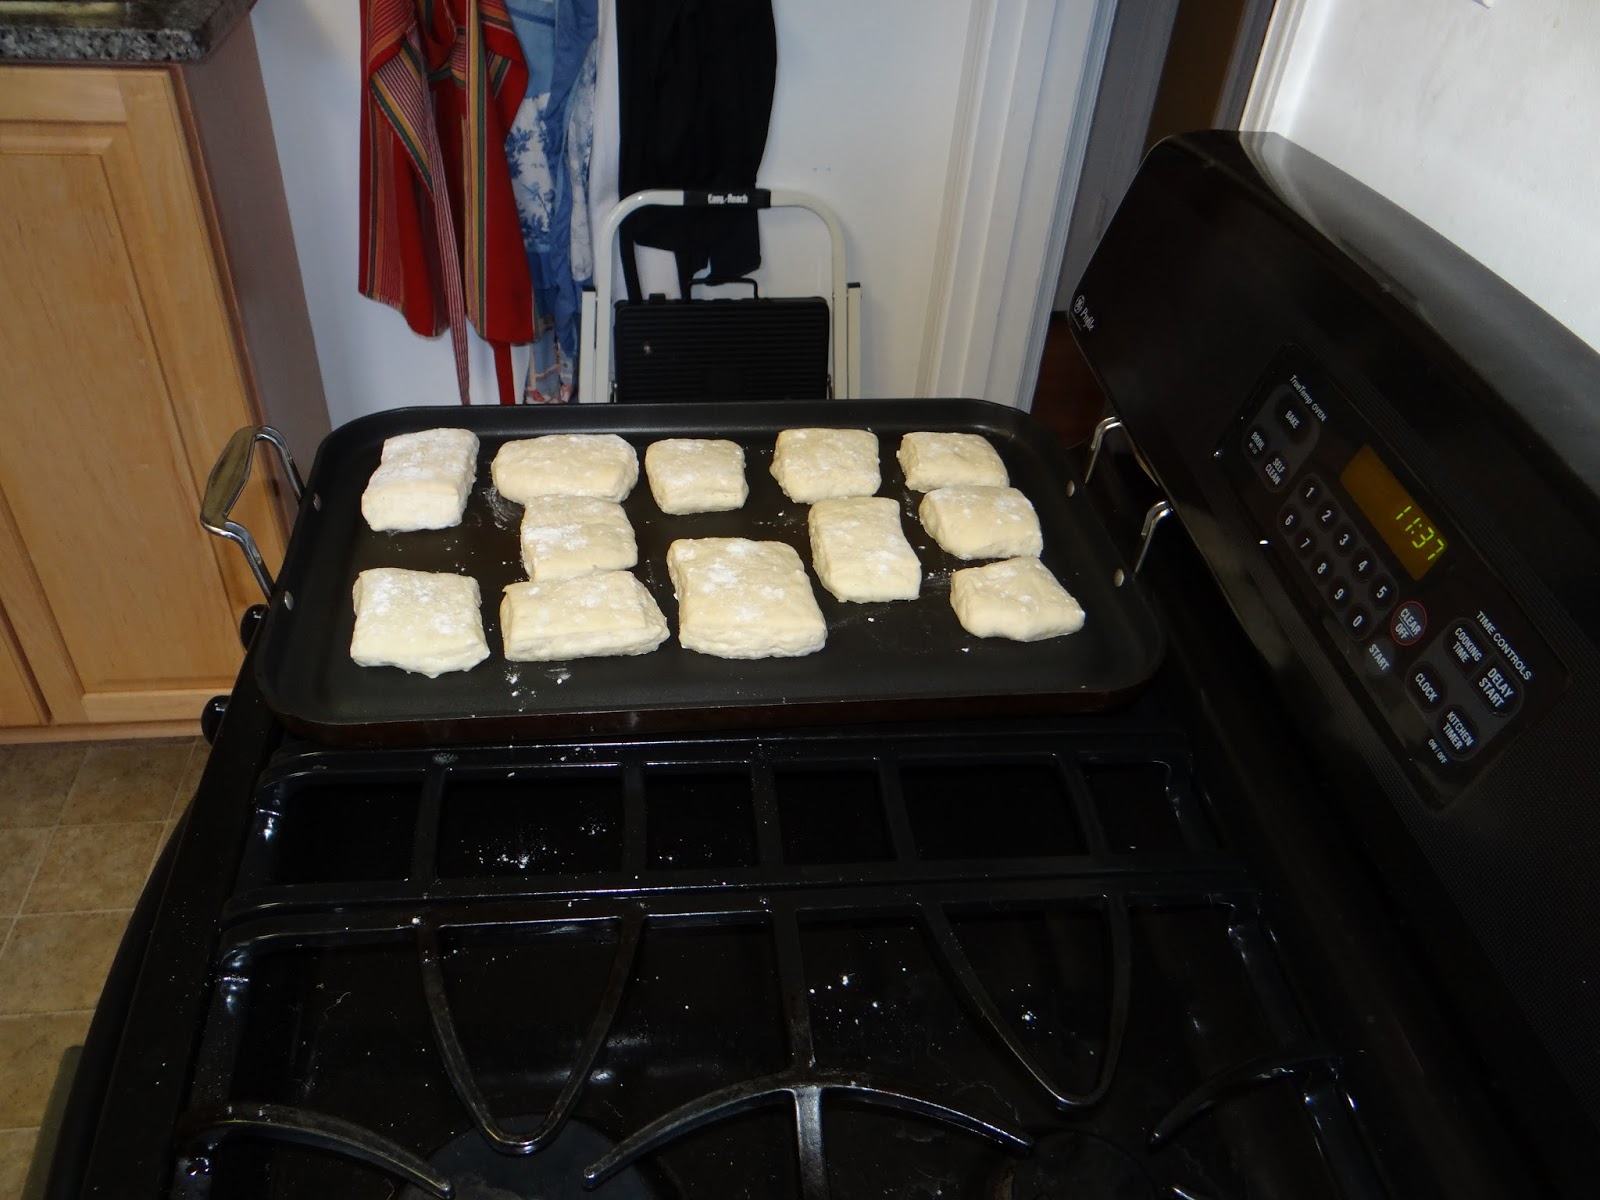
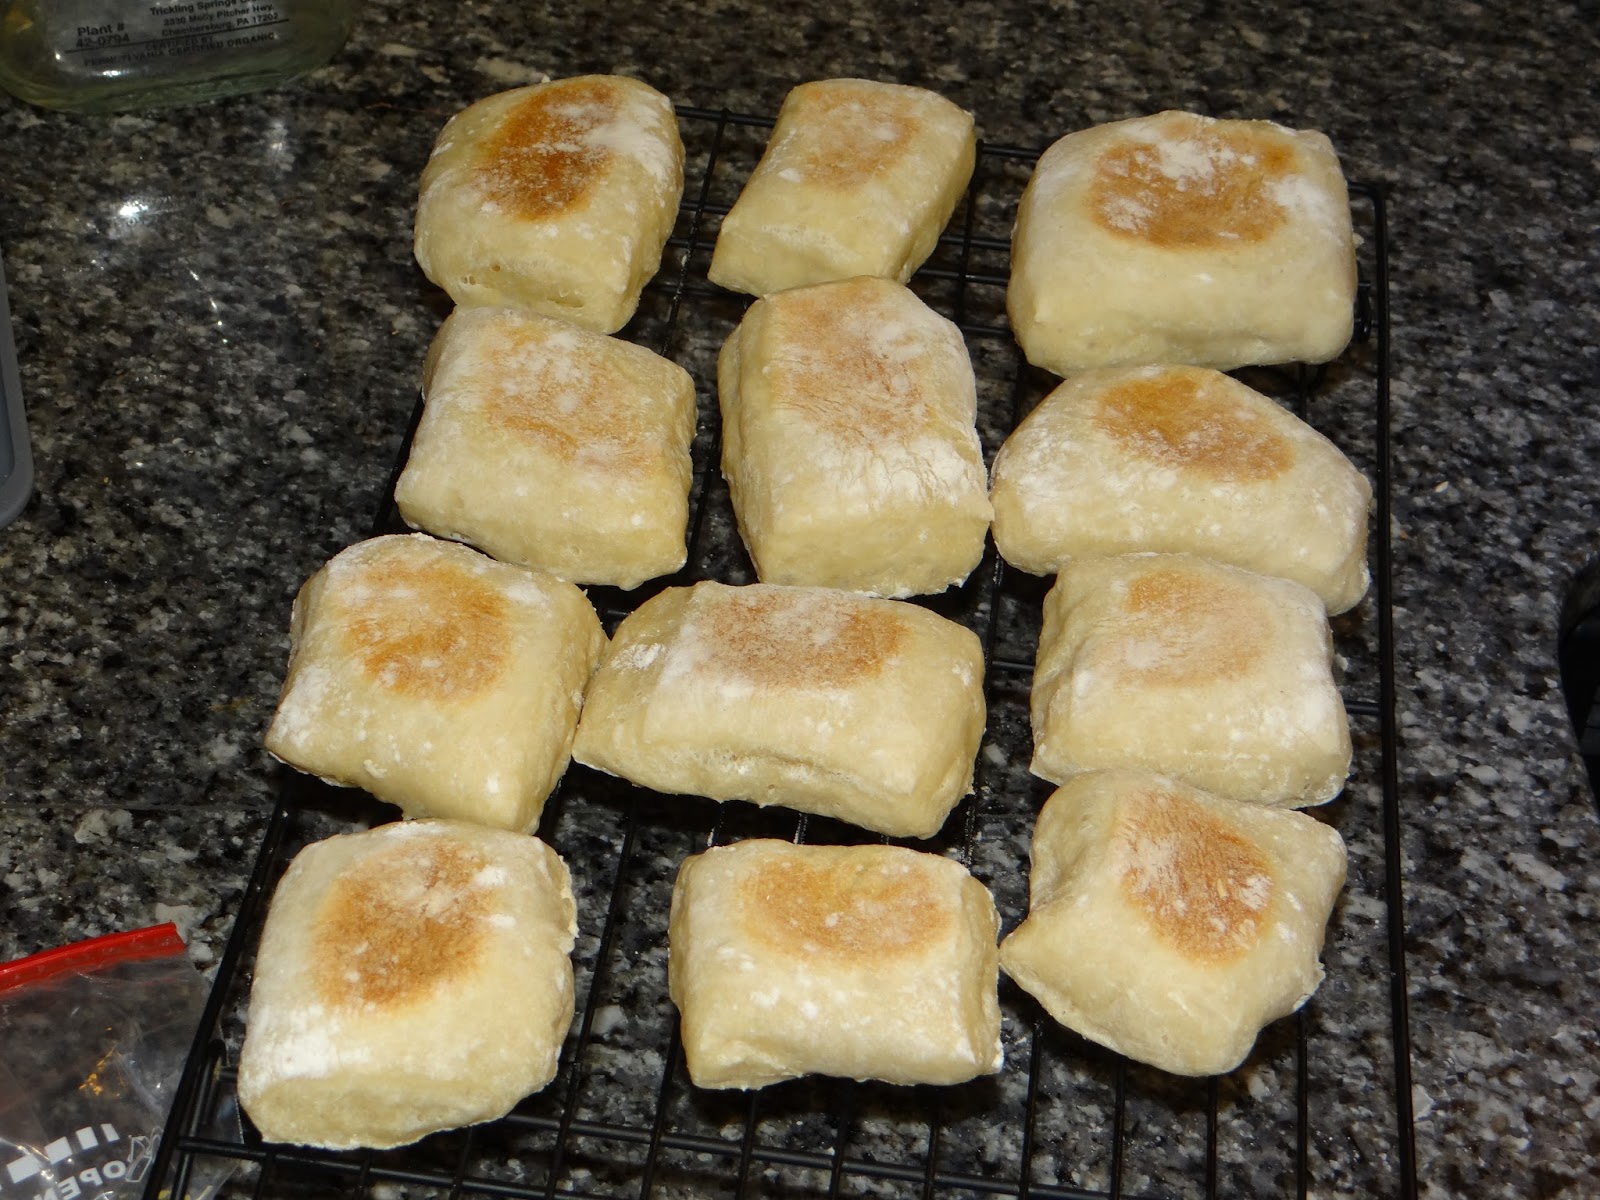
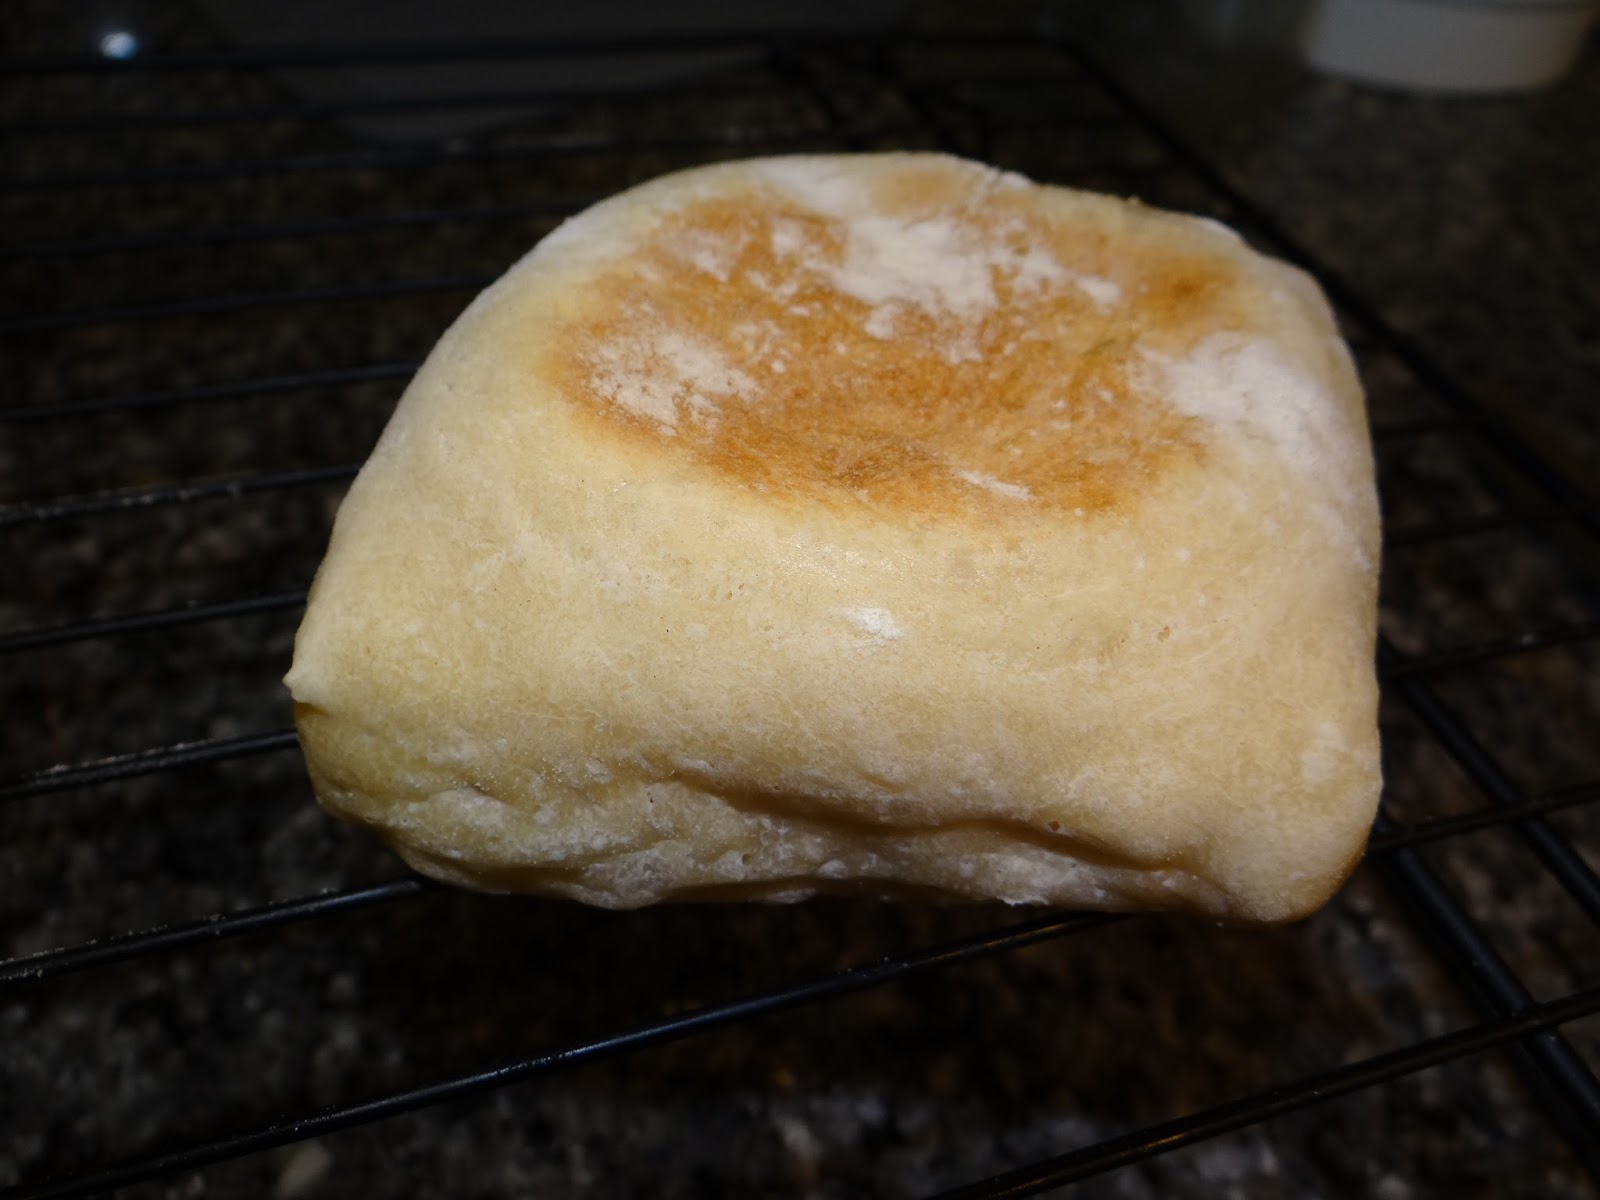
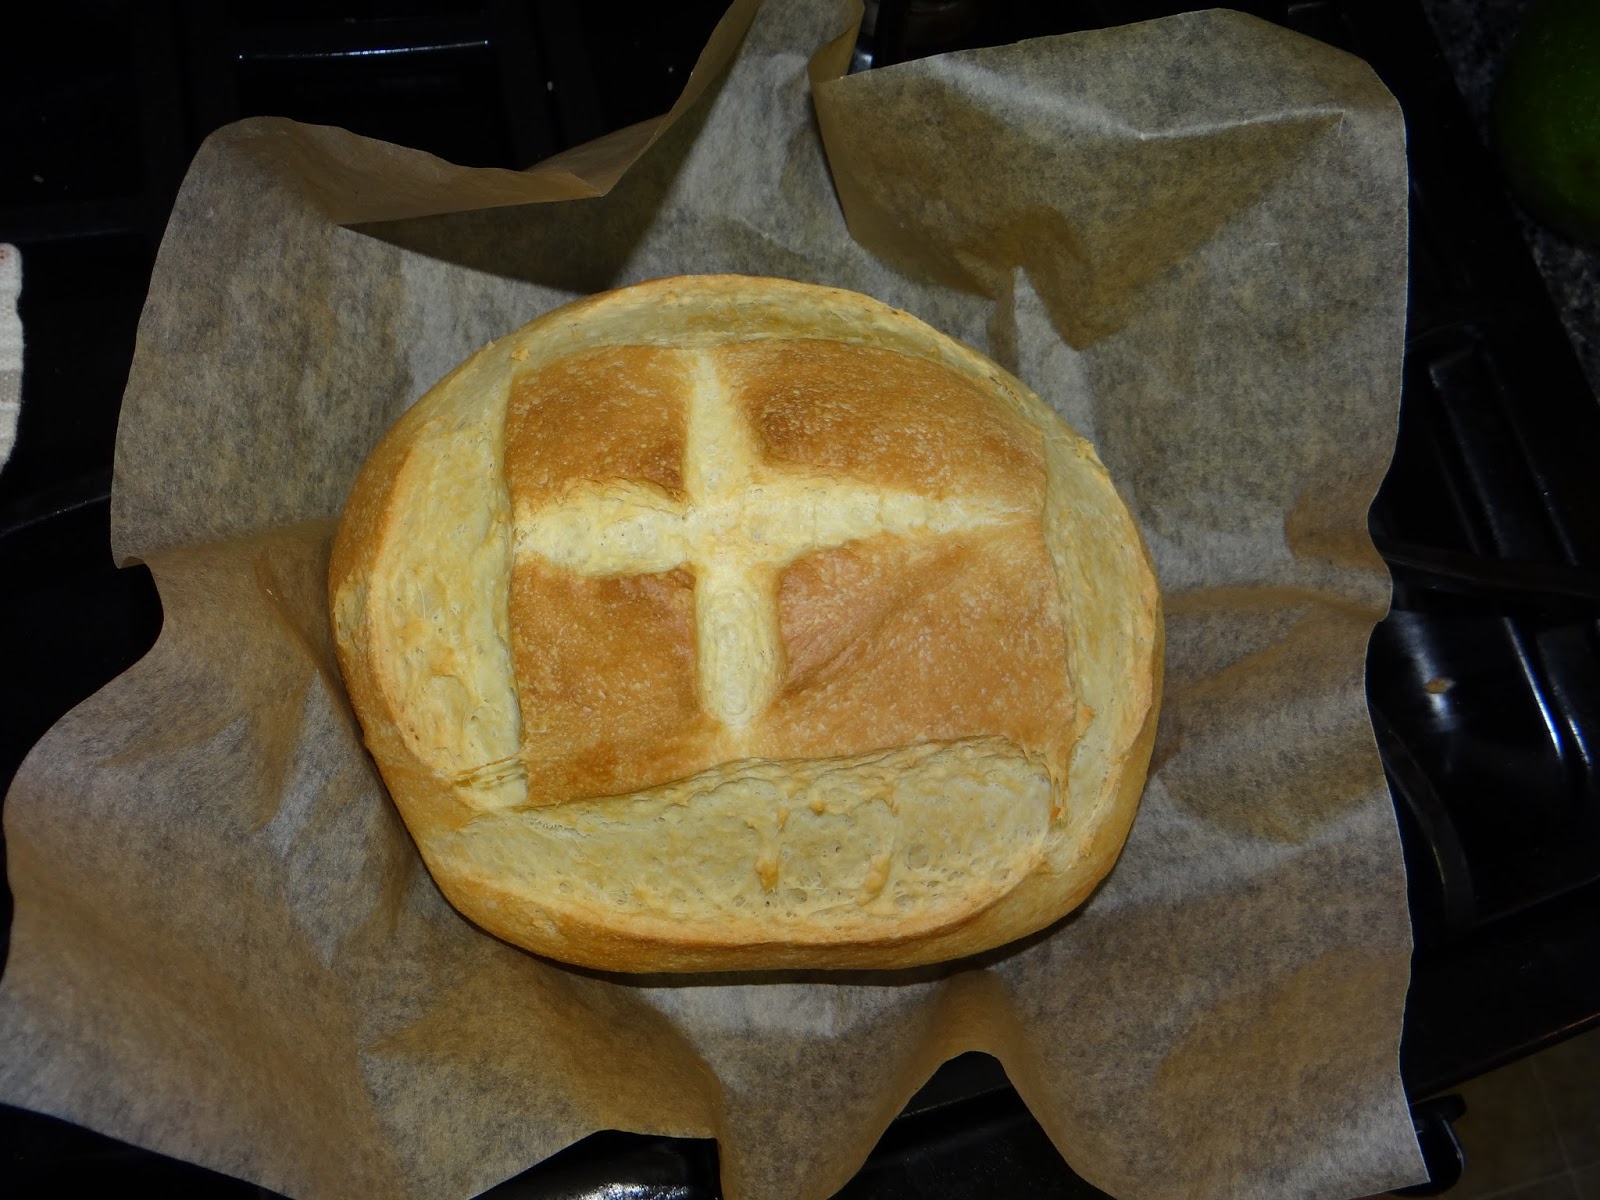
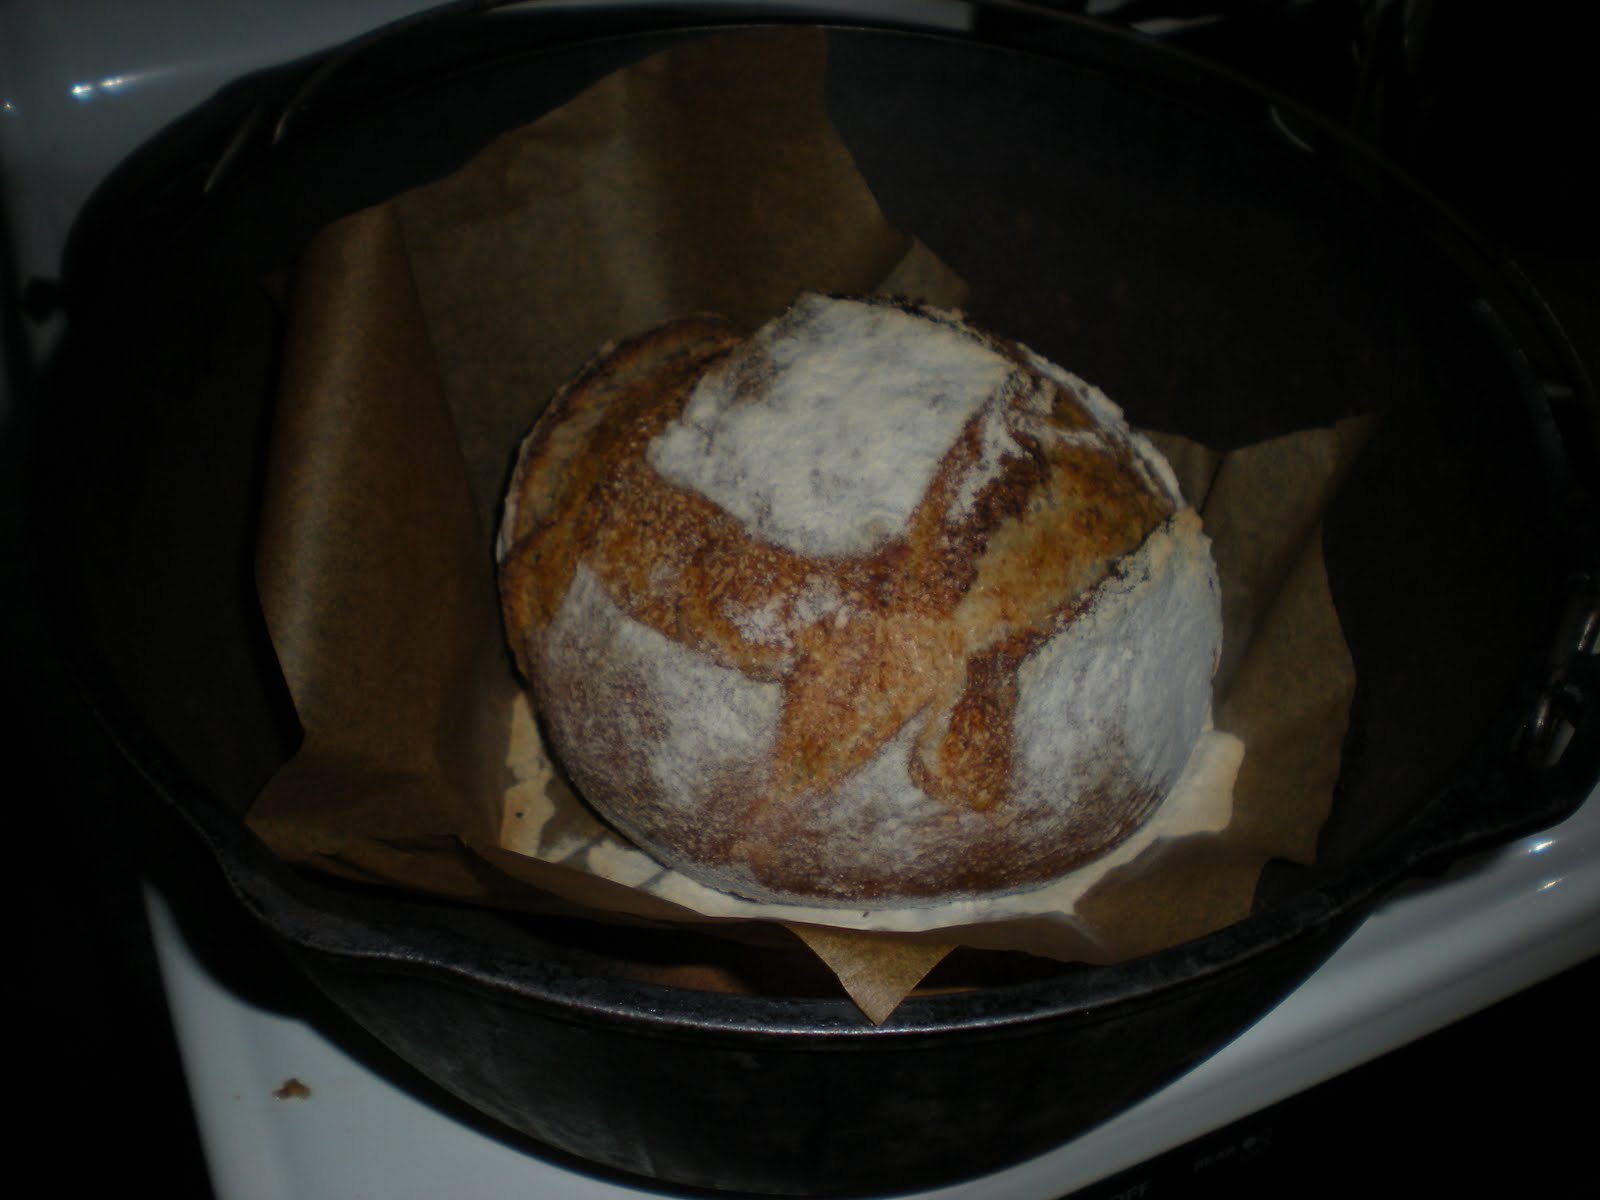
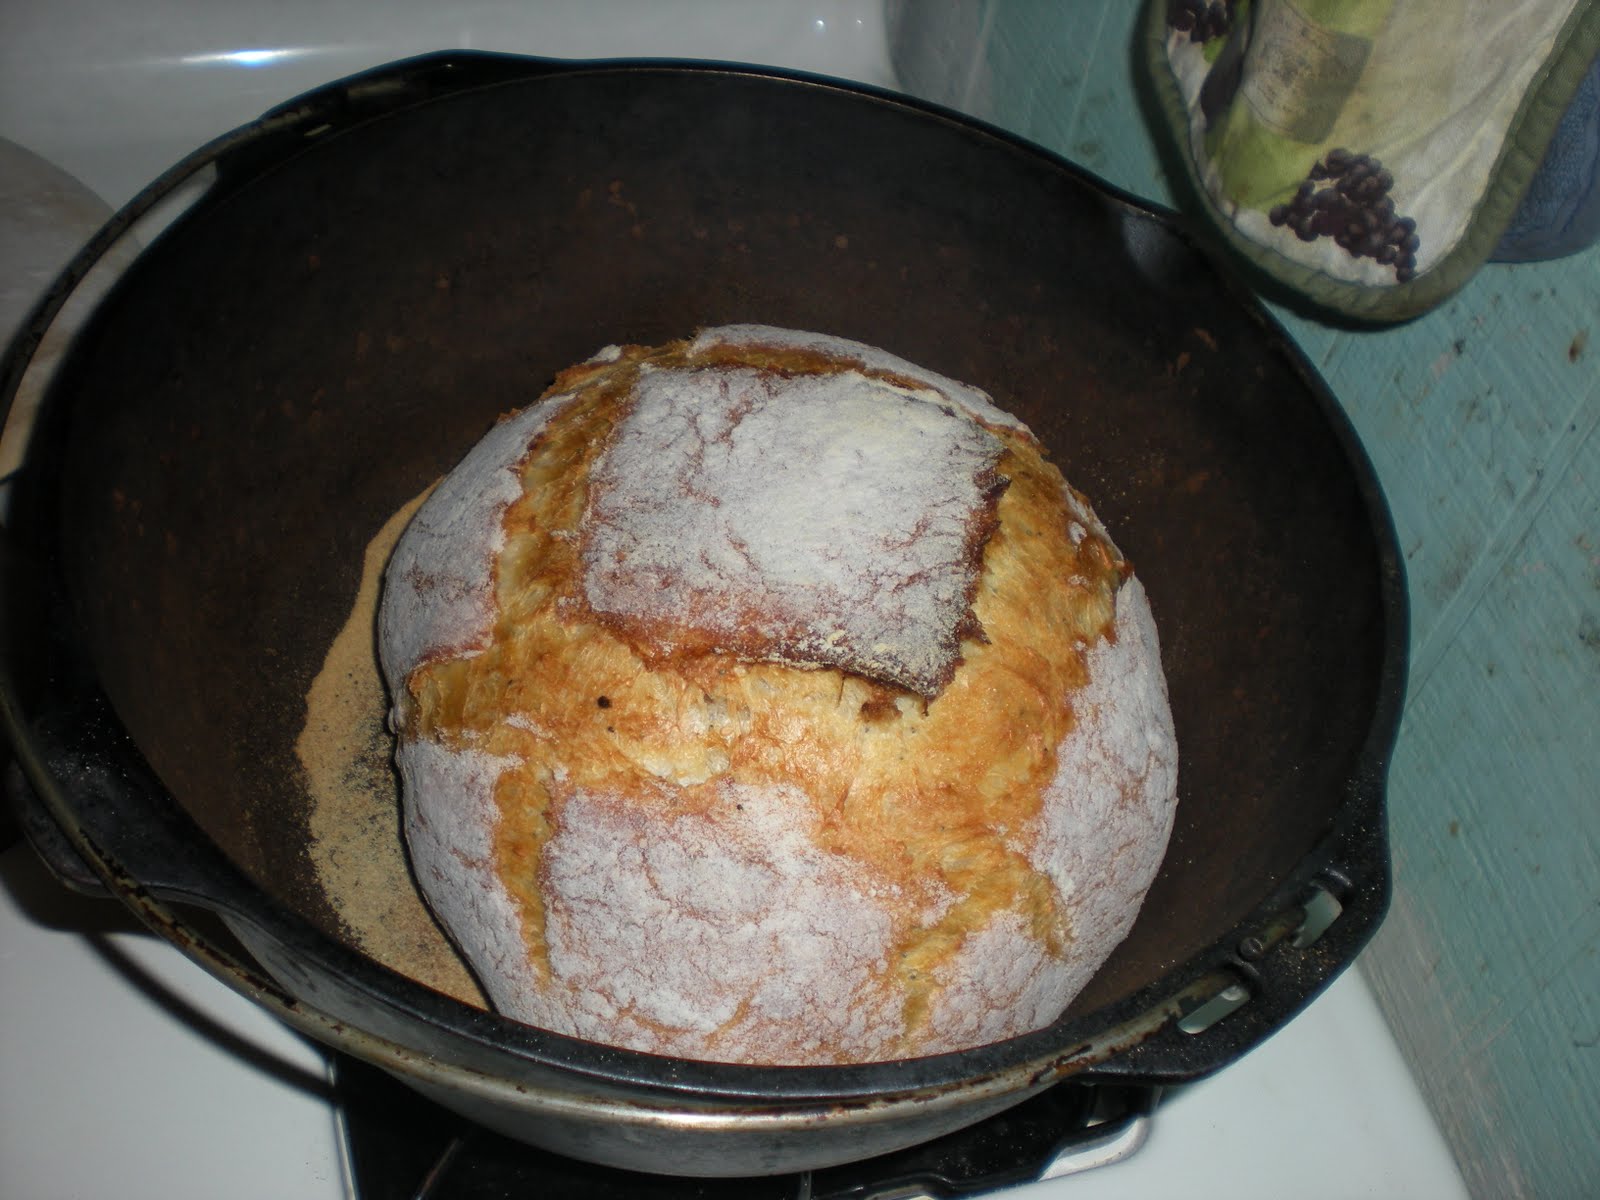
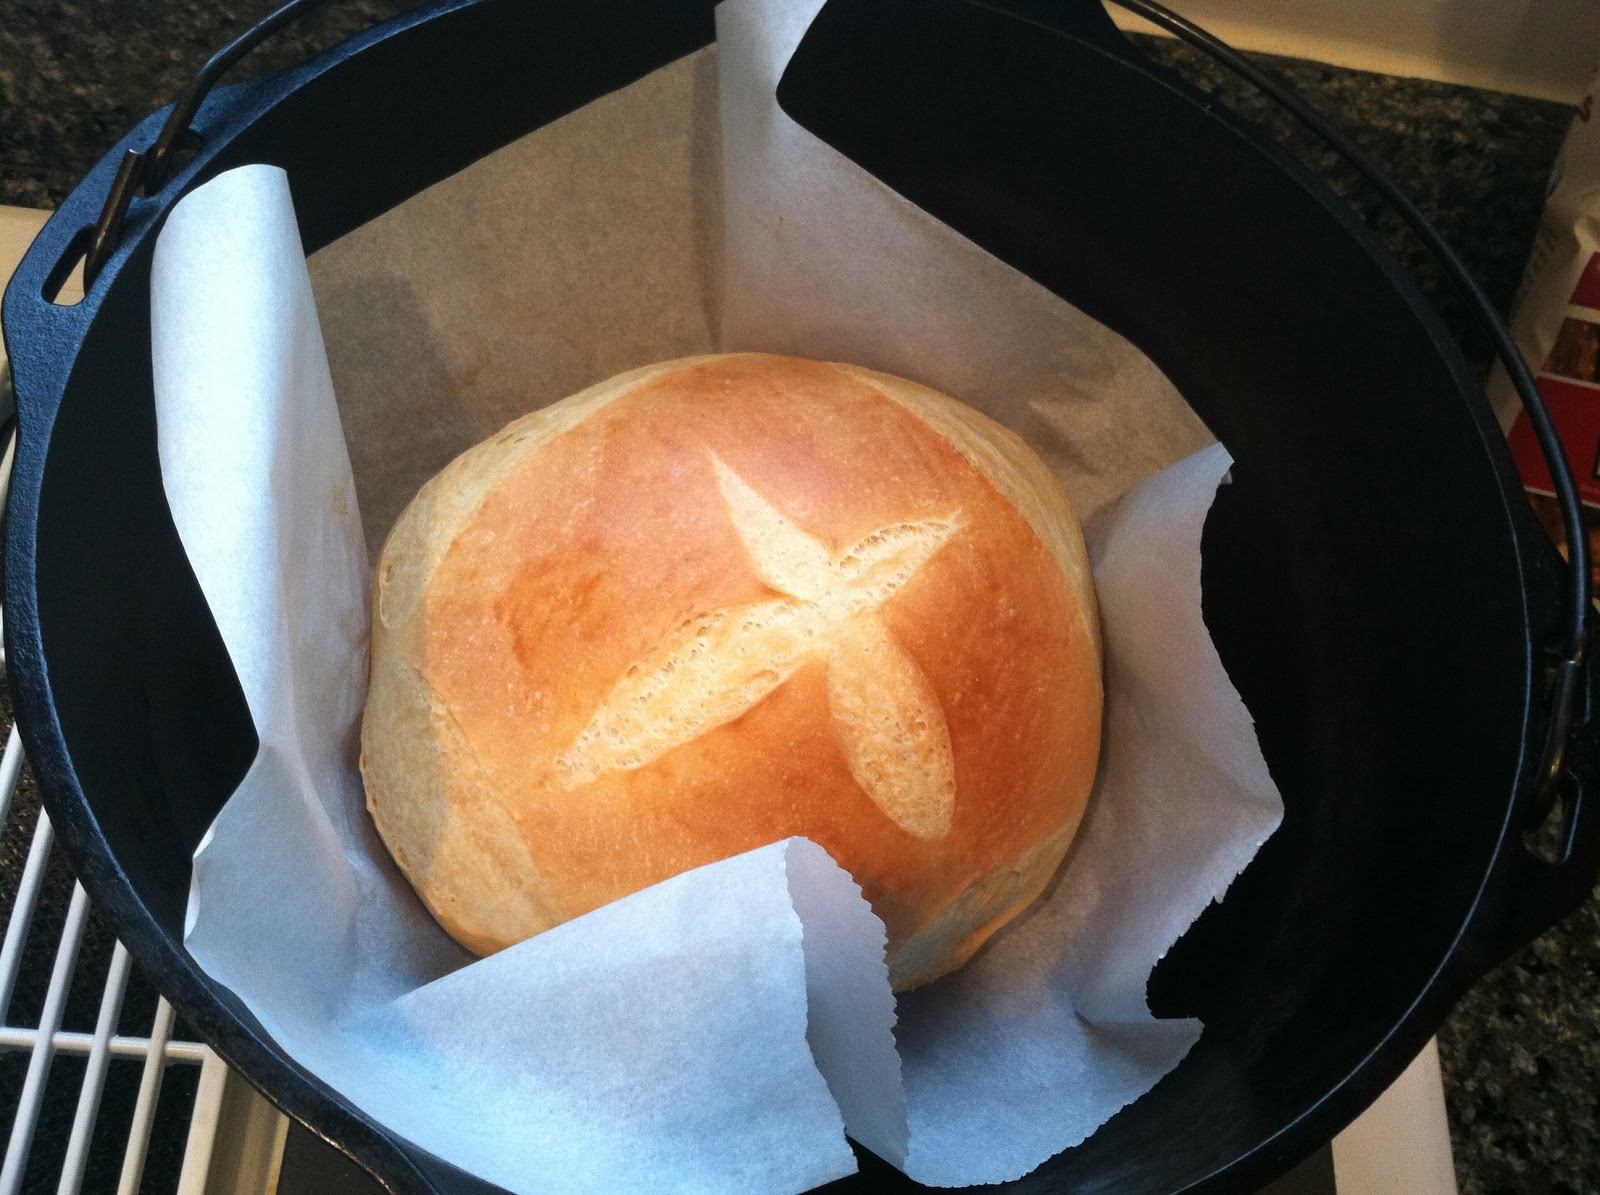
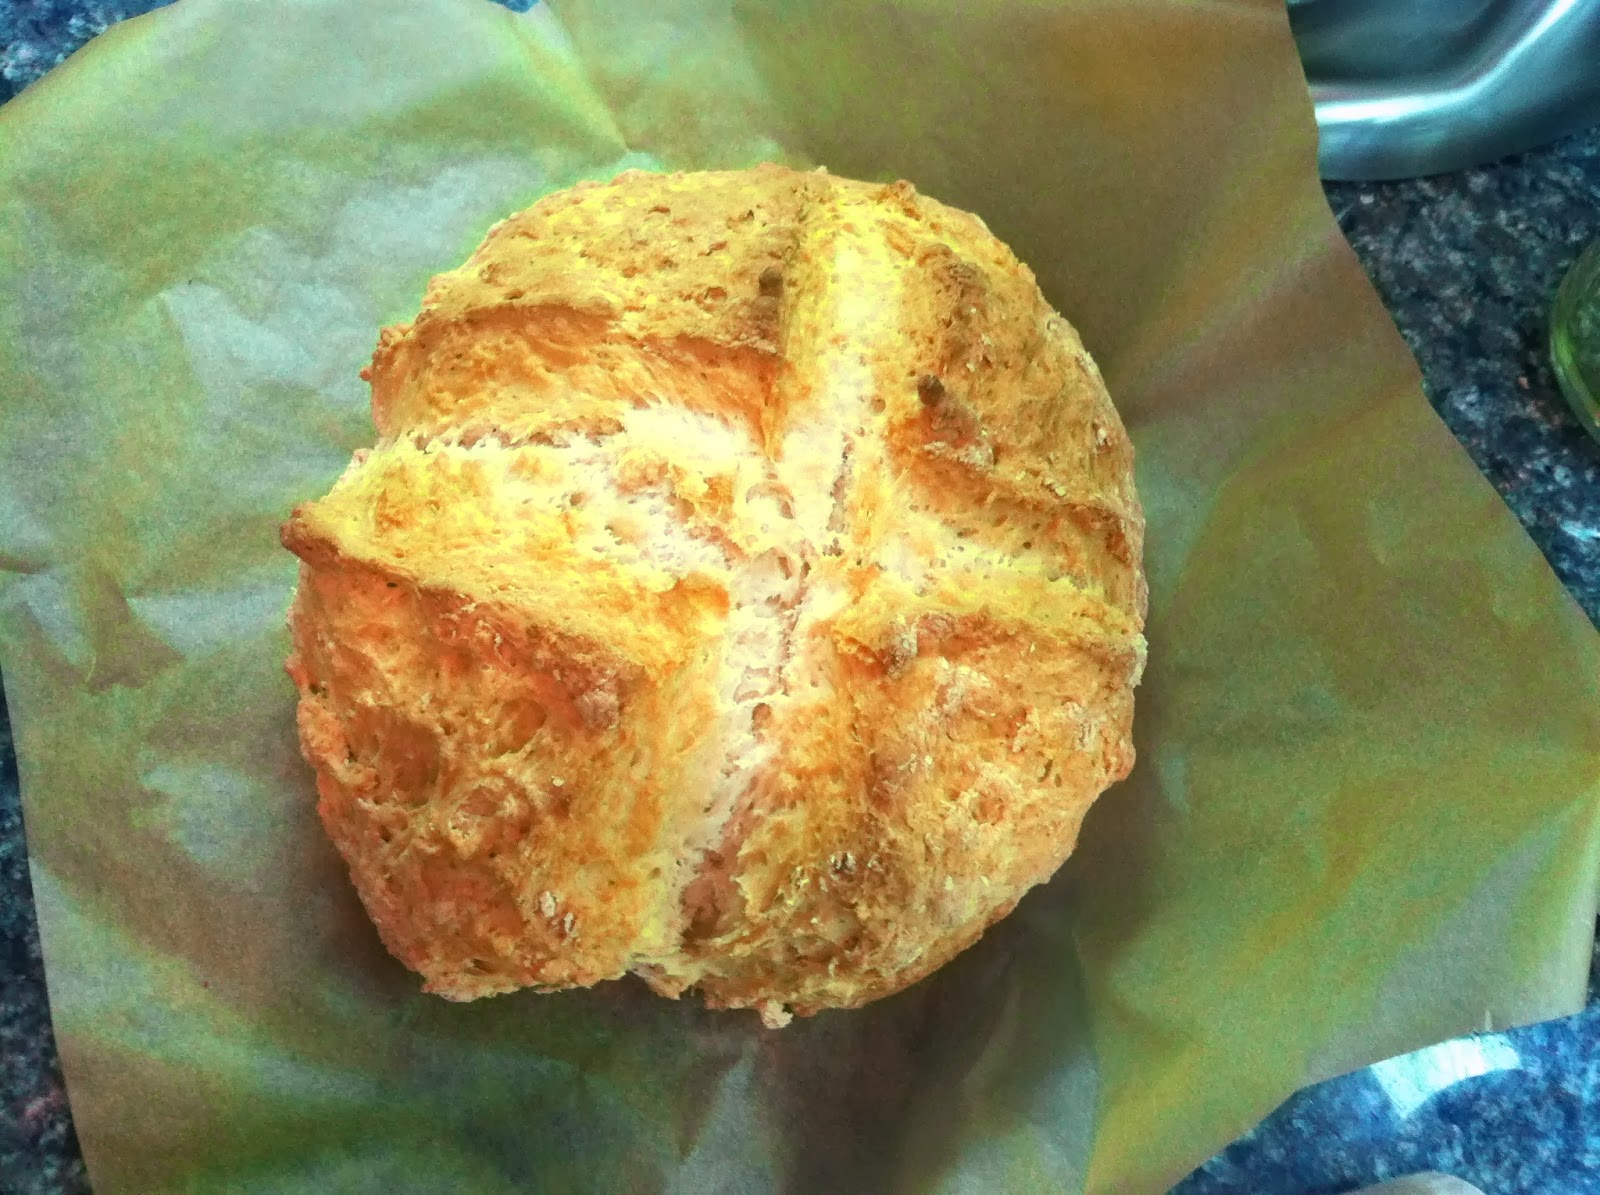
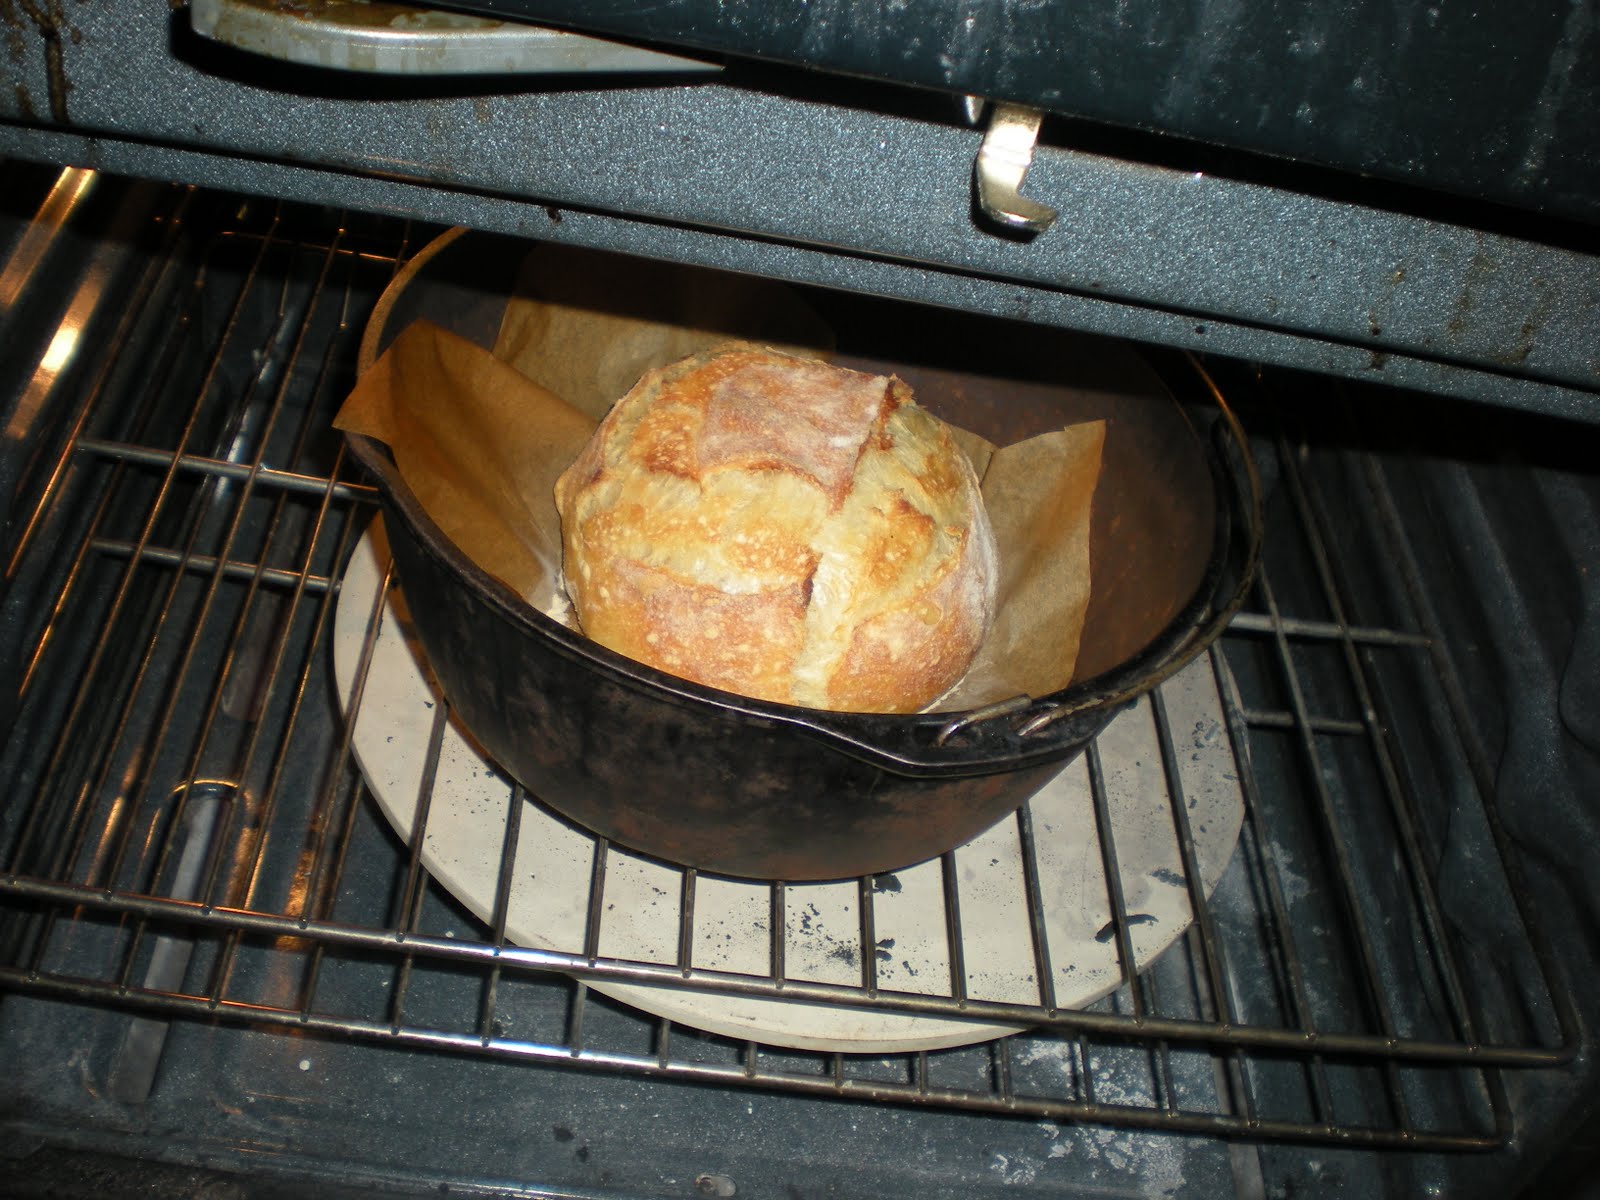
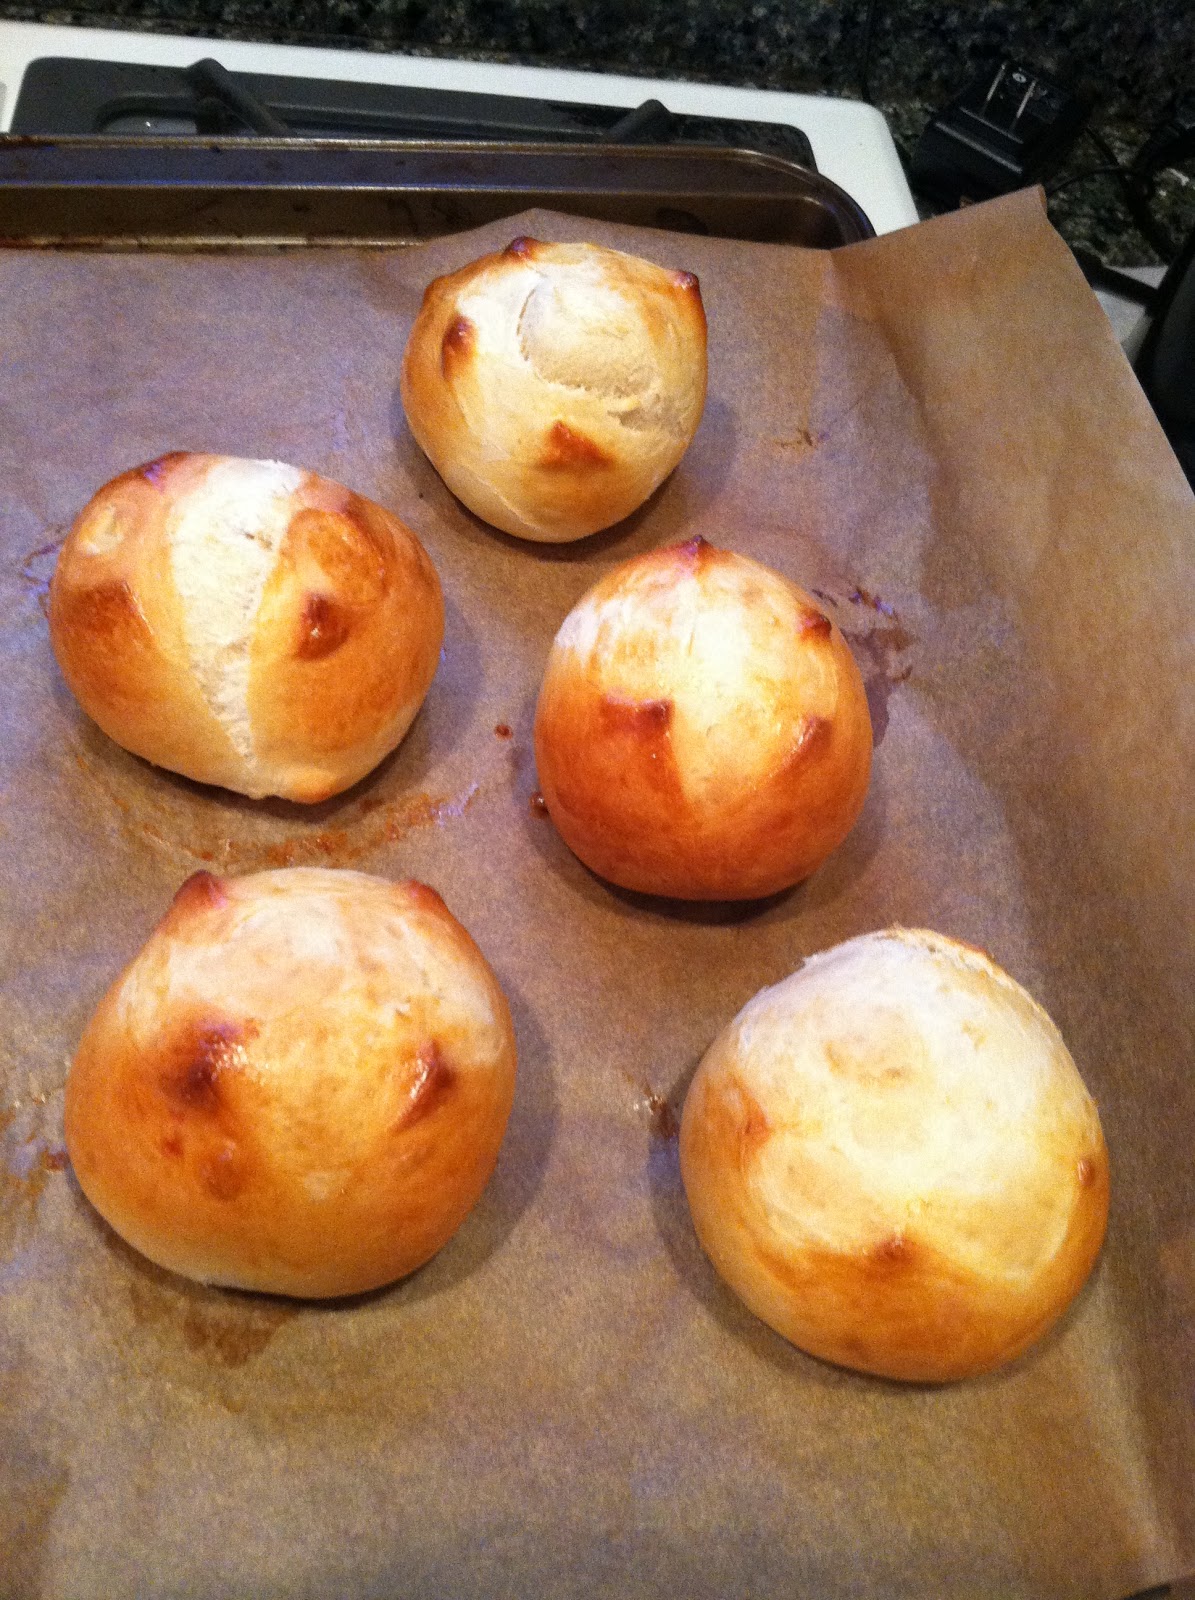
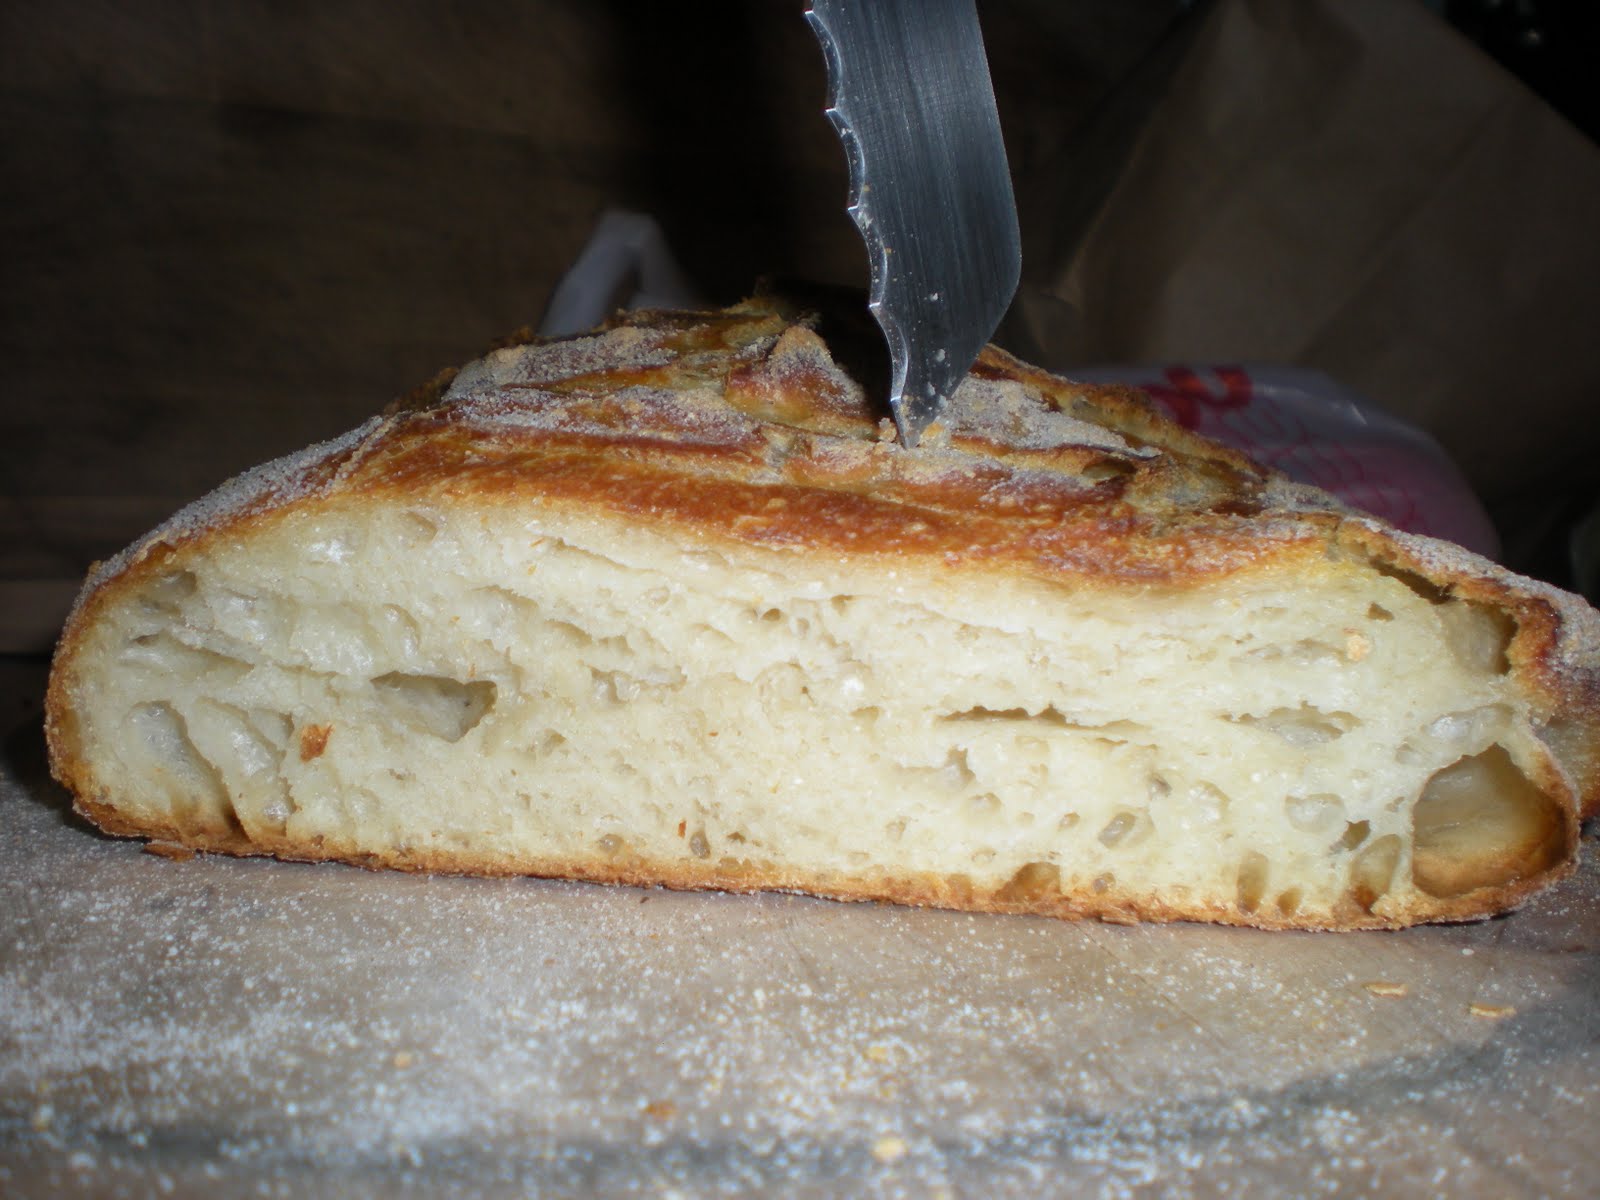
3. Just going ahead and baking a loaf that hasn’t risen.  I can understand and sympathize with the thought process behind this one – you’ve invested all this time and effort into making a loaf of bread but it hasn’t risen.  Rather than just give up, throw it out and start over, you decide to bake it anyway in the hopes that it might surprise you by deciding to rise in the oven.

You would be wrong.  This is probably the biggest mistake I ever made, and I made it a lot in the early years.  I justified my actions based on a faulty understanding of why oven spring occurs.

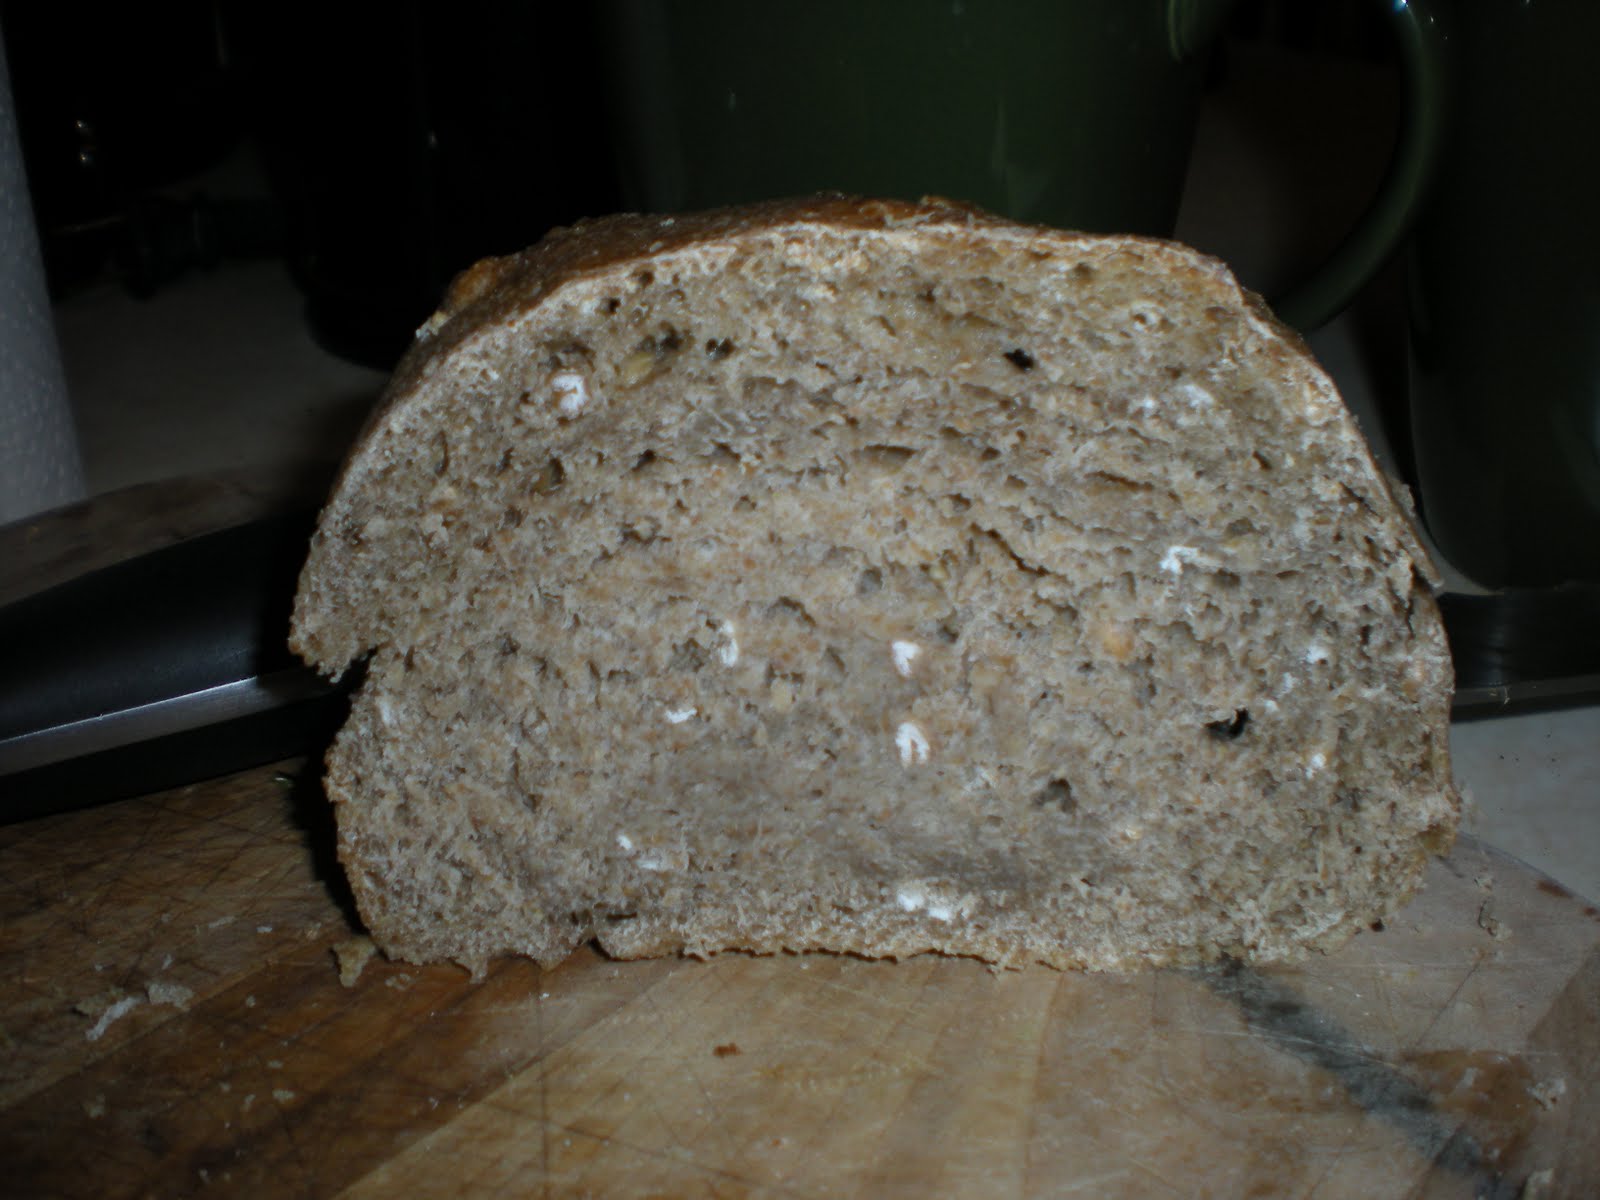
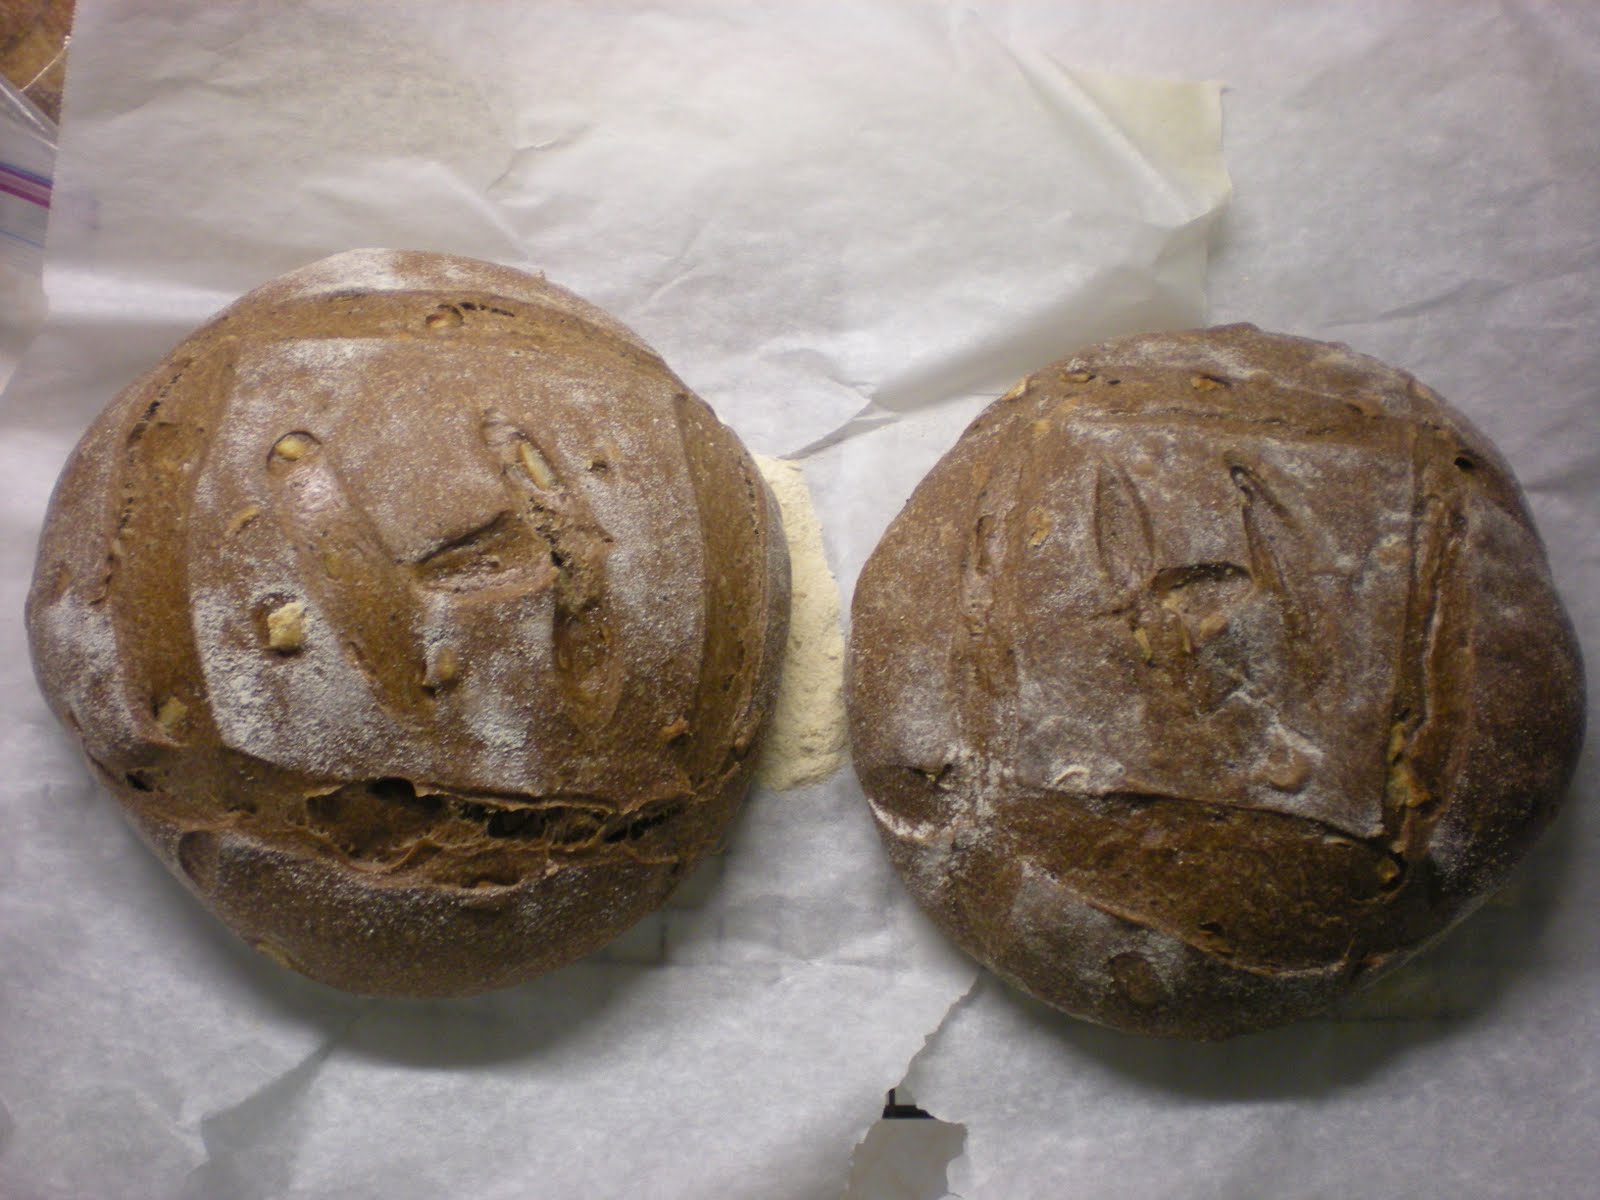
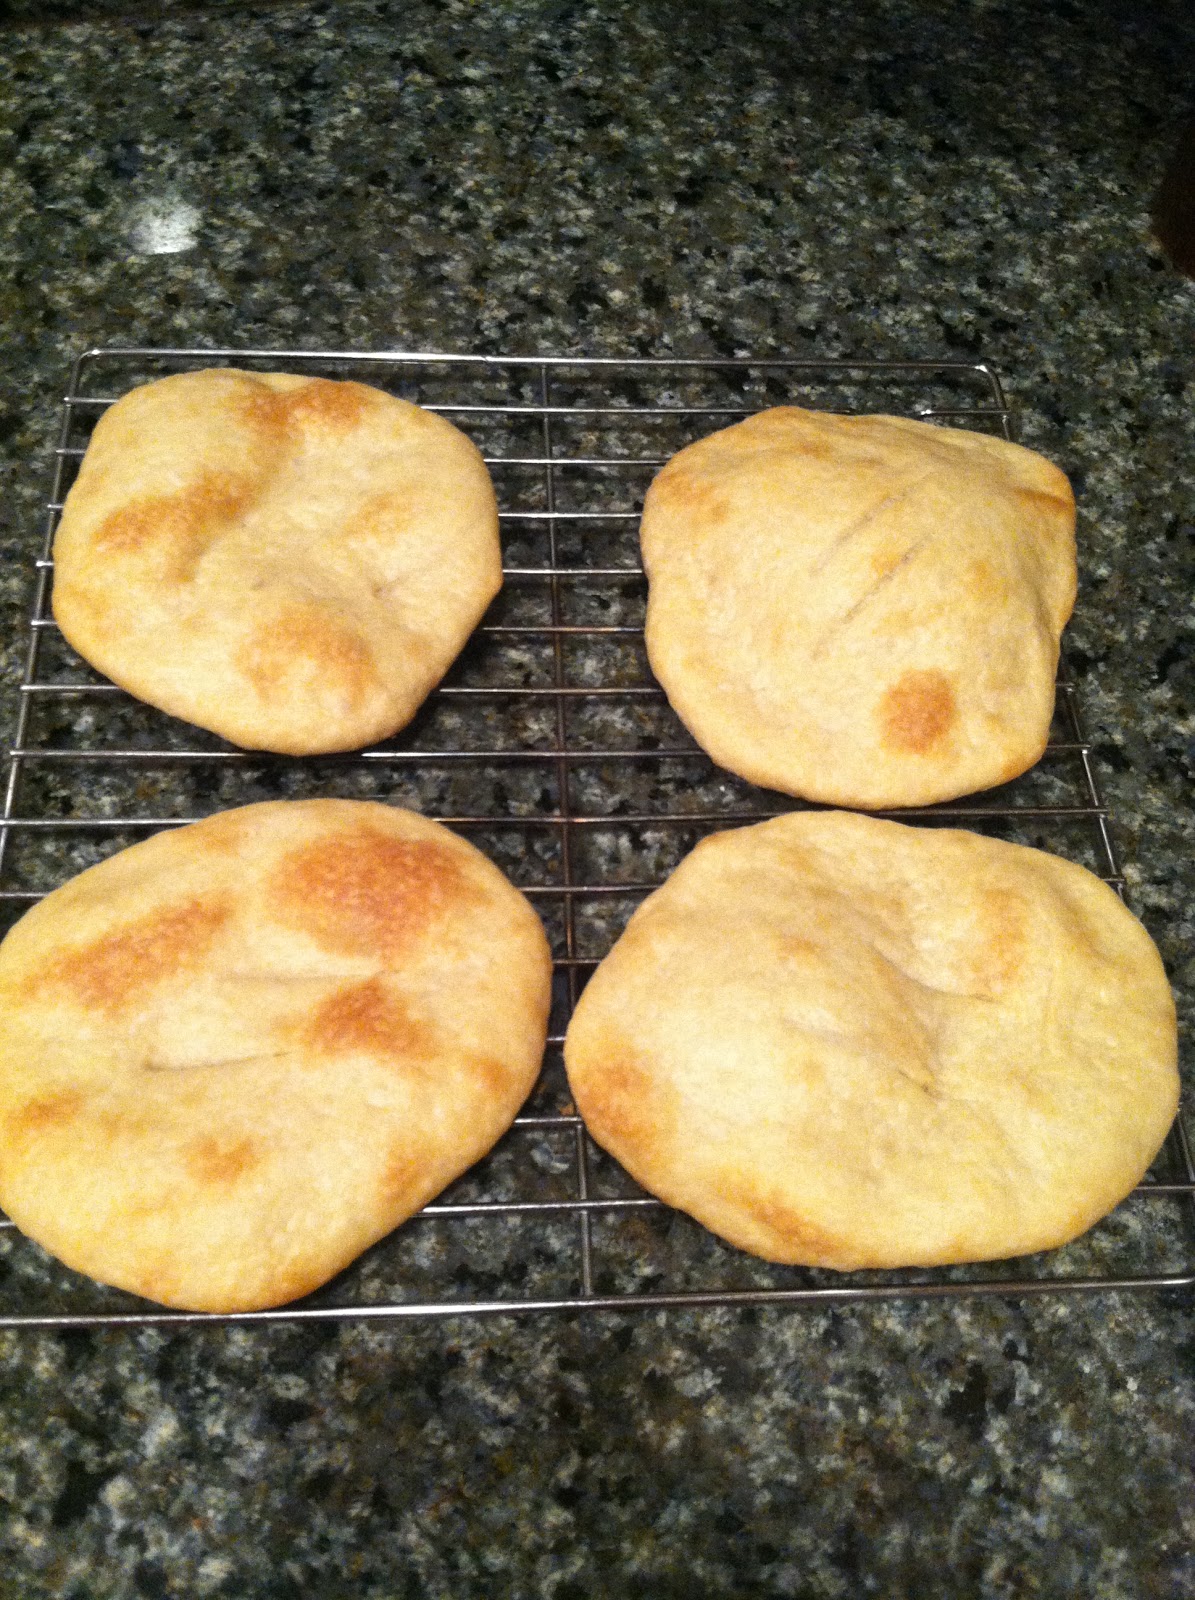
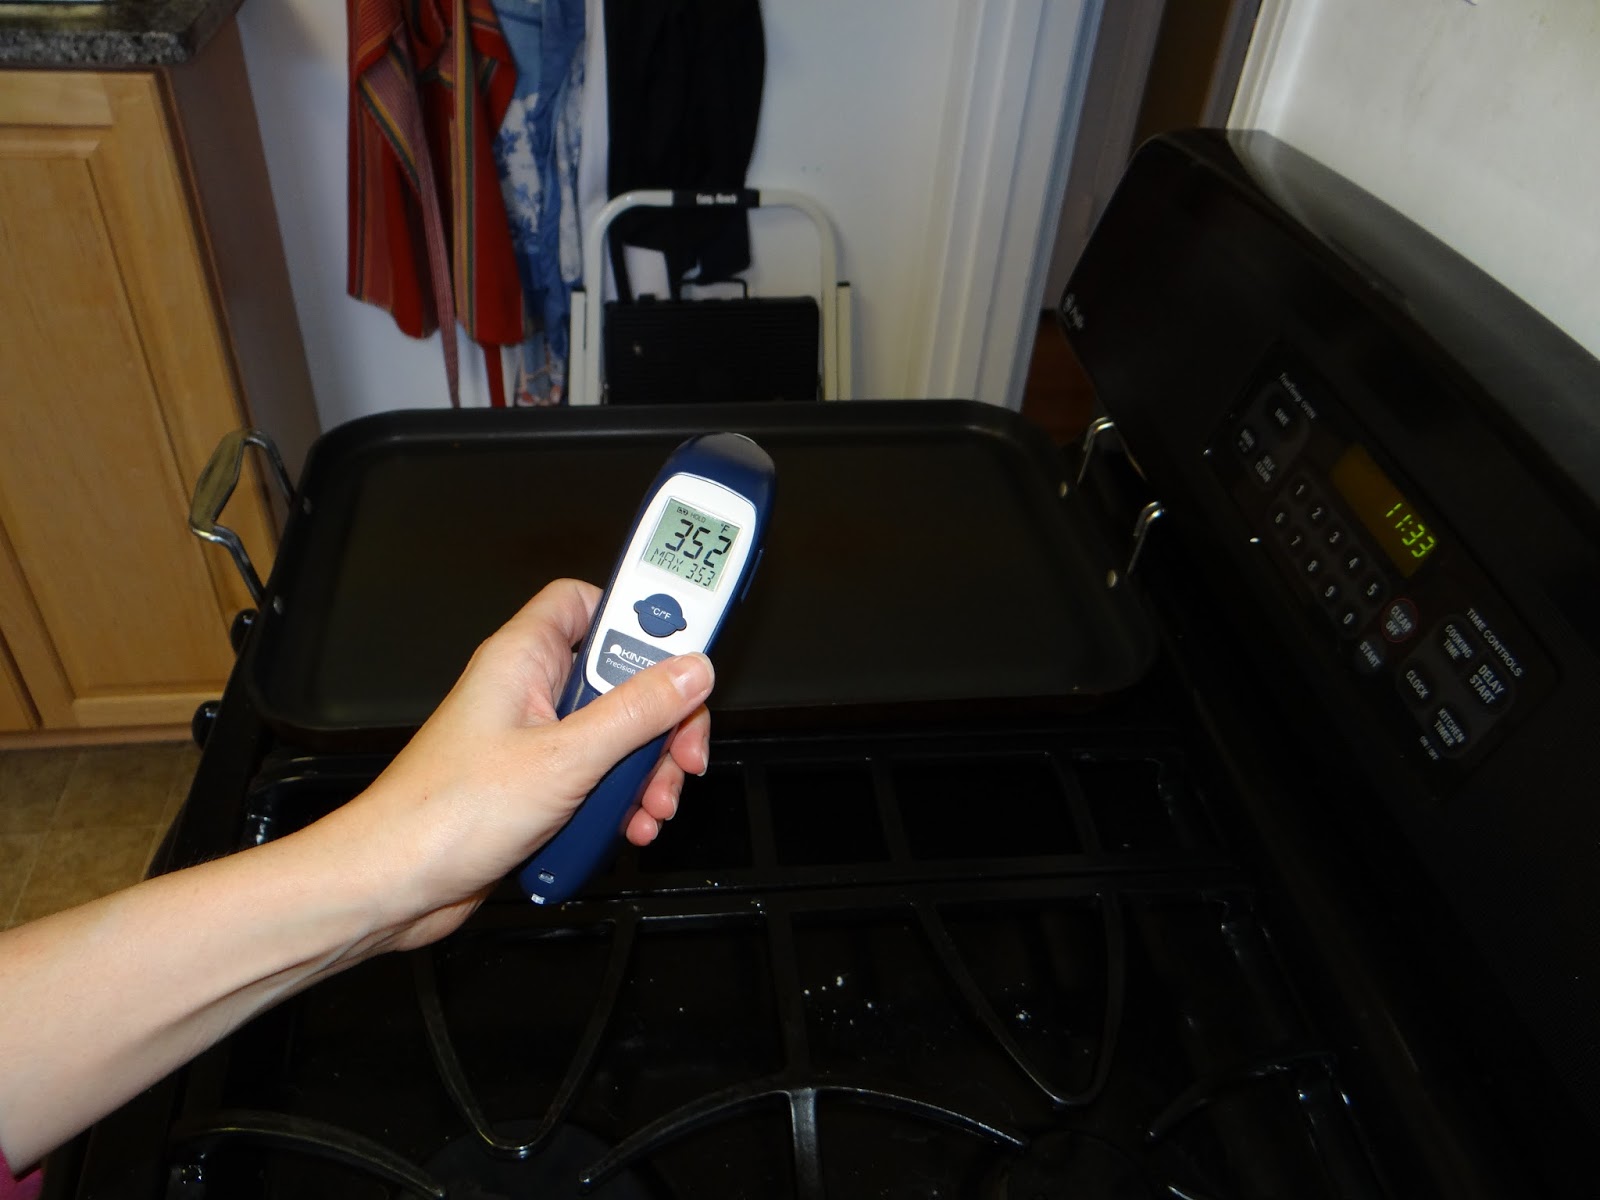
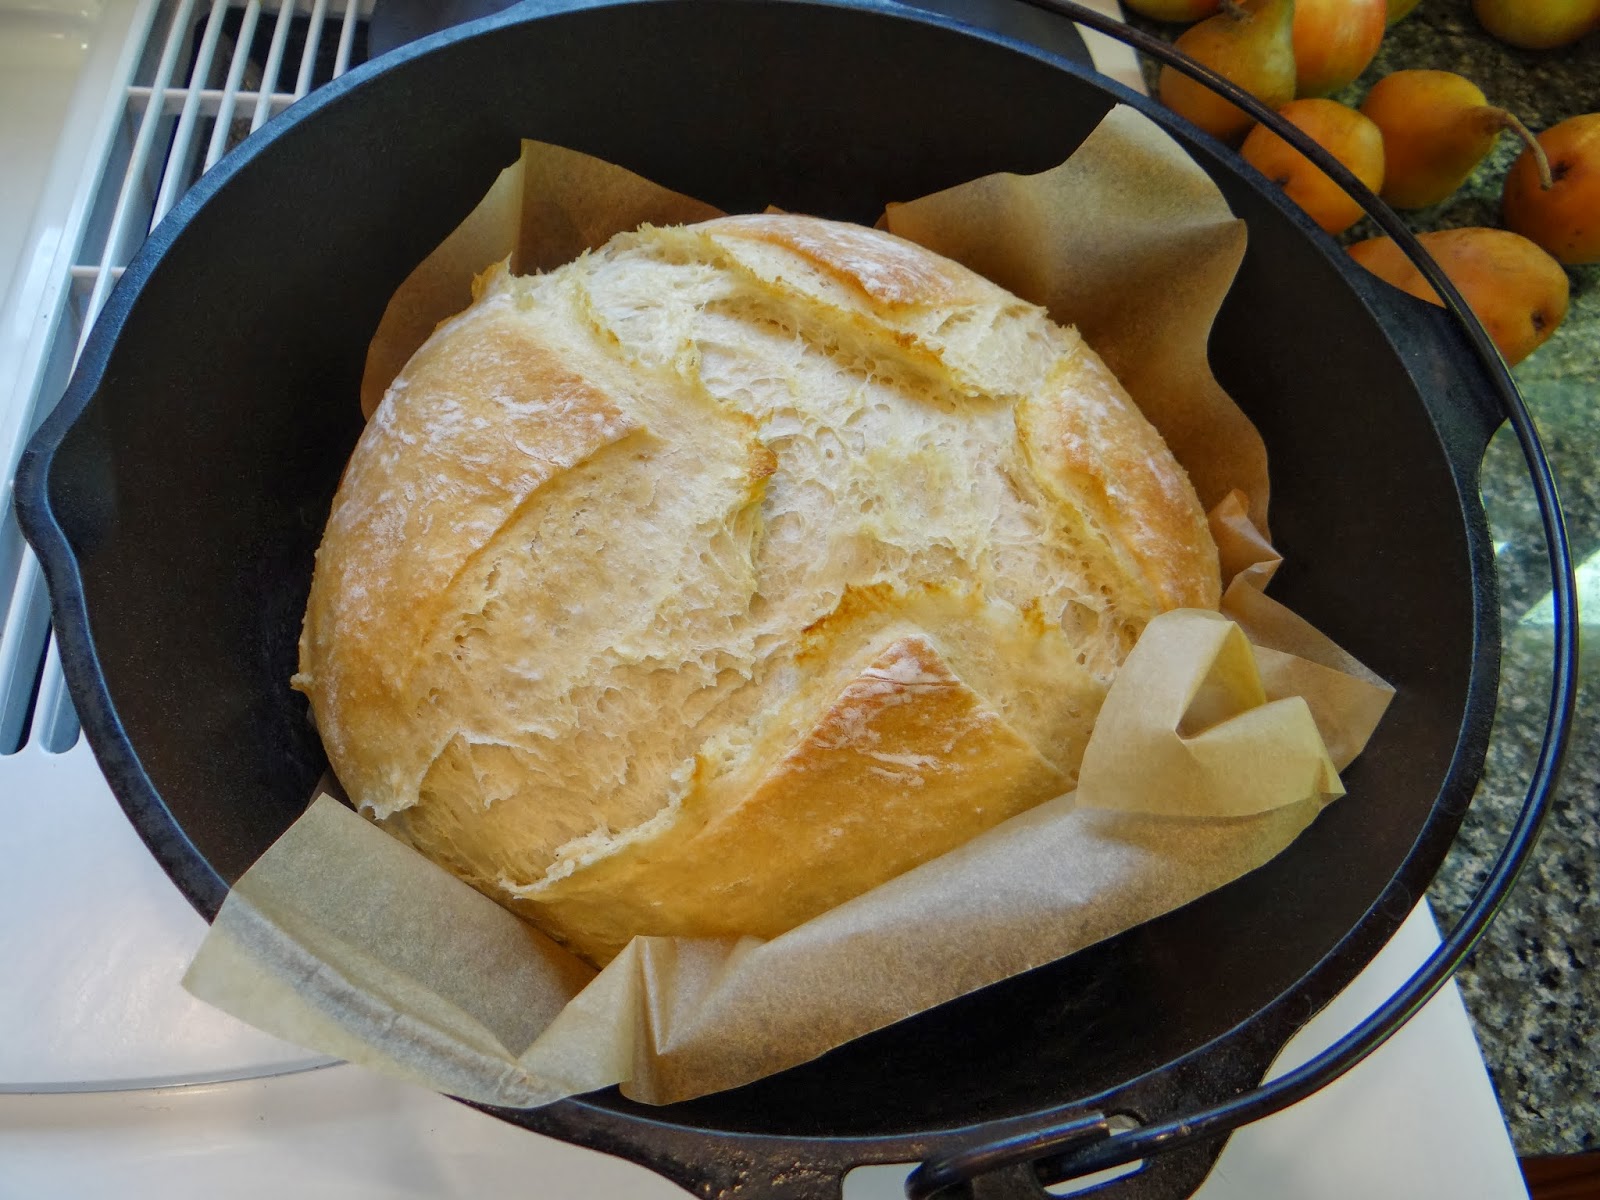
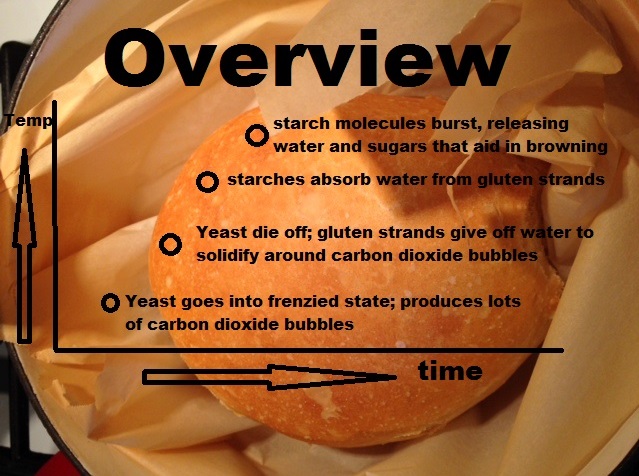
Oven spring is, as you might guess, the phenomenon when your bread puffs up explosively in a red-hot oven, causing a beautiful pattern to emerge if you’ve scored your loaf.

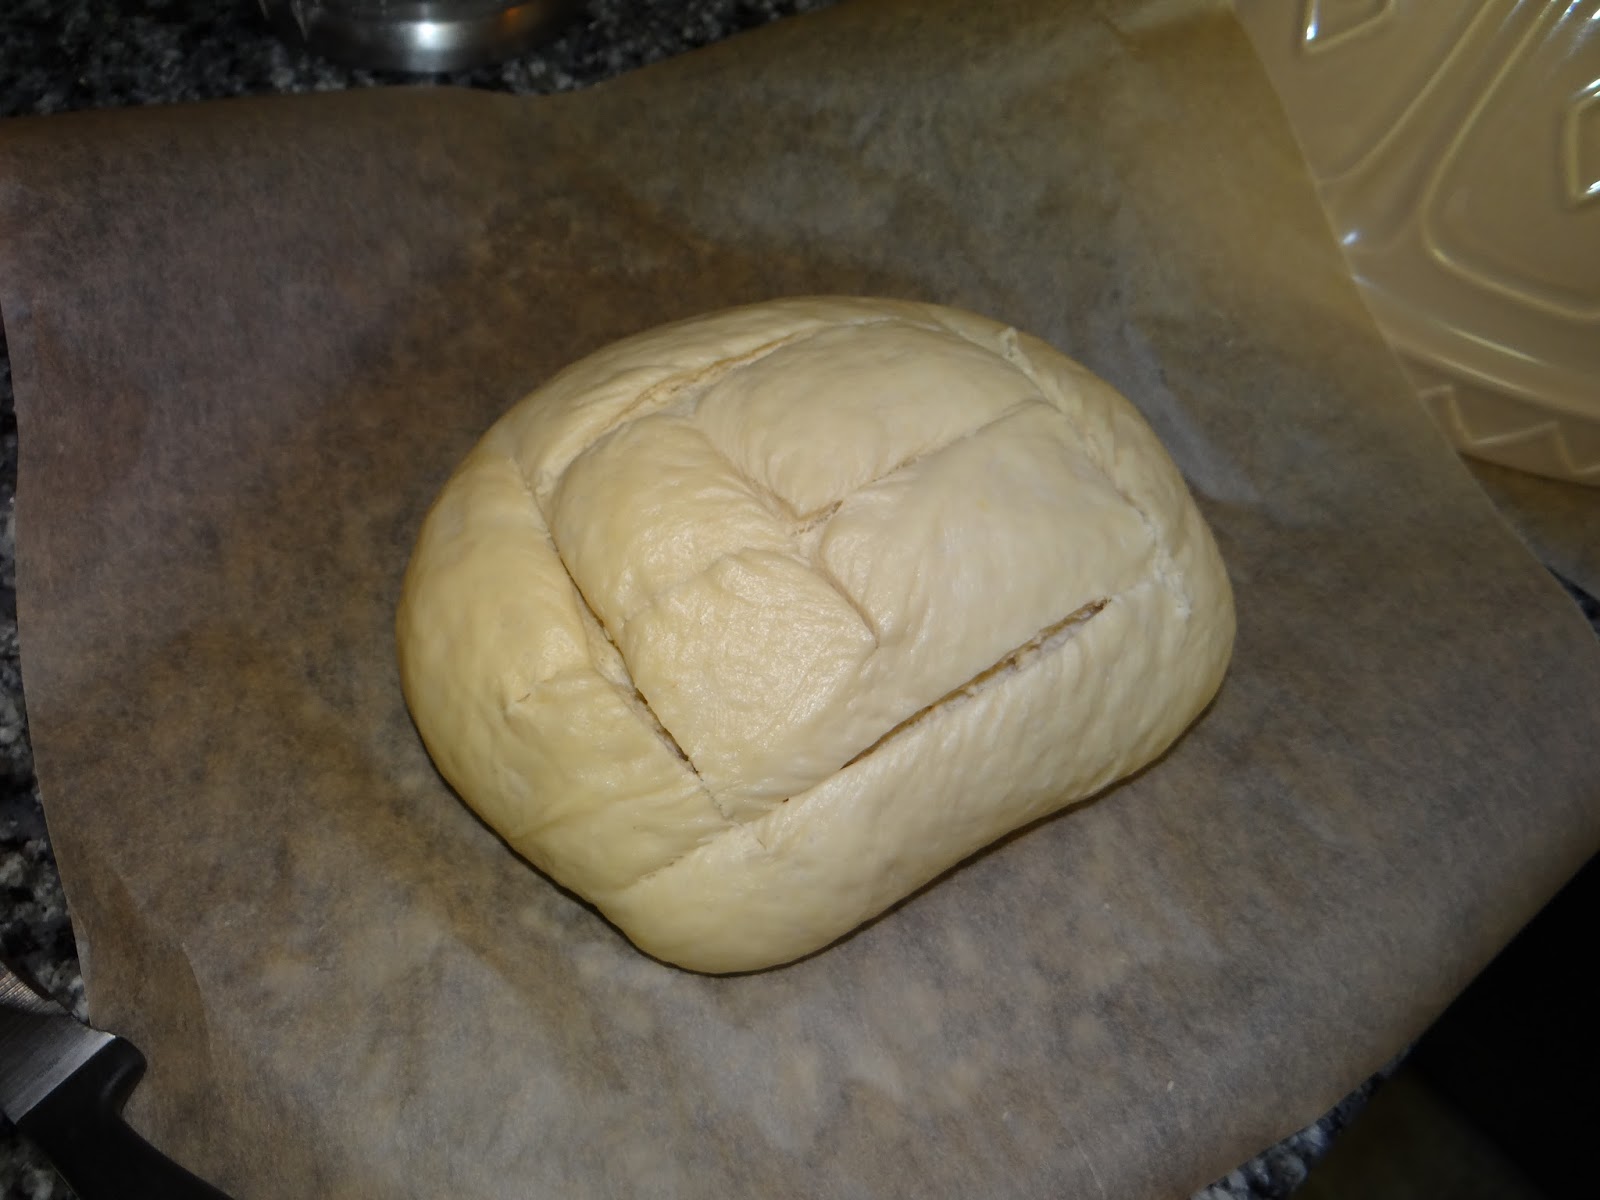
I used to think that the water in the dough, in the presence of high heat, was converted to steam and created large air pockets in the dough resulting in oven spring.

WRONG WRONG WRONG!  While the outside of the dough might reach 220 degrees F, the inside never gets above 190 degrees F.  Quite simply, the water never turns to steam.   Only the topmost layer of water gets released as steam.  The rest starts by getting caught up in the gluten strands, then as the gluten releases the water, it gets absorbed by the starch until the starch molecules explode, releasing the water and sugars in a “gelatin” that helps brown the bread.  Simply put, there is no excess water in the dough that is in a position to create steam inside the loaf.

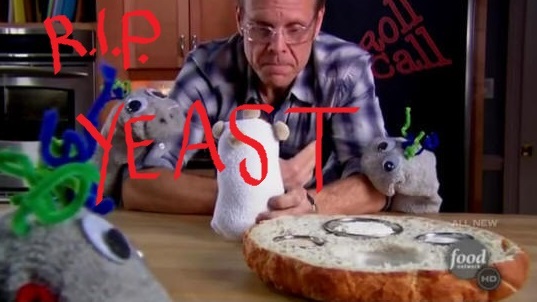
Instead, as I wrote about here, it is the YEAST that goes into a frenzy when faced with the high heat of the oven.  Therefore, if your yeast was inactive during the initial rise period, it is extremely unlikely that it will suddenly wake up and create one spectacular rise in the oven.  Your dough is going to come out dense and unleavened.  Sorry.  And as the kids I teach in Sunday School know, unleavened bread isn’t very tasty.

A few times, I’ve tried adding new yeast at the end in a last-ditch attempt to get a rise.  It never worked.  By the time you add the new yeast, the gluten has already formed which makes it difficult to work the yeast into the dough and distribute it evenly.

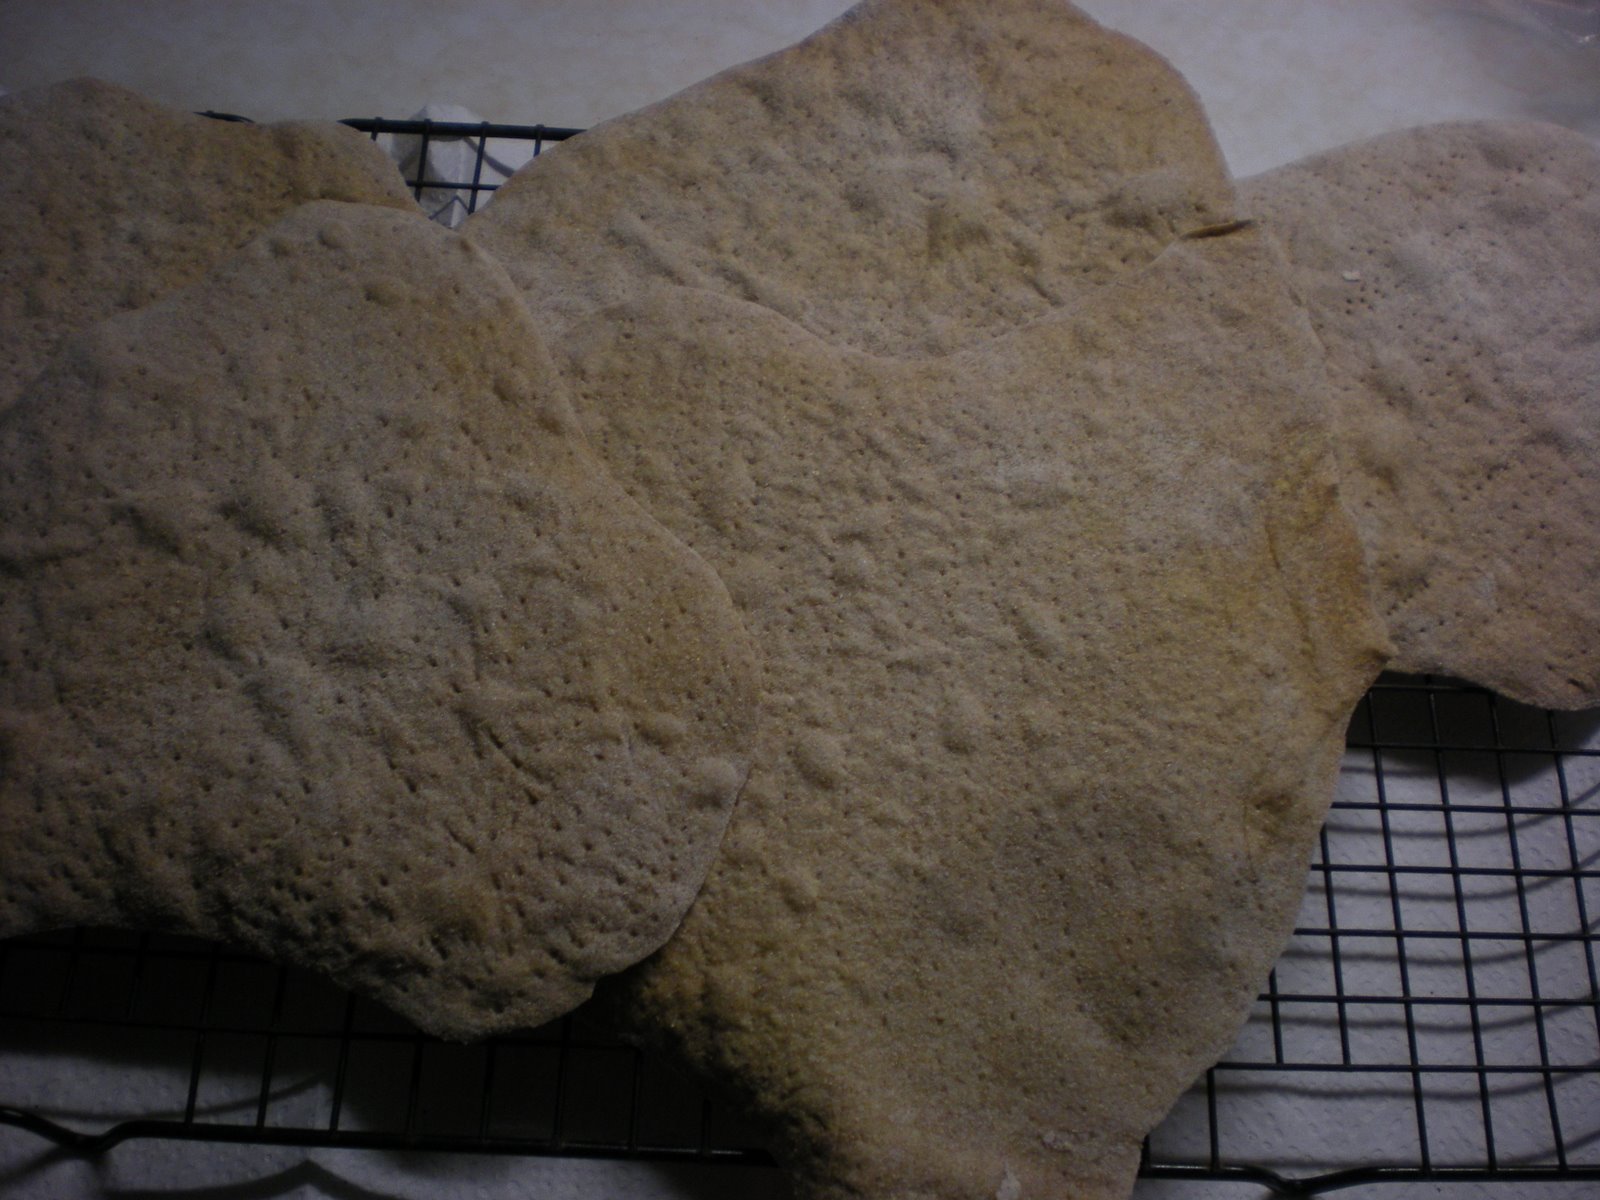
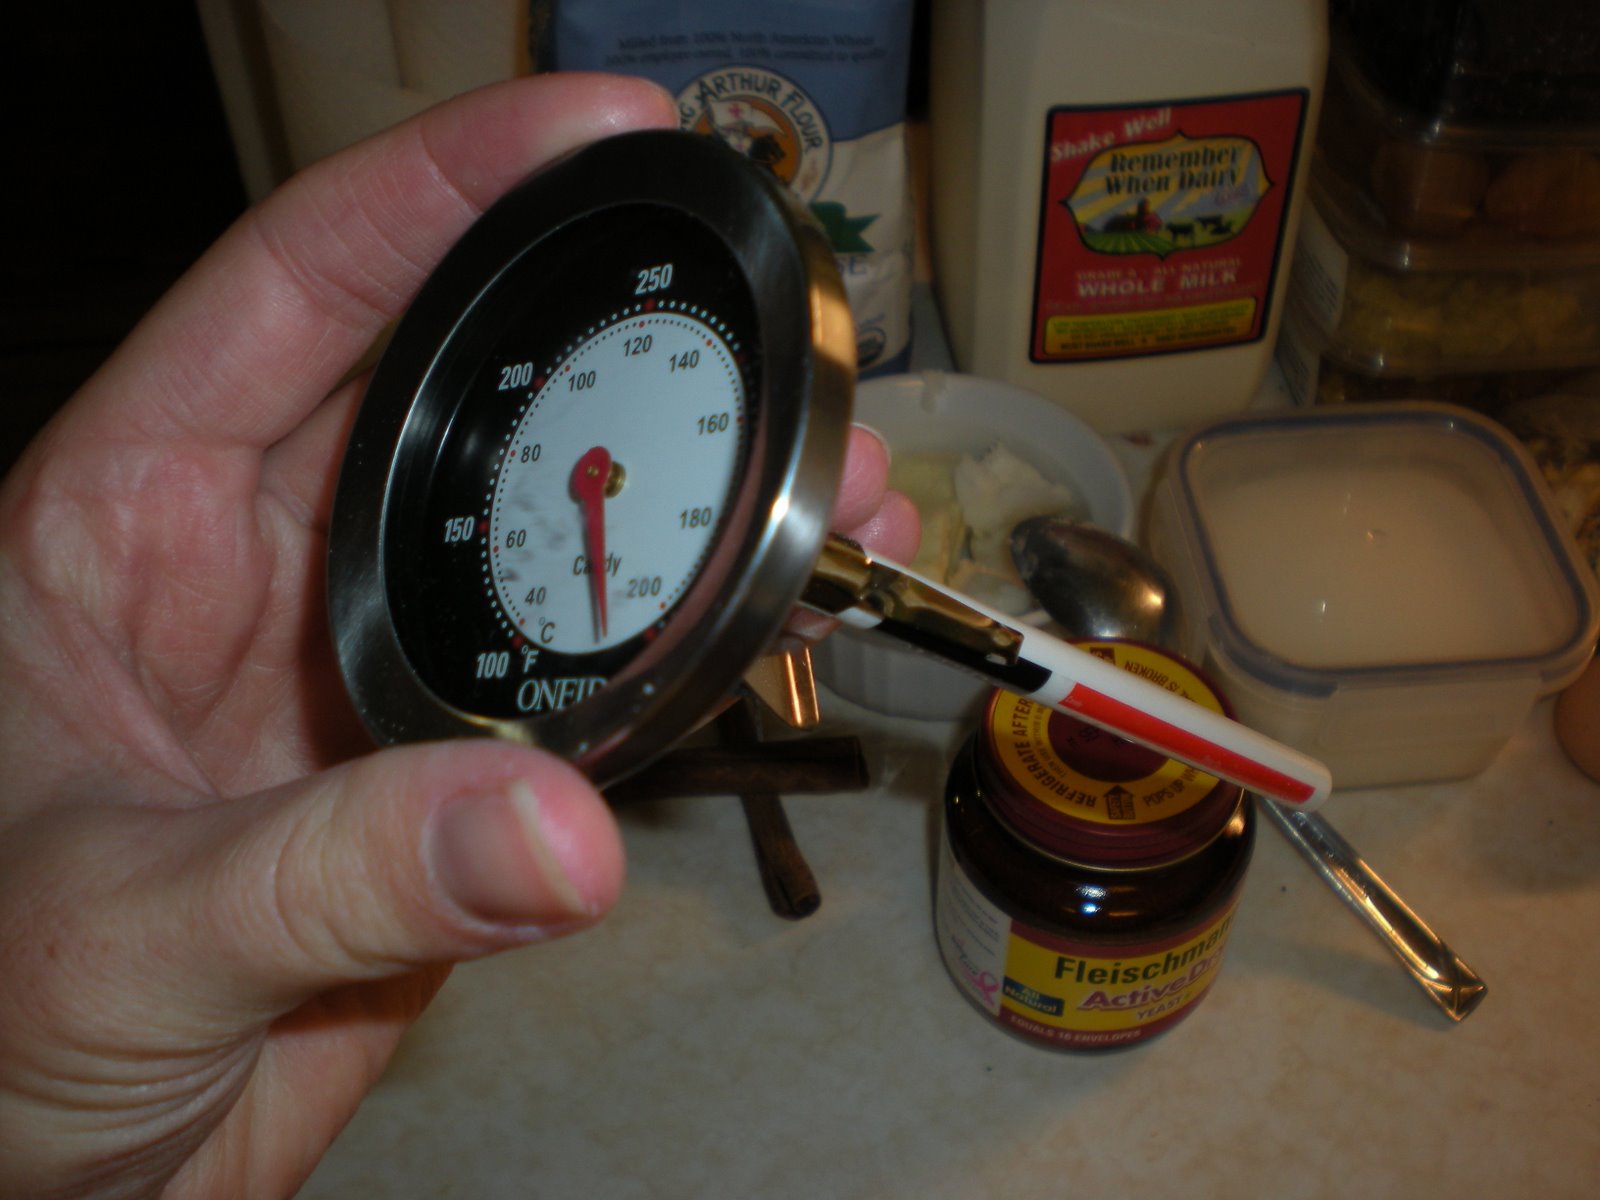
Long story short: proof your yeast beforehand by mixing it with a little bit of warm (not hot) water or milk.  If you can stick your finger into the water comfortably and leave it there, it’s not too hot.  If bubbles form, you’re good to go.  Make sure you leave your dough to rise in a warm place.  And if your dough still doesn’t rise, roll it thin and make crackers instead 🙂

2. Giving up on a recipe if it doesn’t turn out on the first try.  When I was thinking about how to organize my list of worst mistakes, I thought long and hard about the “umbrella” mistakes- the ones that had the farthest-reaching consequences.  So the last two are very broad mistakes, ones that I’m proud to have overcome.  If there’s two take-aways from this post, I hope it’s the next two.

I’ve found that I can learn a lot if I make a recipe more than once, particularly if it comes out unimpressive the first time around.  You get a better sense of what the bread is supposed to do, what you may have done wrong, and how to improve the recipe to work in your kitchen and with the materials you are working with.

Some recipes just aren’t good.  I can’t vouch for ones you find through a google search.  Other recipes have gone through hundreds of testers – bakers like Peter Reinhart have vast numbers of fans who will enthusiastically test his recipes in exchange for getting a shout-out in his book or on his website.  By making his recipes a few times, you will gain a greater understanding for why he does what he does – no step in his recipes is superfluous.  That said, just because a recipe has been tested in other kitchens doesn’t mean it will necessarily work in yours.  Ovens are different.  Weather and humidity can impact how your ingredients behave.

By making a recipe more than once, you master it.  A recipe that feels lengthy the first time around will take less time the second time, because you have a better idea of that it requires and can do some steps simultaneously or during breaks in other steps.


So those are my middle-level mistakes.  Stay tuned for my #1 worst mistake!

Sweet potato, red onion and feta galette

There are some recipes that are just so good, I have to write them down somewhere so I don’t forget them.  This is one of them.  I made it today and I’m already dreaming of its heavenly taste.  The striking purple color from the purple sweet potatoes and red onion doesn’t hurt either.

The recipe for the galette dough is here.

The recipe for the sweet potato and red onion filling is here.  I changed the order of ingredients, used purple sweet potatoes instead of regular, and modified the glaze recipe.

This recipe makes two galettes, about 6 inches around.  One galette serves two people or one large, very hungry person.

For the galette dough, you will need:

3 tablespoons plain yogurt
1/3 cup ice water
1 cup all-purpose flour
7 tablespoons of butter, chilled and grated with a cheese grater
1 teaspoon sugar
1/2 teaspoon salt
1/4 cup cornmeal

1. In a large bowl, whisk together the flour, cornmeal, sugar and salt.  Set aside.

2. In a small bowl, mix together the yogurt and ice water.  Set aside.

3. Add the grated butter to the flour mixture and toss to incorporate.  Add the ice water and yogurt mixture a little at a time until you can form a ball with the dough.

4. Divide the dough in half, make each into a small disk, wrap tightly in plastic wrap and store in the refrigerator for 2 hours or overnight.

For the galette filling, you will need:

1 large purple sweet potato (You could use regular, but the purple looks really cool)
1 red onion
1 clove of garlic
8 oz of feta cheese
1 tablespoon of dried thyme
1 tablespoon of dried rosemary
1 tablespoon of kosher salt

1. Preheat the oven to 400 degrees F.  Slice the sweet potato and red onion into very thin slices using a box grater or a mandoline slicer. Throw the pieces into cold water so they don’t dry out.

2. Grind together the thyme, rosemary, salt and garlic to form a paste.  In a large bowl, mix together the herbs and feta until well-distributed.

3. Drain the sweet potato and red onion and add to the feta mixture.  Toss to coat.

To construct the galette:

1. Take both doughs out of the refrigerator and remove from the plastic wrap.

2. Roll each dough out separately on a floured surface until it is about 1/8 inch thick.  Transfer the dough to a baking sheet covered with parchment paper.

3. Pile the middle with the sweet potato filling, leaving about 1.5 inches of dough in a border all around.  Carefully fold the edges of dough over the filling, creating pleats in the dough.

For the glaze, you will need:

2 tablespoons olive oil
1 tablespoon Dijon mustard
1 large egg

1. Whisk together the oil, mustard and egg until smooth.  Lightly brush the glaze over the entire galette, both the dough and the filling.

2. Bake the galette for 20-25 minutes until the crust is a lovely dark brown.  Let the galette rest for about ten minutes before eating.

Even Mr. Bread Maiden, who typically doesn’t consider a meal “dinner” unless it has some sort of meat, really liked this galette.  Which is good, because I picked a large sweet potato to use and now we have tons of filling left over.

The Science Behind… top 10 mistakes I’ve made over the years, Part I

Hey everyone,

Now that we’ve got quite a few serious Science Behind posts on here, I thought I would throw out some that are a bit more… real.

As Queen would say, ‘And bad mistakes… I’ve made a few!’

Here’s just a few really egregious ones that I’ve made over the years, why they are wrong, and what I did to correct them.  I’ve broken this post up into two parts.

For this post, I will delve into #10 – 6, then in the next one I’ll tackle #5 – 2, and I’ll save #1 for its own post.

In order from not-so-bad to worst-mistake-ever, with 1 being the absolute worst:

10.  Cutting into a loaf of bread right out of the oven before it cools.  Who can resist warm, freshly-baked bread, right?  I often hear from Bread Camp attendees that the first bread they make after taking my class lasts, oh, about five seconds after it comes out of the oven.  There’s nothing really wrong with it (hence its ranking as #10), but bread continues to improve as it cools.

Here’s why: at high heat, starches gelatinize, meaning they burst and release sugars which aid browning along with water that the starch had previously absorbed.  This is why bread still tastes sort of “wet” if you taste it straight out of the oven.  As the dough cools, the starch and water molecules start to “re-order” themselves from their gelatinized state.

Another reason to let bread come to room temperature before slicing into it is that bread, particularly sourdoughs and ryes, continue to develop flavor as they cool.

All in all, not an egregious mistake.  But your taste buds will thank you if you let your bread cool (and then reheat in the oven or toaster!) before eating it.


9.  Trying to make a 100% rye bread.  Think about the last time you tasted a slice of rye bread (in the US).  It was basically your typical bread – fluffy and chewy, but with a hint of rye and caraway seed flavor.  Right?  Well, hate to break it to you, but that was not 100% rye bread.  Rye flour has very little gluten in it, meaning the gluten net that you create through kneading will not be as strong as if you were using a high-protein flour like bread flour or all-purpose flour.  In order to get any sort of net at all to trap the carbon dioxide gases released by the yeast, you need to knead for a very, very long time.  Some people use a sourdough starter to provide some of that gluten net.  But a 100% rye bread, even made perfectly, will still look like this:

Very dense, no large holes, and very little oven spring.  The flavor is also rather off-putting to Americans used to breads sweetened with sugar and honey.  Most Americans aren’t used to strongly flavored breads the way Europeans are.

This is why, after several attempts, I gave up 100% rye bread in favor of recipes that are more palatable to me and those who will be enjoying my breads – doughs that are predominantly made with wheat flour, and maybe 1/4 rye flour.  Here is the recipe I use now.


I guess this wasn’t really a mistake per se, but a decision to give up a goal (100% rye bread is a goal in some baking circles) in favor of making bread we all can enjoy.


8. Stretching and folding to give your bread more time to rise before you can bake it.  The reason this is a mistake is that stretching and folding your dough actually does the opposite– it makes the dough rise more quickly!  This is for two reasons.  First, it redistributing the yeast so it doesn’t concentrate into pockets.  Second, it stretches out the gluten protein strands so the gluten net becomes stronger and better able to trap the carbon dioxide gasses.   So if you want your dough to rise more quickly, do more stretch and folds.  If you want your dough to rise more slowly, leave it alone.


7. Forgetting to feed the sourdough starter.  For me, there has been a steep learning curve for working with sourdough.  Actually using the sourdough in bread is the easy part.  The hard part is in caring for the starter itself.  There’s a reason why Anthony Bourdain’s sketchy co-worker in Kitchen Confidential calls the restaurant in the middle of a bender pleading for someone to “feed the b****,” aka his starter!

Starters require flour and water.  The yeast in the starter feast on starches in the flour.  Once you have a starter in your possession, you need to either feed it every day if it’s active at room temperature, or once a week if it’s dormant and living in your refrigerator.

I will usually use up almost all my starter, leaving maybe a teaspoon in the jar.  Then I’ll feed it with 75g of flour and 60g of water.   That gets me to just over 135g, which is slightly more than I’ll need for my 1-2-3 bread.

Here’s what happens if you don’t feed your starter.

At some point, the starch runs out.  Then the yeast move on to the next nutrition source: protein.

What is protein?  Gluten.  

It’s very tragic when your yeast converts to eating protein.  It means you can create a beautiful gluten net using stretches and folds, and just as you are about to shape your dough and put it in the oven, it turns into a gloppy mess.  And there’s nothing you can do about it.  In the dough above, you can see that there is no discernible gluten formation, because the yeast attacked the gluten net.

Feed the b****, people.  This has been a public service announcement from the Bread Maiden.


6. Feeding starter without dumping some out.  Just as important as making sure to feed your starter regularly is making sure to either use most of it or dump most of it out before you feed it.  This is for the same reason as #5.  If the yeast run out of starch to eat, they will convert to eating gluten.  Once your starter is converted to eating gluten, you get this:


There are tons of recipes out there for using up starter.  If you don’t want to make bread, you can use sourdough starter in English muffins, waffles, pancakes, pan de chapa, pretty much any baked good that benefits from some gluten and from a sour flavor (so, that rules out most quick breads like cakes or muffins).

Thanks for checking out my post on baking mistakes!  For numbers 5 – 2 go here, and here is #1.

The Science Behind… pan de chapa (griddle bread)

Hey friends,

I thought I would write a short post on the science behind pan de chapa (and by extension, English muffins), since the technique for cooking them on a griddle is different from basically every other bread I’ve ever done.

That’s not to say griddle cooking is unique to pan de chapa.  Most quick breads are baked on a griddle – think roti, chaputi, tortillas, or pita (some people even cook pizza in a searing hot griddle).  What do they all have in common?  They are flat breads, so they cook quickly with most of their surface touching the heat source and don’t get a crisp crust like most breads baked in the oven. Some flat breads are leavened with yeast, others are not.

In this post I will cover:

1. What makes griddle cooking unique from other cooking methods?
2. High heat or low heat for best cooking?
3. To grease the pan or not to grease the pan?
4. How can I tell when the pan de chapa is done?
5. Why did you add sourdough starter to the pan de chapa dough?
6. Can any bread be cooked on the griddle?

1. What makes griddle cooking unique from other cooking methods?  From a science perspective, cooking on the griddle removes two types of heat that are responsible for baking bread – radiation and convection.

For those who need a refresher, bread baked in an oven relies on three sources of heat: radiation, convection, and conduction.

Radiation is the heat that is put out by the oven.

Convection is the warm air circulating inside the oven.

Conduction is the bread dough’s contact with a hot surface, such as a baking sheet or dutch oven.

By cooking your dough on a griddle on the stove, you are only really working with a conductive heat source (the griddle). That means heat transfer is only happening on one surface of your dough – the one touching the griddle.  For this reason, you don’t have to worry about the top and side surfaces hardening and browning too quickly.  

Which leaves you to focus on the browning that occurs on the bottom of your dough as it cooks.

Browning is a good indicator that your bread is doing what it is supposed to be doing:

  • The yeast is going into a frenzy releasing lots of carbon dioxide (causing the dough to puff up), and then when the temperature gets too high, dies off.
  • Milk, egg and gluten proteins are coagulating (solidifying) around the carbon dioxide bubbles, creating large holes
  • As the proteins coagulate, they give up water which the starch in the flour absorbs.  When the temperature gets too hot, the starches burst and release sugars, salt and protein that aid in browning the crust.  This is called the “Maillard reaction.”  If these three steps take place, a brown crust will be your “tell” that all is happening as it should.

2. High heat or low heat for best cooking?  Good question!  It depends on the bread you want.  High heat is good for breads that become crispy when they cool, or that puff up to form a pocket, like pita bread.  Low heat is better for softer, denser breads like English muffins, bread for gyros, and pan de chapa.

3. To grease the pan or not to grease the pan? I’ve seen recipes (including Mallmann’s) that suggest you grease the griddle before cooking the dough.  However, my MIL’s English muffin recipe doesn’t call for it, instead coating the dough with corn meal to keep it from sticking to the griddle.  I think perhaps doughs that are higher hydration could benefit from a light touch of oil but I’m not entirely sure.  I mean, pancake batter is a dough cooked on the griddle, right?  And I butter the griddle before adding them.  So, I guess the answer to the question is… maybe? High heat and a firmer dough can prevent sticking, so I would suggest trying those before resorting to oil or butter.


4. How can I tell when the pan de chapa is done?  It depends on how accurate you want to be.  For some truly flat, flat breads, they puff up, solidify or turn brown.  Since pan de chapa is pretty thick, you might choose (as I did) to take the internal temperature of your breads to make sure each one is fully cooked through.  When the middle of the bread reaches 190 degrees F., it is done.  Otherwise, just keep checking how the browning is going, and when both sides are nicely browned they are done.  If your crust is browned but the inside is still doughy, never fear – just slide them on a baking sheet and put them in a 350 degrees F oven for 10 minutes or so.

5. Why did you add sourdough starter to the pan de chapa dough?  For leavened breads, the yeast bacteria don’t just make your bread puffy by releasing carbon dioxide- they also release ethyl alcohol, which gives bread lots of good flavor.  The longer you give your bread dough time to ferment, the stronger and more flavorful your bread will be.  That is why sourdoughs taste so good – the starter has been fermenting for a long time, building up the ethyl alcohol. 

Francis Mallman’s pan de chapa recipe, however, has a very short fermentation time- only about two hours.  I wanted the breads to have lots of flavor, so I threw in a bunch of active sourdough starter along with the commercial yeast.  You don’t have to do this, though.  If you don’t have any sourdough starter laying around, you could always mix up the dough and stick it in the refrigerator overnight to ferment. 


My MIL was suggesting other ways to add to the flavor of these – rosemary would be nice, or lard instead of olive oil, or even shredded cheese like cheddar or parmesan. 

 
6. Can any bread be cooked on the griddle?  In doing research for this post, I have a new respect for how many different types of breads are cooked on the griddle – so many more than I listed here.  It’s convenient for people out in the wilderness or without access to an enclosed oven structure, and it’s fast.  I imagine most breads could be cooked on the griddle, as long as they are flat.  This is not the way to cook your boule or other spherical shape!  More surface area touching the griddle = more even baking.

Thanks for checking out my post on the science behind pan de chapa!  If there’s anything I missed or something that’s unclear, please leave me a comment below.


A More Precise Pan de Chapa (griddle bread) for Bakers

For Christmas this year, Mr. Bread Maiden and I gifted each other our favorite things: cookbooks!  I received Marcella Kriebel’s Mi Comida Latina, and I gave Mr. Bread Maiden Francis Mallmann’s Seven Fires.

Mallman doesn’t focus much on the breads section of his book, but one recipe really jumped out at me: Pan de Chapa.  The only bread I ate in Argentina was their version of french bread rolls (edit: also tortas mendocinas, aka sopaipillas).  So I was interested in trying this out.

A few weeks ago, my MIL and I made her famous English muffins.  They use up a lot of sourdough starter, which can be good if you find yourself with a surplus.  This pan de chapa recipe didn’t originally contain sourdough starter, but I thought it would add some good flavor since they don’t ferment for very long.  The recipe still relies on commercial yeast for the rise, though.

I used my MIL’s English muffin recipe as a guide for cooking these panes de chapa because Mallmann’s recipe is not very specific.  For one thing, the recipe is by volume, not weight.  This is a shame since Mallmann is Argentine, so clearly someone had to convert the recipes to volume for the US version of his book.  Why not include both sets of measurements next time?

Also, he calls for a griddle that is preheated to “medium-low,” then “low.”  What does that mean in the context of a griddle placed on a roaring fire?  Does he mean medium-low for a stove burner?  In this case, the English muffin recipe called for a griddle at 350 degrees F, so that is what I did.

Pan de chapa means hotplate bread.  I call it griddle bread because I think it sounds better, and because I cook them on a griddle.

For twelve pieces, you will need:

500 g AP or bread flour
310 g warm water

(OR 100g sourdough starter, 400g flour and 265g water)

1 tbls salt
1 tbls olive oil
5 g yeast

1. Mix together the ingredients until combined.

2. Let the dough rest for about five minutes, then stretch and fold a few times.  Cover tightly and let rise in a warm place for about an hour.

3. Place the dough on a floured surface and roll it out with a rolling pin until it’s about 8×12”.

4. Using a pizza slicer, cut off the uneven ends, then divide into squares.  Mine are each about 2-3 inches on each side.

5. Transfer squares to a floured baking sheet, cover and let rise again for another 30 minutes.

6.  At about 15 minutes before you plan to cook the breads, start warming the griddle.  You want it to be about 350 degrees F.

7. Transfer the pieces to the griddle and let them cook until the bottom is brown, then flip.

After about a minute on the griddle

After five minutes on the griddle

8. Let cook until the internal temperature reaches 190 degrees F.

9. Move the finished pieces to a cooling rack. Once they are completely cool, you can slice them open and eat with butter or use them for sandwiches.

These are a bit small for sandwiches, so I’ll probably toast them and eat them for breakfast with butter and jam.  I’ll definitely make them again – the sourdough adds a really nice flavor to the pan de chapa.

I’m thinking since the cooking method is different from most of my other breads, I’ll do a “The Science Behind…” post on pan de chapa.  Stay tuned!

Chocolate Babka with cinnamon and spice

I typically don’t bake sweets.  I’m not big on cakes, pies or cookies.  Not on baking them, not on eating them.

Well, my blueberry yogurt cake is a little sweet, but you know what I mean.

Anyhoo.  My office is hosting a bake-off this Friday, and entries must be sweet.  I brainstormed with Mr. Bread Maiden about making the blueberry yogurt cake, since it’s super easy and I would have to make this thing on a weeknight.  He said that wasn’t special enough.  So instead, I came up with this: chocolate babka.

I’ve never made one before, but Peter Reinhart has a recipe in Artisan Breads Every Day, and the man has never steered me wrong.

Also, one of my favorite baking blogs, Smitten Kitchen, made a beautiful babka pattern that I’ve been itching to try.

For two bread-pan-sized loaves, you will need:

For the dough:
2 Tbs instant yeast
¾ cup milk, warmed
6 Tbs/85 g melted butter
6 Tbs/85 g sugar
1 tsp vanilla extract
4 egg yolks
3 1/3 cups/425 g flour (all-purpose or bread flour)
1½ tsp salt

For the filling:

170 g cold semisweet chocolate (chips, chunks, or chopped)

50 g cold dark chocolate with chili powder
¾ tsp cinnamon (more if you like)
¼ cup/57 g cold butter, cut into small pieces

For the glaze:

1/4 cup sugar
1/4 cup hot water

1. Mix the yeast and milk in a small bowl; set aside.

2. In the bowl of a stand mixer, cream together the butter and sugar.  add the vanilla to the eggs and then add them one at a time to the butter and sugar mixture.  Then add the flour until it is the consistency of bread crumbs.

Add the yeast and milk and knead the dough for five minutes on medium speed.

3. Let the dough rest for about ten minutes, then transfer to a large oiled bowl, cover, and let rise in a warm place for 2 hours.

4. While the dough is rising, prepare the filling.  Using a food processor, pulse the chocolate until it is very fine.

Add the cinnamon, then the cold butter until it almost comes together.

I didn’t have enough regular chocolate so I added some chili powder chocolate.  I was hoping it would give the bread a tiny kick but you really can’t taste it.

 Transfer the chocolate to a small pyrex bowl and microwave until melted, about one minute.

Peter Reinhart says to spread the chocolate onto a piece of parchment paper on a baking sheet, then refrigerate the chocolate until it is firm.  But Deb Perelman doesn’t have you refrigerate the chocolate, and I think next time I’ll skip that step.  I think it would roll easier if it were melted.

5. When your dough has risen about 1 1/2 times its original size, place it on a clean, floured counter and cut it in half.  

Roll one half into a large rectangle, then spread the filling into a thin film on the dough.  Carefully roll the dough up, then cut it straight down the middle using a pastry scraper.


This method of braiding the babka is Israeli in origin and called a Krantz cake. 

6. Spread out your two halves next to each other, pinching one set of ends together.  Carefully braid the two halves together so the layers of chocolate and dough are visible.  When you are done, pinch the bottom ends together.  Transfer the dough to a bread pan lined with parchment paper.

7. Repeat steps #5 and #6 with the second half of dough.

8.  When your dough have risen to about the top of your bread pan, preheat the oven to 375 degrees F.  Generously brush your sugar glaze over the top of each loaf.  Bake the loaves for 20-25 minutes, then rotate and continue baking until each is a deep, deep brown.

 9. Remove loaves from the oven and let cool in the bread pans for about 10 minutes, then remove to a cooling rack.  Slice when the loaves have completely cooled.

Fingers crossed, guys!  The bread tastes like angels singing, but it’s pretty understated as far as sweets go.

The Science Behind… Baking, Part II

Hey everyone!

I decided to break the baking science post into two posts so it’s not information overload.  In the first post, I touched on the following questions:

1. What is baking?
2. What does the yeast do when it’s baked?  What does baking powder/baking soda do?
3. What does the gluten do?
4. What does the water do?

In this post, I’ll cover:

5. What is oven spring?
6. What temperature should I bake my bread at?
7. How can I get a hard/soft crust?
8. How will I know when my bread is done baking?

Ok, let’s go!
 
5. What is oven spring? It’s the moment you’ve been waiting for – oven spring!  This is probably the most exciting part of the whole baking shebang.  The bread puffs up until the yeast are exhausted or the crust hardens, preventing it from puffing anymore.

Sometimes you want to control how the dough puffs up during oven spring.  This is called scoring – creating a pleasing pattern in your baked loaf by cutting into the dough with a knife or razor blade, creating a pleasing pattern.   Scoring creates weak points in the gluten net that will expand more than other areas.

The bread puffs up during baking because the yeast go crazy with the high temperature in the oven.  The process of yeast eating the sugars and burping out carbon dioxide gets faster and faster the hotter and hotter it gets, until at a certain temperature the yeast all die off.

If your dough is really high hydration and you can’t score it, the bread will have uneven oven spring – which can give your bread a very rustic look.

Often if you don’t get enough oven spring, it’s the result of too low an oven temperature, or lack of good gluten formation.  The temperature of your oven needs to be hot enough that the yeast go into a frenzy and release bubbles of carbon dioxide before the crust gets too hard.  375 degrees F is about the lowest you can go and still get oven spring.  Too little oven spring could also mean that you didn’t have enough gluten formation in your dough – the carbon dioxide was able to escape because your gluten net was faulty.  This results in a dense loaf of bread.

Another symptom of poor gluten formation is if you get a big bubble right under the crust.  This means your small carbon dioxide bubbles were able to amass and attempt to escape the dough – until the crust hardened and trapped the now very large carbon dioxide bubble.

6. What temperature should I bake my bread at?  First, let’s talk a little bit about heat.

When bread is baked, it is exposed to two kinds of heat: convection and conduction.  The first, convection, is created by the oven.  The oven heats up the air all around the dough.  This type of heat causes the crust to harden.  Conduction is heat transfer through whatever hot surface the dough is placed on.   Exposure to a hot surface causes the heat to move into the interior of the dough, activating the yeast to produce lots of carbon dioxide.

Here’s the problem bakers face: you need both convection and conduction to occur to get good oven spring (big holes!) and a crispy crust.  HOWEVER:  if your oven is really hot (needed for crispy crust), the crust will harden before the dough is done expanding.  In order to get lots of oven spring, you want conduction to be the key player FIRST, then allow convection to give you a crispy crust.  Bakers have lots of tricks for doing this.  Most commercial kitchens have a steamer oven that injects moist steam into the oven to prevent the crust from hardening too early.  Home bakers have improvised all kinds of ways to inject steam – pouring water into a baking sheet at the bottom of the oven, throwing ice cubes in there, using a sprayer bottle to spray the crust with water, etc.

My favorite method is the dutch oven method, shown here starting at 2:55.

Here’s how it works.

When you preheat the oven, allow the dutch oven (covered) to warm up inside the oven.

Then, when the oven is ready, transfer your dough to the dutch oven and put the lid back on.  Bake, covered, for 25-30 minutes.

Then remove the lid and continue cooking for another 15-20 minutes or until the bread is done (see #8).  The dutch oven creates a smaller space for air to circulate, and it traps the water that leaves the dough during baking, creating its own steamer and keeping the outside of the dough moist while oven spring is occurring.   Then, when you remove the lid, convection can occur, creating a crusty crust.

7. How can I get a soft crust/hard crust? There are a few ways to control the type of crust you get.  Most importantly, the temperature of your oven is a big factor.  A cooler oven will result in a softer crust.  A hotter oven, a crustier crust.  Most enriched doughs are baked around 375 degrees F, while baguettes and other crusty breads are baked between 450-550 degrees F.

Not all doughs will result in a crispy crust, though.  You need lots of gluten formation, which means you want to remove all dough softeners like milk, eggs, butter, fat, and oil.  You also want to remove anything that might burn in high heat, such as raisins or bacon.  

If you are looking for that soft crust, you can also brush the top of the loaf with butter, water, egg wash or milk to keep it moist while the dough is baking.

Keep in mind when you are going after that soft crust that, due to the lower temperature of the oven, you won’t get large holes in the crumb. 


8. How do I know when my bread is done baking?  There are three ways to tell your (yeast) bread is ready, with varying degrees of accuracy.  I’ll get to quick breads in a second.

  • First, taking your bread’s temperature.  A bread that is done baking will register an internal temperature of 190-200 degrees F.  This is the most accurate measure of whether a bread is done baking.

  • Second, giving your bread a big ol’ thump with your fingernail.  If your bread sounds hollow, it’s done baking.  This also gives you a chance to feel the crust and see if it’s nice and crusty.  If your fingernail can push into the loaf, it’s not done yet.  Even a soft crust should feel hard at this point (it’ll soften as it cools).

  • Third, looking at the loaf to see if the outside is nice and golden brown.  This is the least accurate of your three options, since a brown crust is not always an indicator that the inside of the loaf is cooked through.  But it works when you are checking on the dough through the oven door.  

If you are making a quick bread using baking powder or baking soda (such as biscuits, banana bread, muffins, or Irish soda bread), doing a fingernail thump is out of the question because the dough isn’t as airy as a yeast dough and the crust doesn’t get as hard and crusty.  So you will have to rely on three different techniques to determine doneness.

  • First, take its temperature.  Again, bread that registers between 190 and 200 degrees F is done.
  • Second, the toothpick test.  This is probably the test for doneness that most people are familiar with.  Using a wooden toothpick, stick it into the middle of the loaf (or as close as you can get), then draw it out.  If the batter sticks to the toothpick, it’s not done yet.
  •  Third, pressing down on the top of the loaf.  This is different from the fingernail thump, since quick breads don’t typically develop a hard crust or sound hollow.  But they should feel solid to the touch, not mushy.  

At this point, you’ve had a lot of science thrown your way.  In order to make it simpler to understand, I created this (sorta scientific) chart.

To read it, start from the lowest time and temperature (when you put your bread into the oven) and work your way up.  Hopefully this clarifies how each step and ingredient work together to create bread.

    In researching this post, I found a website on bakery technology that is awesome.  If you feel the need for an even deeper dive into baking, click on the link.

    That’s it!  The science behind baking.  There’s only one more post left … the science behind cooling and staling.  Stay tuned!

    The Science Behind… Baking, Part I

    Hey everyone!

    At this point, we are almost done covering the science behind the baking process.  Now, we get to the most exciting part of all: baking!

    In this post I will cover:

    1. What is baking?
    2. What does the yeast do when it’s baked?  What does baking powder/baking soda do?
    3. What does the gluten do?
    4. What does the water do?

    In the next post, I will cover:

    5. What is oven spring?
    6. What temperature should I bake my bread at?
    7. How can I get a soft crust/hard crust?
    8. How do I know when my bread is done baking?

    Ok, let’s get started!

    Wait!  First I must confess: this post was a bear to research.  Sometimes I felt like giving up.   I spent a lot of time thinking about how best to present all the information I had found, and how deep to go into the science.  I didn’t want to under- or overestimate my readership.  That’s why I finally decided to split this post into two parts.  That way it’s not information overload, but it also keeps everything that is important for understanding the baking process.

    Now we can continue.

    1. What is baking?  When we talk about baking, we are talking about two main things: 1) the crust solidifies and gets brown and crusty.  2) the dough puffs up and the interior solidifies around big holes.

    But you probably knew that already.  What is baking really?

    Baking is the chemical and physical processes whereby a dough solidifies into bread using heat.  During the baking process, the yeast get all frenzied from the heat, release carbon dioxide bubbles, and then die off.  The gluten proteins surrounding the gas bubbles coagulate around the bubbles, leaving air pockets. Gelatinization of starches, and water being removed from the surface of the dough, cause a hard brown crust to form.

    That’s my quick and dirty definition of baking.  But there’s so much more to explore.  I’ll admit, this is the part of the process that required the most research on my part.  There is so, so much going on during baking, more than I could ever include here.  If you want to learn more, at the end I’ve included a link to a website that was helpful to me, and it goes into much more detail about the various chemical reactions taking place during baking.  
     

    2. What does the yeast do when it’s baked?  What does baking powder/baking soda do? As I mentioned in Question #1, yeast DIES when it gets baked.

    Ok, let me back up for a second.  Yeast is a single-celled organism that eats the sugars in the dough and releases carbon dioxide gas as a waste product.  This carbon dioxide causes dough to rise.  Have you ever noticed that when you let a dough rise in a warm place, it rises faster?  Or that if you put a dough in the refrigerator, it doesn’t rise at all?  That’s because heat causes the yeast to digest sugar, release carbon dioxide and reproduce more quickly.

     If you get a chance, check out Alton Brown’s clips on baking, where he demonstrates the yeast life cycle using sock puppets!

    At the beginning of the baking process, that is exactly what the yeast does – as the dough rises in temperature, the yeast’s life cycle gets faster and faster.  Eventually, when the internal temperature of the dough reaches 130 degrees F, the oven is too hot and the yeast get killed off.  Which is why oven spring (more on that later) only occurs in the first part of the baking process. 

    What about baking soda and baking powder?  Unlike yeast, which are living organisms, baking powder and baking soda are made up of mostly sodium bicarbonate, a chemical.  When mixed with an acid such as vinegar or yogurt and heated, the sodium bicarbonate releases carbon dioxide just like the yeast.  However, because the process is nearly immediate, there is no time for gluten proteins to form.  We’ll talk about why this is important in Question #3. 


    3. What does the gluten do?  Oh my goodness, I feel like a broken record when I talk about gluten.  As you might remember, gluten is formed when two proteins, glutenin and gliadin, mix with water to form long protein strands.  These strands stretch around your dough, creating a taut net that holds the dough together and traps the carbon dioxide bubbles being released by the yeast.  No gluten formation = no airy holes in your bread.

    During baking, these gluten strands coagulate and solidify, much like egg whites coagulate when they are cooked.  In fact, that is a good mental picture for the gluten coagulation – think of a fried egg white cooking in the pan, slowly going from liquid to solid form.  This is what gives bread its chewy texture.  In the same way that egg whites can get rubbery, high protein flours like bread flour or all-purpose flour create breads that are chewier than breads made with whole wheat flour or that include gluten softeners like fats.

    Quick breads made with baking powder or baking soda must be baked quickly because the chemical reaction between sodium bicarbonate and acid is almost instantaneous.  Therefore, no gluten really develops (nor would we want it to – most quick breads are prized for their tenderness and would be ruined by gluten’s chewiness!).  These breads tend to be dense because they lack the gluten proteins necessary to coagulate around the carbon dioxide to create air bubbles.  Instead, these types of breads often rely on EGG protein to coagulate and create the loaf’s structure.

    4. What does the water do?
     This is really interesting- I had no idea the role water plays in successful bread baking.  I used to think that oven spring (more on that in Question #5) was caused by water in the dough boiling and releasing steam, but I now know that that is not the case – the bread doesn’t ever get hot enough (212 degrees F) for the water within the dough to boil.  It does have a role in oven spring, just not how I thought!

    Instead, the water does four different things over the course of the baking process.

    • First, about 5% of the water at the surface of the dough is released as steam.  By using my dutch oven technique detailed in Question #6, you can trap some of the steam, keeping the surface of your dough moist to maximize oven spring.
    • Second, the starch in the dough (basically, the sugars) starts absorbing lots of the water in the dough in response to the heat.  Where does the starch get the water?  From the gluten strands, of course!  As the dough bakes, the proteins “denature,” releasing some of their water content.  This causes the gluten strands to become rigid.  
    • Then, around 122-140 degrees F, the starch molecules burst, releasing their gel (remember, they’ve sucked up lots of water) in between the gluten strands.  Where the starch proteins were originally well-structured, the gelatinization process causes them to lose their structure.  This gel includes amylase and amylopectin glucose molecules, two of the elements responsible for the browning (also the staling) of the crust.  
    • Finally, when the surface of the dough has released most of its water to the dry air in the oven, the amylase molecules, proteins and amino acids from the flour are able to react to the heat to form the browned crust.  So in a sense, at this stage it is the ABSENCE of water that makes the difference.


    So this is the end of The Science Behind…Baking, Part I.  For Part II, go here.

    In researching this post, I found a website on bakery technology that is awesome.  If you feel the need for an even deeper dive into baking, click on the link.

    I hope you enjoyed this very detailed look at baking.  The next post, on cooling and staling, will be shorter, I promise!

    Most popular posts of 2015

    Hey everyone!  We’re two days away from 2016, so for the first time I’m jumping on the ‘top posts’ bandwagon.  This was a great year for me and the Bread Maiden blog.  We welcomed our second Little Bread Dude into the family, and I also welcomed my new series, The Science Behind… to my blog.  In the past two months I have written and published more than twice as many posts (28!) as any other entire year since I started this blog!

    I’ve been so amazed to see the response both have gotten, and I hope to continue adding more scientific posts in the new year.  It has been such a pleasure to do more “deep dives” into the science behind bread baking and getting to share what I’ve learned over the years with my readers.

    So without further ado, my most popular posts written in 2015.

    10) The Science Behind… Measuring Your Ingredients.  I’m really glad this post was one of the most-read of the year.  Good bread really starts with measuring accurately.

    9) The Science Behind… Raspberry Breakfast Cake.  This was a new favorite recipe in 2015, based on Shauna Niequist’s blueberry yogurt cake.  I’ve made it countless times this year, including one unforgettable instance at the beach house this summer, when I took the cake out of the oven and set it (in its pyrex baking dish) on the stovetop to cool, then went out to the beach.  While I was out there, my MIL accidentally turned on the wrong electric burner to heat up a kettle of water, and the pyrex dish EXPLODED into millions of tiny glass shards that rained down on my beautiful, uneaten cake as well as all over the kitchen!!!  Once the mess was all cleaned up, it became a family joke.  I forgot to share that story in my original post, but now it’s here.

    8) Kugelhopf au lard.  Another of my favorite recipes!  I’ve been making this recipe forever and it’s always a hit.  I mean, how can you go wrong with bacon?  Here’s a The Science Behind… kugelhopf au lard post for readers who have gotten this far 😉

    7) The Science Behind… Thanksgiving Hangover Muffins.  I’m gratified that so many of my Science Behind… posts made it to the top ten.


    6) The Science Behind… hydration and baker’s percentages.

    5) My Favorite Recipe for Hamburger Buns and Rolls. Again, another favorite recipe that I was excited to share.   I was surprised to discover it doesn’t have a Science Behind… post.  Consider it forthcoming.

    4) Thanksgiving Hangover Muffins.  My two Thanksgiving posts made it in the top 10.  I’ve noticed that holiday breads do well on my blog, so maybe that’s another area I can expand on in 2016.

    3) Raspberry Breakfast Cake.

    2) The Science Behind… series page.  The page where I keep all my Science Behind… posts was the 2nd most visited post on my blog.  Incredible.  Again, thank you to my readers for making this series successful.  I have so much fun thinking up new posts and writing them.
    .
    .
    .
    .
    .
    .
    .
    And now, the most popular post of 2015 is *drumroll please*

    1) Bread Camp Round II.  I was not expecting this to be the most popular post!  What an interesting twist.  I’m not really someone who makes resolutions, but here is one I hope to keep in 2016: I’d like to hold more Bread Camp sessions in the coming year.  They are really fun.

    So those are my most popular posts of 2015.  Happy New Year, and I’ll see you in 2016!

    The Science Behind… kugelhopf au lard (bacon bread)

    Hello everyone!

    I hope you enjoyed my post on a favorite recipe of mine, kugelhopf au lard.  I also call it bacon bread, because it’s easier for people to remember.  This bread is enriched x1000: eggs, milk, bacon drippings, and butter, butter, butter!

    Therein lies the difficulty with this bread – but it’s totally worth all the effort.

    In this post I will discuss:

    1. What an enriched dough is – and what each ingredient does
    2. What is the relationship between the strengthening ingredients and the softening ones?
    3. Why do I need to do the stretch and folds?
    4. Why do I add the bacon at the end?
    5. Shaping your dough into a loaf shape

    Ok, here we go!

    1. What is an enriched dough?  You probably already know that the simplest bread only consists of four ingredients – flour, water, yeast and salt.  An enriched dough, therefore, is one that has other ingredients added to it.  Usually it’s used to describe doughs with lots of ingredients that SOFTEN the dough, such as milk, eggs and butter – basically ingredients that add fat.  The doughs also tend to be sweet with added sugar or honey.  They might even include dried fruit and nuts or, like this one, bacon.  Typical enriched doughs include challah, stollen, brioche, panettone – basically your holiday breads.

    The fat in a bread recipe creates that soft texture each of these breads is prized for.  Enriched doughs also make good sandwich breads because of the small holes in the interior of the bread.

    2. What is the relationship between the strengthening ingredients and the softening ones?  If you’ve been reading this series on The Science Behind…, you know that the most important chemical relationship that makes bread possible is the interaction between flour and water to form gluten strands.  These long strands stretch to form a net that traps carbon dioxide bubbles, leading the bread to rise.  The more you knead your dough, the stronger the net becomes.  A strong net traps more carbon dioxide bubbles, resulting in a light, airy dough.

    However, in an enriched bread, the fat in the butter, milk, eggs, lard or bacon drippings SOFTEN the gluten net.  The dough is stickier and acts like a wetter dough.  I might even call it “flimsy” in the sense that it doesn’t easily form the round ball of dough that is the result of good strong gluten formation.

    The ingredients also weigh down the loaf, so during baking it has the tendency to become dense and not airy.  To counterbalance this tendency, a lot of yeast must be added so it still rises and you still get the oven spring.  A deft hand is required to make sure the dough still creates the gluten net that will trap carbon dioxide gases from all that yeast.

    3.  Why do I need to do the stretch and folds? As I mentioned in the last question, enriched doughs have a tricky confluence of ingredients to work with: first, all those heavy fats that want to weigh down your dough, softening the gluten strands and making it all sticky, and second, lots and lots of yeast that still needs a gluten net to trap them all in and guarantee a risen loaf.  Whereas in my usual baking I use a little bit of yeast and let time create the gluten strands naturally, I don’t have that luxury here.  Commercial yeast acts quickly when you have a lot of it – you might have two hours during the leavening period.  You will need to mess with the dough to make sure the gluten net forms before the rise.  And sticky dough does NOT appreciate kneading.

    Enter the secret weapon: the stretch and fold.  Stretching and folding is like kneading in slow motion.  You don’t have to do it very much, and it yields big results for doughs that are wet or generally unworkable.

    Here is Peter Reinhart demonstrating the stretch and fold technique.

    What does the stretch and fold do?  When you first mix together the water and the flour, the protein in the flour (glutenin and gliadin) bonds with the water to form gluten strands.  But at first, these strands are all tangled up.  What kneading (or stretching and folding) does is stretch out the gluten strands so they are long and taut, forming the net to trap the carbon dioxide bubbles created by the yeast.

    I kinda like this mental image of gluten strands.  This is what you want gluten to do.  Stretching and folding achieves that.

    Since this dough has so much yeast, you need to make sure that gluten net forms quickly.  So several sessions of stretching and folding are needed.  You want to do one about every 15 minutes until you start to see the dough ball take shape.  Thusly:

    4. Why do I add the bacon at the end?  It has to do with — you guessed it — the gluten formation!  If you added the large pieces, like nuts, dried fruit, or bacon at the beginning, the gluten strands would have trouble forming around them.  By adding them at the end, the gluten net has already formed, and you don’t have to worry about it.  We added the milk, eggs and butter earlier on because they contribute to the hydration of the loaf and thus are necessary for the creation of the gluten strands.  Bacon does not.

    5. Why do I need to shape my dough into loaves?

    During the baking process, yeast releases one last huge blast of carbon dioxide, causing your loaf to expand in all directions.  This process is called “oven spring.”  Any weak points in your dough’s outer crust will explode more forcefully, which is why you want to make sure your bread is evenly shaped all over so it rises uniformly.  If you choose to bake these loaves in bread pans (which I recommend), there is a particular shaping technique that works best.  It’s almost like making a jelly roll, and this King Arthur Flour video describes it well:

    I hope this post has given you some insight about baking enriched breads and the motivation to try my kugelhopf au lard.  You won’t be sorry!