During my long hiatus from this blog, I’ve been thinking about the direction The Bread Maiden will take in the future. I still like having all my favorite recipes in one searchable place, and I have enjoyed sharing my bread-baking journey and my adventures in baking for my church’s monthly Communion observance with my followers.
Bread Camp, Round II
This past Saturday, I hosted a group of five women from the church book club at my house and taught them my tricks and techniques for making bread. I call it Bread Camp.
These are my notes after the first round of Bread Camp… this time the handout was 5 pages long!
It was really fun. Deb Perelman of Smitten Kitchen says in the intro to her book that until she started a blog, she had no idea how differently other people cook. I think the same goes for my Bread Camp. It’s a whole different animal trying to teach something to people for the first time, particularly something that has taken on an aspect of “muscle memory” for me.
The motions of shaping and kneading the dough are so familiar that it requires really focusing on what your hands are doing to be able to teach someone else. I remember at one point I was demonstrating how, after a short 10-minute rest, the dough was much smoother and easier to handle. I looked up from my perfectly-shaped dough, expecting to see nodding heads. Instead, everyone was looking at me like I was crazy as they struggled with a dough that was still sticky. I looked back at my smooth dough. How *HAD* I done that? I didn’t know. It took me a while to figure out just what I had done. Part of teaching is learning to teach, and this was a great “learning to teach” moment for me.
The Bread Camp I teach lasts two hours, during which I walk participants through the ingredients and supplies I use, some basic bread science, and techniques I’ve found helpful. I also do the second proof and bake a loaf of bread I prepare the night before, so they can see the whole process from start to finish. Also, this time we had some down time so everyone had a snack of bread and jam. It seemed appropriate.
Our class went really well. One of the things I love about teaching is being asked tons of questions. The questions were different this time around, and I think they give me a sense of where everyone is and what they hope to get out of the class. The participants in the class I taught last time were all twenty-something women with no kids. This time, I had a mix of ages and several were parents or grandparents. The questions I got were about nutrition, and about scheduling the bread for convenience. I loved it, because I could tweak the class and include those topics. I finished up the camp on a cloud of happiness.
As soon as everyone left with their dough, however, I started to get nervous. I was convinced I had left out some crucial tip that would lead them to fail. I was nervous that maybe I had made it seem too easy, or had overwhelmed them with too much information. I was nervous because I told them they could bake their bread in a stainless steel pot, a trick I’d read about online but had never personally tried. I was nervous because I told them they needed parchment paper but forgot to send them home with any. I wanted so much for their first bread baking experience to be good, to foster a love of baking we could share.
Why was I so nervous? During our class, I had repeatedly told them that baking bread is about being brave. After all, it’s just bread. It’s cheap as far as baked goods go, so if you make a hockey puck, it’s no huge loss to toss it and make another. Goodness knows I’d made my share of baking mistakes over the years (I still make them). What was I so worried about? I had given them the tools for good bread, so now I just had to be brave and trust that everything would be ok.
The next day, three of my friends sent me pictures of their finished loaves, and I was ecstatic. They turned out perfectly! With that, I was back on my cloud.
Here is one picture I received with some impressive oven spring and scoring action:
I love this one because my friend couldn’t get a picture before her family was clamoring to taste it 🙂 She said her son told her “Mmmm… I could eat this all day!”
The caramel color on this one is lovely, and look at the crackly crust!
At church yesterday, one of my friends gave a shout-out to my Bread Camp, and I’ve had a few offers to teach it again. I hope to do so soon, before Bread Baby #2 arrives!
Sorry this post was so word-heavy and picture-light. Don’t worry, I have several recipes I’ve been trying out lately that I can’t wait to share.
Pumpkin Bread
Y’all, let me get all Paula Deen up in here for a minute. This bread is goooood with like, four syllables.
I used real pumpkin puree I cooked myself, and once you have the puree, it’s crazy easy to throw together. It is delicious toasted with butter for breakfast.
The recipe comes from the Joy of Cooking.
You will need:
1 1/2 cups all-purpose flour
1 1/2 teaspoons ground cinnamon
1 teaspoon baking soda
1 teaspoon salt
1 teaspoon ground ginger
1/4 teaspoon ground cloves
1/4 teaspoon baking powder
1/3 cup water or milk (I used whole milk)
1/2 teaspoon vanilla extract
6 tablespoons unsalted butter
1 1/3 cups sugar, or 1 cup sugar plus 1/3 cup packed brown sugar (I did all brown sugar!)
2 large eggs
1 cup pumpkin puree
optional: 1/3 cup raisins or walnuts (I left these out)
1. I hate to say this now that you are all ready to go, but everything needs to be room temperature. What you can do is mix together the dry ingredients (the first seven ingredients listed) in a large bowl. Then leave the bowl on the counter. Measure out the milk, pumpkin puree, and butter and leave them along with the eggs on the counter and come back in an hour.
2. Preheat the oven to 350 degrees F and position a rack in the lower third of the oven. Grease an 8-cup bread pan and set aside.
3. At this point, you can make your brown sugar if you don’t have any handy. I really like this trick I learned a few years ago, because I always have fresh brown sugar in the exact amount I need, so it never dries out in my pantry!
For a cup of sugar, measure out a tablespoon or so of molasses. It’s not an exact science or anything. Using a fork, mix together the sugar and molasses until it looks like brown sugar.
Zucchini Spice Muffins and a trick for making brown sugar
Right now we seem to be overrun with zucchini and squash, how about you?
This is a great recipe for using up squash. You use 2 zucchini (or summer squash) for 12 regular-size muffins and 12 mini muffins, or 18 regular-size muffins. I like the mini muffins because they are so cute and you can just pop them in your mouth.
I got the original recipe here, although I made a few changes (swapped nutmeg for allspice, more oil, didn’t use her topping, swapped maple syrup for honey)
You will need:
Super easy!
3. Ok, now we can move on. Grate your zucchini.
Wrap it in a tea towel and, holding the squash towel over the sink, squeeze all the excess water out of the squash. This is key, don’t skip this step!
4. Transfer the squash into a medium-sized bowl or mixing bowl and add all the wet ingredients to it. Whisk to combine.
Mine was looking much drier than the pictures in the original recipe post, so I was a little worried.
5. Add the wet squash mixture to the dry ingredients and, using a spatula, gently combine.
At this point, it was clear my mixture was too dry.
I have made my share of muffins this year, and I’ve learned a little bit about how to “fix” little challenges like this. For some things, like pancakes, you can add an extra egg and it’ll be fine. However, in my experience adding an extra egg to muffins makes them too chewy. Instead, I added a few more tablespoons of oil. Did the trick!
6. Using a measuring cup or muffin scoop, fill the muffins almost to the rim. For this, I like using a 1/4 cup for the regular-sized muffins and a tablespoon for the mini muffins.
7. Transfer them to the oven and knock the heat down to 400 degrees F once they are in. Bake for 10 minutes for the mini muffins and 15 minutes for the regular muffins.
Fresh out of the oven!
8. When they are cool enough to handle, run a knife around the edge to extract them and move them to a cooling rack.
Glad I captured a finished mini muffin before Little Bread Toddler ate them all!
Top Five Myths about Baking Bread
Hi y’all! Deciding to teach a bread-baking class has opened me up to so many questions I had never considered before, and made me explore so many of my preconceived notions about baking. I’m going on ten years of baking bread, and there is still so much to learn. Here is a quick list of five beliefs *I* had starting out, and what I learned along the way.
Myth 1. You must be precise and follow the bread recipe exactly.
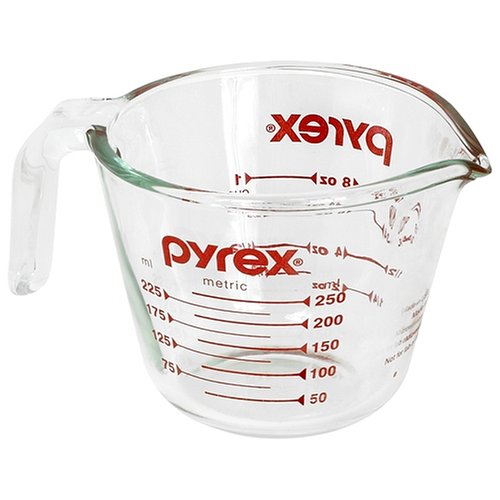
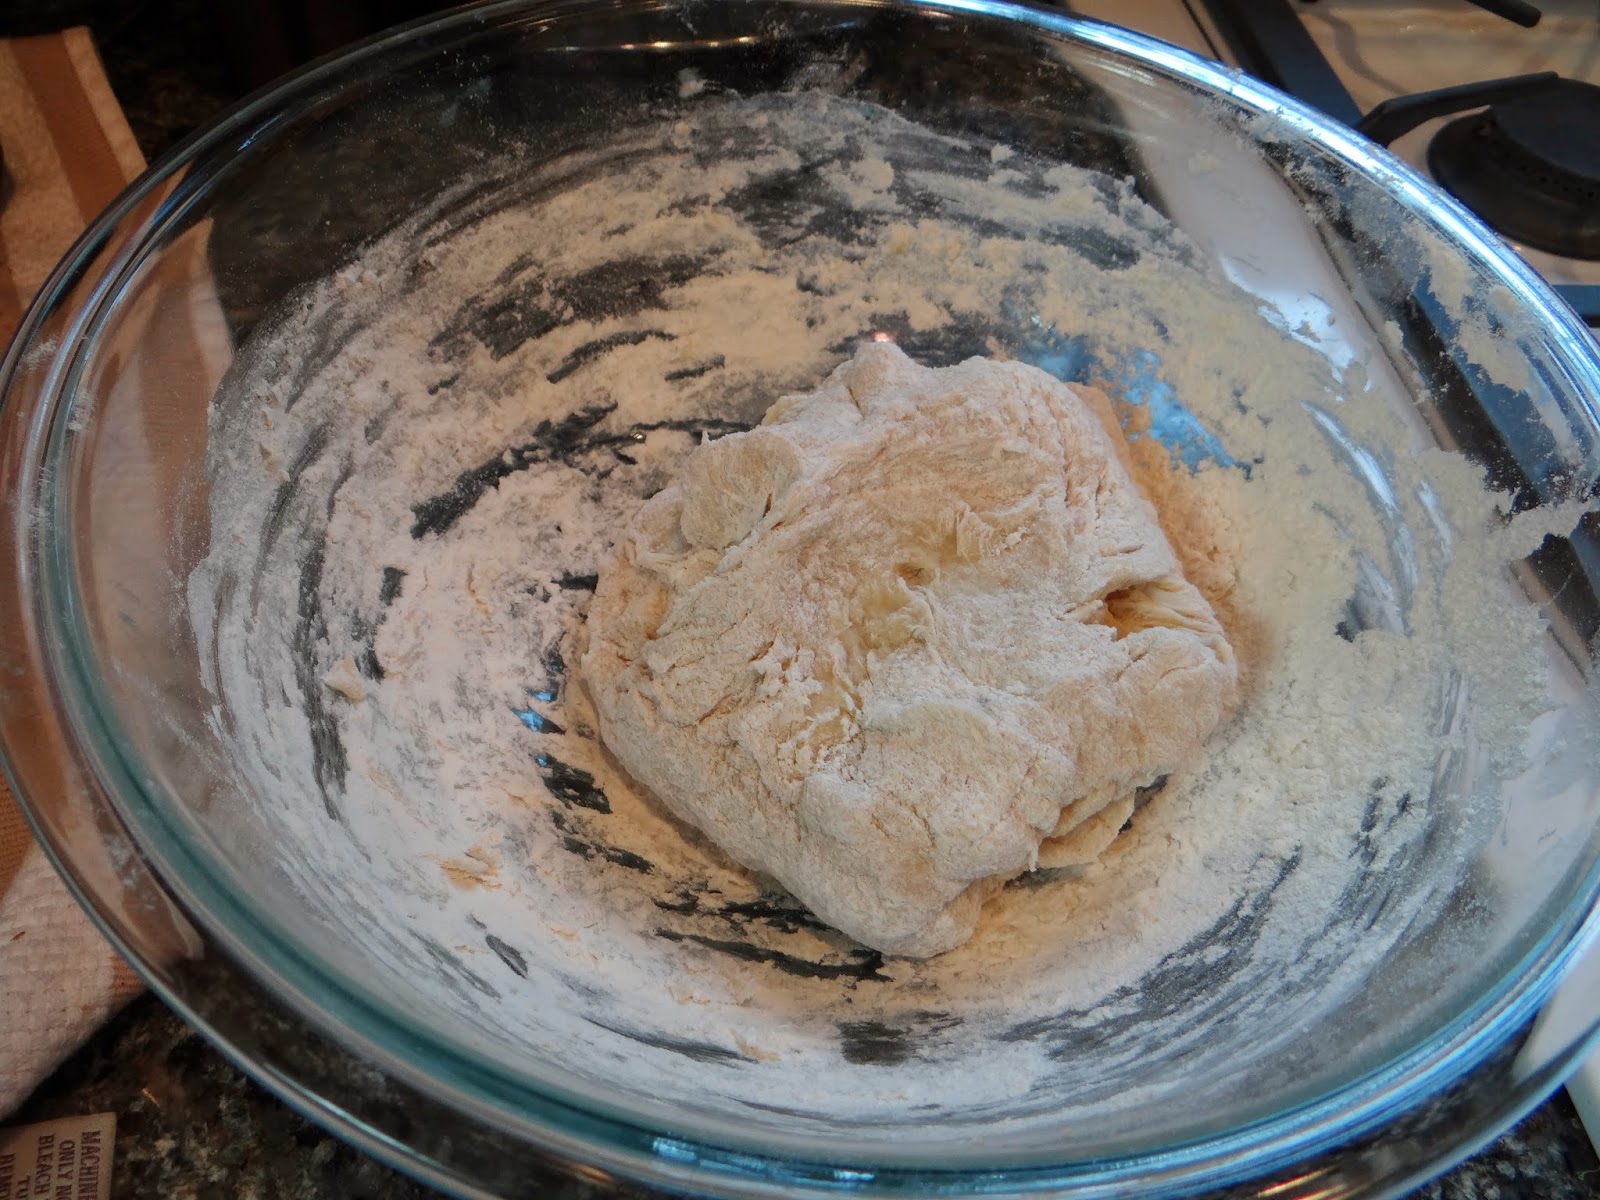
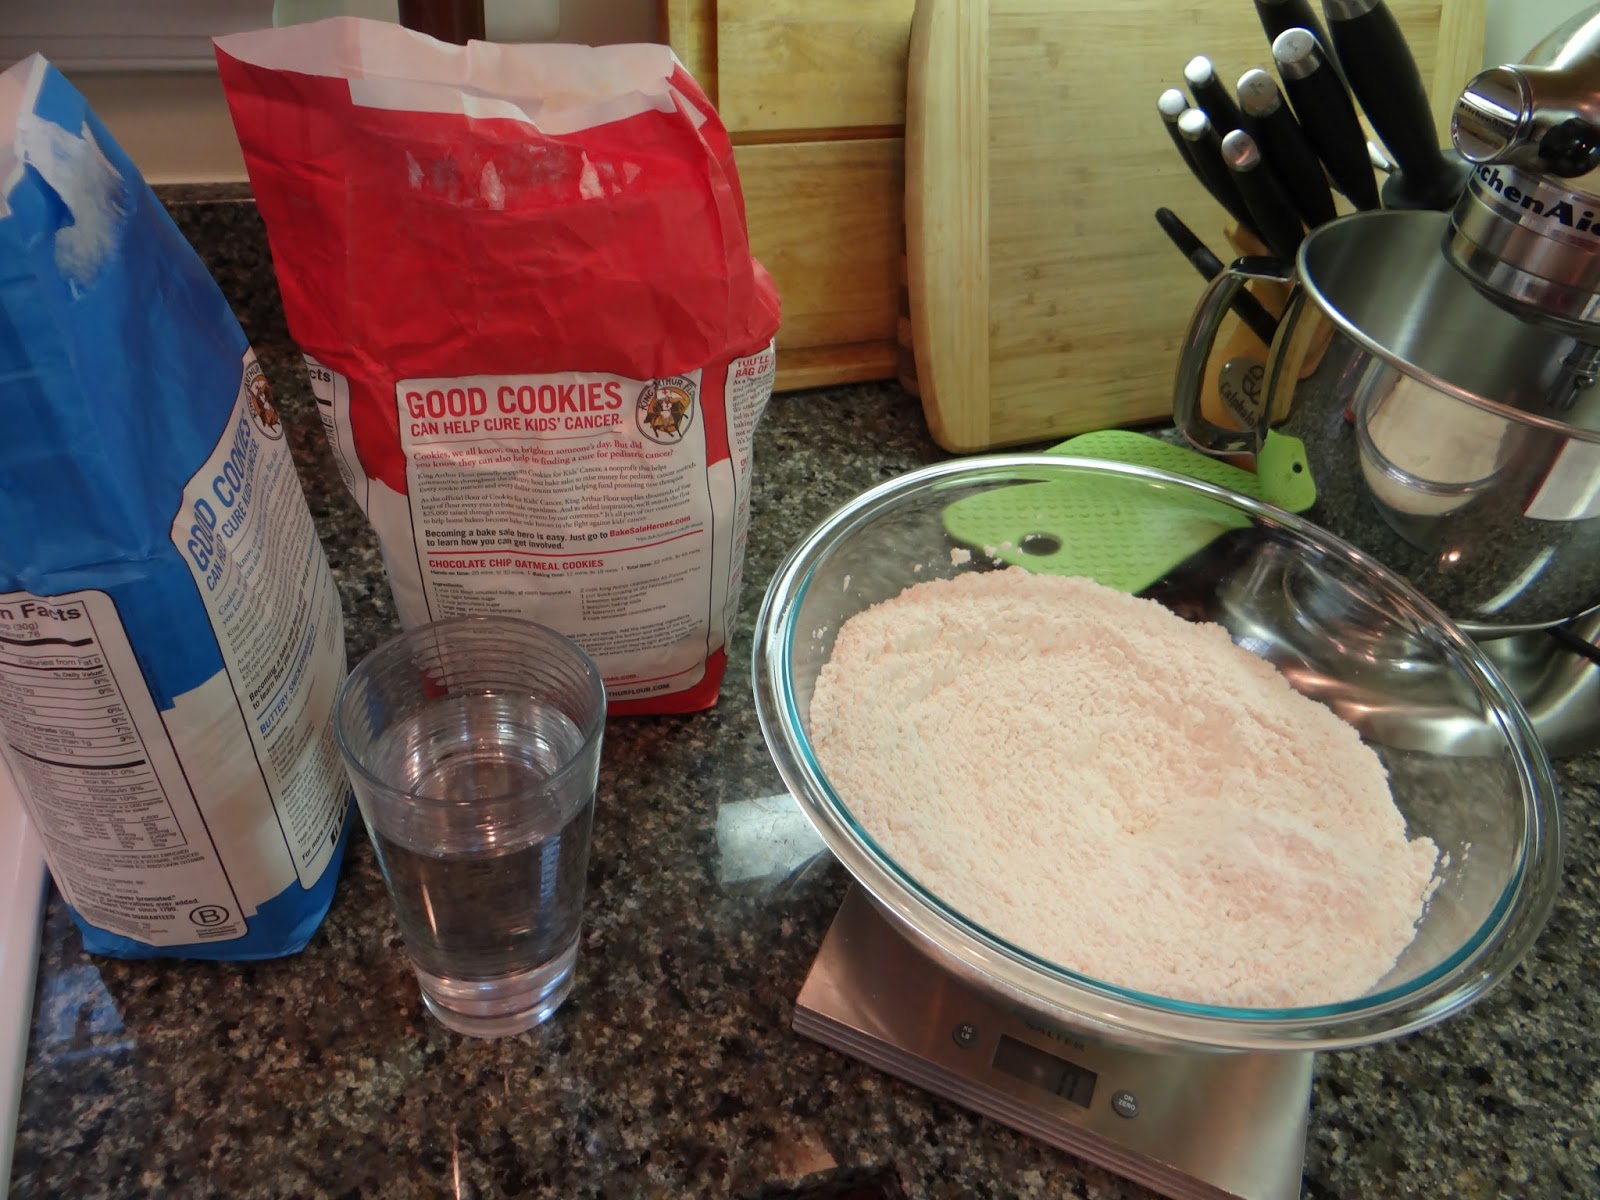
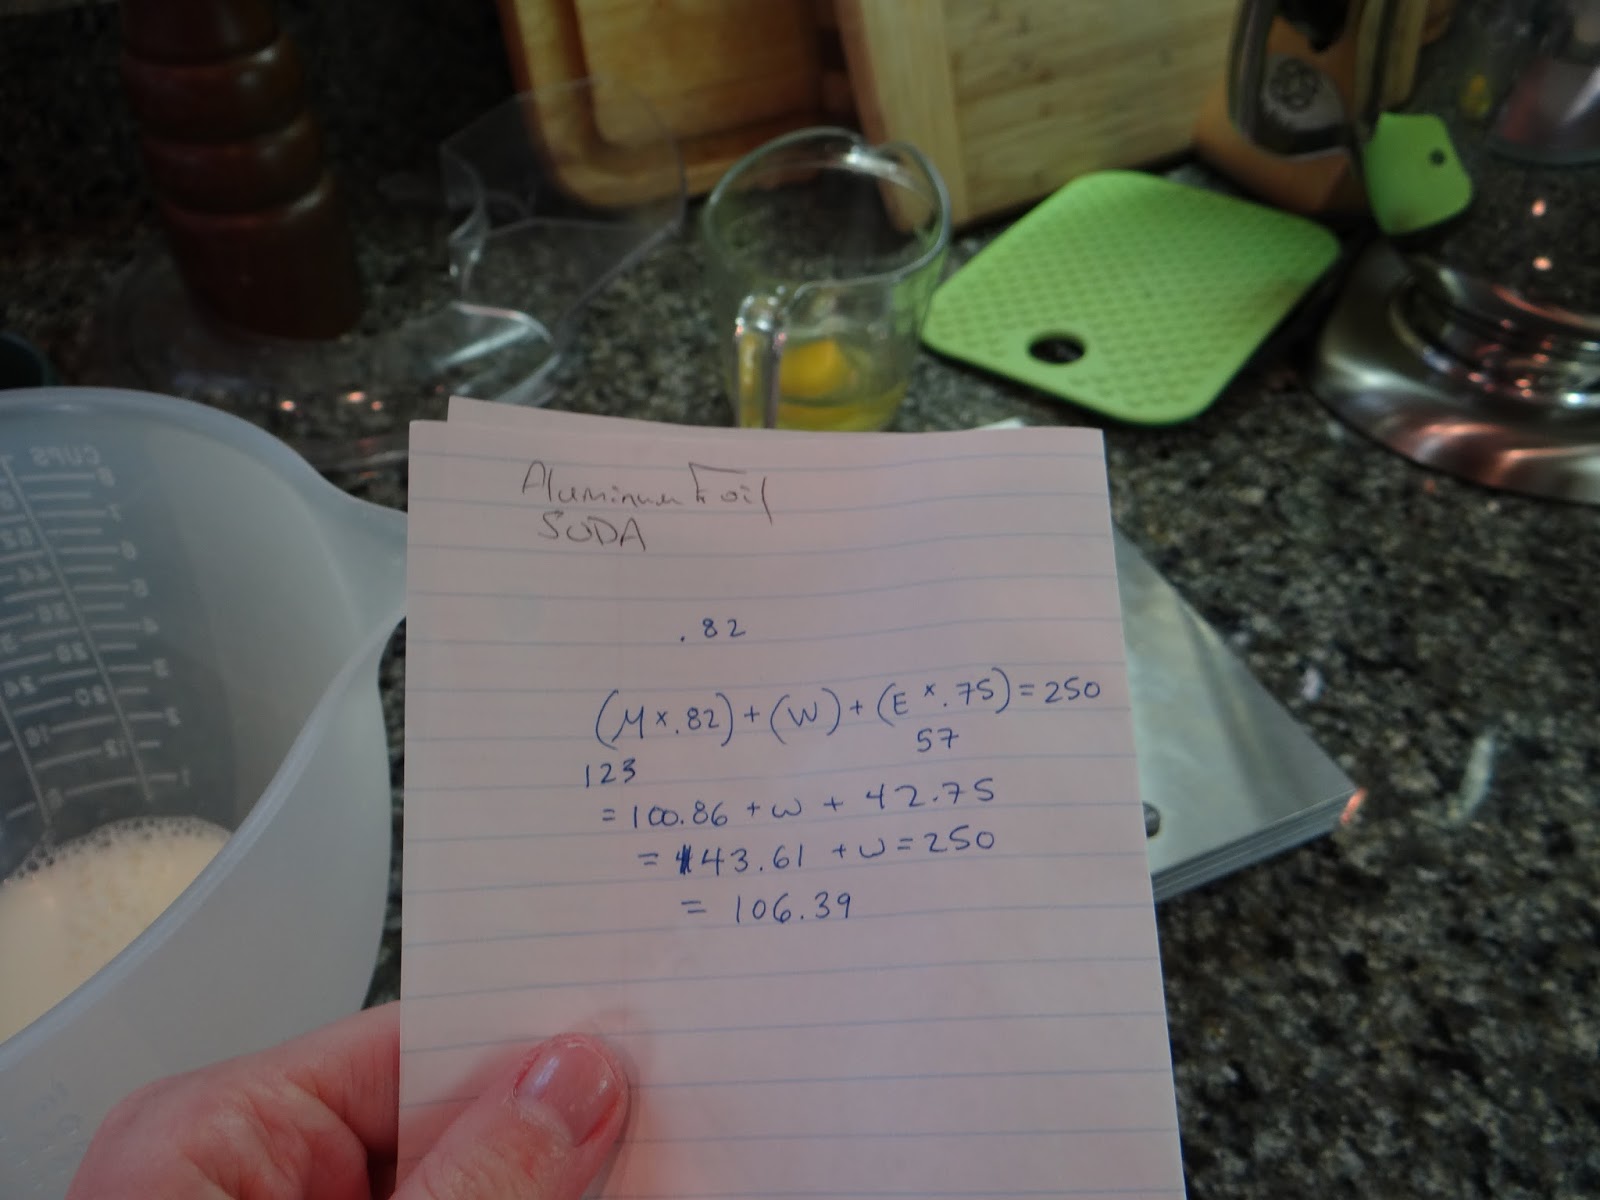
Yes and no. It’s important to get the hydration (the proportional weight of the flour and water) correct, but there’s a lot of wiggle room too. Unless you’re looking for perfection, decent bread can be made between 65-100% hydration. For 375 grams of flour, that is between 245-375 grams of water!
If you’re curious, I found a great hydration calculator here.
A second point to consider is that dough can be influenced by the humidity in the air. So the same dough made in DC and Austin will require a different amount of water. For my 1-2-3 loaf, I used 250g of water in Austin but only needed about 225g in DC to get the same result.
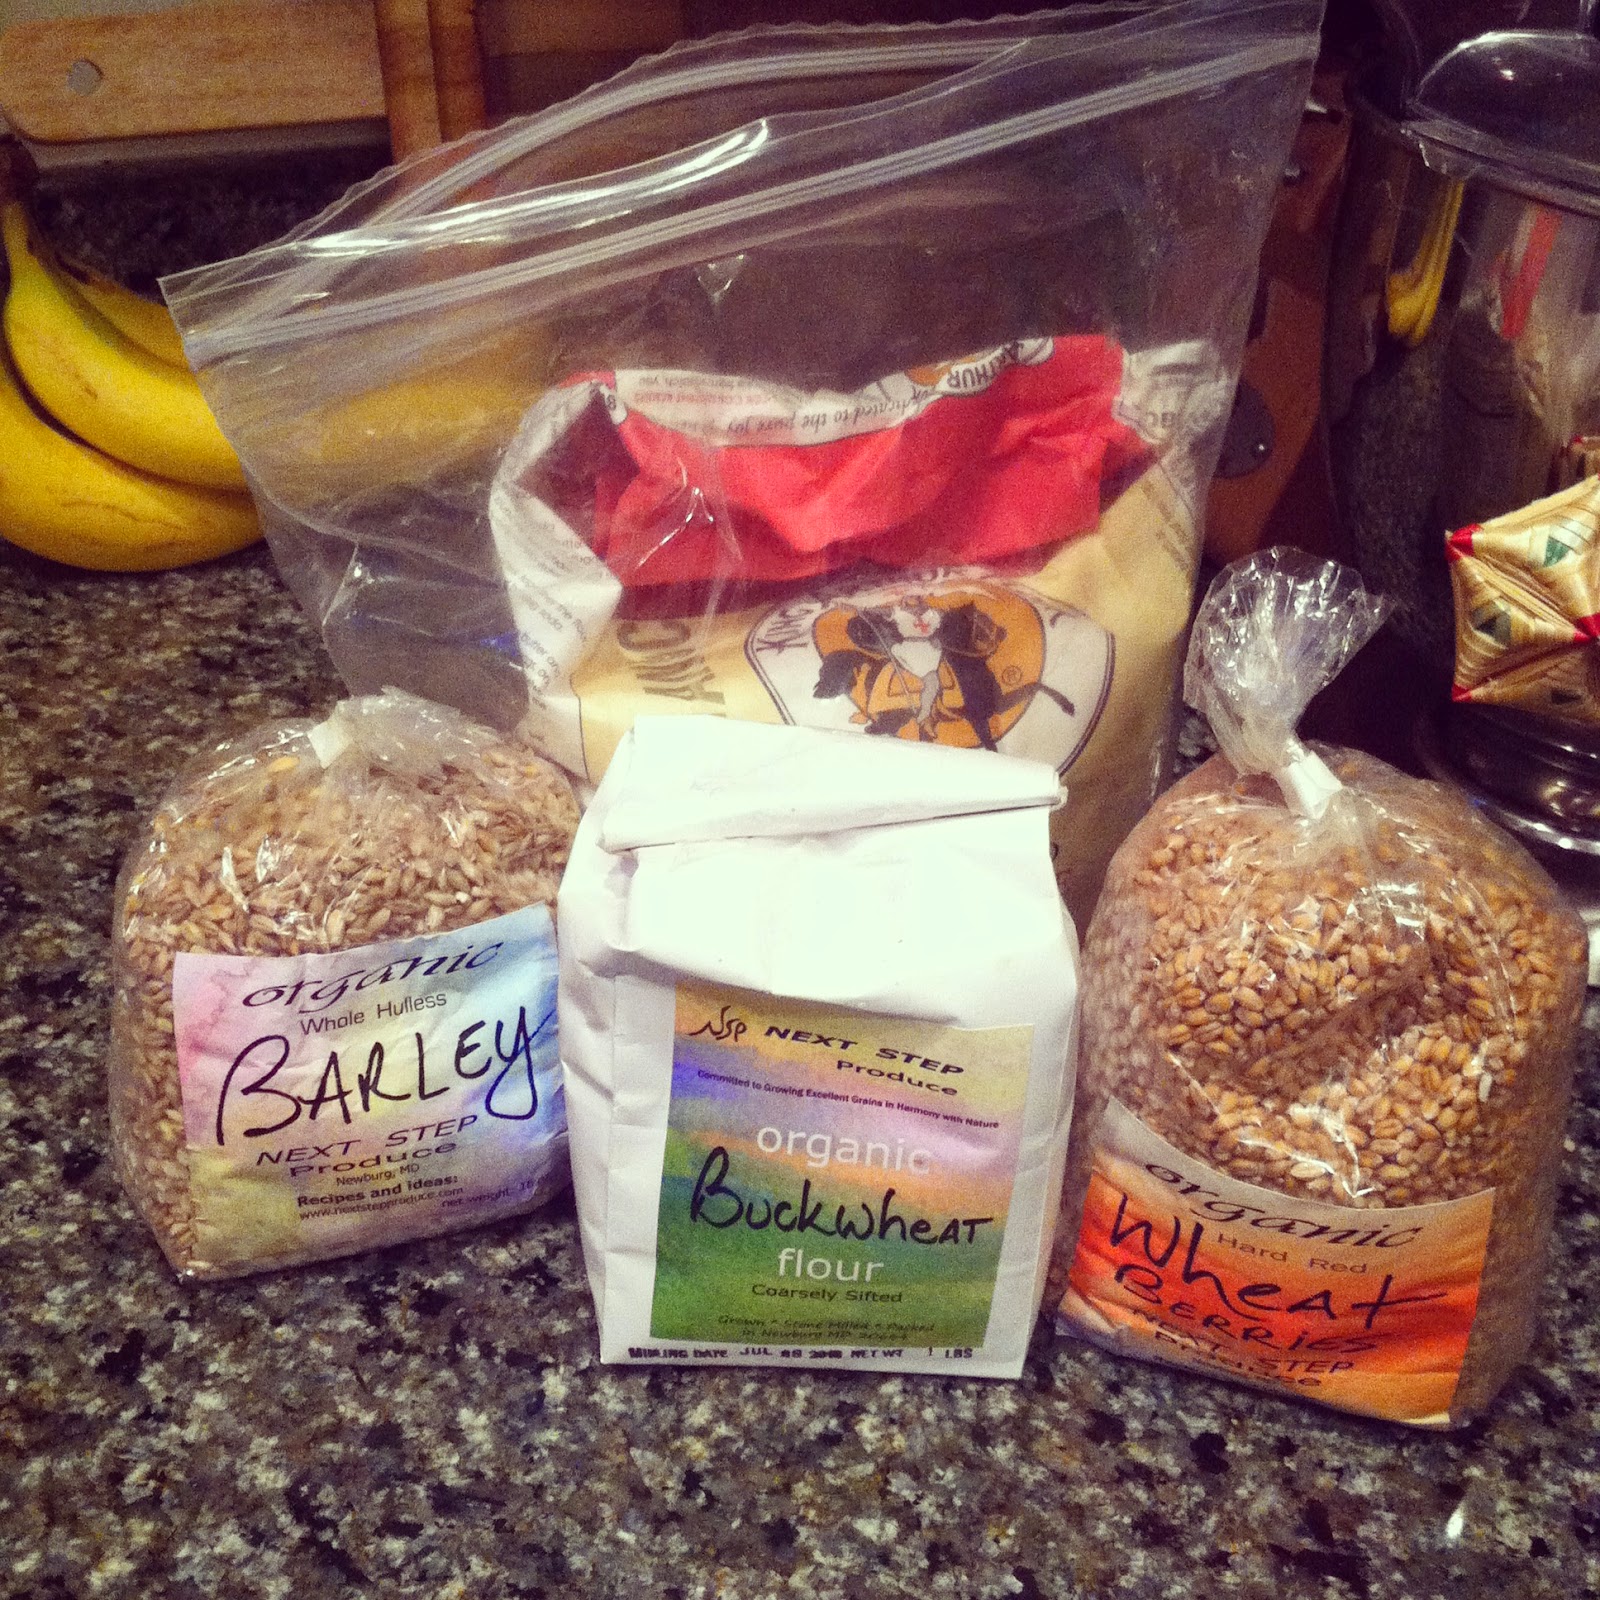
Finally, if you do decide to experiment just remember that some add-ins can affect the hydration while others do not. Add-ins like salt, seeds, nuts, spices and cooked grains do not affect the hydration of your bread (obviously they do affect taste). Liquid add-ins like eggs, milk, oil, broth, and butter do affect the hydration, as well as uncooked grains like oatmeal, oat bran, and flax seed meal which will absorb water in the dough. So play around until you get a combination you love.
Myth 2. Baking bread is “harder” than baking other things.
I hear this a lot from my friends when they find out I bake bread. I don’t think it’s harder, just different! I have a hard time baking things like cakes and cookies because they do require so much precision in the amounts of ingredients and the baking conditions. Different strokes for different folks, I guess.
I think what makes people nervous is working with yeast and trusting the bread to do what it is supposed to do. People don’t want to wait around for their dough to rise; they want to know with certainty how long it will take to rise and they want guaranteed success. Bread just doesn’t work that way. It takes time to figure out all the variables that can influence bread, and that can be scary.
To me it’s easier and more reassuring to know that by watching and checking in all prior steps, I can ensure a bread will be successful in the baking stage. What is scarier to me is putting a wet gloppy mess in the oven and trusting the chemical reaction that will hopefully take place and form the mess it into a cake. But that’s just me.
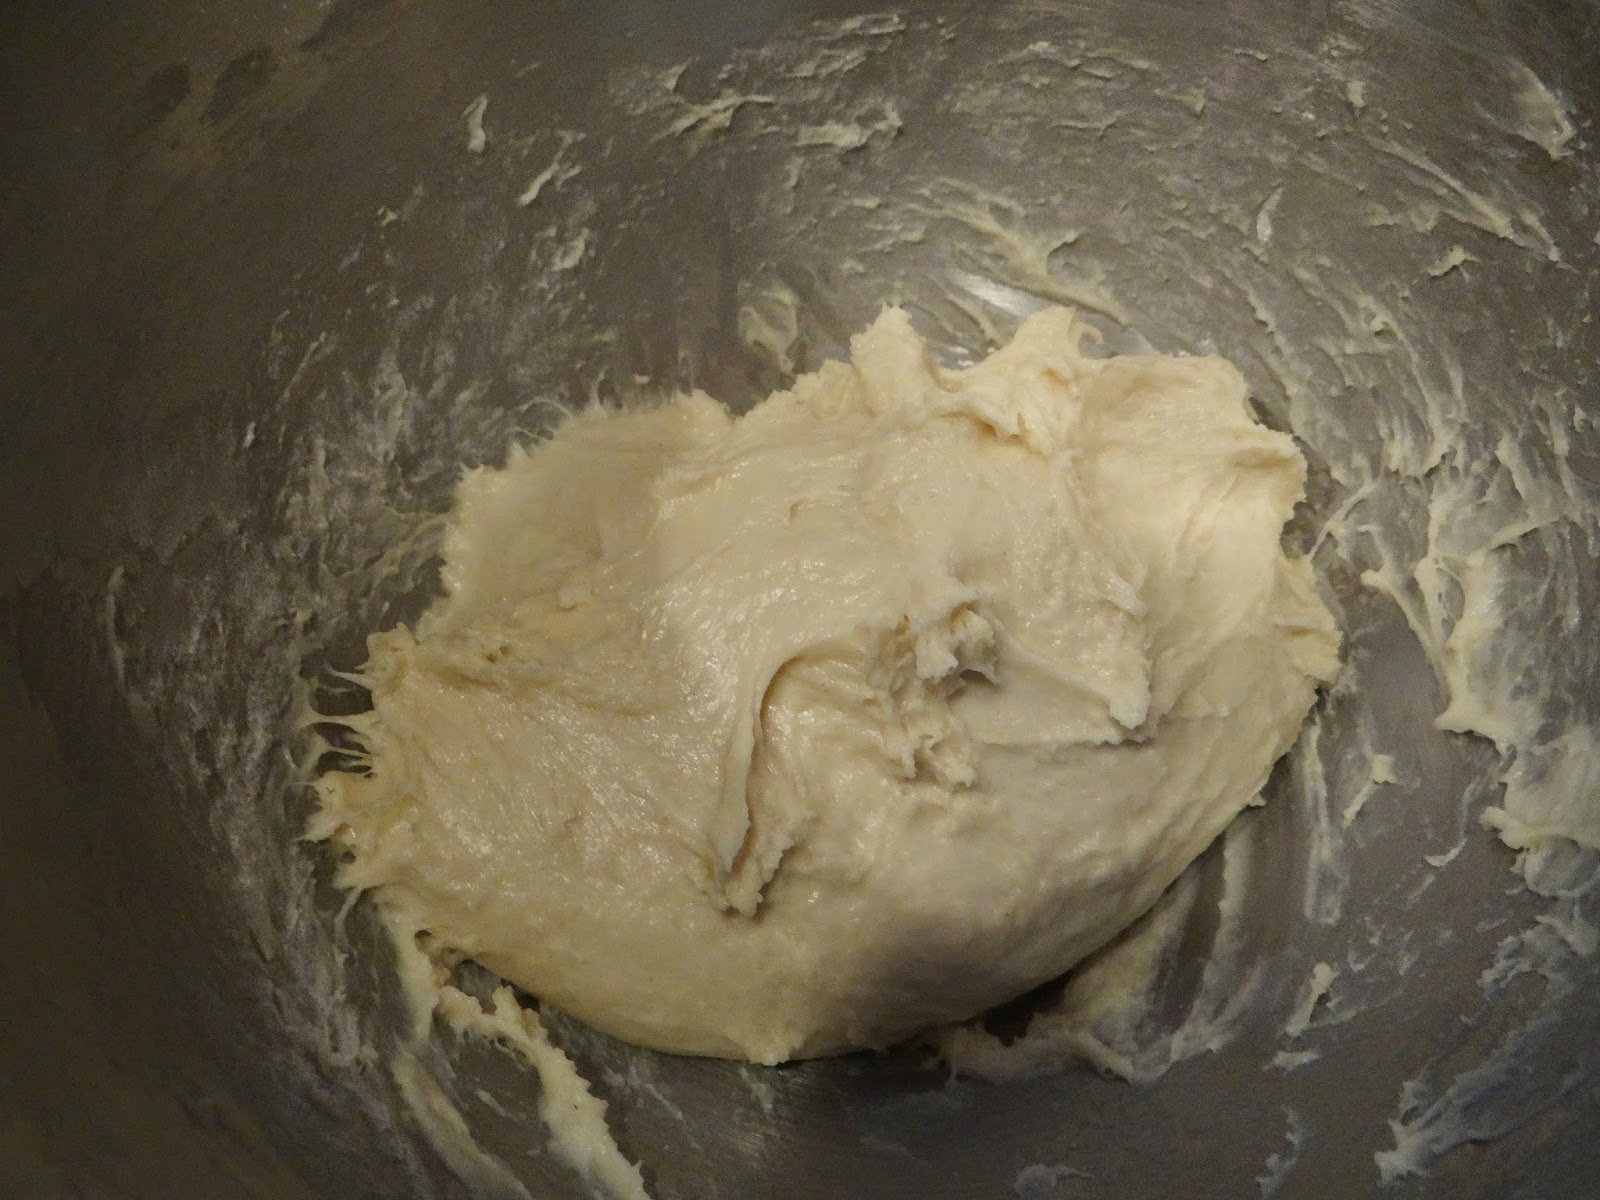
Myth 3. You MUST knead bread for the gluten to develop.
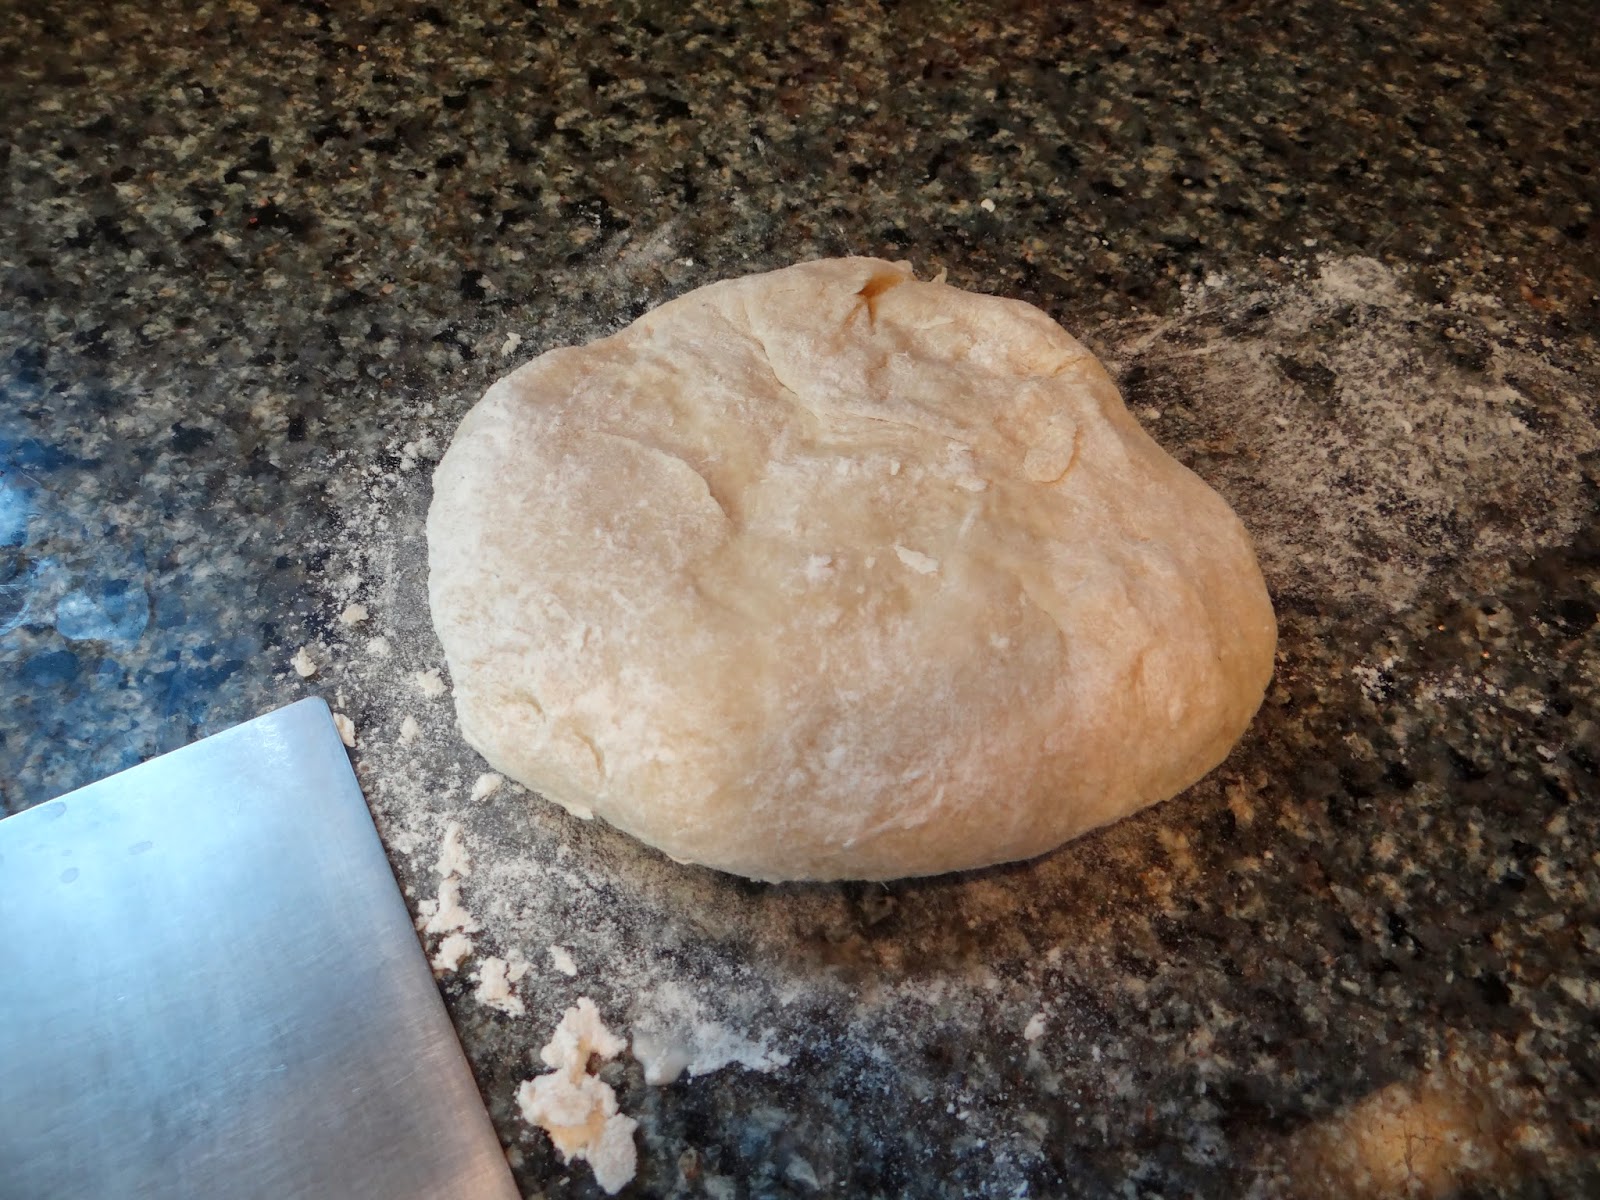
You can- but it’s not always necessary! If given enough time, bread dough will naturally form the gluten strands that provide structure to a loaf and trap yeast gases while it rises. By “enough time,” I mean between 12 and 24 hours. You don’t really want to go much longer than that.
Instead, many bakers use what is called the “stretch and fold” method to redistribute the yeast and gluten at several points during the long rise.
When bakers want to let the dough rise for a long time, they cut out most of the yeast, from the typical 2 teaspoons that come in a yeast packet, to one teaspoon or less. That way the yeast will take more time eating up the sugars and release gas more slowly.
In short, if you are making a loaf that will rise only a few hours (between 2-4 hours), it’s a good idea to knead by hand or use a bread hook in your stand mixer. Otherwise, feel free to skip this step.
Myth 4. More yeast is always good.
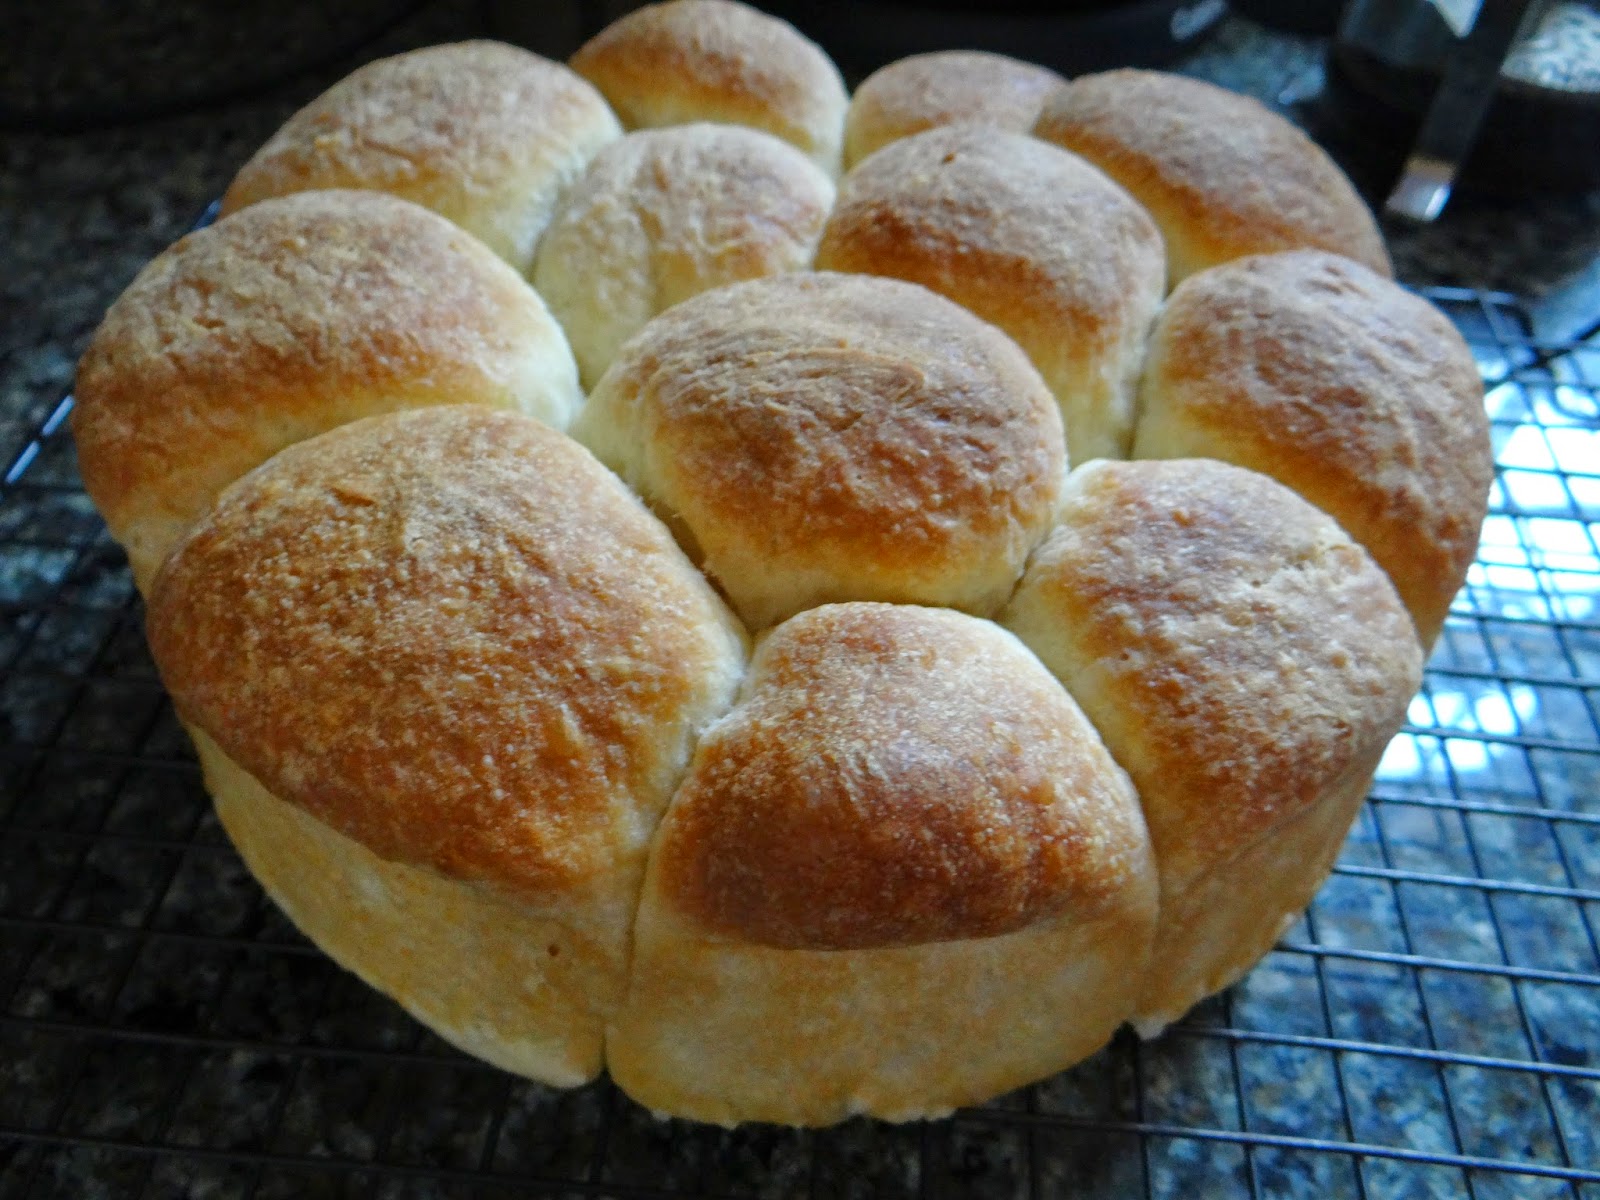
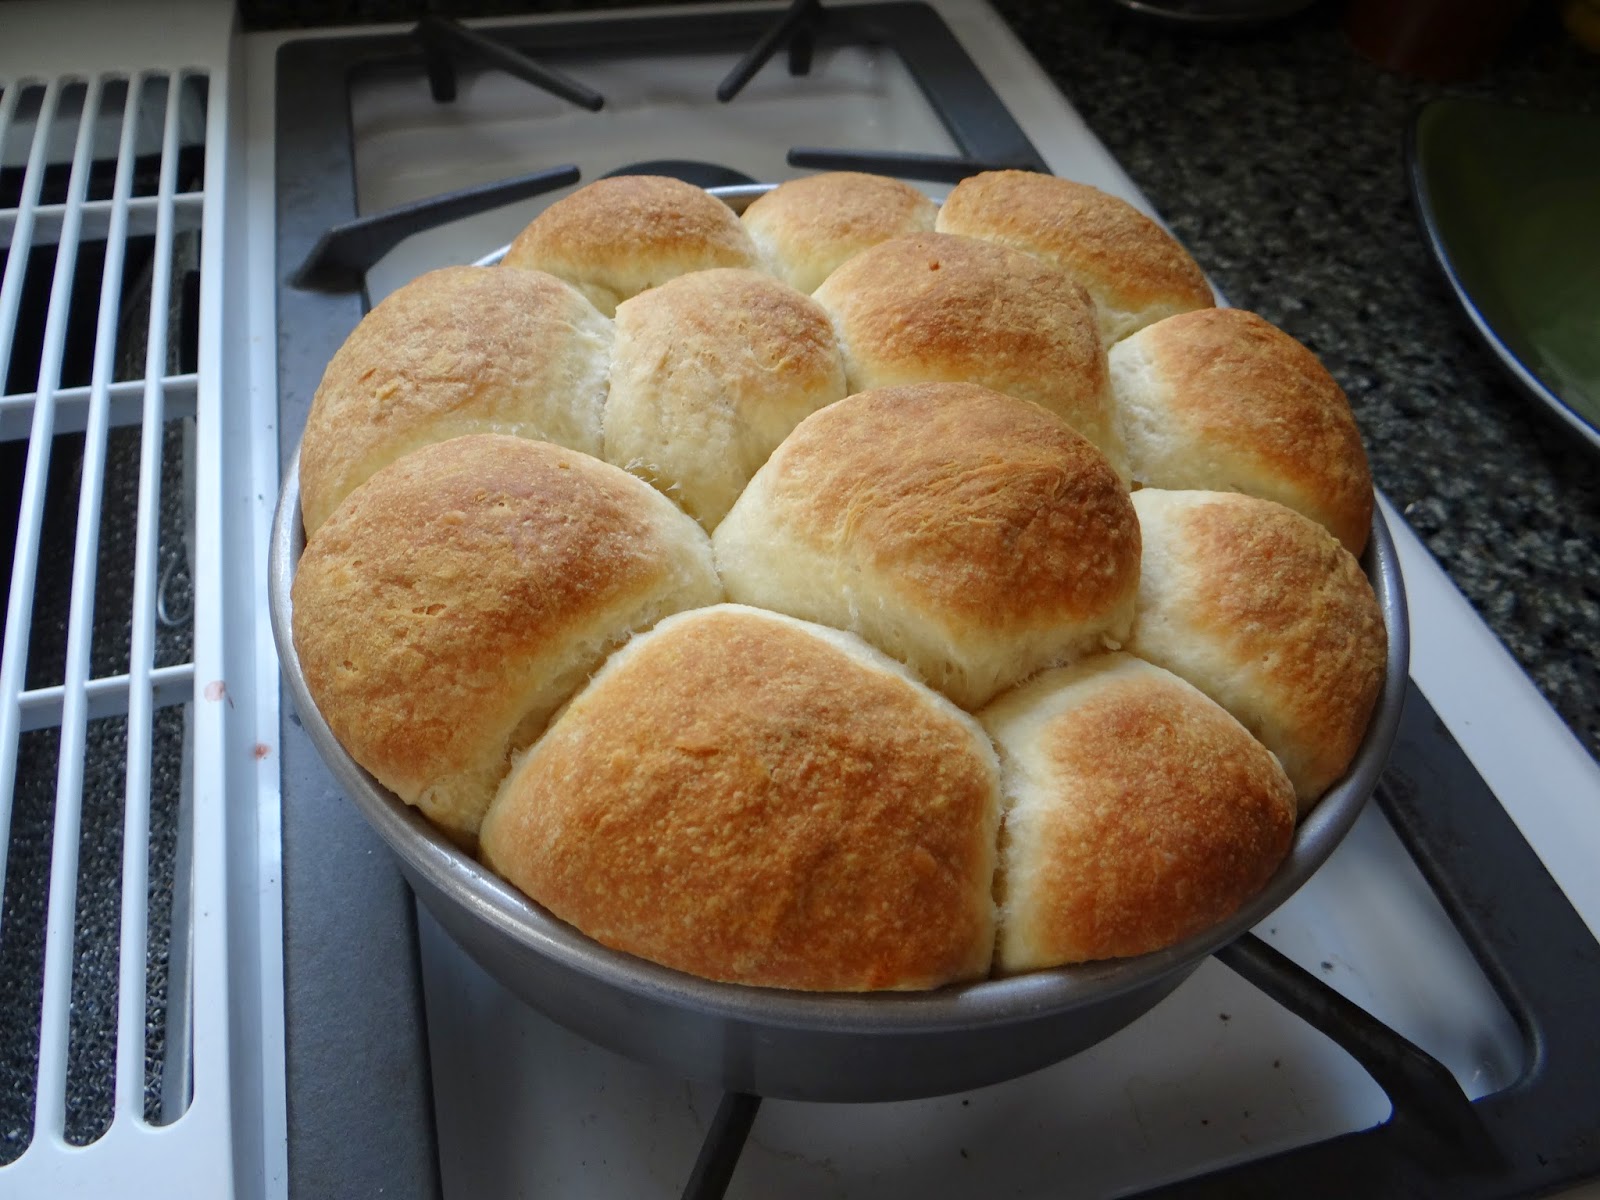
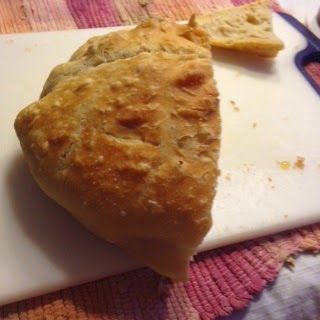
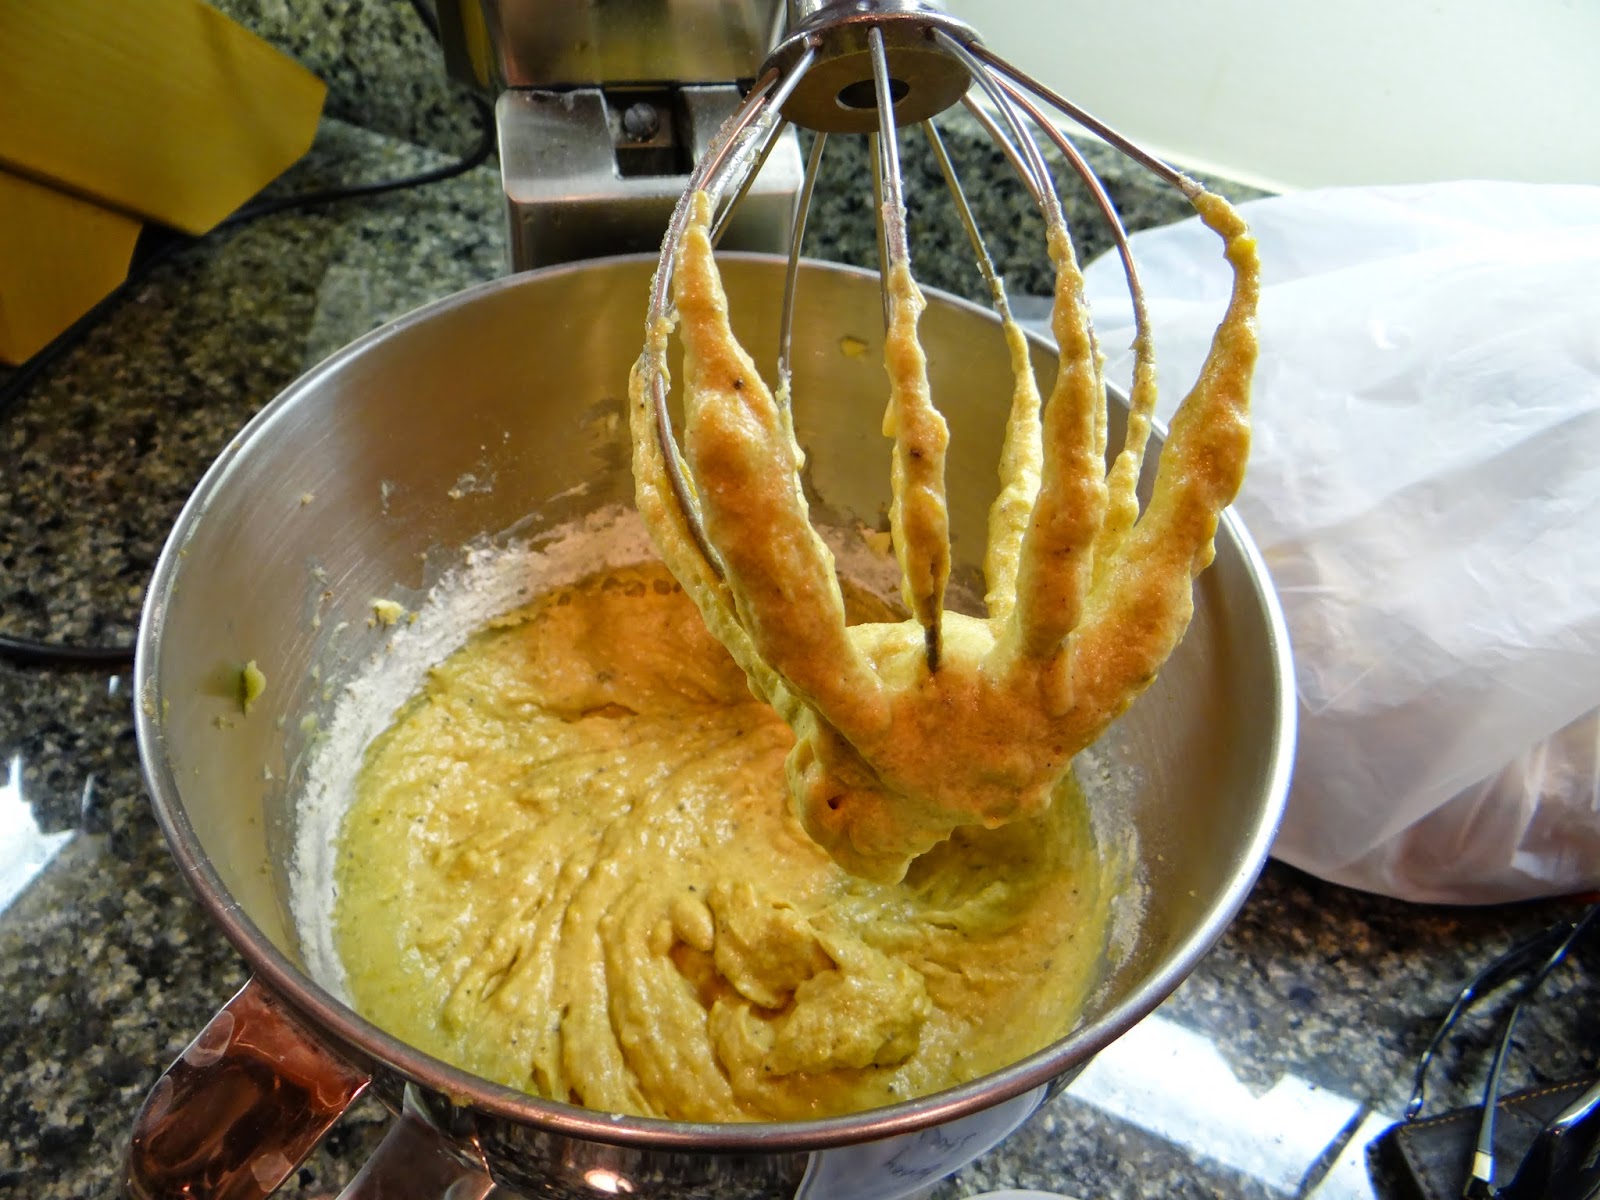
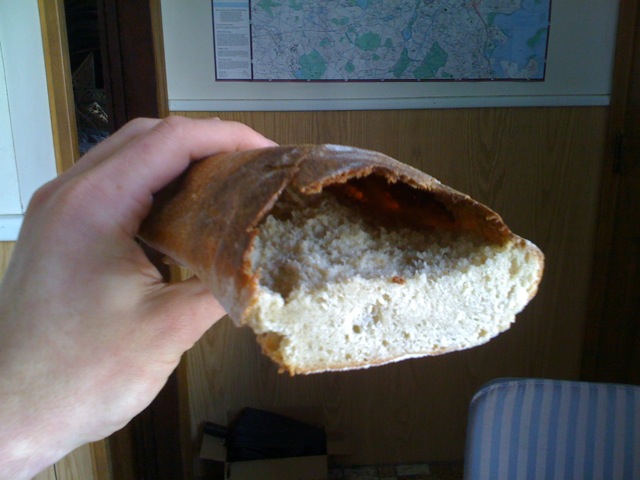
Nope! Think of your dough as a balancing act: the flour and water work together to make gluten strands that trap yeast gases like a balloon traps air. A successful rise means the gases have been successfully trapped by the gluten strands. If you have too much yeast, the bread will rise too quickly and then deflate in the oven like a balloon, creating a flat loaf. Or you might get a flat loaf with one big pocket just below the upper crust, like this:
This happens because the gases were not being trapped by the gluten strands, so they were able to escape (but the crust formed during baking trapped them in at the last minute). As Alton Brown would say, “not good eats.”
A final consideration is that if the dough rises too quickly due to too much yeast, it won’t have the time to develop yummy flavors and will just taste yeasty (which some people like, don’t get me wrong).
Like I mentioned in my response to Myth #3, sometimes less yeast is better because it gives a chance for the gluten strands to form naturally, and more flavor to develop in your loaf. So less yeast = tastier bread!
5. Bread flour is the best flour to use in baking bread (duh, it has ‘bread’ in the name).
For my last myth, some science: bread flour has more protein in it than all-purpose (AP) flour. More protein = more gluten formation, which in turn makes a dough that is more elastic and a finished loaf that is more chewy. More protein also means the gluten formation happens faster, trapping more yeast gas and allowing the creation of big holes in your bread.
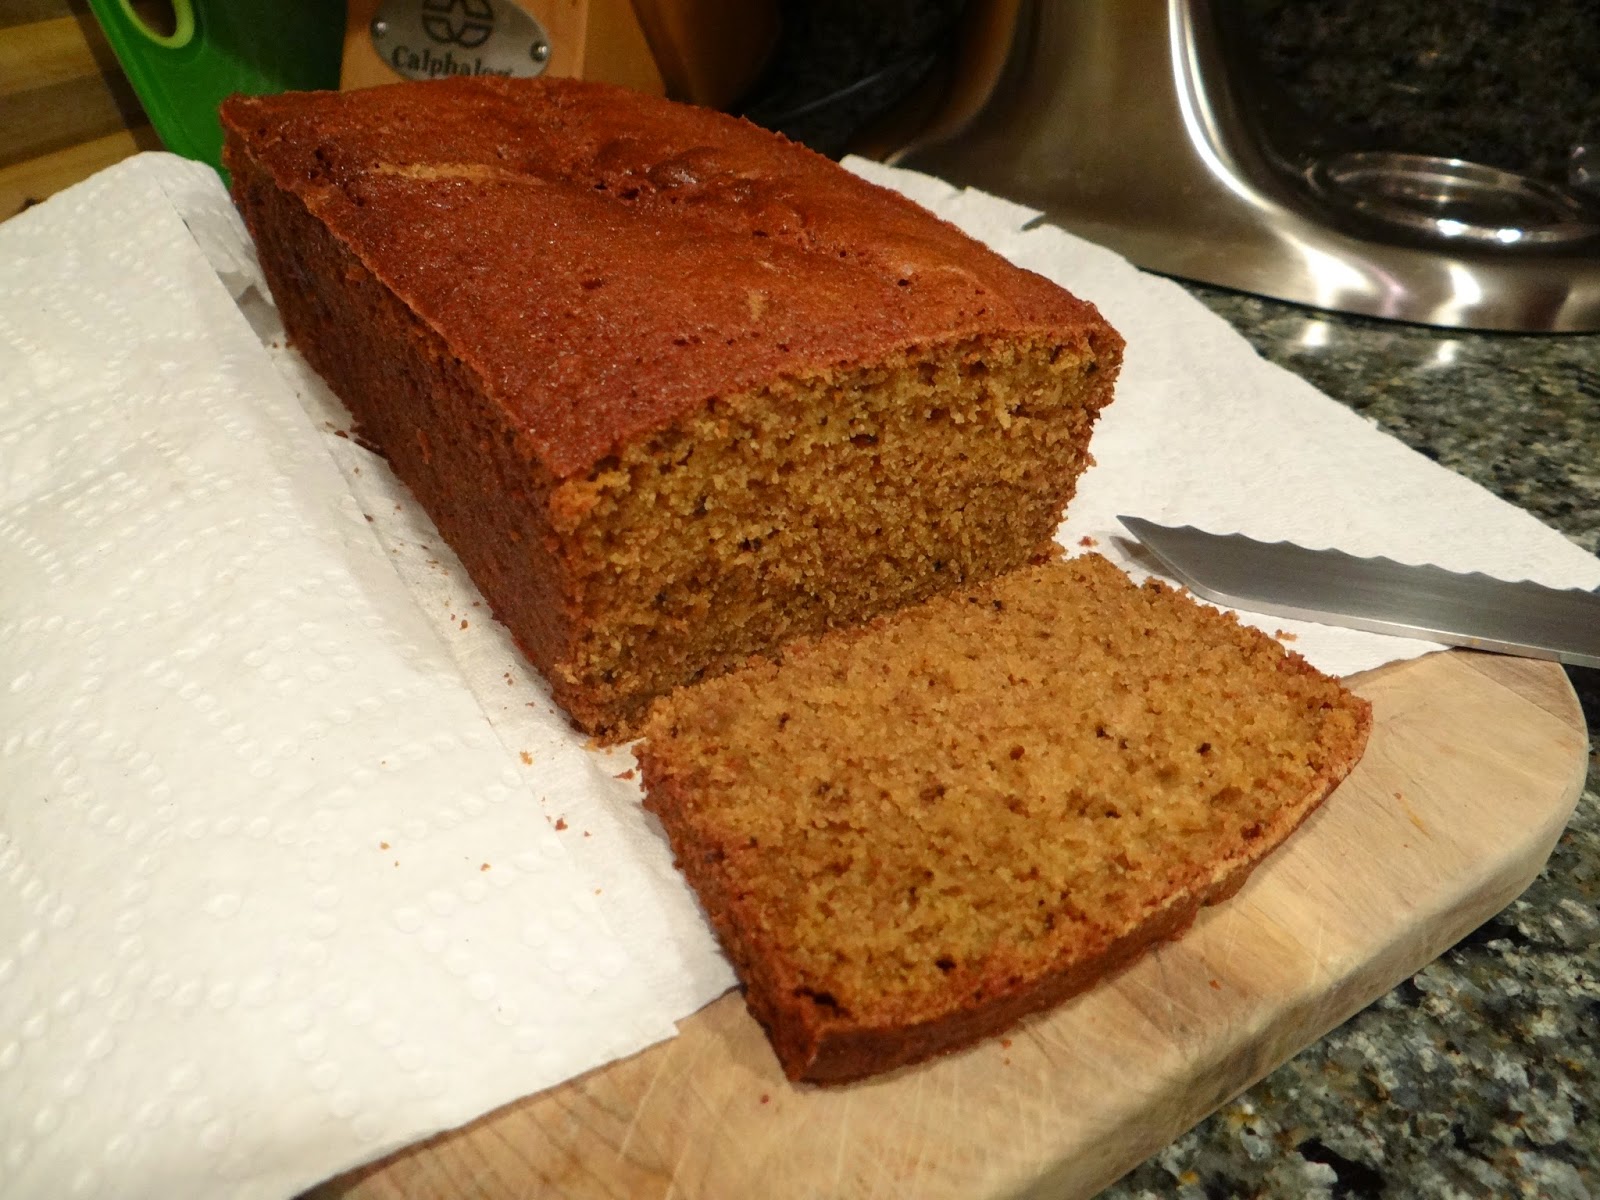
The type of bread you want to make will determine what kind of flour you use. For french bread, which typically has big holes and a chewy interior, you would definitely want to use bread flour. If your dough is a quick-rising dough, you should consider using bread flour (or a mix of bread flour and AP flour) for its quick gluten formation. You would never use bread flour for baking banana bread because you want a crumbly texture. Most doughs do well with a mix of bread flour and AP flour.
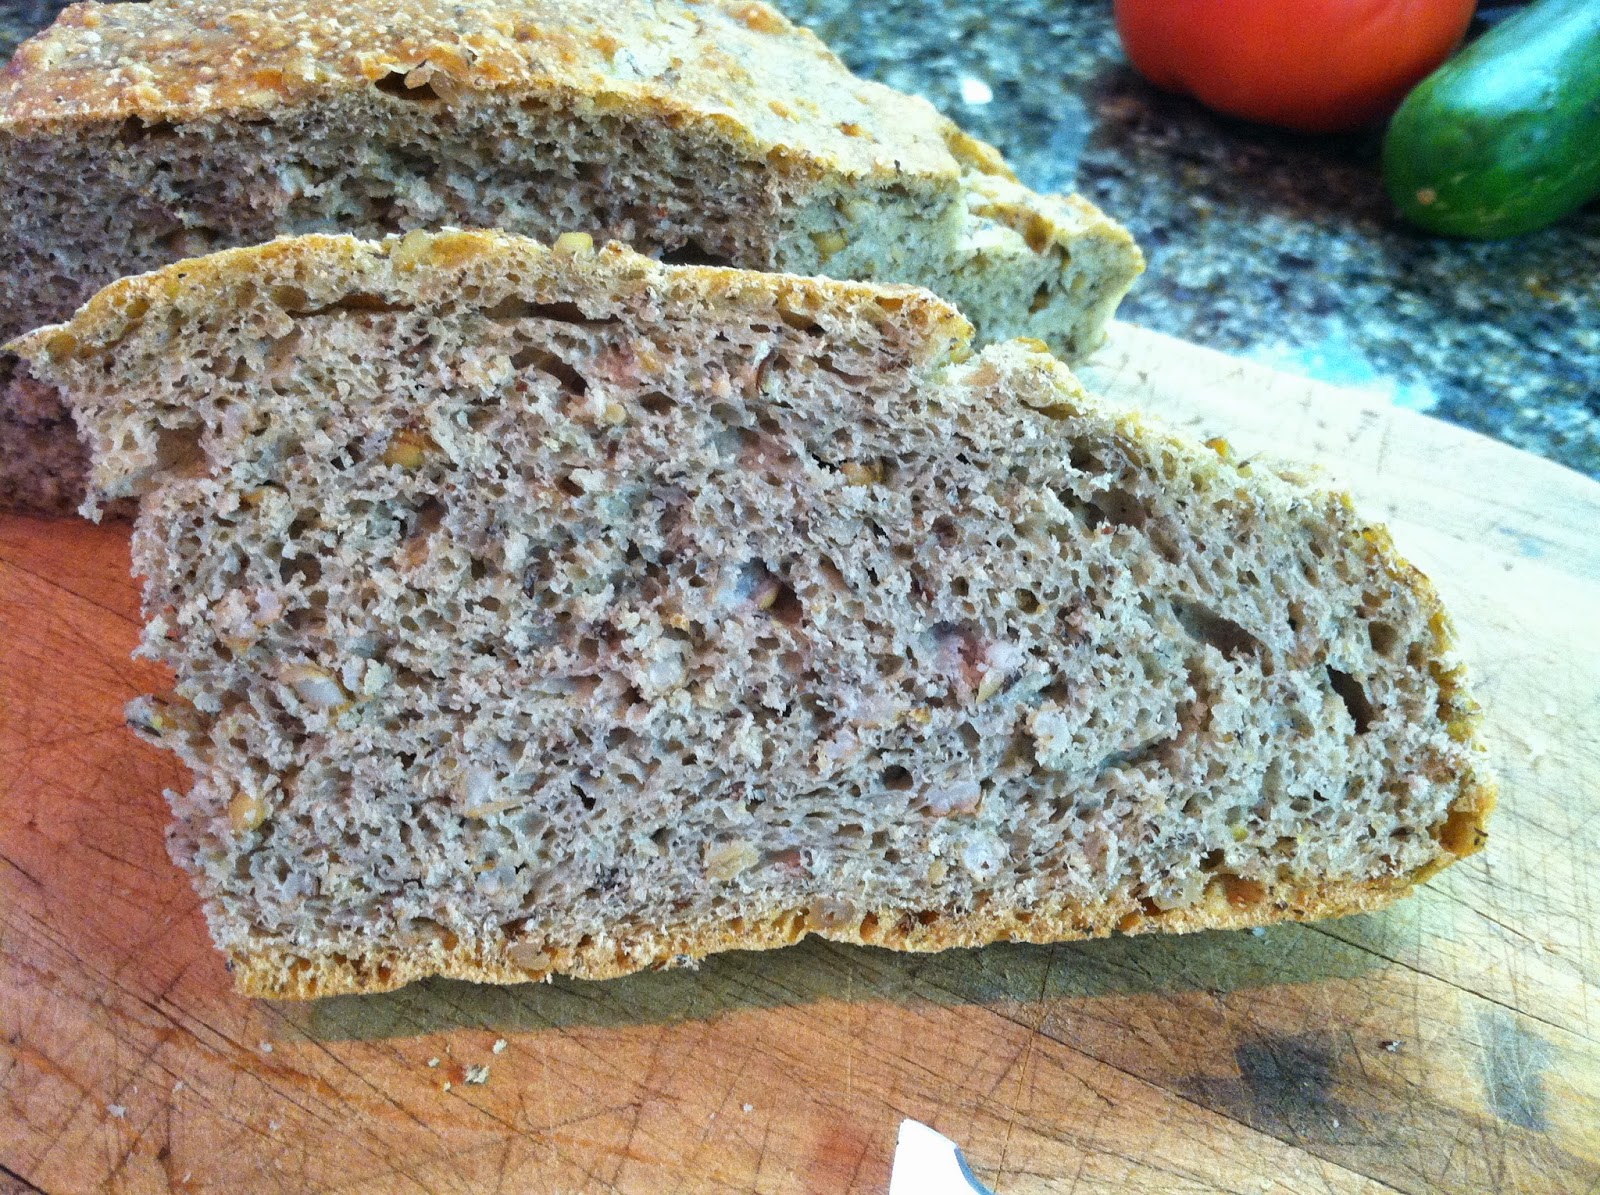
Sometimes if I’m using a little bit of rye or whole wheat flour, which are low-protein flours, I’ll also throw in a little bit of bread flour to compensate. I don’t want my bread to look like this:
I also add some bread flour to breads that have cooked grains in them, because those can sometimes affect gluten formation in the dough.
In sum, bread flour is good for creating certain types of desirable textures in bread, but it’s not *the best* flour to use. Different flours do different things.
So that’s it; my top five myths about baking bread. What myths did you believe starting out? I’d love to hear them in the comments!
Using up cooked barley
My criteria for a summer salad is the following: it cannot be mostly greens (in fact, I usually don’t include ANY greens), and it has to include seasonal produce (such as zucchinis, corn and tomatoes). To top it off, I’ll add some feta or goat cheese, a fresh herb like basil, oregano or mint, and a drizzle of olive oil and vinegar.
So basically it’s:
Fresh Vegetables + Crumbly or Soft Cheese + Herb + Olive Oil & Vinegar + Salt & Pepper
Pretty easy, right?
Sometimes I’ll throw in a cooked grain such as wheat berries or barley to give the salad some added heft, which is what I did for our church’s after-worship fellowship hour.
I tried to keep the proportions of the different ingredients more or less equal, which unfortunately meant that after my salad was constructed, I still had massive amounts of cooked barley left over.
I decided to look for recipes that would incorporate the cooked barley, as well as some other things I had on hand that I wanted to use up. I adjusted each of these so much that I feel justified including my recipes here. If you want to check out the original versions, just click the links.
Buckwheat Multigrain Bread (guided by this recipe)
You will need:
8 ounces/240 grams bread flour
4 ounces/120 grams whole wheat flour
6 ounces/ 180 grams cooked barley
2 ounces/60 grams buckwheat flour
1 ounce/30 grams flax seeds (I used ground flaxseed meal
12 ounces/340 grams water
2 teaspoons/10 grams kosher salt
1 teaspoon/3 grams active dry yeast (if you need a fast rise, you can double this)
1. Mix together everything in a bowl. Add about 250g of the water first, then add more if you need to. Once everything is combined into a wet dough, let it rest for about 10 minutes in the bowl.
2. When the 10 minutes are up, gently shape the dough into a ball and cover the bowl with plastic wrap and a towel. Let rise overnight in the refrigerator.
3. In the morning, remove the bowl from the refrigerator and let it get back to room temperature (I usually do this while I’m at work and it’s ready when I get home 9 hours later).
4. Punch down the dough and shape it back into a ball. Lay out a piece of parchment paper and put the ball on the parchment paper. Wash your bowl and use it to cover your ball during the second rise. Preheat the oven to 450 degrees F with your dutch oven inside.
5. When the oven is ready, remove the glass bowl and use a sharp knife to score the top of the loaf.
6. Bake in the covered dutch oven for 30 minutes, then take the lid off, bump the heat down to 375 degrees F, and bake another 20 minutes or so, until the bread has a crusty exterior, is a deep golden brown, and sounds hollow when tapped.
And here it is sliced. You can see the barley grains too. This bread is fantastic toasted with peanut butter for breakfast.
Banana Barley Muffins (guided by this recipe)
You will need:
1 cup all-purpose flour
1/2 cup whole wheat flour
¼ cup sugar (I used brown sugar because I had some lying around)
4 teaspoons baking powder
1 teaspoons oat bran (not necessary but adds some fiber)
½ teaspoon fine sea salt
2 ripe bananas
2 large eggs
1 cup cooked barley
½ cup whole milk
2 tablespoons unsalted butter, melted and cooled slightly
1/4 cup vegetable or canola oil (or however much you need for the right consistency)
1. Preheat the oven to 400 degrees F. Butter a 12-cup muffin tin.
2. Whisk together the flour, sugar, baking powder, oat bran and salt in a large bowl. Set aside.
3. Mix together the bananas, eggs, barley, milk and butter in a medium-sized bowl.
4. Add the wet ingredients to the dry ingredients and stir with a spatula to combine. It should be the consistency of oatmeal. If it’s too dry, add the vegetable oil a little at a time until you have the right consistency.
5. Fill the muffin cups 2/3 full with batter. Bake for 20 minutes until they turn brown and are firm.
And once again, the inside of the muffin with the intact barley grains:
I hope these recipes will inspire you to experiment with barley and try something new.
Sunday School Baking: Brigadeiros for the story of Simon Peter
This month in Sunday School we’ve been following the story of Peter (aka Saint Peter, aka Simon Peter), and every week the kids have been asking me to make these candies. They’ve even gone so far as to ask God for divine intervention during prayer. So I decided that for the last Peter lesson I would bring them in, and the kids went wild.
I first made them last year during our David and Goliath lesson (since brigadeiros look like little rocks), but the kids made the connection immediately when our pastor taught them that Jesus named Simon ‘Peter’ because he was to be the rock upon which the Church would be built. Or as one of the kids calls him, “Rock-o-Peter.”
This recipe is totally easy to make. But don’t tell them, or they’ll want me to make it every week!
You will need:
1 14-oz can of sweetened condensed milk
3 tablespoons cocoa powder
1 tablespoon butter, plus more for greasing a pan
1/3 of a cup of whatever you plan to coat the brigadeiros with: sprinkles, cocoa powder, coconut flakes or crushed nuts all work well.
1. Before you do anything, grease a flat or shallow pan. Set it aside. It doesn’t need to be big.
2. In a small pan, add the condensed milk, cocoa powder and butter and stir on medium heat with a wooden spoon until it boils.
3. Once it starts boiling, turn it down to low and continue stirring. You don’t want any sticking to the bottom, so use the wooden spoon to scrape the bottom.
4. Continue stirring for 10-15 minutes while the mixture thickens. Here it is after about 5 minutes.
After 10 minutes:
And after 15 minutes, it started to develop a “film” on the bottom that I couldn’t scrape off. That was how I knew it was done. This is the film; unfortunately I was working quickly at this point and couldn’t stop to take a picture.
5. Using the wooden spoon, I transferred the mixture to the greased pan and let it cool to room temperature.
6. The colder the mixture, the easier it is to shape and roll into balls. So I threw it in the fridge for about half an hour until it was very firm. You can work with it at room temperature if you want, but it’s very, very sticky.
7. Now you will want to prep your hands and any tools you plan to use. I used small muffin cups to keep each brigadeiro separate and that method worked out well. You will want to have your toppings ready. Coat your hands with butter and if you plan on using a scoop, coat that with butter too.
8. Take a little bit of the mixture in your hands and roll it around until it forms a ball. I made them bigger last year, but some of the kids (and I) found them a bit too rich and sweet so I decided to make them smaller so they would be just enough. If that makes sense. I used a 1/2 teaspoon scoop to get the balls the right size.
9. Drop it in the topping of choice and roll it around until it is completely coated.
10. Gently move the finished brigadeiro to its muffin cup and move on to the next one. Since mine were about 1 teaspoon in size, this recipe made a ton. I think it made about 50 brigadeiros.
I brought the ones for class on a pretty platter. The rest I covered with plastic wrap and stored in the fridge. The key is keeping them cool so they don’t melt. The nice thing about these is that they are gluten- and soy-free, and nut-free if you don’t roll them in nuts. They are a sweet treat that the kids really enjoyed as a farewell to Rock-o-Peter!
The Bread Maiden’s essential baking equipment guide
I have been trying to come up with a bread-baking tutorial that, in the span of a couple hours, will convey the breadth and depth of my knowledge about baking. As you might imagine, it’s ending up much longer than I anticipated. I cannot seem to cut it down to a more manageable size.
What might be easier and less overwhelming is dividing up the material into smaller thematic chunks. So this is the first step to baking: assembling the necessary equipment.
Just a note before I get started. Some cleverer bloggers have written posts like these and imbedded “affiliate links.” There are no affiliate links in this post, or on this blog for that matter. I haven’t received anything free in exchange for reviewing or pushing it on the blog. The products here are actually what I use and love, and I won’t receive any sort of monetary reward if you buy the equipment I have written about here.
1. Kitchen scale
My baking got much more accurate, consistent, and cleaner once I bought a kitchen scale. Once I started measuring in weight, I could tell the hydration of my dough and correct mistakes like adding too much flour. I could account for weather and humidity changes in the air that caused the dough to absorb more or less flour. I could make my rolls all the same size so they would cook evenly. And most importantly, I used many fewer dishes and tools, because I could measure everything in the same bowl using the “tare” or “zero out” feature, which meant fewer dishes to wash. Any baker will tell you that if you want to vastly improve your bread game, you need to get a kitchen scale.
2. Bench scraper
I like this scraper because it easily and cleanly divides the dough into smaller pieces, and I use it after I have kneaded on the counter top to scrape up all the little dough bits that are stuck to the counter. This is similar to the bench scraper I have. It’s all metal instead of a handle that is wood or plastic so it’s easy to clean.
3. Glass bowls of different sizes. I have pyrex which works well. You don’t want them to be too heavy.
Often you will want to prepare your ingredients ahead of time, or you need to melt or warm something in the microwave. Using the right size bowl can save you time, and everything you need will be prepped and ready to go. I used to use metal bowls, but I feel like glass bowls are better for most things, and they hold onto their heat when a dough is rising.
4. A tablespoon and a teaspoon
I feel like these two are all you really need. Everything else, such as 1/4 tsp or 1/2 tbs you can probably eyeball. The reason I use a teaspoon and tablespoon is that some dry ingredients just don’t weigh enough to be measured accurately by weight. Examples are baking soda and baking powder, or a teaspoon of yeast. Most scales don’t measure in smaller fractions than a gram, and so volume measures are the way to go. My tablespoon and teaspoon have the labels worn off, but I still know what they are because the reason the labels are worn off is because I use them so often.
Edited to add: Here’s the proof!
5. Glass measuring cups
Since you can measure most dry ingredients into the larger dough, usually there is no need for measuring cups. However, as with the bowls I detailed above, you might want to heat things in the microwave, and glass measuring cups are good for that. Get one that is 1-cup and one that is a 2-cup measure. Make sure it has all the measurements on it.
6. Small, sharp knife
A small knife is good for scoring (cutting the top of) your loaf so it can expand in the oven while it’s baking. It’s better if it’s sharper, and you don’t need anything bigger than a paring knife. I’ve used razor blades in the past which are the best, but if you have kids and don’t want to leave razor blades sitting around in your kitchen, a small knife is your best bet.
At this point, your needs will dictate whether you want to purchase any of the following tools. Think about the type of bread you will be making. Do you want to make crusty, round loaves or sandwich bread? If you want crusty, check out #7 and 8. If sandwiches are your thing, check out #9 and #10.
7. Cast-iron dutch oven that can withstand temperatures up to 500 degrees F.
If you want crusty bread full of holes, you need a vessel that can withstand high heat while locking in humidity so the crust doesn’t burn before the crumb is finished exploding out. A dutch oven will be your bread savior.
8. Parchment paper
After a crusty loaf rises the first time, it is transferred out of the glass bowl and shaped into its final shape. Parchment paper is a great surface for the second rise, because you can pick your loaf up by the corners of the parchment and transfer it to the oven without it deflating. Also, it’s non-stick, so it beats covering baking sheets with butter or flour.
9. Heavy aluminum bread pans
I like the dark non-stick pans. That’s all I have to say about that. Even though it says non-stick, I would still coat it in butter before baking bread in it. I would get two or even four in the same size so you can bake multiple loaves at once.
10. Elastic bowl covers
These bowl covers are one of my new favorite things and they’ve quickly become an essential. See, while the dough is rising, I cover the bowl (and then the loaf) with plastic wrap, which I then throw away. I knew it was wasteful, but I didn’t know that there was a better way. These elastic bowl covers are reusable, so they fit over a bowl and then again over the tops of bread pans for the second rise. For this reason, they work best with sandwich loaves. I love that I can use them again and again instead of throwing away tons of plastic.
There you have it. My baking essentials. There are lots of other things that I use daily, such as my stand mixer, that are nice to have, but aren’t necessarily essential. Your mileage may vary. I hope this helps anyone who is thinking about trying to bake and wants tasty, consistent results.
Sfihas argentinas
This Wednesday, I had thawed ground beef, some kale salad, and a craving for empanadas. Since my FIL would kill me if I made empanadas without him, I remembered an awesome little pasty I had had in Argentina a few times that had a similar historical trajectory to empanadas in that country: sfihas.
Sfihas (I’ve also seen them called esfihas) are relatively new on the Argentine culinary scene, but they have a really interesting history. They are open-faced meat pies that were introduced to Argentina and Brazil by Lebanese immigrants, in much the same way empanadas were. In fact, my Argentine host mother used to fold her empanadas into a triangle shape rather than the more popular half-moon shape.
Empanadas and sfihas share a similar make-up: ground beef (or other meat) with spices baked in a simple dough. I found the recipe for my sfihas in this book:
I haven’t made a single recipe from the book yet. But I have been drooling over it ever since I got it, and I knew it had this recipe:
The very first time I had sfihas was in Tucuman visiting my little bro during his study abroad year. Then I had them again in Cordoba, and again a few years later in Mendoza. In the decade since I first studied abroad, sfihas have truly taken Argentina by storm. They are the perfect snack food, small enough to eat in one or two bites.
I have a favorite empanada filling recipe, but for sfihas I wanted something a bit more– Middle Eastern. So I adopted the tahini, lemon juice and yogurt from this recipe but added some of my favorite empanada spices too- cinnamon, paprika and cayenne powder.
You will need:
For the dough:
1 cup warm milk
1 1/2 cups AP flour
2 tablespoons sugar
1/2 tsp salt
1 tsp yeast
1 tbs olive oil
For the filling:
1/2 lb ground beef
1 cup chopped onion
1/2 lemon’s worth of juice
1 tsp salt
1 tsp paprika
1 tsp cayenne powder
2 tsp paprika
1 tablespoon tomato paste
1 tablespoon tahini
2 tablespoons plain yogurt
1 tablespoon melted butter
1 tablespoon chopped parsley, mint or cilantro (I used kale since I had it on hand)
I made the dough first because it takes some time to rise.
1. Sprinkle the yeast and sugar into the warm milk and let sit for five minutes until it becomes bubbly.
2. Whisk together the AP flour, salt and oil in the bowl of a stand mixer and mix until incorporated.
3. Add the milk and yeast mixture to the flour mixture and knead for eight minutes, adding more flour as needed.
4. Cover and let rise for about 1.5 hours until doubled in size.
5. Now you can switch to the filling. Just dump everything into a bowl and mix with your hands to combine.
6. Once your dough is ready, turn it out onto a floured surface and use a bench scraper to cut the dough into 24 (or so) equal pieces.
7. Roll into balls and let them rest under a tea towel while you line a few baking dishes with parchment paper.
8. Flatten out the balls into disks and transfer to the parchment paper. You might want to preheat the oven to 350 degrees F at this point.
9. Place about a tablespoon of dough in the middle of each disk and fold the dough around the filling thusly:
10. Bake the sfihas for about 30 minutes until the filling is bubbly and the dough is golden brown.
These are great for a snack or dinner with a side salad. Little Bread Toddler loved the filling so much, he ate the filling right out of the dough, leaving a pile of empty sfiha doughs in his wake. Since this recipe makes way more filling than the dough can accommodate, I sauted the rest of the filling and he happily at it out of a bowl with a spoon.
My recommendation? Make a double batch of dough and bake 48 of these since they go fast!
Bread for Communion Part VI: Road to Emmaus Pull-Apart Bread
This week’s Sunday School lesson is about Cleopas’s walk to Emmaus, where the newly-risen Jesus appears to him and another disciple, but they don’t know it’s Jesus until they arrive at their destination and Jesus breaks bread with them. All the lesson plans I read about where about seeing, and involved seeing games, which didn’t really seem quite right.
I feel that way about a lot of children’s Sunday School lessons, to be honest. They are focused on a secondary element of the story, and because of that, they don’t really foster an understanding of the story or the lesson. If the story is about Jesus as the shepherd, and the craft involves making cotton-ball sheep, I mean yeah, it’s technically related to the story, but will kids really remember what the story was, if you ask them a week later?
So oftentimes my lesson plans diverge sharply from the script. This is one of those times. If the divergence leads me to a baking project, well, so much the better.
I thought it might fit better if the kids had a treasure hunt, leading them to a picnic with bread they can break apart together. I feel like that fits more with the “revealing” aspect of the story. A few minutes later, and I knew the perfect bread for the occasion: pull-apart bread, also called Monkey Bread.
I have no idea why it’s called Monkey Bread, and it sounds like no one else does either. Also, Monkey Bread seems to signify a certain type of rich bread smothered in sugar and butter. So that’s why I’m calling it pull-apart bread. Just trying to manage expectations.
I got the recipe from here, but with a lot of variations.
You will need:
3 cups of AP flour
1 cup milk
1/2 cup butter, divided in half
2 teaspoons or one packet yeast
1 egg
2 tablespoons sugar
1 tablespoon salt
1. First, grease a round aluminum cake pan or bundt pan.
2. In a large bowl, whisk together 1 1/2 cups of flour, the sugar, salt and yeast. Set aside.
3. In a small pot, melt the milk and 1/4 cup butter on low heat.
4. When the milk and butter mixture is slightly warm, about 120-130 degrees F, mix it and the egg into the flour mixture and whisk until well-combined. I poured the milk and butter into the flour first, then the egg to ward off curdling.
5. Add the rest of the flour, 1/2 cup at a time, until you have a nice dough that isn’t sticky but is still workable. Here’s what my dough looked like after one 1/2 cup, and after a cup (I didn’t need the whole extra 1 1/2 cups of flour). At some point I switched from mixing by whisk to mixing by hand.
Ok, I think I added 1/4 cup of flour after this because I could see it was getting close.
6. I let it sit for ten minutes to let the hydration work its magic and the gluten formation to start. I stretched and folded it a few times to help with gluten formation and structure.
7. Then I moved it to a floured countertop.
8. Using the bench scraper, I cut the dough into twelve pieces. Next time, I will probably cut it into 24 pieces, because that’s more fun.
9. I let them rest for about five minutes, then I rolled them into balls.
10. I let them rest again while I melted the other 1/4 cup of butter in the microwave. Carefully dip each ball into the butter and roll around to coat. Then place each ball into the greased cake pan. You will have butter left over, but don’t throw it away!
11. Cover the pan with plastic wrap or my new favorite thing, shower caps for covering food:
12. I let them rise for about two hours, until they looked like this:
13. I preheated the oven to 375 degrees F, and used the leftover melted butter to cover the top of the loaf. Then bake in the oven for about 30 minutes.
I left it in the pan to cool, then dumped it onto a cooling rack.
I’m pretty excited, and I think the kids will love their treasure hunt to reveal this fun bread. You could make it with any dough I think. Happy baking!


