Spent-Grain Bread and More Bread Math

Lately I’ve been pushing our concept of bread to the limit. While I’m inching back a little bit, the idea of using different kinds of grains in bread remains something I want to explore further.

Beer is called “liquid bread,” because the combination of grains and yeast is transformed into a delicious, wheat-y, amber-colored beverage. However, those grains are usually discarded after the mash stage is over. Reinhart’s Whole Grain Breads takes up where the beer brewer left off, and creates a bread with tons of flavor using these spent grains.

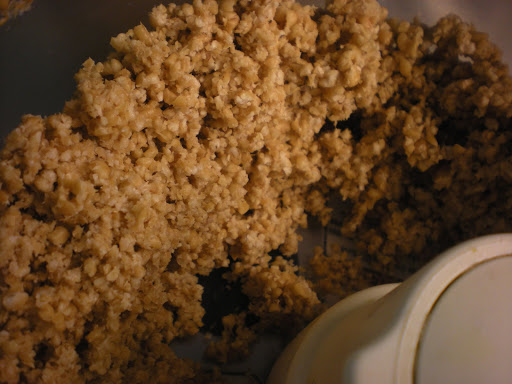
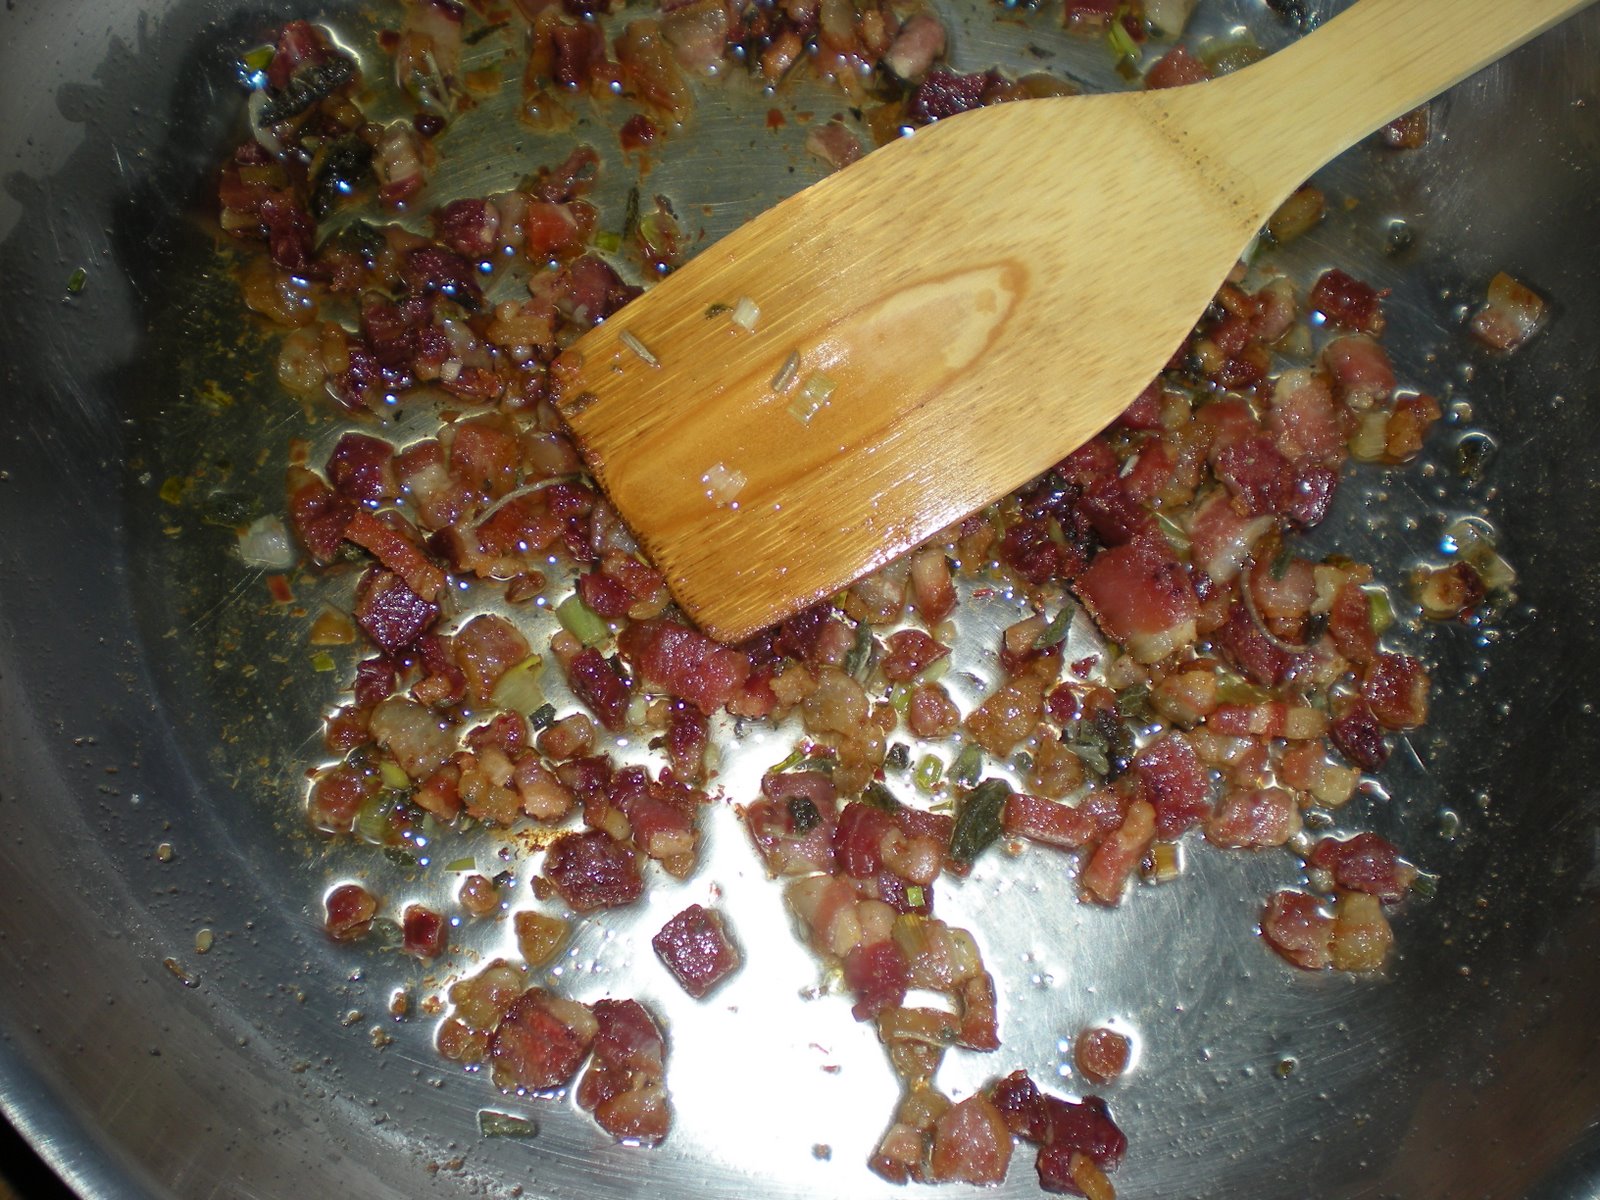
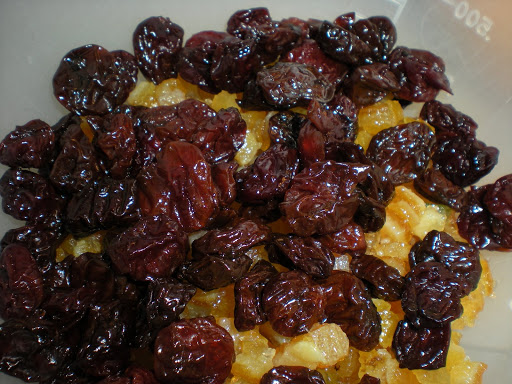
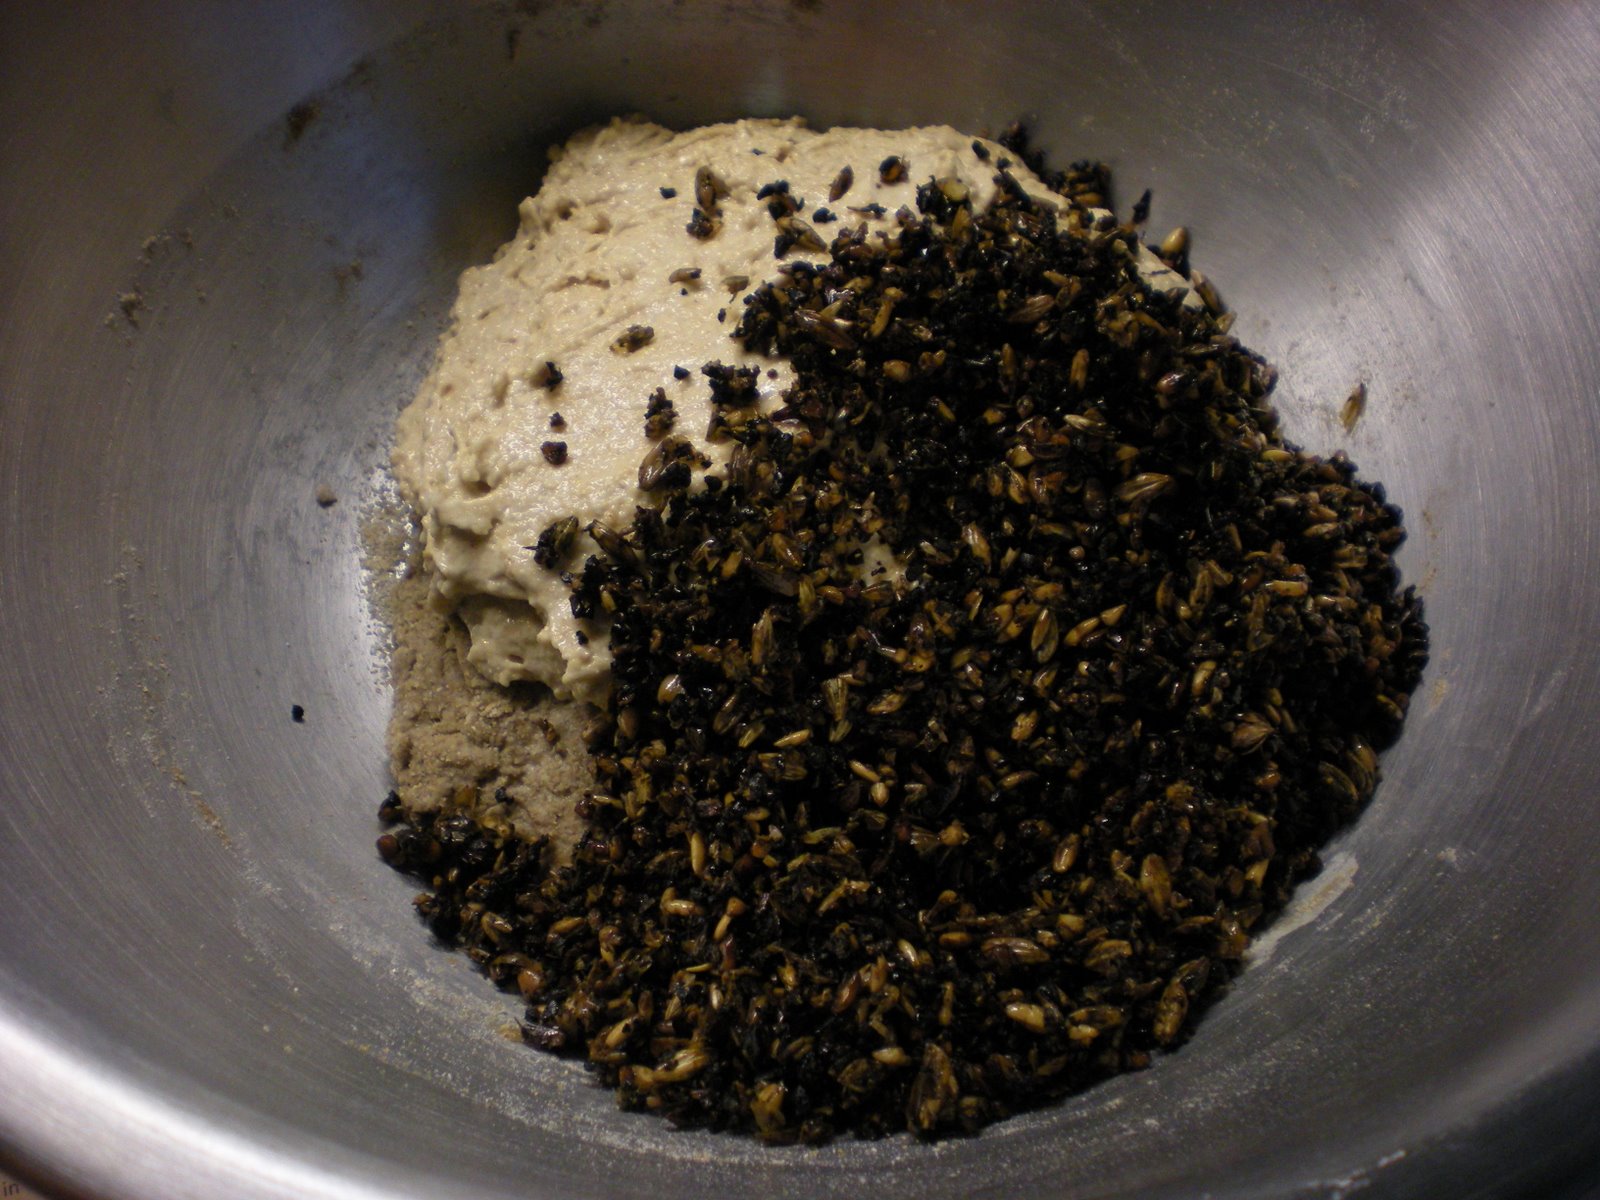
So what do spent grains look like? Mr. Bread Maiden was brewing a wheat stout, so the grains are characteristically dark:

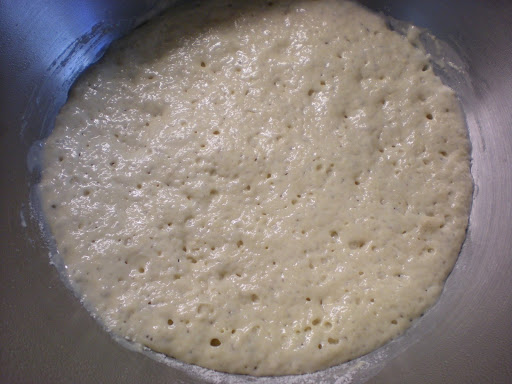
The bread begins as Reinhart’s typically do, with a biga and a soaker the day before baking. The spent grains are mixed in on the second day for the second and third risings. The biga is partly sourdough starter and partly a mixture of water and flour to get it up to the necessary weight for Reinhart’s formula.

Here is where the math comes in. If I need 398g of 75% hydration biga, how do I get that if I only have 130g of 75% hydration sourdough starter? Obviously, if the biga was 100% hydration and I had 130g of 100% hydration, I could just subtract the amount of starter I have from the total I need, and then divide the left-overs and add 50% water and 50% flour. 75% hydration is trickier. You can’t just calculate it in your head.

I warned you my breadbaking has gotten totally wonky.

My friends, this is actually really easy. It’s a set of two formulas, the second of which you learned in the previous blog entry.

The first is to calculate how much flour you’ll need. If you need 398g of biga, but you have 130g of starter, subtract 398-130 so you’re just calculating how much you NEED. You need 268g. ok.

now set up the equation like this:
Flour= (needed biga weight)DIVIDED BY(1 plus hydration)

so Flour= (268)/(1.75) = 153g of flour.

Now you need to figure out how much water you need.

Water= (Flour) TIMES (hydration)

so Water= (153) * (.75) = 114g of water

Wasn’t that easy? You can even check the math:
114+153+130=397. Ok, not 398, but pretty darn close.

Ok, now we can move on.

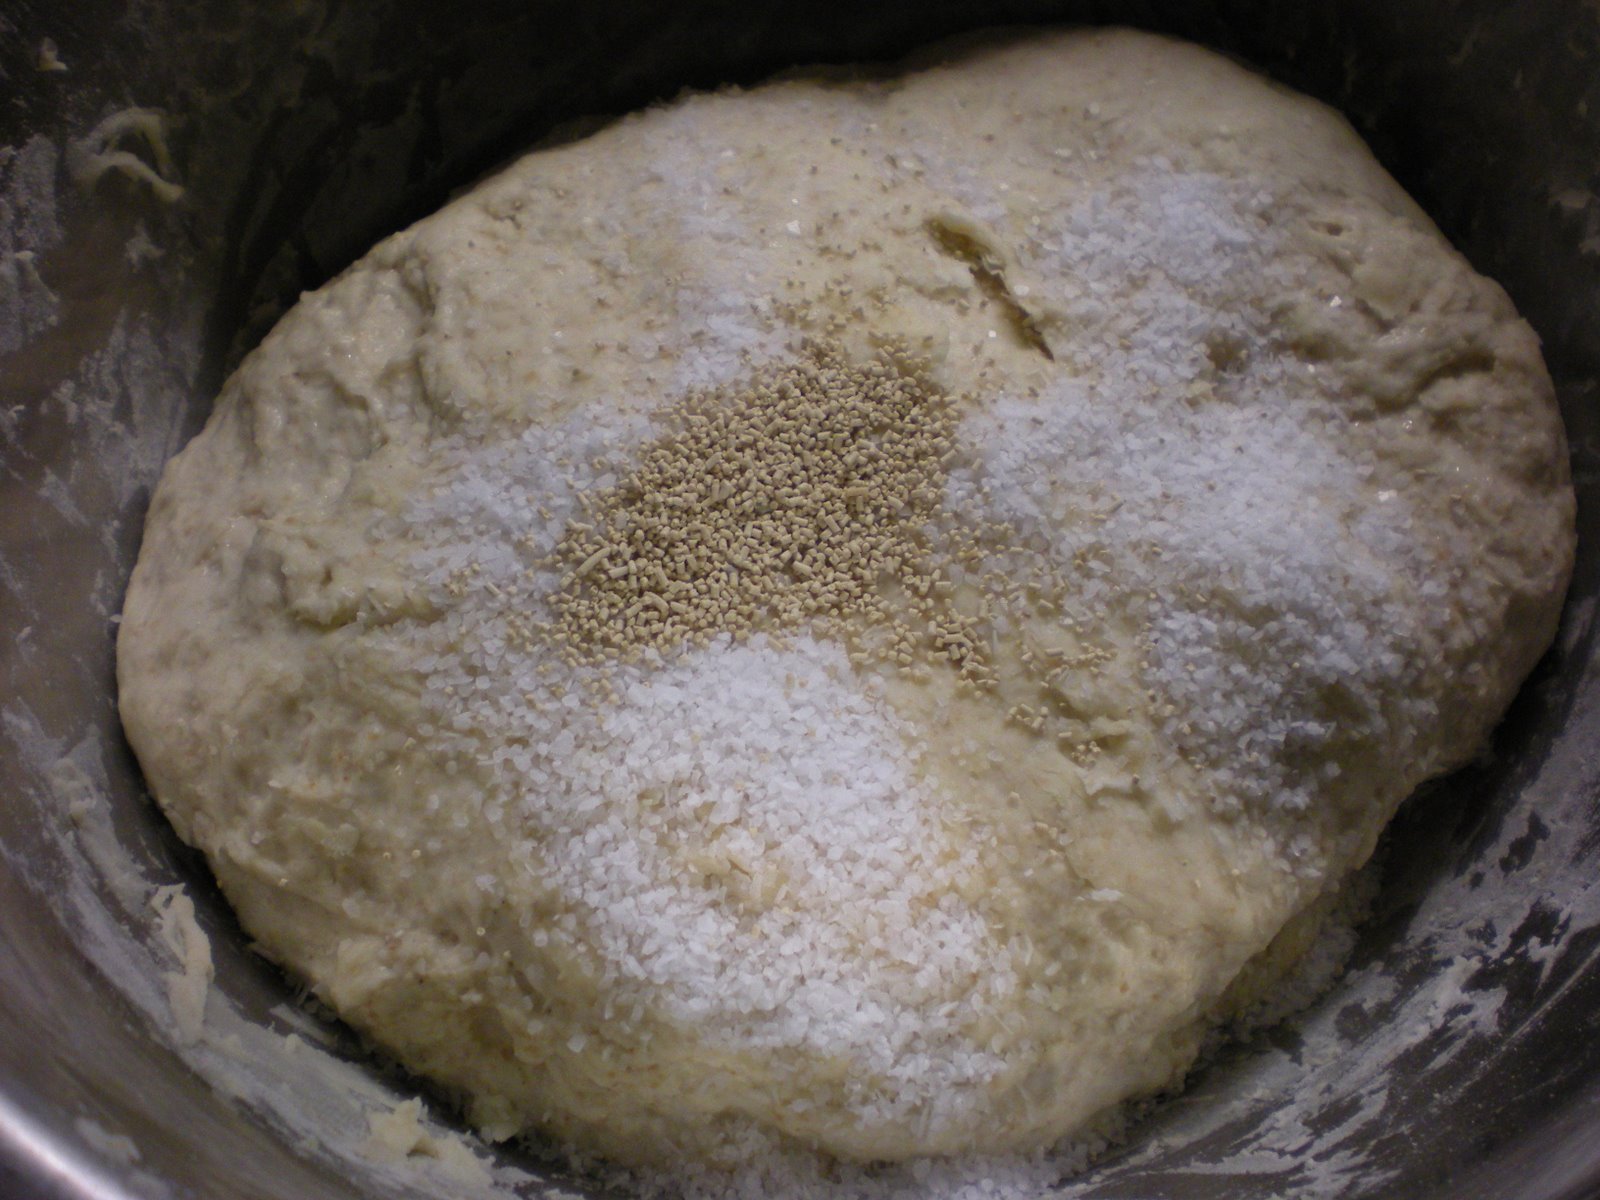
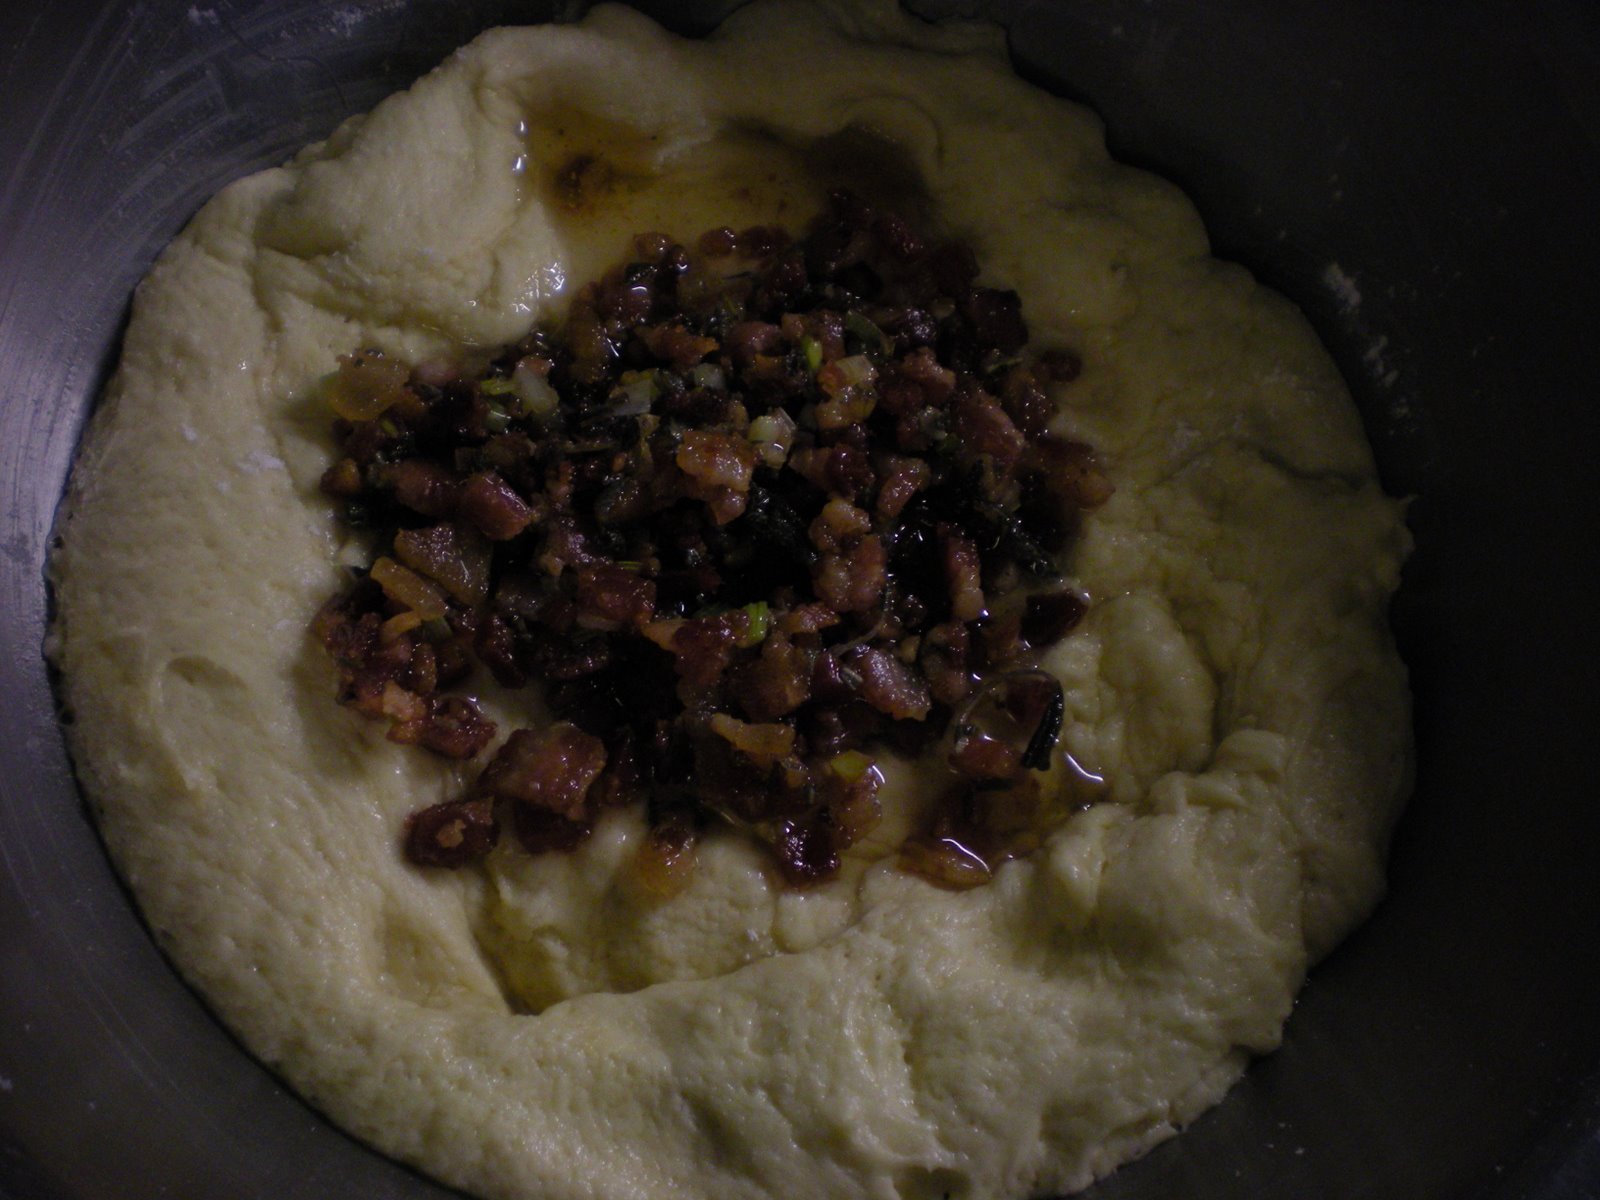
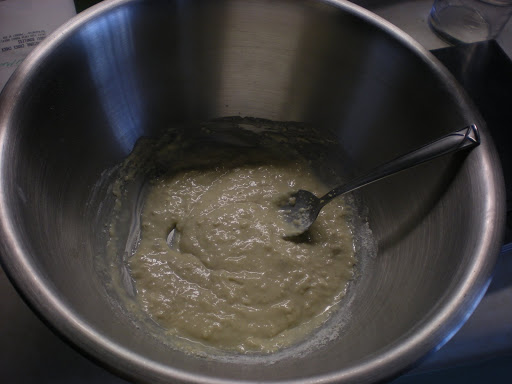
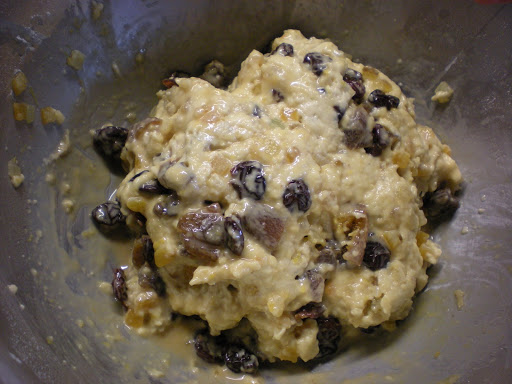
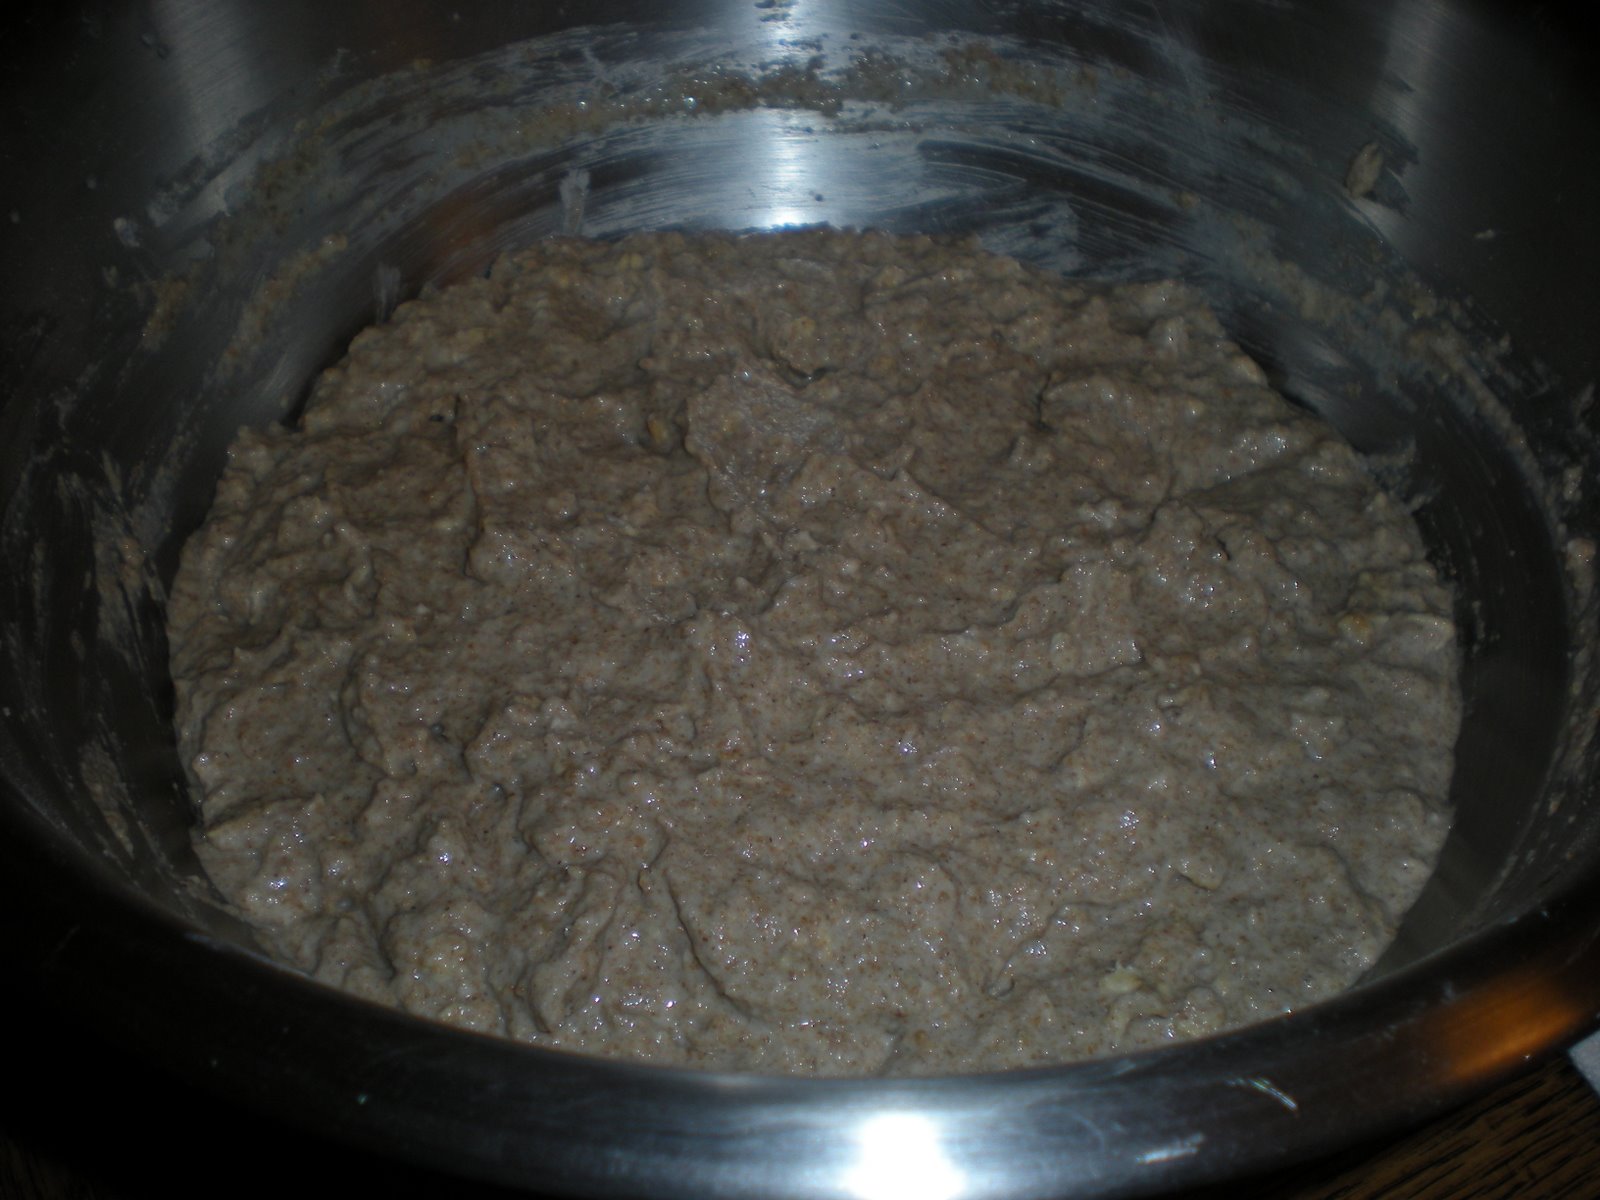
On the second day, check on your doughs. Mix them together, then add in the 113g of spent grains. That’s the weird dark stuff in this picture.

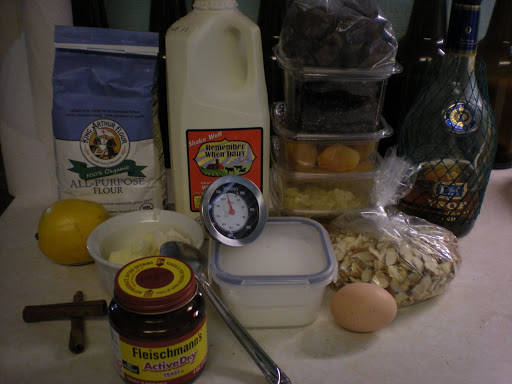
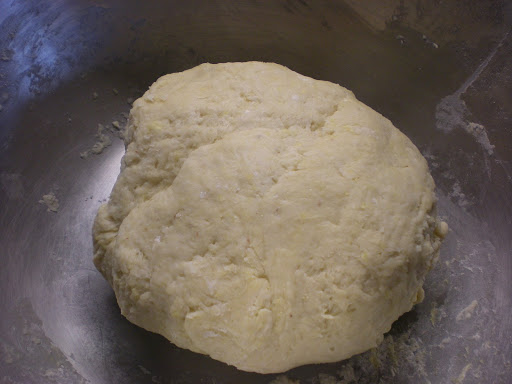
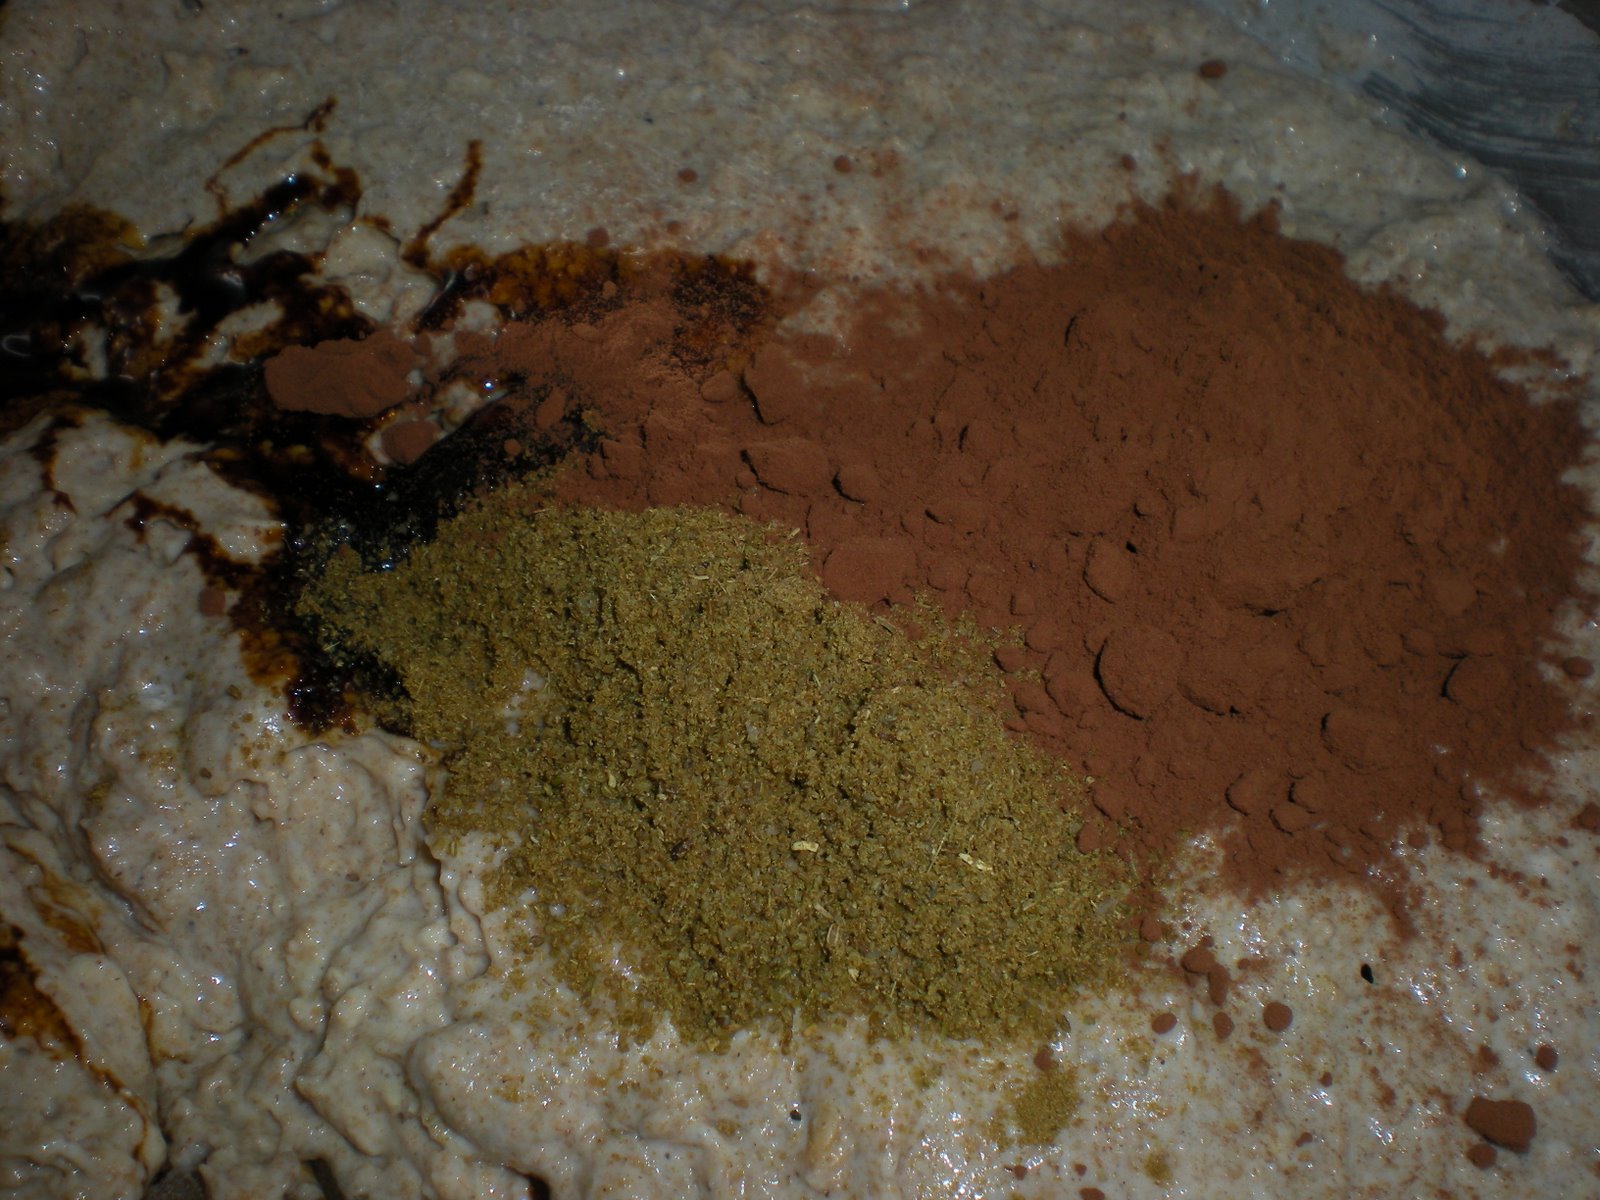
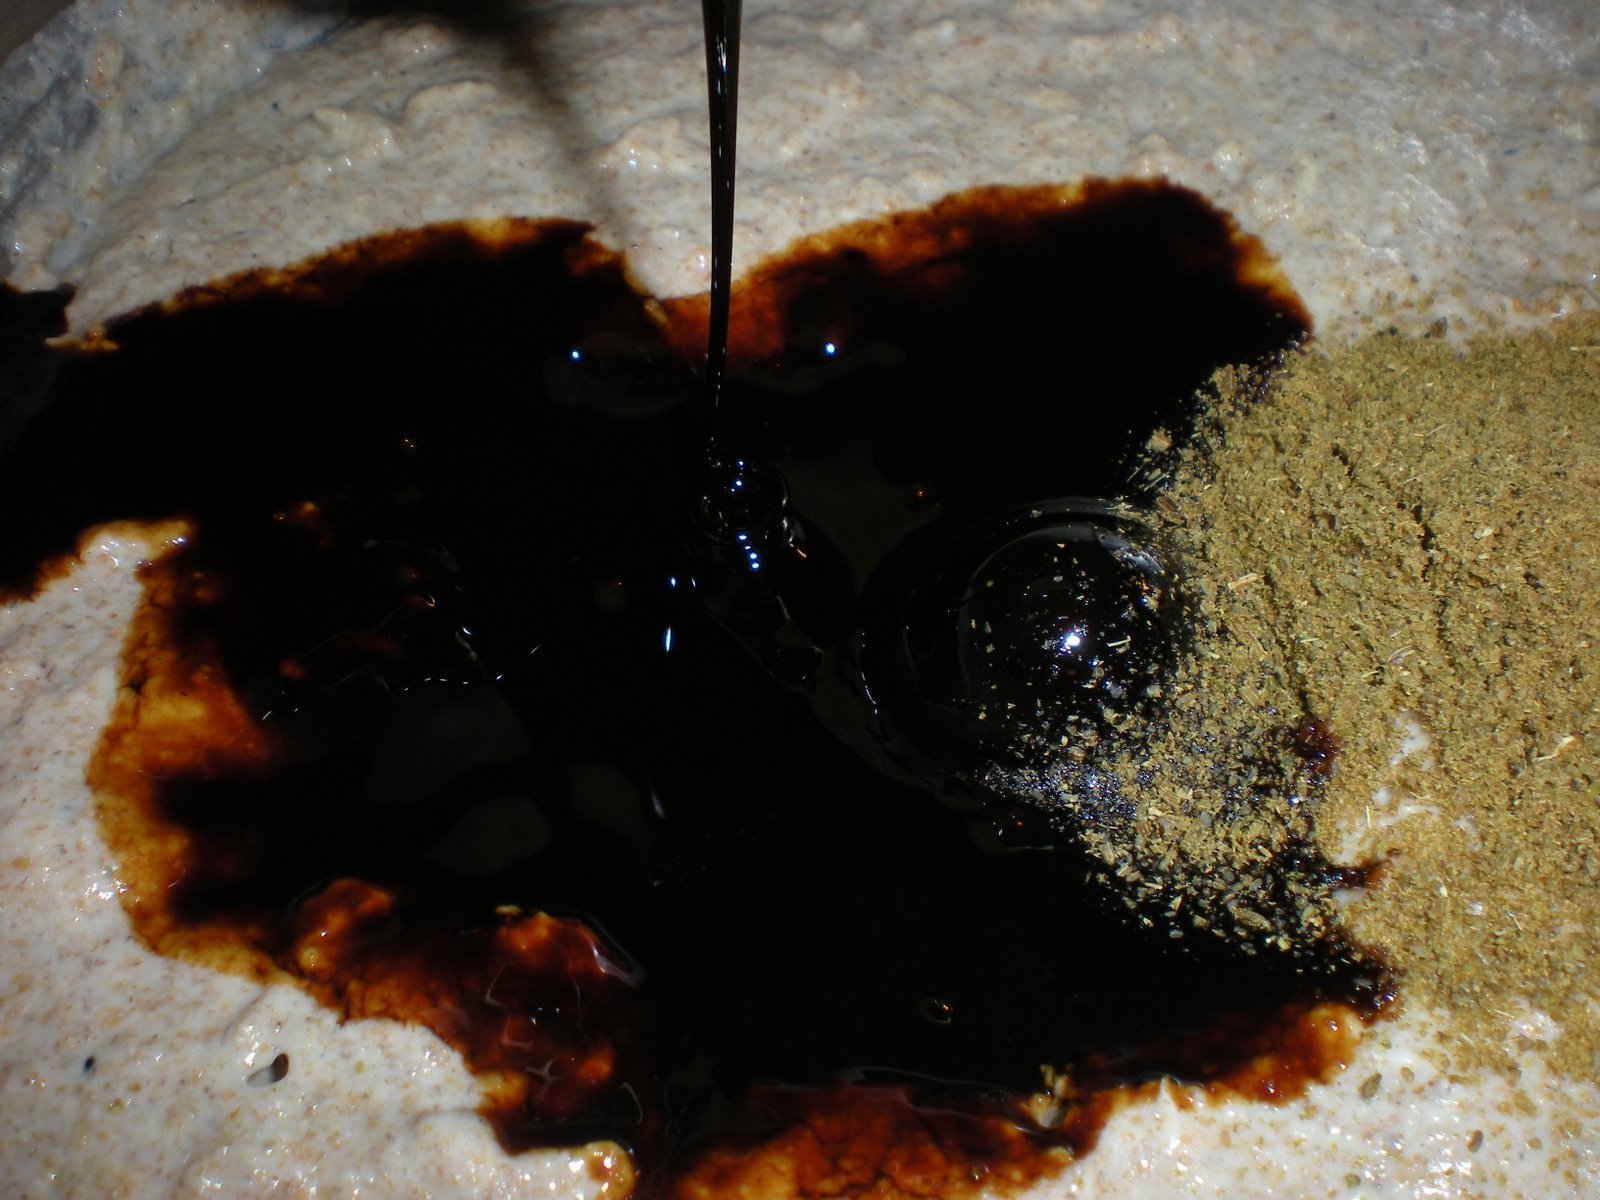
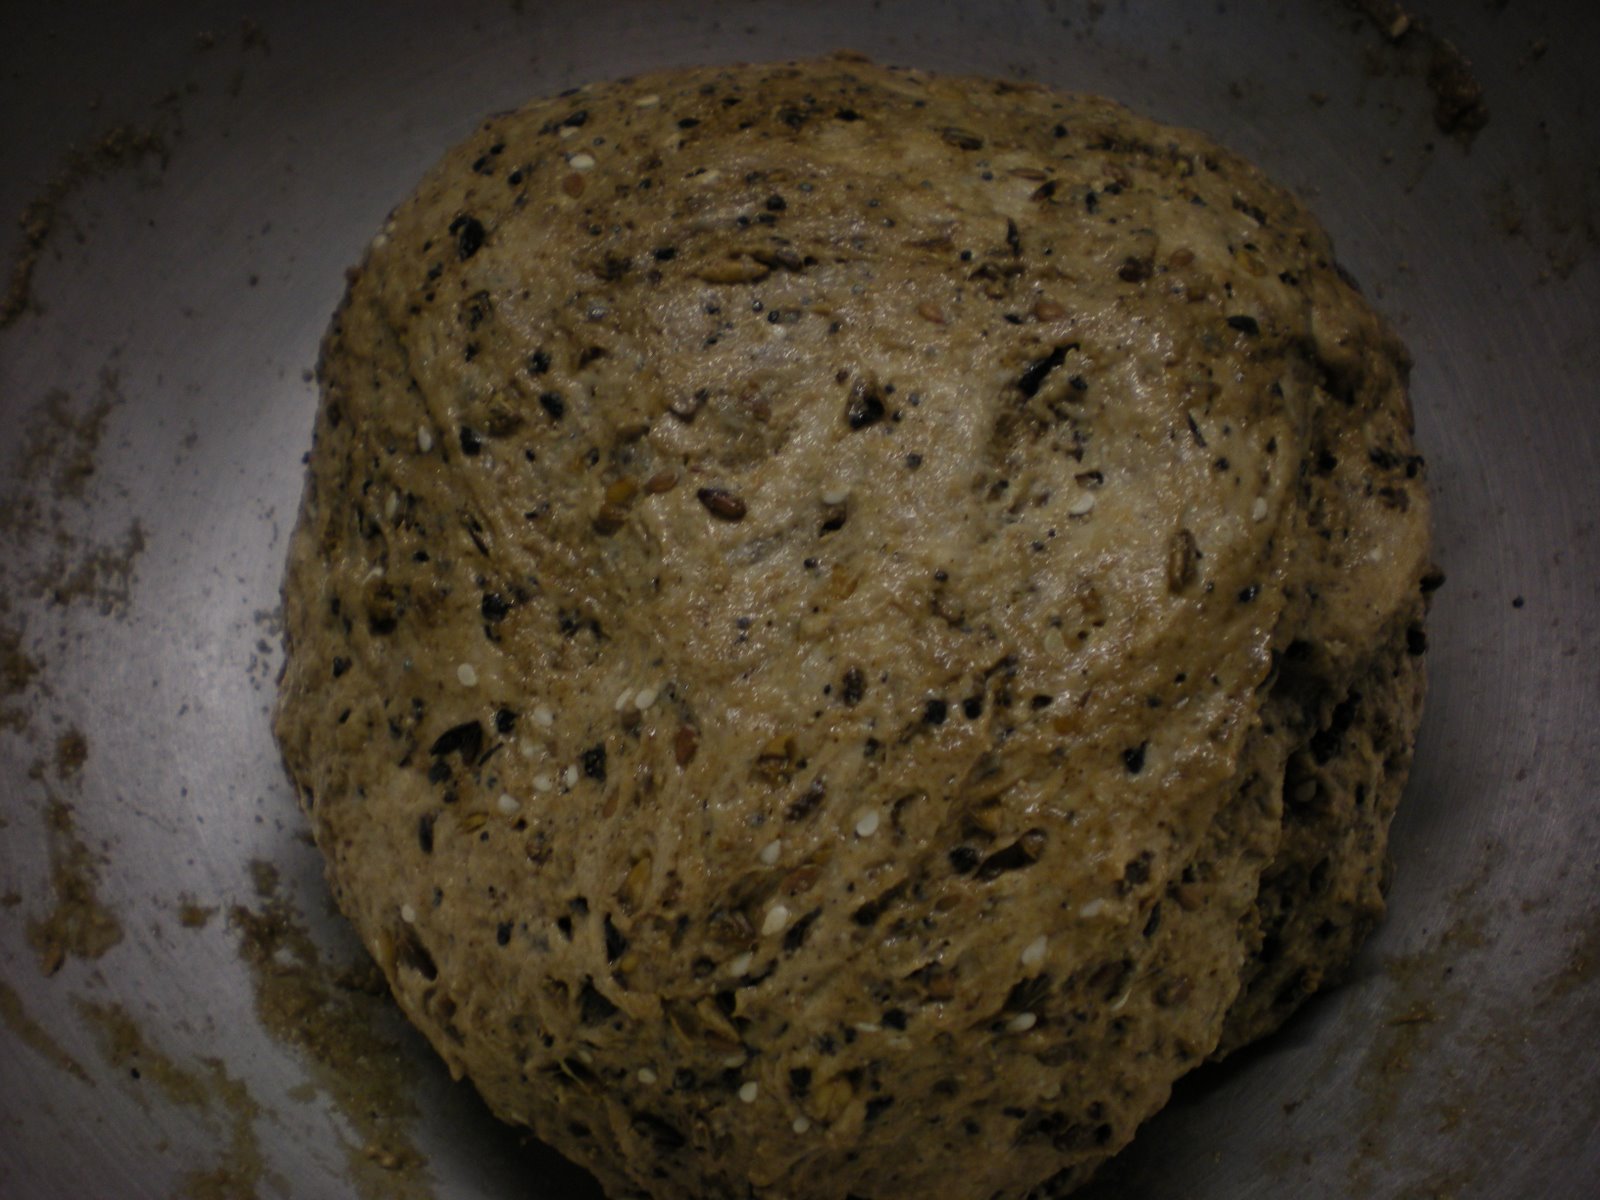
Now add the rest of the ingredients for the final dough.

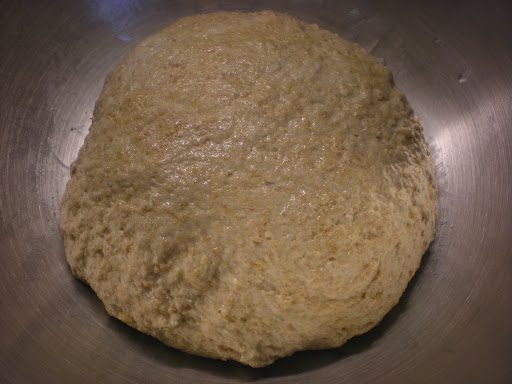
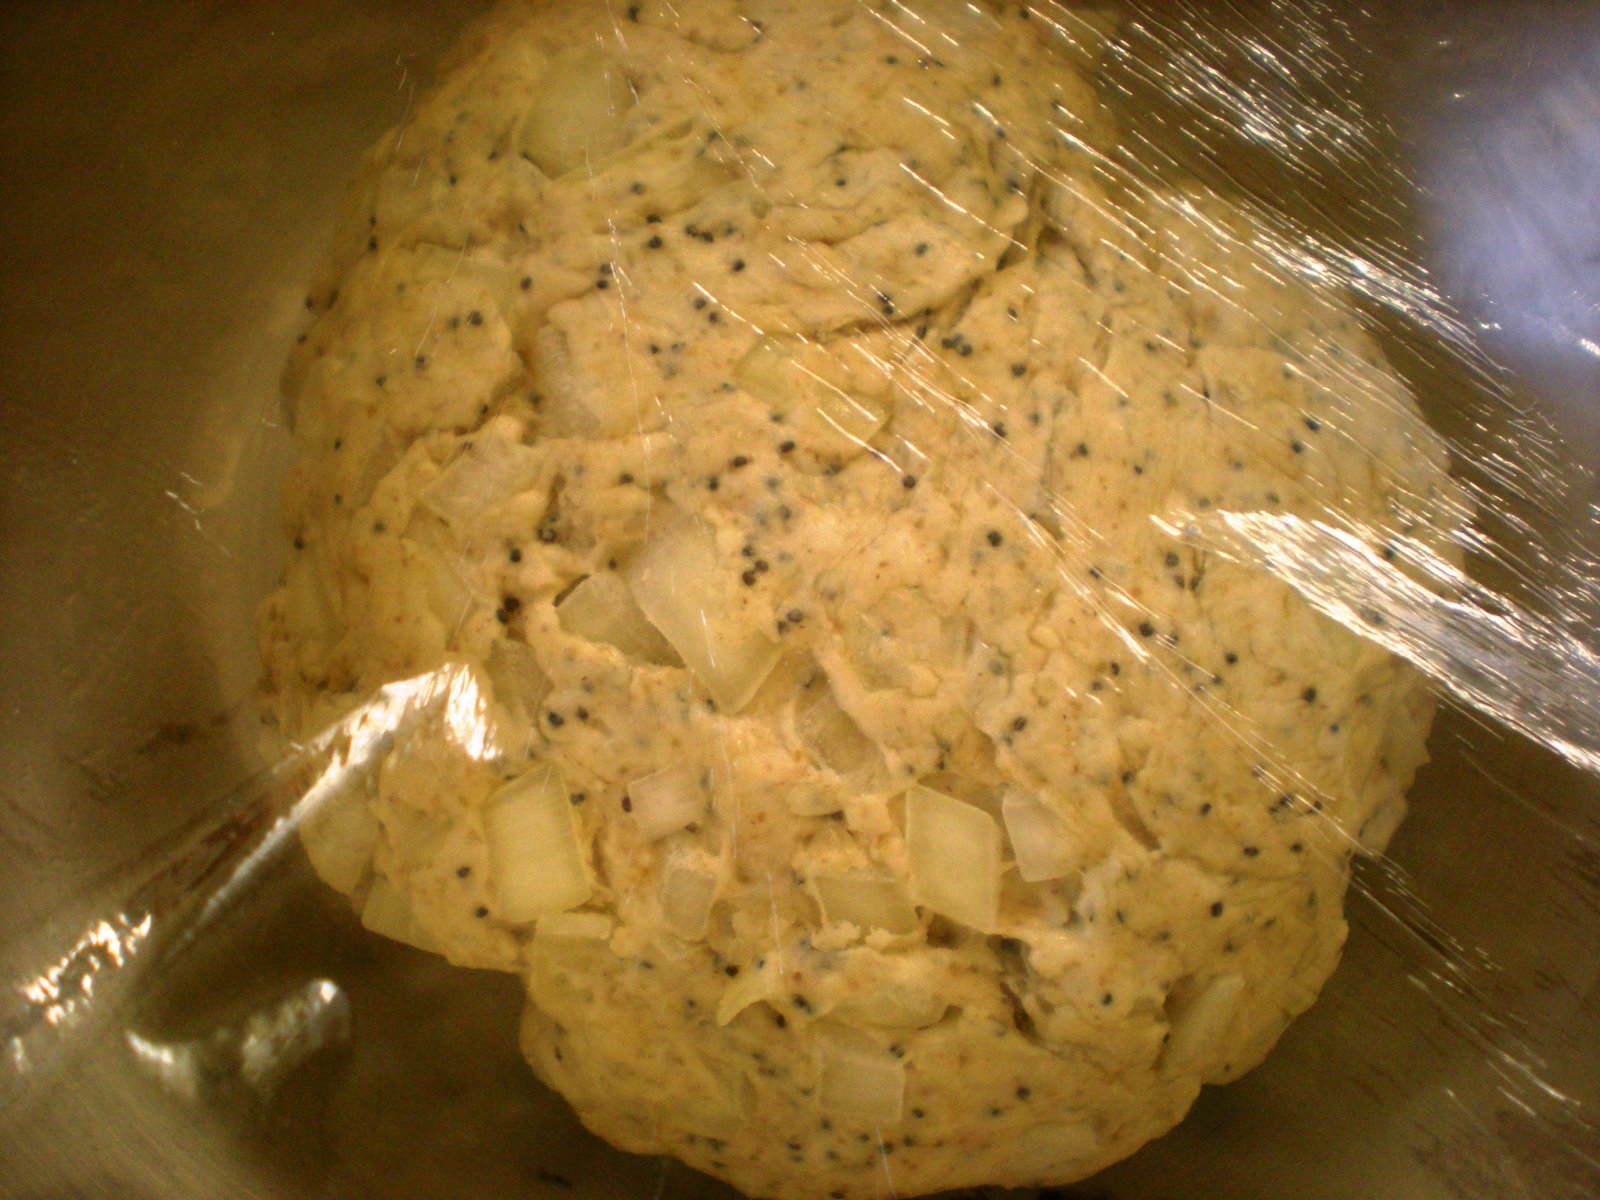
Knead everything together for a few minutes, then let rise for 60-90 minutes in an oiled bowl.

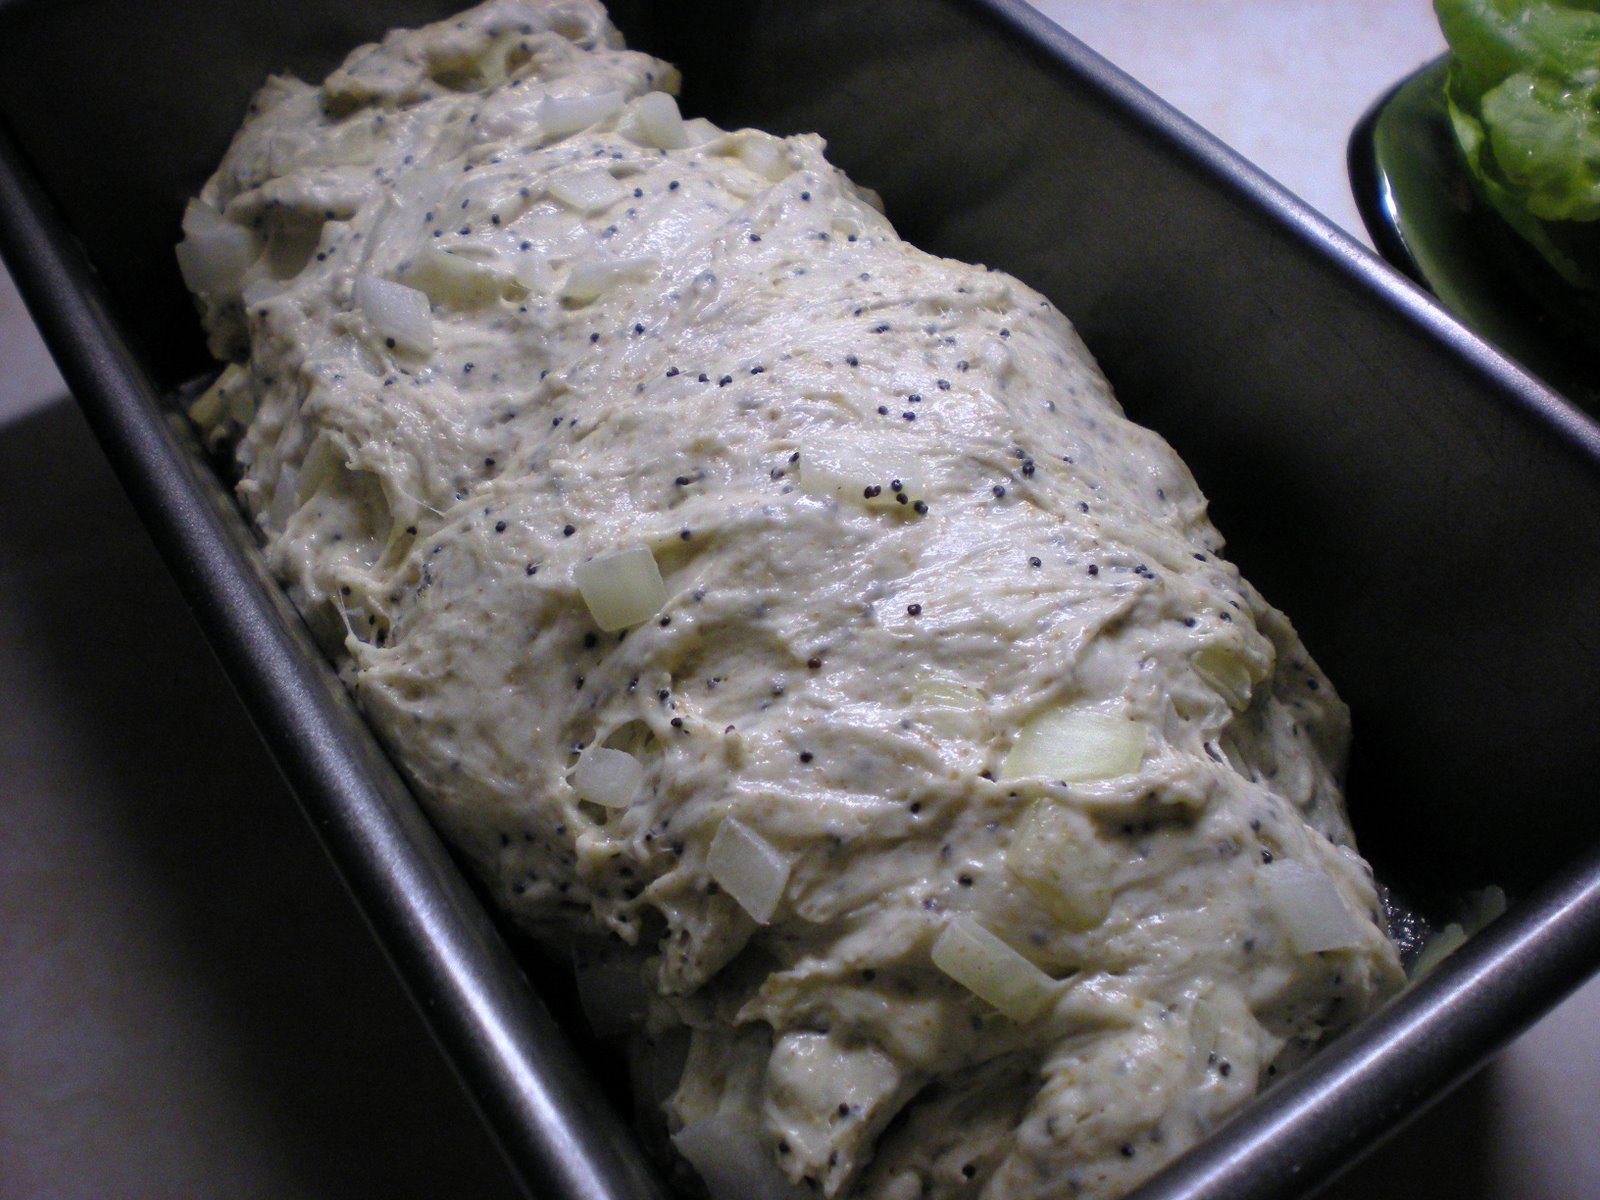
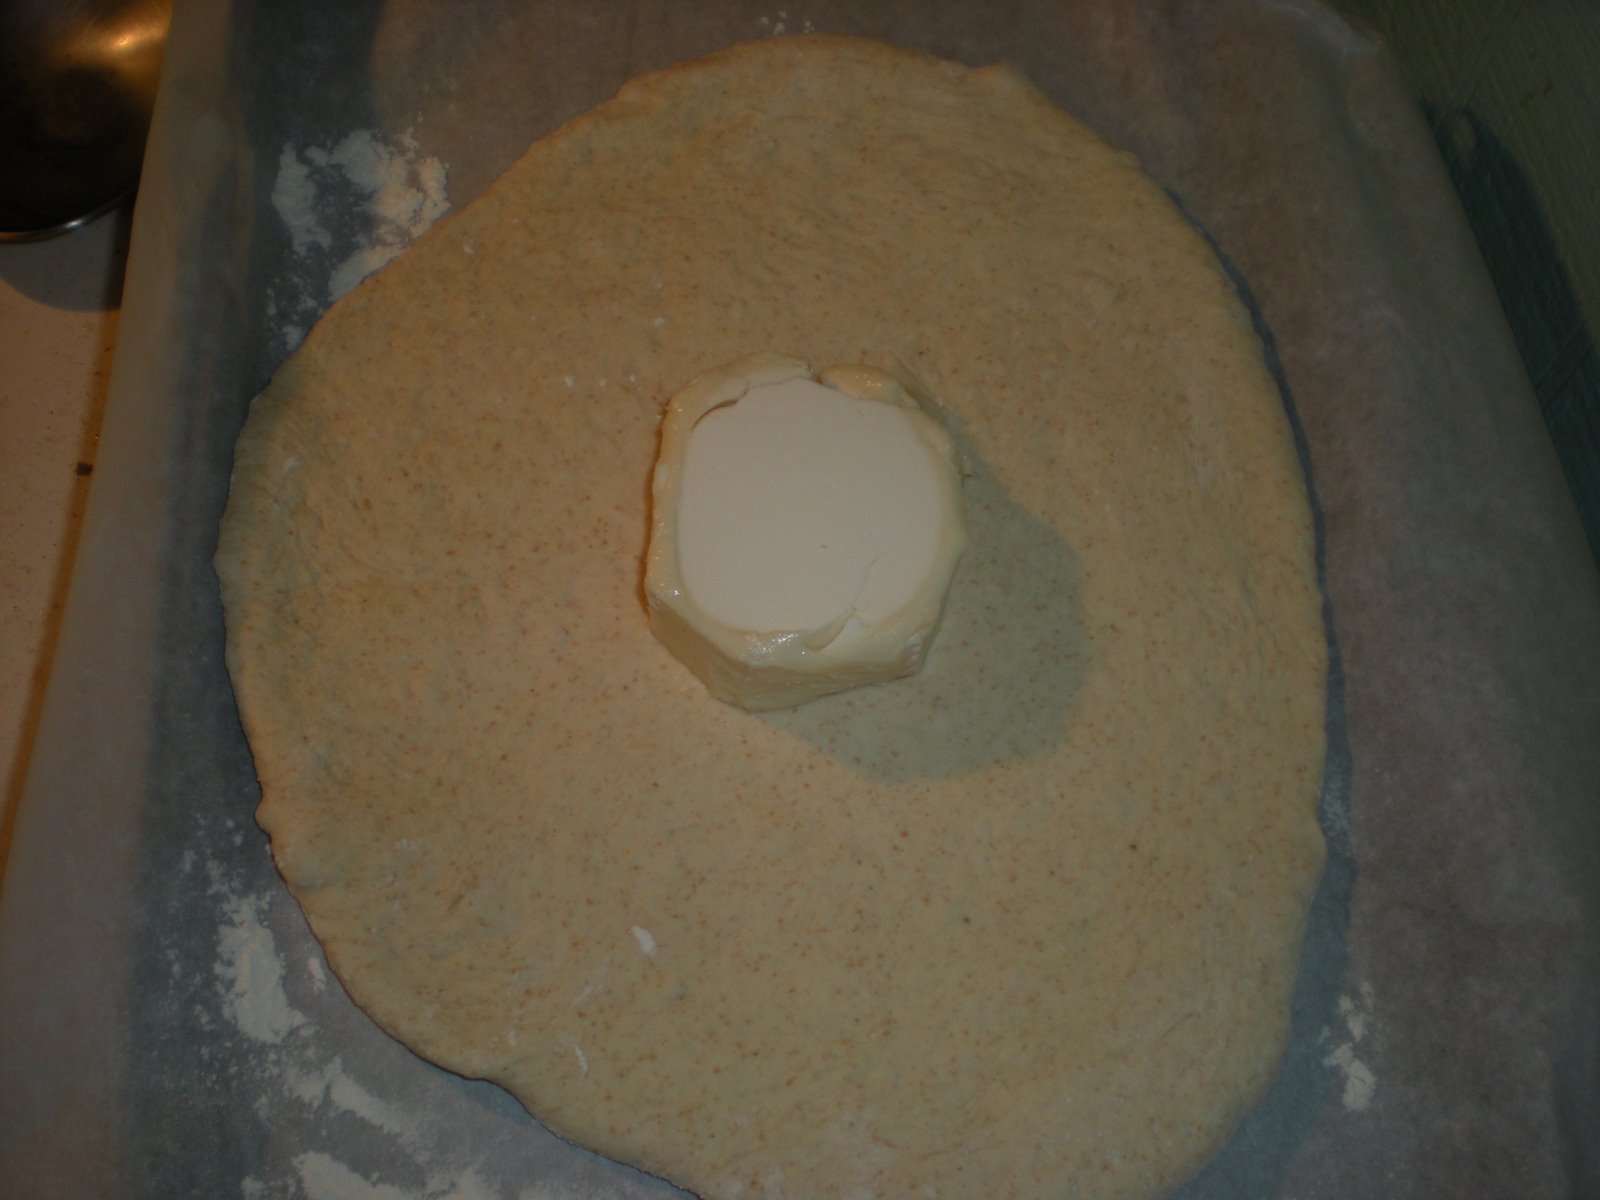
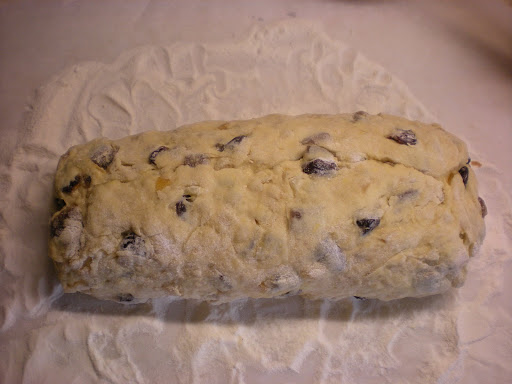
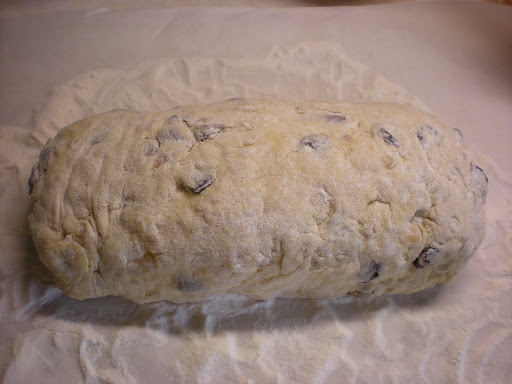
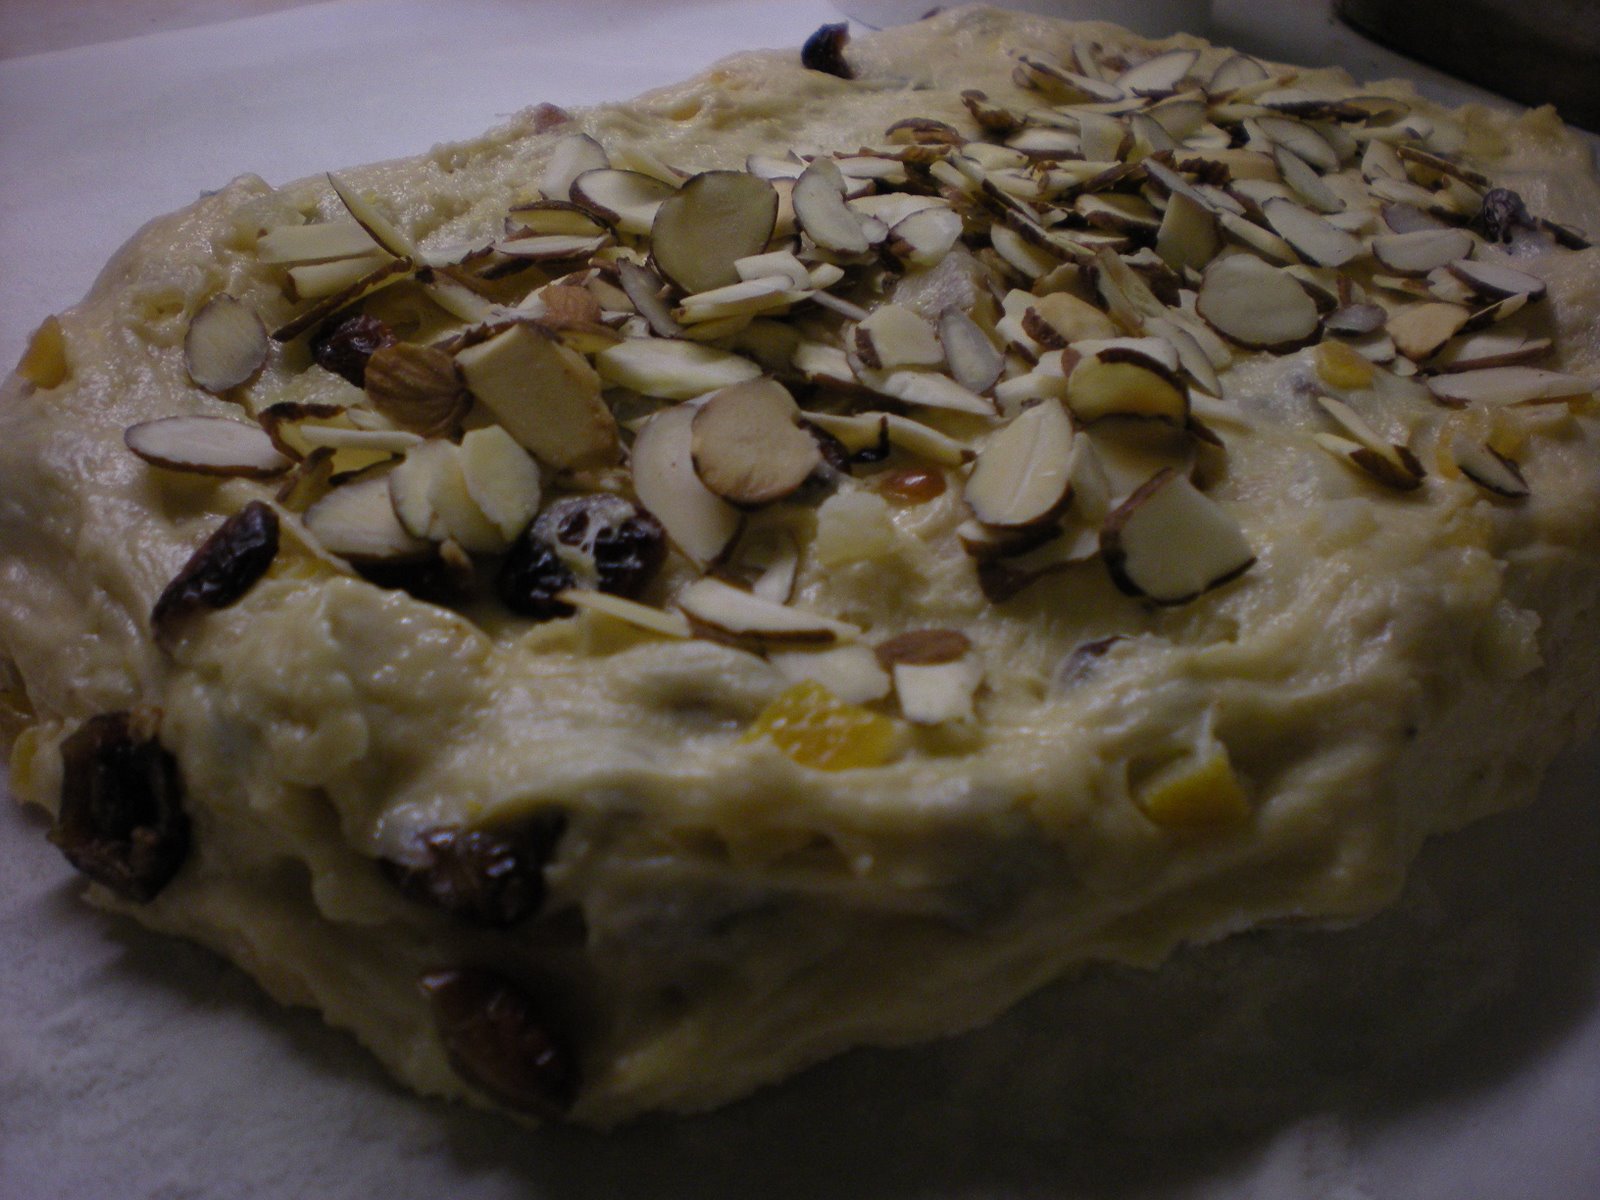
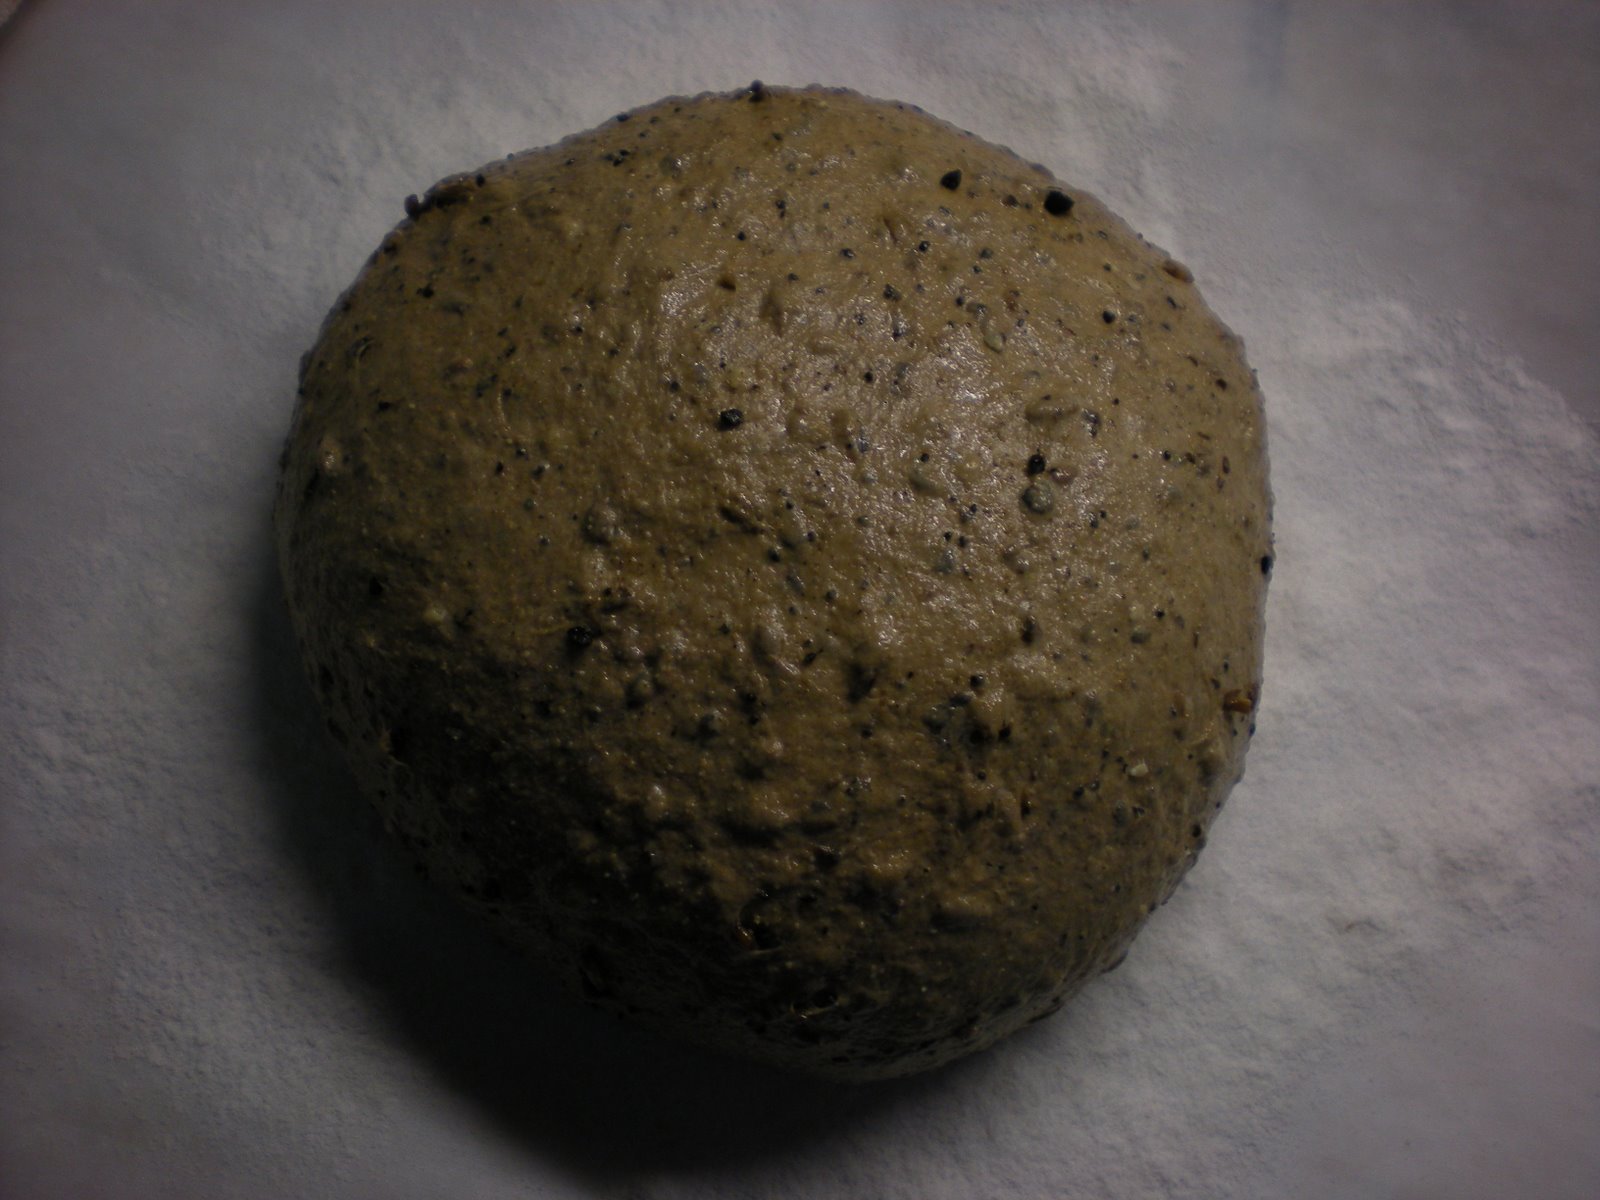
After the second rise, shape and transfer the loaf to a sheet of parchment paper lined with rice flour. Let it rise another 45 minutes or so while you preheat the oven to 450 degrees with your dutch oven inside.

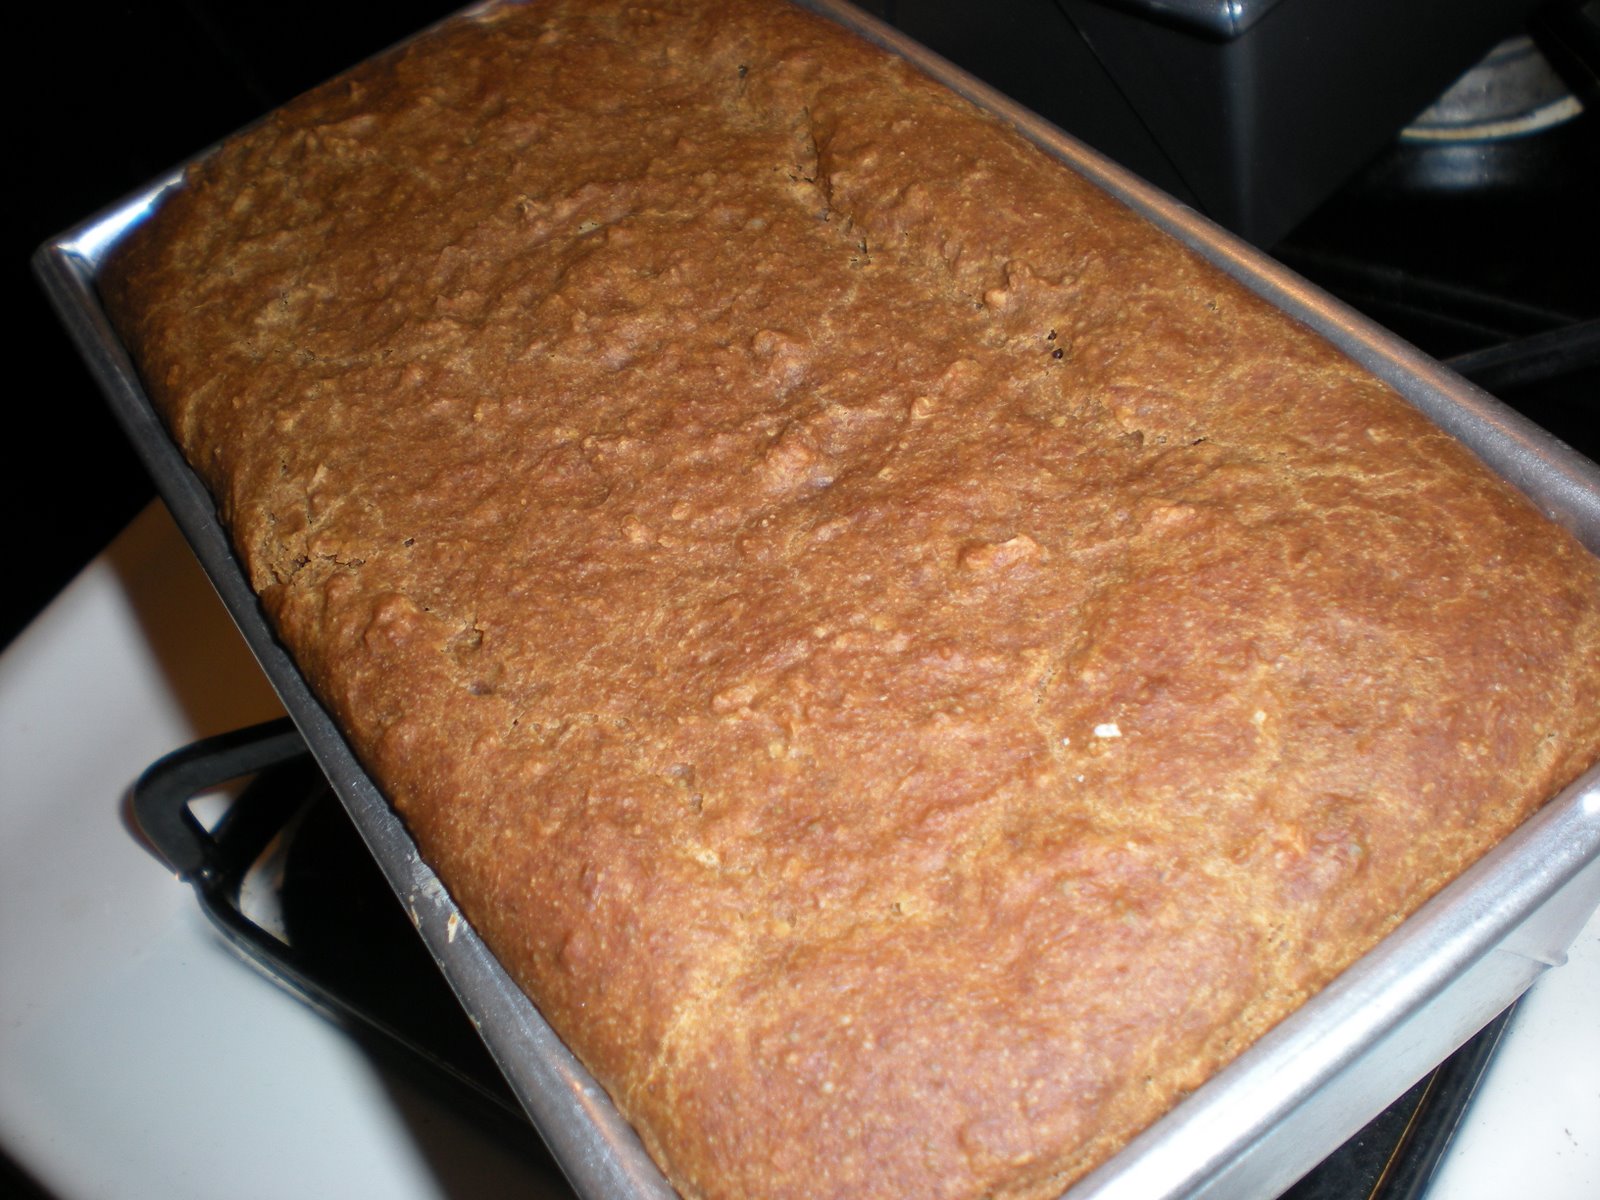
Once the oven is preheated, score the top of the loaf with a razor blade or sharp knife and stick in the oven. Turn the temperature down to 350 degrees. Let it bake for 25 minutes with the dutch oven lid on, then take the lid off and bake another 20 or so minutes.

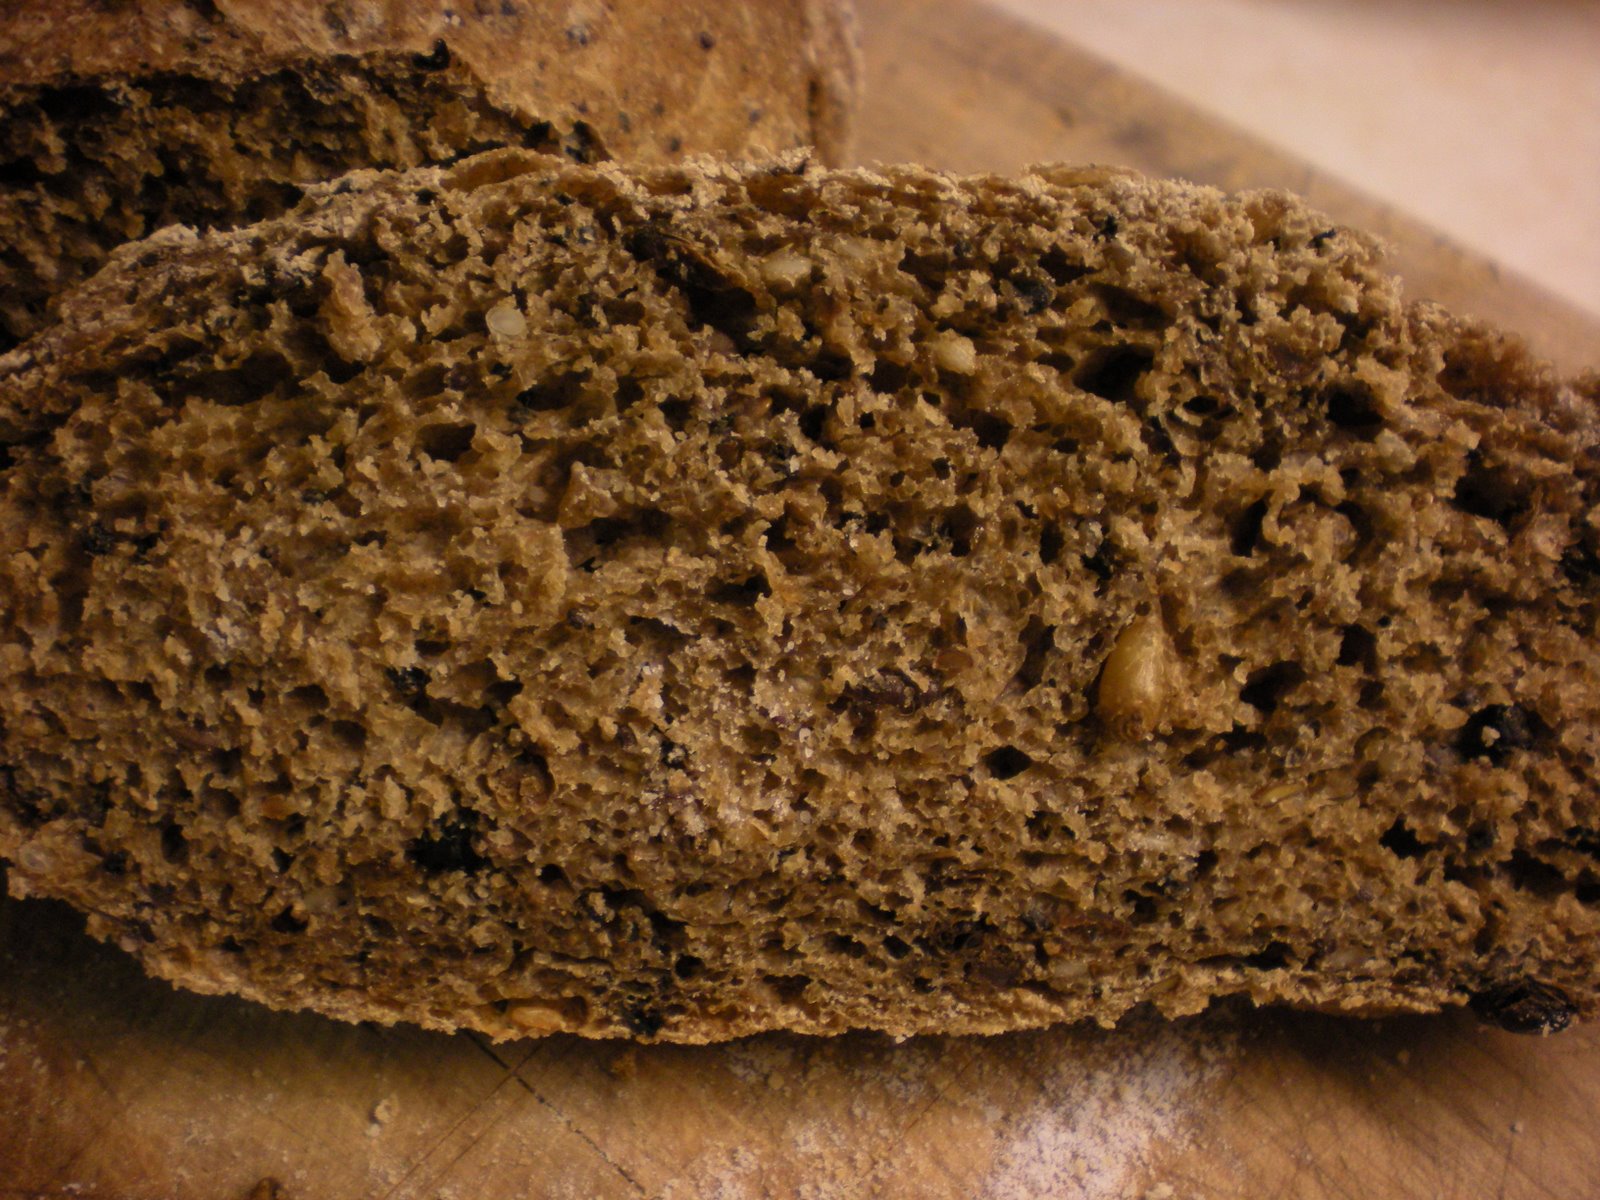
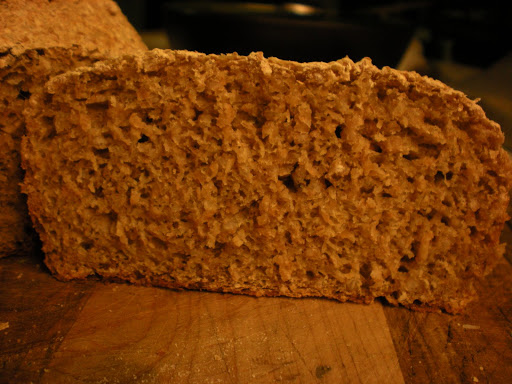
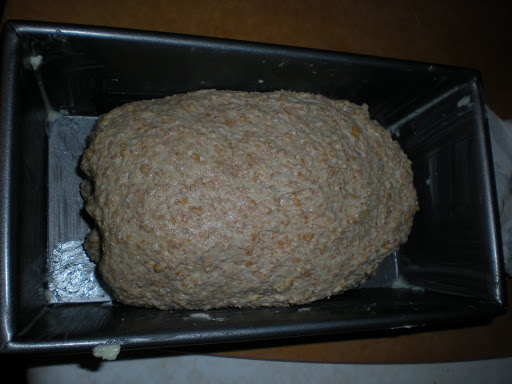
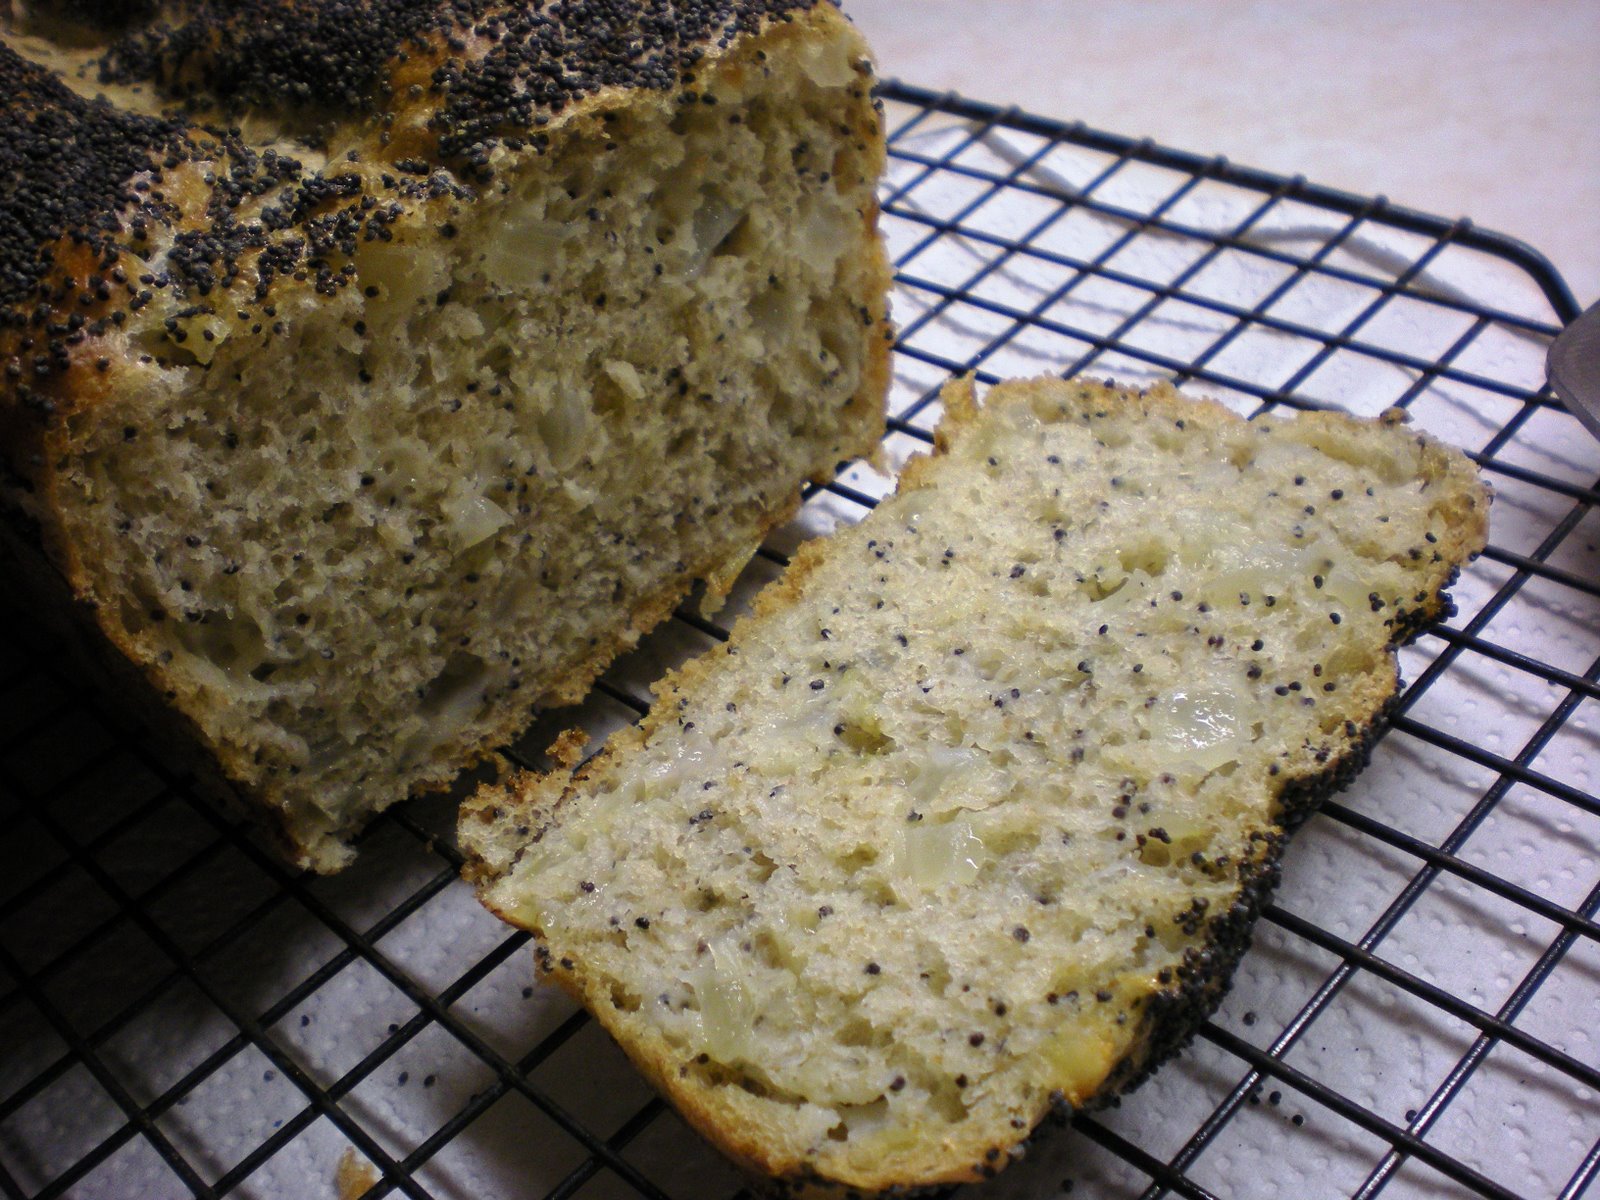
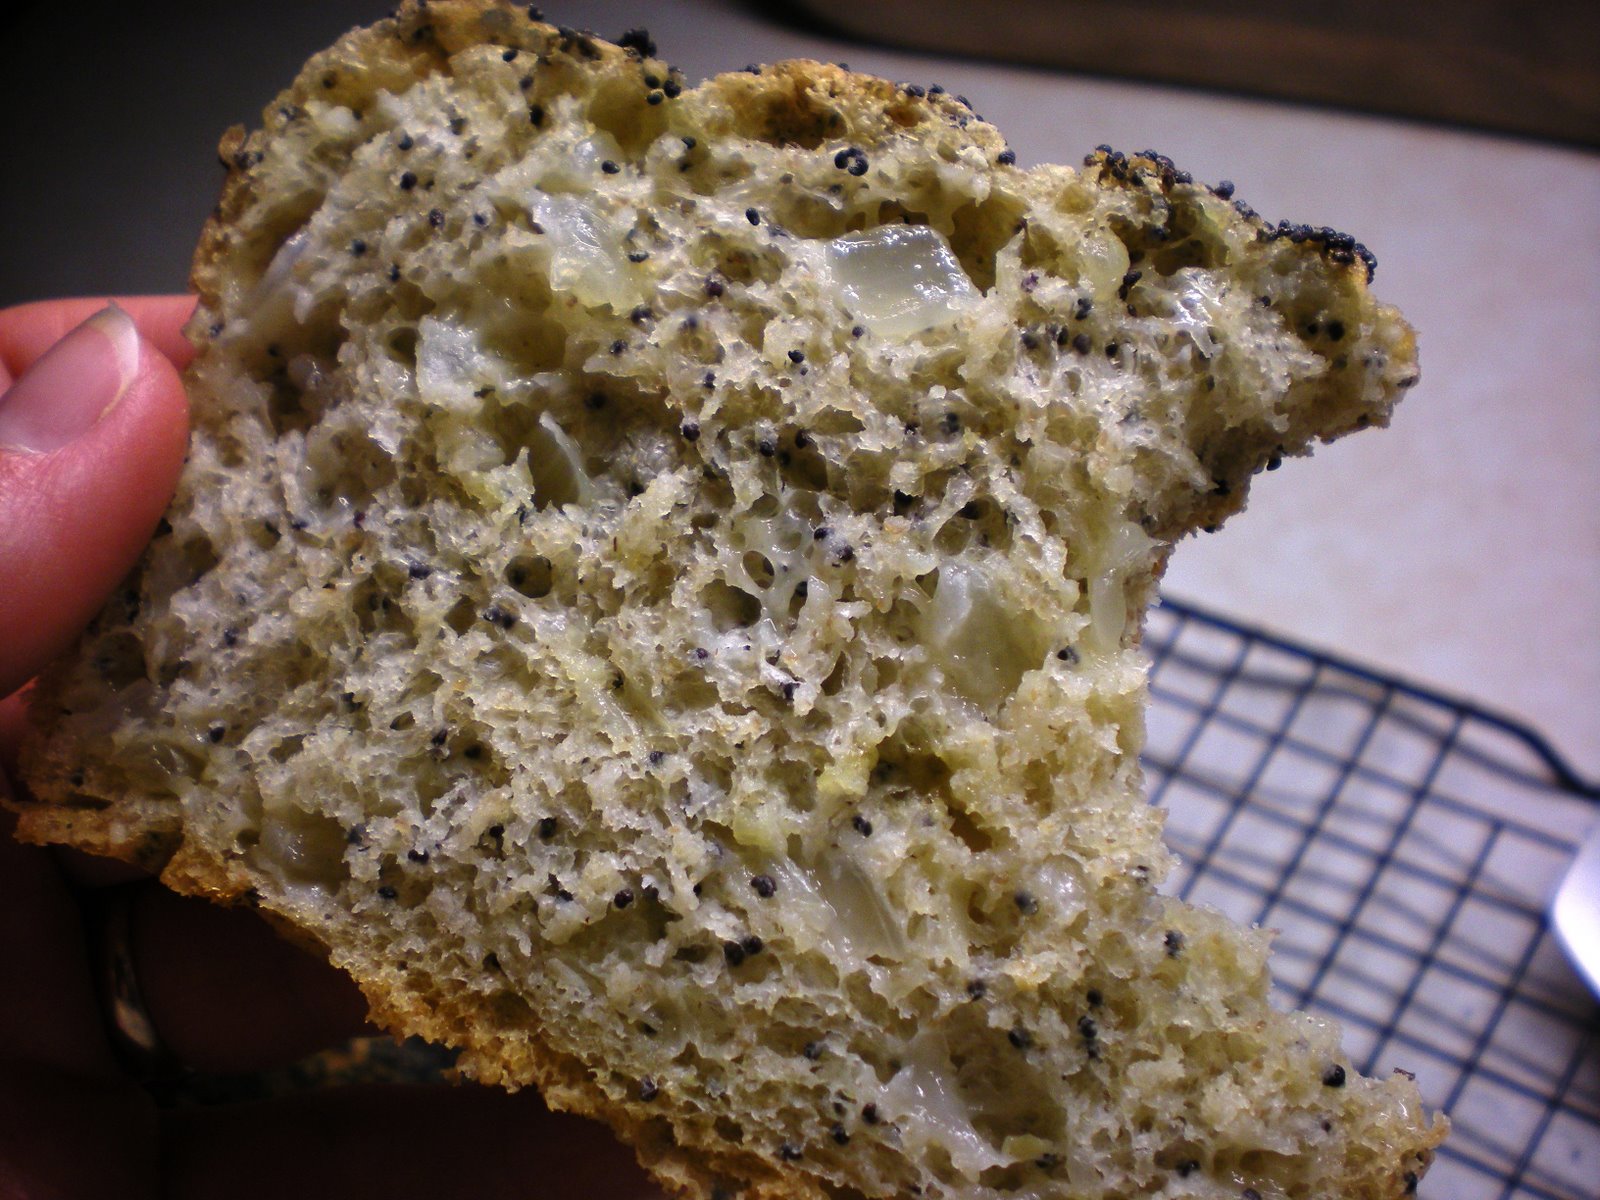
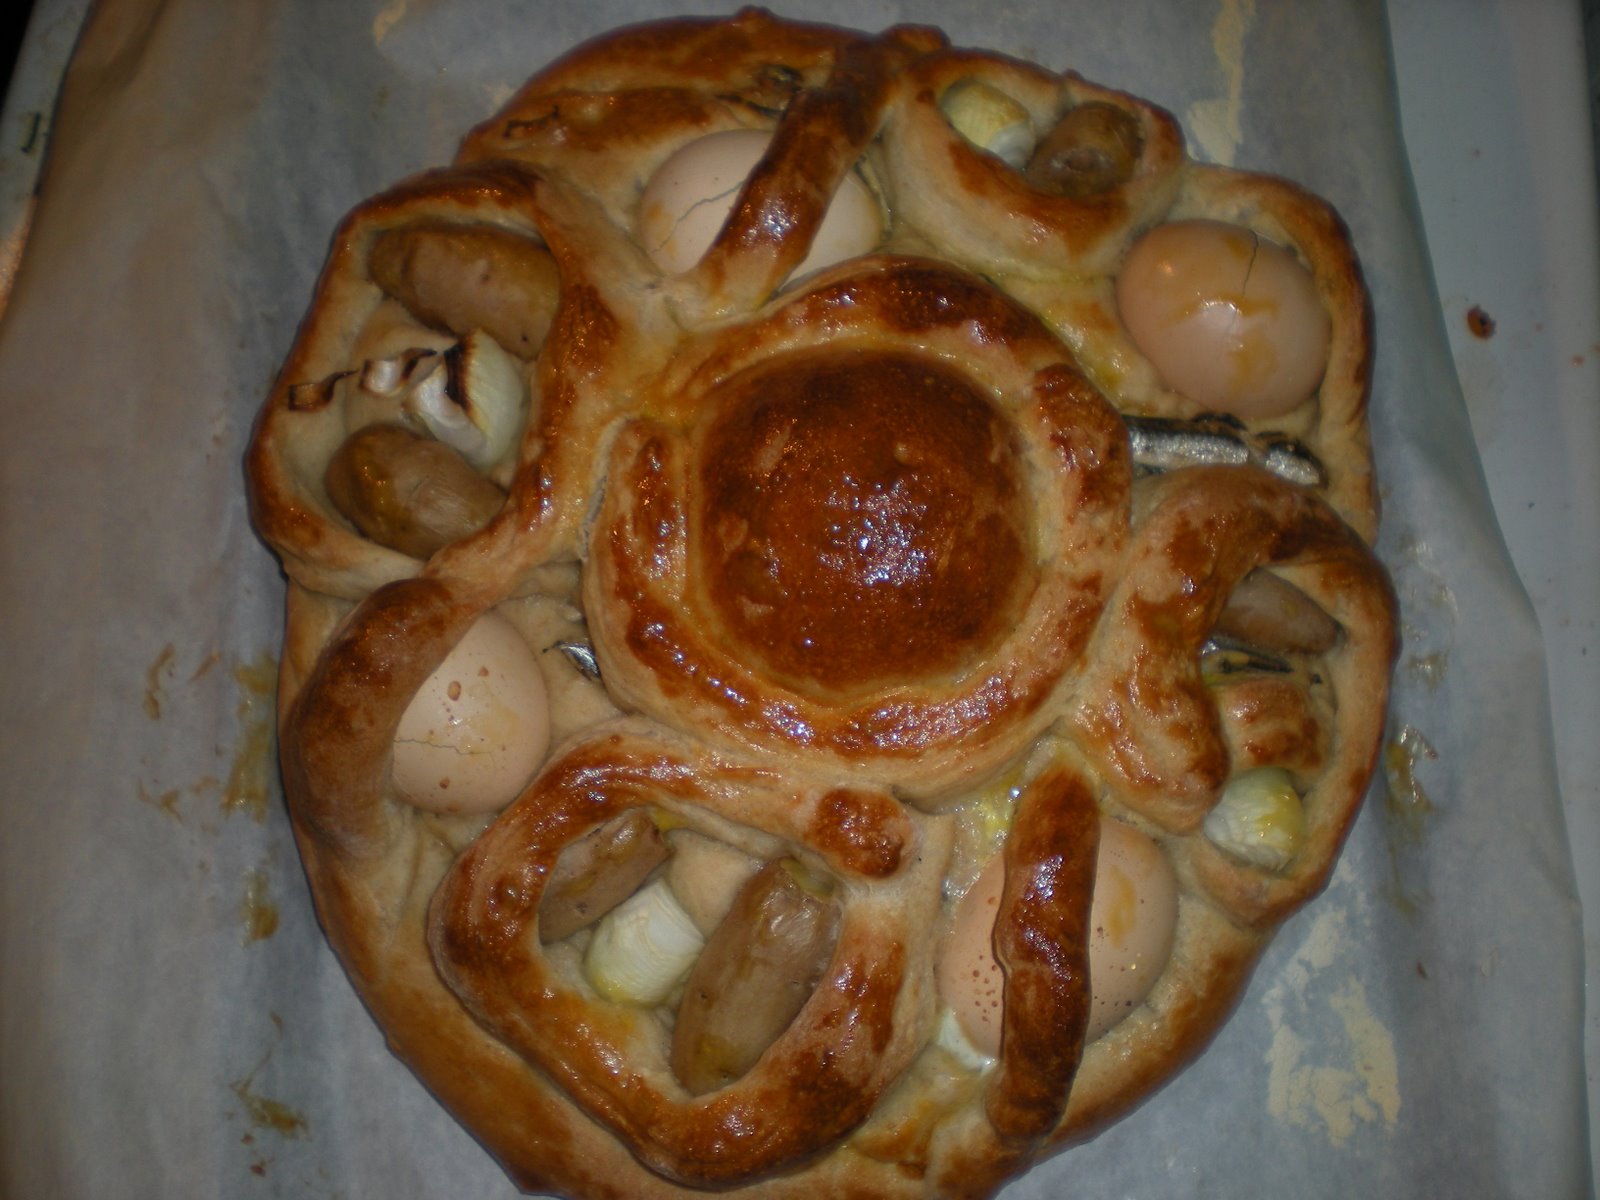
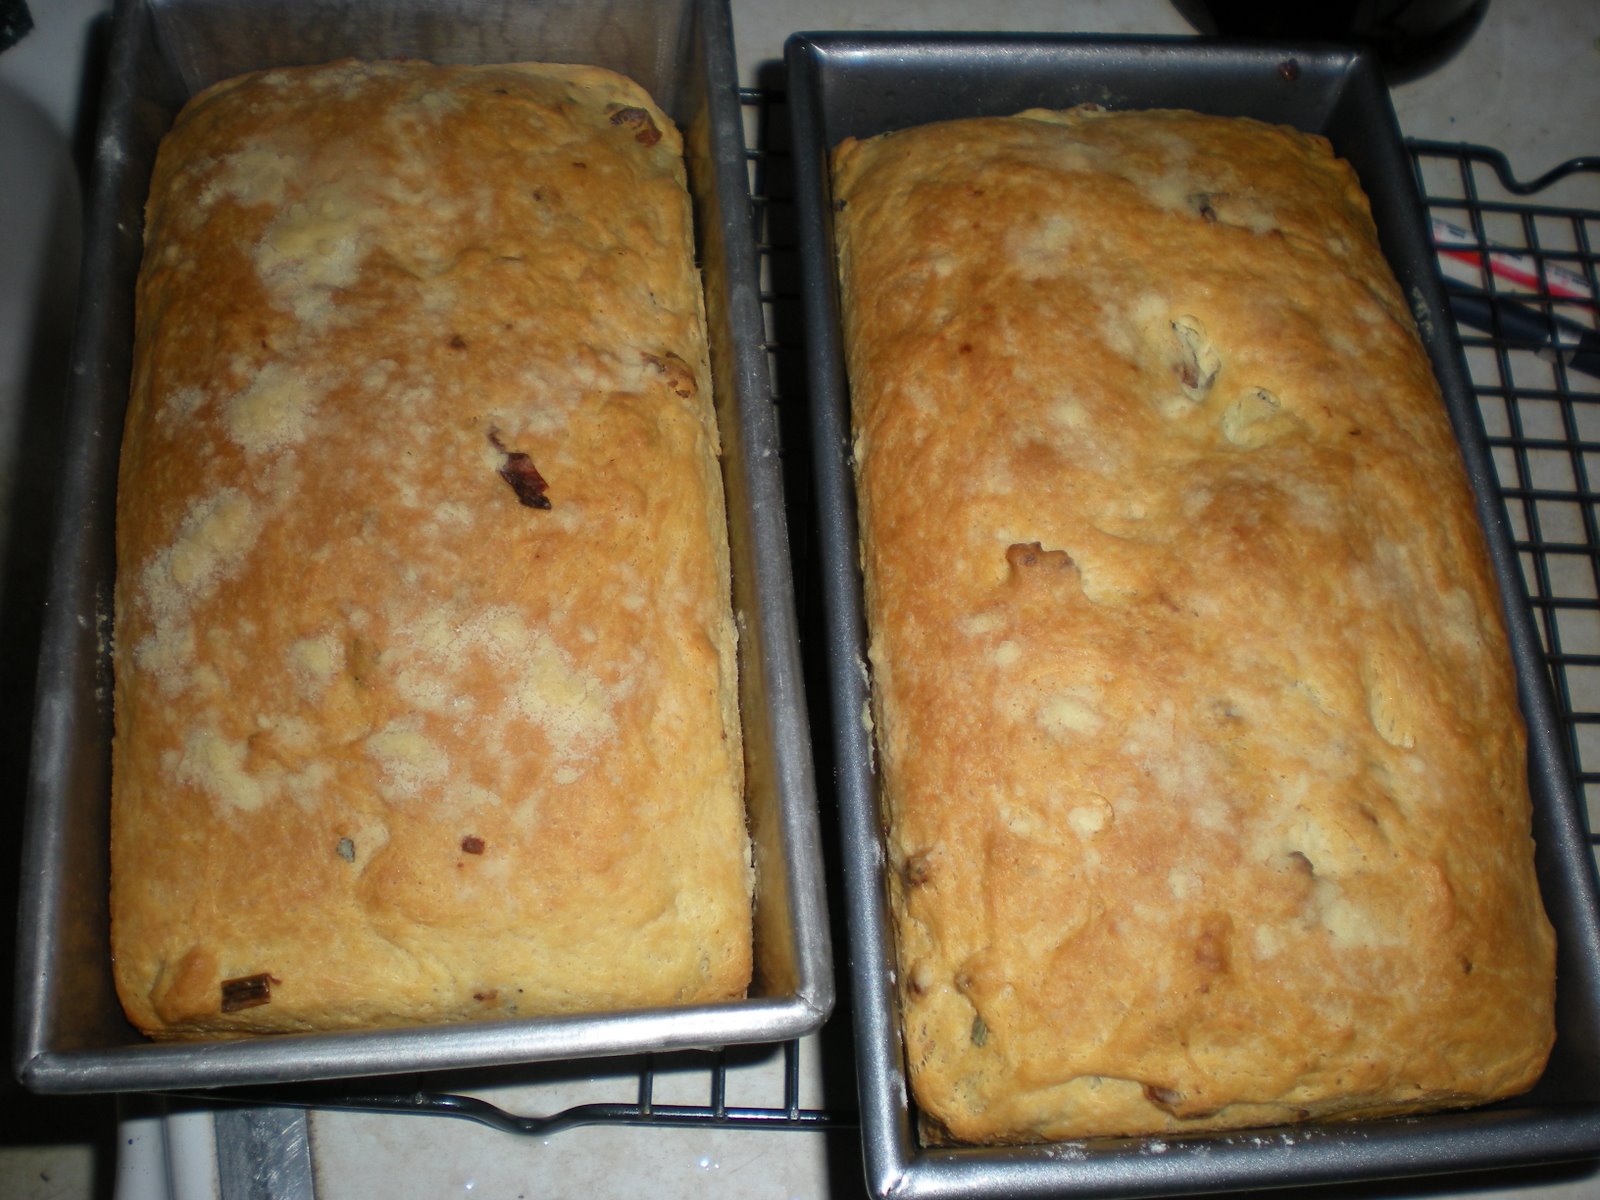
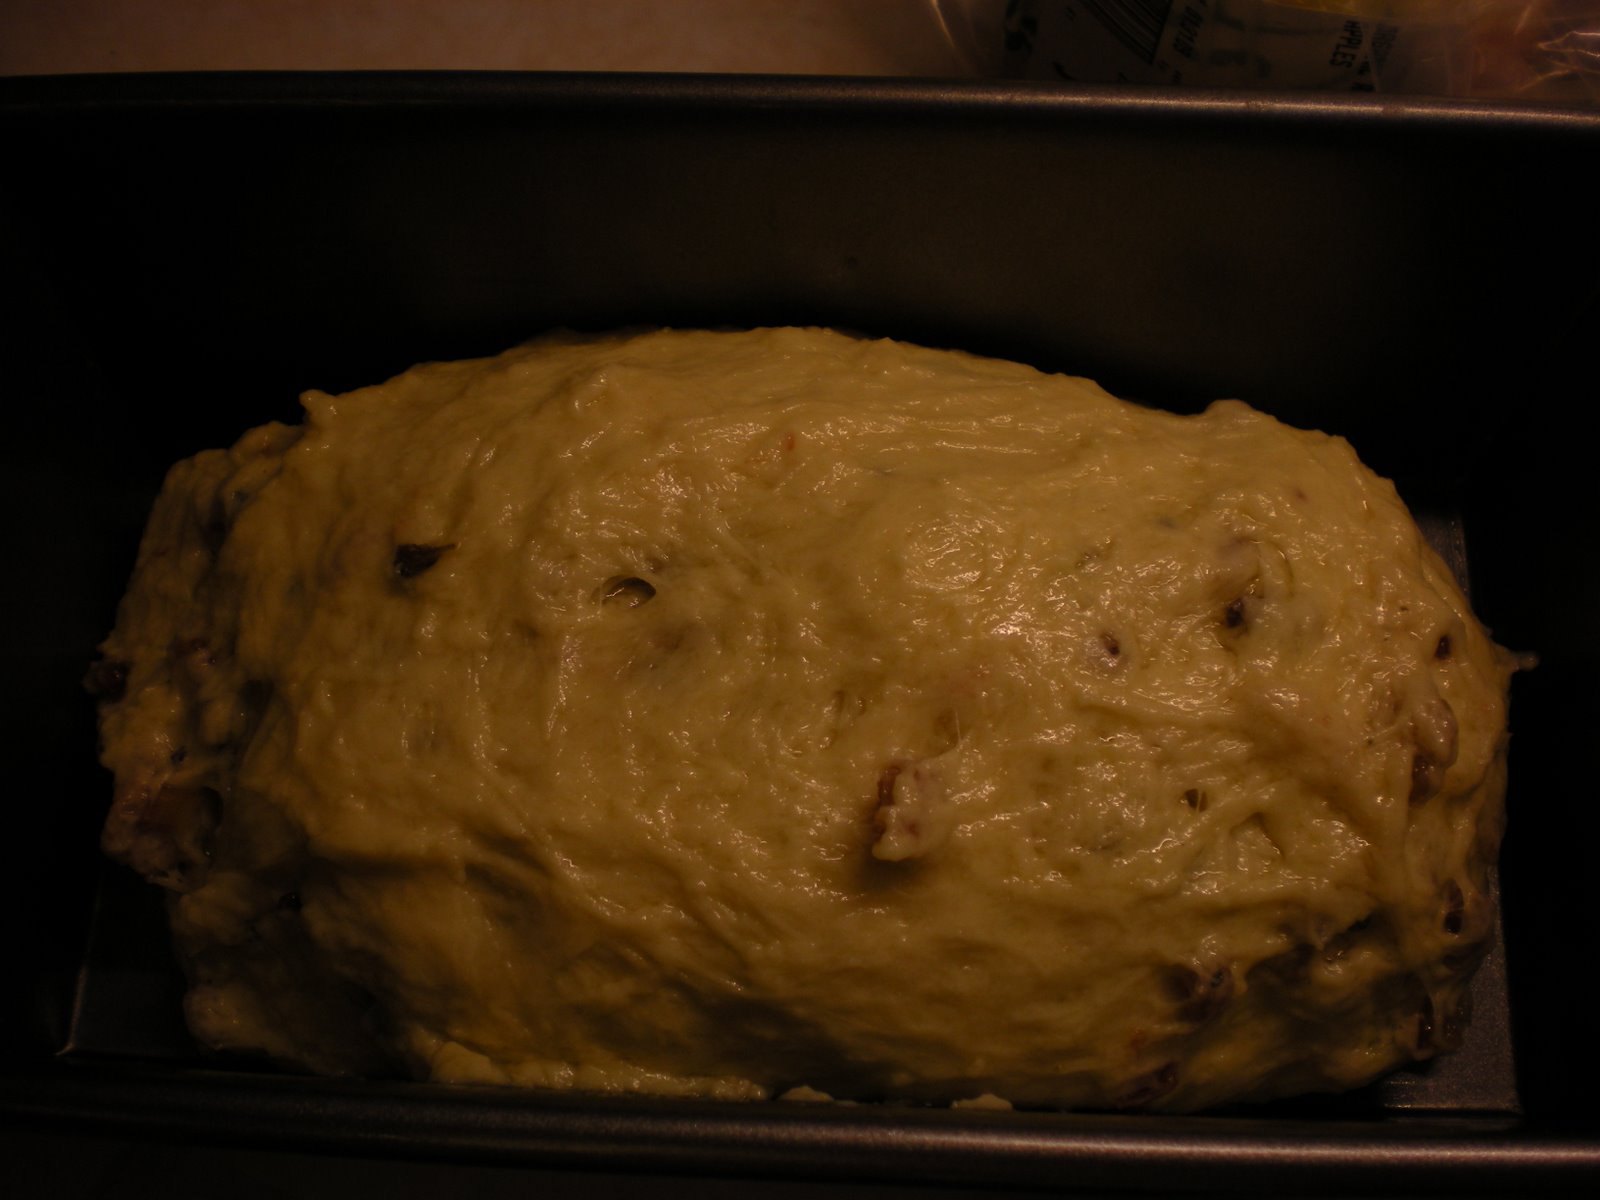
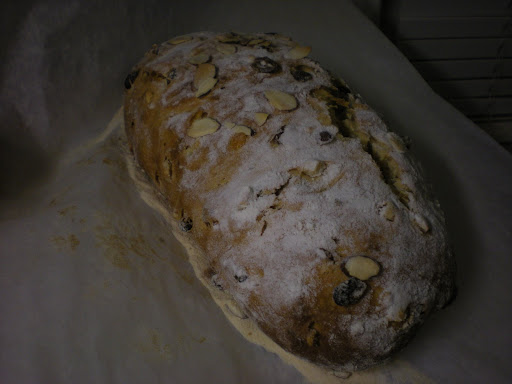
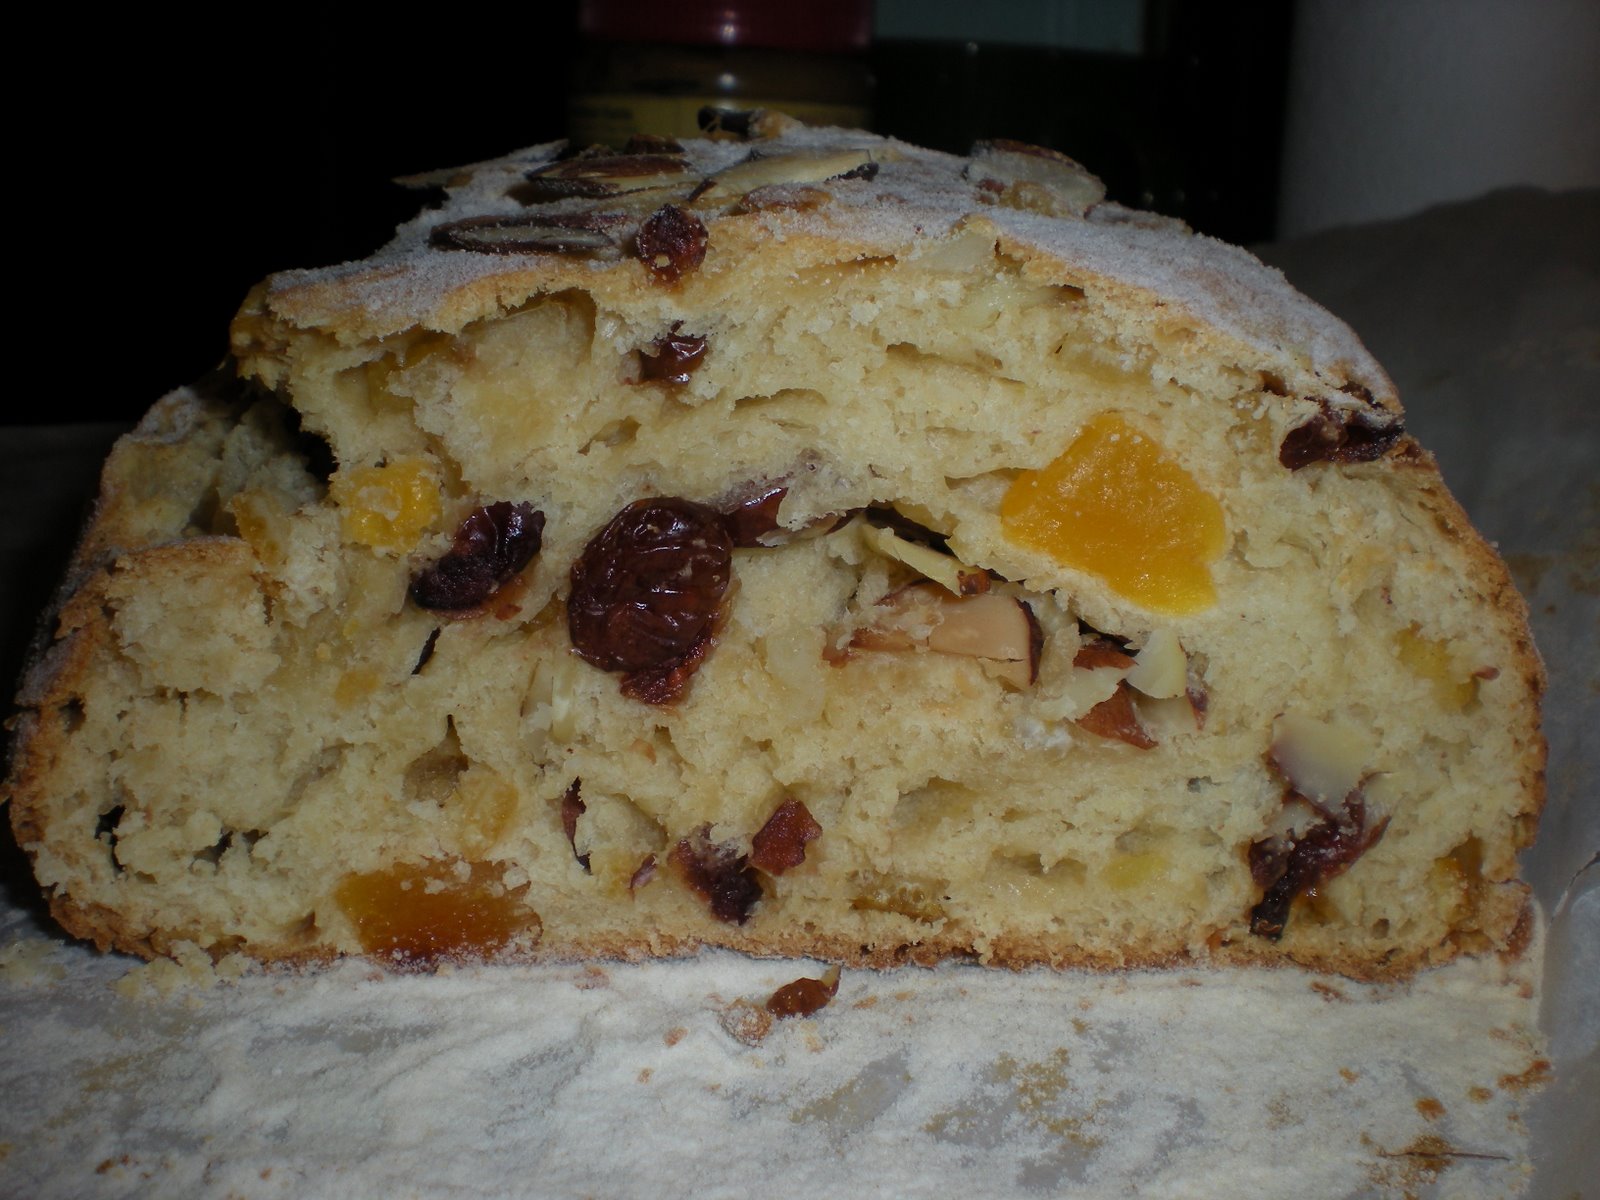
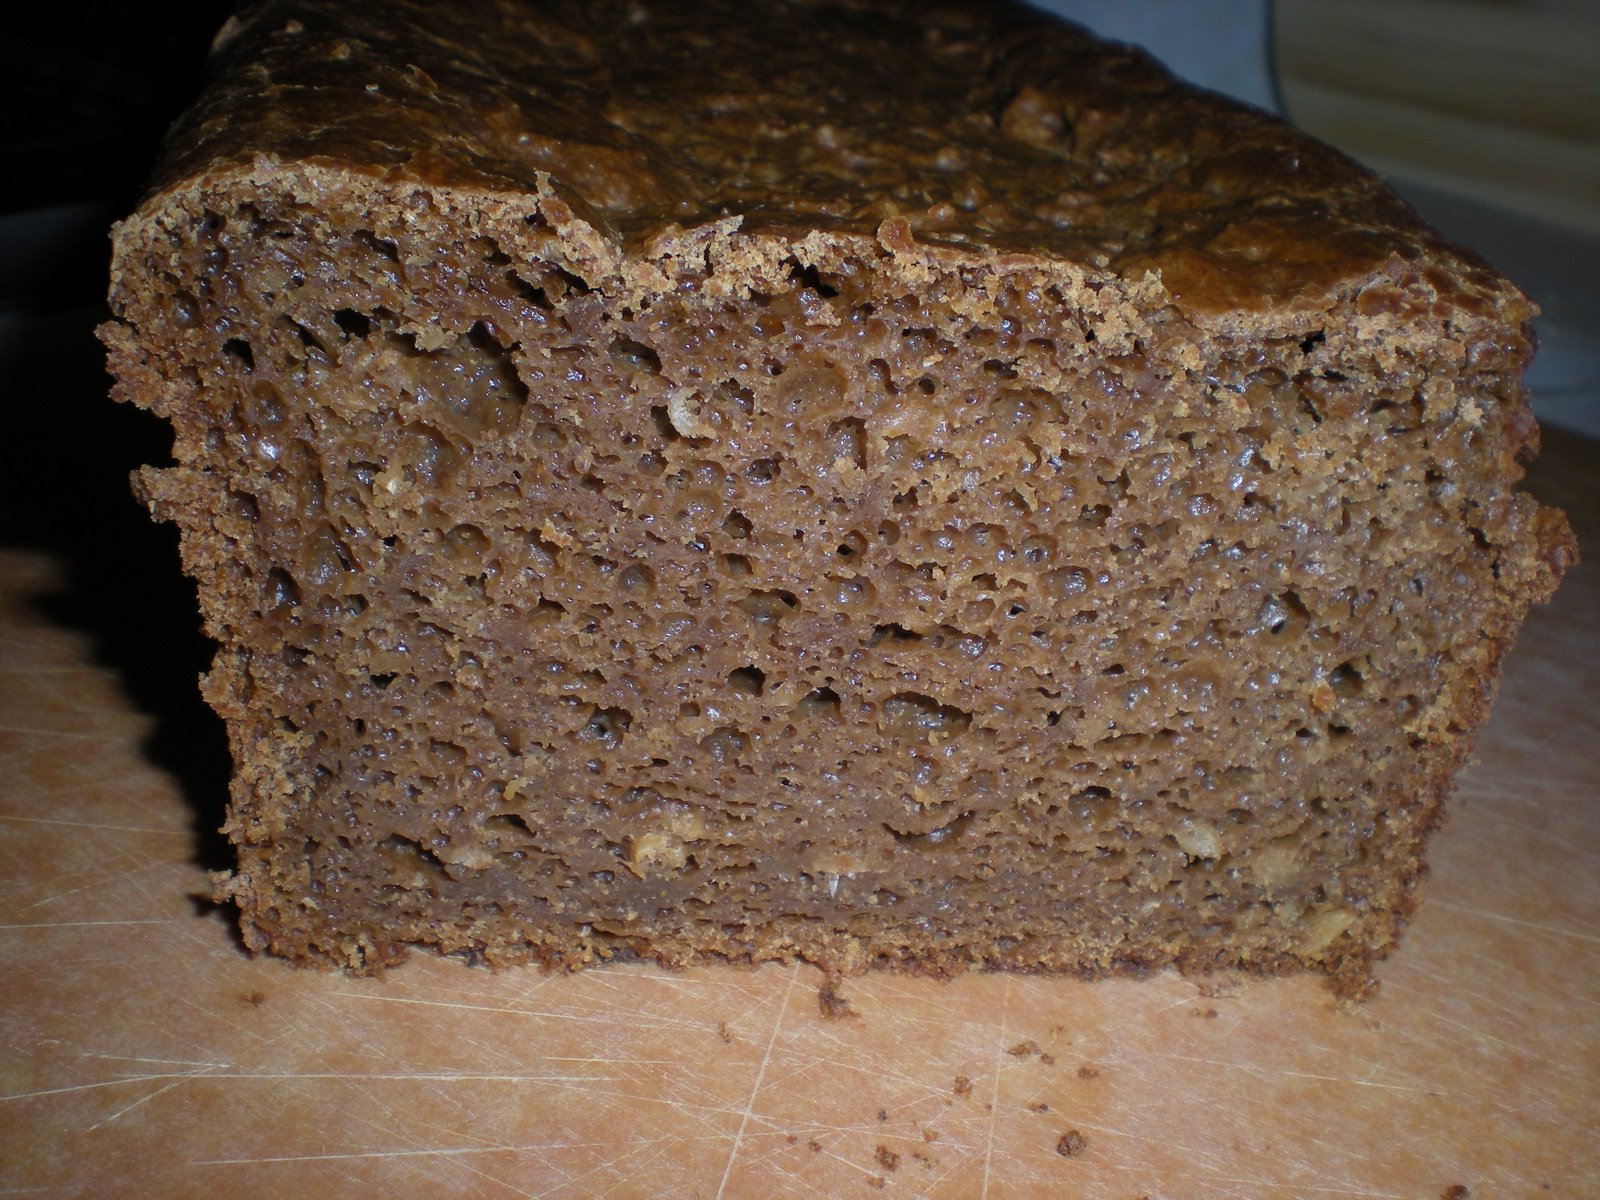
Here is your spent-grain loaf! It comes out much darker than it came in because, according to Peter Reinhart, the spent grains have tons of extra enzymes and sugars that help to brown the bread and give it that nice golden color.

Sprouted Grain Bread and Bread Math

I’m slowly making my way through Peter Reinhart’s Whole Grain Breads book. Every recipe has been a new adventure as I develop my “bread toolkit.” It is so clear that Reinhart really respects his audience; once you get the rhythm of the biga and soaker down, the recipes are nearly foolproof. While I don’t get everything he says about the enzyme activity, by separating the “rising” stuff from the “absorbing moisture” stuff, you can really see how the parts of bread fit together.

That being said, my most recent baking session tested the limits of what most people would consider bread.

So what is bread?

The easiest, most basic bread is made of flour, water, and yeast.
What if you take out the flour?

This is what Reinhart does in his sprouted grain bread. You use whole wheat berries, soak them, blend them up in a food processor until they make a pulp, then add water and yeast and some other things. Bake it up and you get bread! With no flour whatsoever!

Neat huh?

I had bought a big bag of whole wheat berries a year ago at the farmers’ market and was slowly making my way through it by grinding up a cup or so and throwing it into regular recipes. Here, you soak the berries overnight and then drain them and wait for them to grow little white tails.

See them?

Then you grind them up. It took about five minutes. If the processor starts to get hot, turn it off and let them rest for 10 minutes before continuing.

at this point, you can do one of two things. Make 100% Sprouted Grain Bread, or be a wuss and make a sprouted grain and whole wheat mixed bread. I did both, just because I soaked so dang many berries and you have to use them within 24 hours of them sprouting.

So first, the sprouted grain and whole wheat bread. Both of these recipes take 24 hours to make, so start the grains the night before you want to use them, drain them the next morning, and bake in the evening.

You need a starter or biga for this recipe. When you are preparing the grains to soak, mix together a 75% hydration starter that totals 398g.

1. Add in a large bowl:
your starter
284g of ground-up sprouted grains
56g of whole wheat flour
I can’t remember how much water; not much.
7g of salt
9g of yeast
28g of honey or brown sugar
14g of melted butter or vegetable oil
10g of vital wheat gluten (optional)

2. Mix it all up and knead a bit.

3. Put in an oiled bowl, cover and let rise for 45-60 minutes.

4. Meanwhile, what are you going to do with the rest of the sprouted grains?

5. Measure out the rest of your sprouted wheat berries. How much do you have? Do you have 680g of berries?

No? Here is where the math comes in.

Bakers’ percentages are what you use when you don’t want to or can’t make the exact amount in a given recipe or want to tweak it a bit without going overboard and doubling or tripling the recipe. Luckily, Peter Reinhart shows the bakers’ percentages of all of his recipes so it just takes a quick calculation and you’re all set. You just need to keep in mind that you are always using the weight of your flour as the baseline for the rest of the measurements.

Here is what my baking has become.

I had 610g of wheat berries. I needed 16.5% of that in water. So I multiplied 610 by 0.165 to get 104g of water. See? Wasn’t that easy? Now, I just tweaked the recipe a little bit for each of the other ingredients, because getting them accurate is not as important as getting the hydration level right.

6. In a bowl, throw in:
Your sprouted wheat berries, ground up
add a little bit of water at a time until you get the right consistency.
6g salt
7g yeast
21g honey or brown sugar
10% of your wheat berry weight in vital wheat gluten (so in my case, 61g of vwg) that seemed like a ton, so I used 20g.

7. mix it all up and knead on a WET surface with wet hands. I forgot to add the water a little at a time so I ended up with impossibly wet dough and had to break down and add flour to the dough. Next time I will be more careful.

8. Once it reaches a good consistency (sticky and wet but good), put in an oiled bowl and let rise 45-60 minutes.

9. Now it should be just about time for your Sprouted & WW dough to begin the second rise. Prepare parchment paper with white rice flour and form your dough into a ball. Cover the ball and let rise on the parchment paper for another 45 minutes. With 20 minutes to go, you should preheat the oven to 450.

10. Once the bread is in the oven, turn it down to 350 and let bake for 40-50 minutes, taking the cover off your dutch oven half-way through.

11. When the sprouted & WW is in the oven, prepare a buttered bread pan. Shape your 100% sprouted grain bread dough and place into the pan. Cover and let rise until the other dough comes out of the oven.

12. First dough comes out, second dough goes in. Bake as before.

13. Yummy bread!

Onion-poppyseed Bread

The past few weeks have been crazy for Mr. Bread Maiden and myself, going on a weeklong trip and then having visiting relatives. Our fridge has been empty and we have not had the time to prepare anything for lunches. I am just now beginning to make our daily bread to eat for breakfast, but using sourdough starter and the no-knead method adds an extra two days above baking the thing. Ugh!

I am a subscriber on The Fresh Loaf, and it’s fun to watch different recipes and methods become “trendy” as people try to make them and add their observations and advice. One that’s been popping up lately is this onion-poppyseed bread. I would probably have never come up with this combination myself, but it’s really good! The raw union provides wonderful light sweetness as do the poppyseeds, which I’ve only really seen used in sweeter breads like lemon-poppyseed.

This was the first recipe I made when we came home from our trip because I wanted something delicious and fast! Anyway, my additions to this recipe were: use a medium-sized onion, and one more teaspoon of poppyseeds. Also, I put the loaf in a breadpan instead of baking it freeform.

* 1 small onion, finely chopped
* 2 tsp vegetable oil
* 2/3 cup warm water
* 1 tsp sugar
* 1 tsp salt
* 1-1/2 tsp active dry yeast
* 2 tsp poppy seeds
* 1-1/2 cups bread flour
* 1 egg white
* poppy seeds

1. Dissolve yeast in the water. Combine yeast mixture with oil, sugar, salt, yeast, and 3 tsp poppyseeds.

2. Add flour 1/2 cup at a time until a good consistency. Knead as best you can, although with all the onions I added, it was very mushy and unmanageable which is why I decided to use a breadpan.

3. Let rise once in an oiled bowl covered with seran wrap and then again in the buttered breadpan.

4. Preheat oven to 350 and allow pizza stone to heat up.

5. Gently whisk egg white and then brush onto the top of the bread. Sprinkle top with poppyseeds.

6. Place breadpan carefully onto the pizza stone. Bake for 40 minutes or until inside is about 200 degrees.

7. Remove loaf from pan and let cool before slicing. You will want to do this because the bread is very soft and crumbly at first and will fall apart easily.

I think I WAY over-greased the pan because the bread came out really oily.

But so delicious!

Picnic Bread, Part II

So, after a long hiatus, your Bread Maiden has returned to report on some new adventures in bread. While I have as little time as always, I will try and update this thing more often.

So, picnic bread. You remember it:

The original version came out fine, but I was disappointed that so few of the ingredients contributed to the overall flavor. Plus the taste of the anchovies became too much to bear after only a few days. Mr. Bread Maiden had the inspiration to add bleu cheese and sausage, so we agreed that a Round Two was necessary.

The recipe is the same as the first one, but I decided to throw a little whole wheat flour into the dough. I also added bleu cheese, one hard-boiled egg, plenty of sausage, ground beef, and barbeque pork, and little onions.

I changed up the pattern and added way more toppings. I put the cheese in the middle, then made an inner inside ring of egg and meat. Then I put the top layer of dough in place and made an outer ring of toppings.

Baked…

Oooh, so delicious…

And here’s the inside:

Dear Diary,

Today I ate the most delicious picnic bread ever. Also Mr. Bread Maiden winked at me. I wonder if he likes me?

Love,
Bread Maiden

Picnic Bread

I am nothing if not a woman of my word. Am I right? I have been coveting this bread ever since I saw it on Brown Interior’s blog. I just had to make it. I promised you I would make it. So here I am.

The recipe is fairly simple and took about 5 hours to make from start to finish. While it made dinner last night a late one, it was tasty. Mr. Bread Maiden is already thinking about variations.

Wild yeast starter is the base for most of my breads, but 1) I didn’t have any at the moment, and 2) I wanted the bread NOW. Well, 5 hours from now, not 25 hours from now.

And so it goes.

Here are my variations on the recipe: I used commercial starter, and mixed in some spelt, all-purpose, and whole-wheat flour into the bread flour, and I included potatoes on top.

Recipe for Picnic Bread

You will need:

For the Sponge
316g flour
316g water
2 teaspoons commercial yeast

For the Final Dough
316g flour
100g water
10g salt
1 tsp yeast

For the decoration
4 eggs
5 fingerling potatoes
5 pearl or other small onion
5-10 anchovies
1 egg yolk

Tools
Pastry scraper (not really necessary)
cookie sheet
parchment paper
oil for the bowl
rolling pin (again, not really necessary, but helpful)

Instructions:

Mix together the sponge ingredients and let this sit for an hour.

Add the flour and water from the Final Dough and knead for about five minutes. Autolyse for 30 minutes (autolyse means just to let it rest for a bit to give the flour time to absorb the water).

Now add the Final Dough salt and yeast.

Knead for a few minutes more and then transfer to an oiled bowl and let rise for 1.5 hours, folding it once at 45 minutes.

While the dough is proofing, rinse and cut up about:
5 fingerling potatoes
5 pearl or other small onions. I used golden onions.

Also, set out about 8-10oz of soft sheep’s or goat’s milk cheese and four eggs.

Preheat the oven to 400 degrees. When the dough is fully risen, divide it into two pieces. Set one piece aside. With the other piece, roll it out to about 1/2 inch thickness. Transfer it to a cookie pan lined with parchment paper and sprinkled with flour. Set the cheese in the middle.

With the piece you set aside, divide that in half and set one piece aside. With the other piece, roll out the dough into a circle slightly smaller than the first one. Use this piece to cover the cheese and use a little bit of water to seal the edges.

Now comes the fun part! Decorating! Take your eggs and poke a small hole with a needle or pin in each end. Supposedly this is to keep it from cracking but mine cracked anyway.

Take the final piece of dough and cut it into long strips. Use these strips to surround some of the pieces in a decorative way.

Now slop the whole thing with the egg yolk.

Bake for 25 minutes at 400 and then turn it down to 350 and bake another 25 minutes. Make sure it cools before cutting into it.

oh baby.

Nom nom nom.

So how does it taste? The bread itself is pretty basic (maybe next time I’ll use a starter to make the flavor more complex). But I loved the flavor of the anchovies and the cheese together that soak into the bread.

The onions were nice and sweet. The potatoes were, eh, I dunno. They were ok. Needed salt. That’s one of the problems of this bread- the eggs and potatoes are cooked raw, and the egg is in the shell, so it doesn’t impart any flavor or take flavor from the other ingredients.

The verdict? Mr. Bread Maiden wants to try the recipe again with bleu cheese, sausage, and the onions. Stay tuned.

Kugelhopf au Lard

So, as some of you know, Mr. Bread Maiden and I are the proud owners of Jennifer McLagan’s Fat cookbook, and we’ve been working our way through it. Perhaps the most interesting recipe we’ve tried so far is what I made yesterday, kugelhopf au lard. I’ve been on this fruit bread kick lately, so you might be asking why the sudden shift to savory. Well, this bread is actually very similar to the stollen. It uses mostly the same ingredients, in the same order, except at the point where one would add fruit to the stollen, you add instead bacon, shallots and sage.

The reason this recipe jumped out at me initially was the title. This dish comes from the Alsace region, and the German-French fusion could not be more obvious. The dough is very German, with its eggs and milk, but the french added shallots and sage and made it lighter. Brilliant.

Because yesterday I was busy making three recipes at a time, I didn’t get to take as many pictures or pictures of every step. So until I make another one, these will have to suffice.

The milk and eggs in this recipe make the dough so wonderfully light (until you add the grease and bacon). The dough was so oily it was hard to manage. But it rose beautifully both times.

Oh, and before I forget, I think the next item on the docket will have to be this:
http://http://browninterior.blogspot.com/2009/01/picnic-loaf.html.

Stollen, part II

Last week I promised to post instructions about stollen. Since I am all about keeping promises (except for volkornbrot, which seems to be lost to the winds of time), here it is. I wanted to keep experimenting because there were some things I thought could be improved, but as it is I like this recipe a lot.

That said, there are some things that could be improved. For example, the ingredients are originally measured in volume, not weight, which wastes an awful lot of dishes and measuring tools. Second, it needs more flour than called for. I also like shaping it differently once the almonds are added. Finally, I don’t decorate this baby with anything but the rice flour it was baked in!

Let’s get started.

Here is what you need:

(From left to right: lemon, cinnamon, flour, lard/butter, yeast, milk, sugar, egg, dried fruit, almonds, brandy)

For the sponge:
1/2 cup milk (I measured 112g)
1/2 cup all-purpose flour
4-5 teaspoons commercial yeast

Fruit:
2 cups dried fruit. I used candied orange and lemon, dried apricots, and cherries.
1/2 cup Grand Marnier, brandy, rum, or schnapps. I used brandy
Zest from one lemon or about 1 tbl orange zest. Last time I used grapefruit zest and this time I used lemon zest.

Dough:
2 1/2 cups all-purpose flour (I measured 290g but seriously this is not enough)
1 tbl sugar
3/4 tsp salt
1 tsp cinnamon
1 egg
4 tbl butter (I ran out of butter so I used 1/2 butter and 1/2 lard)
1/4 to 1/2 cups water
almond slivers, about 1/2 cup

Equipment:
A few bowls, plastic wrap, microplane grater, parchment paper, a thermometer, rice flour

You don’t really need a thermometer but I’m starting to like using it. You need it twice in this recipe.

1. Before you do anything else, set out the egg and the butter/lard to soften.
mmm lard and butter…

2. Now, measure out the milk and heat it in a saucepan to 100 degrees. Here is the first time you will want your thermometer. 100 degrees is slightly warm, but NOT hot. You don’t want to kill the yeast. Now pour in the yeast.

3. Pour the yeast and milk into a small mixing bowl with the flour. Cover with plastic wrap and let ferment one hour.

4. While you are waiting on the sponge, combine the fruit, zest and brandy in a bowl or large measuring cup.

The sponge should be really bubbly after about an hour.

5. When the sponge is ready (don’t throw away the plastic wrap!), combine the remaining flour, salt, sugar and cinnamon in a large bowl. Add the sponge, egg, softened butter, and a few tablespoons of the water. You want to form a soft but not sticky dough. Also, since you are going to be adding the brandy soon, it’s better if it’s slightly dry.

6. Now here is the part I hate. It involves bringing everything together. The reason I hate it is because the dough gets really slimy and hard to work with.

I also add a few handfuls of flour because it’s so wet. I want to find out if I can just add the brandy first and then if the dough needs more moisture add the water.

7. Once it is all incorporated, cover it with the plastic wrap from the sponge and let rise about an hour.

8. Take a sheet of parchment paper and dust it with rice flour. Take your dough and stretch it a little bit in your hands before setting it down on the parchment. Continue stretching until it is in the shape of a rectangle.

9. Now pour the almond slivers over the top.

10. Take the top and bottom edges and gently fold them until they meet in the middle over the almonds. Press the edges together to form a seam.

11. Now take the whole thing and flip it over so the seam-side is down. Gently even up the edges. Now cover with plastic wrap and a towel and let rise again for about an hour.

12. Now preheat the oven to 350. Transfer the parchment paper to a cookie sheet and put in the oven or put the parchment paper directly onto a pizza stone. Bake 20 minutes, then rotate and bake until the internal temperature is about 180-190 degrees. This takes another 20-30 minutes.

13. Remove the stollen from the oven and let cool before slicing. It tastes amazing with butter. To store it, wrap it in parchment paper and secure it with a rubber band, then store in a paper bag.

Also, here is what happens when you make stollen and give it to friends:

They give you lemons from their grandfather’s orchard in California!

Stollen

Dear Readers,

I was inspired by my success with the Rosca last week to try other fruit breads. There are several to choose from, of course, the most famous (infamous?) being fruitcake, as well as galette des rois, king cake, panettone, and many more. I have decided to try Stollen.

Stollen has German and Scandinavian roots. While I’m not sure how authentic the recipe I’m using is, I am willing to give it a shot and see how it turns out and most importantly, how it differs from the Rosca de Reyes, even while using basically the same ingredient list.

However, gentle reader, you will have to wait because while the most recent attempt was tasty, there are some things I want to tweak about it. Also I think I forgot a half cup of flour so the dough was really sticky. Also I have a ton of candied fruit from the Rosca that I need to get rid of. So instead, I will lure you in with pictures.

Rosca de Reyes

When I think of Rosca de Reyes, or Mexican Three Kings’ Cake, I always think of that scene in Like Water for Chocolate when the sisters are preparing a huge cake and have to count the eggs they add because the number is so huge.

I don’t tend to use a lot of eggs in my bread. Any, in fact. Egg breads tend to be rich and sugary, and sugar isn’t something we eat a lot of here. But a grad school friend is having a birthday on Wednesday, so I decided to make a cake for her. And in the spirit of the holidays, I settled on Rosca de Reyes.

Rosca de Reyes gets most of its sweetness from fruit, not sugar. And it is more like a bread than a cake. The dough once it’s baked reminds me of a panettone.

I got all my ingredients together into a mise en place.

I had just enough eggs to make the recipe (13 eggs!) I mixed the first set of ingredients together (including three of the eggs) and set it out to rise.

Only thing is, it didn’t rise. At all. I had to decide whether I would proceed to the next step, or start over. I didn’t have enough eggs to start the same recipe over, so I decided to find another recipe that would serve my purpose but would take less time and fewer eggs.

I settled upon the Chilean Christmas Bread recipe from Epicurious.com, albeit with a few changes:

1. I used the reconstituted dried and candied fruit that I had prepared for the other recipe.
2. I shaped it into the traditional Rosca de Reyes wreath shape.
3. I decorated the top with dried fruit and almonds
4. A few other things we will get to when we start the recipe.

Ready? Here we go!

For yeast sponge:
pinch of sugar
2 1/4 teaspoons active dry yeast
3/4 cup ap flour
1/2 cup warm water

For dough
1/2 cup unsalted butter
1/3 cup sugar
1/2 tsp salt
zest of 1 orange or lemon (we used grapefruit because that’s what we had)
4 large eggs
3 cups ap flour
1 1/2 tsp brandy
1 1/2 tsp vanilla extract
1 1/2 cup mixture of candied and dried fruit (we had candied orange and lemon peel, cranberries and apricots)
rice flour
olive oil for greasing

For decoration
two egg yolks, lightly beaten
blanched whole almonds
not-reconstituted dried fruit

Tools
stand mixer
parchment paper
shallow baking pan
dutch oven
plastic wrap

1. The very first step is to set out your butter and eggs so they are room temperature.
2. Put all the dried fruit into a cup and fill with hot water to reconstitute. Drain and set aside.

3. In a two-cup measuring cup, stir together the warm water, sugar, and yeast. When it gets frothy, mix in the flour, cover with plastic wrap, and let stand until the sponge reaches almost the 2-cup mark, about 20 minutes.

4. If your stand mixer paddle reaches the bottom of your bowl, beat together the butter and sugar for five minutes until fluffy. If not, have fun with a whisk (like we did). Add salt and zest and beat until combined.

5. Now add three eggs, one at a time, making sure to combine after each one. At this point, my dough did NOT look like it was coming together, so don’t worry. Now add the yeast sponge and beat until combined. Add two cups of the flour and mix at low speed. Add remaining one cup flour, remaining one egg, brandy, and vanilla and mix at low speed until smooth.

6. Increase speed to medium and beat dough until smooth and elastic. Add your reconstituted fruit here, and mix at low speed until incorporated.

7. Grease a large bowl and wet your hands with water. Form dough into a ball and place into bowl. Cover with plastic wrap and let sit until doubled in volume, about 1 hour.

8. Prepare two sheets of parchment paper with rice flour. Divide the dough in half and shape each into a ball. Poke a hole into the middle and carefully shape into a ring. Place ring onto parchment, and cover with greased plastic wrap. Let rise again 1 hour.

9. Preheat oven to 400 degrees. Remove plastic wrap from one of the loaves and decorate with almonds and dried fruit. Dab egg yolk over the top until well-covered.

10. Transfer parchment paper to baking sheet and put in the oven. Take your dutch oven and turn it upside down, using it as a cover for the dough. Bake like this for 15 minutes.

11. Remove dutch oven and turn temperature down to 330 degrees. Let bake until light brown, then remove to cooling racks. Repeat with other ring.

Happy eating!

Rye: Part Two


So, last time I tried to make rye bread, it was ok, but I still wanted something a little darker and more “old country”.

I found a recipe online called “scandanavian rye” at http://www.christonium.com/culinaryreview/ItemID=12267169605528, which looked like what I wanted.

I had refreshed my starter earlier in the day, so I used my 75% hydration starter in place of the commercial yeast the recipe calls for.

My modifications include adding coffee and cocoa powder, substituting the dark corn syrup with molasses, and using 6-grain mix instead of just oatmeal. I also left out the recipe’s sunflower seeds and fennel, since I don’t really like those very much.

SCANDANAVIAN RYE BREAD

makes 2 Loaves

First Day
1/4 cup sourdough starter
1 tbsp salt
¾ cup yogurt
2 cups water
¾ cups grain flakes
4 cups rye flour

Next day
1 tbsp whole cumin
2 cups flour (the recipe did not specify what type of flour so I used all-purpose)
1/3 cup molasses
100 g butter, melted & cooled
a few tablespoons coffee
a few tablespoons unsweetened cocoa powder

Method:
Stir yeast, salt, yogurt and water together. Add the oats and lastly the rye flour. Stir until everything is well combined. Cover the bowl with plastic wrap and allow to sit for 24 hours. The dough should be very watery.

Next day, grind up the cumin and mix the spices with the flour. Add molasses, cocoa, coffee, and melted butter into the bowl from yesterday.

Stir well, then lastly add the flour mixture. With a wooden spoon, work the dough together well and make sure there are no flour pockets. The dough will still be really watery.

Pour/scoup the sticky dough into two oiled loaf pans. Cover with oiled plastic wrap and allow to rise for 1.5 – 2 hours.

Bake the loaves in a 350 degree oven for about 45- 55 minutes. My loaves puffed up a little and then sank back down after I took them out. I had to wait until the loaves were completely cool before taking them out of the bread pans.

Preferably let the bread sit for a day or two (in a plastic bag) before cutting into. They need a chance to dry out a little.

The taste was… well it took me a little while to get used to it. It was very dense, just as I wanted it. Rye flour doesn’t have the natural sweetness of wheat flour. The sourness was only enhanced by the yogurt, cumin and cocoa. I love the darkness of the loaf too!

Because it made two loaves, I used half of one to make into a bread pudding with mushrooms, and I’ll probably freeze the second one. In all, I’d say it was pretty successful! Mr. Bread Maiden liked it (and the bread pudding).