Brianna’s bridies

IMG_4956

This is recipe #9 I’ve made using the Outlander Kitchen Cookbook.  I’m getting excited because I only have three flagged recipes left, and I’ll probably be able to make them before I have to return the book to the library.

I feel like these bridies count for two recipes because I used the short crust pastry recipe, then the bridies recipe.

IMG_4974

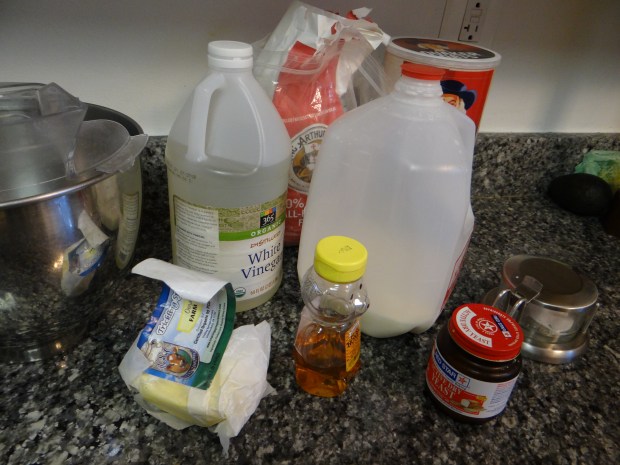
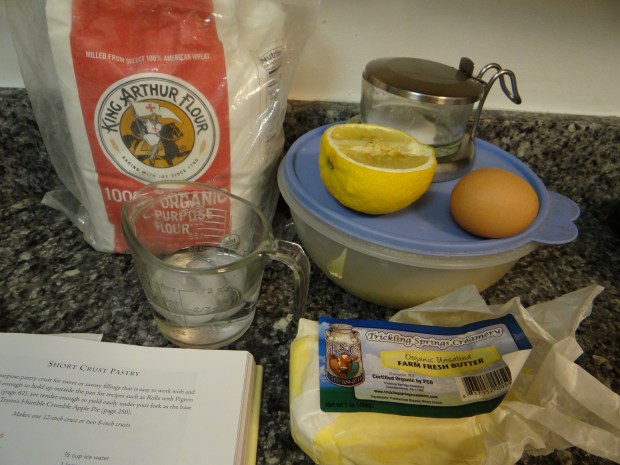
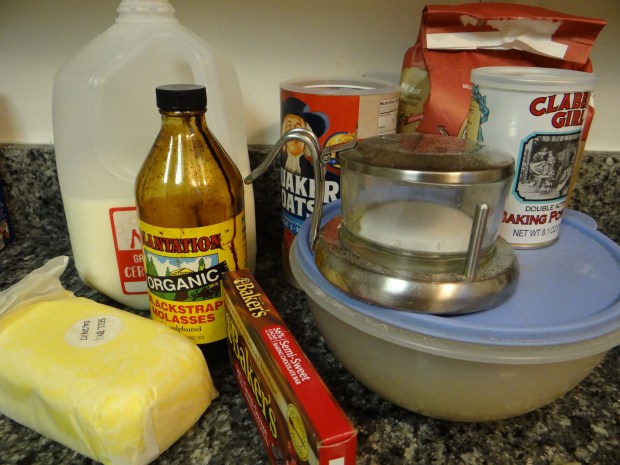
For the filling, you will need:

1 lb top round, minced (this is a pain in the butt.  I know she says it has better texture than ground beef but I’m not convinced)

1 large potato, diced

2 large white onions, diced

2 large carrots, diced

1/2 cup melted butter

1 teaspoon crushed red pepper flake (to taste)

2 teaspoons salt (to taste)

1 teaspoon pepper (to taste)

a few tablespoons water (for sealing the pastry closed)

1 egg (for egg wash)

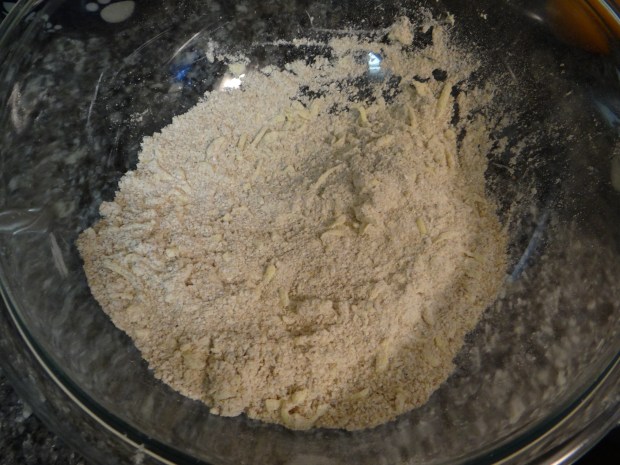
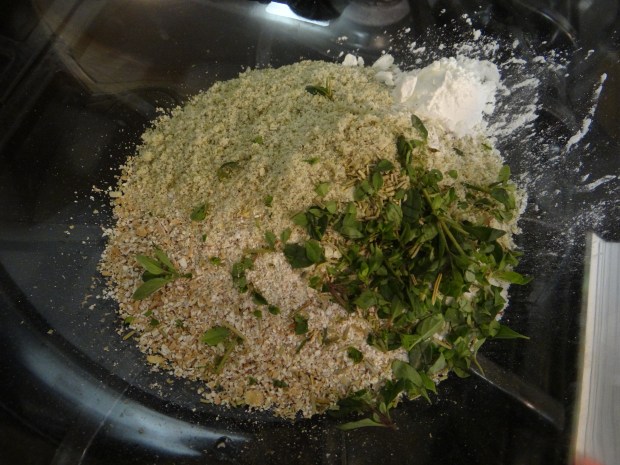
Mix together all your ingredients except for the water in a large bowl and refrigerate until you need it.

DSC03432.JPG

my meat was wrapped in paper and I wasn’t sure if it was a pound.  Close enough!

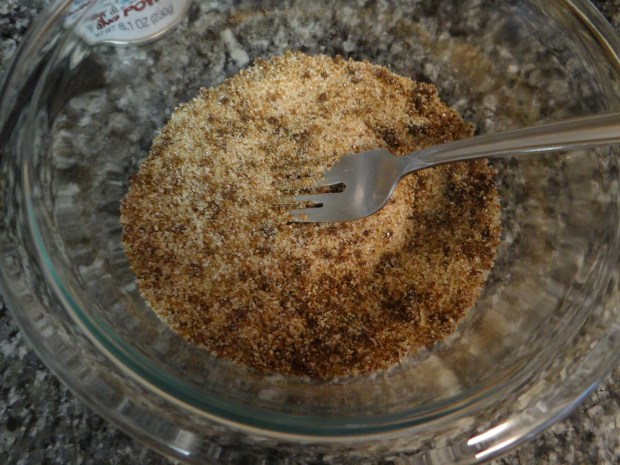
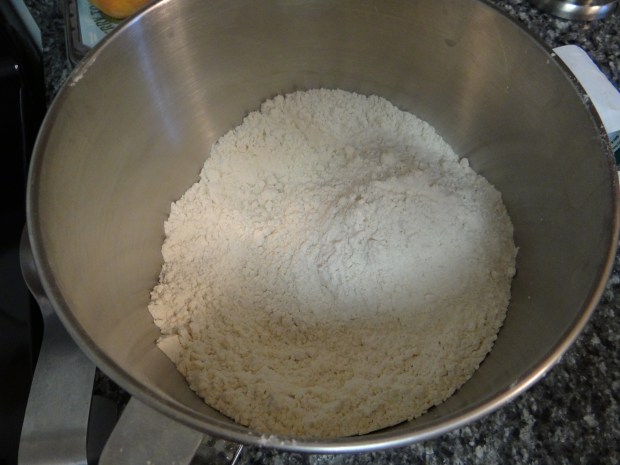
Here’s a picture with the filling in the background.

IMG_4951

blurry picture of the filling

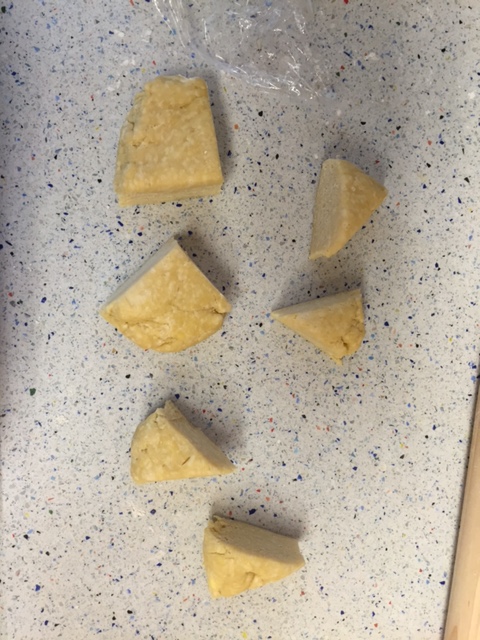
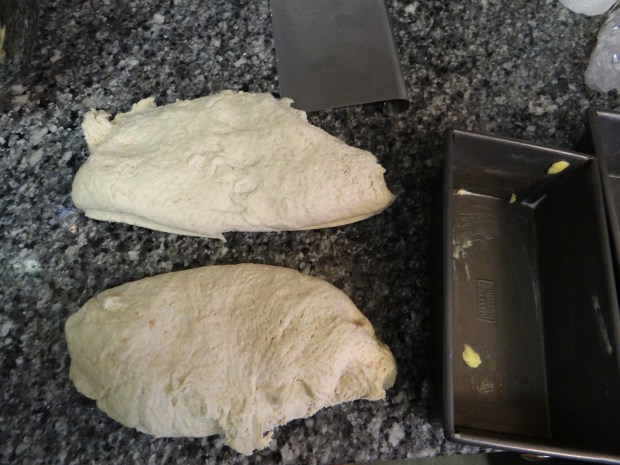
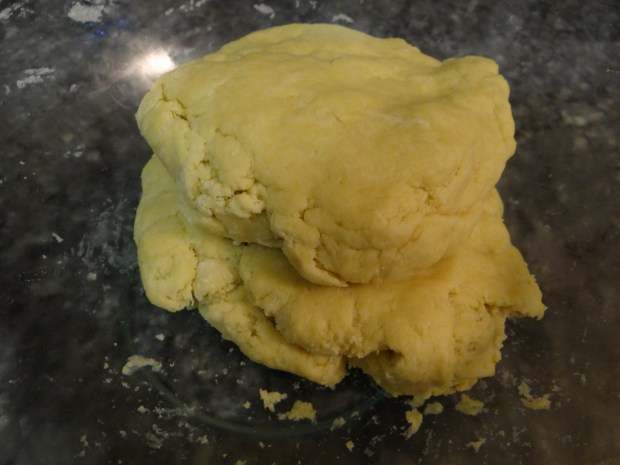
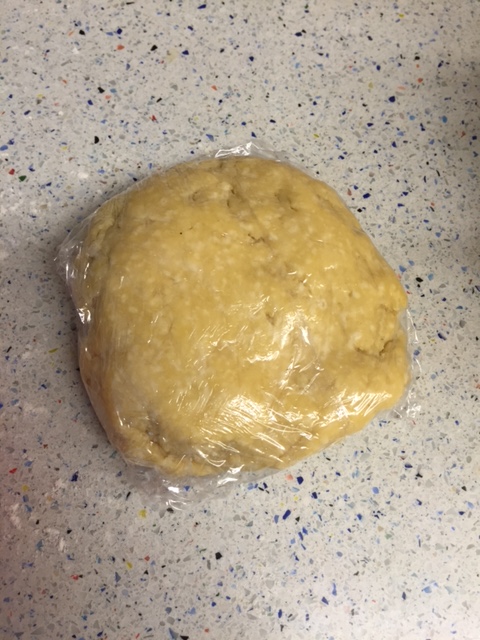
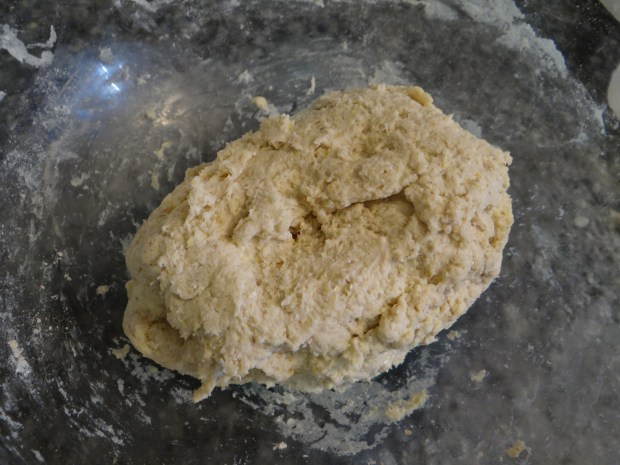
Now you’re going to make your dough wrappers.  Remove one of your pastry halves from the refrigerator.

IMG_4909

Using a knife or bench scraper, divide it into quarters for very large bridies or eighths for smaller, empanada-sized bridies.

IMG_4910

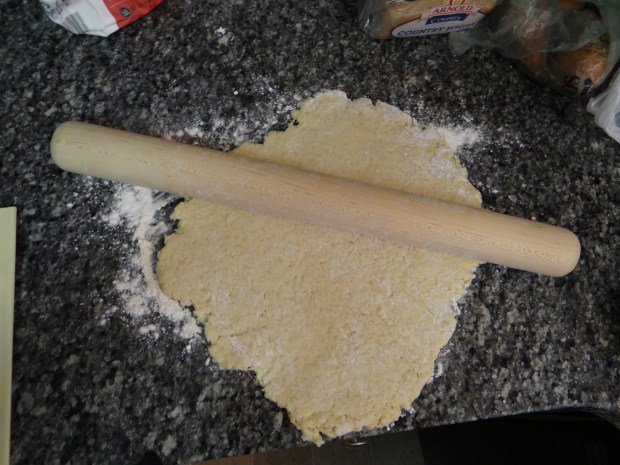
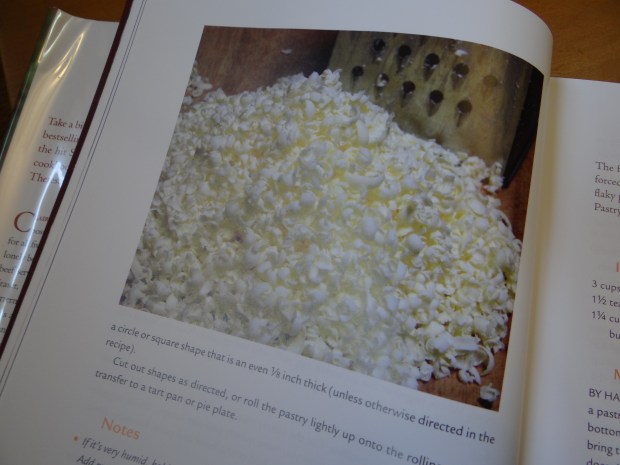
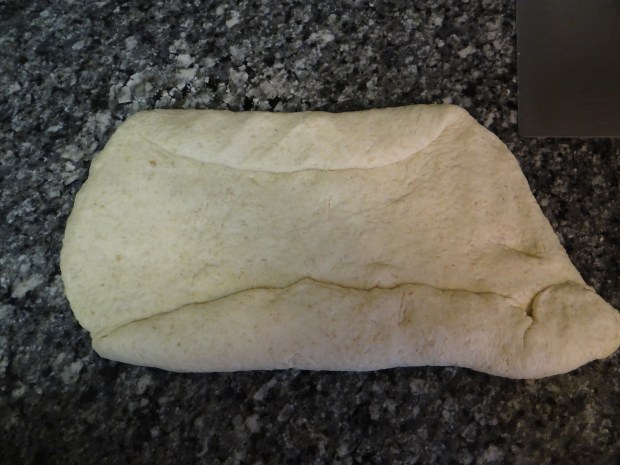
Roll out your dough pieces on a floured surface using a rolling pin until the dough is 1/8” thick.

Use a bowl and cut around it to make a perfect circle.

Do this with the remaining dough.  Gather up the scraps and re-roll it for one or two more wrappers.

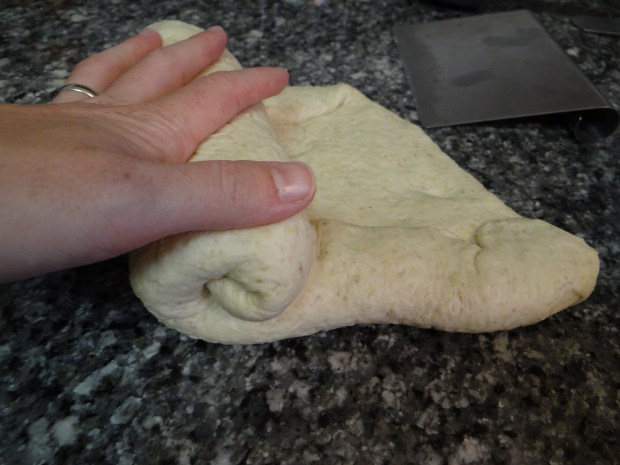
Now, take about 2 tablespoons of filling for small bridies or 1/4 cup filling for large bridies and place then on one side of the wrapper.

Dip your finger into a small bowl of water and wet the rim of your dough around the half of the wrapper that has the filling on it.  Pull the other side over to the side with the filling and press the edges to seal it closed.

IMG_4940

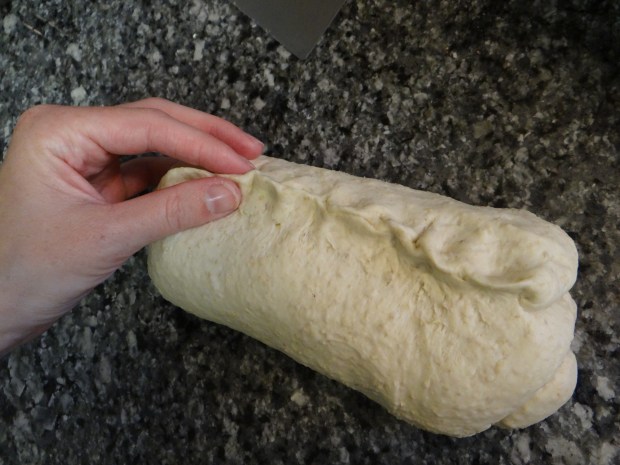
You can also fold the edges over for a tighter, prettier seal.

IMG_4951

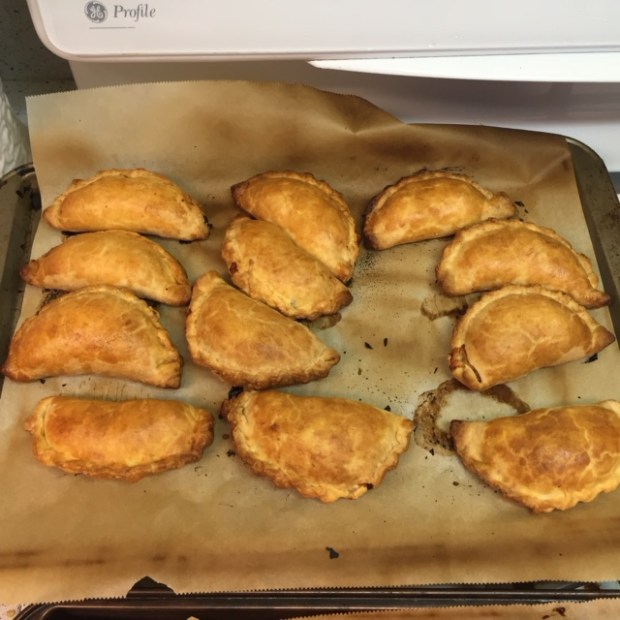
Place your filled bridies on a parchment-lined baking sheet.  Beat one egg and brush it over each bridie for an egg wash.  Bake at 400 degrees F for 40 minutes until golden brown.

IMG_4954

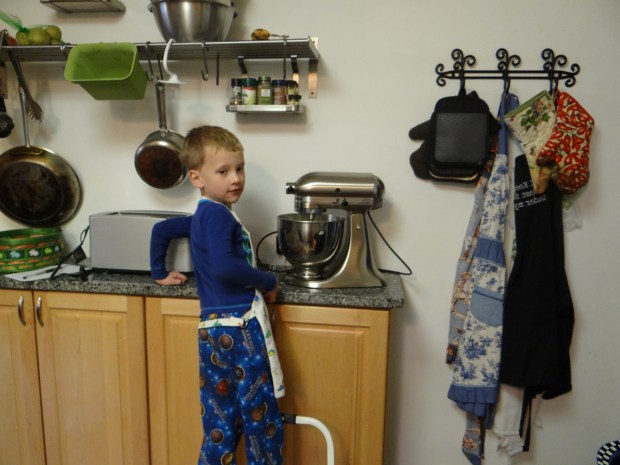
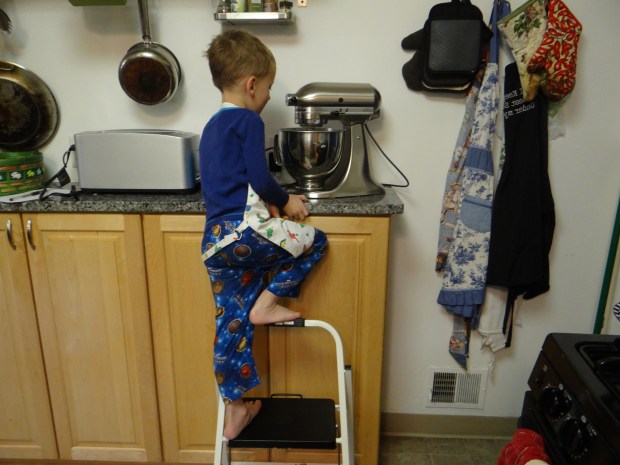
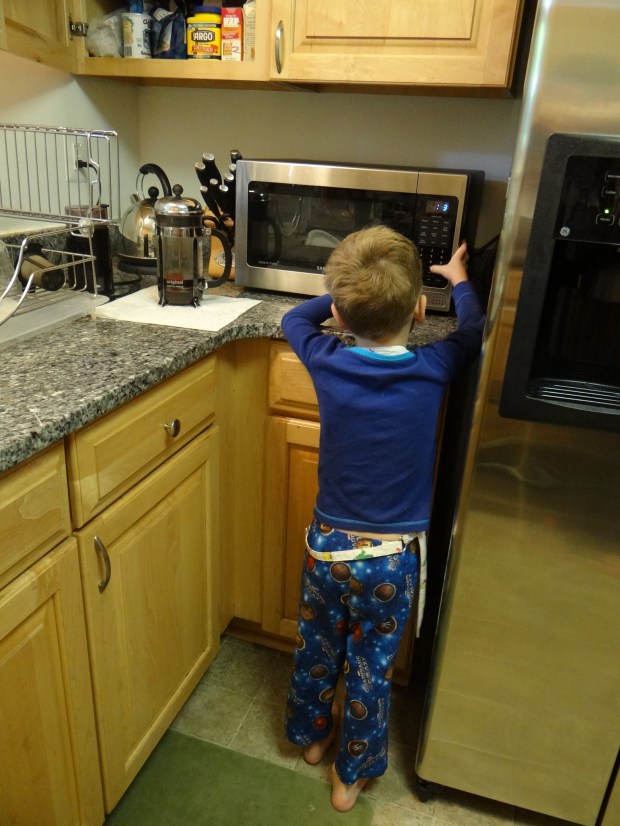
Little Bread Dude #2 ate three of these by himself.

IMG_4968

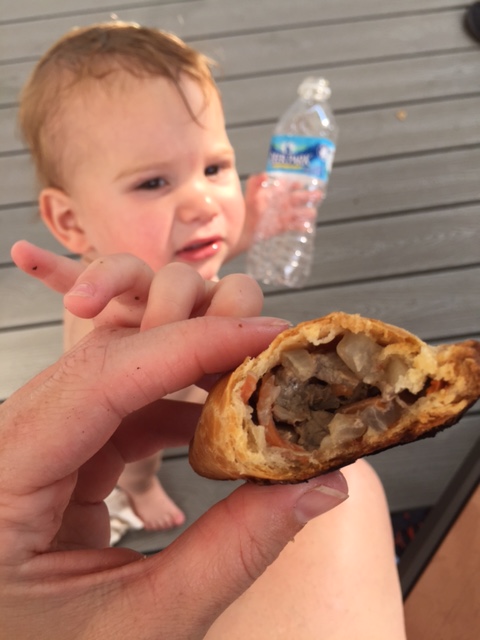
Here he is reaching for his fourth.  I did like the pastry crust – it tasted like the bride was wrapped in pie crust, which it is!

I’m not sure about the filling.  It wasn’t seasoned and because it wasn’t cooked before baking, the elements didn’t break down and the flavors didn’t have a chance to really meld.  Mr. Bread Maiden said he’d like to try the crust with my usual empanada filling, which uses ground beef, cinnamon, cumin and paprika.

Baking with kids: honey-buttermilk oatbread

IMG_4976

This is my (counts on fingers) seventh recipe from the Outlander Kitchen Cookbook!  When I first received this copy from the library, I flagged all the recipes I was interested in making, even though I wasn’t sure how many I would actually get to.

DSC03423

I think I may actually get to all of them (the ones I flagged, not all the recipes in the book!)

DSC03339

Anyhoo, I had already placed the milk and vinegar in the refrigerator to make buttermilk when Little Bread Dude said he wanted to help.

DSC03417

He’s getting to be a great little helper.  He reminds me to take pictures every step, and for this picture he said, “I turned my head this way so the picture would be good.”

DSC03420

I love his little leg up here.

Anyway, this bread is great for making with kids because there’s lots of things they can do to help, and nothing gets too hot for them to handle.

For this recipe, you will need:

DSC03410

2 cups buttermilk (or 2 cups whole milk + 1 tablespoon white vinegar left to sit in the refrigerator for an hour prior to starting the recipe)

1/2 cup milk

2 cups rolled oats

5 tablespoons honey

5 cups all-purpose flour

2 teaspoons kosher salt

2 teaspoons instant yeast

5 tablespoons softened butter

In a saucepan, gently heat the milk and buttermilk until it is lukewarm.  Kill the heat, add the oats and honey and set aside.

DSC03414DSC03415DSC03416

Next, mix together the flour, yeast and salt in the bowl of a stand mixer.

DSC03411

If you haven’t already, soften the butter in the microwave for about 30 seconds.

DSC03412DSC03413

Using the paddle attachment of your stand mixer, add the butter to your flour, salt and yeast and stir to combine.

DSC03418

Next, add the oats and milk.  Stir until your dough forms a rough ball.  I had to add a splash more milk to get it to come together.

Switch to the dough hook and knead for about six minutes.

DSC03419

Remove the bowl from the stand and cover with plastic wrap.  Put the dough in a warm place and let rise for about 2 hours.

DSC03422

DSC03424

Gently flatten your dough and divide it in half.

DSC03425

Shape it into a rectangle and fold down two of the edges.

DSC03426

Then roll it up.

DSC03427

And pinch the seam closed.DSC03428

Place the dough seam side down in a bread pan coated with butter, and flatten it slightly with your hand.

DSC03429

Cover and let the dough rise another 45-60 minutes while the oven preheats to 375 degrees F.

DSC03430

Melt 1 tablespoon of butter and mix it with one tablespoon of honey.  Brush the tops of your loaves with this mixture and score (or don’t- she doesn’t in the book).

Bake for 45-50 minutes until the loaves are golden brown.

IMG_4972

I was pretty happy with how these turned out.  They are slightly sweet and very soft.

IMG_4976

Perfect for sandwich bread.


Short crust pastry

IMG_4956

This is recipe eight from the Outlander Kitchen Cookbook.  At this point, I have one week left with the cookbook before I have to return it to the library for the next recipient.  In some ways, I wish I had just bought the cookbook outright; another part of me knows I probably wouldn’t have tried as many recipes as I did if I hadn’t been working under a deadline.  There are so many good recipes in this cookbook and I’ve barely scratched the surface.

DSC03339

I’ve said it before, but it bears repeating: one of the things I really like about this cookbook is that it’s internally consistent.  There is one short crust recipe and one puff pastry recipe, and they are used throughout the rest of the cookbook (eight recipes use the short crust recipe and three recipes use the puff pastry).

DSC03402

I wanted to move slightly away from the baked goods I’ve been making for the past two weeks and explore other recipes.  I decided to make Brianna’s bridies, which call for short crust pastry.

For the short crust recipe you will need:

DSC03403

3 cups all-purpose flour

1 tablespoon sugar

1 1/2 teaspoons kosher salt

1 cup (227g or 2 sticks) cold butter

1/2 cup ice water, plus a few tablespoons very cold vodka (more on that in a second)

1 large egg yolk

1 teaspoon lemon juice or white vinegar

Stir together the flour, sugar and salt in a large bowl.  DSC03404

Grate the butter into the flour and work it into your dough with your fingers until it is completely coated with flour.

DSC03405

I still wish the author gave weight alongside volume measurements.

DSC03407

Now make a little well in the middle of your flour and add the ice water, egg yolk, and lemon juice to it.  Stir around with your hand until it just comes together to form a dough.  My dough was a little dry, so instead of adding more water, I added a few tablespoons of very cold VODKA.  Because vodka is mostly alcohol and not water, it hydrates the dough without creating more gluten (which would make the dough tough, not flaky and light.

Now, either in the bowl or on a floured surface, knead quickly and lightly into a ball.

DSC03409

The egg yolk adds a nice yellow color to the dough.  Divide the dough in two and tightly wrap them separately in plastic and let them rest in the refrigerator for at least 30 minutes or up to two days before baking.

IMG_4909

Use them in any recipe that calls for pie crust.  Bake at 400 degrees F for 30-40 minutes until golden brown.  Using this short crust recipe made the bridies taste like they were wrapped in pie crust, which I guess they were!

IMG_4968

Little Bread Dude #2 approved of the bridies.  Here he is reaching for his fourth.


Chocolate biscuits (cookies)

DSC03400.JPG

Dearest reader, at this point you can be assured that the Outlander Kitchen cookbook, written by the formidable Theresa Carle-Sanders, has been well and thoroughly vetted for you by The Bread Maiden.  This is recipe six that I’ve made in the past six days.  I’m a little tired.

DSC03401.JPG

All the recipes haven’t been home runs, but they’ve all been at least good.  And that’s actually saying a lot, because most general cookbooks that deign to include bread recipes do it as a way to  add variety, not make good bread.

It is clear that Carle-Sanders sees bread differently.  She sees that bread was fundamental in 18th century Scotland, and strives to create recipes that both are historically accurate and accessible to home cooks.

DSC03388.JPG

To make these, you will need:

DSC03389.JPG

When I took this shot, I skimmed the recipe and assumed there was salt. There is not.  Oops!

3/4 cup ground oats

1 cup whole wheat flour

1/2 cup light brown sugar (or 1/2 cup white sugar with one teaspoon of molasses mixed together)

1 teaspoon baking powder

1/2 cup cold butter

2 tablespoons (I ended up adding 4 tablespoons for everything to come together)

85g milk or dark chocolate (I used semi-sweet)

In a large bowl, mix together the oats, flour, brown sugar, and baking powder.  DSC03390

Grate in the butter and mix with your hand to make sure the butter is well-coated.

DSC03391

Add the milk, one tablespoon at a time, until the dough comes together in a stiff ball.  Flatten the dough into a disk, wrap in plastic, and let rest in the refrigerator for 15 minutes.  Preheat the oven to 350 degrees F.

DSC03392

After 15 minutes, take the dough out and place it on a floured surface.  Roll it into a large circle of 1/4 inch depth.  DSC03393

Use a cookie or biscuit cutter to cut out 10-18 rounds and transfer them to a parchment-lined baking sheet.DSC03394

Bake 12-15 minutes until the edges are just golden brown.  Let them cool completely before topping with melted chocolate.DSC03395

I didn’t read the instructions for melting the chocolate so it got burnt and didn’t look nice and smooth when I spread it 😦

DSC03396

They were really good though.  The cookies were not too sweet, and I used semisweet chocolate so the icing wasn’t too sweet either.

DSC03398

I really liked these and will probably make them again.  They are just sweet enough, and I’d like to work some more on the chocolate icing.

Pumpkin seed and herb oatcakes

DSC03385

This is the fifth recipe I’ve made from the Outlander Kitchen Cookbook, Theresa Carle-Sanders’s fantastic companion to the Outlander book and TV series.

DSC03375

I flagged the recipes I wanted to try


After the success of the oatmeal scones, cinnamon scones, and bannocks, I dove into these expecting a slam dunk.  What I got was… not that.

It’s not the recipe’s fault.  I think oatcakes in the 18th century probably were exactly like this: crumbly, gritty, and not very tasty.  It was a vehicle for other things rather than something to be appreciated on its own.  And it’s true: once I spread some cheese on top, the oatcake became much tastier.  The grittiness was suppressed by the creaminess of the cheese, and the saltiness of the cheese paired well with the herbs in the oatcake.

For this recipe, you will need:

DSC03369

1 1/2 cups ground oats (I ran out of oats so I used rolled spelt flakes)

1/4 cup ground pumpkin seeds

1 tablespoon cornstarch

1 tablespoon honey

1 teaspoon minced fresh or dried thyme

1 tsp minced fresh or dried rosemary

1/2 tsp kosher salt

2 tablespoons butter

Preheat the oven to 375 degrees F.  In a large bowl, combine the ground oats, pumpkin seeds, cornstarch, honey, herbs and salt.

DSC03370DSC03371

In a small saucepan, melt the butter with 1/4 cup hot water over medium heat.  Once the butter boils, stir in the dry ingredients to make a stiff dough.  If it doesn’t form a ball, add a little more water.  It should be a bit crumbly though.  Think shortbread dough.

DSC03372

Divide the dough in two and transfer one of your doughs to a piece of parchment paper. DSC03373 
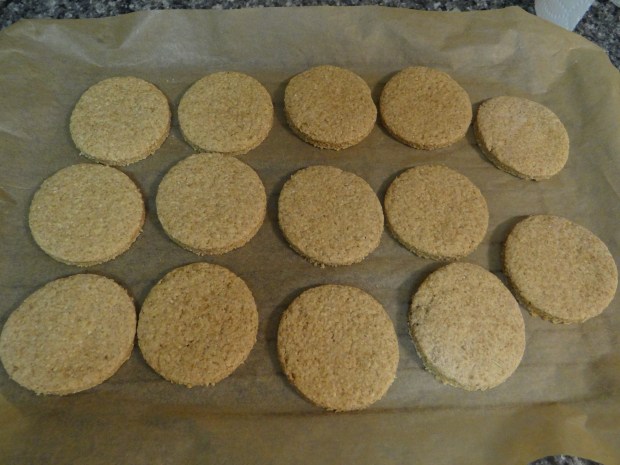
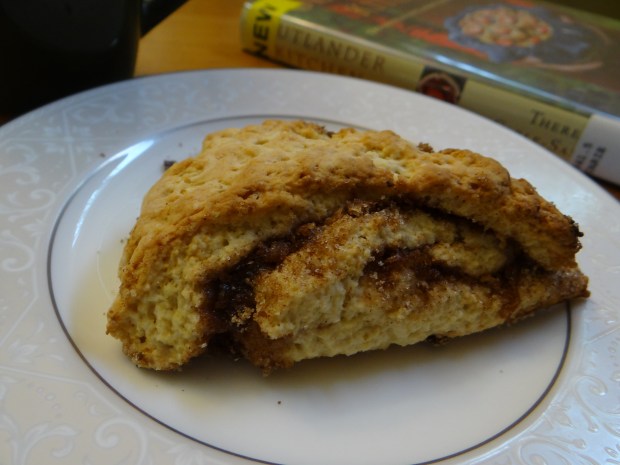
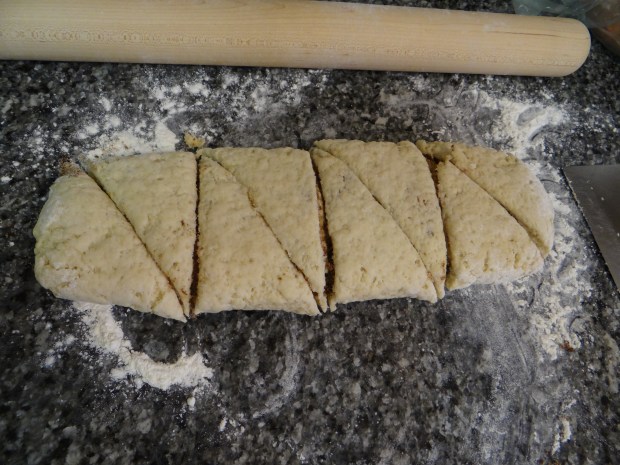
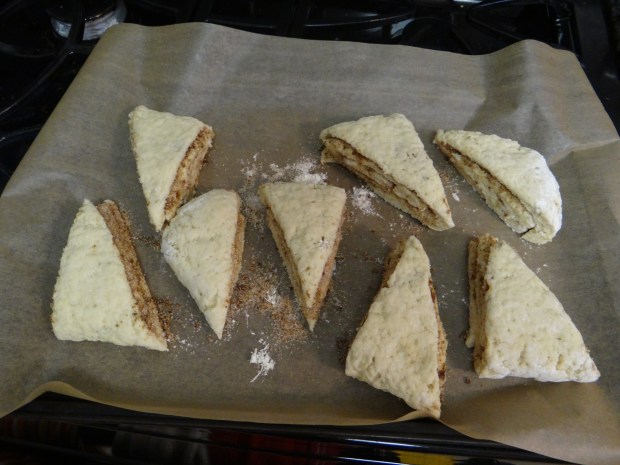
Pat or roll out your dough into a circle and slice it into six pieces using a pizza cutter.

DSC03374

Gently move your parchment to a baking sheet and transfer to the oven.  Repeat with the other half of dough.  Make until lightly golden, 15-20 minutes.

DSC03377

Let the dough cool completely, then gently separate the slices.  Top them with honey, cheese, or soft butter.  You’ll want to carefully spread toppings because these oatcakes crumble easily.

DSC03378

If I were to make these again, I think I’d add more water.  Though they were supposed to be crumbly, I think these might’ve been too crumbly.  I didn’t take any pictures of the other half of dough because it went into the oven too dry, and fell apart after I took it out of the oven.  I ended up just throwing it in the trash.

DSC03380

Topped with soft cheese

I might try to make these again when I do have oats, because they might turn out better than with the rolled spelt.  This is what spelt looks like, in one of my first attempts at food styling:

DSC03381 
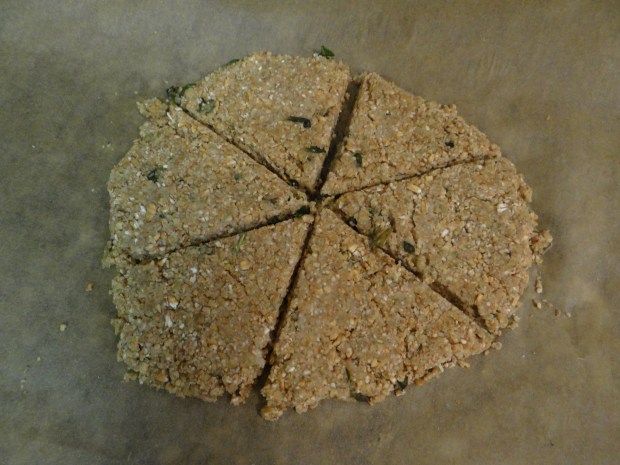
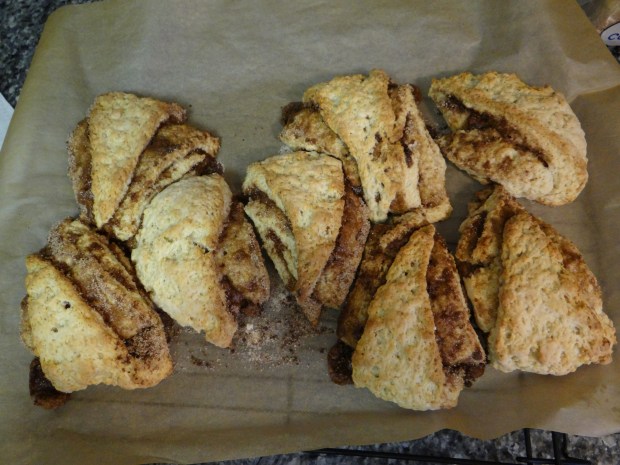
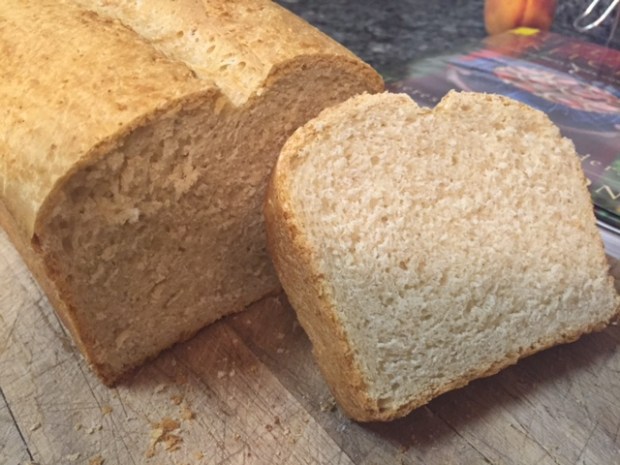
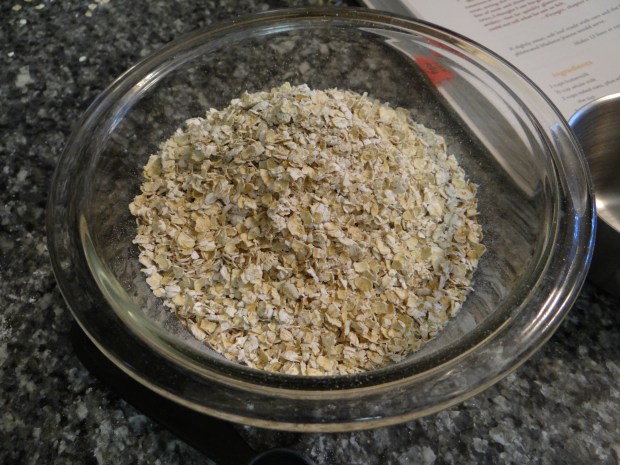
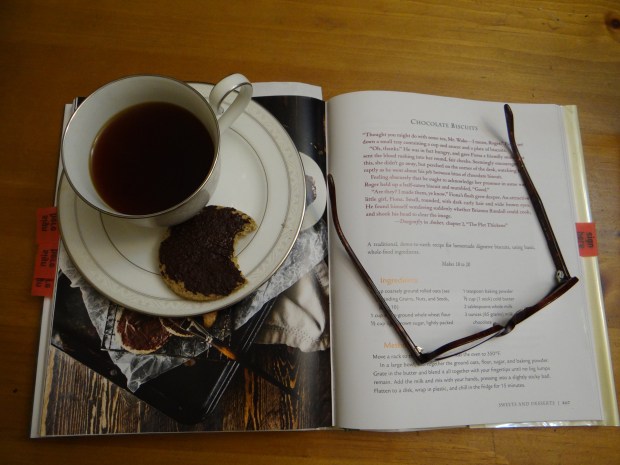
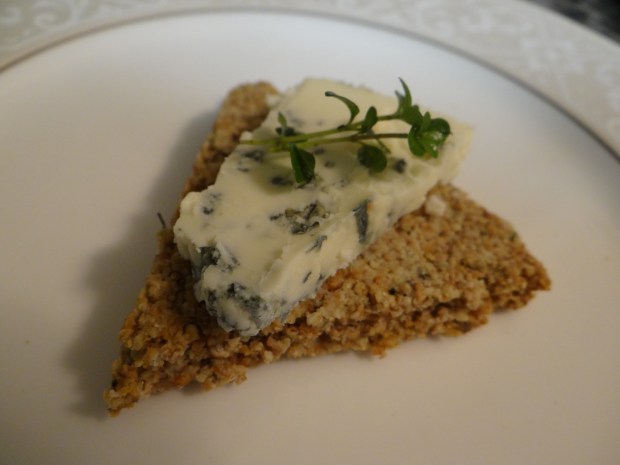
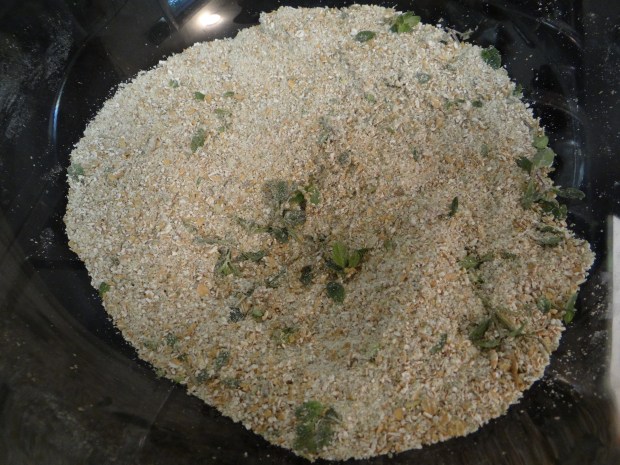
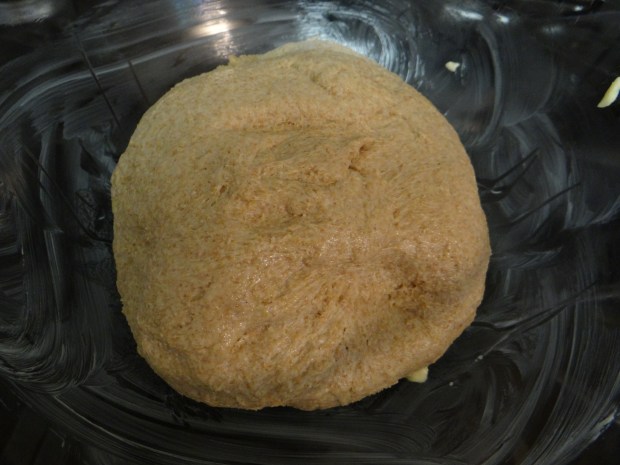
I thought this was an interesting recipe, and a reminder that bread was very different 250 years ago.  Bread was not tasty, there was not refined wheat flour that easily formed gluten, and oats and barley were more common than wheat for most people.  This recipe could accompany an authentic Outlander dinner.

Brown buns at Beauly

DSC03368

This is my fourth recipe from the Outlander Kitchen cookbook.  I’m racing through these because I checked it out of the library and will have to return it in two weeks.

DSC03356

This is the first recipe that wasn’t a “wow!”.  It was more of a “meh.”  I guess I’ve become spoiled by Peter Reinhart’s whole wheat recipes.

The bread itself came out fine.  It was nice and soft, but didn’t have much flavor.  I feel like it could’ve had so much more going for it, especially because it uses Peter Reinhart’s epoxy method of a preferment and a soaker, and had lots of other ingredients, like milk, eggs, butter and honey to give it flavor.  I dunno.  I’m glad I made it in loaf pans because it probably will be fine for sandwiches.

For this recipe (after that ringing endorsement!), you will need:

DSC03352.JPG

3 1/2 cups whole wheat flour

1 1/2 tsp instant or active dry yeast

1 1/4 cups lukewarm whole milk

2 cup coarse-ground oats

1 1/2 tsp kosher salt

2 tablespoons honey, plus more for honey-butter wash

1 large egg

2 tablespoons melted butter, plus more for coating loaf pans and honey-butter wash

Eight hours before you want to make (so either the night before a morning baking session, or the morning of an evening baking session), mix up 1 1/2 cups flour, 1/4 tsp yeast, and all the milk in a large bowl.  In a separate medium-sized bowl, combine the ground oats with 1 cup water.  Cover both bowls and let sit for about eight hours until you are ready to bake.

DSC03353

preferment

DSC03354

ground oat soaker

Once you are ready to bake, combine the preferment, soaker, remaining 2 cups of flour and 1 1/4 teaspoons yeast with the salt, honey, and egg in the bowl of a stand mixer.  DSC03359DSC03360

Mix the dough on low with the paddle attachment until it comes together in a ball.

DSC03361

Then switch to the bread hook and knead on medium until the dough is smooth, 10 to 12 minutes.

Grease a large bowl (I used the preferment bowl without washing it) with butter and roll the dough in the bowl to coat.  Cover the bowl and let rise in a warm place for 1.5 to 2 hours.

DSC03362

After two hours, my dough looked like this:

DSC03363

Gently punch down your dough and decide how you want to divide your dough.  If you want sandwich loaves, divide the dough in two.  If you want buns, divide the dough into 12 equal pieces.

I wanted sandwich loaves, so I divide the dough in two, flattened the dough, then rolled it up and placed it seam-side down into buttered bread pans.  I covered the bread pans and let them rise another hour while I preheated the oven to 375 degrees F.

DSC03364

Meanwhile, prepare a honey-butter glaze.  Melt one tablespoon of butter and mix it with one tablespoon of honey.

DSC03365

When your dough and oven are ready, brush the tops of your loaves with the honey-butter glaze and score each loaf in a straight line with a razor or serrated knife and stick in the oven for 45 to 50 minutes.

DSC03366

After 50 minutes, mine looked like this.

DSC03367

I liked the honey-butter glaze.  I may use it on other sandwich breads because it adds a bit of sweetness to the crust.

As you can see, the crumb is very tight, perfect for sandwiches.  In the future, I may add other grains for more flavor.

DSC03368

Bannocks at Carfax Close

DSC03350

This is my third Outlander Kitchen cookbook recipe attempt.  It was a difficult decision between several recipes, but the bannocks recipe won out because it sounded quick and I had all the ingredients on hand.

DSC03345.JPG

After making it, I sort-of wished I’d tried something a little more adventurous, because it’s essentially the same recipe as Mrs. Graham’s oatmeal scones, with less sugar and the rolled oats were ground instead of left whole.

DSC03323

Nevertheless, they were delicious and so easy.  I brought them to share at my Sunday School class, where they were enthusiastically consumed.  I brought the cinnamon scones to my in-laws’ house, which means now I only have about 8 oatmeal scones and 5 bannocks to eat by myself while Mr. Bread Maiden is out of town for the week.  Lucky me!

For this recipe, you will need:

DSC03344

2 cups of all-purpose flour

1 cup ground rolled oats

1/4 cup polenta (not in the original recipe but I decided to add it)

1 tablespoon baking powder

1 tablespoon sugar

1 teaspoon kosher salt

1/4 cup cold butter

3/4 cup milk

1/2 cup yogurt

  1. Preheat the oven to 400 degrees F.  Position a rack in the upper middle part of the oven. Mix together the dry ingredients in a large bowl.DSC03346
  2. Mix together the yogurt and milk in a small bowl.  Set aside.DSC03311
  3. Using a box grater, grate the butter into the flour mixture.DSC03347
  4. use your fingers to make sure the butter is completely coated with flour.  Then add the milk and yogurt and combine until everything is incorporated and it forms a shaggy dough.DSC03348
  5. Transfer your dough to a floured surface and sprinkle flour on top of your dough. Use a rolling pin to roll out your dough until it’s about 12 x 12 inches square.  Use a biscuit cutter or a pizza wheel to cut the dough into circles or squares.  Move your biscuits to a parchment-lined baking sheet and bake for 12-15 minutes (mine took 18 minutes) until just golden brown.DSC03349
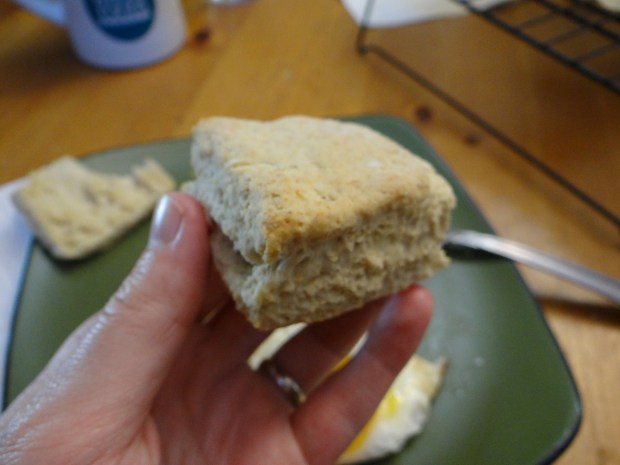
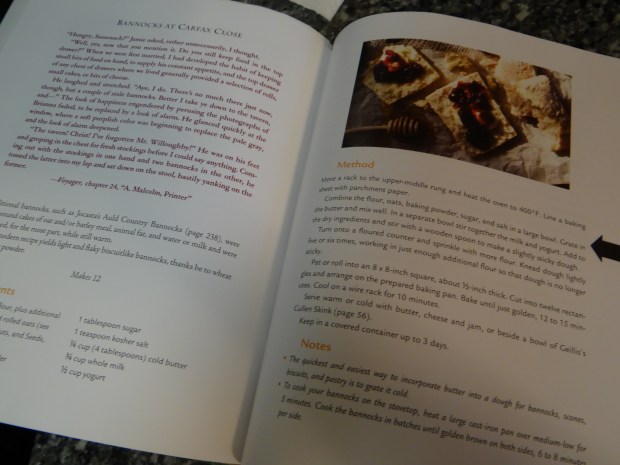
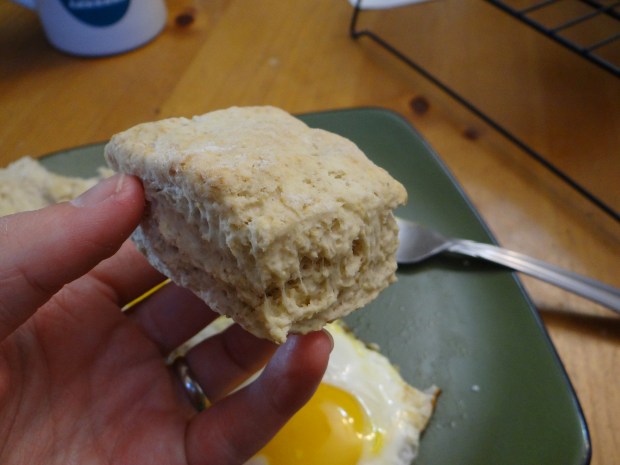
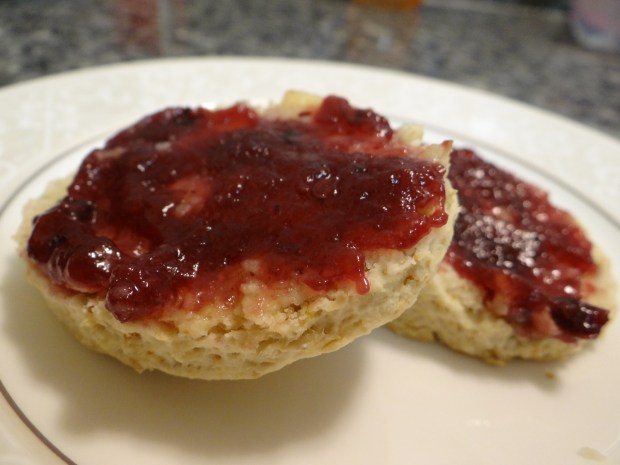
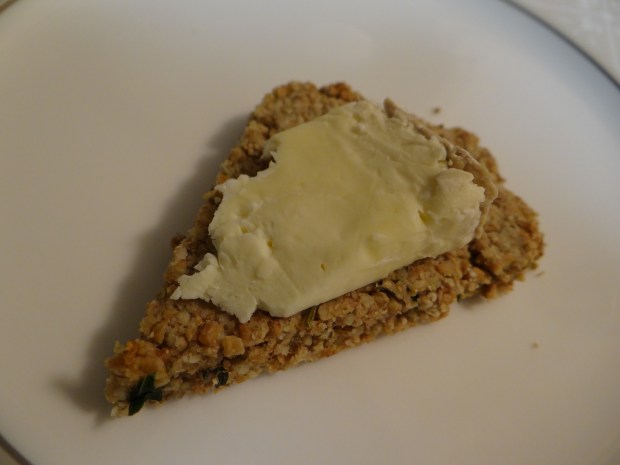
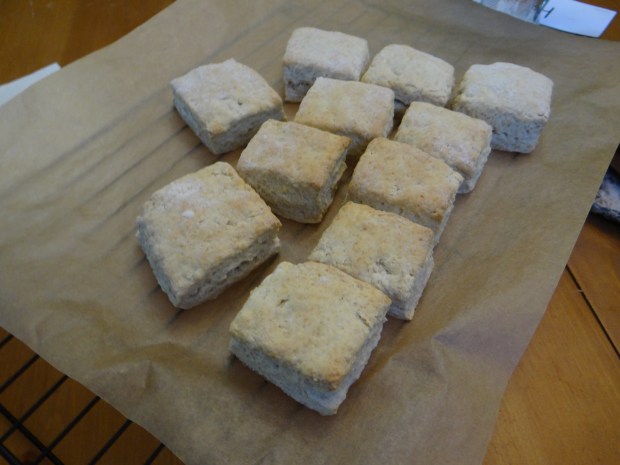
These biscuits were so easy to make and super delicious!  They were so soft.  Unlike my usual Peter Reinhart biscuit recipe, these biscuits were NOT flaky because they were not a laminated dough like Reinhart’s.  We had them with bacon and sunny-side up eggs.

DSC03351

They were perfect for dipping into the runny yolks.  Mmmm.  Another win for the Outlander Kitchen Cookbook.


Fiona’s cinnamon scones

DSC03338

This was my second recipe attempt from Theresa Carle-Sanders’ exquisite Outlander Cookbook.

Even though both recipes were scones, they were quite different in the process of making and baking them.  These were softer and sweeter than the oatmeal scones.

DSC03325

the recipe called for a glaze made of milk and confectioner’s sugar but the scones were sweet enough already that they didn’t need it.

You will need:

DSC03324

1/2 cup brown sugar (or white sugar and 1 tsp molasses, like me)

2 teaspoons ground cinnamon

2 1/2 cups all-purpose flour

1/2 cup sugar

1/2 tsp kosher salt

2 tsp baking powder

1/2 tsp baking soda

1/2 cup cold butter + 2 tablespoons melted butter

1/2 cup whole milk

1/2 cup yogurt, buttermilk or sour cream

  1. Preheat the oven to 425 degrees F.  Mix together the brown sugar and cinnamon in a small bowl and set aside.DSC03326
  2. In a large bowl, mix together the flour, sugar, salt, baking powder and baking soda.DSC03327
  3. Grate the cold butter into the flour mixture and use a spoon or your fingers to coat the butter with the flour.DSC03328
  4. In a small bowl, combine milk and sour cream.  Add it to the flour and butter mixture and mix with your hand to incorporate the ingredients into a slightly sticky ball. Cover and place in the refrigerator for 10-15 minutes.DSC03330
  5. After the dough has had a chance to chill, take it out of the refrigerator and roll it out into a 12 x 12” square on a floured surface.  DSC03331
  6. sprinkle your brown sugar and cinnamon mixture on top.DSC03332
  7. then roll it up tightly. DSC03333
  8. using your rolling pin, flatten your log until it’s about 4 x 12”.  DSC03334
  9. to cut your dough into scones, use a butter knife or bench scraper to cut into four equal pieces, then cut each piece in half diagonally to form eight triangles.DSC03335
  10. transfer your dough to a parchment-lined baking sheet, making sure there’s at least an inch of room around each one, since they will puff and spread.  Brush the tops with melted butter and bake about 18-22 minutes until the tops are golden brown.DSC03336
  11. let cool slightly before eating.DSC03337
  12. I was a little sad these lost their triangle shape, but that latest only as long as it took to bite into one… they were so soft and delicious!  I’m not sure what to do in the future to prevent this from happening, but maybe it’s just a fact of this particular shape combined with a cinnamon swirl.

I think this is a winning recipe.

Pros: Cut down on dishes because only need a 1/2 cup measure and teaspoon to measure all the ingredients required. Uses grating trick for cutting in the butter quickly. Delicious

cons: Doesn’t use weight measurements, original recipe doesn’t specify size of mixing bowls needed: small, medium or large. Scones spread during baking, losing the nice triangle shape.

Mrs. Graham’s Oatmeal Scones


DSC03323As I detailed here, I’ve been working my way through the breads and baking section of Theresa Carle-Sanders’ beautiful Outlander Kitchen cookbook.

outlander-kitchen-comp

The first recipe I tried was Mrs. Graham’s Oatmeal Scones.

DSC03312

To make it, you will need:

DSC03309.JPG

2 cups all-purpose flour

1 cup rolled oats

1/3 cup sugar (this came out slightly too sweet for my taste; I may reduce the amount of sugar next time)

2 teaspoons baking powder

1/2 teaspoon kosher salt

3/4 cup cold butter, plus 2 tablespoons melted butter

2/3 cup light cream (I didn’t have light cream so I used whole milk with a little sour cream thrown in)

  1. Preheat your oven to 350 degrees F.
  2. In a large bowl, mix together the flour, oats, sugar, baking powder and salt. 

3. Grate the cold butter into your flour mixture and mix to combine so all the butter is coated in flour.  Add the cream.DSC03314

Using clean fingers, combine the ingredients thoroughly until it forms a rough ball.  On a flat floured surface, knead five or six times until the dough is fully combined.  Then roll it out with a rolling pin until it’s about 1-inch tall and cut out circles using a biscuit cutter.

Transfer your scones to a parchment-lined baking sheet, then brush the tops with a little melted butter.

Bake 20-25 minutes until golden brown on the tops and bottoms.  Then cool on a wire rack for at least 15 minutes, if you can stand it.

DSC03319

These are great with butter or jam.  Or both!

DSC03321

A Bread Library Book Review: Outlander Kitchen

outlander-kitchen-comp

This week, I got my hands on a cookbook I’ve been anticipating for months: the Outlander Kitchen cookbook.

It’s the companion cookbook to the Outlander book and tv series, and it was written by Theresa Carle-Sanders who also maintains the Outlander Kitchen Blog.

The cookbook just came out last month, and while perusing the new arrivals section of my library’s website, I was shocked and pleased to discover that they were getting a copy!  I put my name on the hold list, and this week my number was up.

DSC03312.JPG

When I picked up the book, I was pleasantly surprised.  It’s a good size, almost like a textbook.  There are a lot of recipes in this book.

DSC03339.JPGEach recipe includes an excerpt from one of the books, some notes from the author about the history of the recipe, and at least one photograph of the finished product.  It’s really a beautiful cookbook.

But more importantly, it’s thoughtful and a worthy companion to the series.  I would venture to say Diana Gabaldon and Theresa Carle-Sanders are kindred spirits: they enjoy the adventure of tracking down and researching each small element of the book and won’t quit until it’s right.  I’ve only made two recipes so far, but both have turned out very successfully.

DSC03323.JPG

Mrs. Graham’s oatmeal scones

DSC03338.JPG

Fiona’s cinnamon scones

DSC03340

The recipes use basic ingredients that most people would have around the house, although one of the biscuit recipes uses fresh nettles, which might be hard to get most places.

The cookbook also doesn’t assume the reader knows anything about cooking or cooking terms, so there’s one section where she breaks down what it means to temper, slice, dice, etc.

Also, she knows my trick for cutting in butter quickly!

DSC03343

I’m probably only going to be testing the baking recipes, since I only have two weeks with the book after all.  Unless I buy it.

I did have one criticism: she calls for a kitchen scale but none of the baking recipes use weight measures!

DSC03342

Even with this small critique, this cookbook is definitely worth having, if you’re a fan of the Outlander series, or historical cookbooks, or cooking in general.

UPDATE July 20, 2016:

Now that I have five recipes under my belt, I am only appreciating this cookbook more and more.  What I really like is that it’s internally consistent: any recipes that require pie crust use the same crust recipe.  Most of the breads are variations of the same combination of ingredients.  Like Peter Reinhart’s cookbooks, it’s easy to get a “feel” for Carle-Sanders’ style quickly, which means you are more likely to successfully complete one of her recipes once you’ve made one or two others.  I also really like that for every recipe, she gives companion dish or topping suggestions, and lets you know how long the recipe will store, or if you can partly assemble a dish to finish later.  Again, I’m so pleased with this cookbook and highly recommend it.