I’m always trying to use up leftover ingredients that might otherwise get thrown out. Here are three recipes that use up a LOT of leftovers, so you won’t ever have to feel bad about wasting food again.
Leftover Ingredient #1: Mashed potatoes and potato cooking water
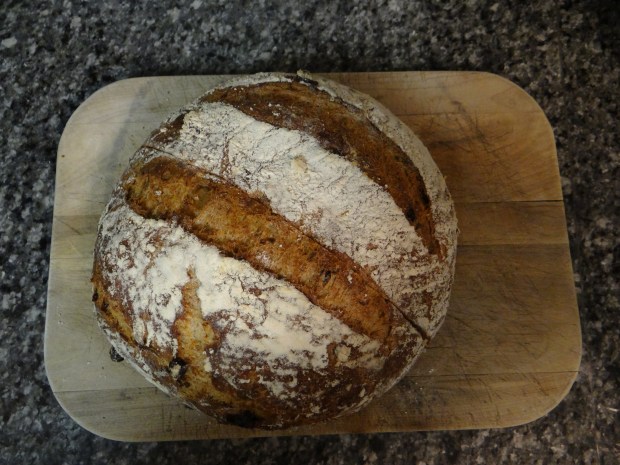
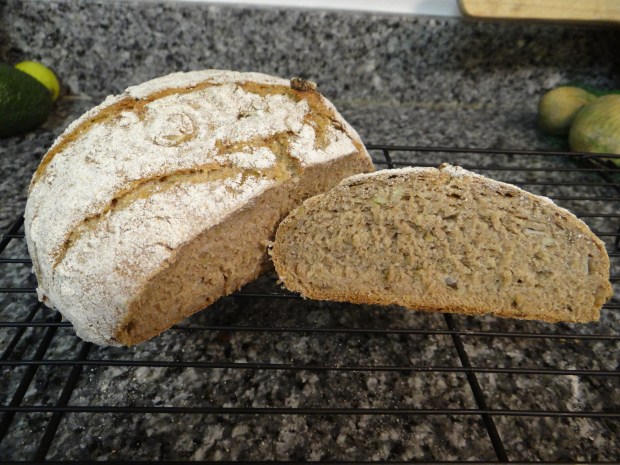
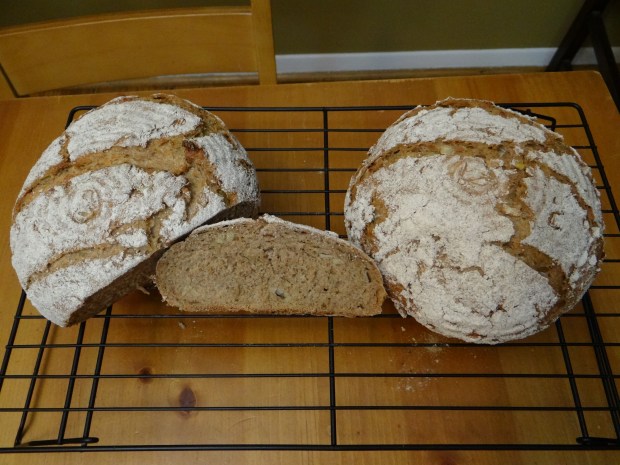
Peter Reinhart’s Potato Onion Rye Meteil
For the soaker:
142g whole rye flour
4g salt
170g potato water
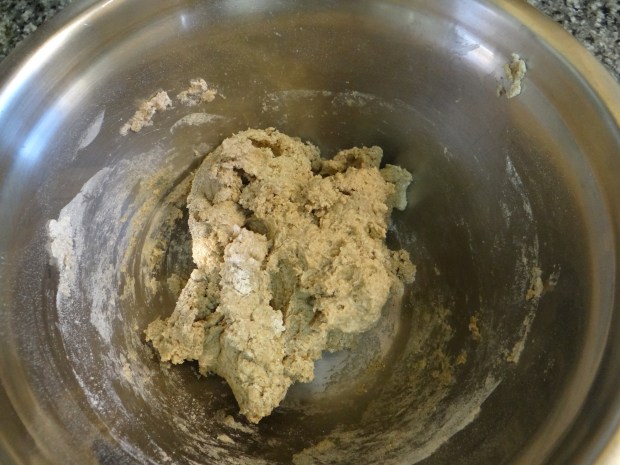
- Mix up the ingredients and let sit for 4-6 hours.

For the starter:
71g active starter
213g combination of whole wheat flour and rye flour
170g of water or potato water
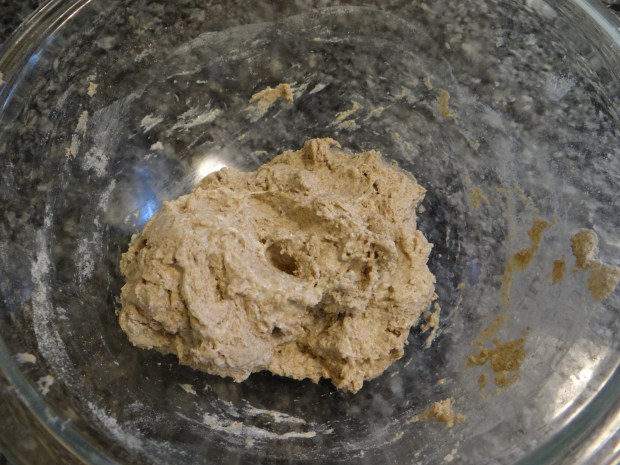
- mix up the ingredients, cover and let rise for 4-6 hours.

When it’s time to make your final dough, you will need:
Your starter and soaker
128g combination of whole wheat and rye flours
10g salt
9g instant or active dry yeast
227g cooked potato. I mashed it up finely with a fork so there were no big chunks.
113g fresh onion, diced
14g honey
extra rye or whole wheat flour

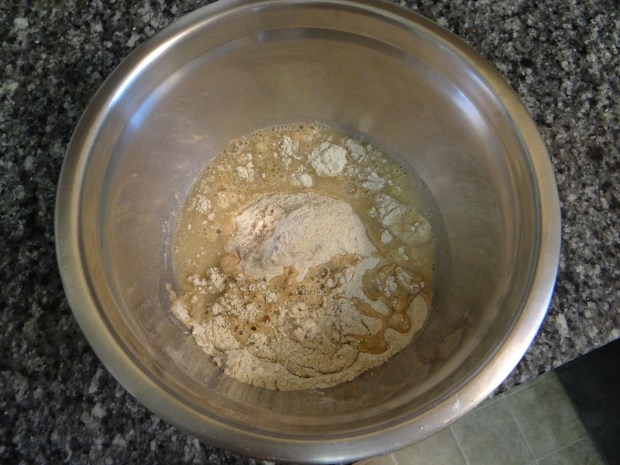
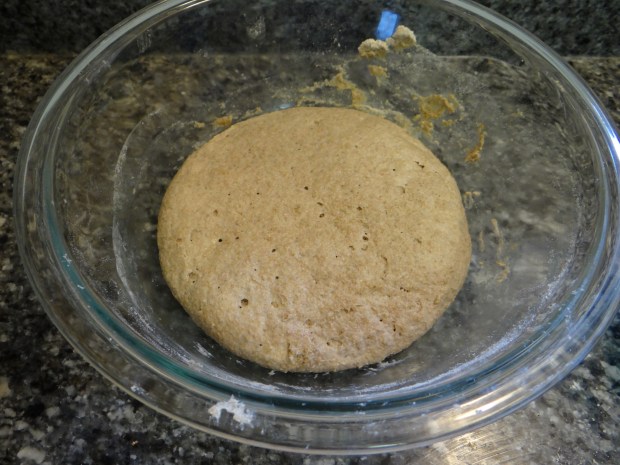
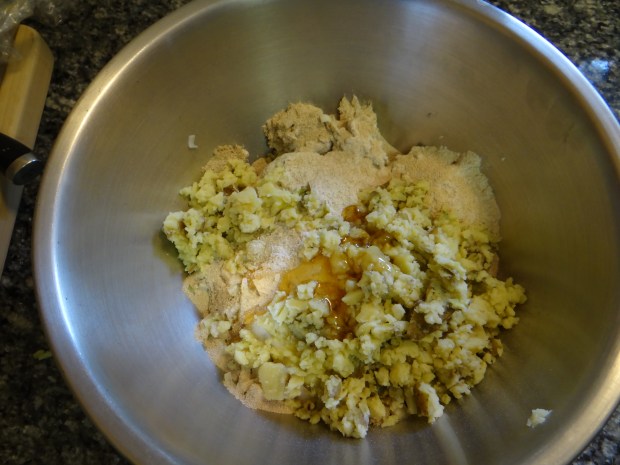
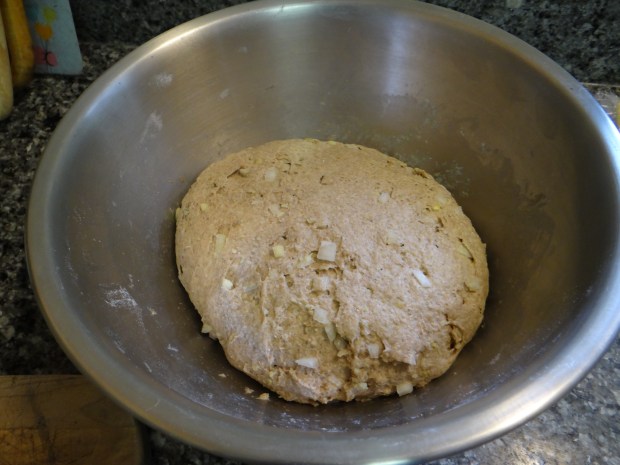
Mix all the ingredients together, kneading well so it is entirely incorporated. Place it in a bowl, covered, to rise for 1.5 hours.

Punch down the dough gently, then divide into two loaves. Let rest on the counter for 15 minutes.
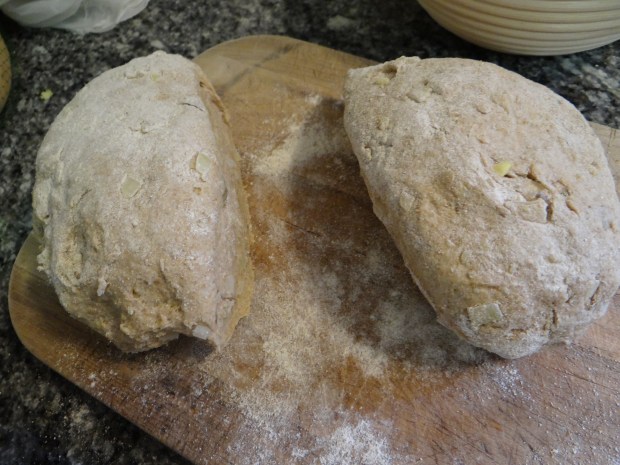
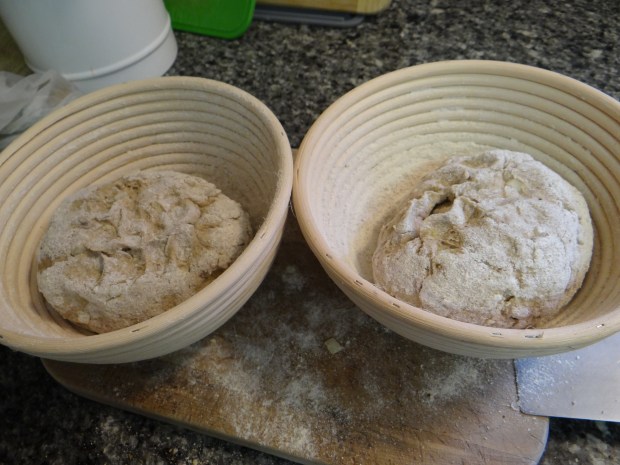
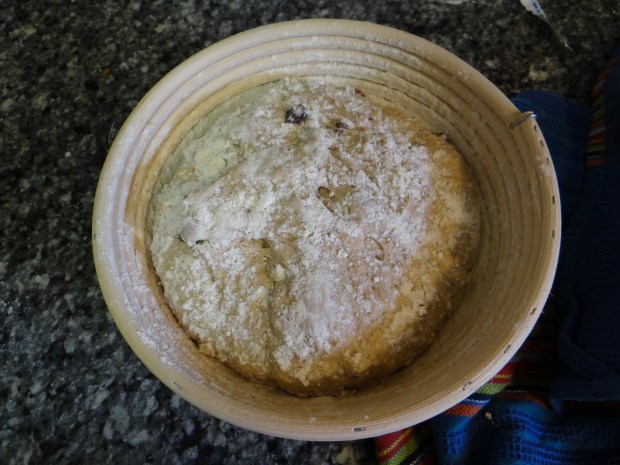
Shape the dough into round boules, then place them seam-side up in prepared bannetons.
Preheat the oven to 425 degrees F with your dutch oven inside.
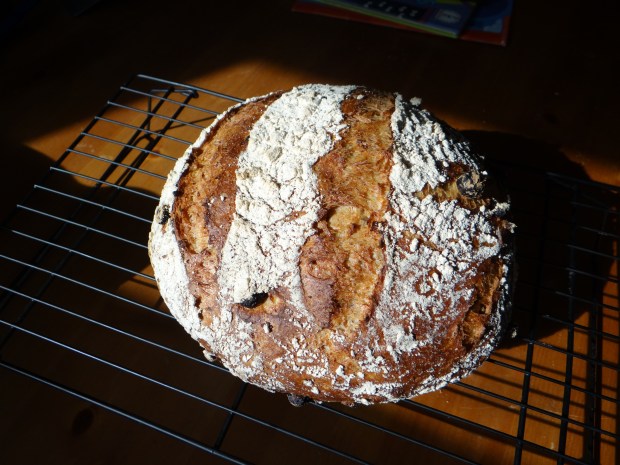
When the oven is ready, turn out your dough into your dutch oven so the seam is now on the bottom. Score your dough, then bake for 20 minutes with the lid on. Remove the lid, bump the temperature down to 350 degrees, and continue baking another 20-30 minutes until the loaf is a rich brown.
Leftover Ingredient #2: Bacon Drippings
Soft sandwich bread with bacon drippings
You will need (for two loaves):
1 3/4 cup lukewarm milk
1 Tbls yeast
795 g Bread Flour
1 Tbls kosher salt
1 egg
1/4 cup honey
85 g melted butter, oil or bacon drippings
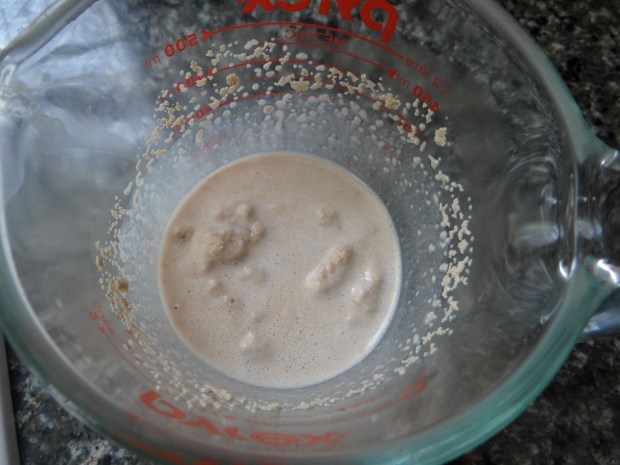
1. In a small bowl, sprinkle the yeast on top of the milk and let sit for five minutes. If it smells yeasty, it’s working.

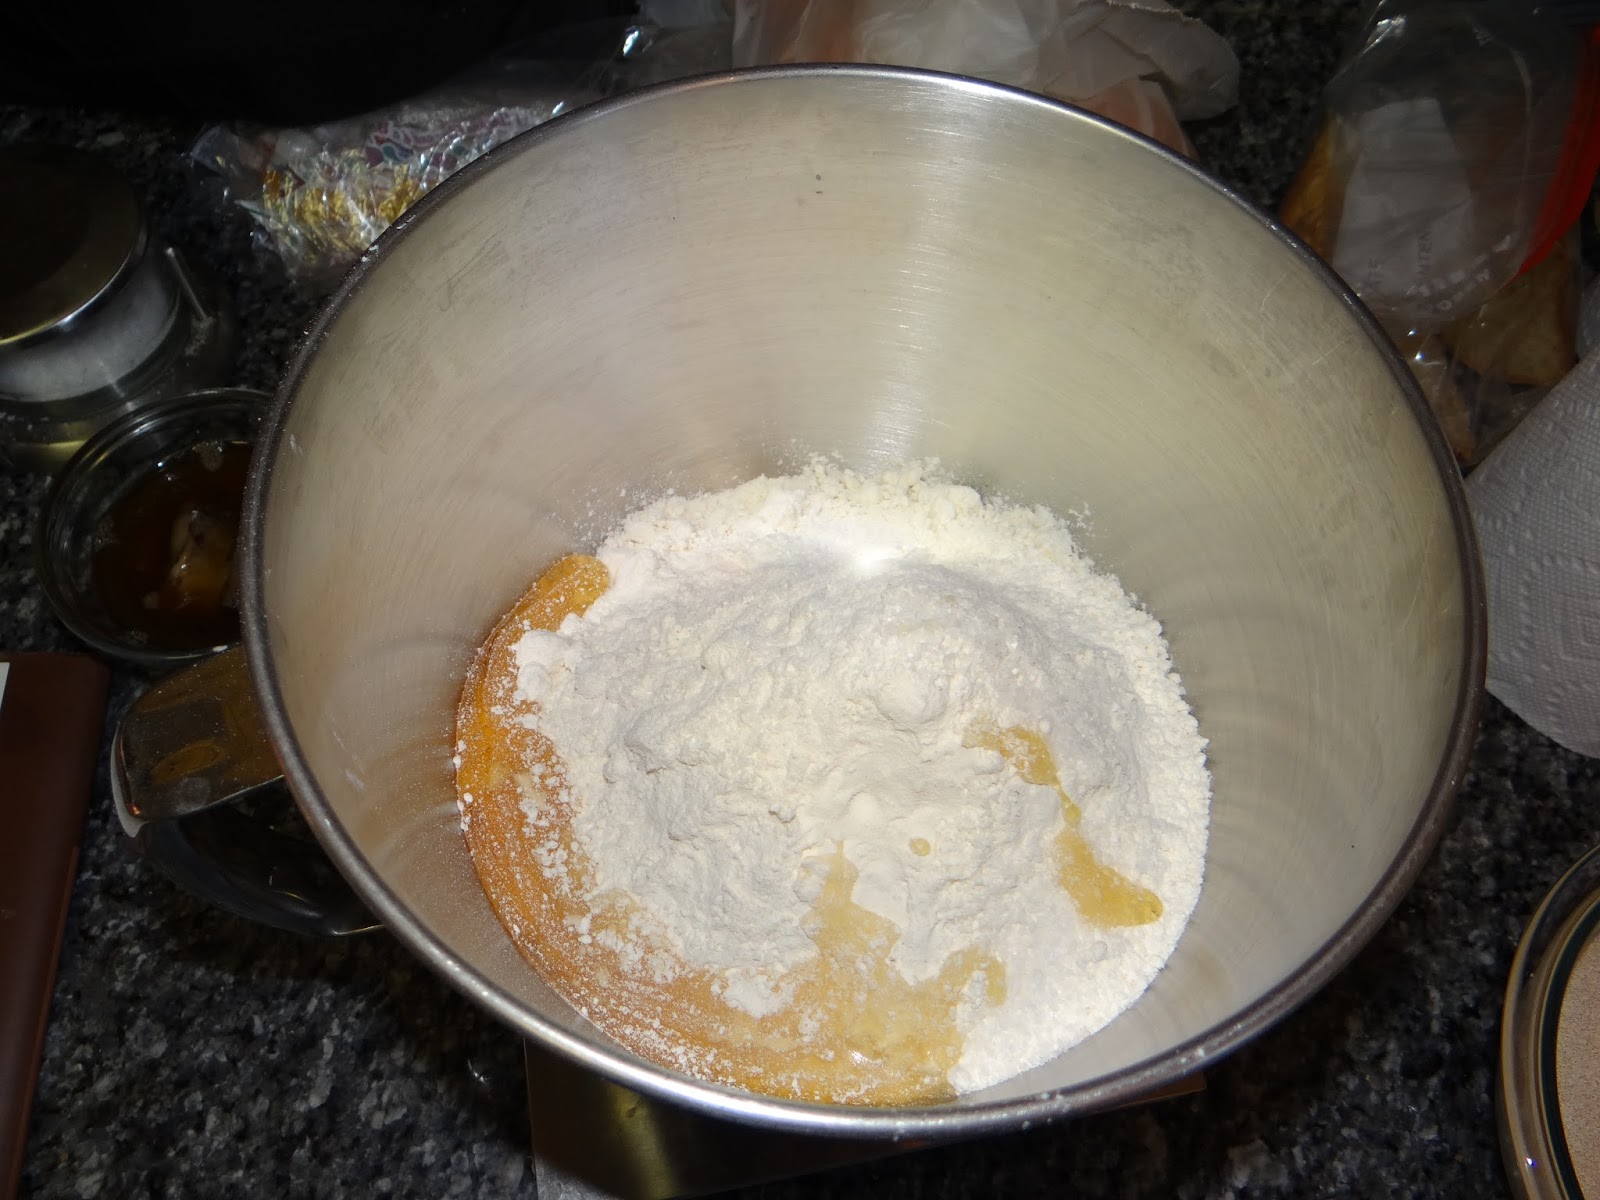
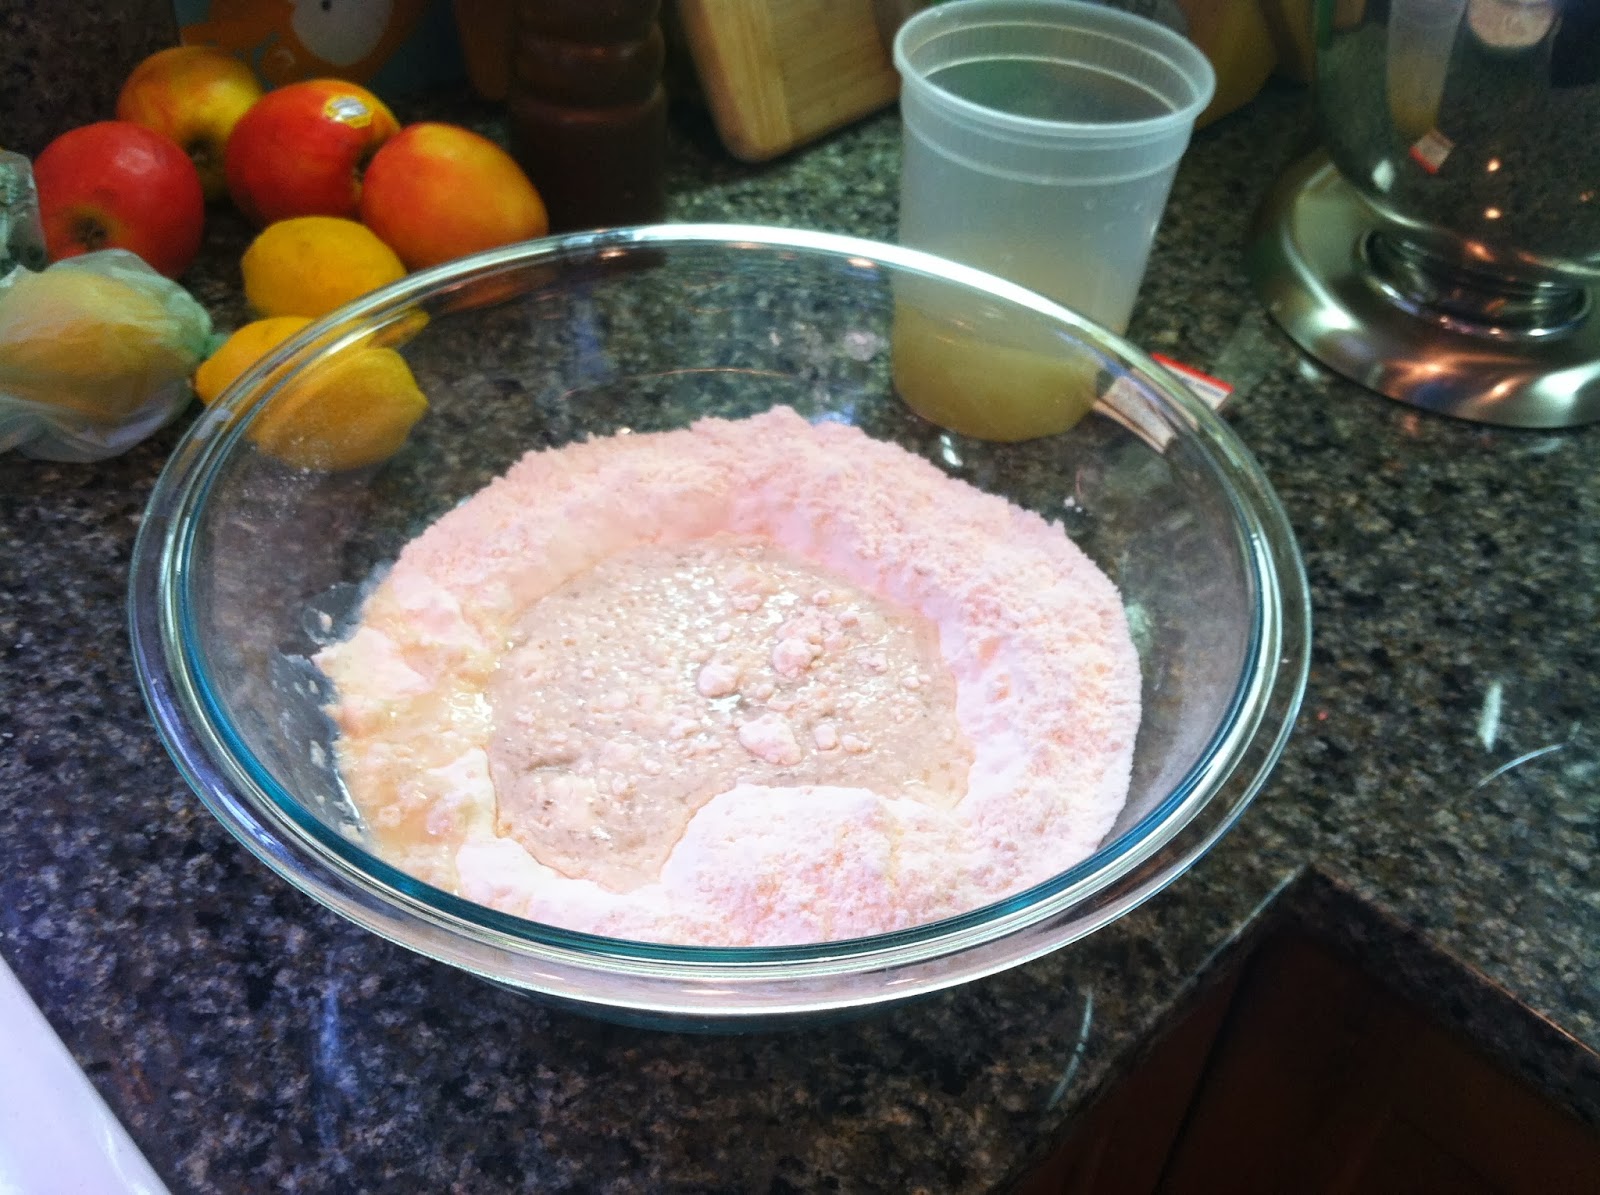
2. In a large mixing bowl or the bowl of your stand mixer, combine the flour, salt, egg, honey and bacon drippings and set aside until your yeast mixture is ready. Then add the yeast and milk into the mixing bowl.
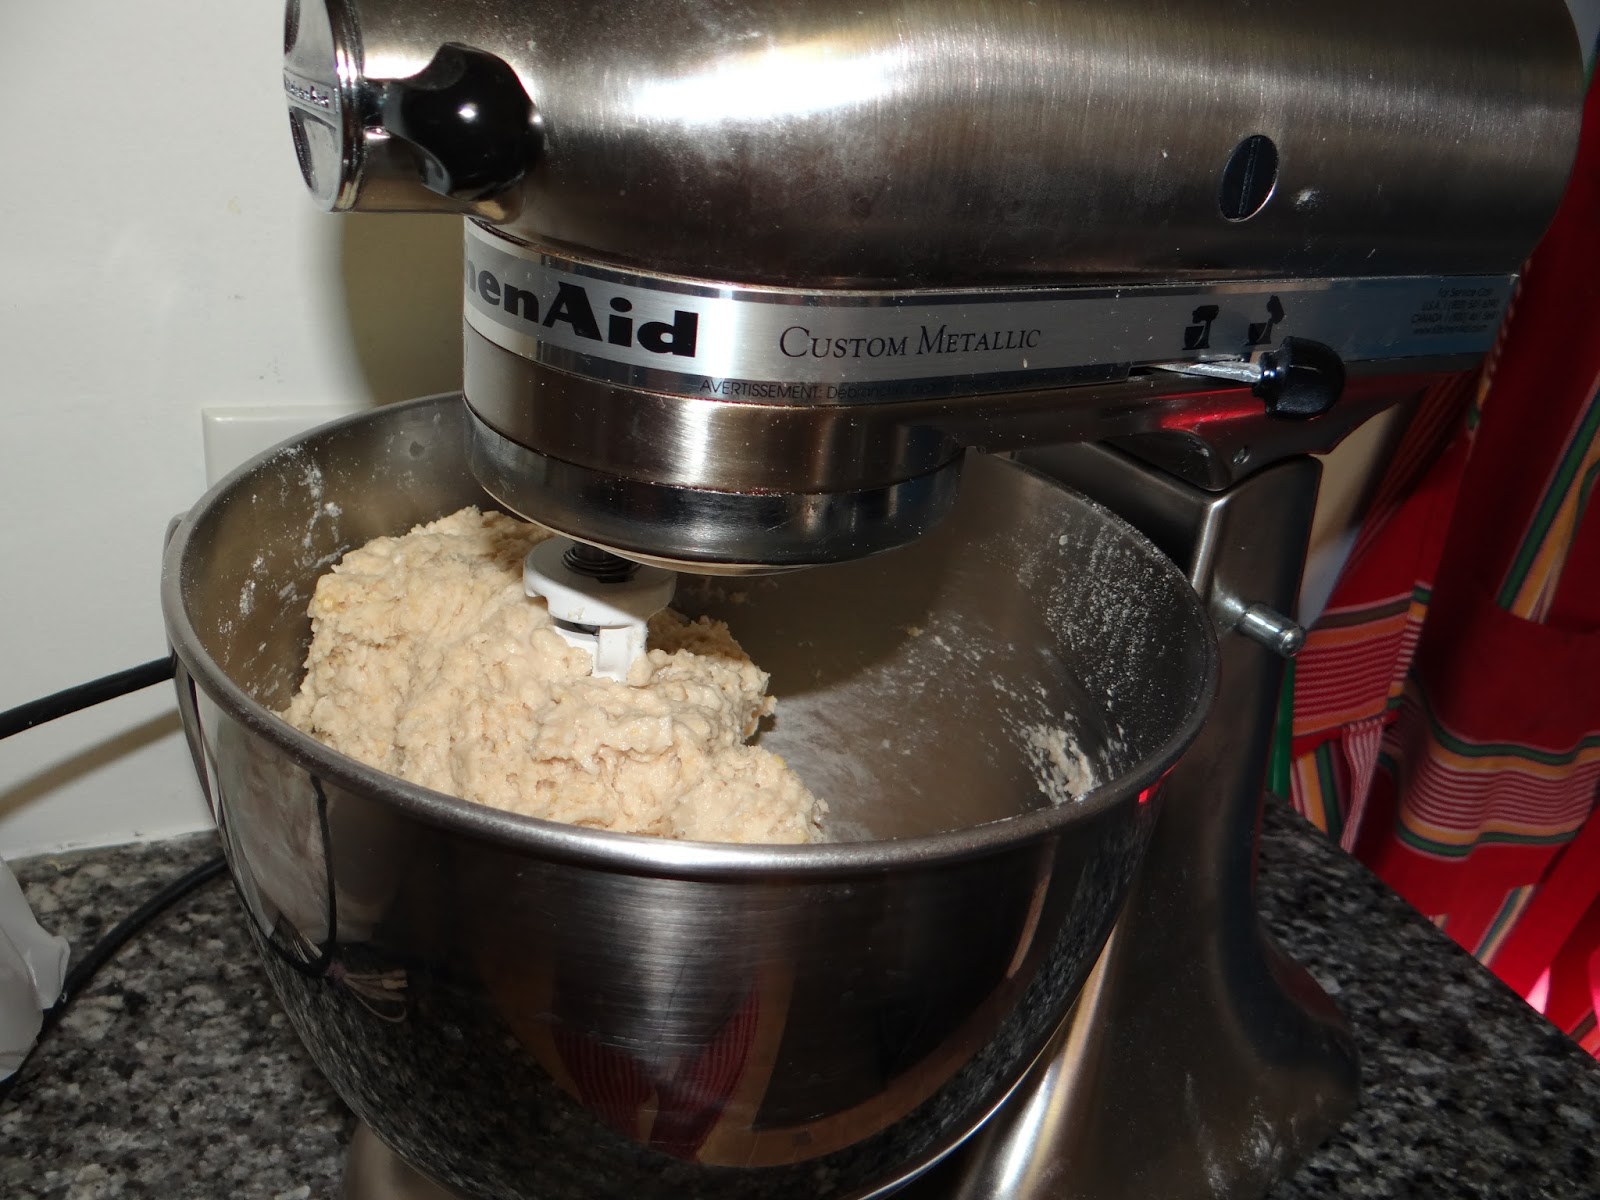
3. If you are using a stand mixer, get everything nice and combined using the paddle attachment. When it becomes a ball, switch to the dough hook and knead for about five minutes. If you don’t have a stand mixer, just knead the heck out of it for five minutes. You really do want to knead here – there is so much yeast that things are going to move quickly and you’ll want to make sure the gluten has really developed a strong net to trap in those yeast gases!
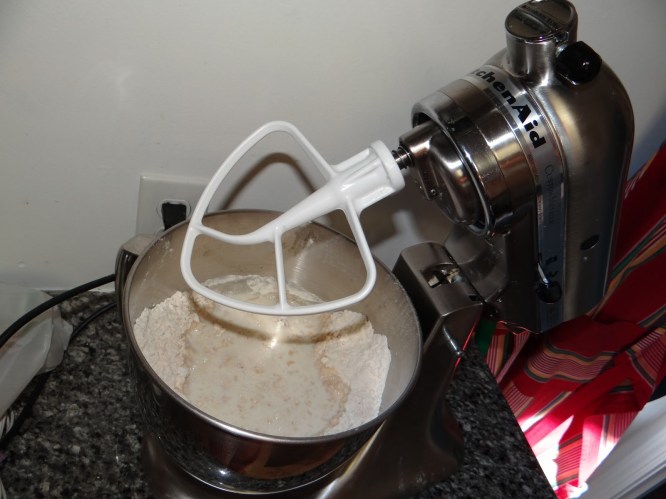 |
| before |
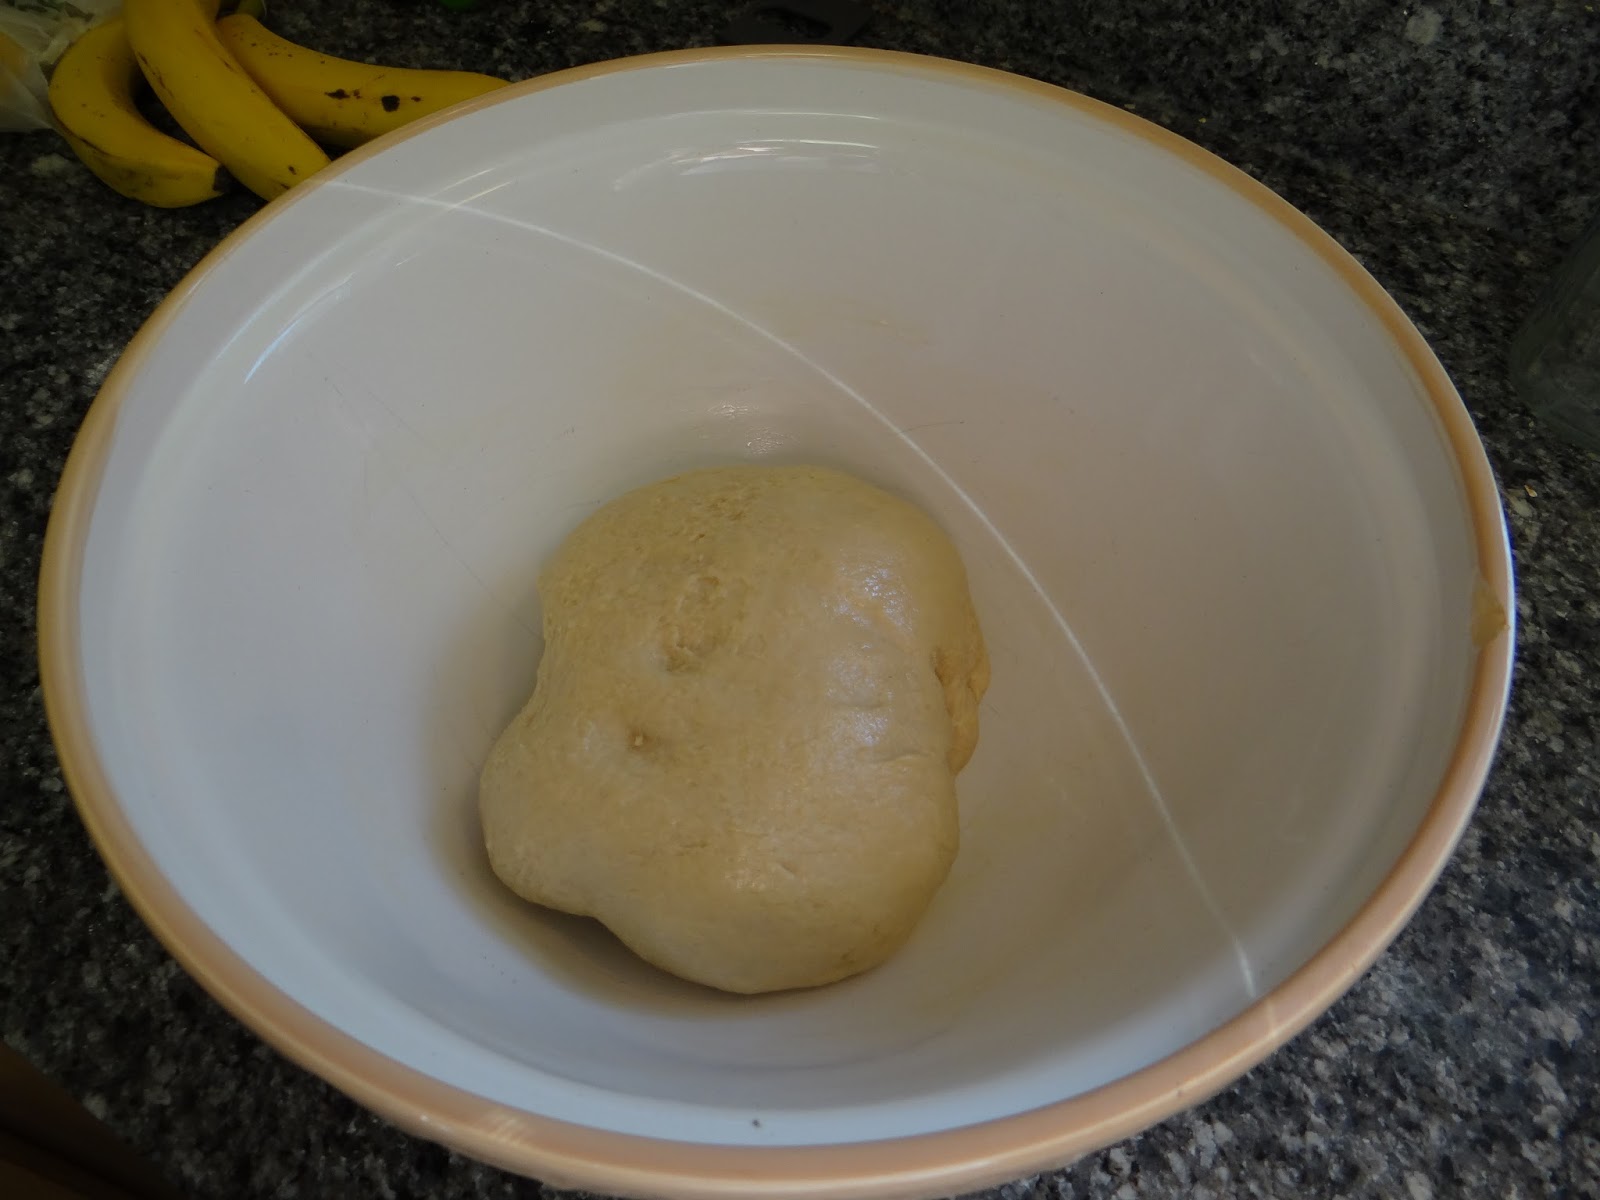
 |
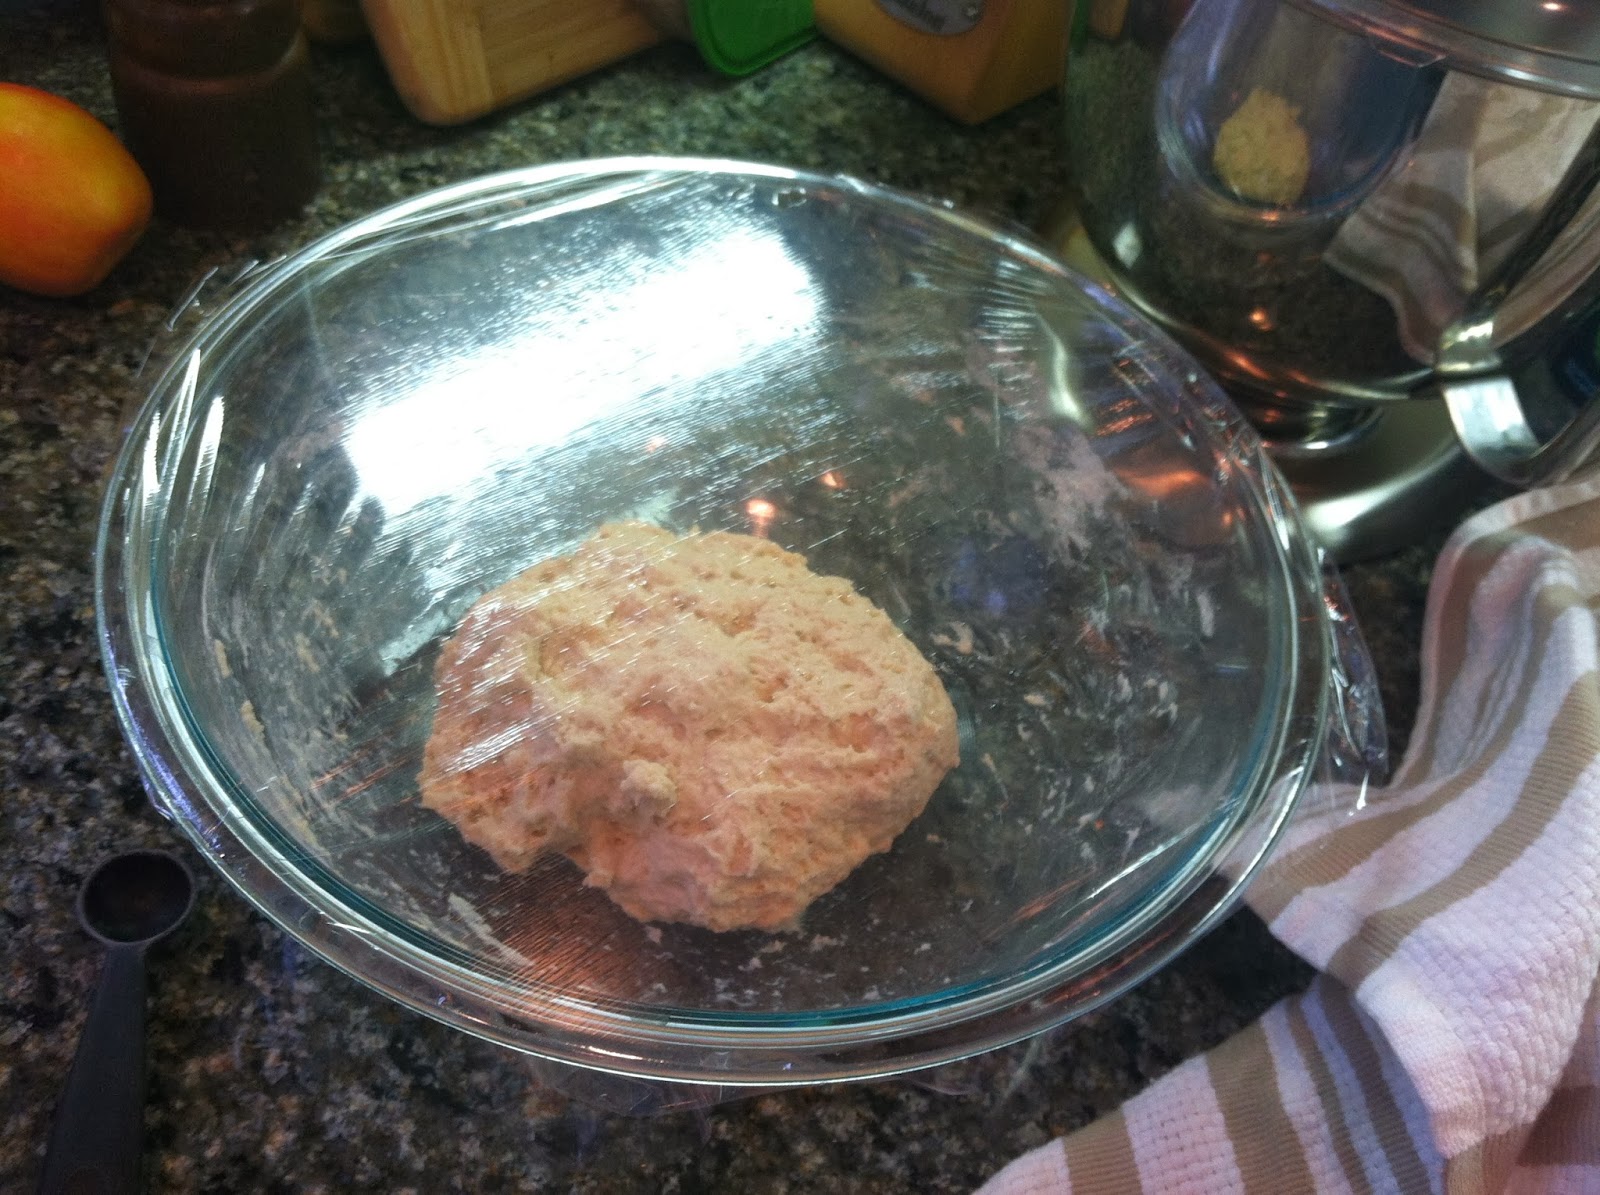
| after |
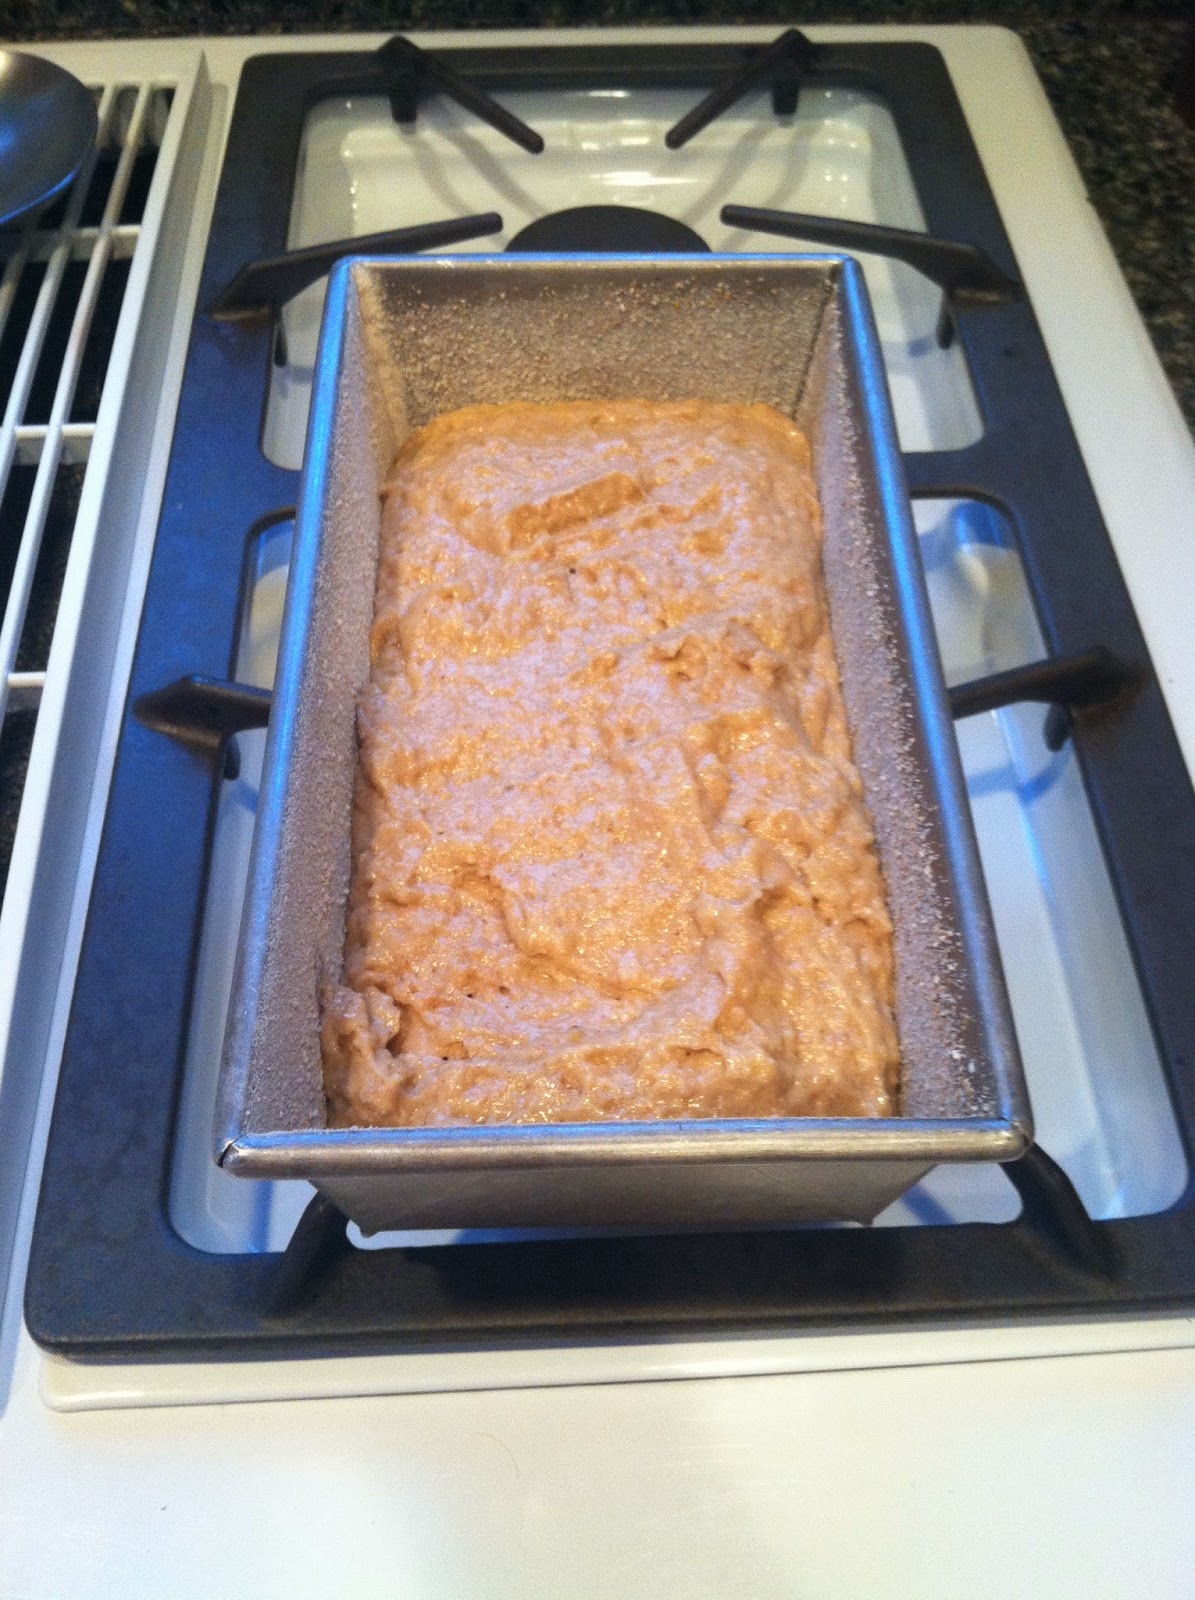
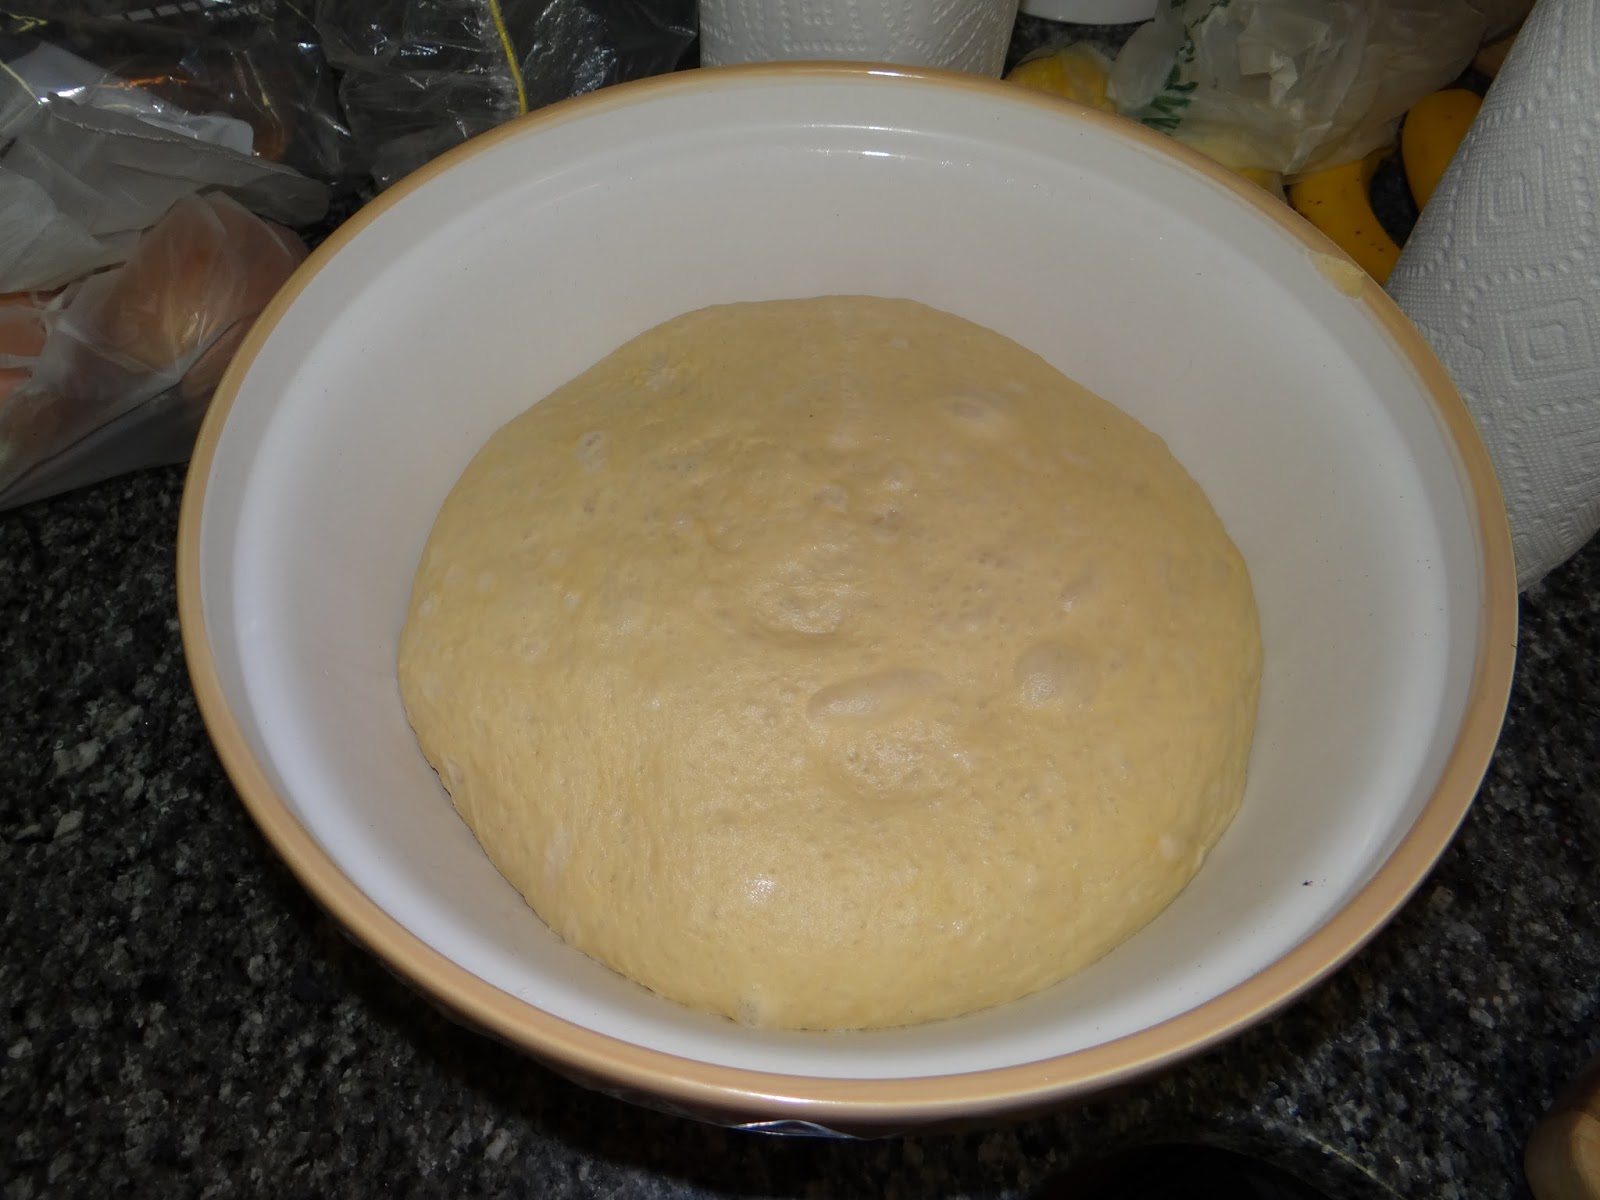
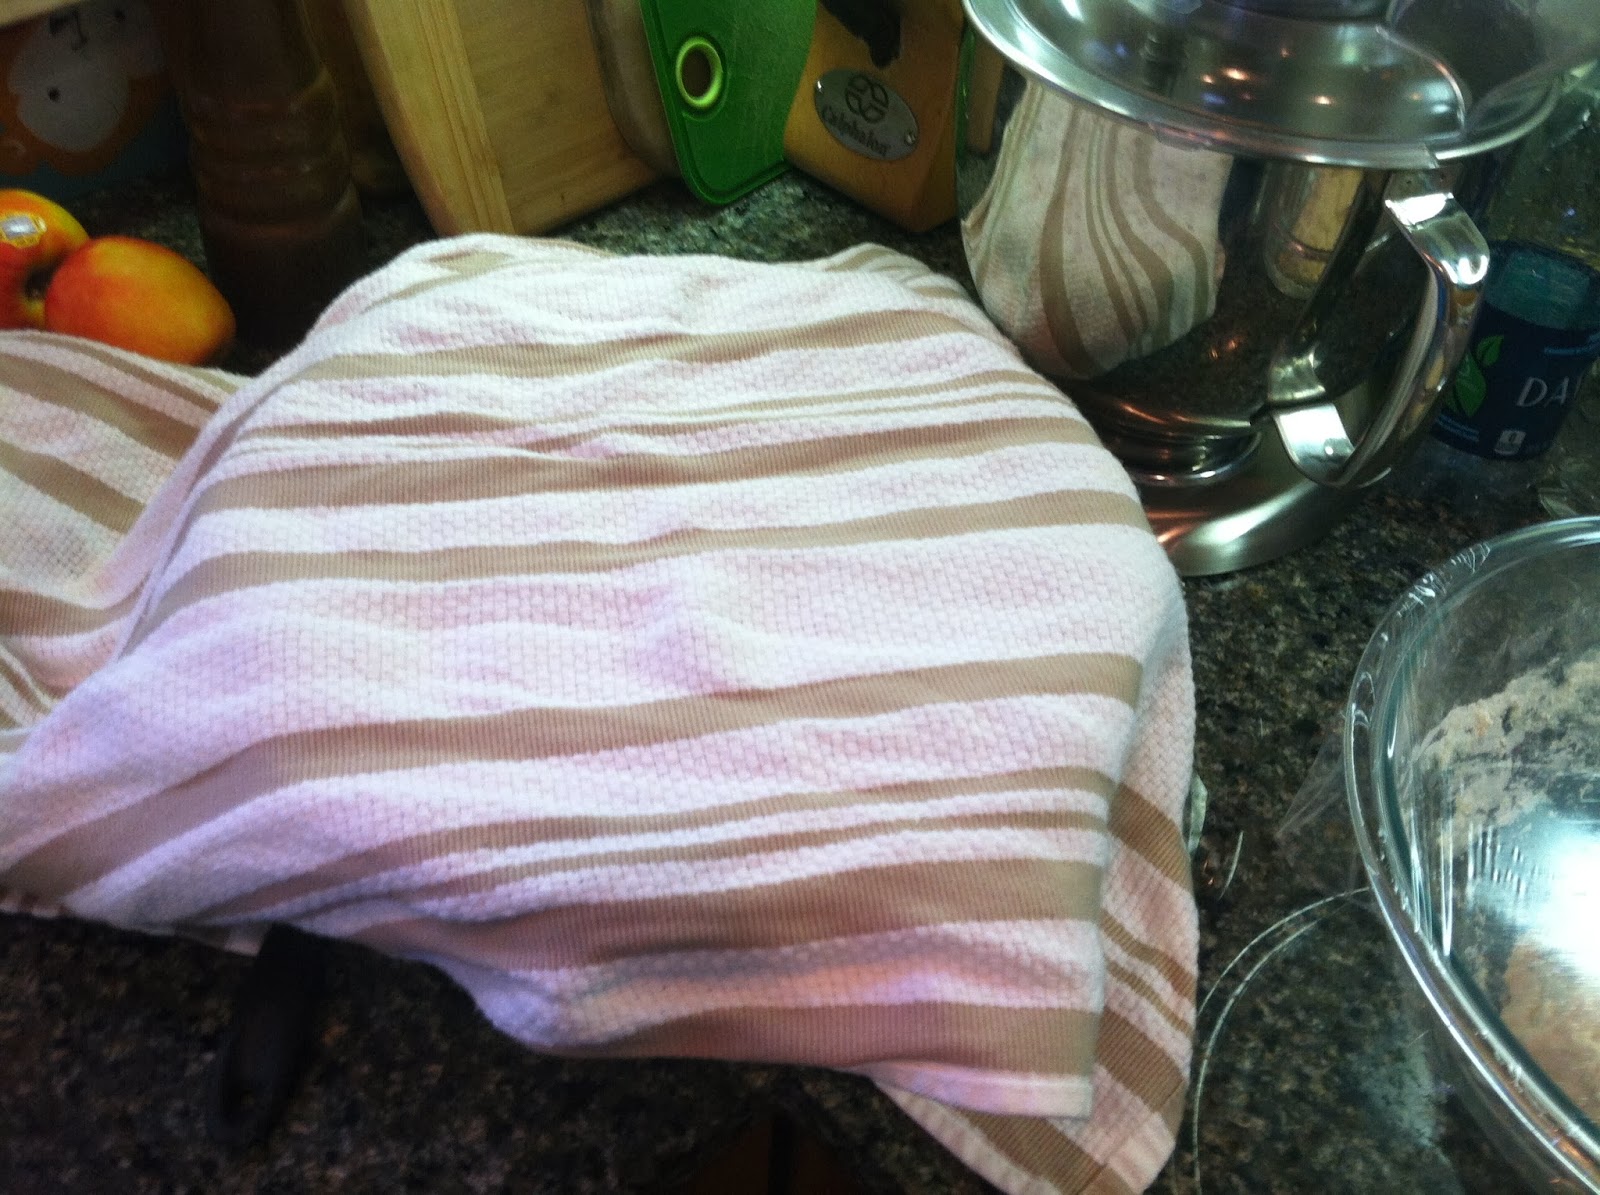
4. Place the dough in an very large oiled bowl and cover with plastic wrap. Let rise until doubled in size.
 |
| before |
 |
| after |
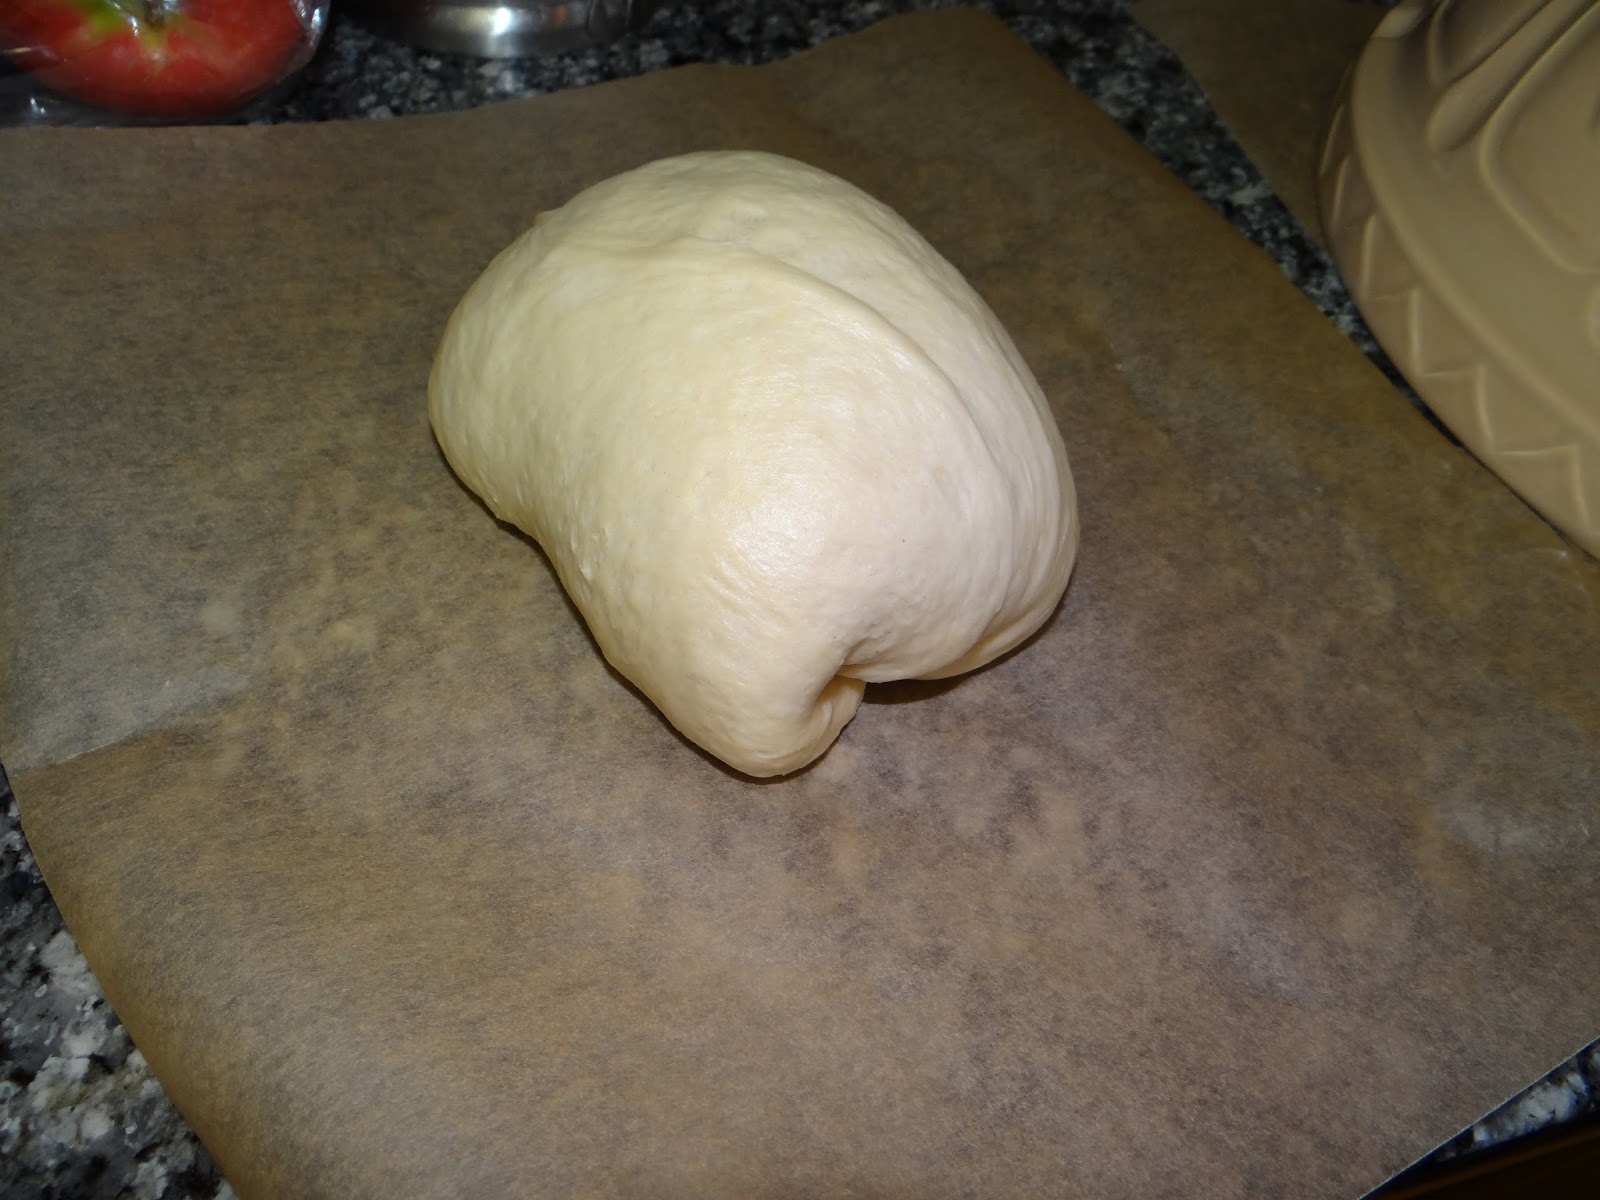
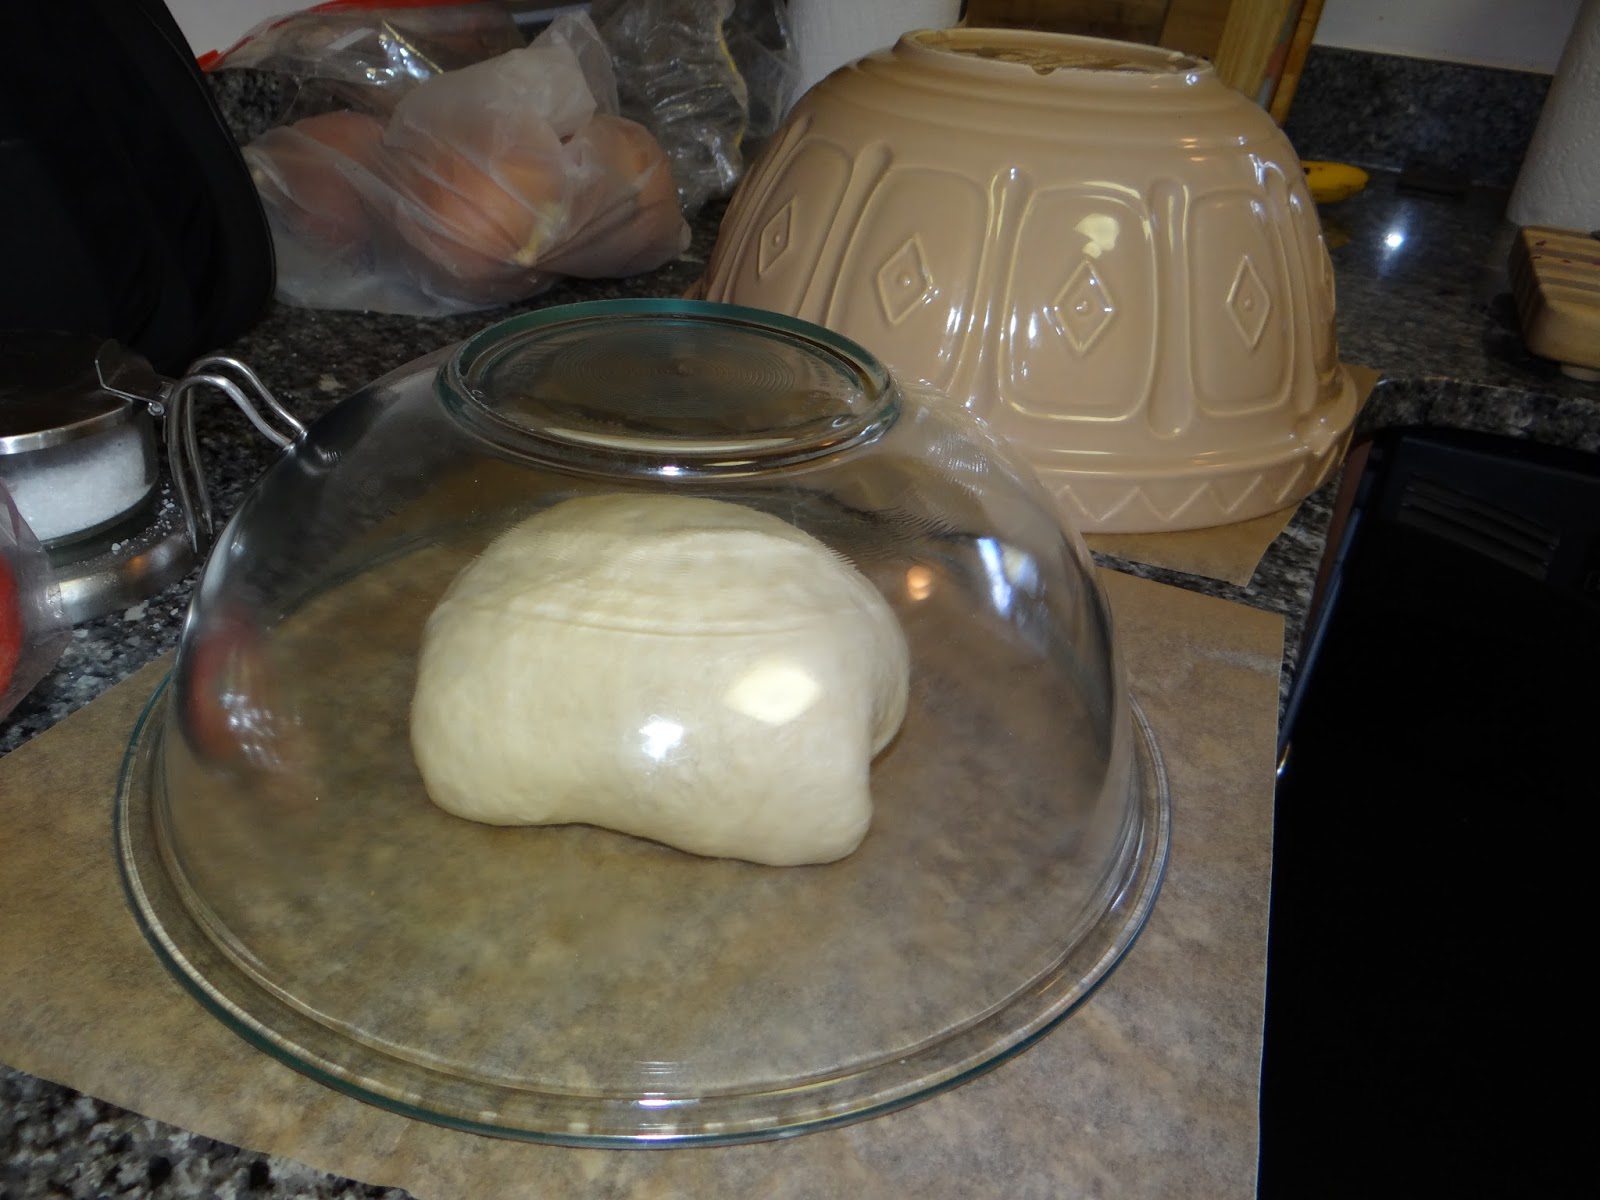
5. Once the dough has doubled, punch it down and divide it into two equal parts. This is more important if you plan to use loaf pans; if you are baking both loaves at the same time they need to be exactly the same size or they won’t bake evenly. Weigh out the dough after punching it down and then divide into two equal halves. If you are making boules, you can just eyeball the two halves. Shape the loaves as you wish. If you want to use the dough to make sandwich bread, flatten it out and then roll it up and place it for the second rise into two buttered bread pans. If you want boules, shape the loaves into balls and place for the second rise onto sheets of parchment paper and cover each loaf with a large bowl to form a dome.
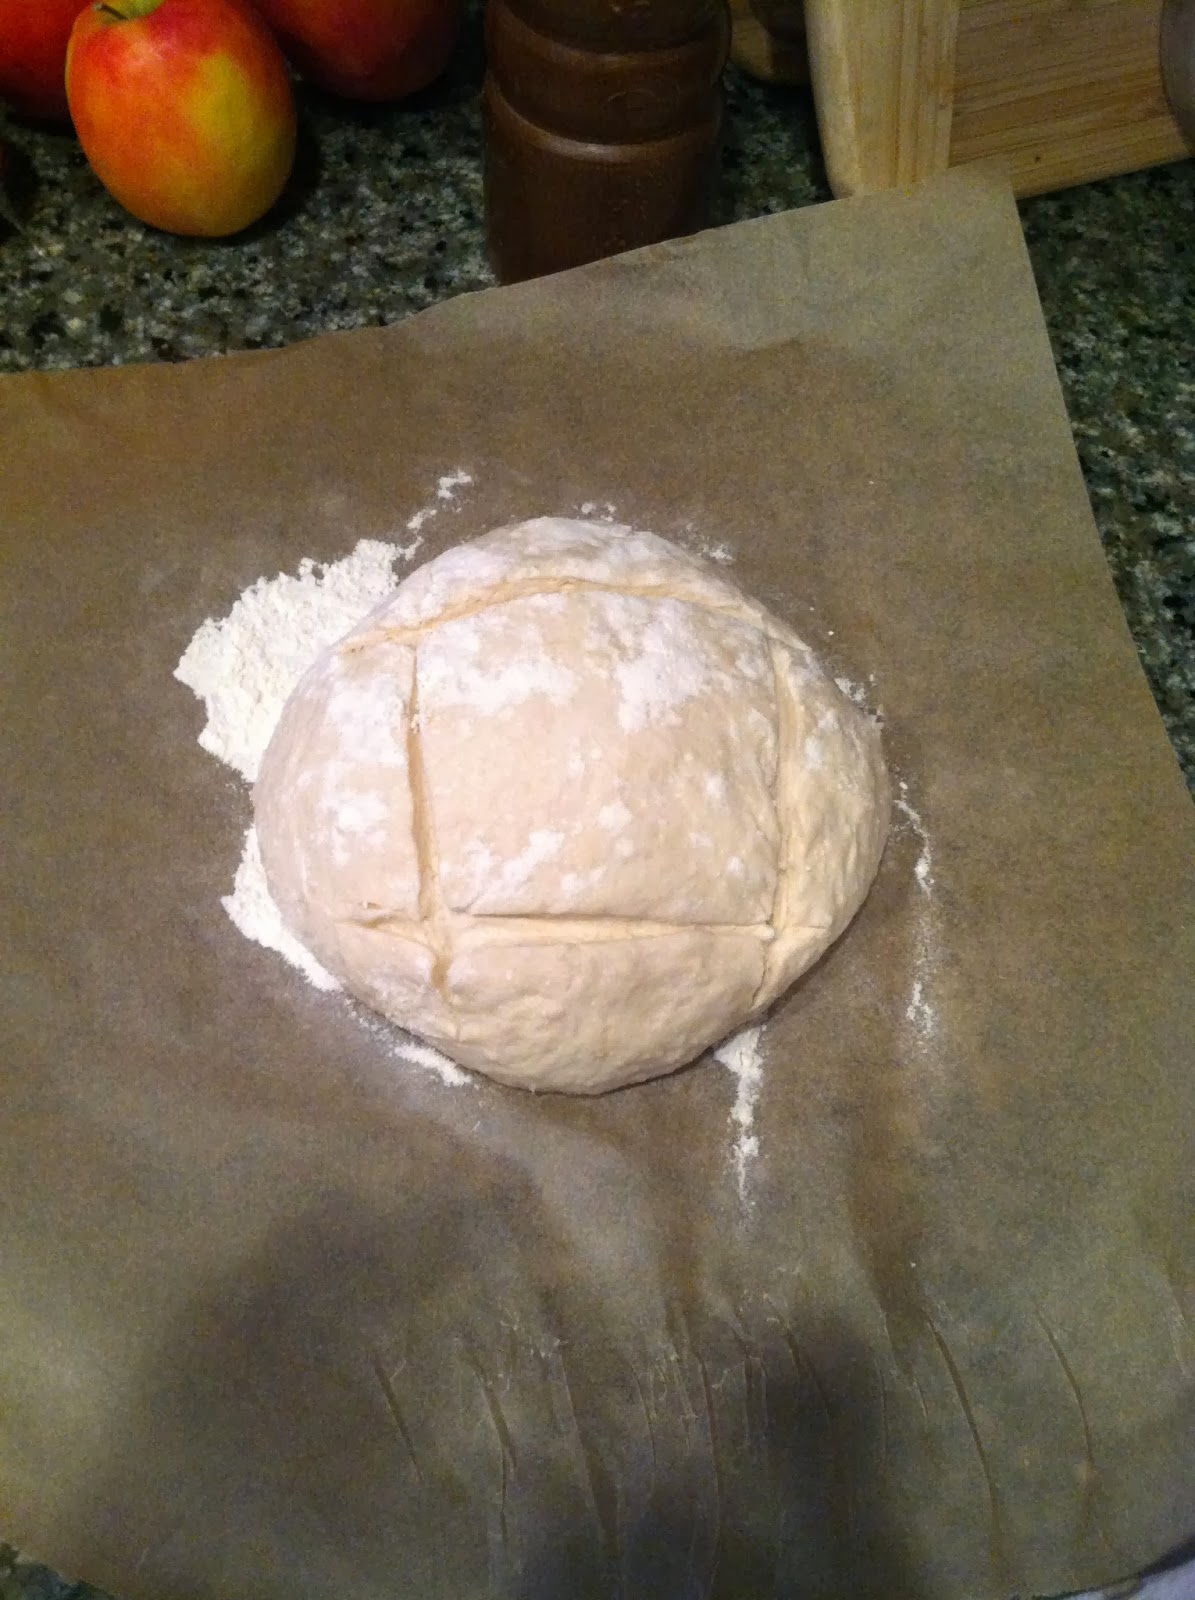
6. After about an hour rise, preheat the oven to 350 degrees F. Score the boules in a pretty pattern or score the sandwich loaves with one long line down the middle.
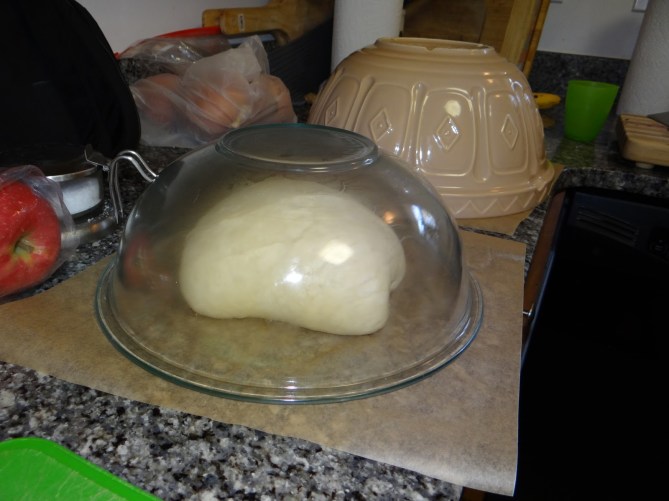 |
| look at all that condensation on the inside of the bowl! |
 |
| I use a serrated knife to score the loaf |
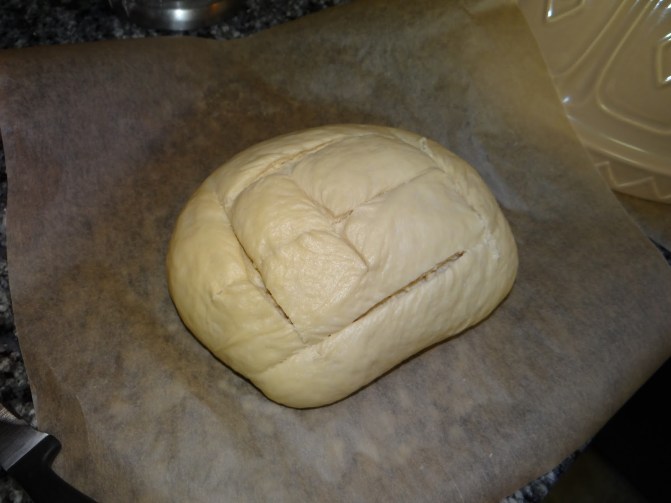 |
| I tell Bread Camp attendees that the most important part of scoring the loaf is Not Being Afraid! |
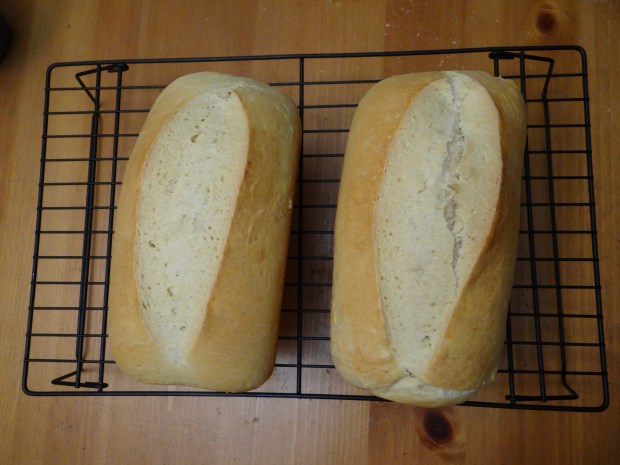
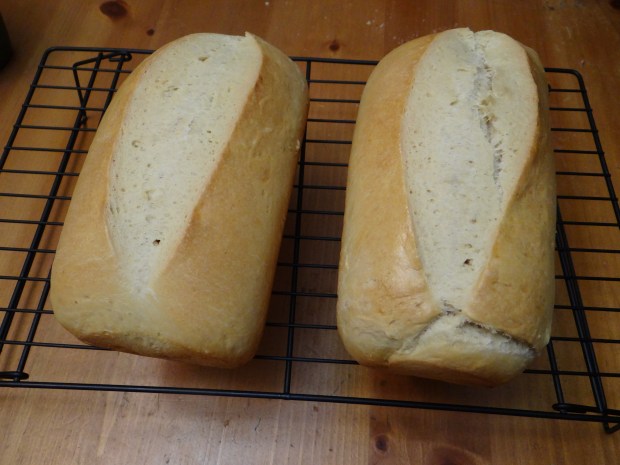
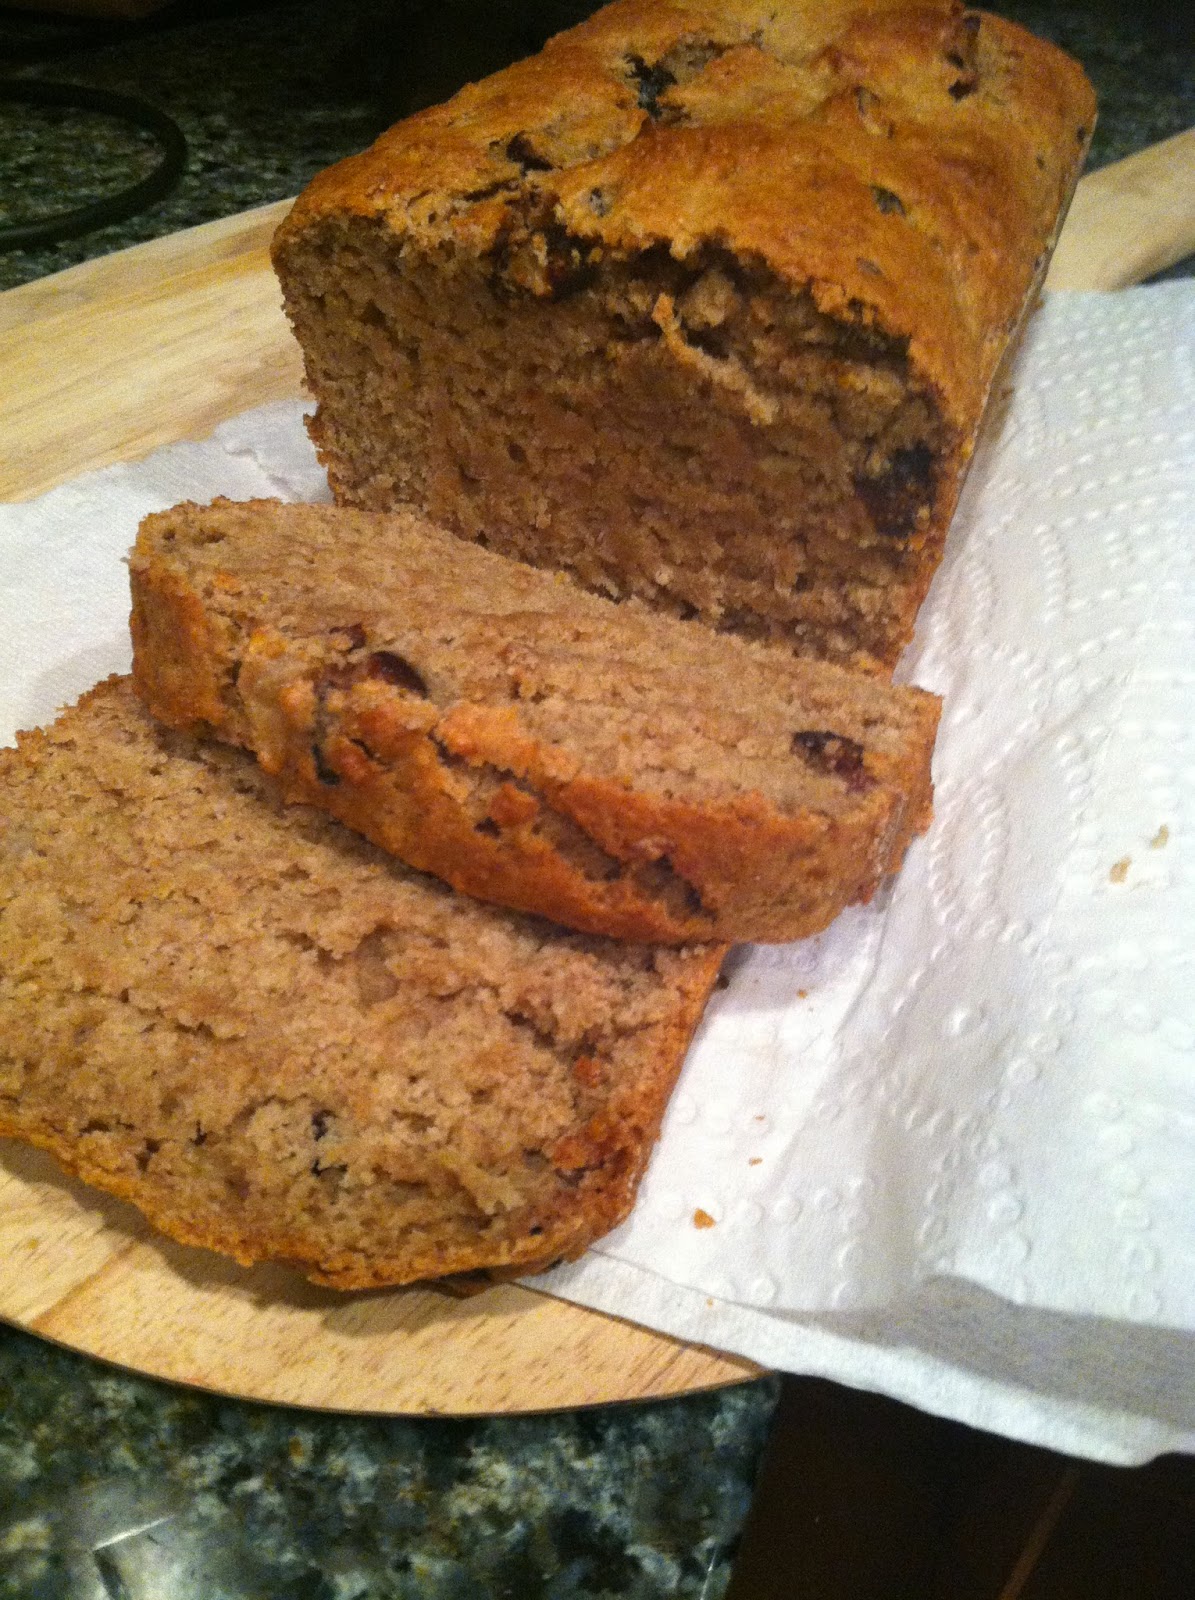
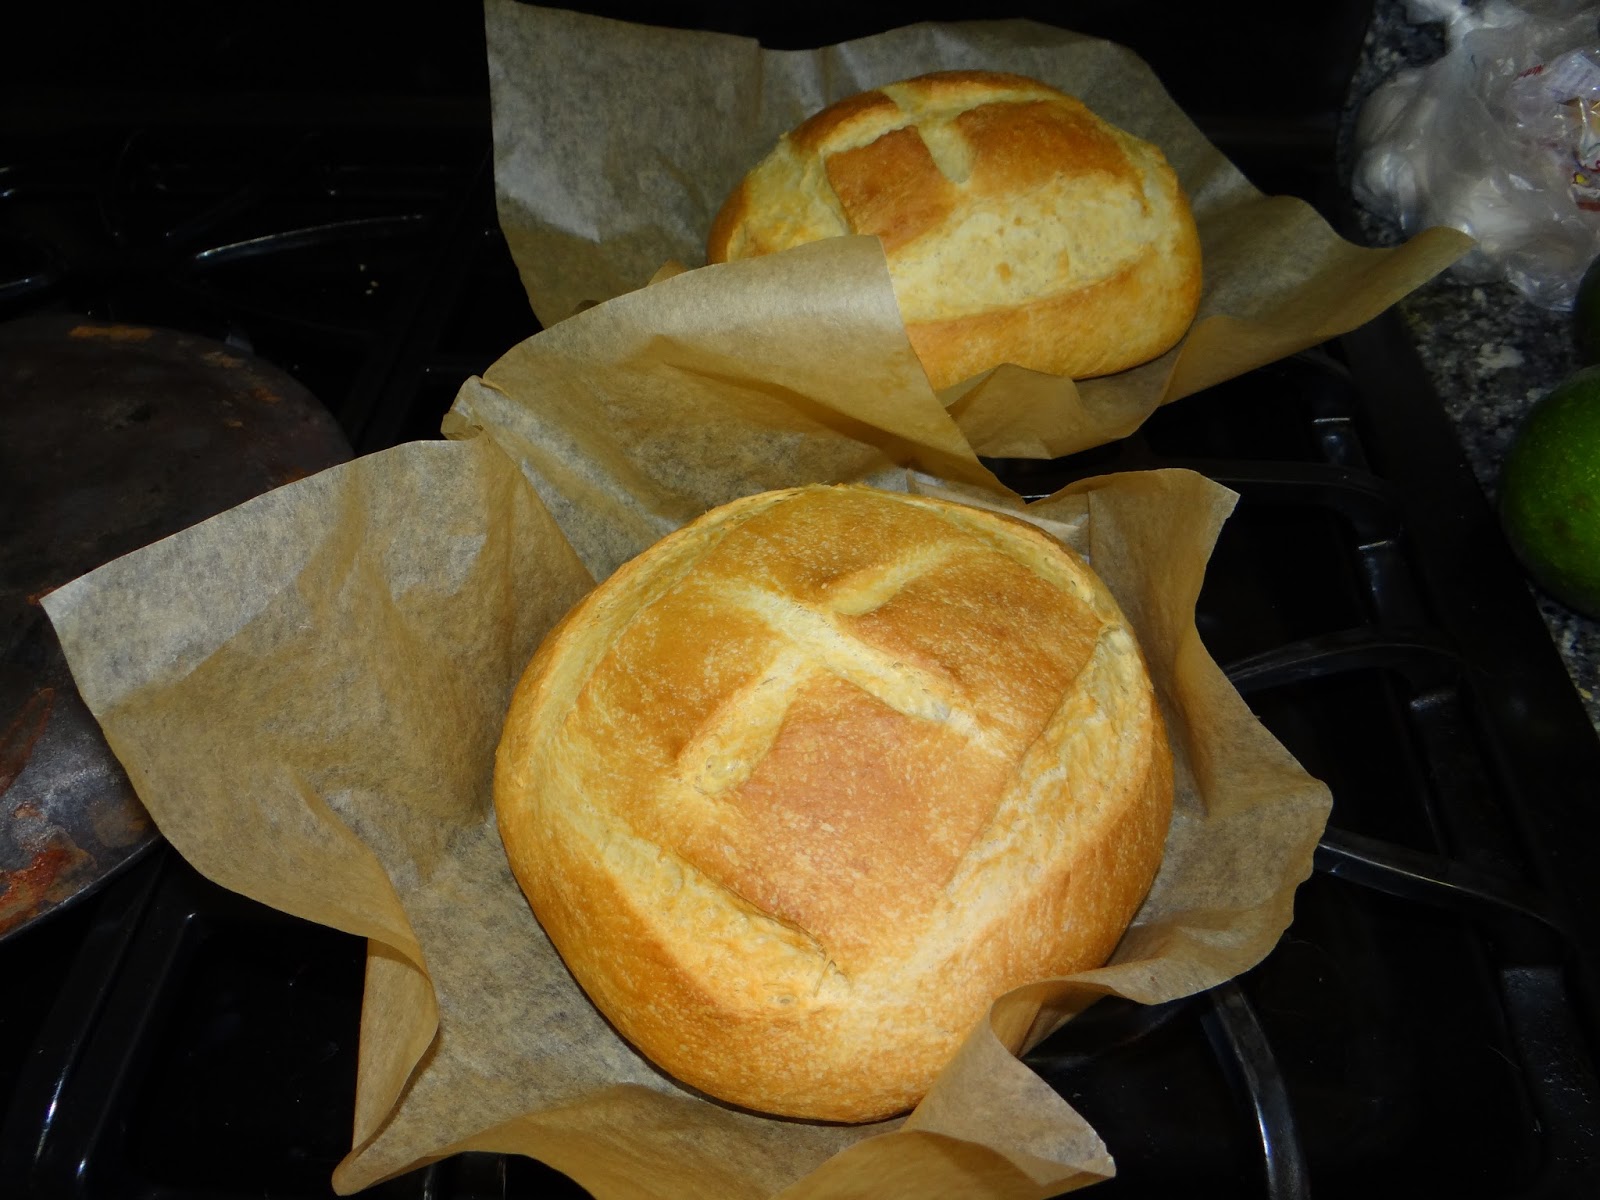
7. Bake for 40-50 minutes until the top of the loaf is golden brown and it can withstand a nice hard thump with your nail. Remove from the oven and let rest until cooled.
Leftover Ingredient #3: Bean Water (Pot Liquor)
2-3 White Bread with Bean Water
You will need (for one loaf):
375g mix of AP flour and bread flour
250g of leftover bean water, maybe more
7g instant or active dry yeast
7g salt
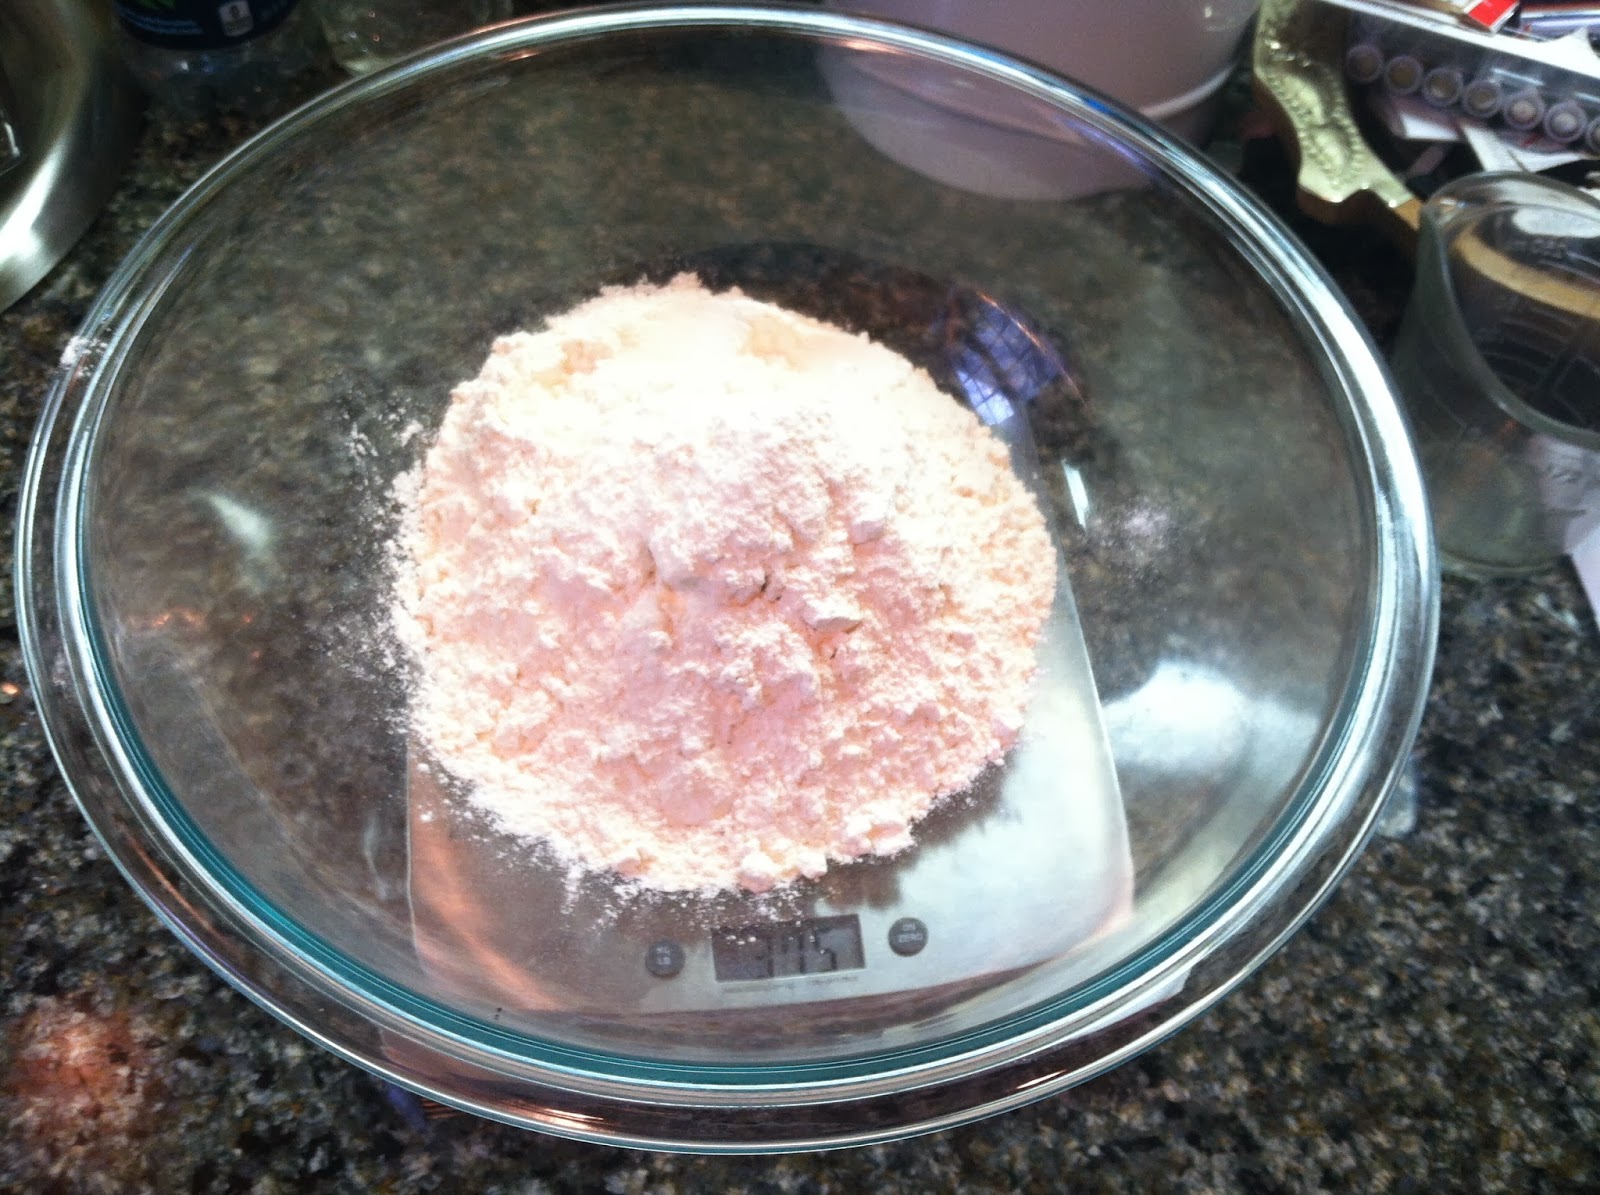
1. Weight out your flour in a large bowl. Add the salt and yeast to the flour and whisk thoroughly.
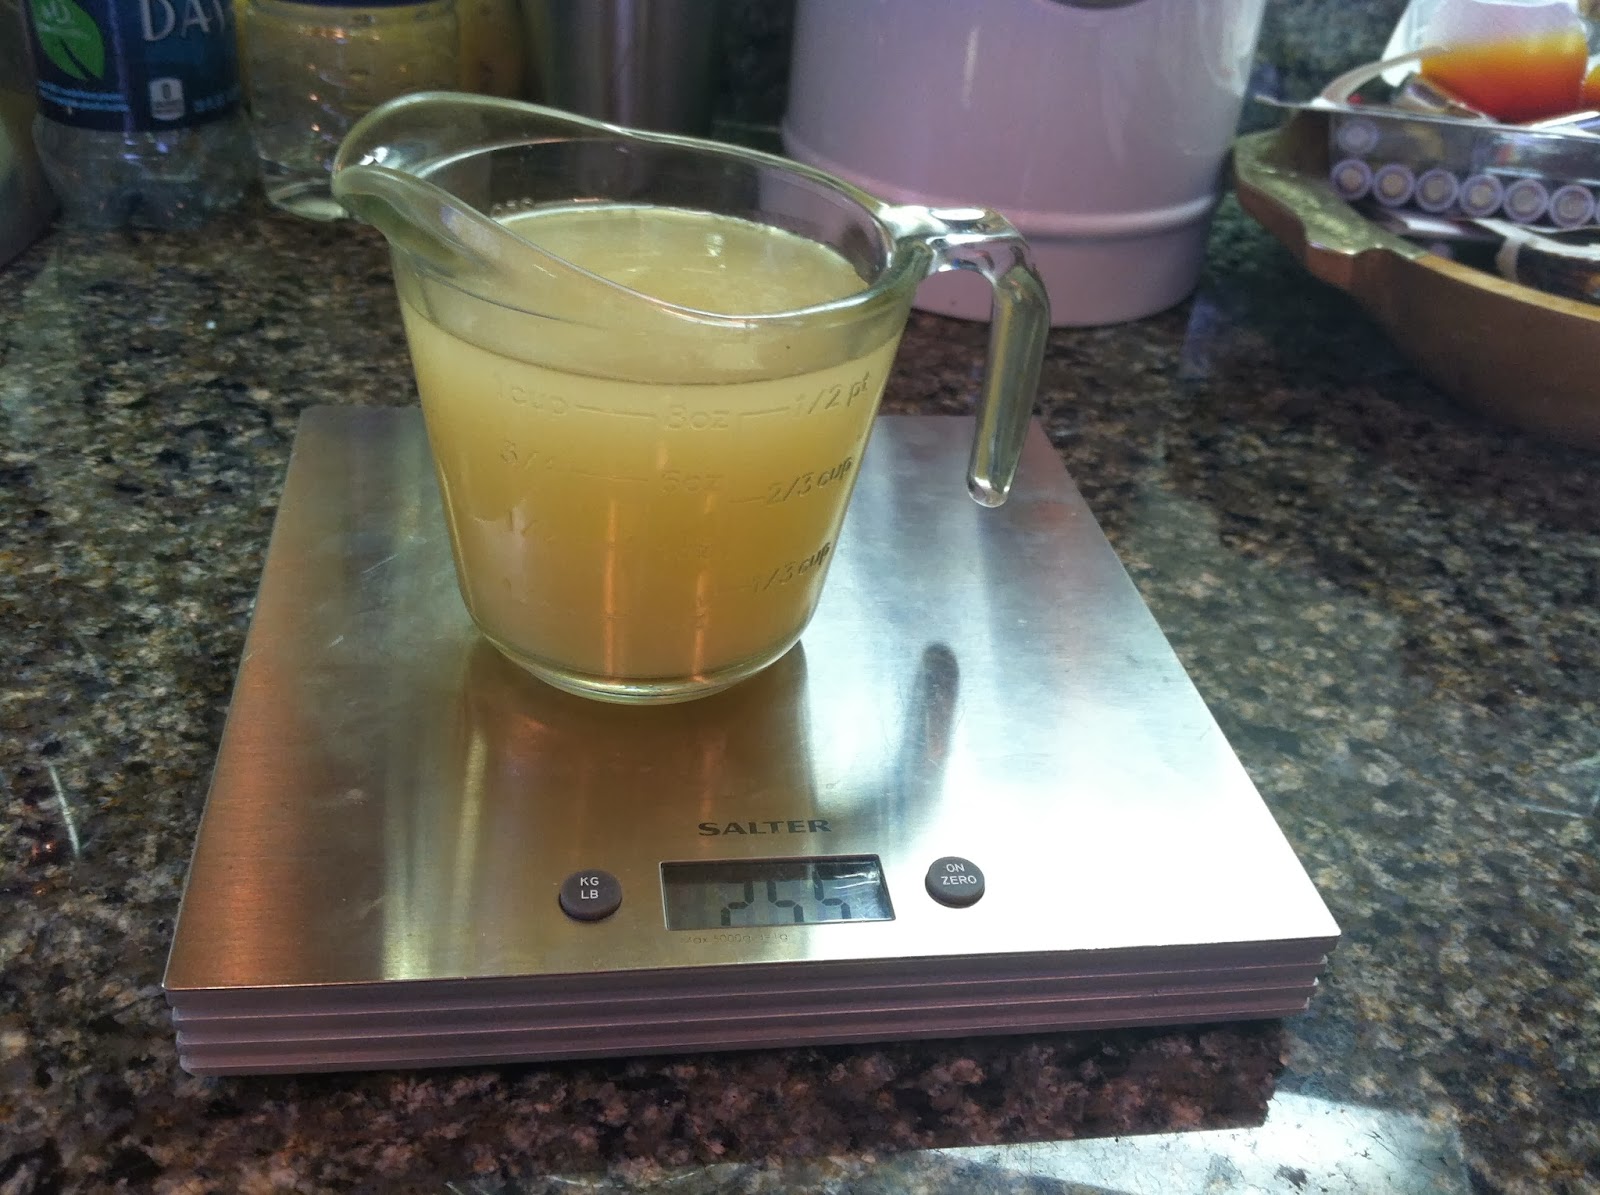
2. Weight out 250g of the bean water, keeping some on hand in case you need it. As you can see, it’ll be about one cup.
3. Pour the bean water into the bowl with the flour, salt and yeast.
4. Grip the bowl with your left hand. Using your right hand, vigorously stir to incorporate the dough. If it seems dry, add a splash more of your bean water. When it comes together easily, cover the dough with plastic wrap.
5. Here is where I feel sorry for people who insist on kneading their bread for 15 minutes.
After 15 minutes of resting, take the plastic wrap off the bowl (don’t throw it away!) and gently fold the dough a couple of times. See? The dough is smooth and pliable like you just spent 15 minutes kneading it into submission, and you didn’t do a darn thing. Ok, now put the plastic wrap back on and let it rise another 2-3 hours, until it has doubled in size.
6. After it has doubled in size, punch it down ONCE (one punch to deflate it!) and then gently shape it into a ball. Transfer it to a sheet of parchment paper to rise a second time. Preheat the oven to 425 degrees F and slide your dutch oven inside the oven to heat up.
7. When the oven is ready, remove the plastic wrap and score the top of your loaf with a sharp knife.
8. Transfer the loaf on the parchment paper to the dutch oven and bake, covered, for about 25-30 minutes. Remove the dutch oven lid and bake another 10-15 minutes until the loaf is nicely browned and the top is solid when tapped.
I hope you enjoyed this post! I had so much fun I think I’ll do another one shortly.


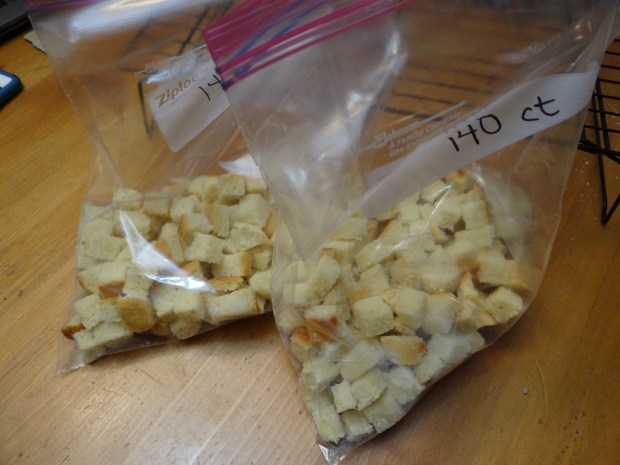


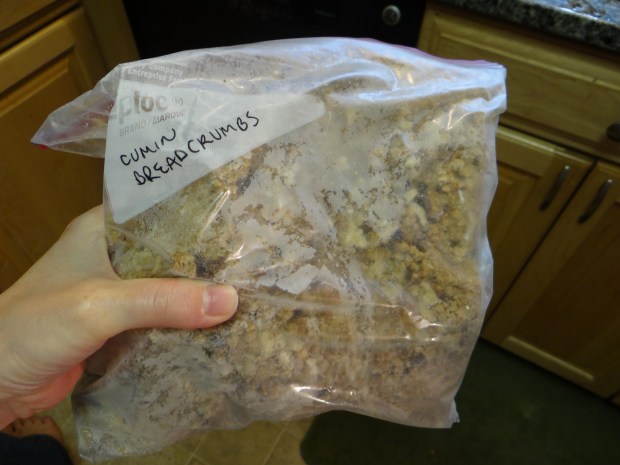
 I’m not even going to link to a recipe because this is so easy. Collect bread ends in a gallon-size freezer bag and store in the freezer until you fill the bag. Then take them out, thaw them, and grind them up in a food processor to make bread crumbs. Store the bread crumbs in the freezer until you want to use them.

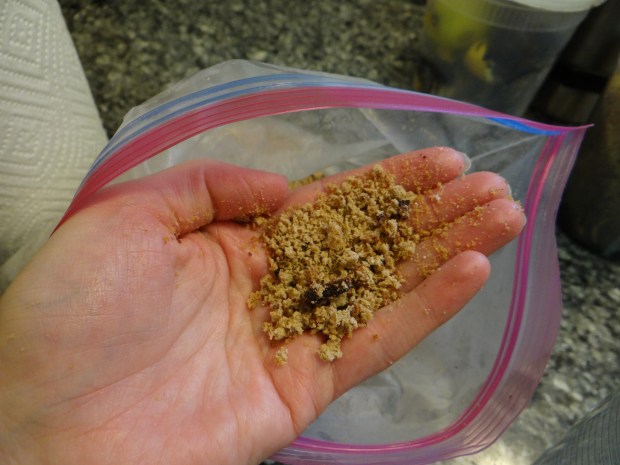
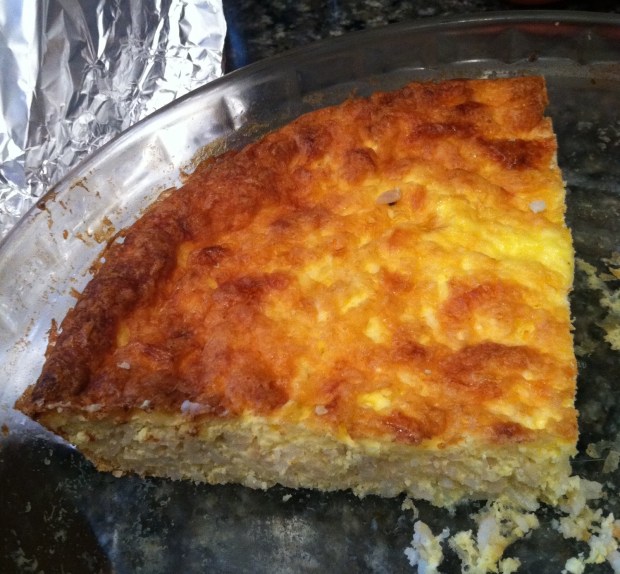
 Little Bread Dude #1 requests oatmeal for breakfast every single day. It can be hard to gauge how much to make, though. Most mornings, he eats every bite. But sometimes, like today, there was a lot left over.
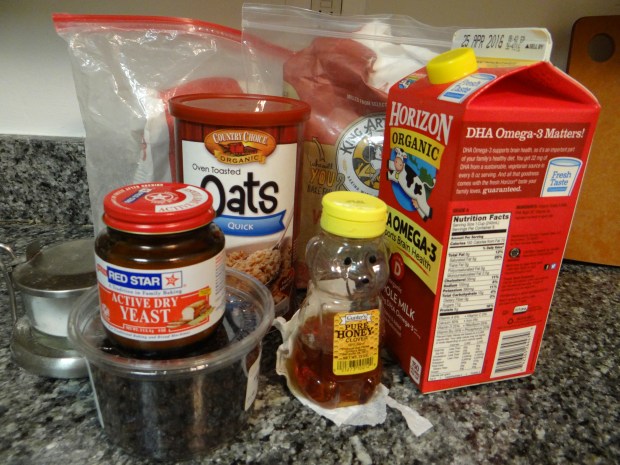


![DSC02871[1]](https://thebreadmaiden.com/wp-content/uploads/2016/03/dsc028711.jpg?w=620)
![DSC02872[1]](https://thebreadmaiden.com/wp-content/uploads/2016/03/dsc028721.jpg?w=620)
![DSC02873[1]](https://thebreadmaiden.com/wp-content/uploads/2016/03/dsc028731.jpg?w=620)
![DSC02876[1]](https://thebreadmaiden.com/wp-content/uploads/2016/03/dsc028761.jpg?w=620)
![DSC02878[1]](https://thebreadmaiden.com/wp-content/uploads/2016/03/dsc028781.jpg?w=620)
![DSC02877[1]](https://thebreadmaiden.com/wp-content/uploads/2016/03/dsc028771.jpg?w=620)
