Preston Yancey’s white bread, attempt #6

DSC02867

This week I was able to mostly stick to the recipe.  With one exception: instead of regular salt, I decided to try birch smoked salt.  I figured, if I was going to be grinding it anyway, I might as well make it count.

DSC02840

In some ways, I was able to stick even MORE to the recipe than before.  For example, I took his advice to proof the yeast in a container with a lid, so I could shake it up before adding it to my autolyzing flour and water.

In the yeast mixture, I used 2 1/4 teaspoons yeast, 1 tablespoon sugar, 1 tablespoon water, and 1/4 cup (59 grams) warm water.

DSC02841

Grinding the birch smoke saltDSC02842

All ground

DSC02843

For this recipe, I used 1150 grams of all-purpose flour and 900 grams of water (850 in the autolyse and 50 in the yeast mixture).  In retrospect, that was a lot of water.  It resulted in 78% hydration, which is quite high.  I had to do quite a lot of stretching and folding to incorporate all the water and make sure the dough had sufficient gluten formation to hold all the water without losing its structure.

DSC02844

After mixing all the ingredients together, I let it sit for 30 minutes.  Then I did more stretch and folds before letting it rise another hour.

DSC02845

Meanwhile, this was my first attempt at using bannetons for Preston Yancey’s bread!  I prepared them with a mixture of rye and all-purpose flour.  Next time I may use all rye.

DSC02849

After the dough has risen for an hour, take it out of the bowl and divide it in half.

DSC02850

Shape each loaf into a loose ball and let rest on the counter for 10 minutes.

DSC02851

Bring the edges underneath and press them together to form a seam.  Place your bread seam-side up into your prepared bannetons.

DSC02853DSC02854

Cover your bannetons with a towel and place in the refrigerator for one hour.  Meanwhile, place a dutch oven in your oven and preheat to 500 degrees F.

DSC02859

After an hour, my dough looked like this:

DSC02860

I had forgotten how big these loaves get!

Transfer the dough to the dutch oven so it is now seam-side down.  Score your loaf and put the lid back on.  Let bake 500 degrees F for 15 minutes, turn the temperature down to 450 degrees F for another 15 minutes, then remove the lid and back for an additional 10-15 minutes.

DSC02861

The bannetons make a pretty pattern with the flour.

DSC02862

The scoring pattern could’ve been nicer, but the high hydration makes it tough to score well.

DSC02864

I was quite pleased overall with this bread, but particularly with the holes inside.  The high hydration meant the yeast created more oven spring during baking.

DSC02867DSC02868DSC02869

It made tasty toast too!

DSC02870

I only have three more weeks of Preston Yancey’s bread.  I’m finding though that I’ll continue to use many of his techniques in the future.  I’m happy to have finally cracked the code for his recipe.

Have you been making his bread?  What do you think?  Leave me a message below in the comments!

Peter Reinhart’s Rye sandwich meteil

DSC02838.JPG

I’m so happy to have my copy of Whole Grain Breads back!  It was on loan to a friend, and it came back just at the perfect moment to rediscover its treasures.

I’ve been slowly working up to getting back into whole grain breads, and it’s the result of a confluence of several things I’ve been doing in the kitchen.

First, my lovely accident of scalding my flour has led me down the rabbit hole, learning that it doesn’t have to be a mistake, and can actually be a useful tool for adding flavor and softness to flours with very little gluten or that might have a bitter flavor.

Second, reviving my starter and running out of all-purpose and bread flours at the same time, forcing me to use rye flour to feed it.  It’s ended up working out really well, providing some more gluten formation and nice acidy flavor with lots of activity.

DSC02785.JPG

“Meteil” just means it’s half rye flour and half whole wheat flour.  When Reinhart refers to a sandwich bread, it usually means it’s softer and has a bit more gluten formation that some of the other whole grain breads in the book.

Sprouted Grain Bread and Bread Math

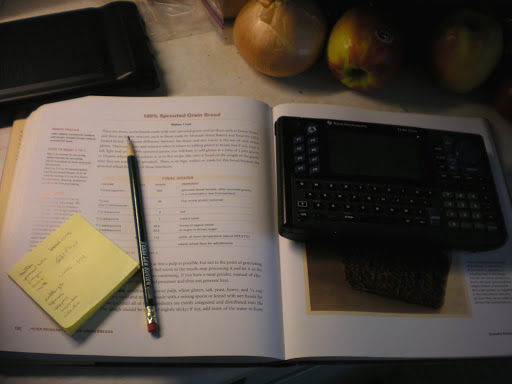
After not reading it for almost a year, I began at page one, pouring over each word.  I’ve owned this book for nine years, but this time I was finally ready to absorb all the science he includes in his introduction.

I felt a little silly having done all the research for my The Science Behind… the baking process series, because here it all was, broken down and easily readable.  I could’ve just posted screenshots of his pages and called it a day (not that I would do that, copyright restrictions and all).

One thing that makes Peter’s book unique is his epoxy method technique, which I’ve detailed over the years in the following posts: German many-seeded bread, spent-grain bread, sprouted-grain bread, whole wheat St. Lucia buns, whole wheat challah, whole wheat matzoh, and transitional sandwich bread.

6f8ba-st2blucia2bbuns2b012

As you can see, I like Reinhart’s book a lot.  Next to the Joy of Cooking and his other book, Artisan Breads Every Day, it’s probably my favorite baking book.

He sets a lofty goal for himself in the introduction:

“…to invite you into a new frontier of whole grain baking.  I will show you how to make whole grain breads that taste better than any you have ever had and that are easy to make so you will choose to make and eat them, not just read about them and node your head in intellectual agreement.”

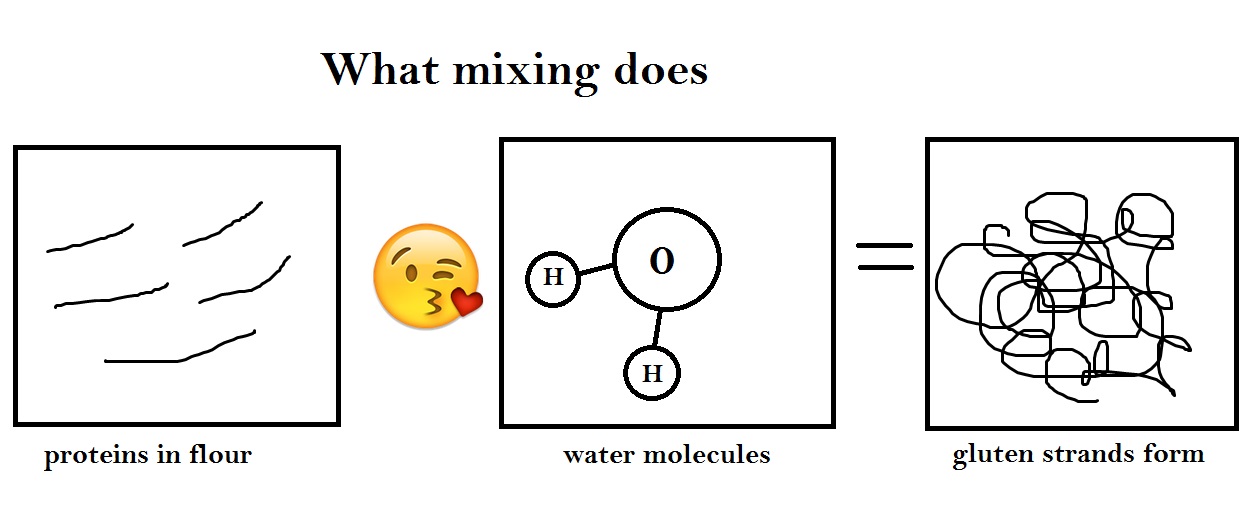
By separating the processes of long fermentation and autolyse, Peter Reinhart has made breadmaking more convenient and let the processes do what they do best without getting in each others’ way.

DSC02813.JPG

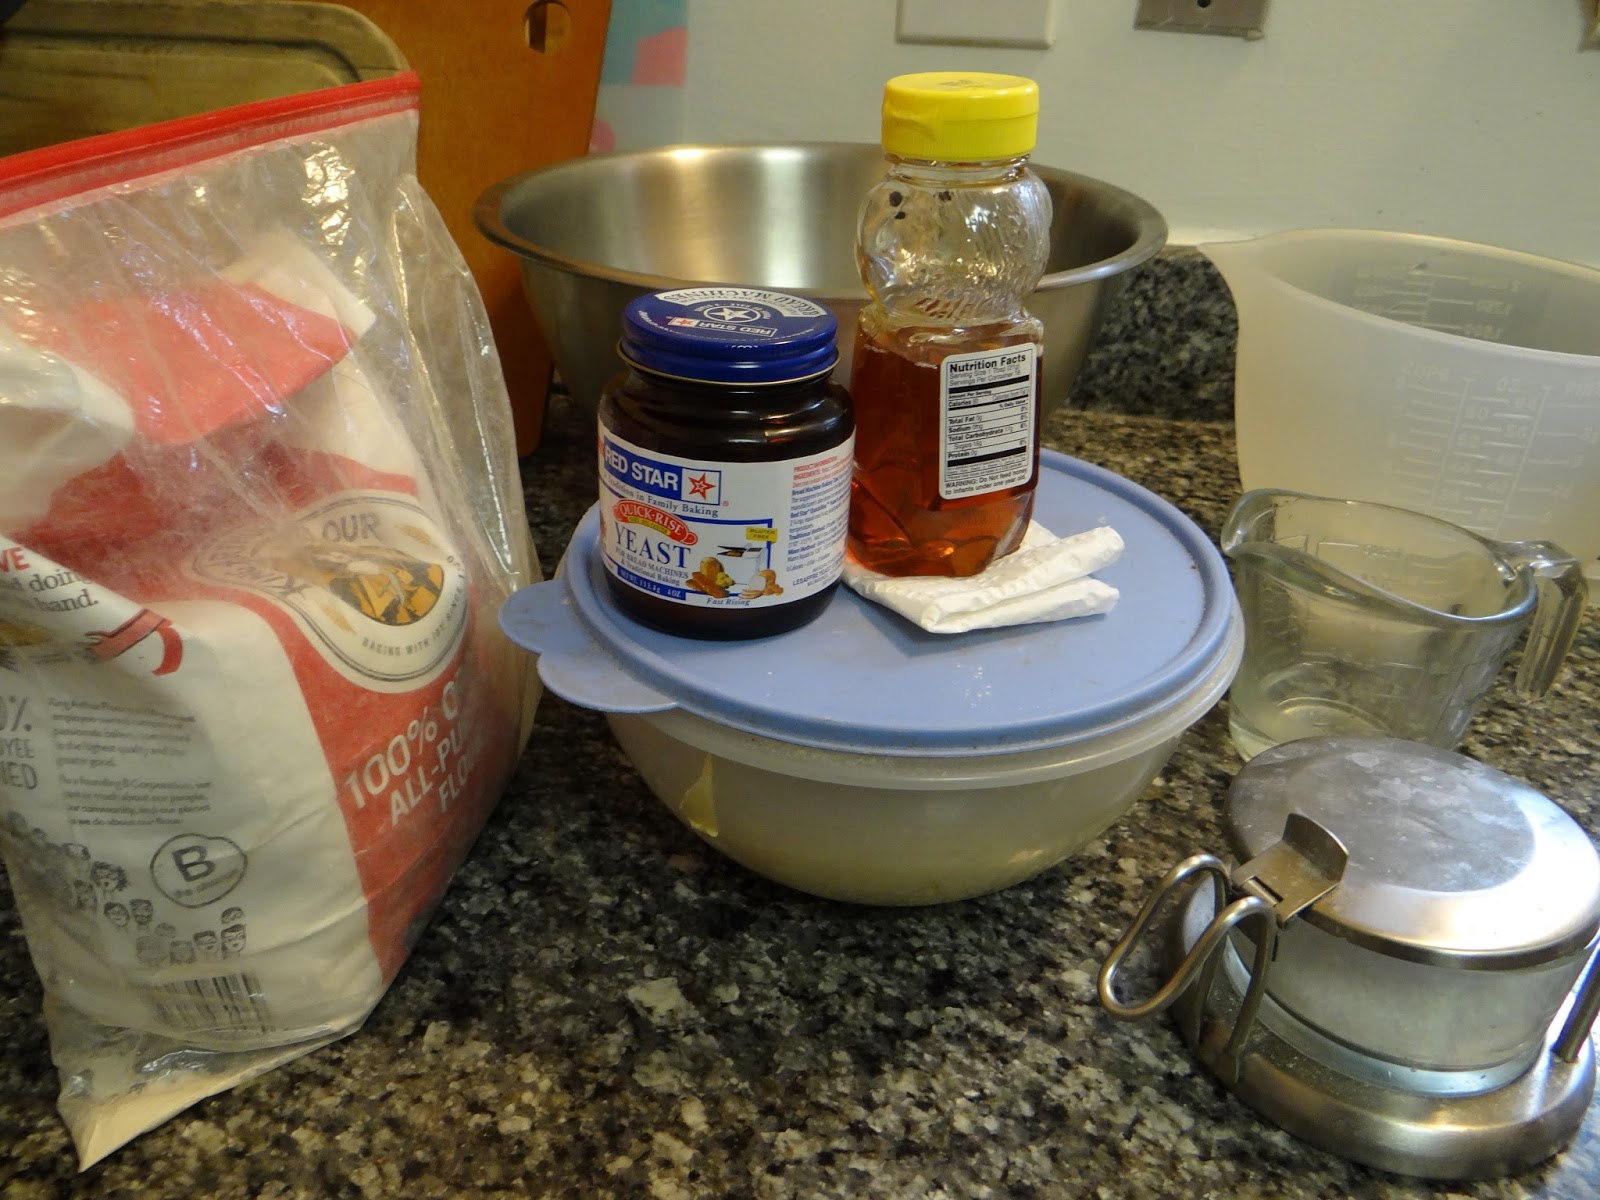
So, for the rye sandwich meteil, you will need:
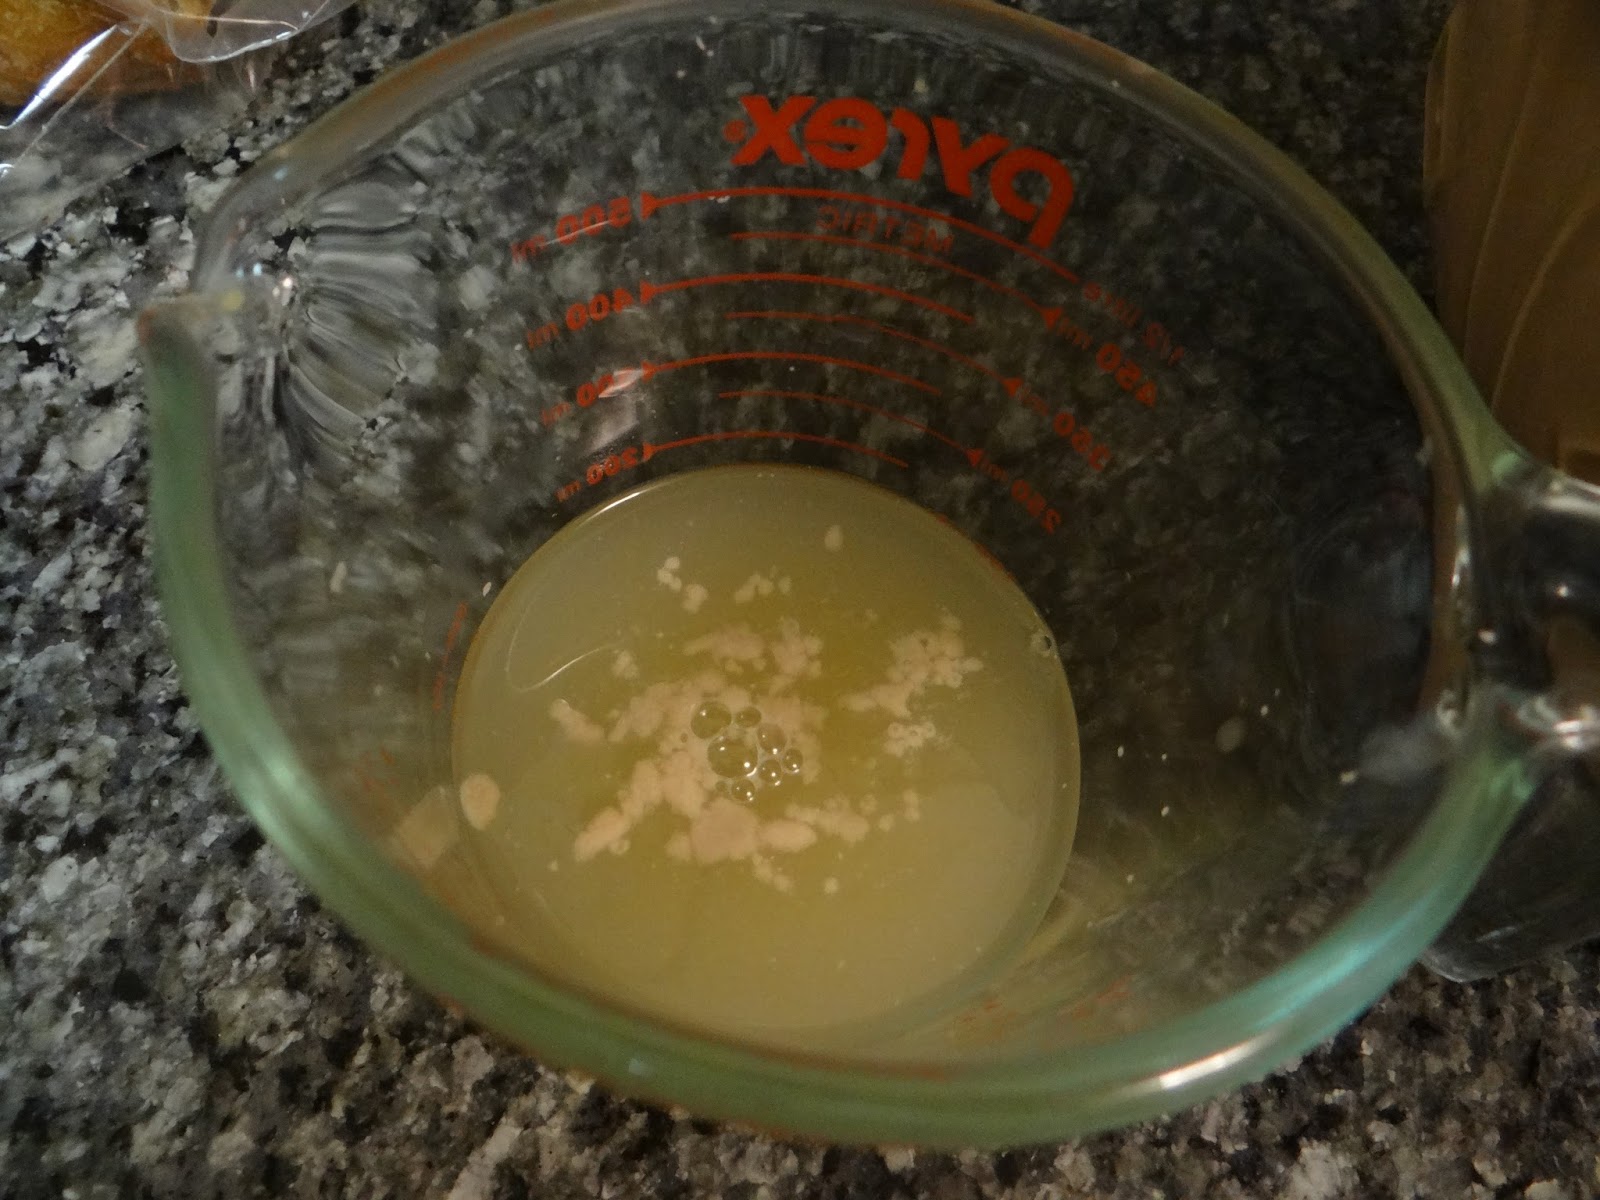
For the starter:

250g all-purpose, whole wheat, or rye starter, active

120g rye flour

80g water

  1. mix the ingredients together, then let rest for 15 minutes before gently shaping into a ball.  The dough will be very sticky and hard to handle.
  2. Cover the bowl with plastic wrap and let sit overnight.
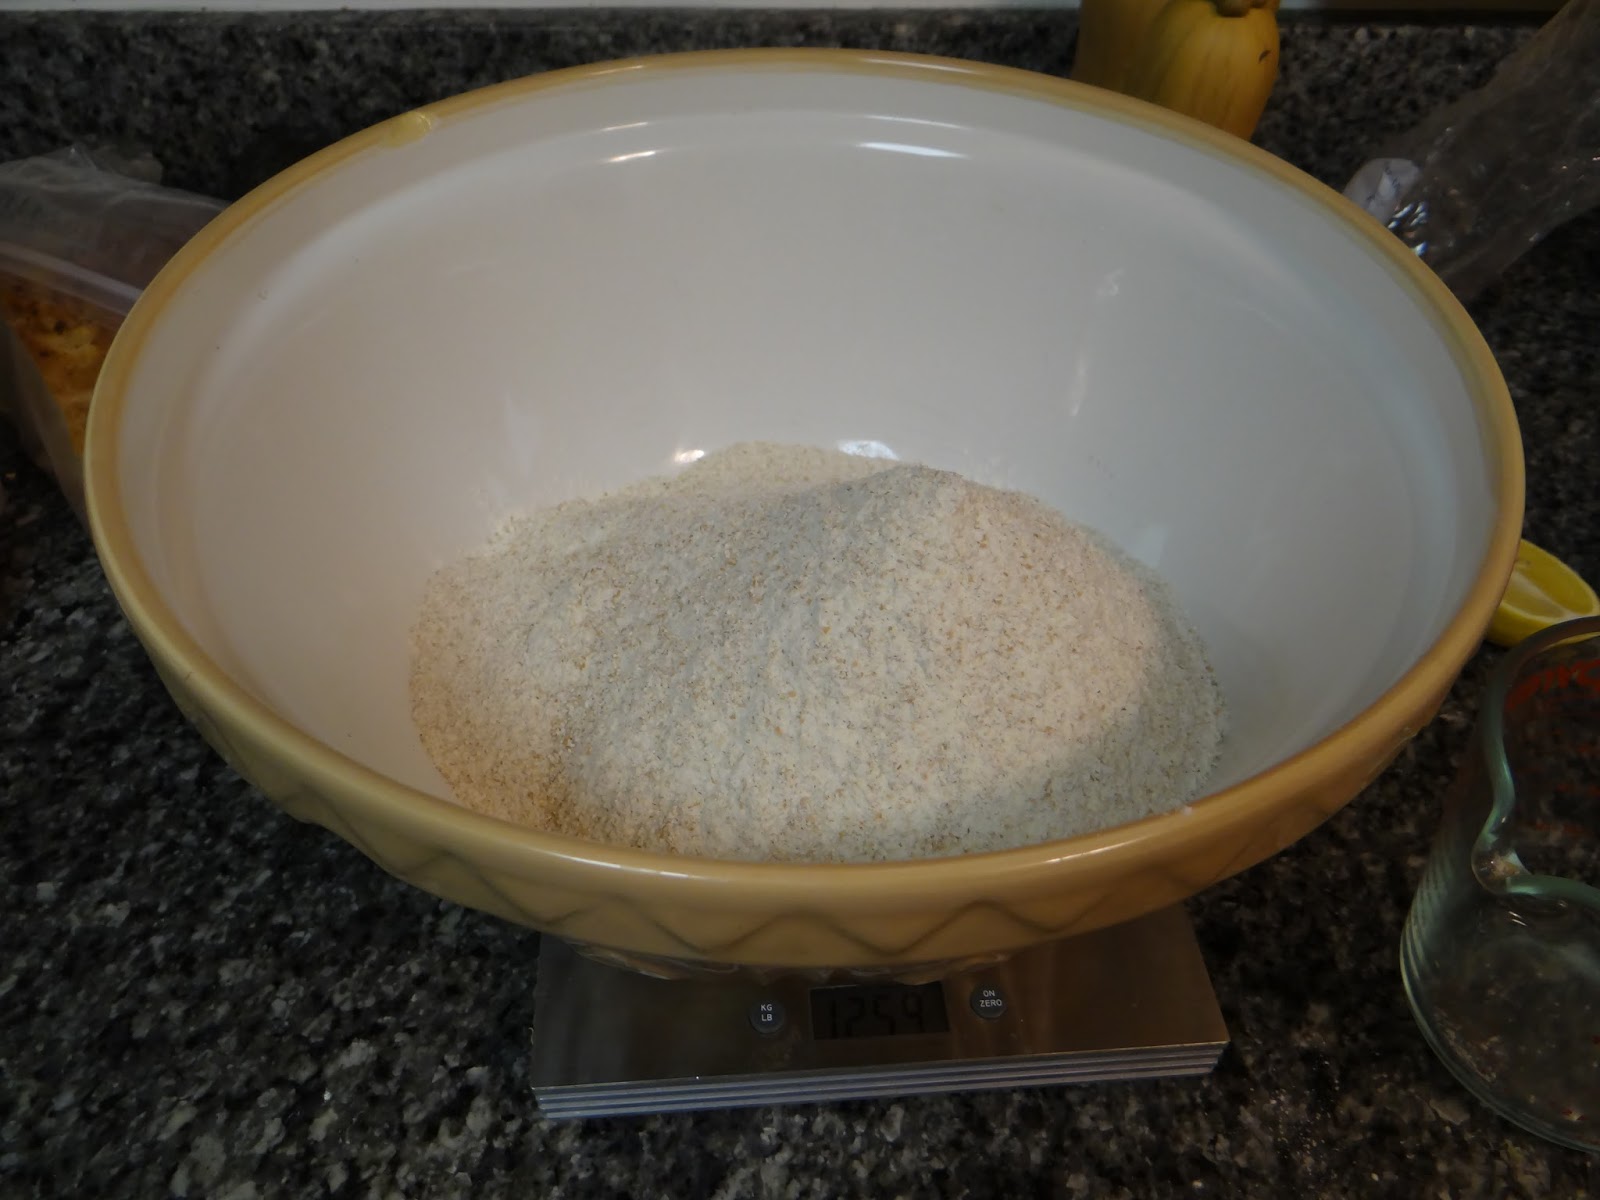
DSC02812.JPG

For the soaker:

225g whole wheat flour

170g buttermilk or yogurt

4g salt

  1. Mix the ingredients together until they form a smooth ball.
  2. Cover with plastic wrap and let sit overnight.

DSC02810DSC02811

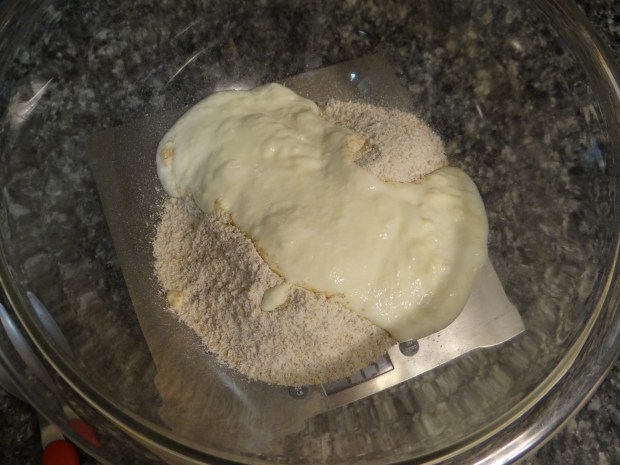
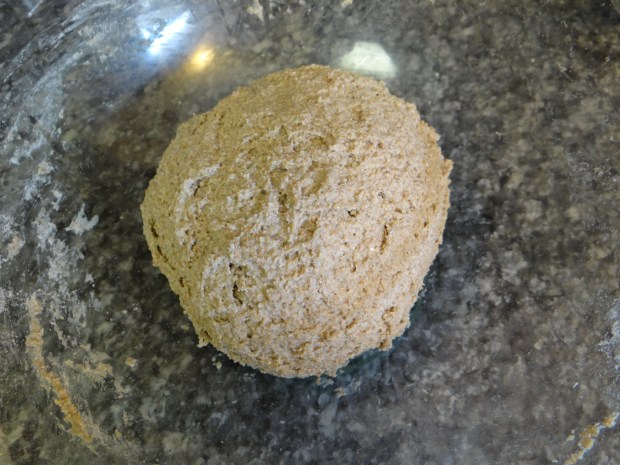
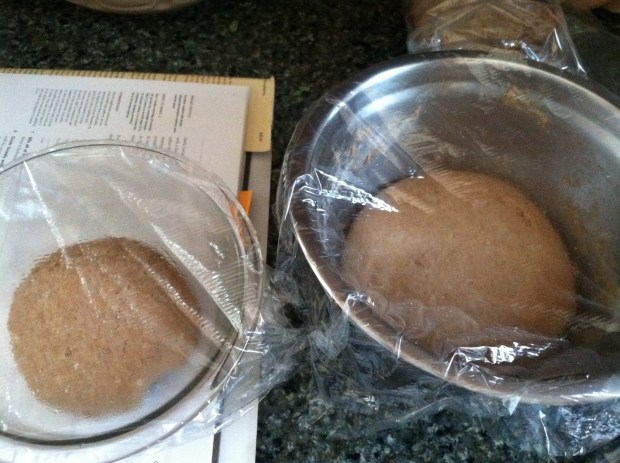
After an overnight rest and a few hours in the refrigerator, my soaker and starter looked like this:

DSC02821DSC02822

When you decide to bake it, you will need:

DSC02823.JPG

All the starter

All the soaker

56g (or more) whole wheat flour
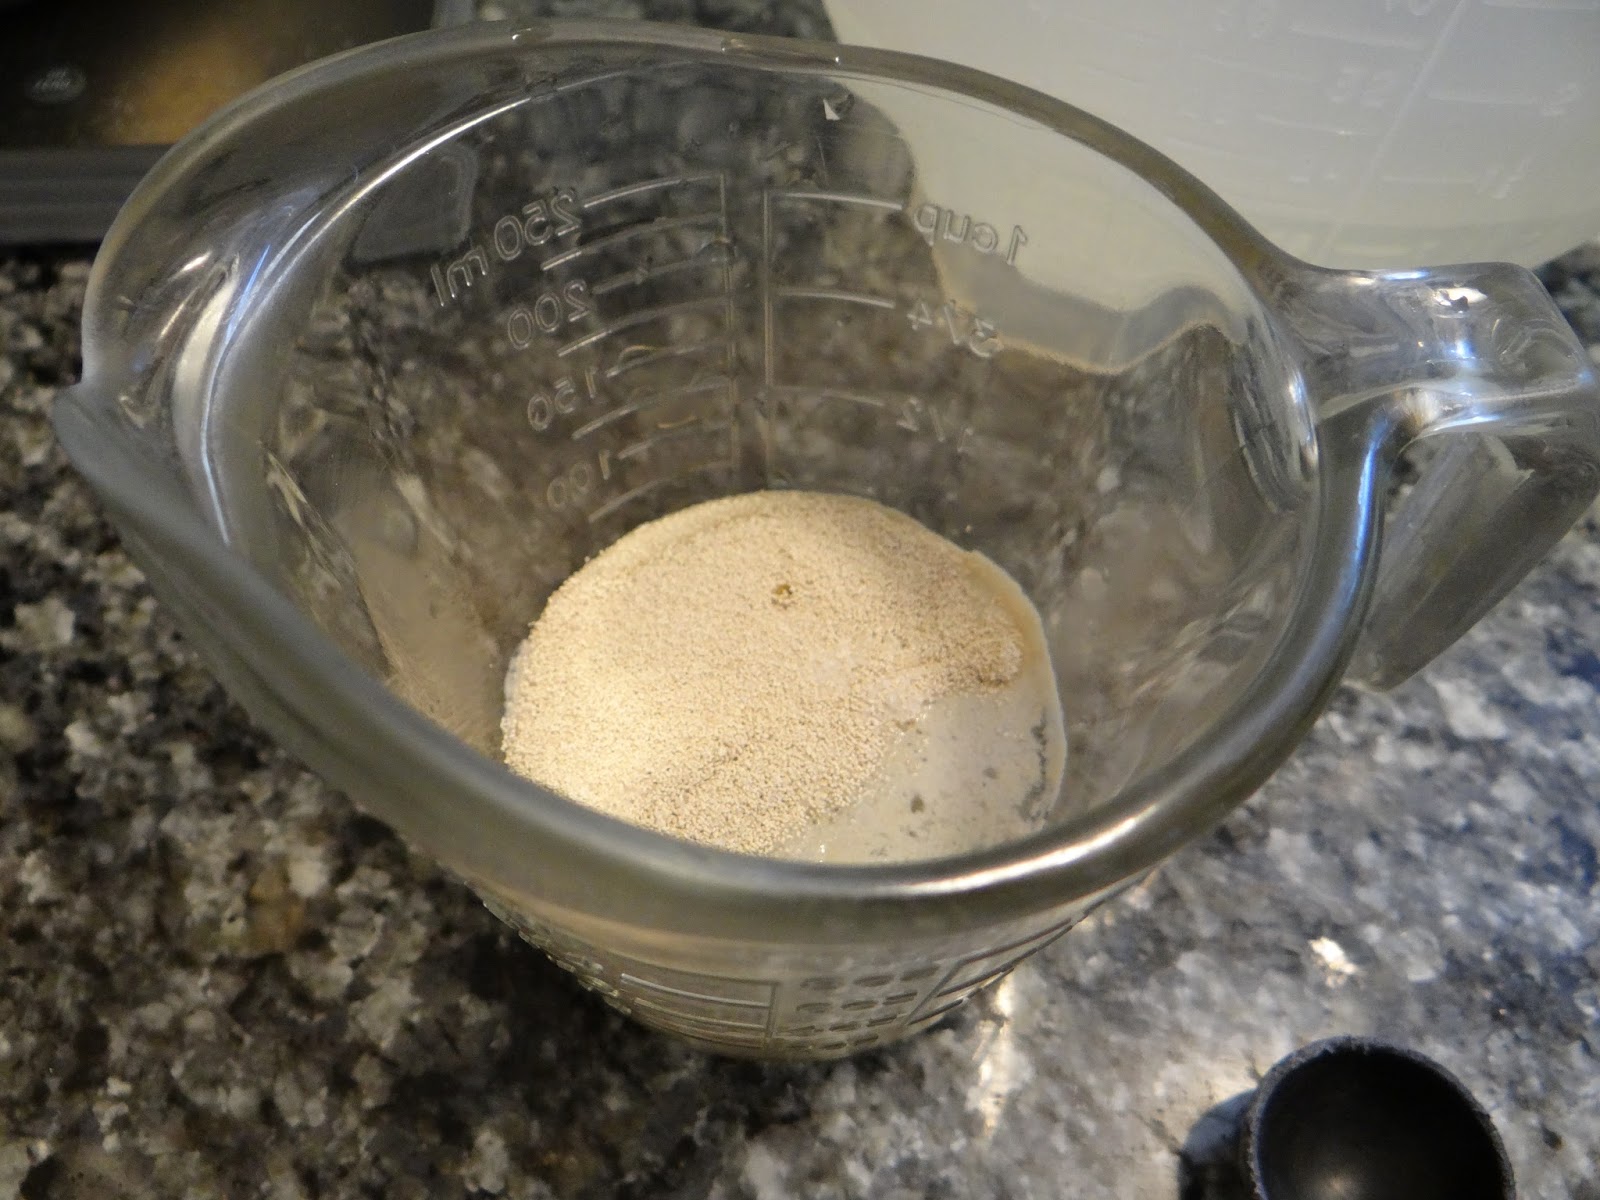
5g salt

7g instant yeast

28g molasses

14g honey

28g vegetable oil

113g diced onion or shallot

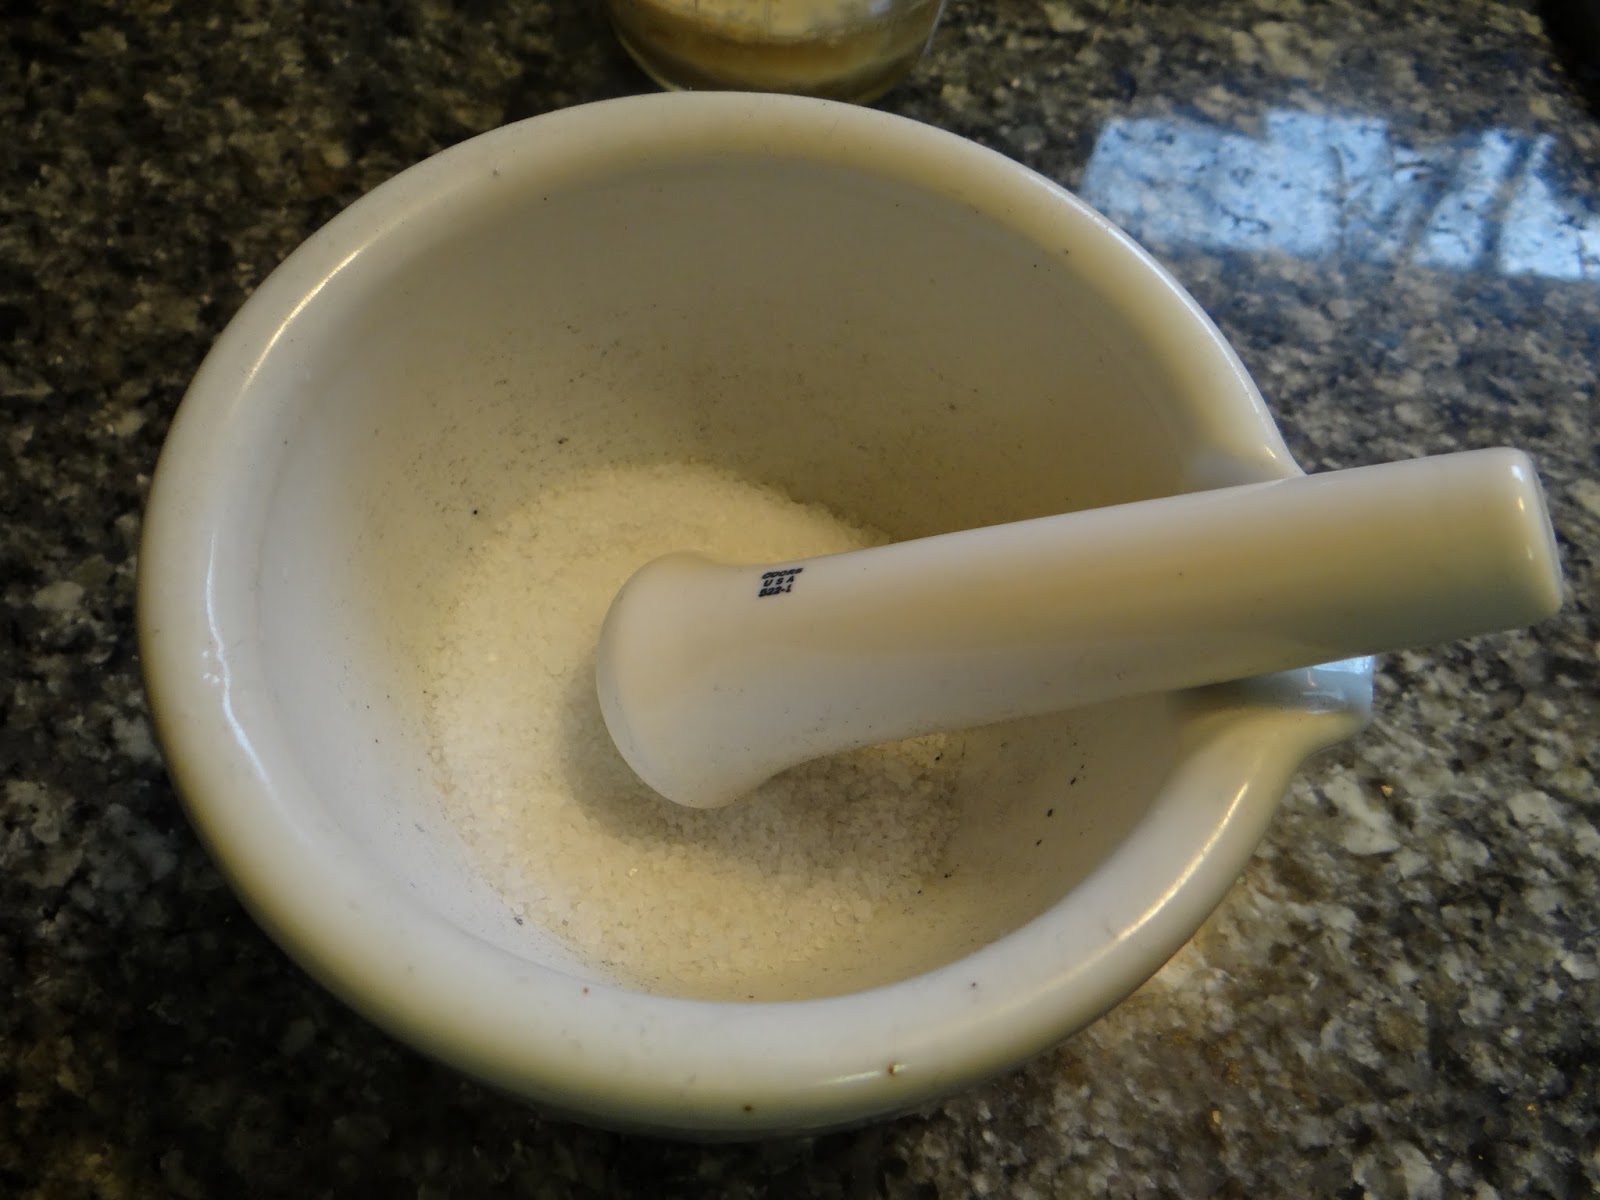
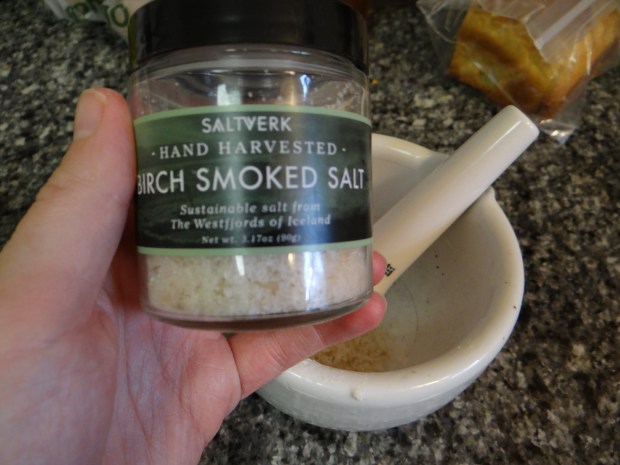
7g caraway seeds (make sure they are, in fact, caraway. See my endnote)

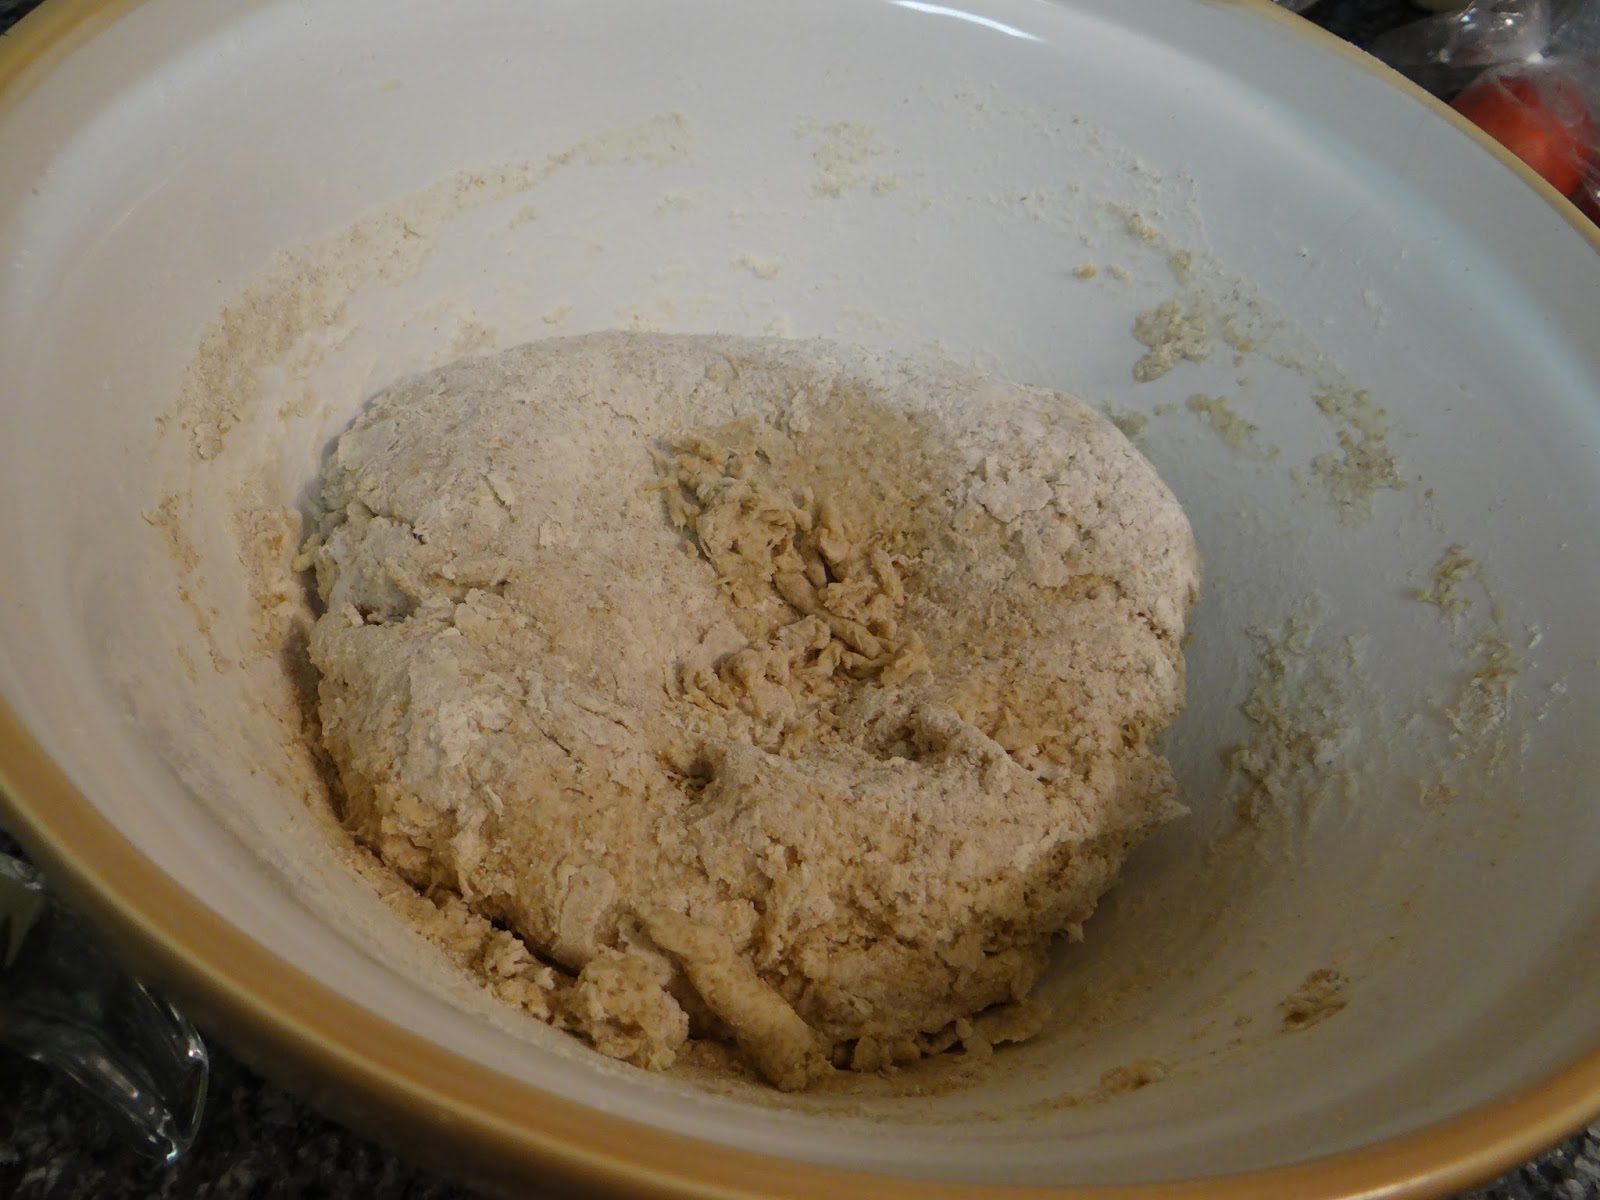
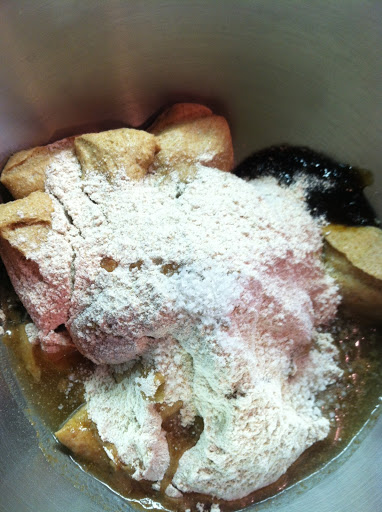
  1. Place the soaker and starter on top of one another and use your hands or a bench scraper to break them up into about 12 pieces.  Add the other ingredients.

DSC02824.JPG

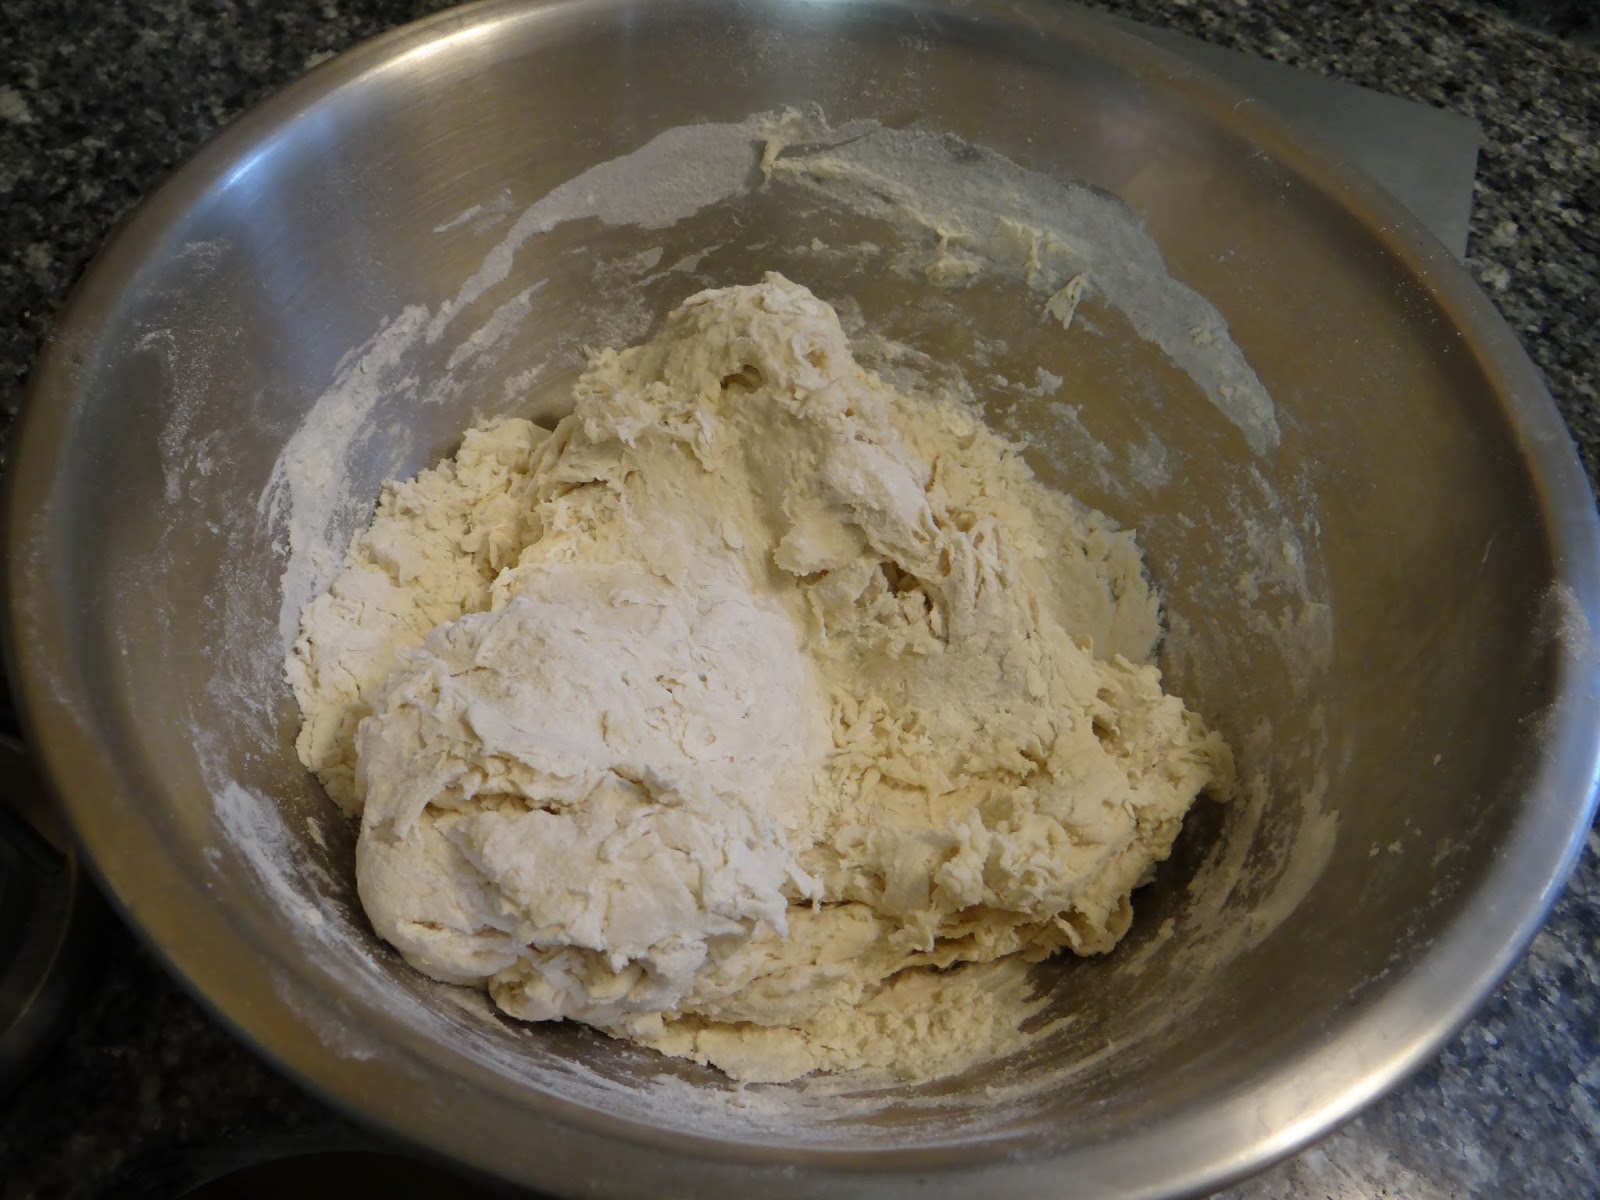
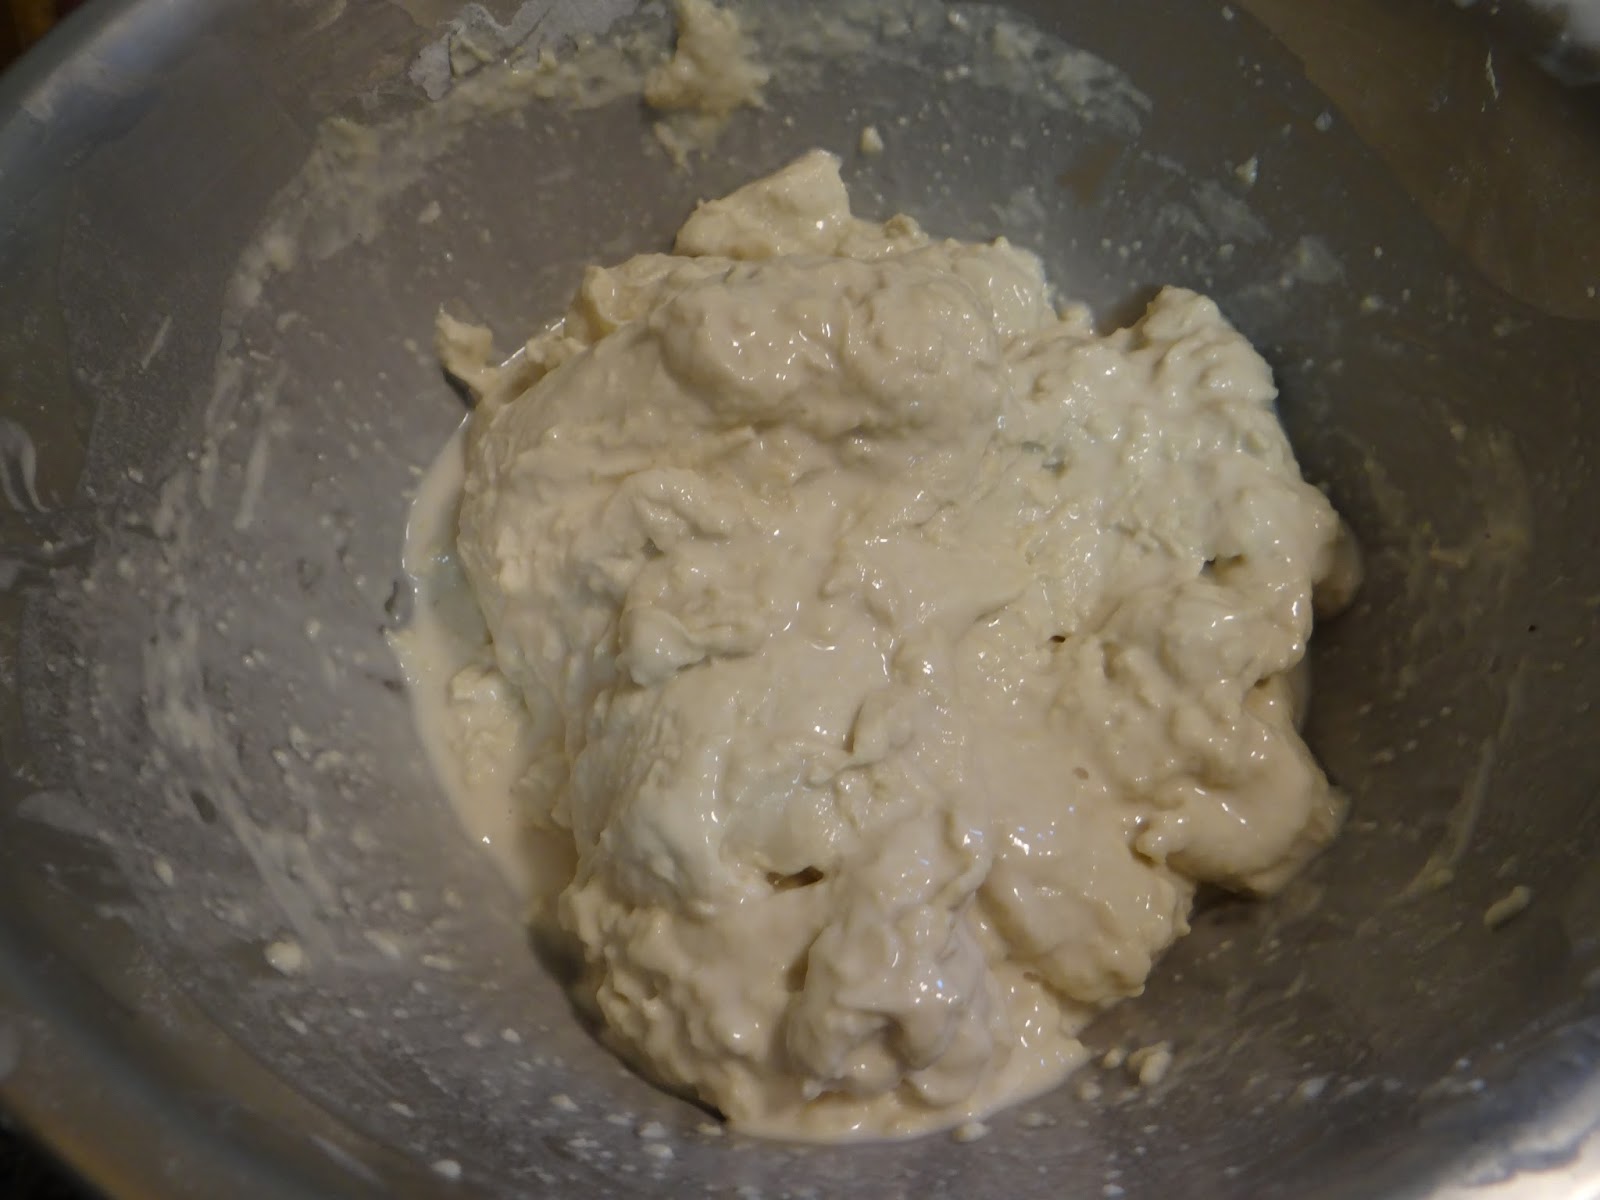
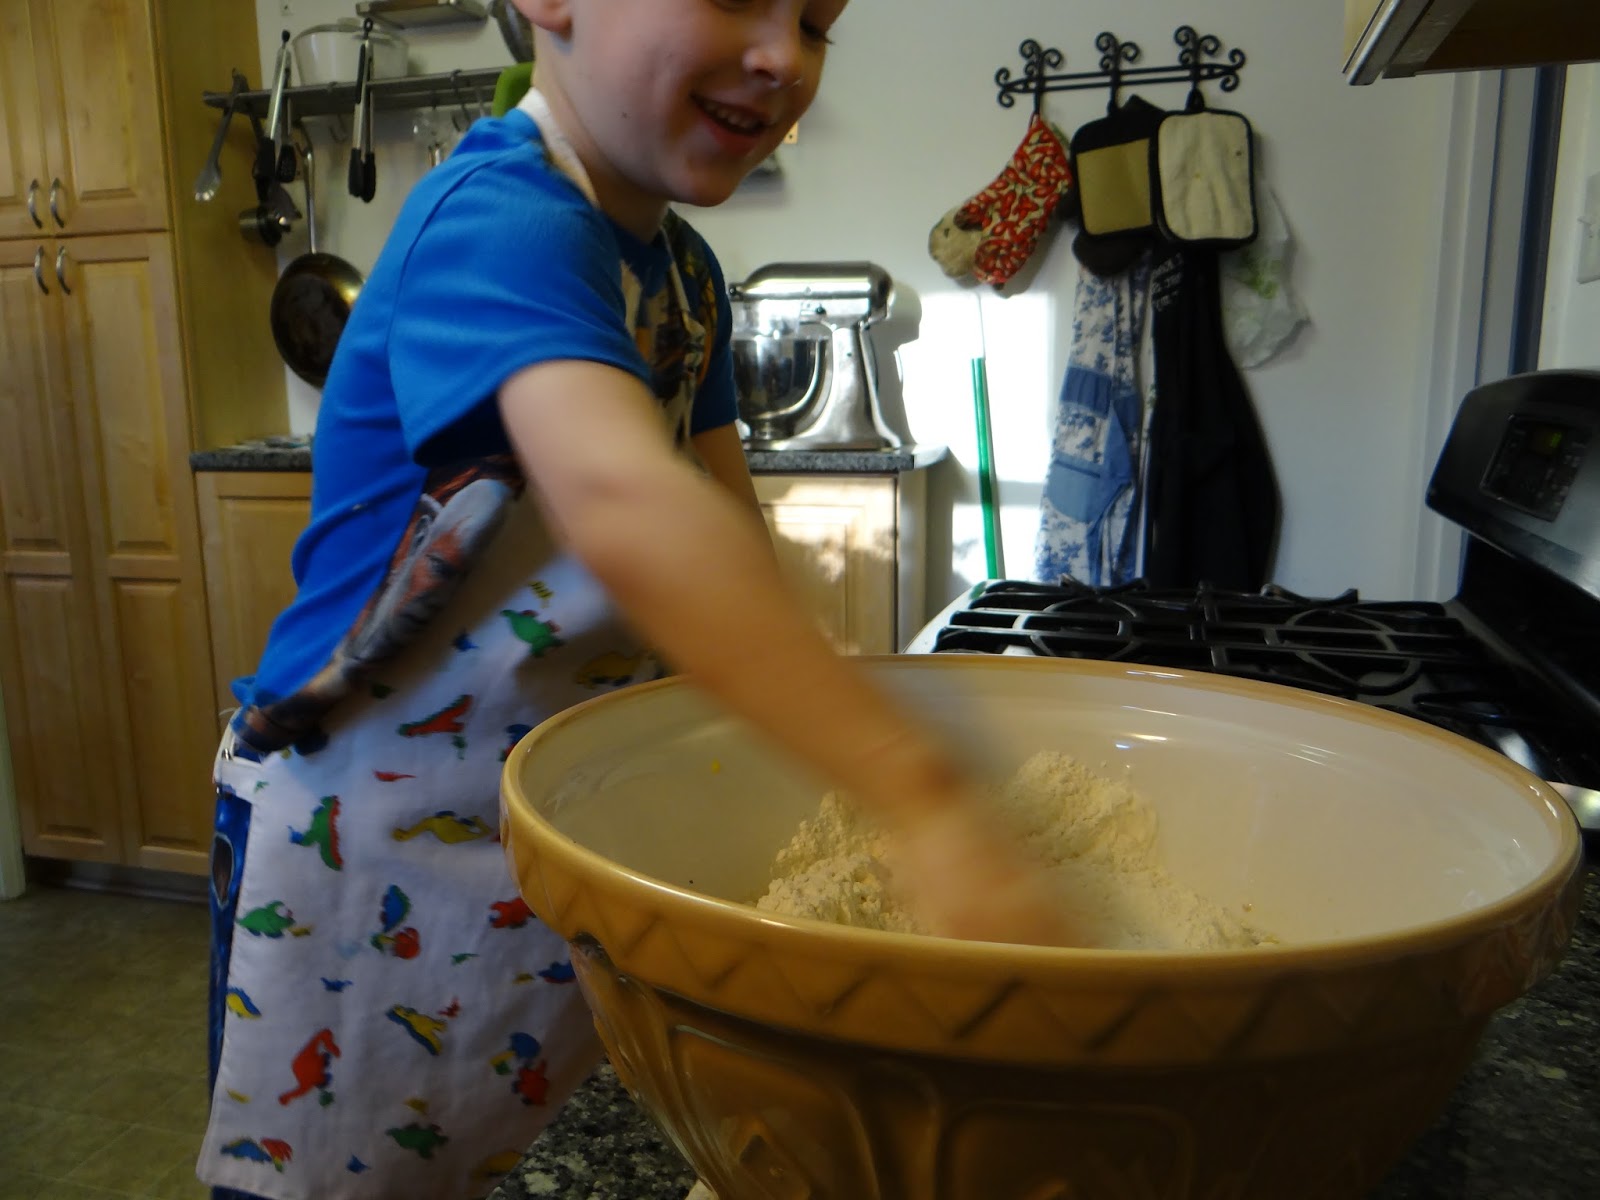
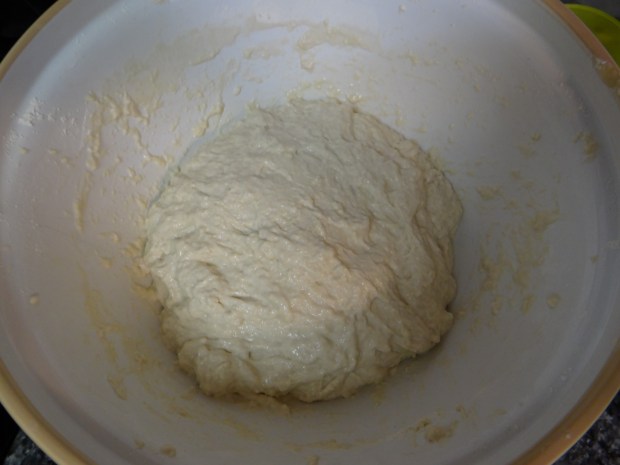
2. Mix well.  I mean, you seriously want to make sure everything is well incorporated.  This is tough, because so many of the elements are sticky: the rye flour, honey and molasses will want to stick to everything. Keep it up.  I found I needed to add a great deal of extra whole wheat flour.

DSC02825.JPG

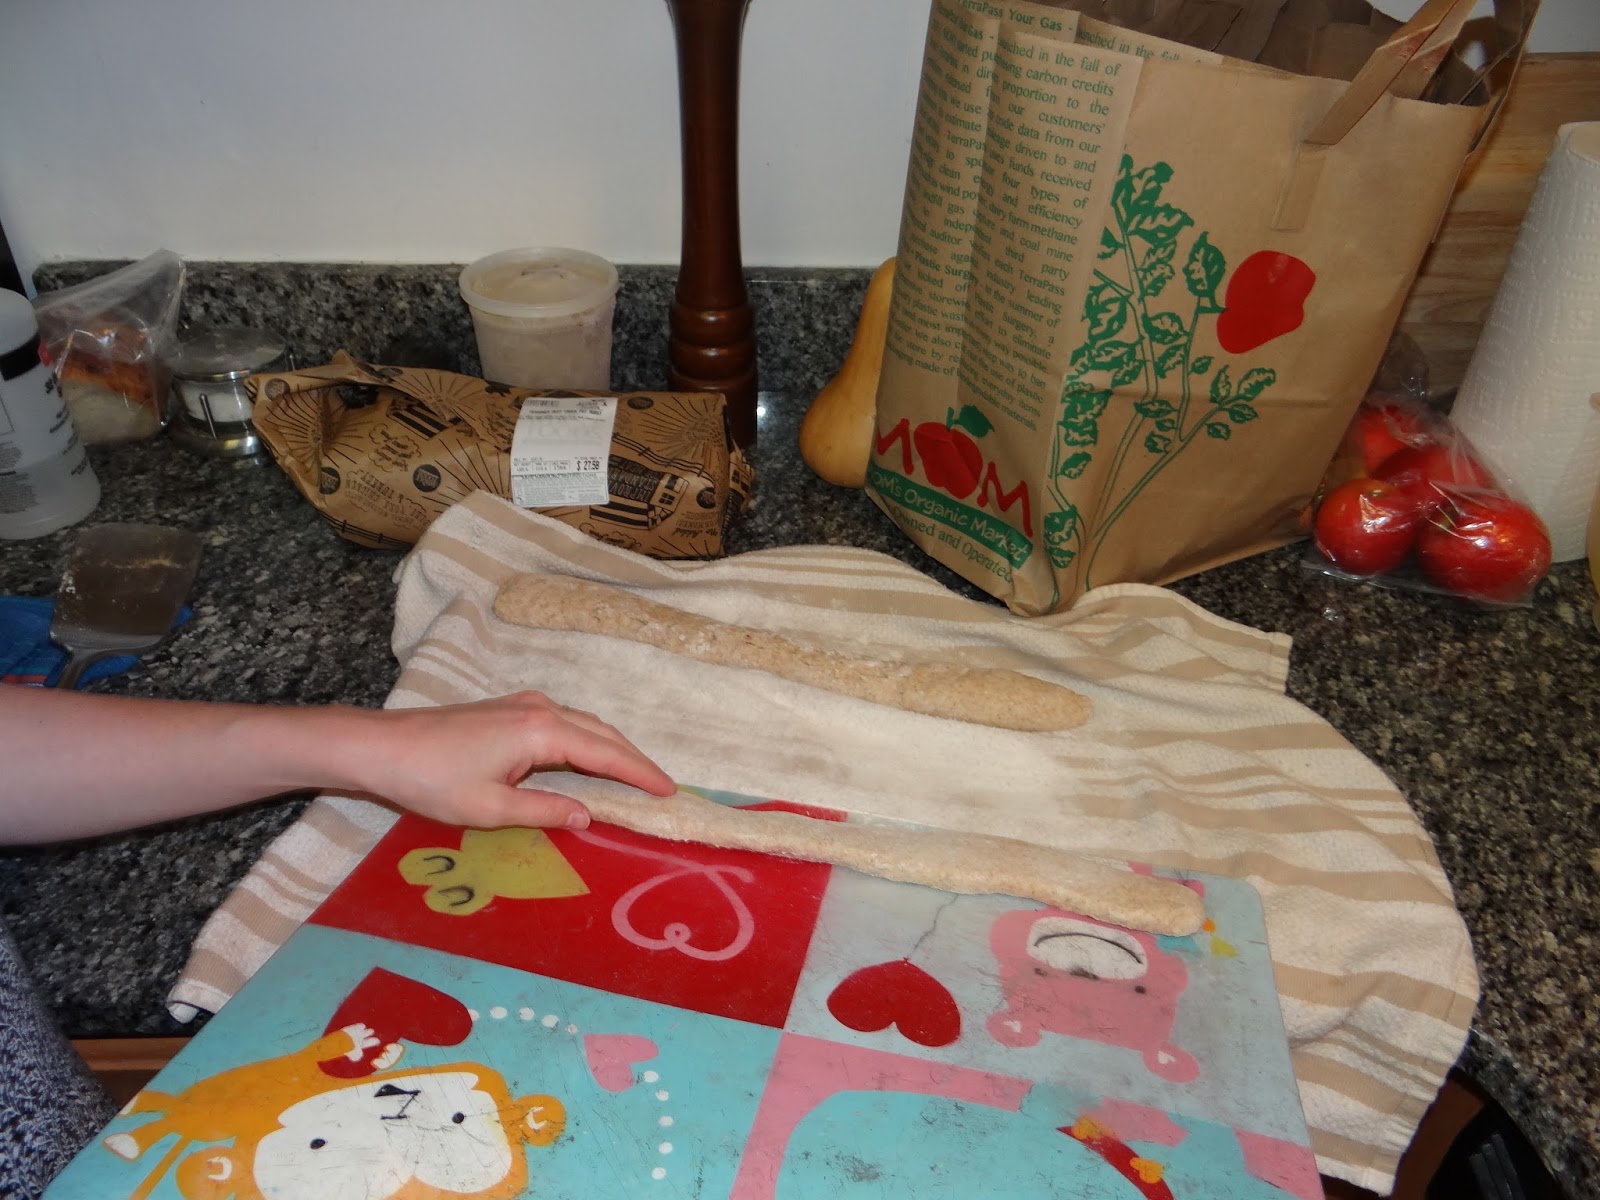
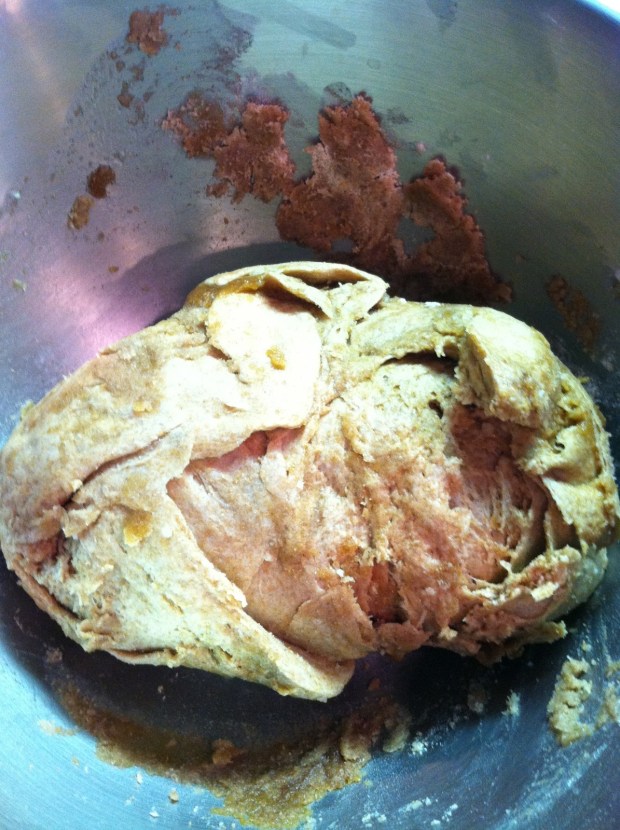
3. Transfer your dough to a floured counter.  Gently knead for about five minutes until the dough is well-incorporated and uniform in color.

DSC02826DSC02828

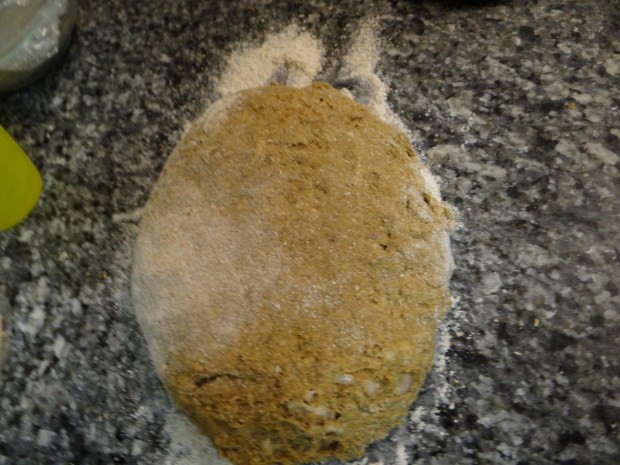
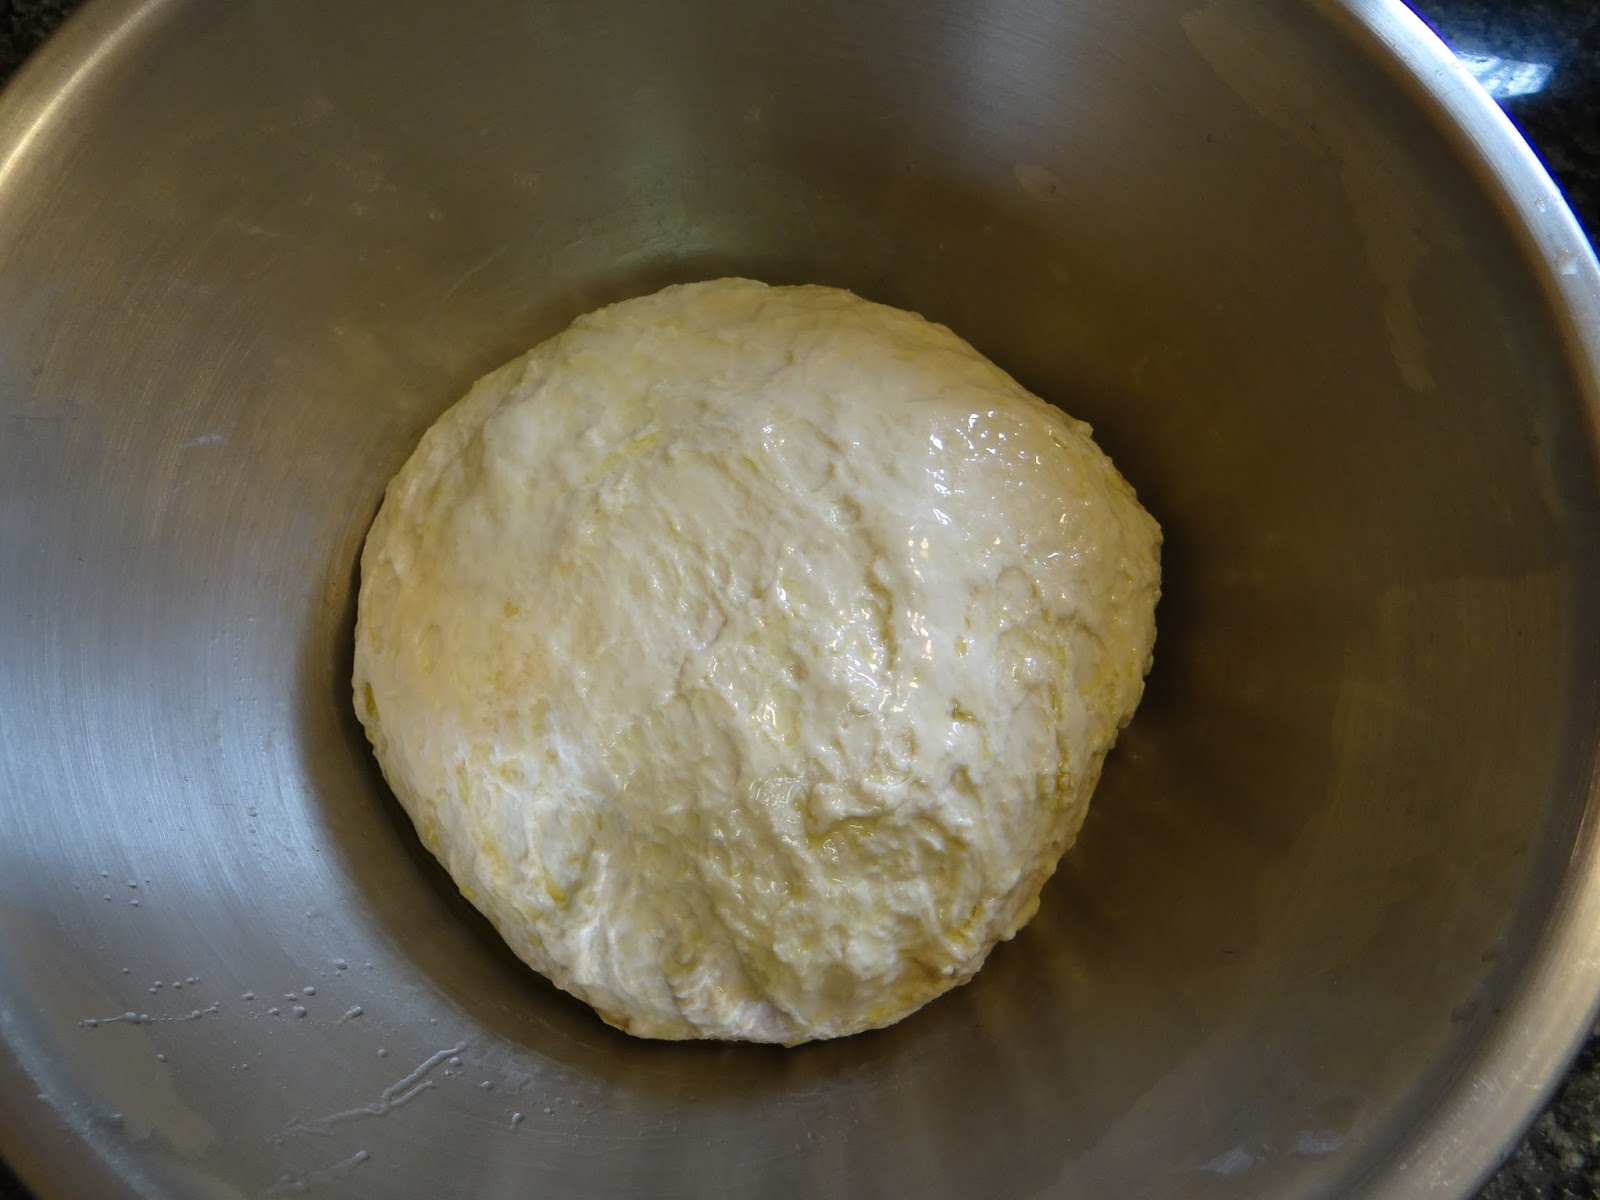
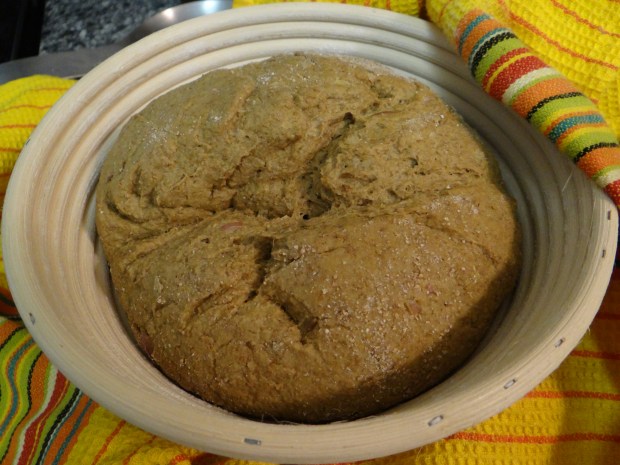
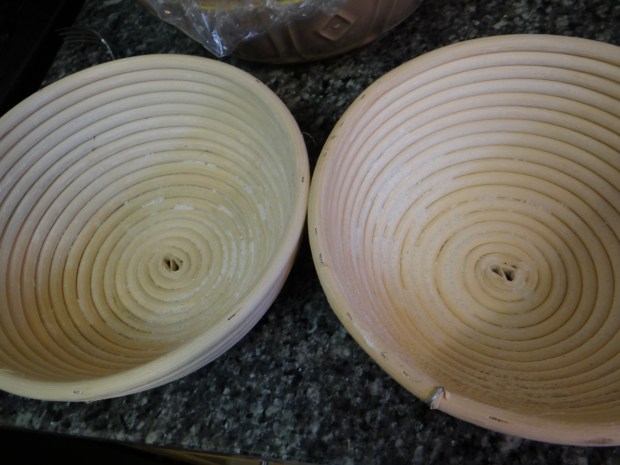
When the dough sticks to itself and not the counter, roll it in a bit of flour, shape it into a boule and transfer it to a prepared proofing basket or banneton so it is seam-side up.  If you don’t know what a proofing basket is, check out this post.  Put a dutch oven in your oven and preheat to 500 degrees F (this differs from Reinhart’s recipe).

DSC02829

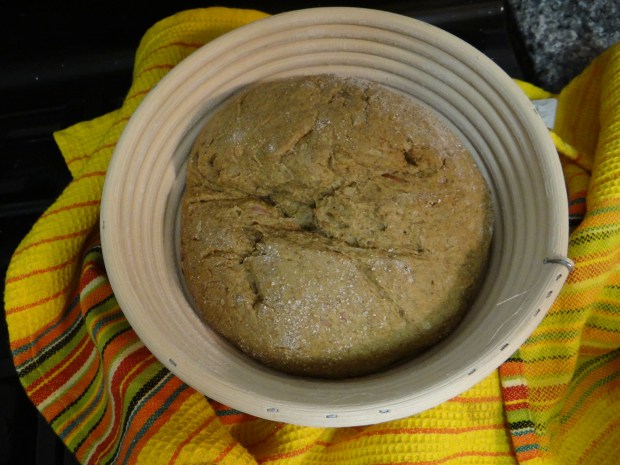
my new banneton being used for the first time!

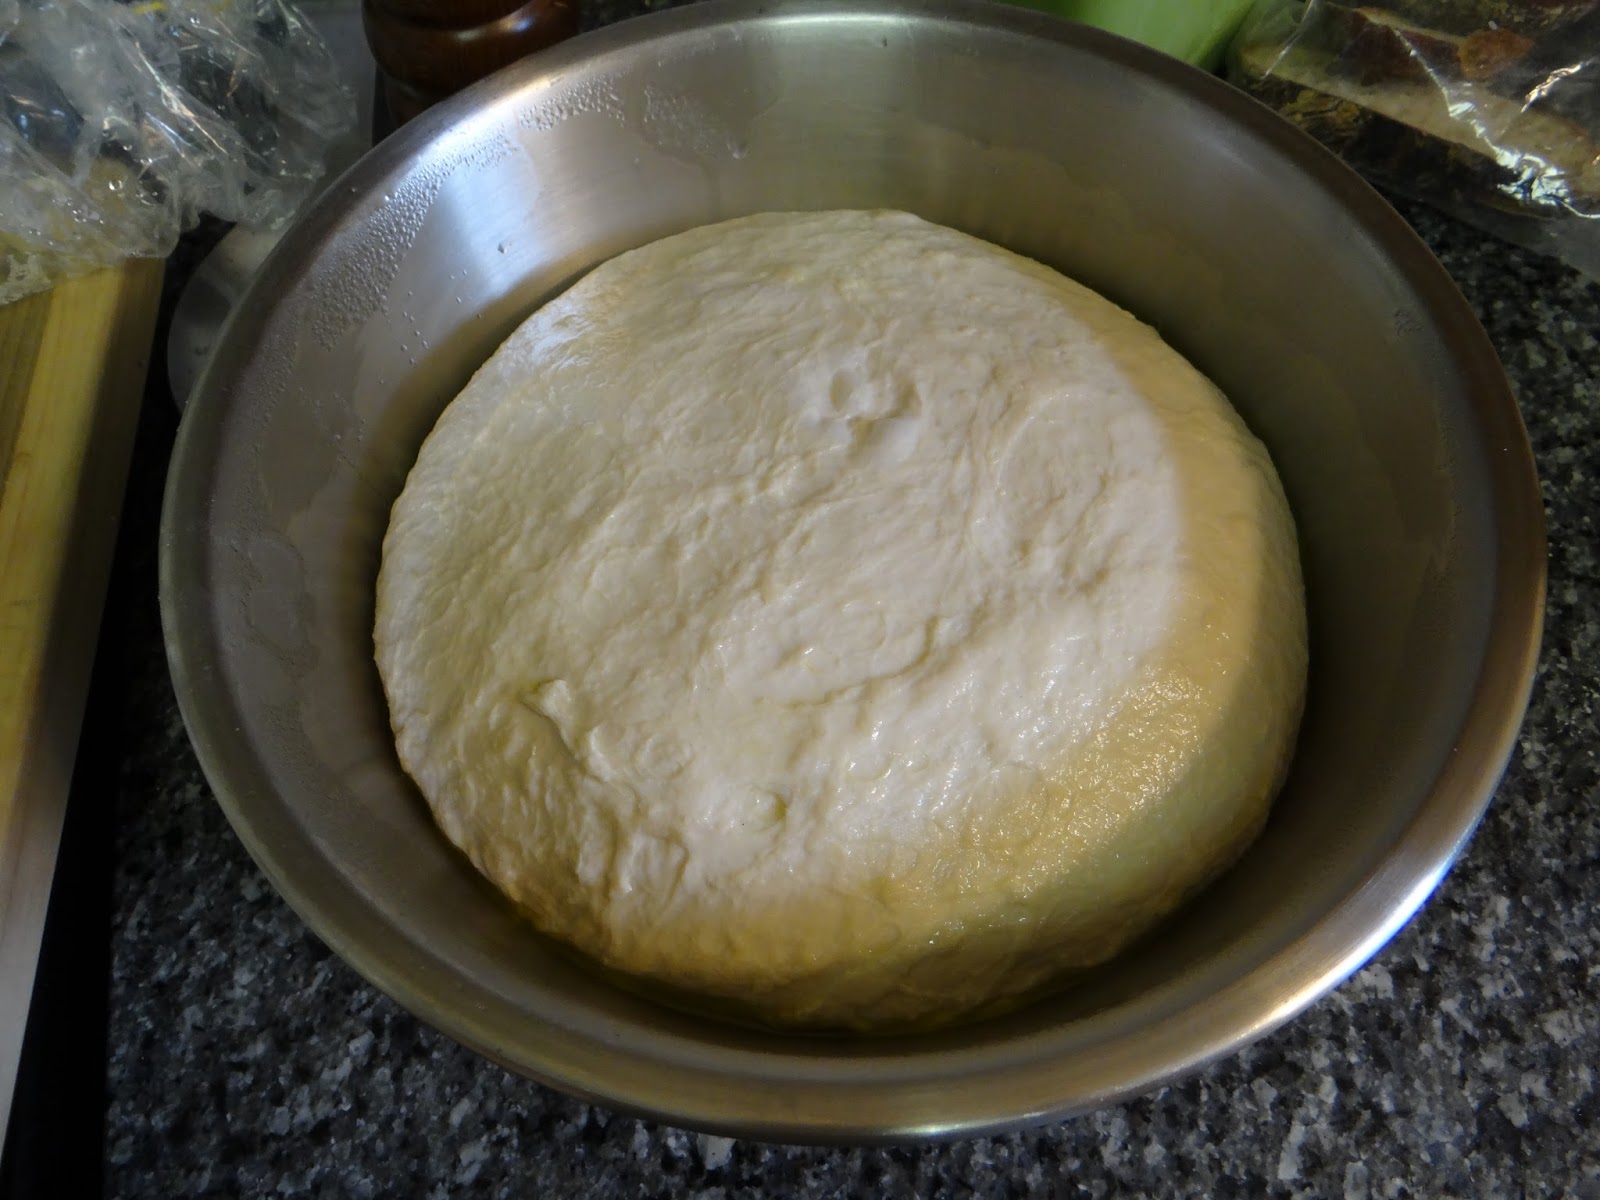
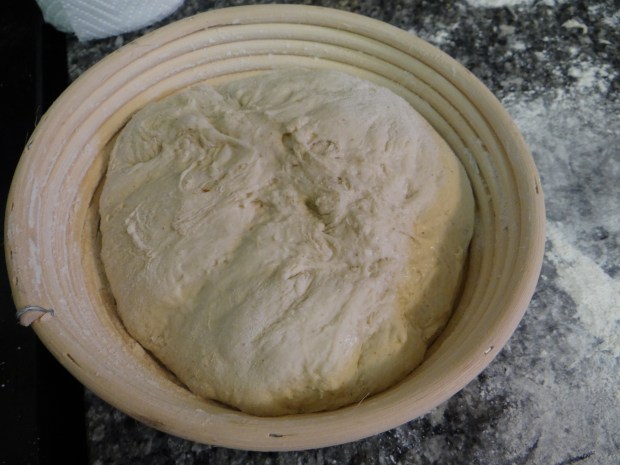
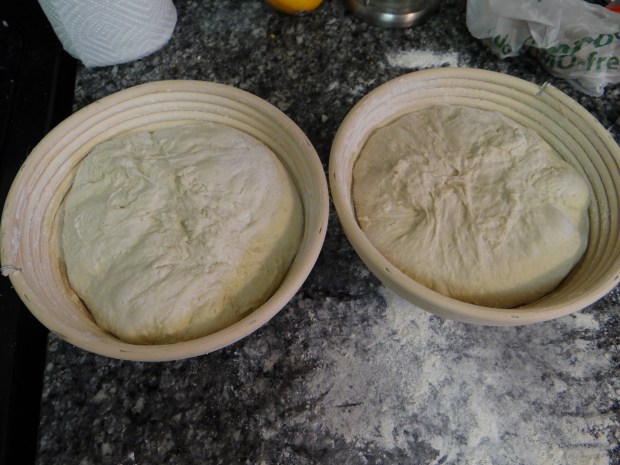
After an hour rise, my bread looked like this:

DSC02830DSC02831DSC02832

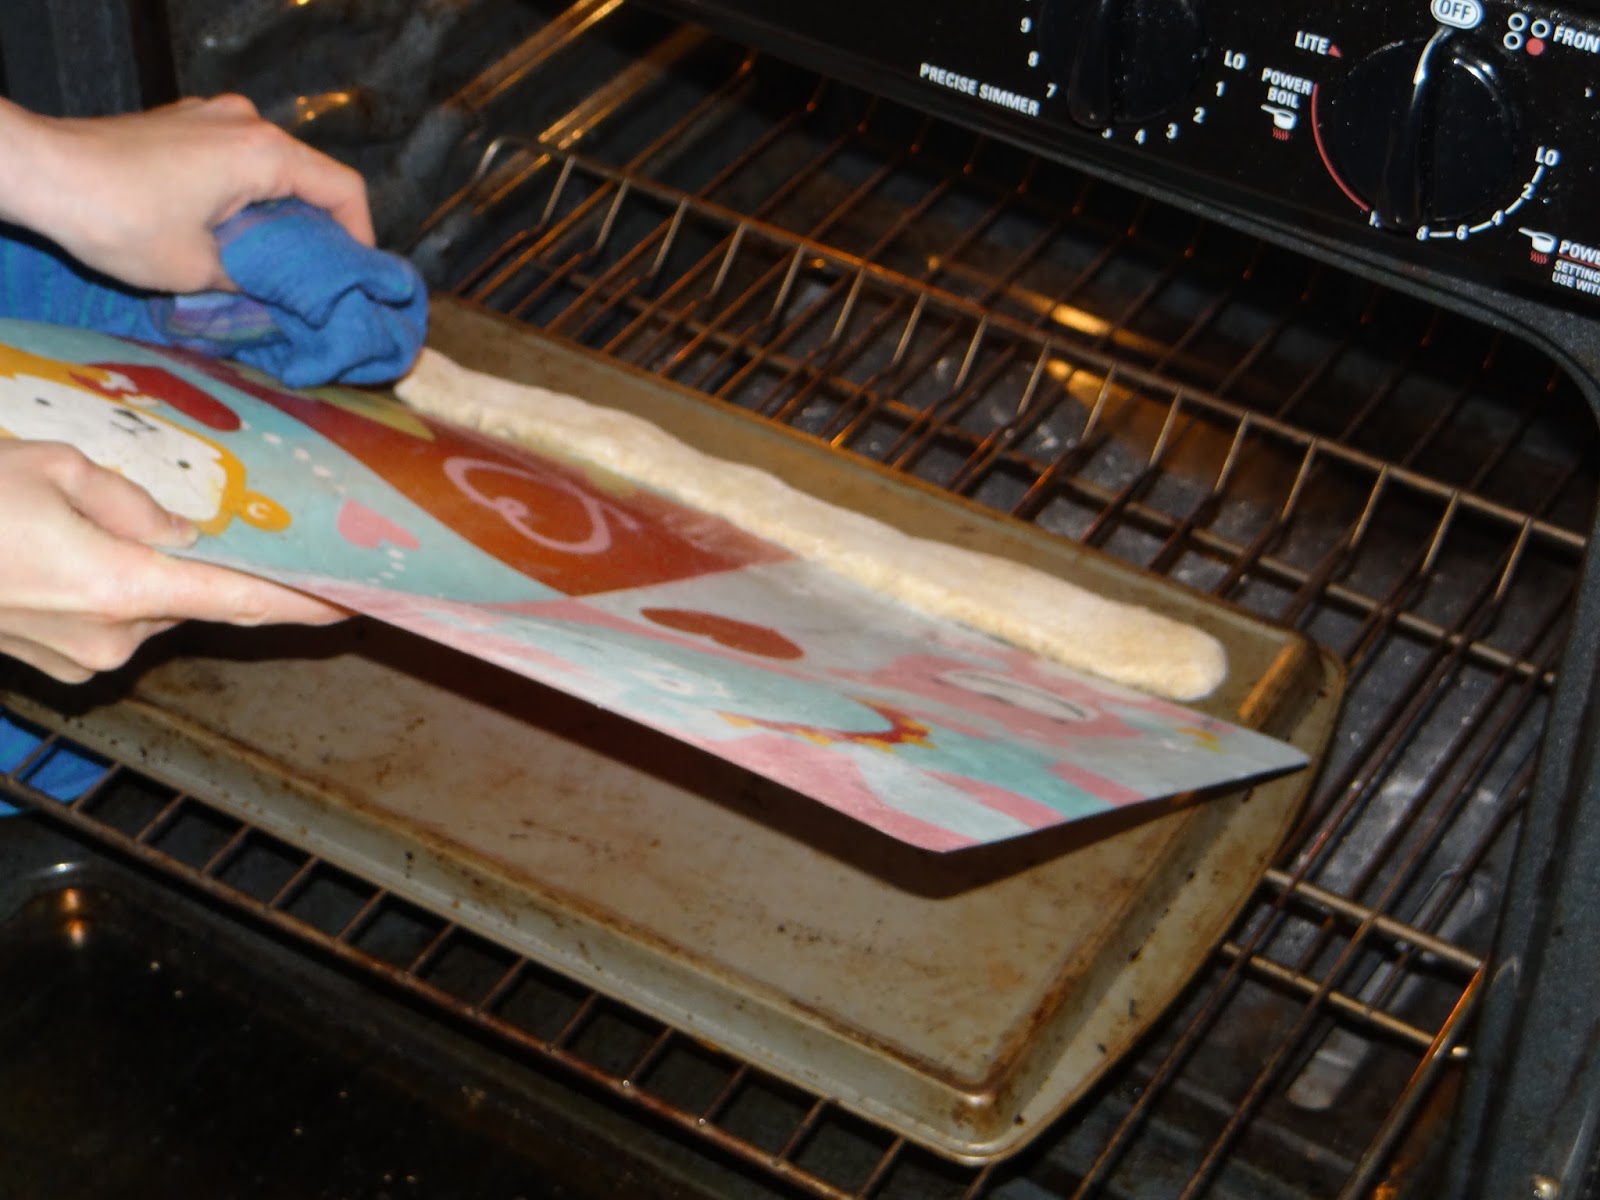
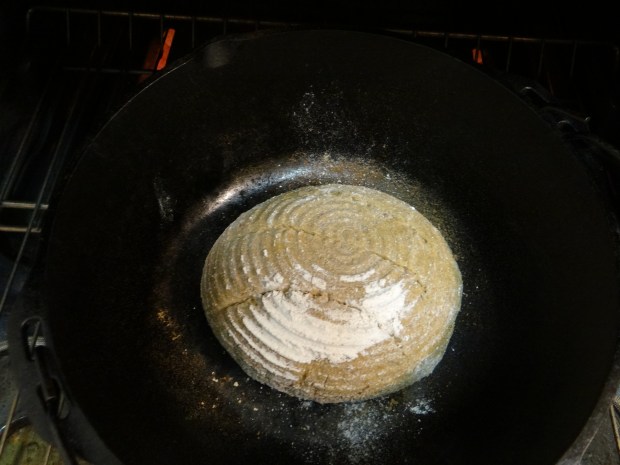
When the oven has preheated, gently turn out your dough into the dutch oven so it is now seam-side down.  Score the top of your dough with a razor blade.  Return the lid and bake 15 minutes at 500, 15 minutes at 375, and 15 minutes at 375 with the lid off.

DSC02833DSC02834DSC02835DSC02838

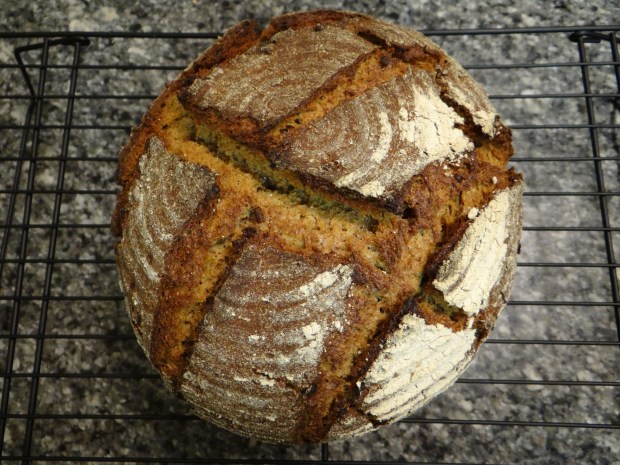
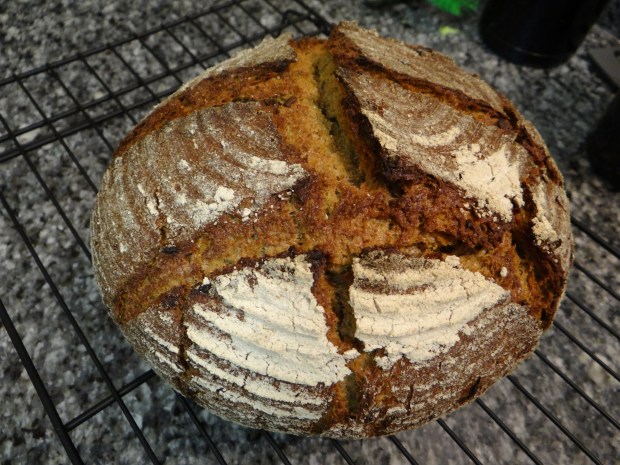
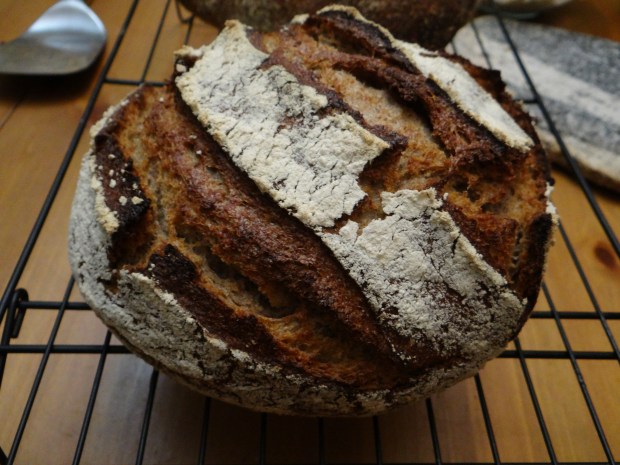
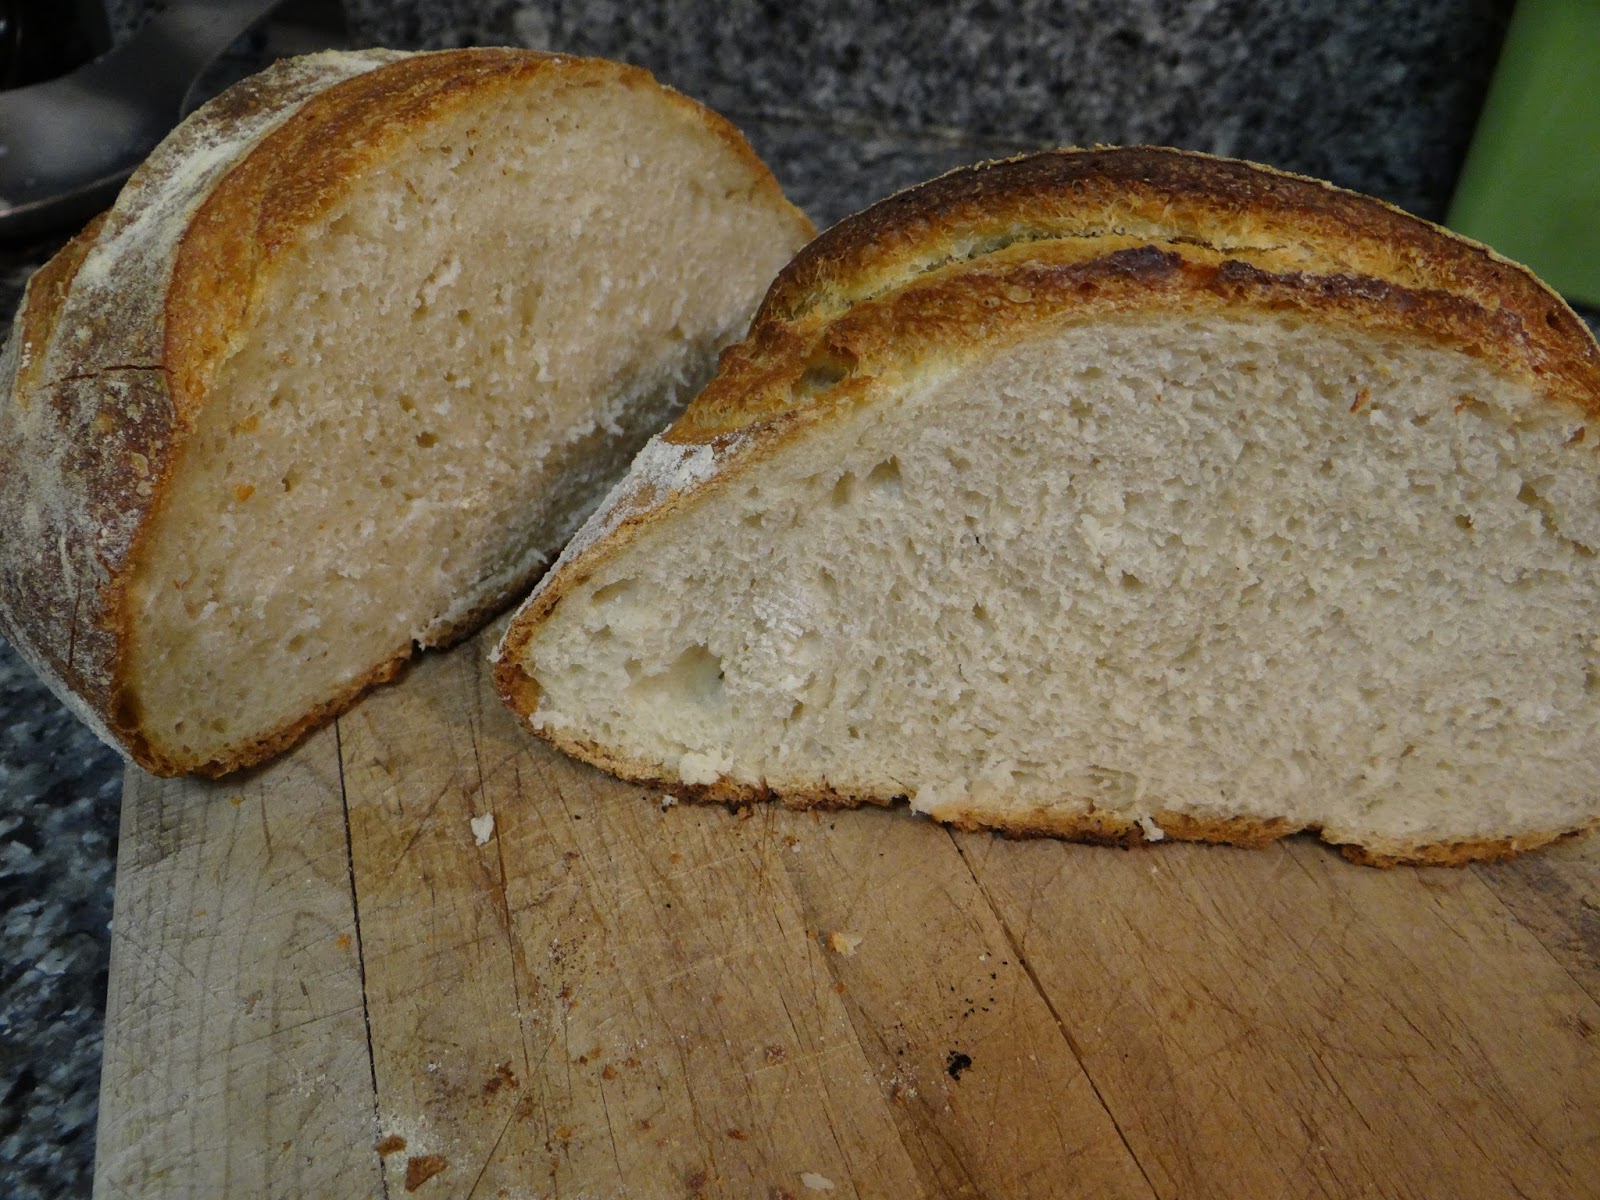
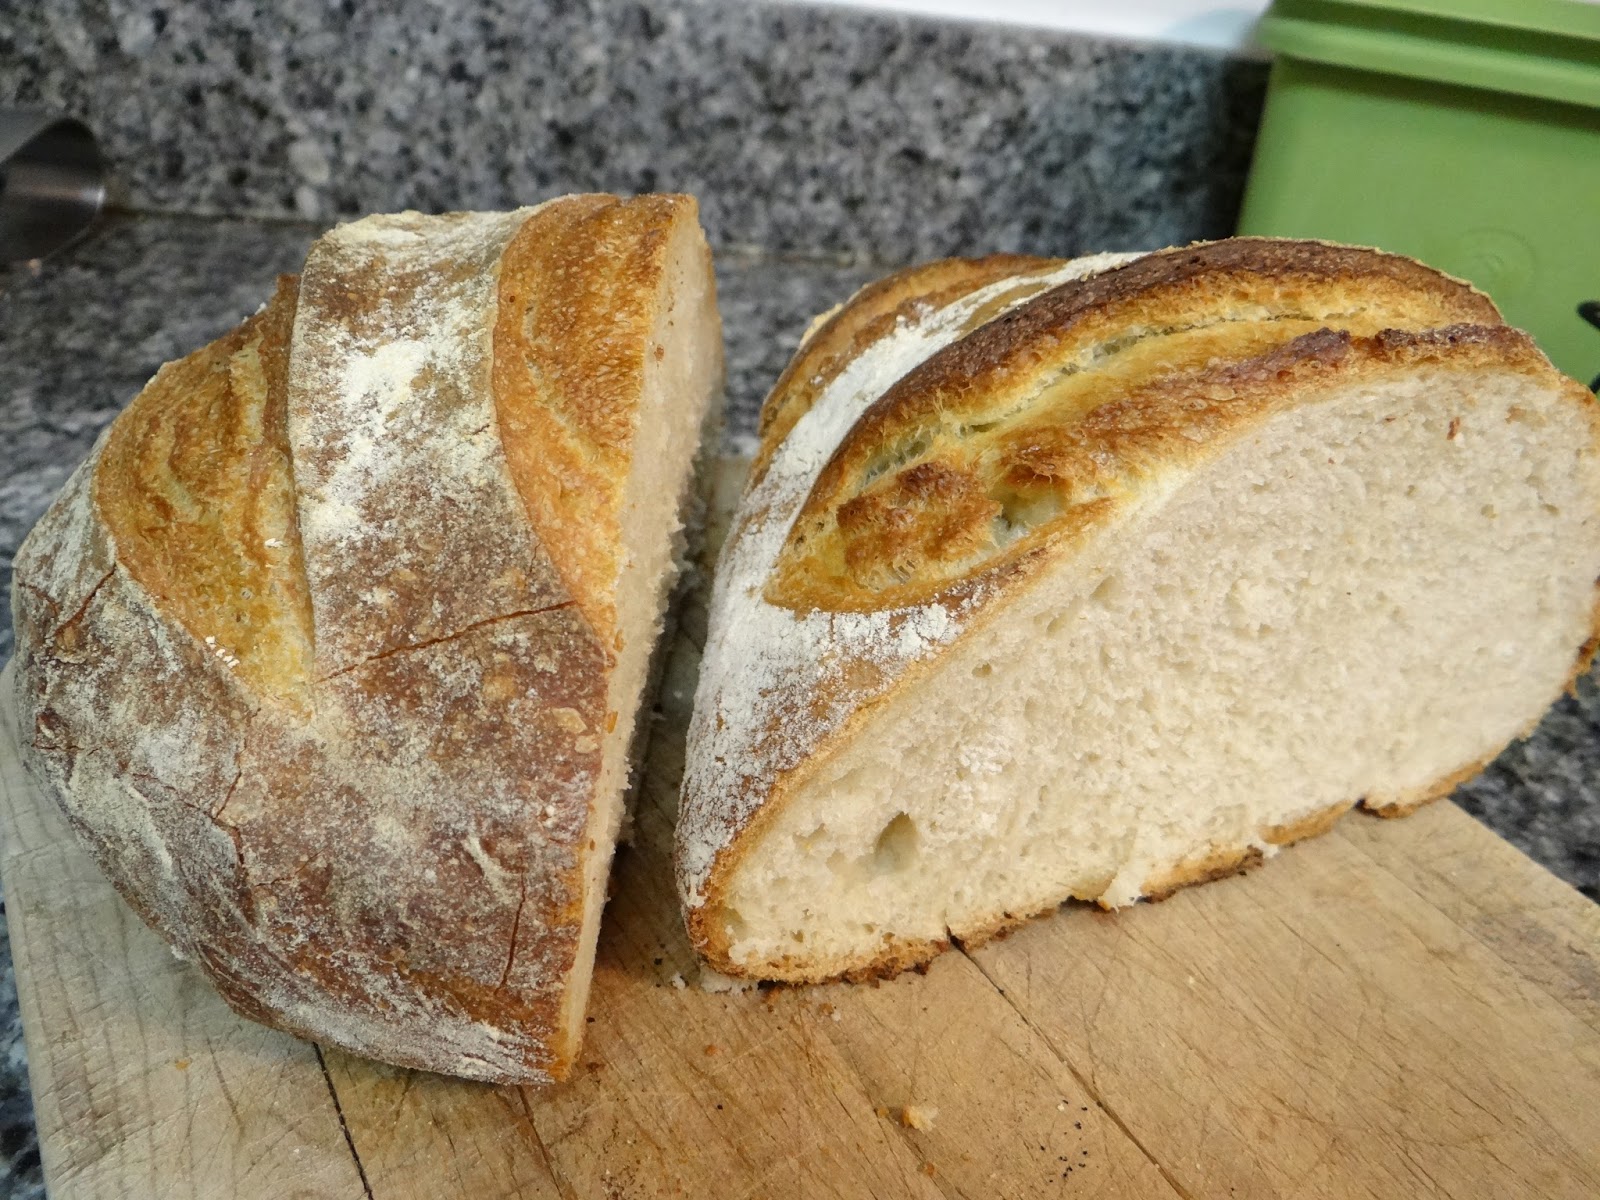
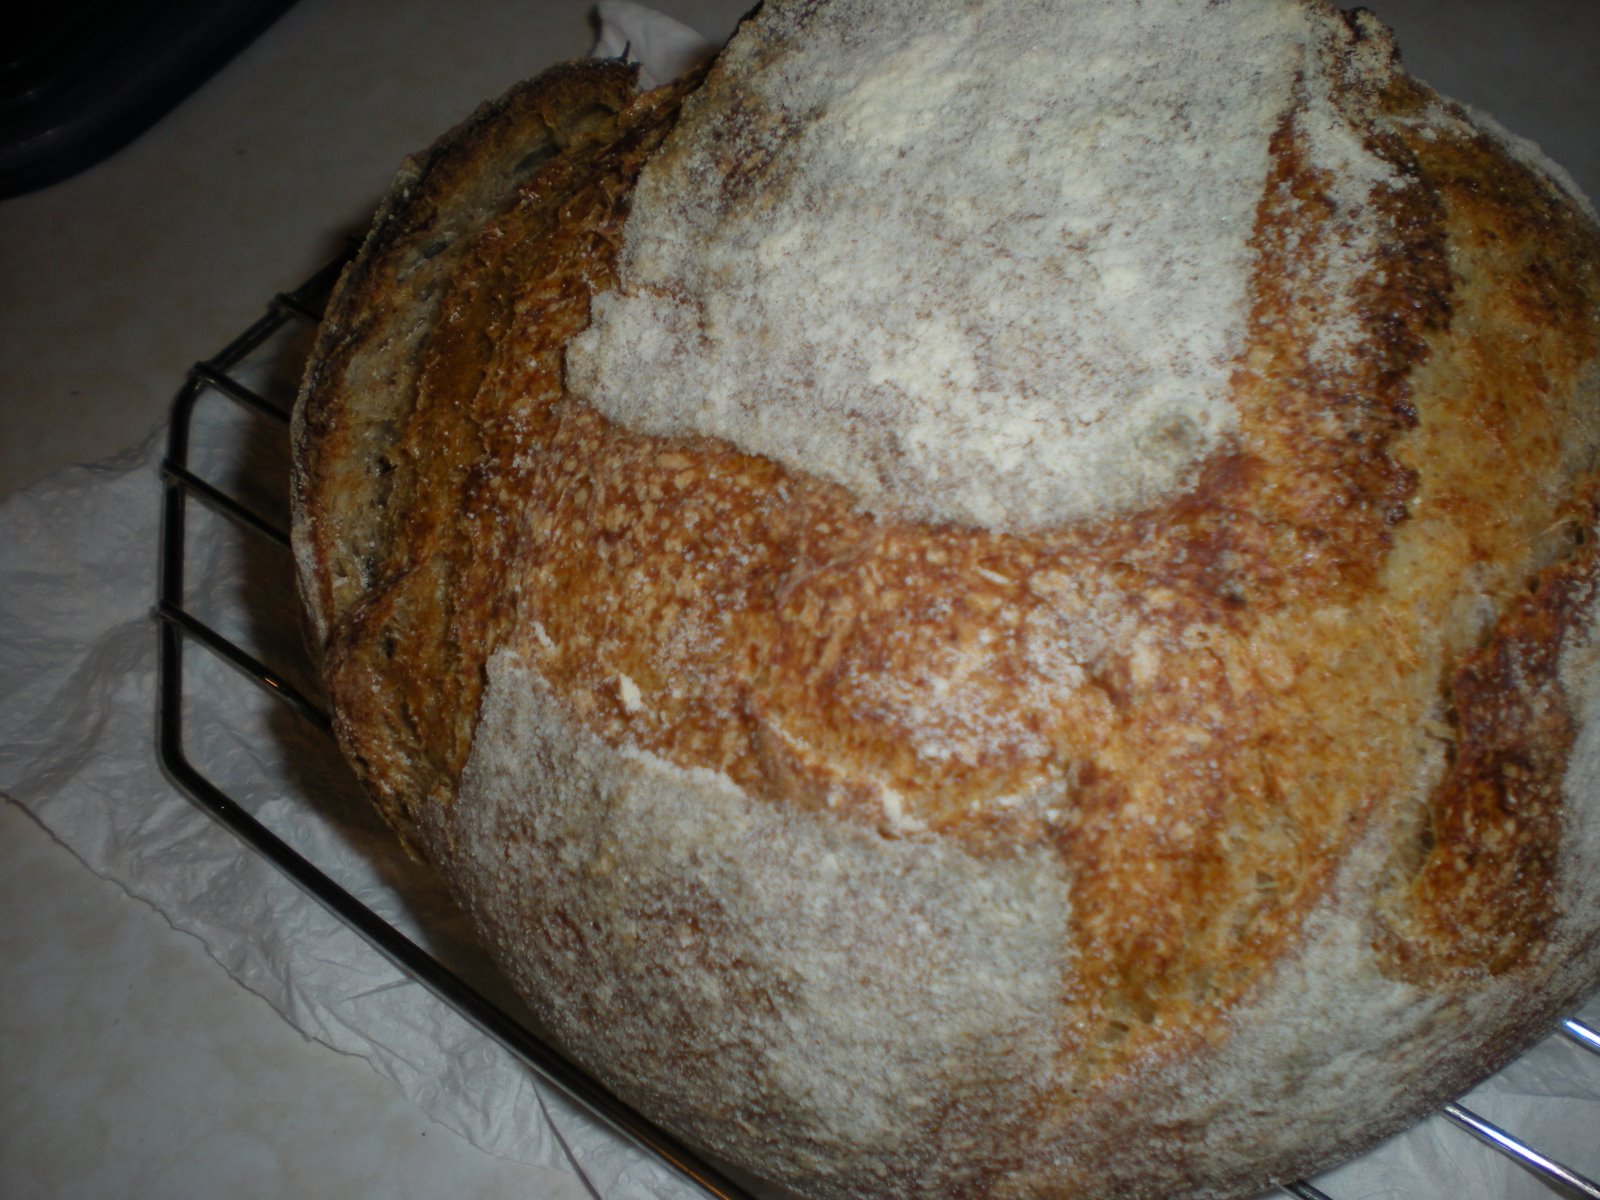
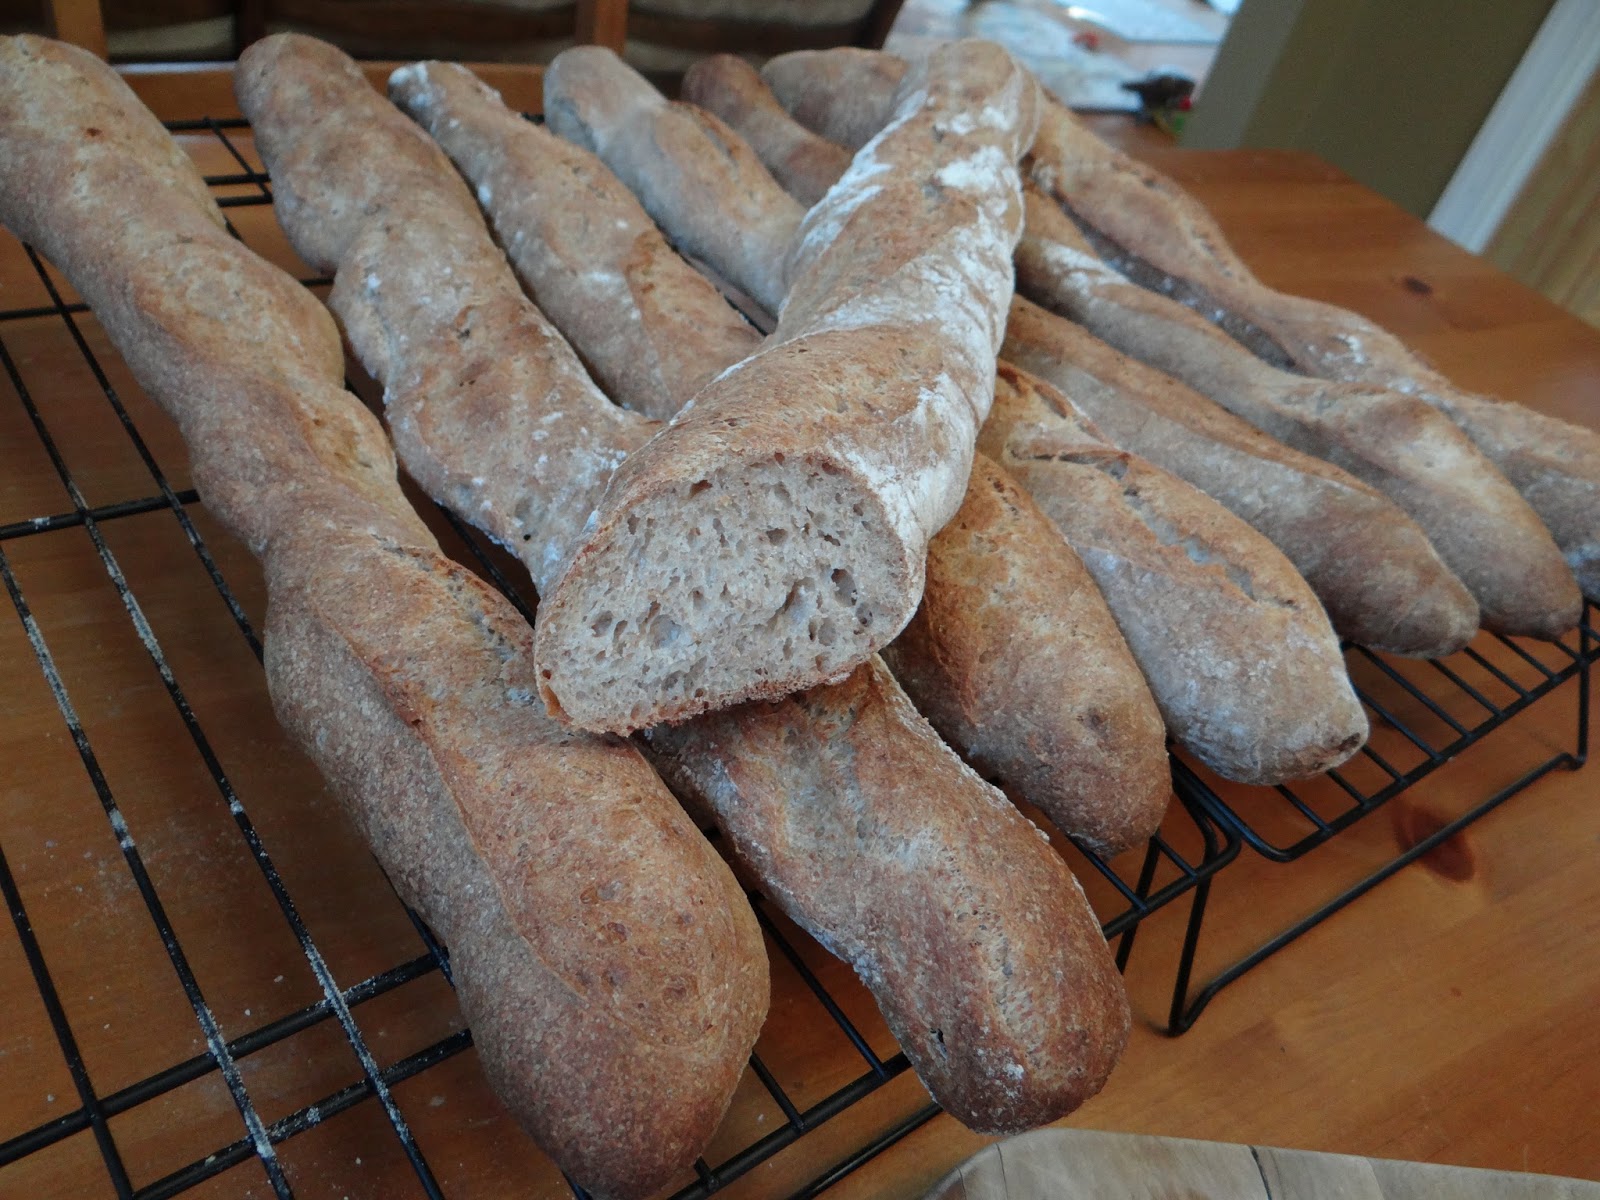
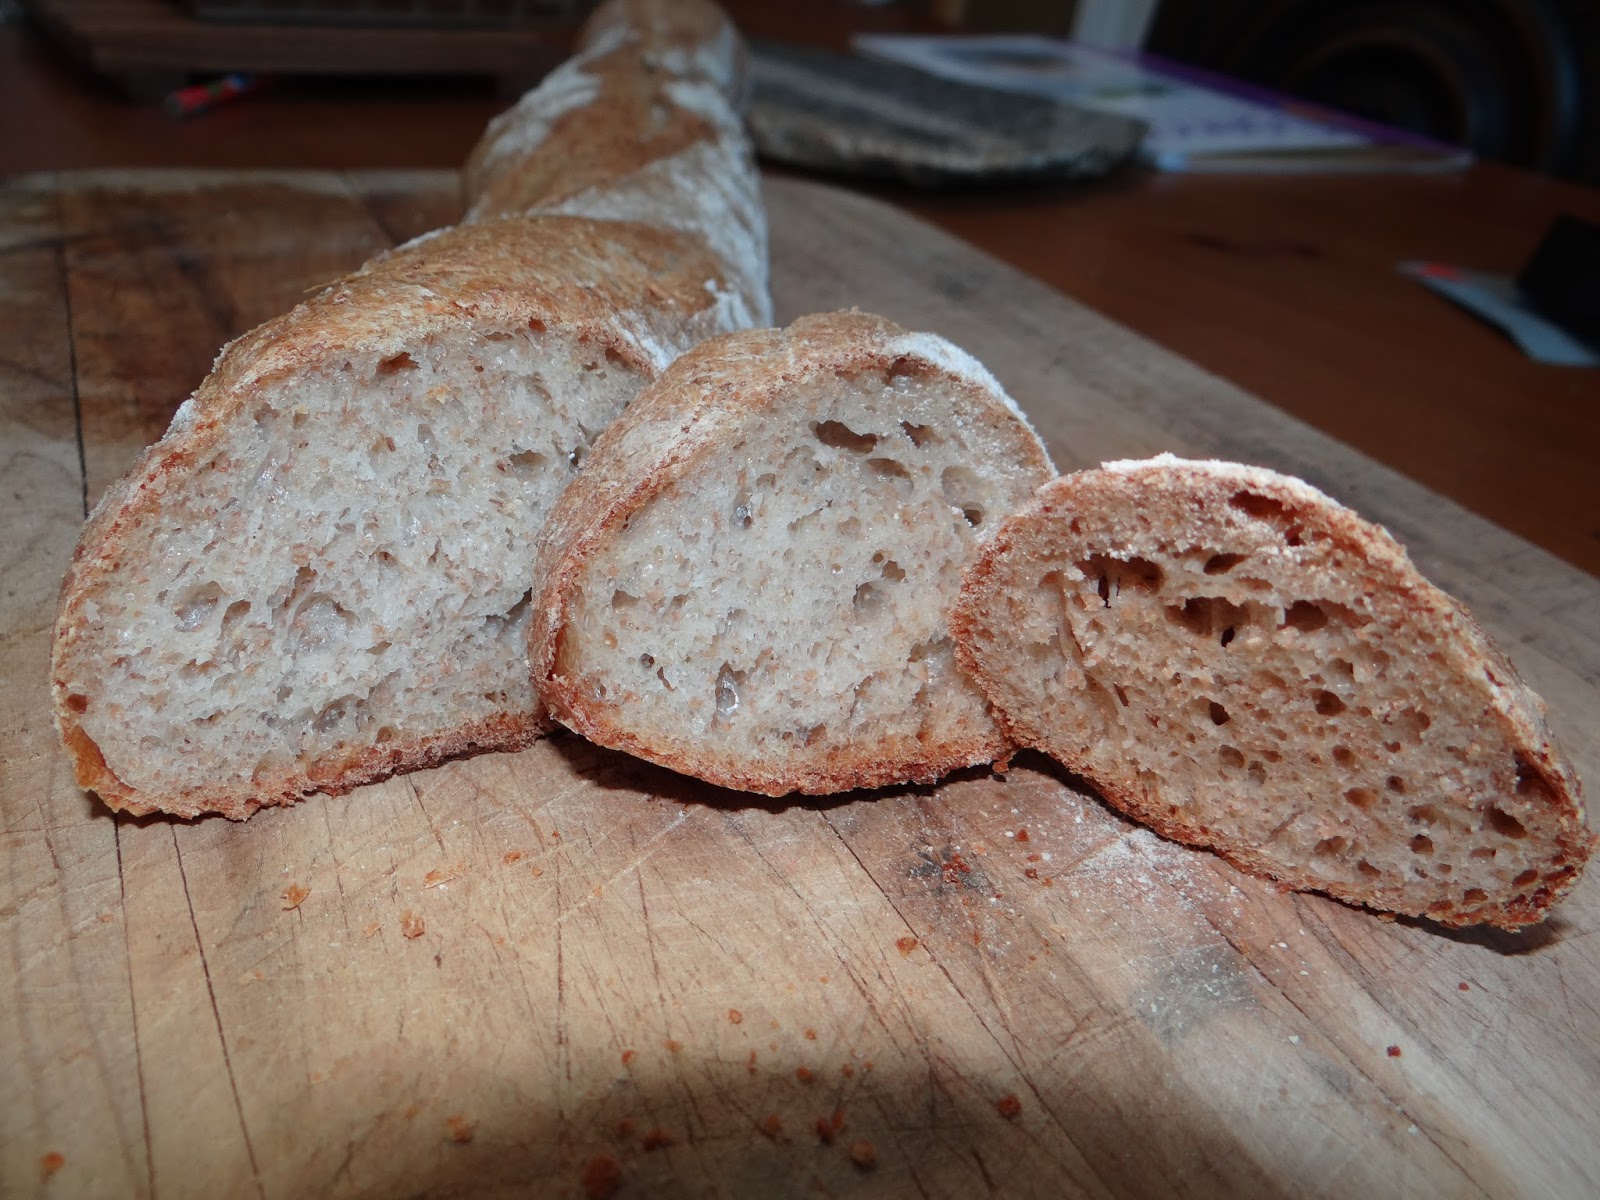
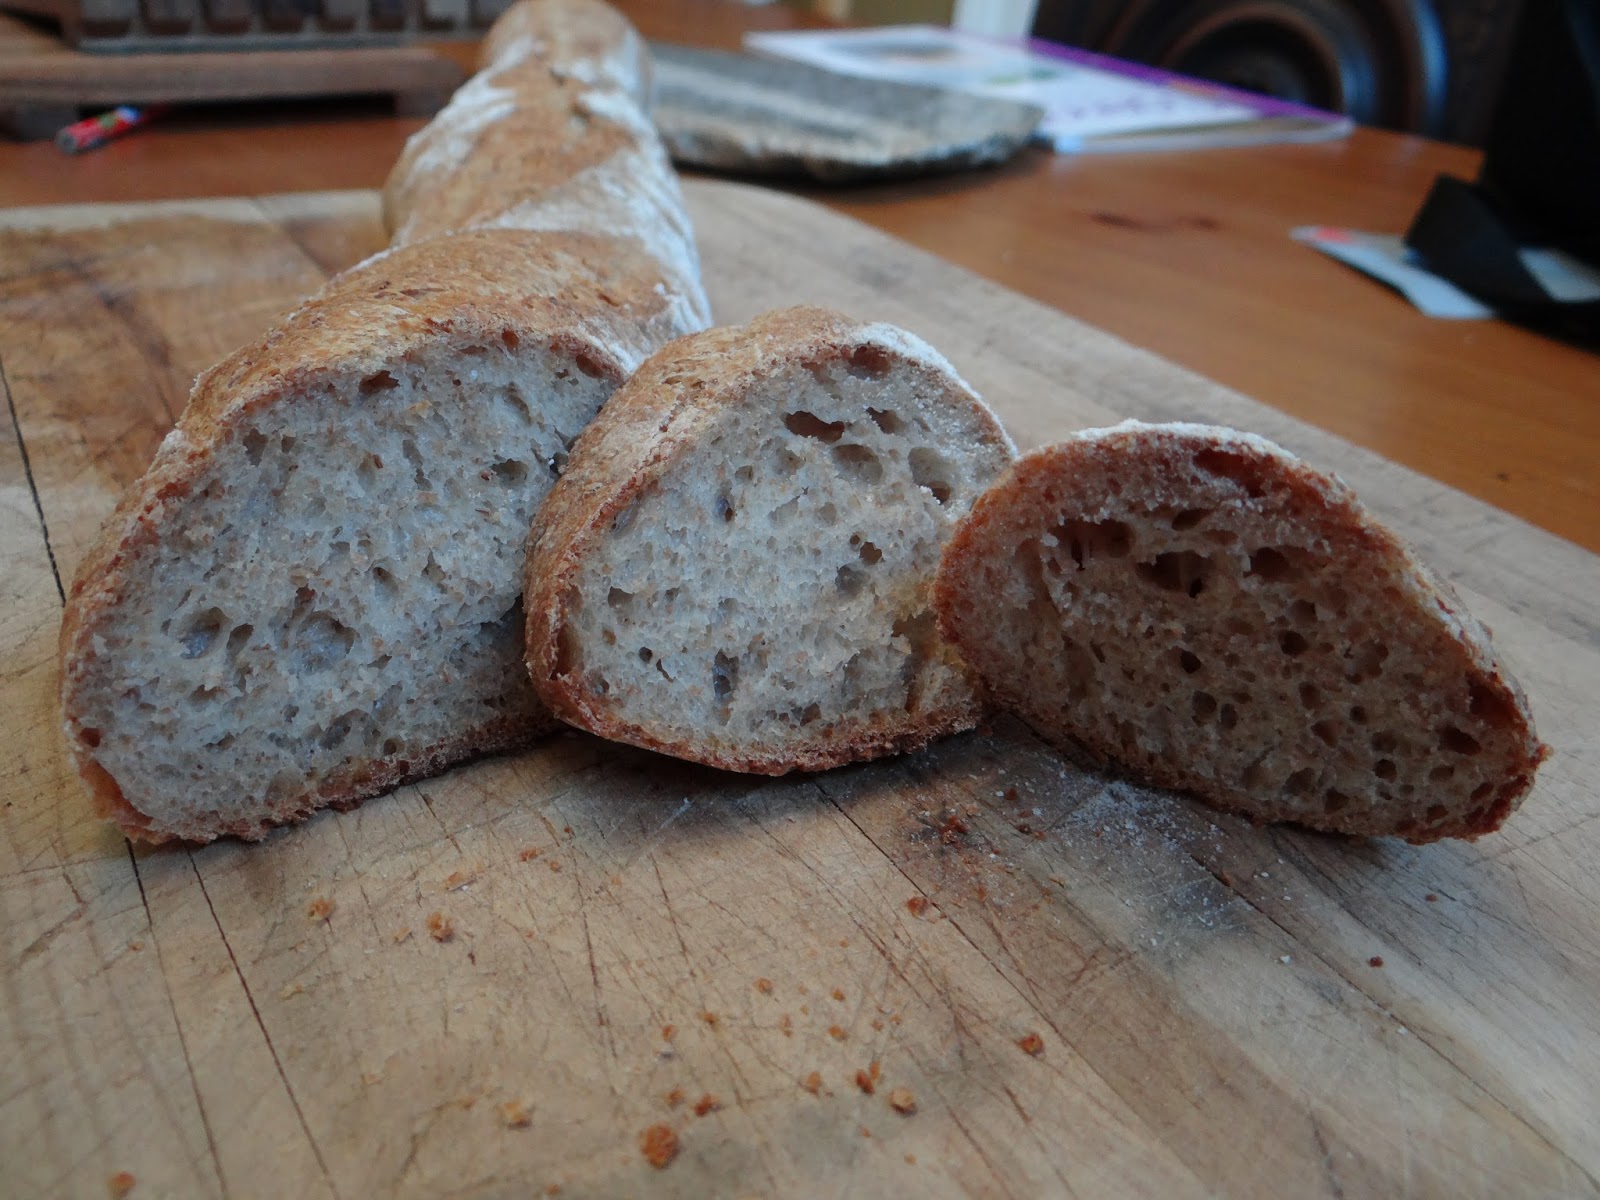
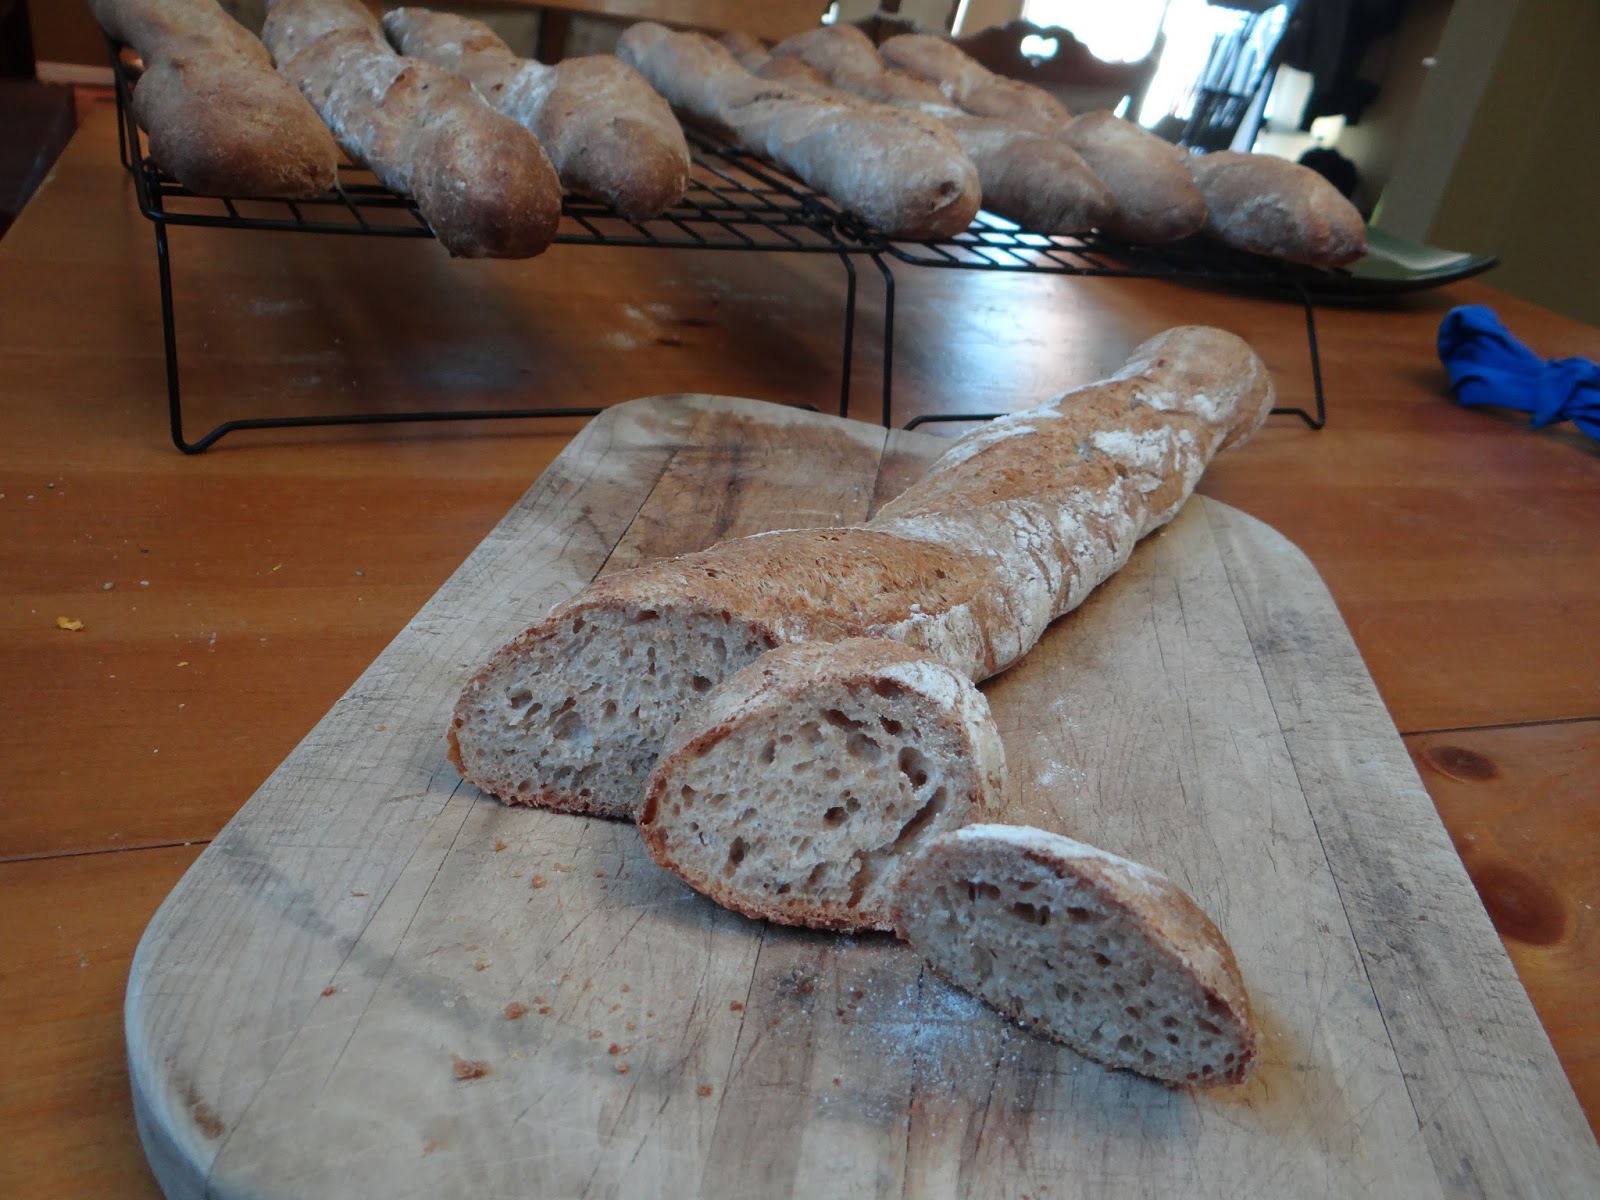
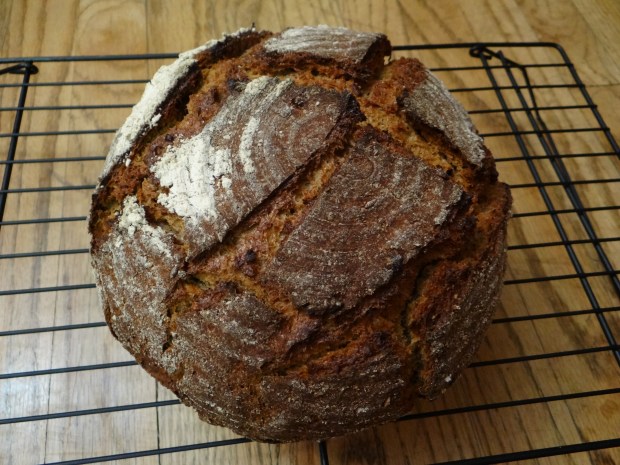
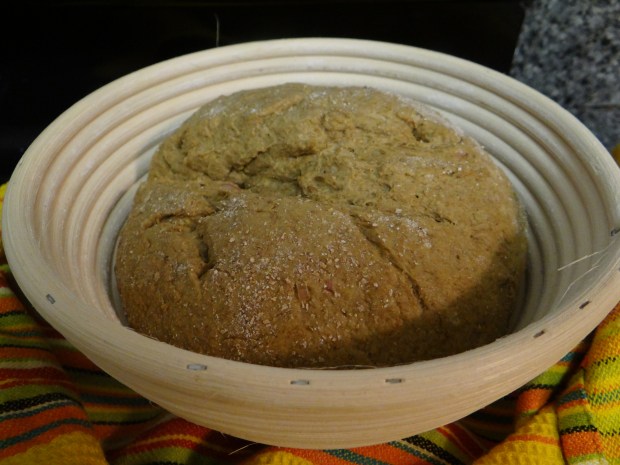
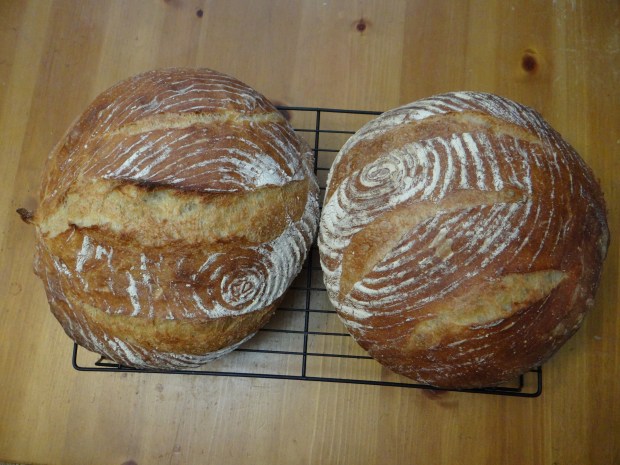
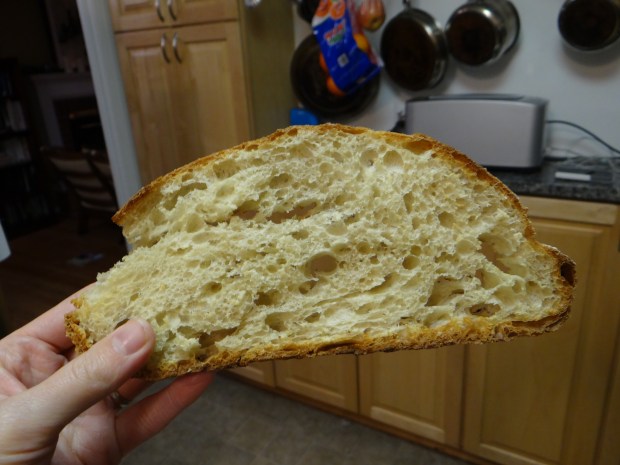
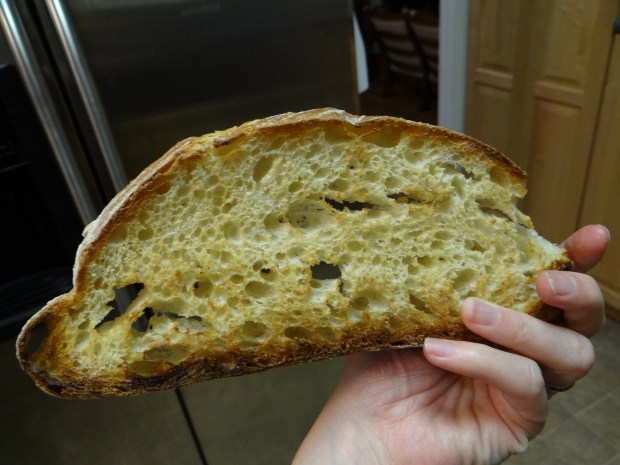
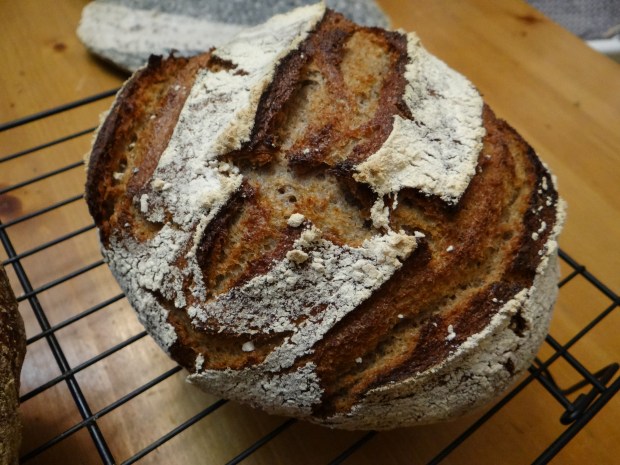
This bread looks and smells incredible.  The crumb is small, perfect for sandwiches.

DSC02839.JPG

I’m loving the flour pattern from the banneton

***One small endnote: as soon as I tasted it this morning, I realized I had made a big mistake.  What I thought were caraway seeds (typical for rye breads) were in fact CUMIN seeds.  Even though the recipe only calls for 7g (about two teaspoons) of seeds, they make their presence KNOWN.  I ate a bite, then couldn’t really eat any more.  The spicy flavor was just too jarring to eat an entire piece.

So here’s the thing.  I now have this loaf of bread that tastes like cumin and is basically inedible in slices.  What do I do?

I thought, well, I’ll use it in a recipe that calls for cumin AND breadcrumbs.  Meatballs are one option; breaded meats like chicken are another.  Another option is meatloaf.  Even though this was a mistake, it’s heartening to know I have lots of options!


What I learned from researching the baking process

Now that I’ve researched the baking process, and written and written and written about it, I’ve had some time to reflect on what I’ve learned from the whole thing.

DSC02434

1. My friends and family aren’t that interested in my deep dives into the science behind bread baking.  That’s ok; it’s not exactly scintillating reading.  I figure as long as people know it’s there, they’ll consult it as needed.

DSC02437

2. I now know way more than most people about the science behind baking.  More than anyone should know.  Not as much as Peter Reinhart, but pretty close. It makes times like, when Mr. Bread Maiden and I are watching the “Air” episode of Michael Pollan’s documentary series Cooked, and I can’t relax because I’m pointing out where he gets the science wrong, rather awkward (sorry, Michael Pollan).


3. There are no non-sequiturs or Hail Mary passes in bread-baking.  I’ve said often that the reason I like baking yeast bread rather than baking soda-based cookies and cakes is that, at every step, you can verify that everything is going right.

St. Lucia Buns

After researching the chemistry, I’m even more sure of that fact.  Each step leads to the next step.  Each success ensures the next. This is either a reassurance or a frustration, depending on whether things are going well or not 😉

4. There is always something to learn.  The science behind baking is a deep dive that only goes deeper.  There is always more you can learn, more aspects you can focus on.

d5ea6-dscn1410

Whole Grain Breads


5. The relationship between water and flour to create gluten isn’t the only important relationship.  There is also the relationship between starch and water, yeast and gluten formation, and time and temperature to everything else.

9ce3e-stluciabuns017


6. Once you put bread in the oven, that’s not the end of the story.  It is very complicated.  It was difficult to track down all the chemistry behind the baking process.

9d91d-dsc02670

7. There are many ways to make bread.  Knead, don’t knead.  Use sourdough, use commercial yeast, use baking soda, use no leaven at all.  Bake at a high temperature, bake at a low temperature.  Use different flours.  Add different ingredients.  Shape it flat, rounded, baguette, braided, in a loaf pan, in a dutch oven.  Let it rise slowly, make it rise quickly.  People all over the world have been making bread for thousands of years, and there’s no “right” or “wrong” way to make bread.  Homemade bread, 9 times out of 10, is better than anything you can buy.

44783-max2bcrop

yes, even this flat disaster of a loaf!


So that’s it.  What I’ve learned by researching the baking process.  What have you learned since you started baking?  Let me know in the comments!


50% rye, 50% whole wheat bread with a rye flour starter

DSC02789

A few weeks ago, I found myself without bread flour or all-purpose flour.  I also had a starter to feed.  In desperation, I decided to try using rye flour in my starter.  I figured, what’s the worst that could happen? I kill my starter?  Been there, done that.

395b9-starters

I left the rye starter on the counter overnight.  When I checked it in the morning, it looked like it hadn’t done much.

DSC02786

But then, when I turned the bowl over, I saw lots of activity.

DSC02785

pleasantly surprised by how active the rye starter was

By combining rye with whole wheat flour, I had slightly more gluten formation with better flavor than 100% rye bread.

I used a modified 1-2-3 sourdough.

You will need:

185g rye flour

185g whole wheat flour

250g warm water, possibly more

125g active rye sourdough starter

1 tablespoon salt

  1. Mix together the flours and water in a large bowl and let sit for 15 minutes.

DSC027832. Add the sourdough starter and the salt.

3. Transfer the dough to a floured surface and knead until the dough stops sticking to the counter and absorbs all the flour.  Put the dough back in the bowl.  Cover the bowl and let rise overnight or until doubled in size.

DSC02782

you can tell despite the kneading, very little gluten formation has occurred

Now, you might know about my dislike of kneading.  For bread that is all or mostly bread flour or all-purpose flour, time is usually enough for gluten formation to occur.  In low-gluten flours like rye and whole wheat, you want to capitalize on as much gluten formation as possible.  So that’s why I knead the dough in this instance.

4. Punch down the dough and shape into a boule.  Place the boule seam-side down in a prepared proofing basket. Let rise another hour as you preheat a dutch oven at 500 degrees F.

DSC02784

finally, the gluten is forming nicely!

5. At this point, I should note that until now, I baked my whole wheat bread at a low temperature.  However, after doing my The Science Behind… series, I now bake at a much higher initial temperature.  This is because the first step of baking is getting the yeast all frenzied up so they release a ton of carbon dioxide initially before they die off.  This is what causes oven spring.  I was worried that I would burn the whole wheat flour, but that doesn’t appear to really be a problem.  I think baking whole wheat bread at a high temperature gives it a more airy crumb, which is important when you are dealing with flours like rye and whole wheat that don’t develop lots of gluten formation.

6. When your dutch oven is preheated, open the lid and gently transfer your dough to the dutch oven so the seam is now side-down.  Using a razor blade or a serrated knife, score your dough.  Replace the dutch oven lid and bake your dough for 15 minutes.

7. After 15 minutes, bump the temperature down to 450 degrees F.  Bake another 15 minutes.

8. After the second 15 minutes, remove the dutch oven lid.  Bake a final 10-15 minutes until the dough is a rich golden brown and the crust is hard when thumped with a fingernail.

DSC02787

How awesome does this bread look?  I was very surprised and pleased that, despite the high baking temperature (or perhaps because of it), the bread had lots of good oven spring and a very distinct, attractive scoring pattern.  The dough was also very good.  Sadly I did not take a picture of the crumb.  Perhaps next time.

DSC02788


Preston Yancey’s white bread, attempt #5

Now that I’m over the hump of the nine weeks, I decided it was time to get serious.

No more messing around.  I was going to follow Preston’s recipe exactly this time.  No mistakes.  No forgotten salt.  I would do each step; even the ones I found superfluous or downright mystifying (grinding the salt?).

And for the most part, I did.  I think I may have forgotten a bench rest somewhere in there.  But otherwise, this is probably the most accurate bake I’ve done.

New to this baking attempt are: grinding the salt, kneading the dough, and spritzing the dough with water before baking it.

To make Preston Yancey’s recipe this time, I used:

1150g of all-purpose flour, plus more for kneading
3.5 cups of warm water, divided into 2 3/4 cup, 1/4 cup, and another 1/2 cup because the dough was seriously dry
4 teaspoons of salt (come on, Preston.  One tablespoon and one teaspoon? Do you think I have all the time in the world to wash dishes?)
1 tablespoon of sugar
1 tablespoon of honey
2 teaspoons of yeast (or one packet)
1 tablespoon of oil

1. Mix together the flour and 2 3/4 cups water in an extra-large bowl.  Set aside for 15 minutes.

2. Pour sugar, honey and yeast over 1/4 cup water.  Set aside for 15 minutes.

3. Grind your salt using a mortar and pestle.  Ponder why I am doing this.

4. When the yeast mixture is nice and bubbly, pour it over the flour and water mixture and knead to combine.  Now add the salt.  Add another 1/2 cup water if your dough needs it.

5. Lightly flour your counter.  Knead your dough for five minutes until it is nice and smooth. This step combines my two least favorite activities in baking: getting my counter and floor covered in flour, and kneading.  Don’t you know your bread will do that for you if given enough time, Preston???

Eh, this wasn’t as bad as I thought it was going to be.  The dough absorbed most of the flour as the gluten formed, so there wasn’t too much to clean up in the end.

6. Let your bread rest on the counter while you clean your extra-large bowl.  Coat the inside of the bowl with oil.  Shape your dough into a ball and place it smooth-side up.  Cover the bowl with plastic wrap and let rise for 2 hours, stretching and folding every so often, until doubled in size.


7. Take two clean cotton towels or cloth napkins and coat them with flour.  Place each inside a medium-sized bowl.

8. Divide your dough into two equal halves, then shape each one into a ball.  Place it smooth-side down into your proofing bowl.  Cover with the corners of the towel and refrigerate your dough for an hour.

9.  Place your dutch oven in the oven and preheat to 500 degrees F.  When the oven is ready, remove the lid of your dutch oven and gently drop your dough into the dutch oven so the smooth side is now on top.  Spritz the top of your dough with water from a spray bottle, then score the dough with a razor blade.  Return the lid to the top of your dutch oven.

10. Bake at 500 degrees F covered for 15 minutes, then bump the heat down to 450 degrees F and bake another 15 minutes.  Remove the lid of your dutch oven and bake a final 15 minutes, until the crust of your dough is very hard and the bread is nice and golden brown.


It turned out quite nicely!  And more importantly, because I remembered the salt, it was also tasty.  A minor quibble again is that the holes did not turn out very big.  Despite the small holes, the crumb was light and airy.  My family used it to sop up buffalo wing sauce.


As hard as it’s been to follow the instructions, I think overall it’s been a good thing.  There are several improvements to my baking that I’m going to carry forward to my other recipes, namely the three-step baking process for crispy crust, the refrigerated proofing bowl method, and using a razor blade to score the loaves.
Sometimes it’s hard as a baking autodidact, because cookbooks aren’t always clear about why each step is important.  For a long time, I didn’t understand why you only lightly cover your dough with a towel during the final rise before baking.  I thought you were trying to keep in the moisture; I didn’t realize that you were trying to dry it out a little bit!  I also didn’t understand why you would use a couche or proofing bowl; now I know that it helps your dough (especially high hydration doughs) keep its shape during the final rise and not spread out too much.  That’s why I set out to document the science behind the baking process, so I could understand for myself and my readers what dough does.
In any case, I have learned a lot already from this process of making the same bread over and over again.  I probably would not have kept up with this recipe otherwise.

My favorite posts

I recently updated my About Me page to include some favorite posts I’ve done.  I figured it would give new readers a sense of who I am as a blogger.

But I didn’t anticipate how hard it would be to pick just a few!  Looking over my posts, I saw so much in each of them.  So much of who I was when I wrote them.

I just couldn’t pick a handful.  So here is the list I ended up with, and explanations for why I picked them.

Adjusting to the new normal, part I Reflections on early motherhood with Little Bread Dude #1

Adjusting to the new normal, part II Early motherhood with Little Bread Dude #2

Argentine sopaipillas Because it always feels really meaningful when I make recipes I enjoyed during my study abroad year

Chocolate crema cake My friends’ daughter had just gotten her diagnosis and everyone was trying to be strong and celebrate her first birthday

Chocolate red wine cake I fangirl over Deb Perelman of Smitten Kitchen

Cider bread and big changes I announce my pregnancy with Little Bread Dude #1)

Easter bread I wax philosophical about my faith journey

Easy granola bars I cheer Mr. Bread Maiden’s accomplishment of running a marathon

Edible finger paint  Back when I thought I could control Little Bread Dude’s artistic process 😉

The Science Behind… the baking process in eight sentences with crappy illustrations Because I was cracking myself up when I wrote it

Wiener schnitzel and cooking with kids Because my little guy almost made me cry I was so proud of him

Adjusting to the New Normal, Part II

I was curious, so the other day I counted.  Since the revitalization of this blog around November 2015, I’ve published 53 posts.

very first picture I uploaded to this blog, back in 2008

The Bread Maiden has been around 8 years, during which time I’ve published 139 posts.

Which means 38% of my posts have been published in 3.5% of the time my blog has been in existence.

What has led to this huge spike in posts?  Good question.

Starting in November, blogging suddenly went from being something I like doing once in a while to a full-blown feverish desire that is showing no signs of waning.  At any given time, I have between five and eight drafts or ideas that I’m working on.  I have posts scheduled to publish on facebook every other day for the next two weeks.  As soon as I hit publish on one completed post, more ideas come pouring in. 

I’ve been reflecting on why this might be.  It’s not like I suddenly have tons of time – in fact, with two kids, I have less time to blog.

And yet, I believe Little Bread Dude #2’s birth was the catalyst for my writing boom.  His arrival was a reminder of the importance of community, and of the communal nature of food.  In the months after his arrival, I let my community feed me and care for me.  My family and friends have been so amazing.  They’ve bounced my baby, brought casseroles, taken my oldest for adventures, and let me take my time to adjust to the new normal.  They haven’t complained when I moved our book club to my house.  They’ve flown in from all over the country; they’ve sent me late-night texts just because they know I’m awake.  I’m so grateful.  Thanks to them, I felt healed, and not just in a physical sense.

Eight months out, I’m feeling really good.  Getting back to my previous routine like book club and teaching Sunday School feel less like rigid obligations, and more like a comfy bean bag chair that still has my imprint from before but shifts around a little to make room for the new me.

After having each of my babies, time slowed down, and my world contracted for a while.  So many hours were (are still!) spent in the quiet of the early morning.  The repetition of folding mountains of laundry, of recording ounces pumped and ounces gained, of changing diaper after diaper, of singing songs to a squalling audience of one, can be drudgery or as a way to enter the spiritual realm of the ordinary. I think there’s a reason so many monastic orders focus on repetitive practices as a way to see God’s presence.

This time around, I really felt connected to the divine in the mundane, and wanted to get my hands deep in dough again.   As I’ve read more and more books on bread, and more books on spirituality, I’ve seen their intersections more clearly. I’m not the only one – Peter Reinhart, Shauna Niequist, Preston Yancey, Sarah Miles, Lauren Winner, and many others see it too.

As Shauna Niequist says in her book, Bread and Wine,

“It’s no accident that when a loved one dies, the family is deluged with food.  The impulse to feed is innate.  Food is a language of care, the thing we do when traditional language fails us, when we don’t know what to say, when there are no words to say.  And food is what we offer in celebration– at weddings, at anniversaries, at happy events of every kind.  it’s the thing that connects us, that bears our traditions, our sense of home and family, our deepest memories, and, on a practical level, our ability to live and breathe each day.  Food matters.”


Bread symbolizes so much – communion with each other and with God.  Peter Rollins says, “God is not the solution to all our problems. God is in the midst.”   Baking bread is the way I feel connected to my spirituality, even if I’m still trying to figure out what that means. 

While I was on maternity leave, my friend Christen told me she was leading a discussion group at our church on spirituality and food.   I wished I could’ve taken the course.  But more than that, I found myself wishing I could’ve taught it (sorry, Christen).

I knew then that I had to start teaching again.  Hosting Bread Camp always reminds me how much I love sharing my knowledge with others. If I can’t make Bread Camp happen as often as I want to, this blog is another way I can share with the widest audience possible.

Speaking of teaching (pardon the tangent), I have to tell you a funny story that happened yesterday: in the morning, Little Bread Dude wanted to learn how to make his own oatmeal.  I helped him measure out the ingredients, then press the buttons for 2-0-0-start on the microwave. 

Then in the evening, he was complaining about dinner so I told him he could make his own dinner.  Fully expecting him to give in and admit he could not, I watched him take out three eggs, crack them into a bowl, put them in the microwave, press 2-0-0-start, and dang, if he didn’t cook those eggs.  I was too impressed to be angry anymore.

my favorite baking student

All that to say, I have less time to bake than before, but I still carve out that time.  I’ve found the combination of baking and blogging to be immensely satisfying.  I really missed baking after I first gave birth, which is the same way I felt after I had Little Bread Dude #1.  I wrote about it a little bit here.

So here we are.  Adjusting to a new new normal, one that expands to fit all the searching and questions and stillness and practice and drudgery and magic.

And, as before, what it is…

…is wonderful.

Going rogue on Preston Yancey’s white bread, attempt #4

I’m at week 4 of Preston Yancey’s Out of the House of Bread.  At this point, this bread should be coming out perfect. I’m not really sure why it’s still giving me so much trouble.  I don’t think anyone else can tell, but I can tell and it’s driving me crazy.
This week, I dreamed of making baguettes.  I figured this recipe would work with a few tweaks.
It’s sort of funny; each time I make the recipe I simultaneously move closer and further away from the original recipe as written.  For example, this time I got the ingredients mostly right, but gave them a longer rise and shaped them differently – into baguettes!  Then, I let them rise using a couche (a technique introduced to me by Yancey) and got to try out one of his techniques I had hitherto not needed: spraying the baguettes with water before scoring them to get a crispy crust.  
If you want to learn more about why I’m making this recipe multiple times, check out this post.

Mistake #1:  Wrong flour.  This wasn’t really a mistake so much as a failure to plan.  I ran out of all-purpose flour at 400 grams, and had to substitute whole wheat for the other 800 grams.  Not the worst problem ever, but it does affect gluten formation.  Whole wheat flour has less protein content than AP flour and absorbs more water.  I added 800 grams of water (instead of the usual 775g) initially, then another 1/2 cup with the yeast, sugar and honey mixture.

Mistake #2: No salt.  I added the yeast mixture but completely forgot the salt this time. I think it’s because there’s no step that ‘reminds’ me to add the salt.  There’s the autolyse so I remember the flour and water, and the yeast mixture has yeast, sugar, honey, and water.  There’s no mixture requiring salt, so I forget to add it.

This time, I wanted to maximize flavor, so I only added 1/2 teaspoon of yeast so it would have a long fermentation time.

Autolyse

Added oil and yeast mixture

Again, to maximize flavor, I covered my bowl and let it ferment overnight in the refrigerator.

After I refrigerated it overnight, I took the bowl out the next morning and let it rise on the counter for another four hours.  Then I divided the dough into eight pieces, rolled them out into baguettes, then let them rise another hour in my floured towel couche.

Now I had a bit of a problem.  The baguettes would not fit in my dutch oven, but they still needed conductive heat for oven spring.  I used a heavy baking sheet upside down.

I used a plastic placemat as a peel to transfer the dough to the oven.

I had to straighten them a little after the transfer

Spraying the baguettes after scoring them.  This picture is blurry because the sprayer created lots of steam!

I was very happy with the results.

I was also very happy with the crumb.  Look at those nice holes!

I was hosting the after-church fellowship hour, so I cut these up and brought them with my soup.  Even without salt, they got rave reviews.  The whole wheat ended up being a benefit because they didn’t go stale as fast as regular white flour baguettes. 

Have you ever taken a recipe and made it yours? How much do you think you need to change it before you can call it your own?  Please leave me a comment below!

The Science Behind… the baking process, one sentence & illustrated edition


I know my The Science Behind… the baking process posts are a deep dive into the chemistry behind baking, and most people don’t need or want that level of detail.

Therefore, I challenged myself to create a quick version, broken down into the component parts of a bread recipe.  Each step gets one sentence.

Sentences contain several clauses; I’m not that concise.

Also pictures.  Really, really terrible pictures made in Microsoft Paint.

In this post, I will attempt to synthesize the science behind the following topics:

1. hydration
2. mixing
3. kneading
4. rising/fermenting
5. shaping
6. scoring
7. baking
8. resting/staling  

This is either going to be really awesome, or just embarrassing for all involved.  I’ll let you be the judge.

1. Hydration – Ratio of flour to water measured by weight; ranges from sandwich breads at 66% to french baguettes at 85% to quick breads at 100%.

2. Mixing – Weigh your ingredients using a kitchen scale for greatest accuracy and to troubleshoot; use your fingers to mix so you can really feel how the flour is absorbing the water; let it rest for ten minutes to form your gluten net (flour + water) without having to knead.

3. Kneading – Gluten net will form naturally by the flour and water if given enough time; help the net along by doing stretch and folds.

4. Rising/fermenting – Yeast eat the sugars in flour (or added sugar) and release carbon dioxide bubbles that get trapped by the gluten net and rise your dough; they also release ethyl alcohol which gives good flavor; use less yeast for better flavor and more yeast for faster rise.


5. Shaping – Not only makes your dough pretty but stretches and organizes your gluten net more uniformly; provides smooth surface for scoring later.

6. Scoring – Not only makes your dough pretty but provides weak points in the surface for the bread to expand; particularly important for doughs baked at high temperature (425 degrees F and up).

7. Baking –  High temperature leads yeast to release carbon dioxide bubbles more rapidly, causing oven spring before the yeast dies off; water moves from gluten to starch, leading to browning.
 

8. Resting / staling – Wait until bread is cool to eat it; it is commonly thought that staling is caused by water loss but in fact the stale taste and texture is due to sugars slowly attempting to recrystallize into rigid glucose chains.

So… that’s my illustrated, one sentence The Science Behind… the baking process.  Once I started creating these illustrations I could NOT stop. 

I hope this was helpful to you.  Let me know if you liked my illustrated guide in the comments below.  If you didn’t, just pretend you don’t know me and avoid eye contact in the hallway.