Dan Leader’s Fig and Cognac Bread

img_6016

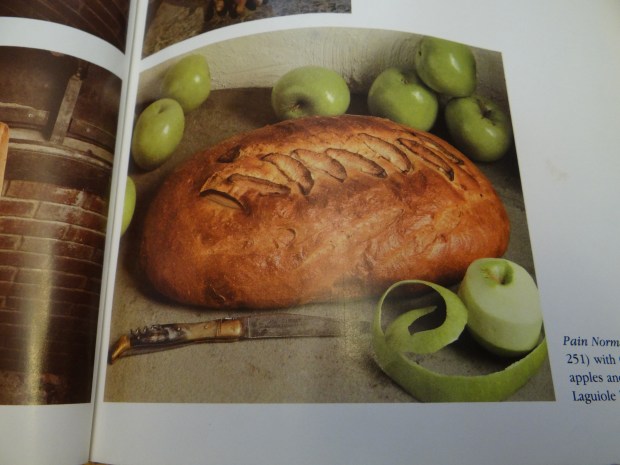
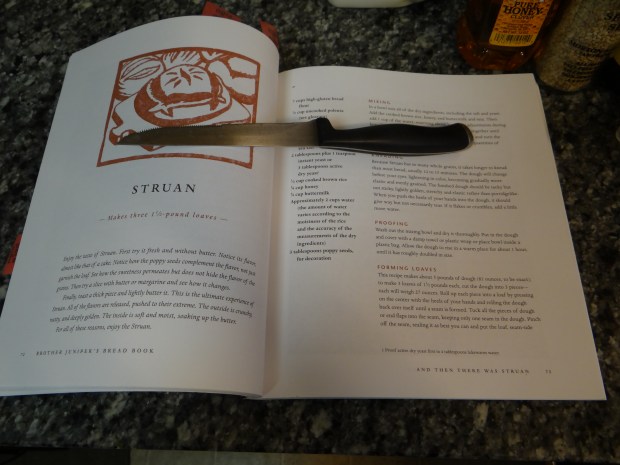
As I continue baking my way through Dan Leader’s Bread Alone, I’ve noticed a pattern in the breads I’ve flagged to try out.  For the most part, they’re all very dense and have either fruit, cheese or other mix-ins.  In my defense, most of Leader’s breads are like that.  But I also think the middle of winter calls for homey, rich and luxurious breads to match.  I flagged nine recipes and this is number eight.  The first was Pain Normand made with apples and cider, and you can check it out here.img_5996

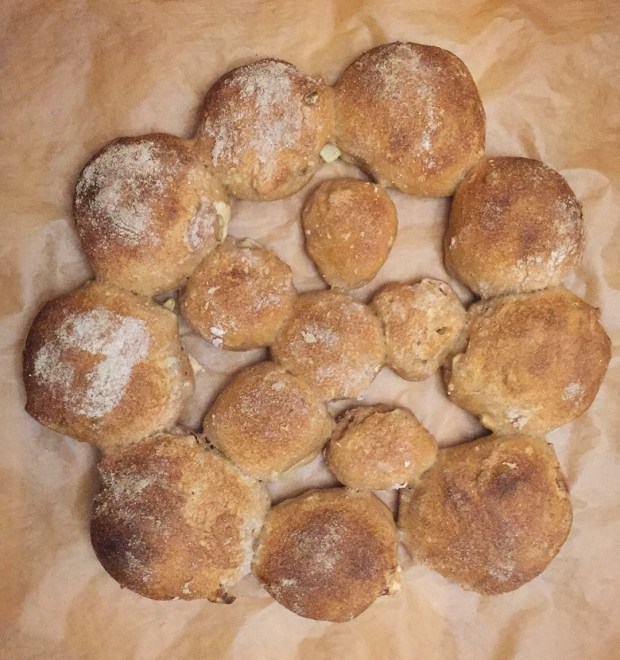
My reading comprehension is always fairly low the first time I try a recipe from a different author.  The Pain Normand was no exception.  This time I tried to stick to the original instructions as much as possible.dsc03632

There was one important change I made to this recipe: I excluded the hazelnuts because 1) I didn’t have any on hand, and 2) little bread dude is allergic to tree nuts.  Now, sometimes I’ll just tell him not to eat any of whatever it is that has nuts in it.  But because, again, I didn’t have any, I just decided to omit them.  I do love hazelnuts though and I bet they’d be really good here.

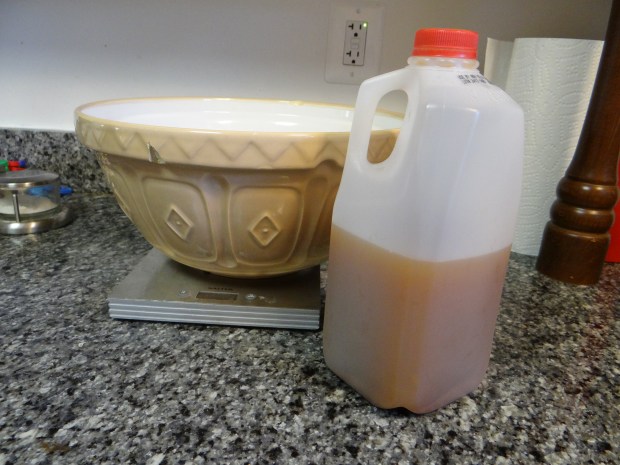
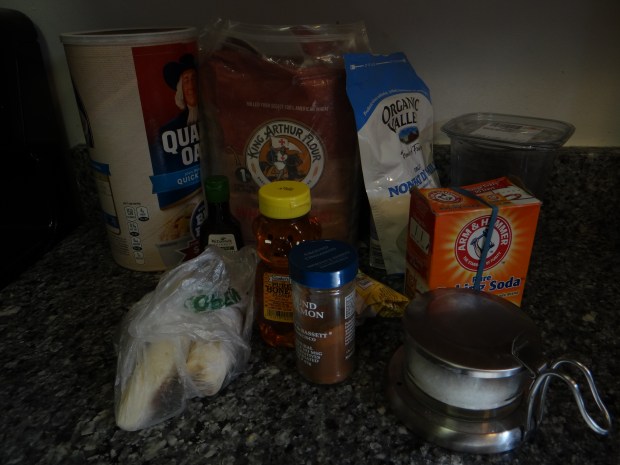
For this recipe (makes two loaves) you will need:dsc03638

for the poolish:

1/2 cup water

1/2 teaspoon yeast

1/2 cup AP flour

1/4 cup whole wheat flour

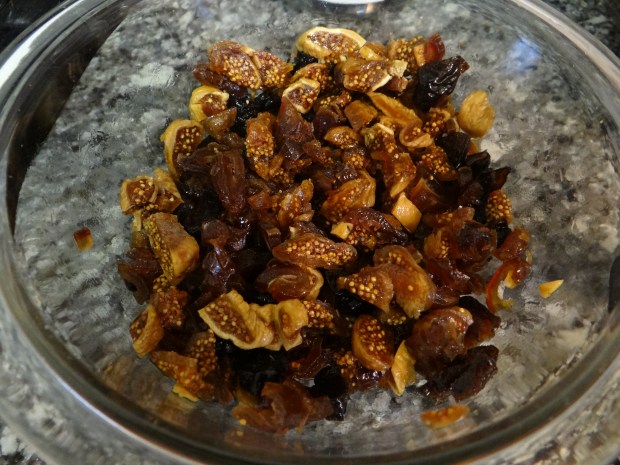
to reconstitute the dried fruit:

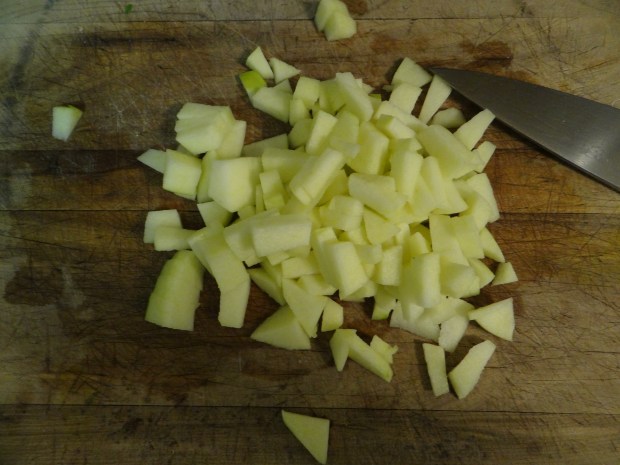
1 cup chopped dried figs (I included a mix of figs, dates and prunes)

2 tablespoons cognac or armagnac

for the final dough:

1/2 teaspoon yeast for the final dough

1 tablespoon salt

1 cup cracked wheat (or ground wheat berries, bran or germ, or other coarse grain)

5-6 cups 60/40 mix of AP flour and whole wheat flour.  I alternated cups of each type of flour

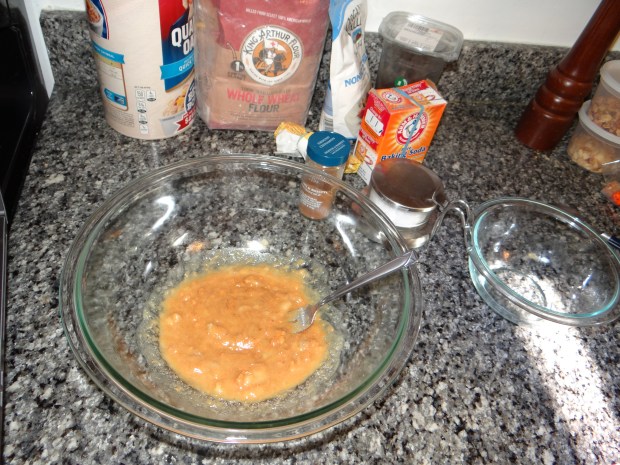
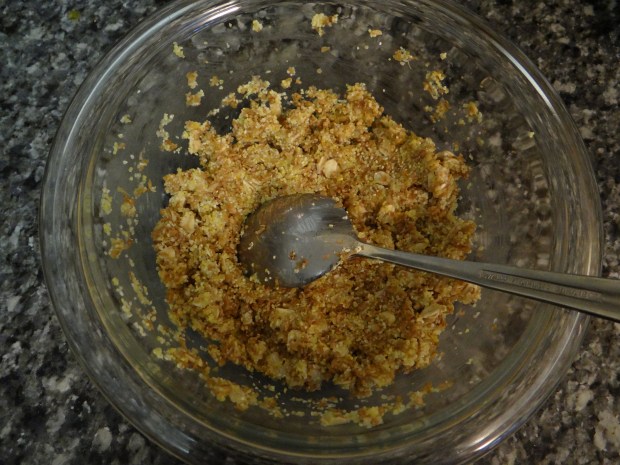
  1. mix together the chopped dried figs and cognac in a small bowl.  Let sit for eight hours or overnight.dsc03634
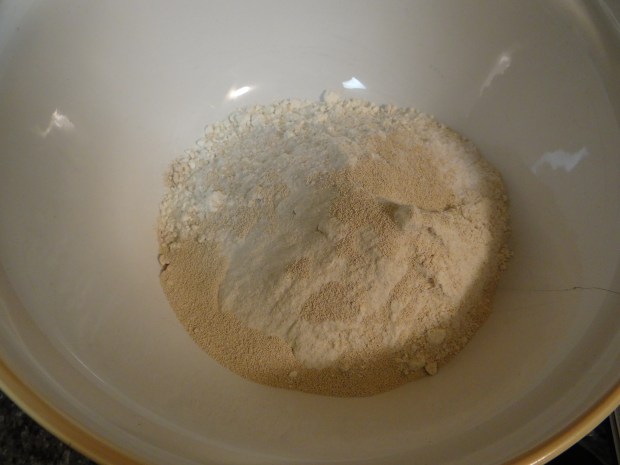
  2. mix together the ingredients for the poolish and let sit until risen and bubbly, between 2 and 10 hours (in our fairly cool kitchen in wintertime it took five hours)
    dsc03635

    how the poolish looked in the morning

    dsc03637

    How the poolish looked in the afternoon

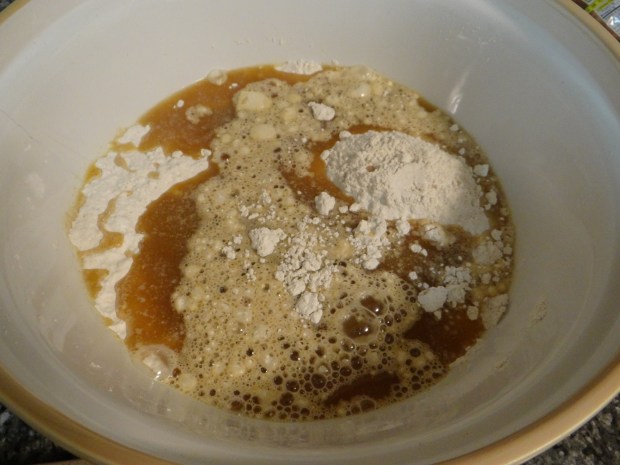
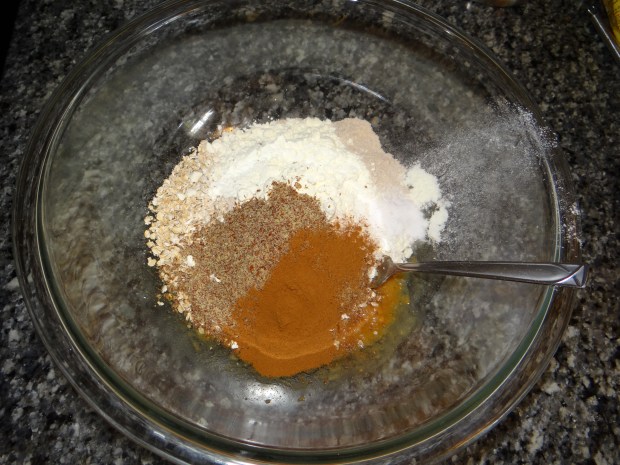
  3. mix together the poolish, 2 1/2 cups of water, and 1/2 teaspoon yeast.  Stir to break up the poolish.  Now add the salt, 1 cup cracked wheat and 1 cup of your 60/40 mix and stir to combine.
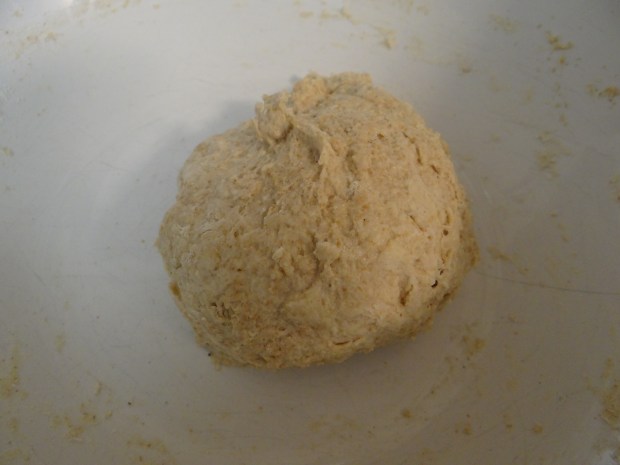
  4. Continue adding flour, one cup at a time, until the dough is very stiff.dsc03638
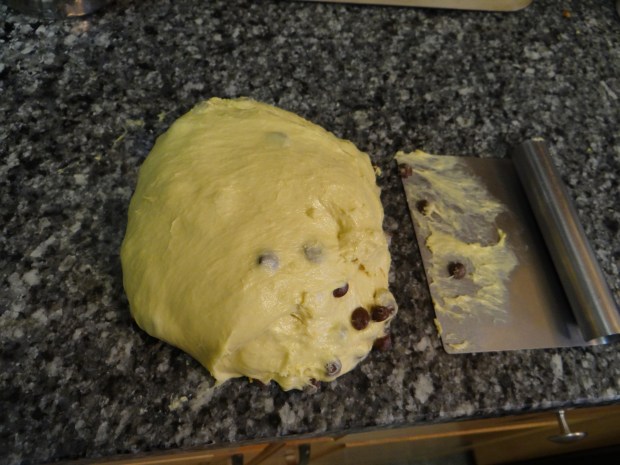
  5. Transfer your dough to a lightly floured counter and knead for 10 minutes, adding just a little flour if the dough starts sticking to the counter.dsc03639
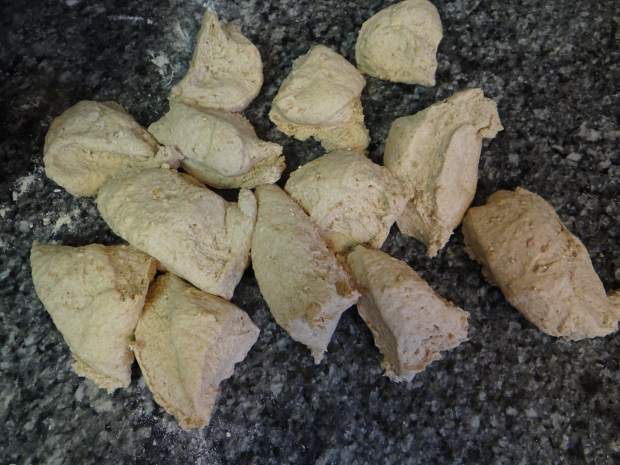
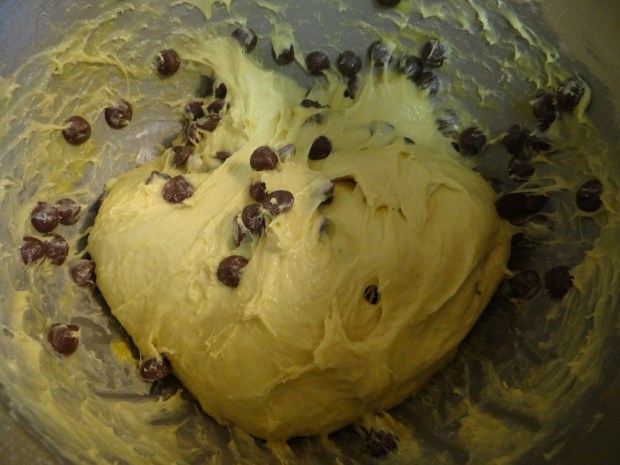
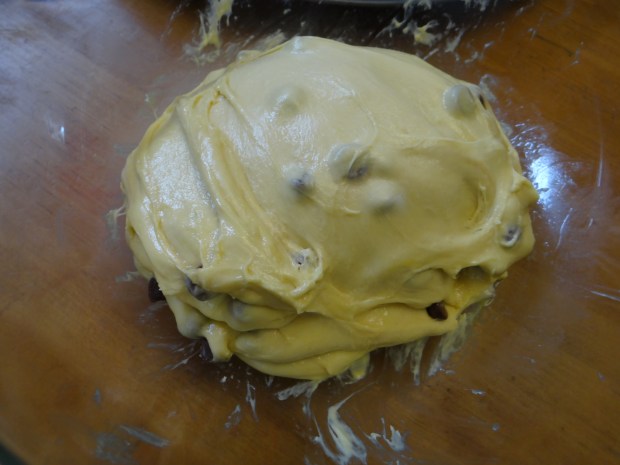
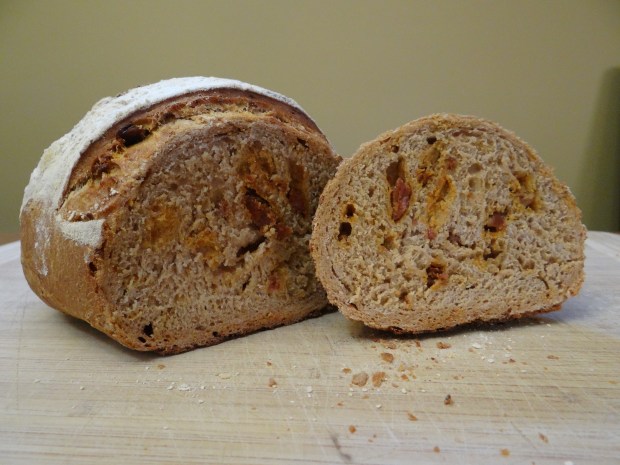
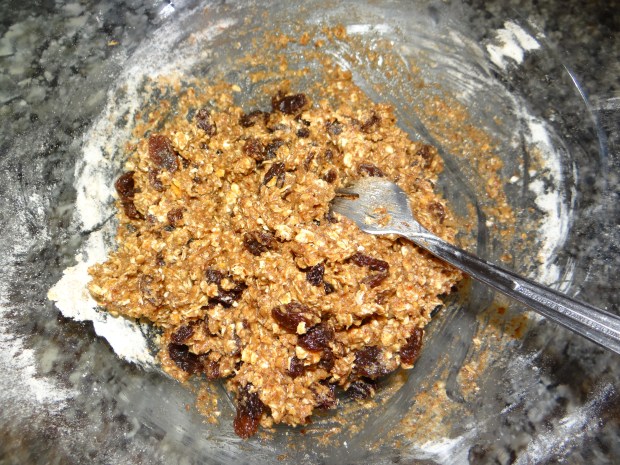
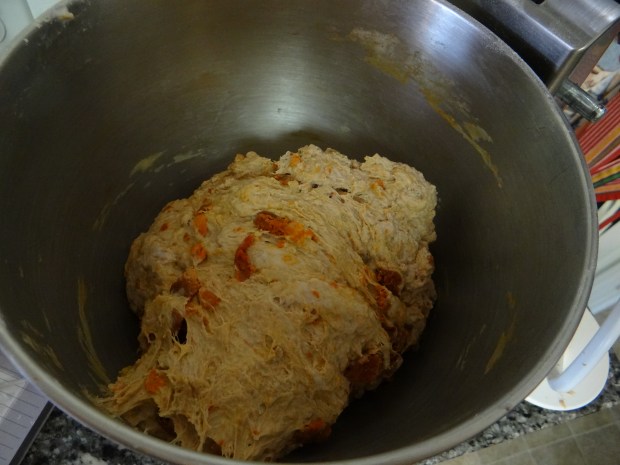
  6. Cut up the dough into chunks and knead in the dried fruit.  The reason I say cut up the dough first is that it breaks up the gluten strands so the fruit is easier to mix in.dsc03640dsc03641
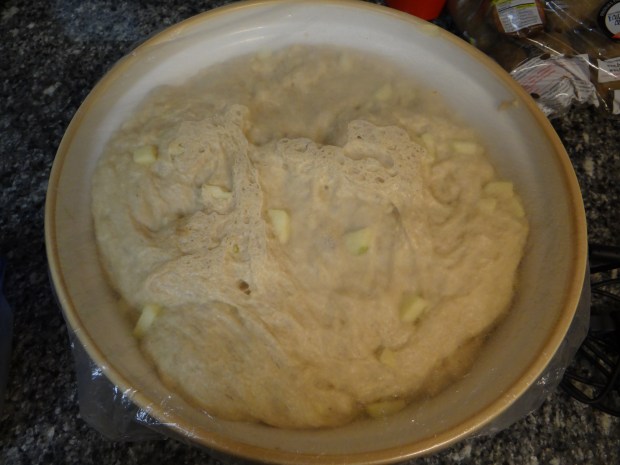
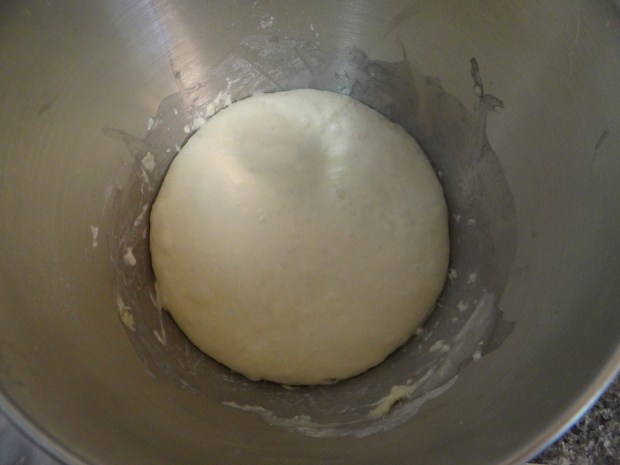
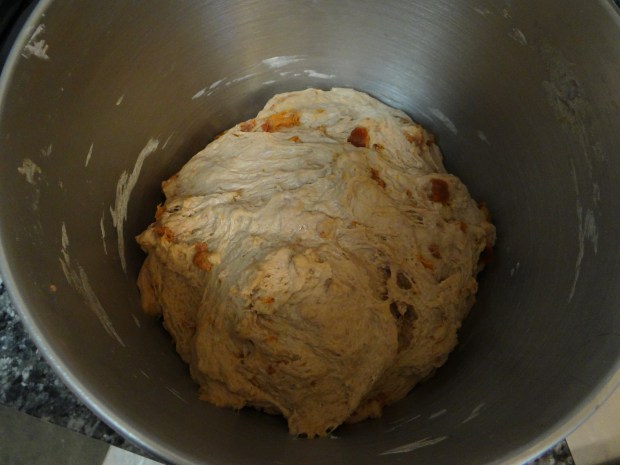
  7. Transfer to a large bowl and let rise 2-3 hours.  dsc03642
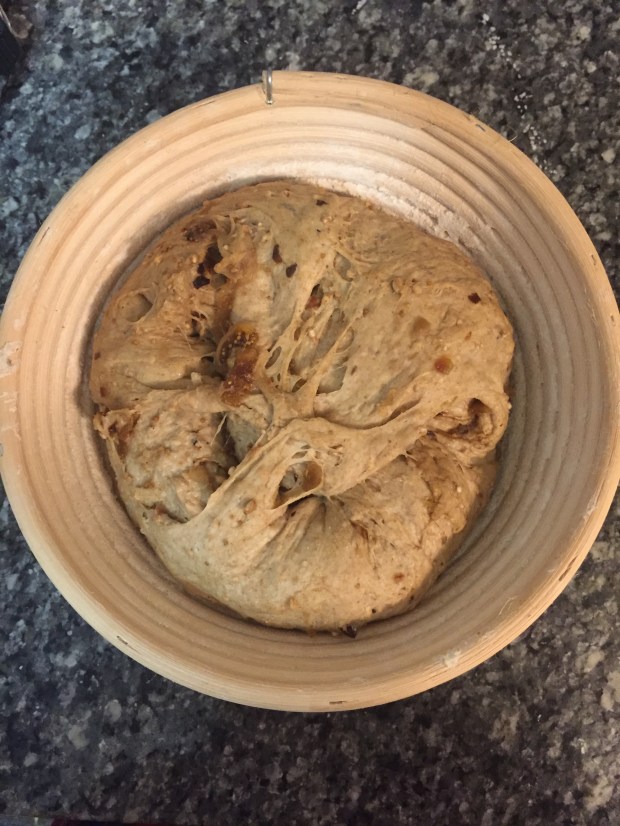
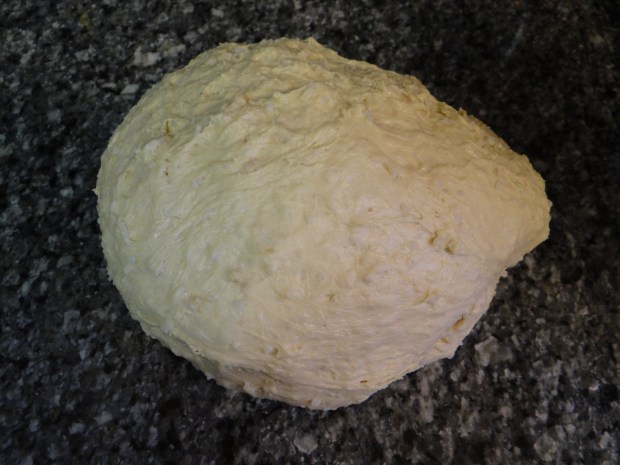
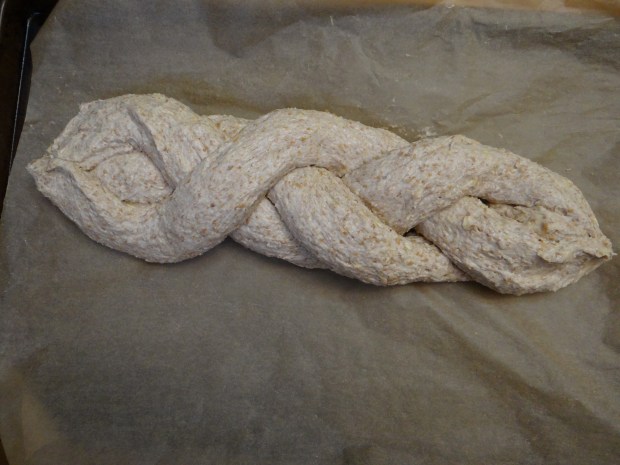
  8. deflate the dough and let rise 30 minutes, then divide and shape the dough into two boules. Transfer each boule so it is smooth side down into a floured banneton, willow basken, or napkin in a small bowl.  Let rise an additional 1.5 to 2 hours.img_6013
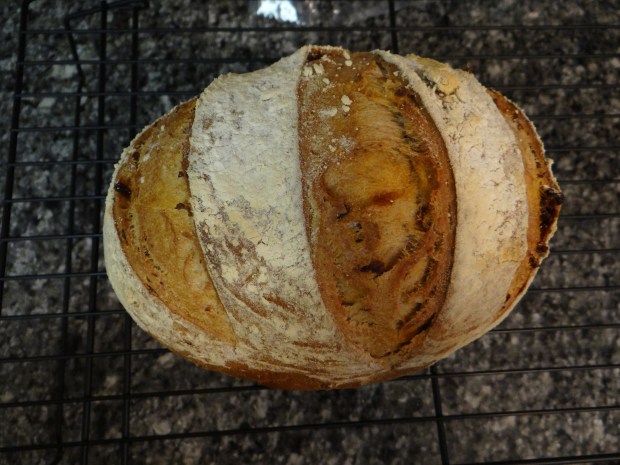
  9. Preheat the oven to 450 degrees F with a cast iron dutch oven inside.  Transfer your dough to the dutch oven so the smooth side is now facing up and the seam is on the bottom.  Score the top of your dough and cover the dutch oven and bake 15 minutes.  Then bump the temperature down to 375 for 15 minutes with the lid on, then remove the lid and bake for fifteen minutes more.  Remove the bread from the oven and let cool completely, several hours or overnight.img_6014IMG_6016.JPG
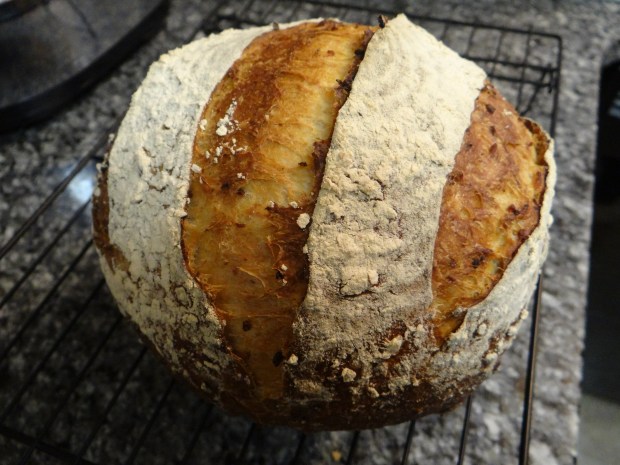
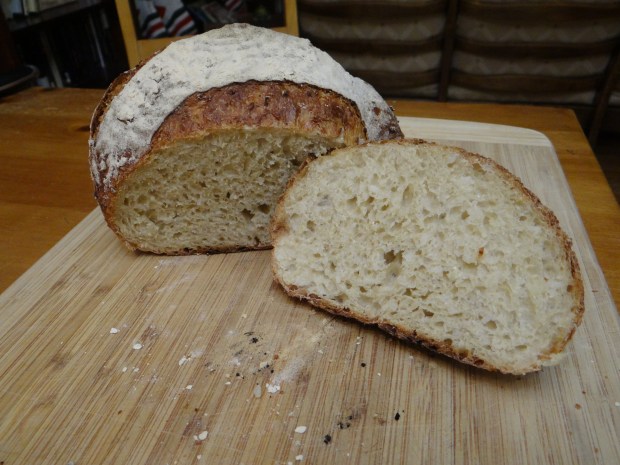
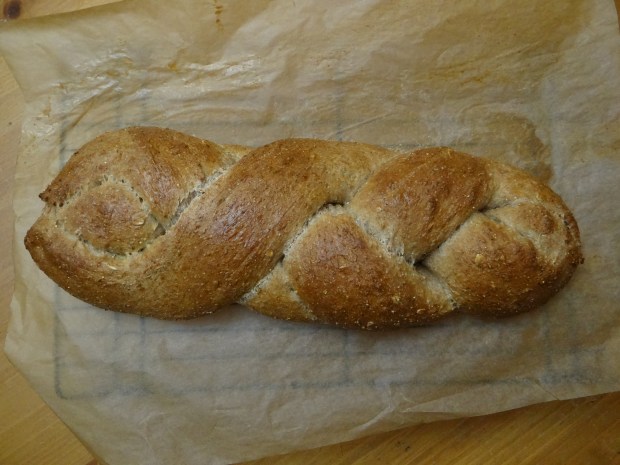
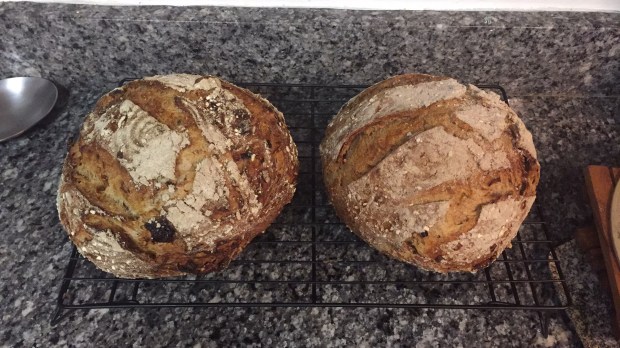
This bread was the perfect sweetness, and great for toast spread with peanut butter or regular butter.  I’ll definitely make it again.  My family was really impressed with this one.  Next up… dark pumpernickel with raisins!

Pain Normand(e) for Epiphany

img_5996

Dan Leader calls this recipe Pain Normande, but it bothers me because the word pain is masculine, so the adjective for Normandy would not have an e at the end.

Anyway, a few weeks ago a friend of mine asked for recommendations for bread books that would be good for beginners.  I wasn’t really sure, since I had mostly learned by trial and error.  But I had heard good things about Dan Leader’s book, Bread Alone, on thefreshloaf.com.  I decided to check it out.  Book review to follow.

dsc03607

There was a lot to like about the book.  Leader has a very specific voice, and he tells his story well.  You can’t help but love his friend Basil, who introduces Leader to Parisian baking culture and puts him in touch with the LeFort family makers and repairers of the prized bread ovens.  The pictures were great, if a little dated:

DSC03610.JPG

The recipes were really creative, and I tagged a few to make over the next few weeks:

DSC03611.JPG

And at the same time, he has straightforward recipes for breads made with commercial yeast, sourdough and baking soda.  It’s a good cookbook for someone already familiar with baking.

I will say, though, that I had a hard time remembering the steps after I read them.  For example, on the first page of the Pain Normande recipe, it says mix and knead the final dough.

dsc03614

And so, even though there were lots of words on the page after that, I just mixed everything together.  Which was a problem, because you weren’t supposed to just mix everything together.  The apples, in particular, shouldn’t have been added until after the second rise (there were four rises total, including the final proof).  I dunno, sometimes it takes me a while to get in the rhythm of a baker who isn’t Peter Reinhart (see Preston Yancey’s Out of the House of Bread series).

Ok, now that I’m talking about the Pain Normande recipe, I should probably get to it.

The reason I chose this recipe as my first from Dan Leader’s book is because we have a glut of apple cider from our CSA and so I’ve been experimenting with replacing the water in bread with apple cider and having pretty lackluster results.  I thought maybe there was something I was supposed to be doing to better incorporate it.

For two loaves, (or one loaf and two coronas!) you will need:

dsc03618

3 cups unfiltered apple cider, room temperature (my only gripe with this cookbook is it doesn’t include metric measurements!)

4 teaspoons commercial yeast

1 cup whole wheat flour

2 tablespoons sea salt

5ish cups AP flour

2 cups (about 3 apples) cored, peeled and finely chopped apples.  In retrospect I should’ve chopped them more finely.  I think a dice would’ve been perfect.

So, since this is a recipe for how **I** did it, I’ll tell you how I did it.  If you want to real recipe you can find the book.

  1. Start the night before you plan to bake this bread.  Mix everything together. dsc03619dsc03620dsc03621dsc036222. Mix everything together, adding flour if necessary to form a ball of dough.  Cover the bowl and let rise overnight.dsc036233. In the morning, punch the dough down and refrigerate it for five hours.  Again, this is not what the recipe says, but I can’t read. dsc03628dsc036254. After the five hours of refrigeration, take the dough out, punch down and let rise an additional two to three hours on the counter.  dsc03629
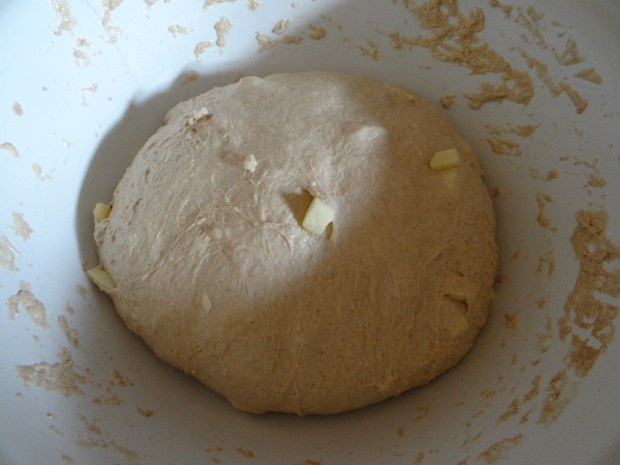
5. Now is time to shape.  I knew I wanted to make a corona (crown) shape with one of the loaves, so I divided the dough in half and shaped one half into a boule (ball) shape and chopped the other half into smaller pieces.  I realized it was way too much dough for a single corona, so I made two.  I shaped the pieces into balls and placed them in a circle on parchment paper.  Sorry I didn’t take pictures of the raw dough 😦

6. Preheat the oven to 500 degrees F.  For a corona, heat up a pizza stone.  For a boule, heat up a cast iron dutch oven.  Bake your corona for 15 minutes at 500 degrees F, and an additional 20 or so minutes at 375 degrees.  For a boule, bake in a covered dutch oven for 15 minutes at 500 degrees F, drop the temperature down to 375 degrees for an additional 15 minutes, then remove the lid and bake for a third 15 minutes.

IMG_5996.JPG

And now, because I think it’s important to share my mistakes along with my successes, here is my boule:

IMG_5997.JPG

What does it taste like?  Not as much apple flavor as I would’ve thought.  The dough smelled so much like apple pie while it was fermenting that I was excited it was going to be sweet, but it isn’t really at all.  It tastes like a flavorful whole wheat bun with some apple chunks, which is good too.  I tucked a coffee bean into one of the buns so some kid in my sunday school class is going to find it and get good luck in 2017.


Mini chocolate chip panettone

DSC03606.JPG

I’m writing this post four days before Christmas, and this time of year always makes me want to bake.  I love traditional, buttery, sweet seasonal breads, and panettone is one I will always associate with my time living in Argentina when I was in high school.

Looking through my archives, I’m amazed I’ve never actually made panettone before.  It’s possible I just made it but didn’t blog about it, but I find that unlikely.  I doubt I would make a bread this time-consuming and involved and not document it!

Some of the Christmas or Winter seasonal breads I’ve made for the blog are:

Stollen

Kugelhopf au lard

St. Lucia buns

Rosca de Reyes

Jamaican Black Cake

I would not recommend this recipe for someone new to baking.  Or at the very least, I would make it into a single loaf instead of mini loaves.  The dough is too sticky and difficult to work with.  But that’s just my opinion.

This panettone recipe is Peter Reinhart’s Artisan Breads Every Day.

For this recipe (to make one large loaf or 24 mini loaves) you will need:

dsc03589

Sourdough starter

3 tablespoons active starter

170g bread flour

1/4 cup water (I had to add slightly more)

Final Dough

All of the sourdough starter

1 tablespoon honey

1/4 cup lukewarm water

1 teaspoon instant yeast

1 egg at room temperature

3 egg yolks at room temperature

1 tablespoon vanilla extract

213g bread flour

1 teaspoon salt

3 tablespoons sugar

3/4 cup butter at room temperature

1 1/3 cups chocolate chips

  1. Make the starter the night before you want to bake.
  2. I didn’t read the instructions properly and threw all the ingredients of the final dough together up until the butter.  Oops!  It seemed like it turned out okay though.  Throw the first ten ingredients into the bowl of a stand mixer until combined.  Then add the butter one tablespoon at a time, waiting until each tablespoon is incorporated before adding the next.  Mix VERY, VERY well for a looooong time until the gluten starts to cause the dough to pull away from the sides of the bowl, about ten minutes.  Then add the chocolate chips and mix another 2-3 minutes.  dsc03590
  3. Transfer your dough to a clean countertop and do several stretch-and-folds to strengthen your dough. The dough is super, super sticky. Then put it in an oiled bowl and cover and let rise for 6-8 hours.dsc03591dsc03593
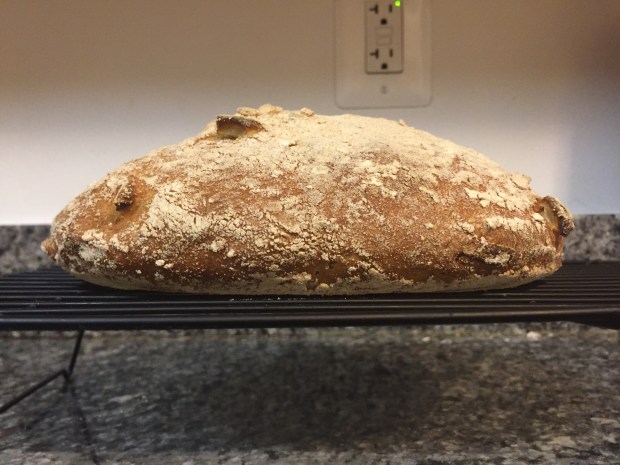
I did several more stretch and folds over the course of the dough rise because they make the dough rise faster by redistributing the yeast and sugars.  And I needed these loaves to be baked, finished and cooled by 5pm so I only had 10 hours for a recipe that, according to Peter Reinhart, takes at least 19 hours. So I gave the first rise five hours.dsc03594
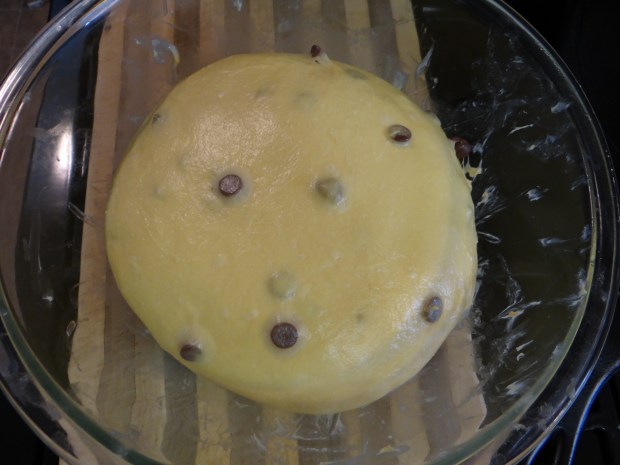
Thankfully the dough complied with my time constraints.
  4. When it’s time to shape your dough, divide it into however many pieces you want (either one large loaf or as many little loaves as you want).  I wanted to make mini loaves, so I divided the dough into small pieces of about 75g.  Because the dough was so sticky I didn’t weigh the pieces.dsc03597
  5. Roll each piece into a ball and place them in an oiled muffin tin or with cupcake liners.  This is harder than it sounds with this super sticky dough.  Then use a brush to brush an egg wash on top of the loaves.  This isn’t necessary but for a buttery, golden dough like this I like a nice, extra-golden crust.  dsc03595dsc03596
  6. Cover and let rise for (according to Reinhart) 12 hours, or if you’re me, 2.5 hours.  Eh, close enough.  Because I was worried about the dough sticking to the towel, I set up this contraption using two tall cooling racks and three towels:dsc03598dsc03599
  7. Preheat your oven to 350 degrees F.  Bake your dough for 25-30 minutes until golden brown.  Then cool completely before eating.dsc03601dsc03604dsc03605
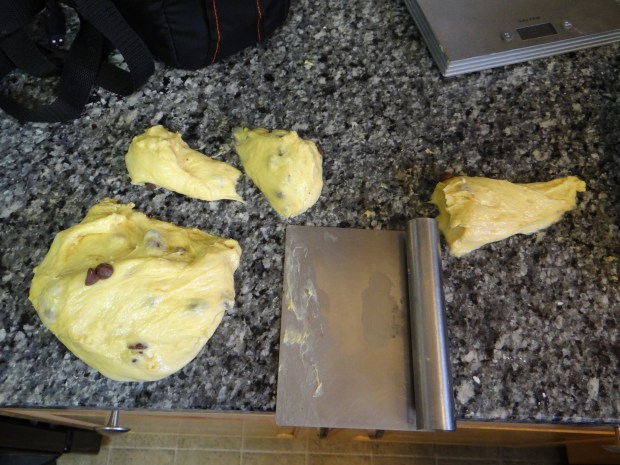
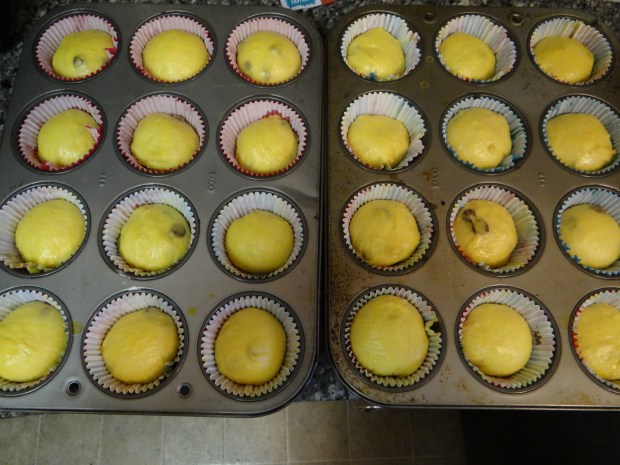
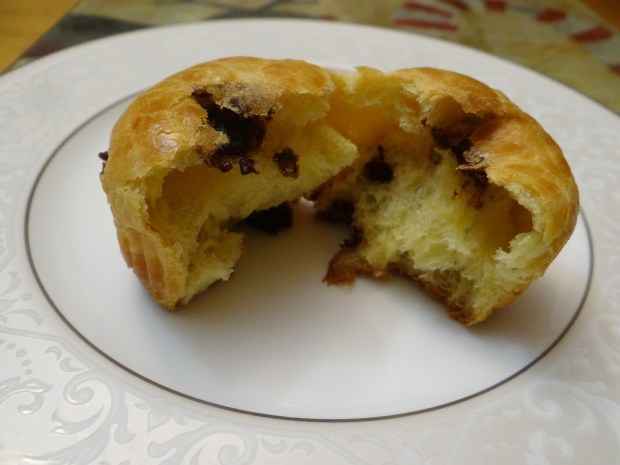
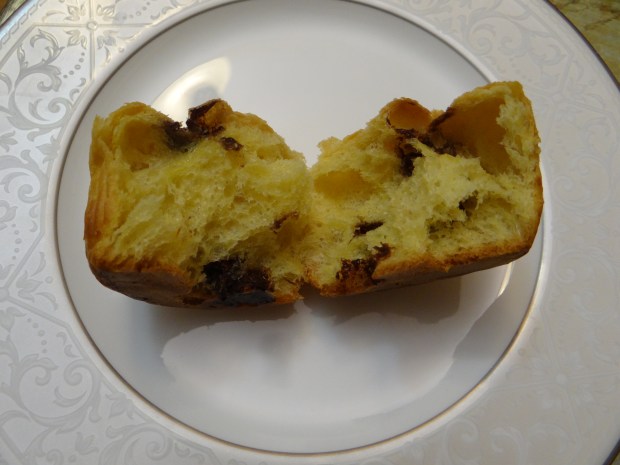
These were so amazing!  They taste a bit like popovers and the chocolate chips were awesome.  I brought some next door for our neighbors’ Christmas party and then ate the rest.  The end.

Most Popular Posts of 2016

2016 was The Bread Maiden’s most productive year ever.  I went back and counted and I published 103 posts this year, nearly half of all the posts I’ve written since the inception of The Bread Maiden in 2008.

Here are the posts YOU clicked on the most this year.  It’s an interesting list- not exactly what I would’ve expected.  I do like that it’s a representative sample of the types of posts I wrote this year.  There’s two The Science Behind posts, an Outlander Cookbook post, two Arlington County Fair Bake-off posts, and one biblical breads post.

A note: some of the most popular links you clicked on were actually pages, which are more collections of links.  I think I’ll also publish a list of the most popular pages.

Ok, so here they are, numbers 10-6, with my commentary:

10. The Science Behind… The baking process, illustrated and one-sentence edition

f7c1d-baking2b3

This post only exists because a friend suggested it.  And it ended up being my very favorite post because I loved making the pictures using Microsoft Paint.  I have since included them in my Bread Camp 101 handout for participants.

9. A Bread Library Book review: Outlander Kitchen

DSC03457

I worked my way through several cookbooks this year, including Outlander Kitchen.  I was really impressed with the recipes and the thoughtful way they used the Outlander books as their jumping-off point.  This is a picture from when I tried out Stephen Bonnet’s salty chocolate pretzel balls, definitely a winning recipe.

8. Peter Reinhart’s multi-grain struan

DSC03166

I have several of Peter Reinhart’s cookbooks and they always include some variation of his struan.  This is from Brother Juniper’s Bread Book.  I adore Peter Reinhart’s writing and his recipes are 100% foolproof.  His pictures are completely authentic, so sometimes mine come out better than his look.  A nice way to boost a home baker’s confidence!

7. Beaujolais-Chorizo bread

dsc03533

This bread intrigued me when I first saw it in my issue of Saveur magazine.  It is quite intense, so it’s great cut into thin slices for a party smorgasbord to serve with meats and cheeses.

6. Some thoughts on Competing in the Arlington County Fair bake-off, Part II

IMG_5066

Both posts about the Arlington County Fair bake-off made it in the top 10 this year.  The same cannot be said for my breads 😦

I decided to break up this post into two parts so as not to be overwhelming.  Head over to Most Popular Posts of 2016, continued to check out the top 5 most popular posts of 2016.

Most Popular Posts of 2016, continued

With all my commentary, the post was getting way too long.  Here are numbers 5-1. To skip back to numbers 10-6, click here: Most Popular Posts of 2016

5. First century AD bread

DSC03042

For a while this year I contemplated writing a book about breads of the biblical times so I read a whole bunch of books on the topic.  I ended up scrapping that plan but this was a really good bread.  I need to make it again.


4. Some thoughts on Competing in the Arlington County Fair bake-off, Part I

IMG_5042

Despite his expression in this picture, my older Little Bread Dude enjoyed contributing to the bake-off this year and waking up early to submit our entries.  Even though we didn’t win, I think it’s good for him to see his parents striving and doing their best no matter the outcome.

3. The Science Behind: Creating a Sourdough Starter

dsc03536

I’m surprised so many The Science Behind entries turned up as being the most popular.  But I think knowing the science of baking is so key to being successful in the kitchen.  This year I learned even more about the magical properties of sourdough than I did before and it’s taken my rye breads to a whole other level.

2.The Science Behind: Using a Couche or Proofing Basket

dsc03581

Using a couche and bannetons was the other big baking breakthrough I had this year.  I thought they just make a pretty pattern, but they do so much more!  Happy to see this post get lots of love from you all.

1.Sarah Woolam’s scotch pies

DSC03450

I have to admit, this one has me scratching my head a bit.  Of all the Outlander Kitchen recipes I tried, this one was probably my least favorite.  I didn’t particularly like the dough, and I should’ve used more fat in the filling because it tasted really dry and the meat was too chewy.  So, if you do plan on trying this recipe, tester beware!

Thanks for checking out my Most Popular Posts of 2016!  Happy baking and see you in 2017.

Baking with cider

dsc03584

After yesterday’s success making cider squash muffins, I wondered if other baked goods could be improved with cider.  I decided to try out cider instead of water in my 2-3 white bread.dsc03575

Now, it wasn’t a controlled experiment.  I had leftover rice and oatmeal as well as two beaten eggs from an egg wash.  I threw them all in the bread.  Because the rice and oatmeal were already cooked, I didn’t need to change the hydration of the bread.  Eggs are only 75% water and therefore add only 90g to the 500g, an increase from 66% hydration to 78% hydration but I couldn’t really feel a difference in the final dough.

For this recipe, which makes two loaves, you will need:

750g all-purpose flour

500g apple cider

2 teaspoons salt

2 teaspoons active dry yeast

1/2 cup cooked oatmeal or rice (optional)

2 eggs, beaten

  1. Mix together all ingredients in a very large bowl.dsc03576dsc03577
  2. Once everything is mixed together, let it sit for ten minutes, then shape it into a ball.dsc03578dsc03579
  3. Cover your bowl and let it sit 8-12 hours until doubled in size.  Then divide the dough in half and shape into balls again so the top is smooth.  Place each one upside down into bannetons if you have them.dsc03580dsc03581
  4. Cover the bowls with a tea towel and place the bowls in the refrigerator for an hour.  Preheat the oven to 500 degrees F with a dutch oven inside.  When the time comes, upturn one of the bannetons into the dutch oven and score the top with a razor blade.  Cover the dutch oven and bake for 15 minutes.  Then bump the temperature down to 375 for a second 15 minutes.  For the final, third 15 minutes, remove the lid of the dutch oven.  dsc03582dsc03585dsc03587What do you think?  The crumb was so, so soft (probably because of the eggs, and the milk in the oatmeal).  I also think the apple cider performs the same function as a sourdough starter, making the dough slightly acidic to inhibit amylase enzymes and make the crumb nice, fluffy and chewy.  The cider also gave the bread a subtle but tasty tang.  I’ll be making more cider breads in the future!


Cider squash muffins

DSC03573.JPG

Like last year, I woke up on the day after Thanksgiving with a hankering for healthy muffins to counteract all that pie and stuffing.

With a pint of apple cider and a winter squash to use up, I adjusted a recipe I found in The Joy of Cooking that uses orange juice and carrots.

You will need:

dsc03564

1.5 cups all-purpose flour

1 teaspoon baking powder

1 teaspoon baking soda

1/2 teaspoon salt

1 teaspoon cinnamon

1/2 teaspoon cloves

1/2 teaspoon nutmeg

3/4 cup sugar

2 eggs

5 tablespoons (70g) melted butter or vegetable oil

1/4 cup apple cider or orange juice

1.5 cups shredded winter squash or carrots

1/2 cup raisins

  1. Shred your squash if you haven’t already.dsc03563
  2. Preheat the oven to 400 degrees F.  Grease one 12-cup muffin pan or use liners.  In a large bowl, whisk together the first seven dry ingredients.dsc03565
  3. In a second large bowl, mix together the sugar and eggs.  Then add the squash and let sit for ten minutes.dsc03566dsc03567dsc03568
  4. Add the raisins to the squash mixture.  Then pour the squash mixture into the dry ingredient bowl.dsc03569dsc03570
  5. Mix until just combined, then use a 1/4 cup measure to divide your batter into your muffin pan.  Bake 18-20 minutes until a toothpick comes out clean.dsc03571
  6. Let cool slightly before eating, although you can eat these muffins warm too.dsc03574
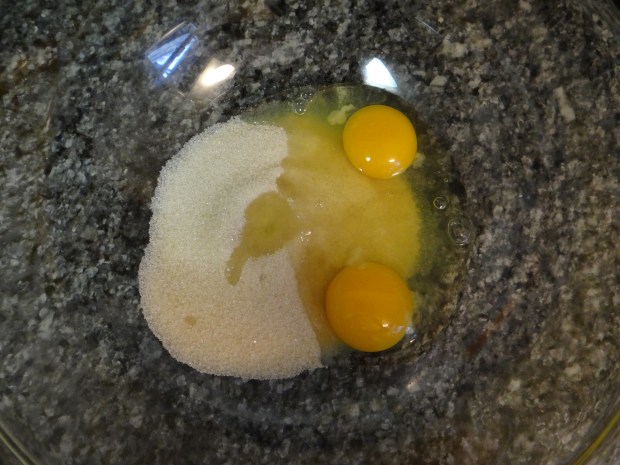
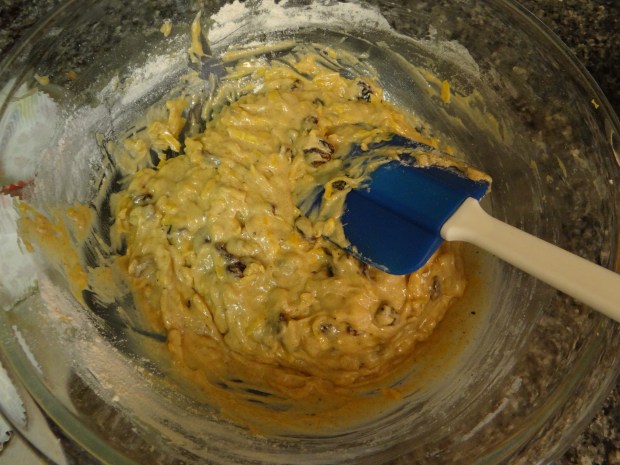
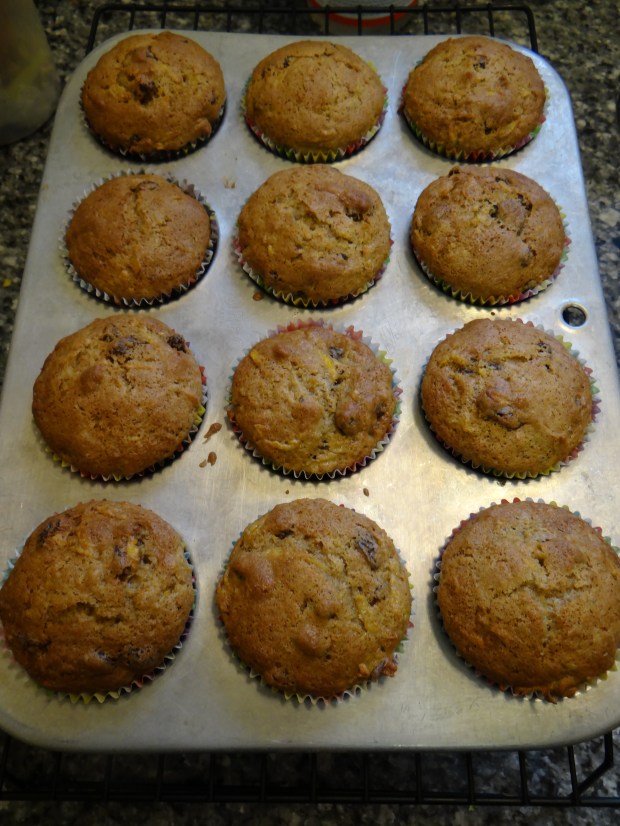
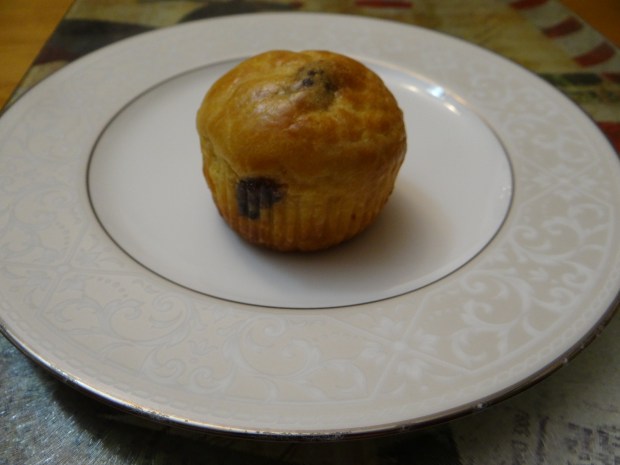
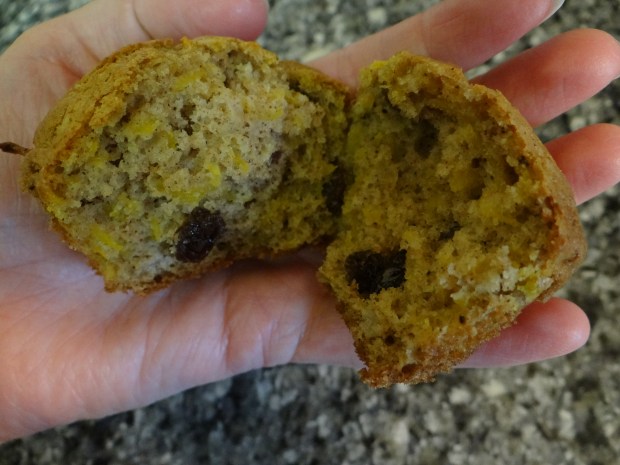
The Little Bread Dudes loved these muffins.  But then, they always do.  I hope you do too!

Oatmeal Breakfast Cookies

dsc03562

Now that Halloween’s over, I feel like the candy is taking over our house.  Not only does Little Bread Dude want a piece of candy for lunch and after dinner, but he’s even asked for a piece after breakfast!

I made these cookies in an attempt to quell the sweet tooth with a treat that’s healthier than candy.

Here is the original recipe.  I made a few tweaks such as: adding a 1/2 teaspoon of salt, made it in one bowl instead of two, let the dough chill, and the fact the recipe makes far fewer cookies than the recipe indicates.

You will need:

dsc03549

Sorry the first few pictures are dark.

1 ripe banana

1/4 cup honey

2 teaspoons vanilla

1/2 cup peanut or other nut butter

1 cup rolled oats

1/4 cup whole wheat flour (or gluten-free flour)

1/4 cup flaxseed oil

1/4 cup powdered milk or soy powder

2 teaspoons cinnamon

1/2 teaspoon salt

1/2 teaspoon baking soda

1/2 cup raisins

  1. Preheat the oven to 350 degrees F.
  2. In a large bowl, mash together the banana, peanut butter, honey and vanilla.  dsc03554
  3. Then add the rest of the ingredients and mix together.dsc03555dsc03556
  4. At this point, cover the cookie dough bowl and refrigerate for 1/2 hour to an hour.  Then use a 1/4 cup to measure out the cookie dough and put each ball on either a greased cookie sheet or one covered with parchment.dsc03560
  5. take a fork and press each ball down into a disk.  Put your cookie sheet in the oven and bake 14-16 minutes.  Let cool before eating.dsc03561
  6. These cookies are really good!  I might add coconut oil next time so they aren’t so dry.  But they’re the perfect size for a good breakfast cookie.  They were also really quick and dirtied only one bowl.  The recipe is a winner.dsc03562


Braided sourdough struan loaf

DSC03547.JPG

When I revive my sourdough starter, I want to make it really worth it, so I bake a loaf (at least) every day for a week, or however long I feel like feeding and caring for it.

This week, I’ve been making loaf after loaf of sourdough and rye, so this was a nice diversion.

It’s basically a struan, using this recipe and this recipe, but molded into a challah shape for communion at my church.  I made some adjustments.

You will need:

dsc03538

Soaker

3/4 cup grains (I used polenta, wheat bran and oatmeal.  All are quick-cooking (barley and rice, unless already cooked, are not good candidates for this)

57 g whole wheat bread flour (I used white whole wheat)
½ t kosher salt
170 g very hot water

Biga
186 g 100% sourdough starter
134 g whole wheat bread flour
77 g water

Final Dough
Soaker, all of above
Biga, all of above
244 g whole wheat bread flour
1 T canola oil
2 T agave nectar
2 t kosher salt

  1. Mix together the soaker ingredients in a small bowl.  Set aside until warm but not hot.  If you can stick your finger in the mixture and don’t want to immediately pull it back out again, it’s a safe temperature.dsc03548
  2. You’re supposed to let the biga and soaker sit overnight, but I didn’t.  I figured the starter was active and the hot water cooked the grains.  dsc03536
  3. After an hour, I mixed up the final dough and let it rise. The final dough as written was pretty dry so I added some heaping spoonfuls of plain yogurt.dsc03537dsc03539
  4. Then I punched it down and divided it into three strands.  The dough was still pretty sticky.dsc03540dsc03543
  5. Roll out the three strands until they are about 18 inches long.  Then pinch one end together and braid the strands.  Pinch the other end and transfer to a parchment-lined baking sheet.  Cover with a tea towel for an additional 45 minutes while you preheat the oven to 375 degrees F.dsc03546Meanwhile your husband/photographer snaps your child doing this:dsc03545
  6. When the oven is ready, brush the dough with egg wash and bake for 40 minutes or so.  When it’s done, let it cool completely before slicing into it.dsc03547I wish I could’ve taken a picture of the crumb, but it was for church so I could not.  It got rave reviews though!  My pastor was really impressed with the braiding, which is so funny because it’s really easy.  Maybe I’ll teach a challah class someday.

Beaujolais-Chorizo Bread

dsc03529This recipe was inspired by a recipe I found in Saveur magazine, who got it from Frederic Lalos, baking superstar and owner of Le Quartier du Pain in Paris.

dsc03516

I tore it out a while ago, waiting for an excuse to make it.

Something that jumped out at me is the fact that each of the main ingredients (bread dough, wine, and chorizo) are all fermented food products.  Without bacteria and yeast, these delicious foods would not exist!  Really makes you think.

I went to two different specialty stores before I found a place that sold both really good chorizo and really good Beaujolais.  I ended up at Arrowine. The employee there saw I had wine and sausage and encouraged me to take a look at the cheese selection.  Ordinarily I would’ve been all over that, but I told him what I was using them for and he was really interested (or he was humoring me).  Anyway, thanks local business!

DSC03521.JPG

My tips for cutting up the chorizo: remove the casing and use a bread knife, not a chef’s knife (I know that’s a chef’s knife in the picture).

dsc03522

Anyway, the recipe is pretty simple: you make a quick little starter that ferments for four hours, then add the chorizo and wine, let it rise another hour, shape, and bake.

I had a thought of adding parmesan or manchego cheese to up the Spanish flavor and make it more like picnic bread, but I thought too many salty umami-like ingredients might make it taste musty.

Also, it would probably be good to make the recipe first as written before tweaking it 🙂

Mostly.

I made some tweaks.

img_5203-1

For the starter, you will need:

1 3/4 cup bread flour

1 cup water (recipe calls for less water but I found the dough to be too dry)

1 tsp yeast

For the dough:

All your starter (the recipe calls for 1/4 cup.  Why make a huge batch of starter if you don’t use all of it???)

4ish cups of bread flour.  The recipe calls for more, but I found 4 cups was perfect

1 2/3 cups Beaujolais or fruity red wine.  Don’t spend too much.

1 tablespoon yeast

1 tablespoon salt

  1. Mix together the ingredients for the starter in the bowl of a stand mixer.  Cover and let rise for four hours.dsc03517DSC03523.JPG
  2. Punch down your starter and add your wine, yeast, salt,and two cups of bread flour.  Mix slowly to combine, then add the rest of the flour one cup at a time until it comes together as a dough.  Switch to the dough hook and knead for five minutes.  Add the chorizo and knead another five minutes.  Cover the bowl and let rise for an hour.DSC03524.JPG
  3. Preheat the oven to 500 degrees F and let your dutch oven heat up while the oven preheats.  DSC03525.JPG
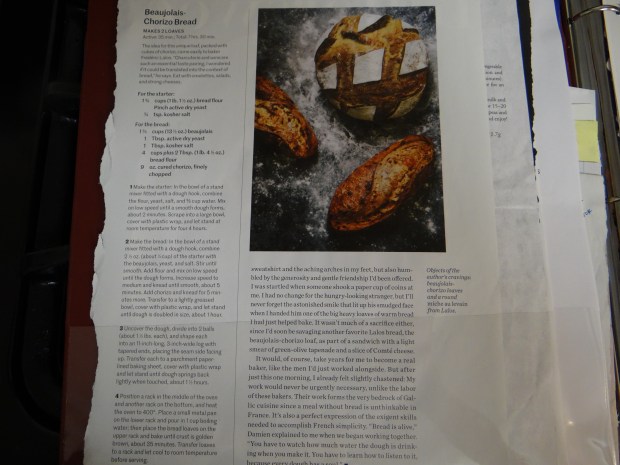
Divide the dough in two and shape into a boule or whatever shape you prefer and let rise another 45 minutes to an hour.DSC03526.JPG
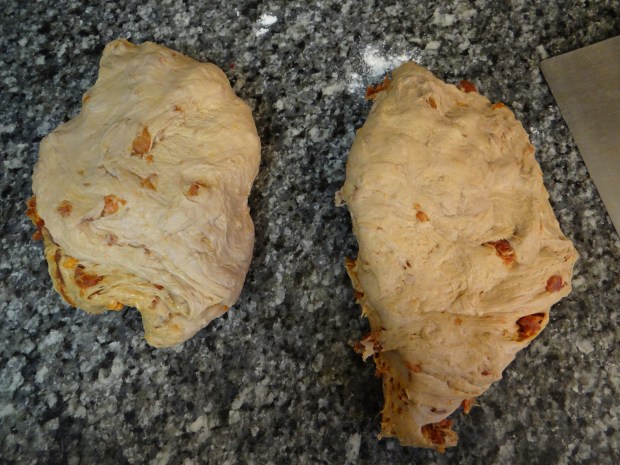
I used my bannetons and refrigerated my loaves for the final hour.DSC03527.JPG
  4. Bake your dough for 15 minutes with the lid on at 500 degrees, 15 minutes with the lid on for 375 degrees, and 15 minutes with the lid off.
  5. Let cool completely before slicing.  Or mail a loaf to your friend in Houston for her birthday.dsc03528
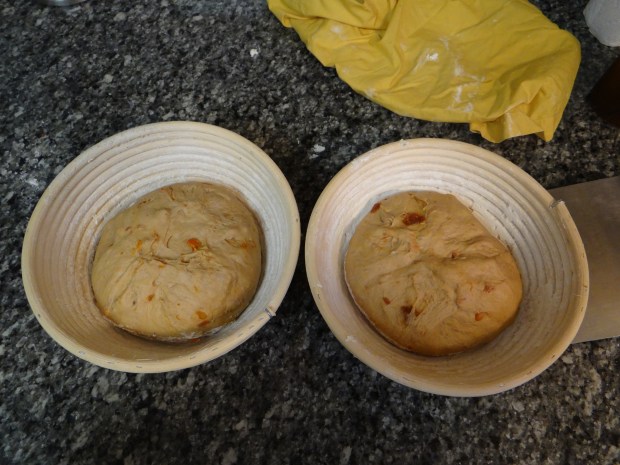
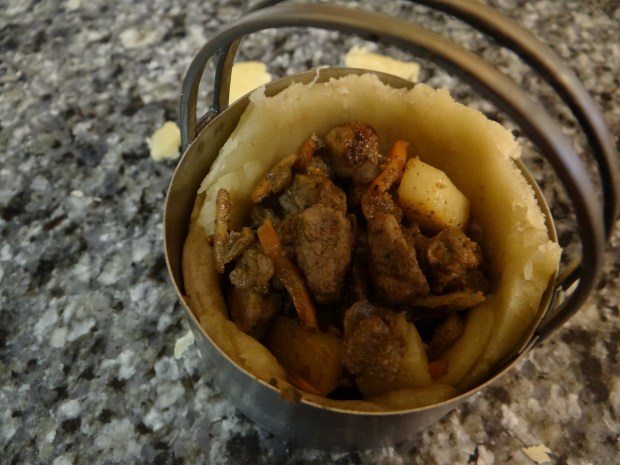
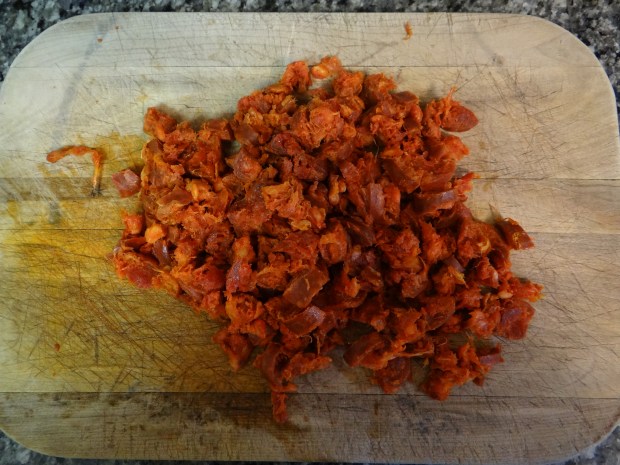
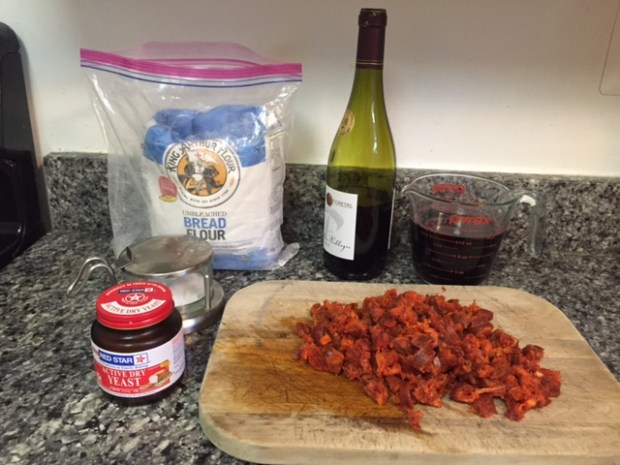
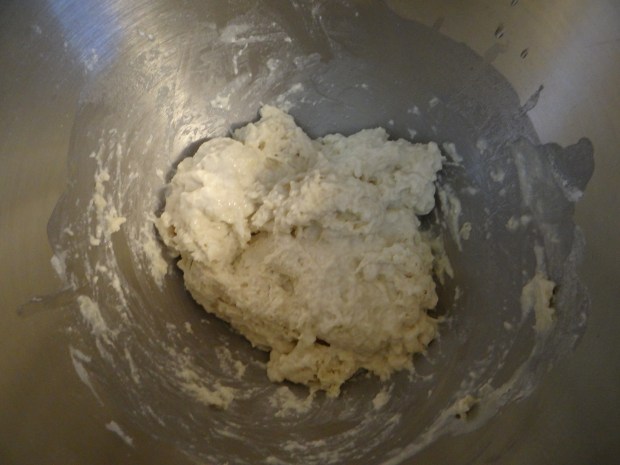
This bread really packs a punch.  The chorizo is very intense, so a few bites is all any of us could really muster.dsc03531There is a definite musty element from the chorizo, but I was disappointed in the wine’s impact.  It didn’t affect the color (maybe it was slightly browner than usual), and the fruity flavor you might expect from a Beaujolais wasn’t there.  Maybe I could make it again with just the chorizo to see.  This seems like the kind of bread that would do well if you toasted it and topped it with cheese, either a mild creamy cheese or a hard cheese.  In any case, it was a fun experiment!